Geometric crafts: schemes of three-dimensional and simple products with a step-by-step description
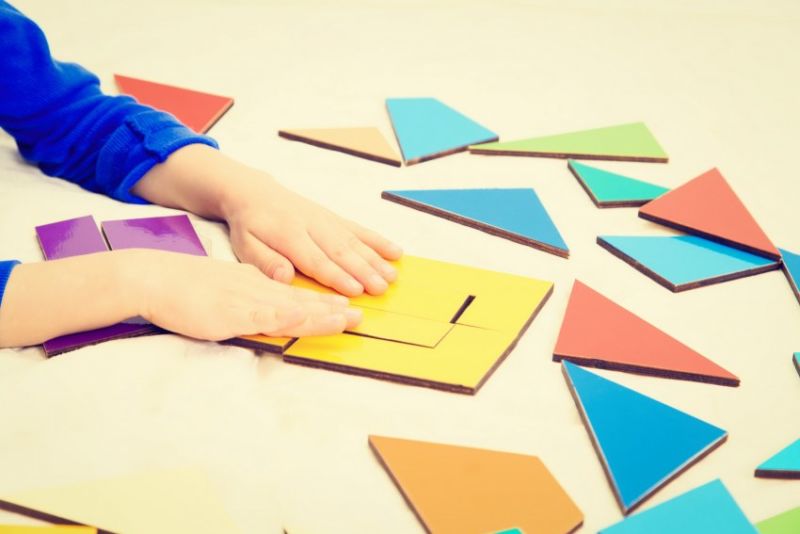
Creating paper geometric shapes - it's a fun activity that develops logical thinking, fine motor skills, and helps to think creatively. Geometric crafts will help the child visualize different shapes, and their creation will prepare him or her for the study of geometry.
To make a geometric figure yourself, you just need to have on hand any kind of paper (white for the printer, colored for crafts, cardboard), scissors and some glue.
Simple geometric shapes crafts
The first thing to learn how to cut out various geometric shapes from a plain white or colored paper and create applications of them, and then - to produce simple three-dimensional shapes.
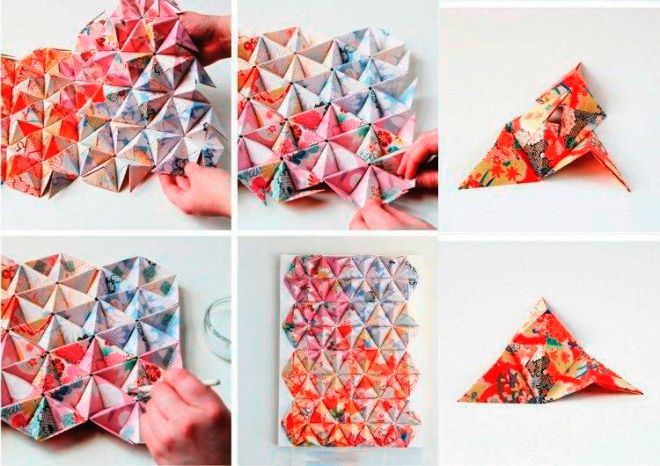
Painting from triangles
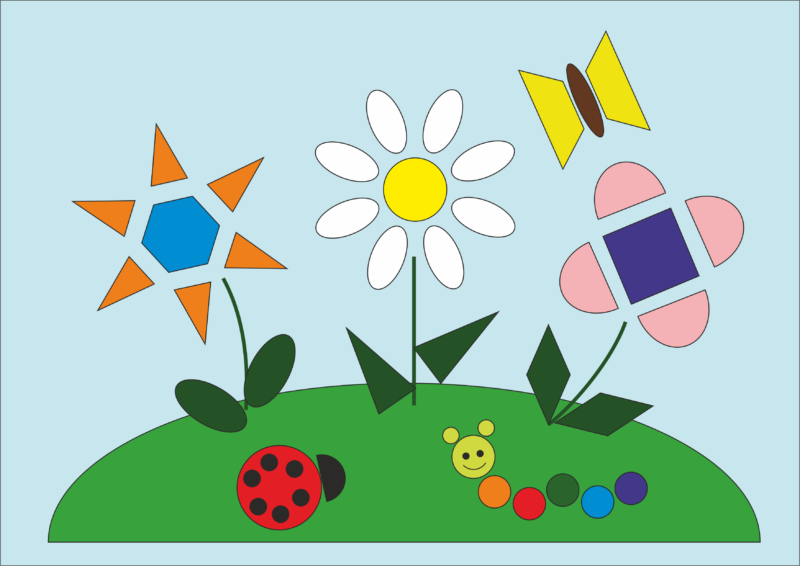
On a piece of paper you can create an application of triangles depicting plants, animals, vehicles, household items. Simple paintings from triangles:
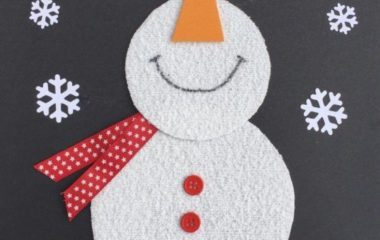
- Christmas tree. Cut out three triangles (small, medium and large), using green paper. From a brown sheet of colored paper cut a small rectangle. Blanks glue on white paper from top to bottom, starting with a small triangle and ending with a large one. Complete the Christmas tree with the wooden trunk that you cut out of the brown paper first. You can decorate the "Christmas tree" in any way you want: draw the garland with colored markers, cut out balls and glue them to the tree, etc.
- Umbrella. From different colors, cut out elongated triangles of the same size with scissors. Now place them on a sheet of cardboard in a rainbow sequence. The tops of the triangles must touch at one point. Then glue the parts. At the end of finish draw an umbrella stick brown or black felt-tip pen.
- Frog. From green paper cut a large equilateral triangle of any size and four of the same triangle in smaller sizes. In the center of the white sheet, which is used as a background, place a large triangle with the top up. Two small triangles around the edges of the large triangle vertex up - these will be the legs of the frog. Two more triangles located on top of the main square-shaped triangle - the head. Glue all parts to the sheet and finish drawing the frog's eyes.

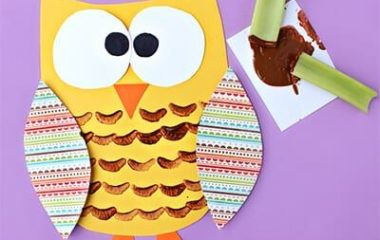
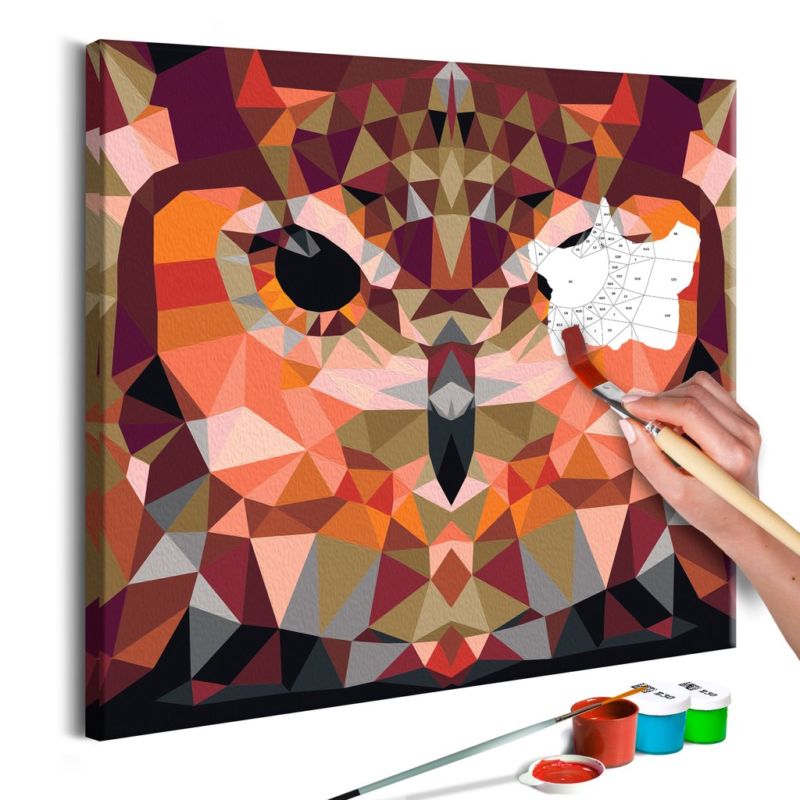
A more complicated picture is an owl. To create this paper forest bird, prepare paper in two colors, for example purple and yellow.
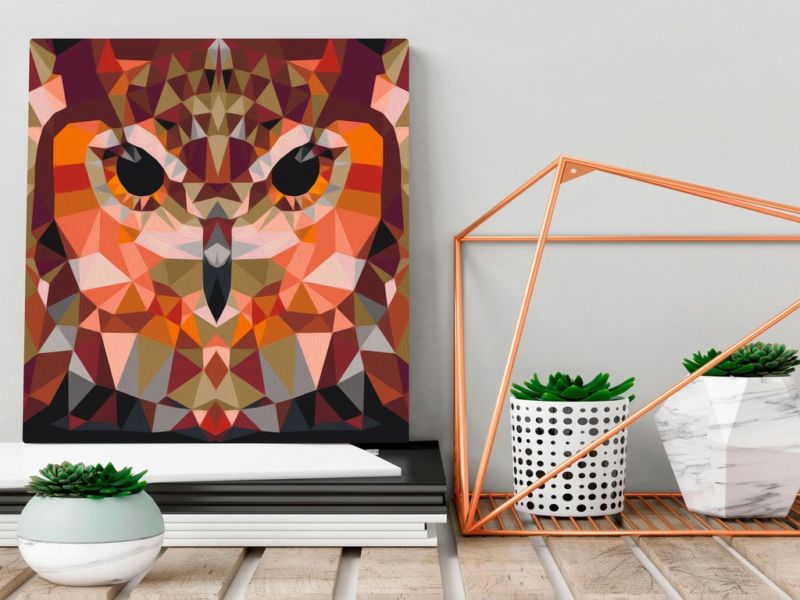
First make a pencil sketch of the bird on the paper:
- The head will be made of two purple ovals glued side by side.
- Glue two white circles with black pupils - the eyes of the owl.
- Now prepare ten long triangles: four purple and six yellow.
- Begin gluing blanks on the bottom of the sketch.
- Glue the triangles with the top down (so that the feathers were natural, glue the triangles only at the top, at the base).
- First one triangle of purple, then an overlap of two triangles of yellow, then three purple and at the end four yellow.
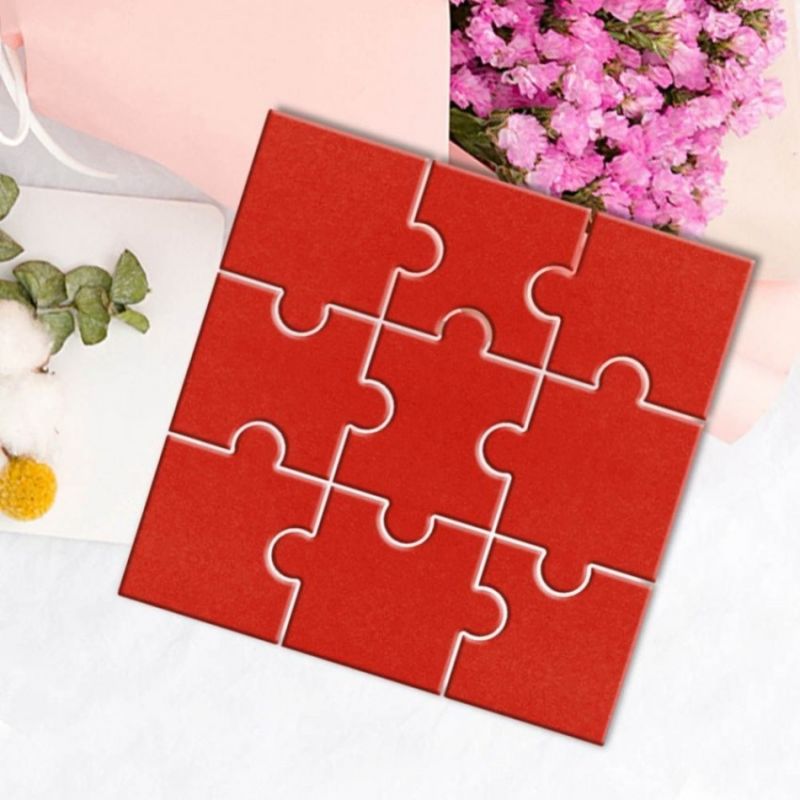
Applique flower
For a flower in advance cut out: seven red ovals, two rectangles and three strips of green, one circle of yellow:
- On the background sheet of blue color, start laying out the flower: a circle, around which there are seven oval petals.
- Add a stem from a green strip and on it two more twigs on different sides.
- On each branch, place one rectangle - these will be the leaves of the flower.
Create a real bouquet of geometric shapes:
- To do this, prepare: five equilateral triangles in red, five of the same - yellow, and five blue, three small circles of brown paper, a large rectangle of orange.
- Now, at the very bottom of a white cardboard sheet, place a vase in the form of a rectangle and draw the three stems with a green felt-tip pen.
- Glue circles on the stems, around which glue five triangles (near one middle of the flower petals should be the same color).
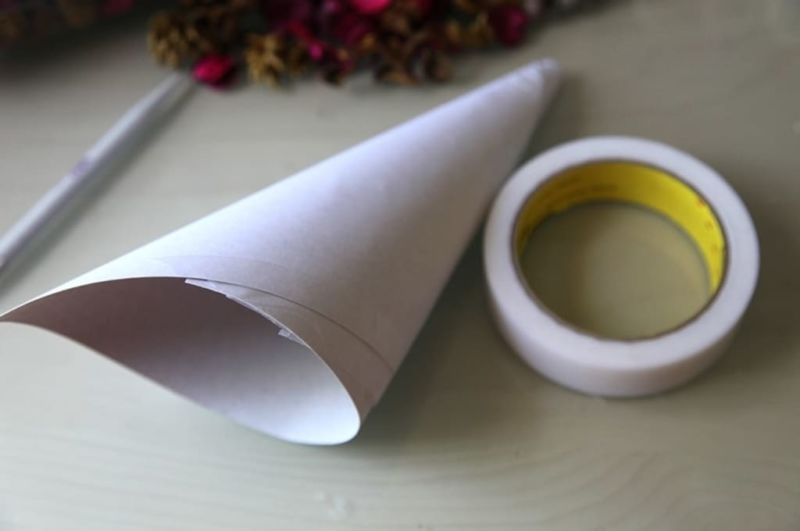
Cone of paper
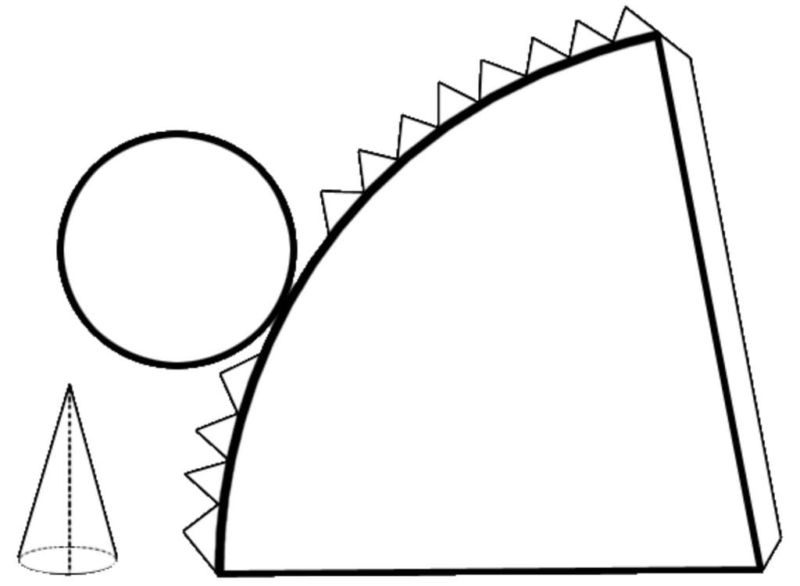
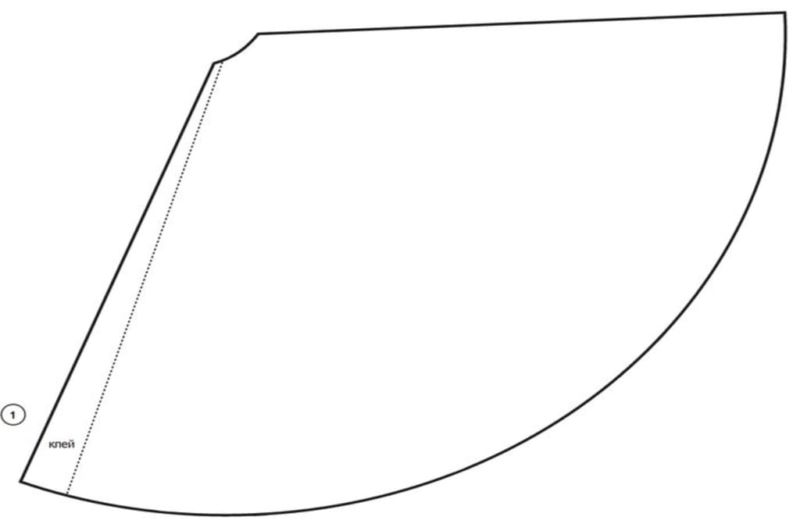
You can create this figure in several ways. For the first option, you will need paper, a round plate, a pencil, and scissors:
- On the paper, trace the plate and cut out a circle.
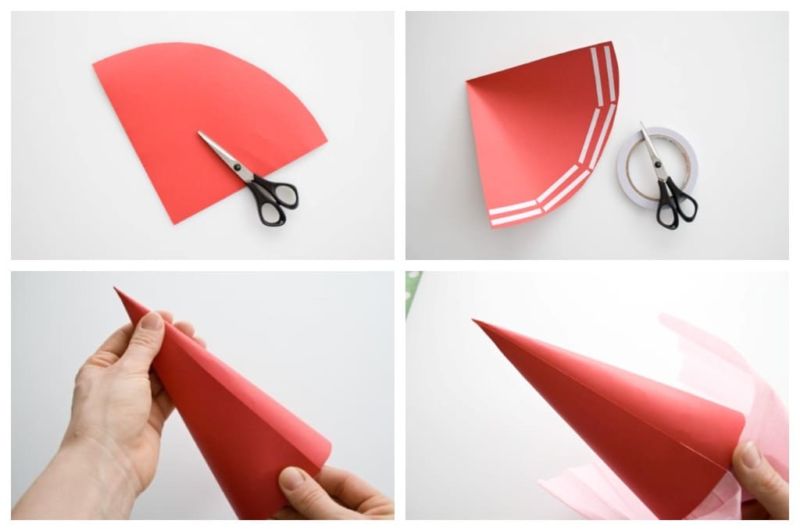
- From the circle, cut out a sector - the ratio of the arc of the circle and the two radii.
- Next, fold the workpiece into a cone, pre-spreading one of the sides with glue.
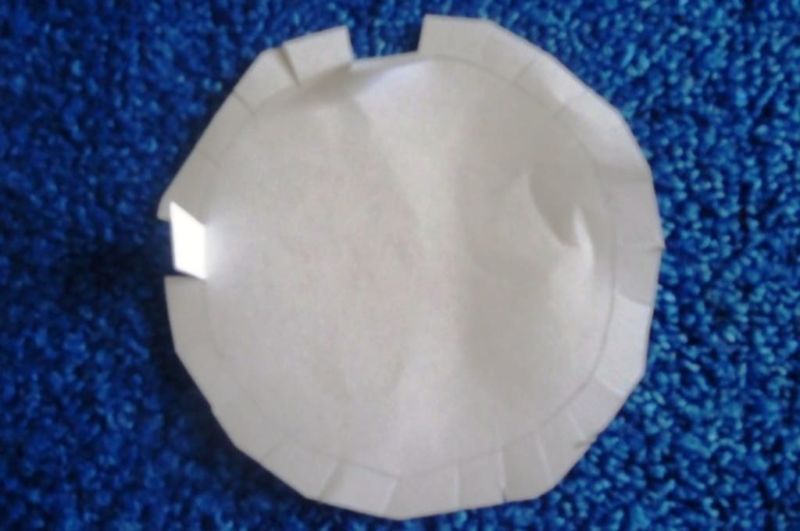
- Now make the base of a cone: for this trace the bottom of the finished cone on paper, add a circle of small triangles for gluing, cut to the contour and glue the first workpiece.
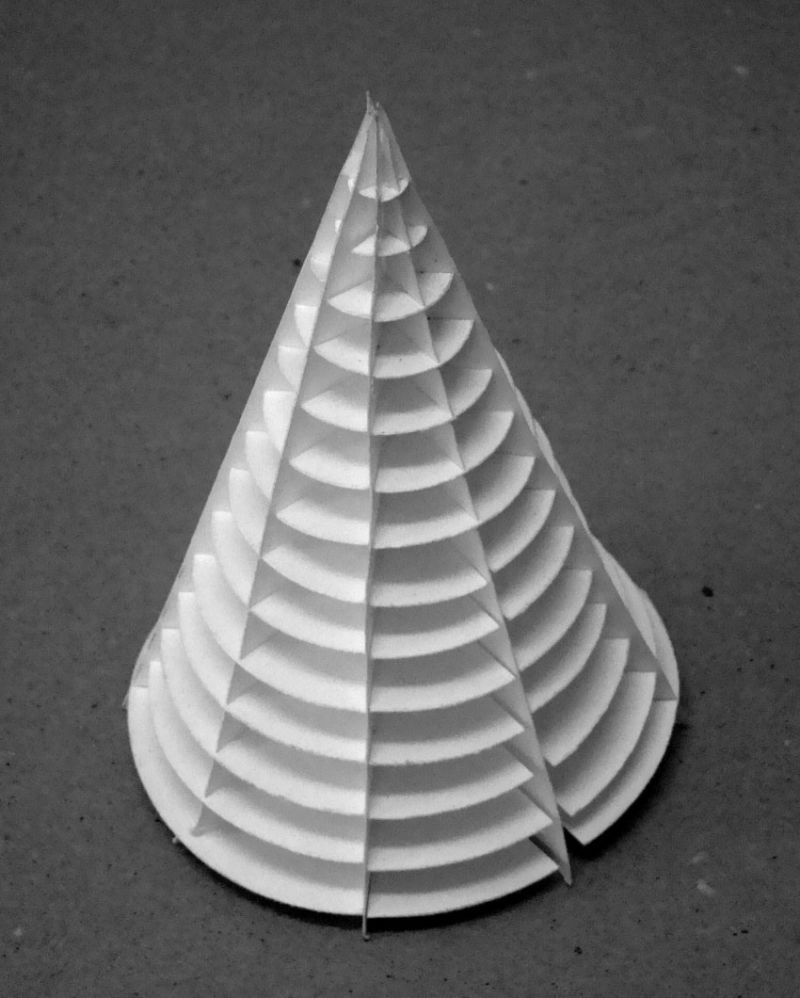
- For the second method, prepare paper, compass, pencil, scissors and glue.
- Circular on paper outline the circle.
- Use scissors to cut out a circle along the contour and cut it in diameter.
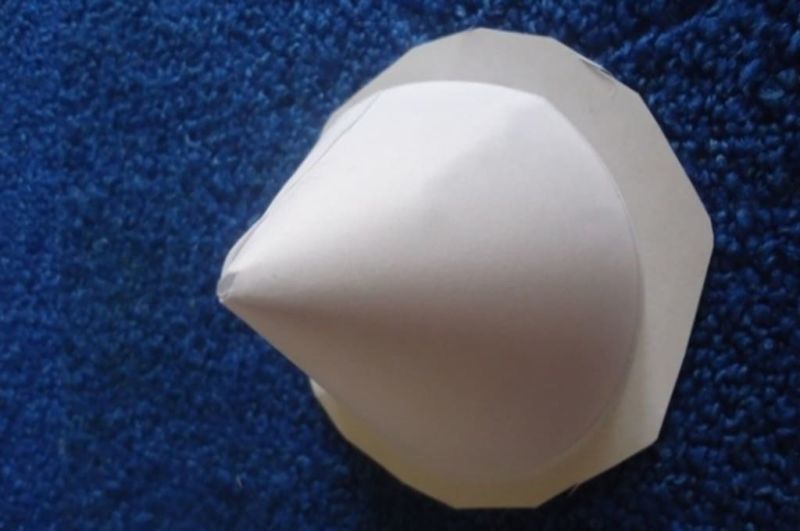
- This semicircle make a cone with a sharp spike on the end and glue it.
- It remains only to make the base on the same principle as in the first method.
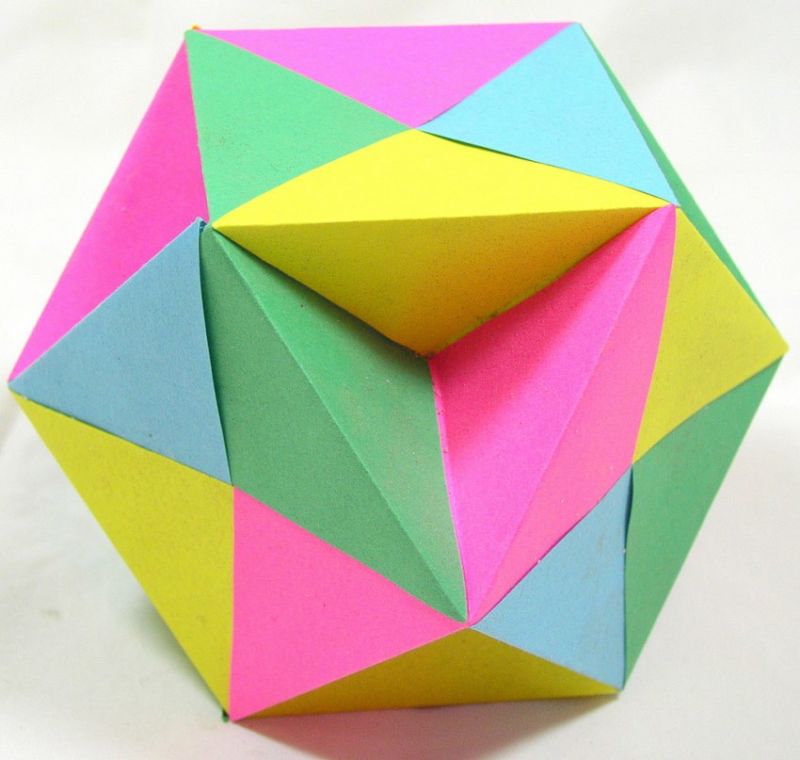
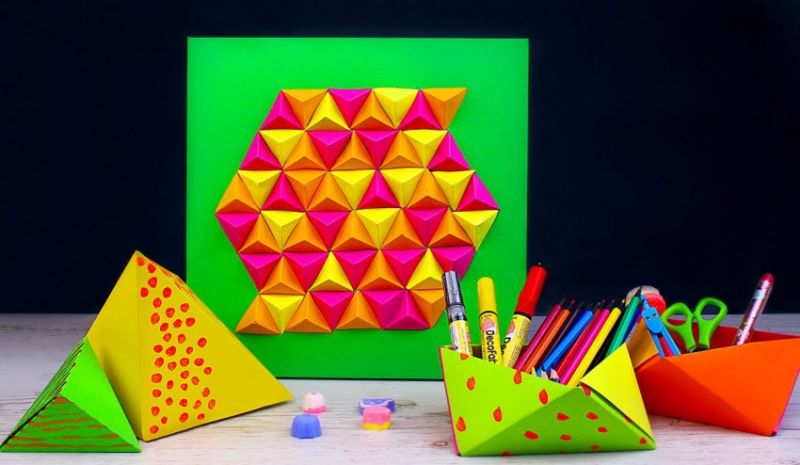
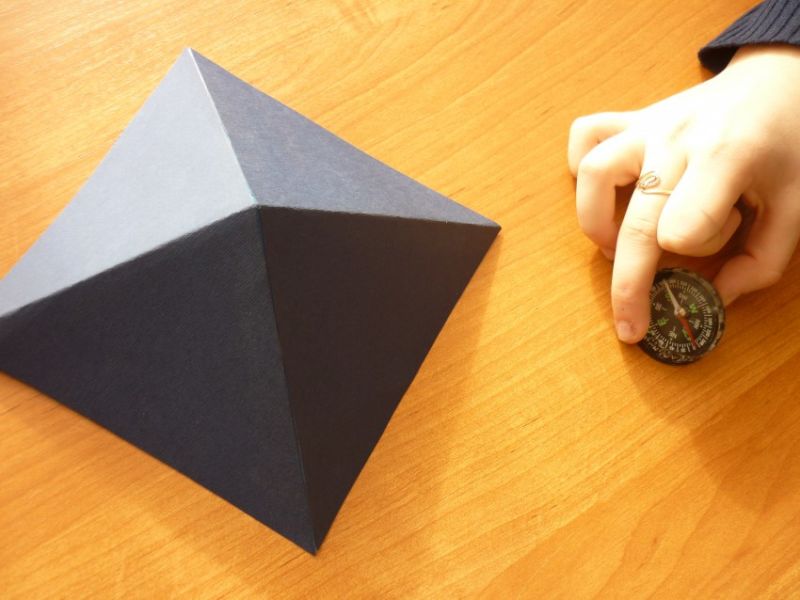
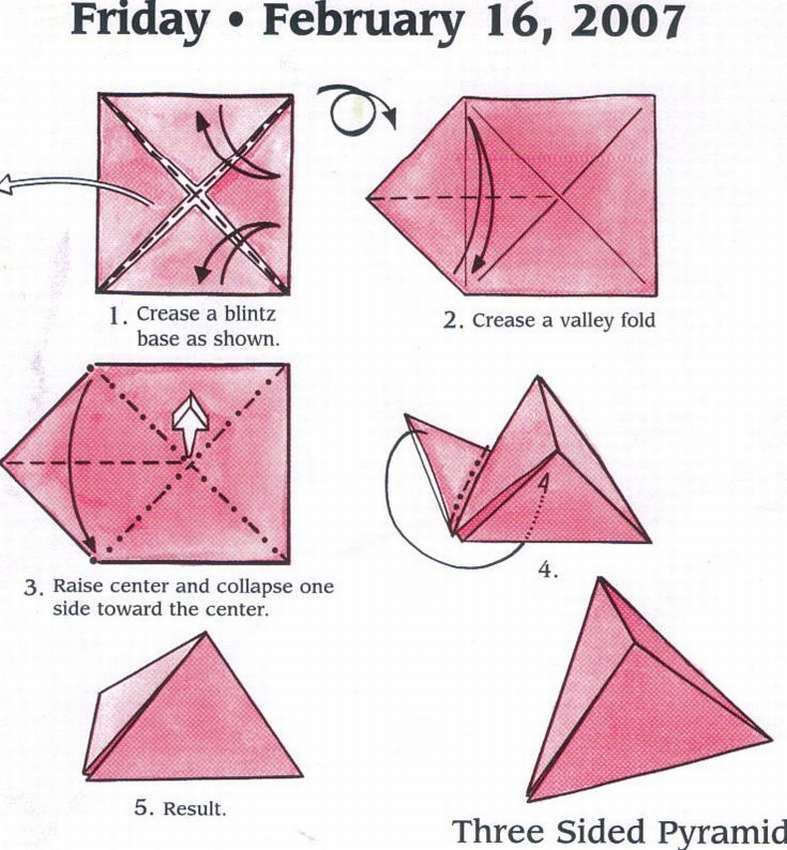
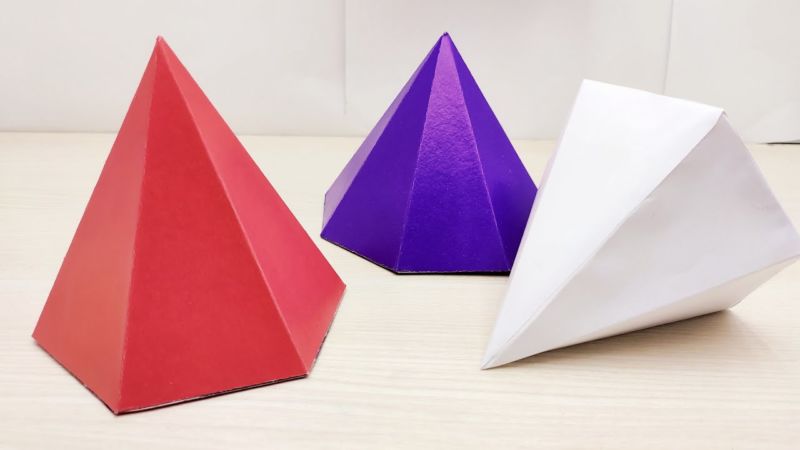
Origami pyramid .
First choose the size of the future pyramid and determine the required number of sides:
- Then on the sheet draw a polyhedron, which will be the base of the pyramid. Here you can choose: triangle, square, hexagon. Since the number of sides of the base will be equal to the number of sides in your pyramid.
- Now draw a triangle next to one of the sides of the base so that the polyhedron and the triangle have one common side.
- Draw as many triangles as you have planned the sides of the pyramid, i.e. the number of triangles equals the number of sides.
- Then, on the scheme add strips that will glue the parts.
- It remains only to cut out the template, fold the pyramid and glue it, dabbing a thin layer of glue on the special strips.
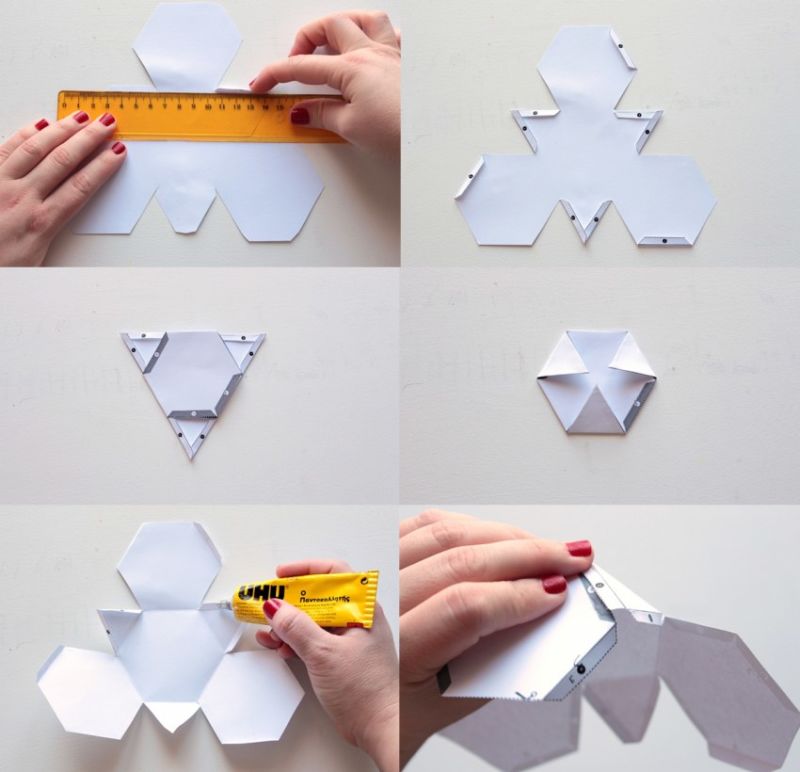
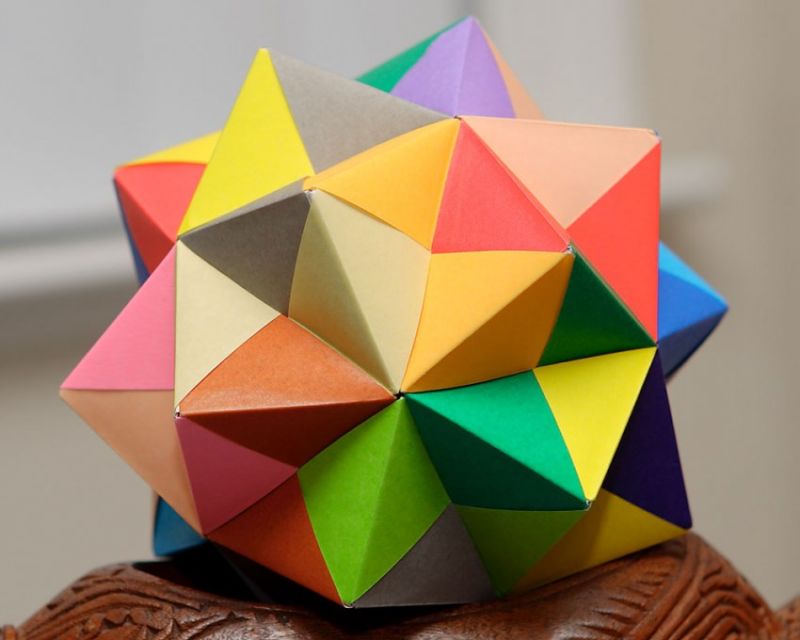
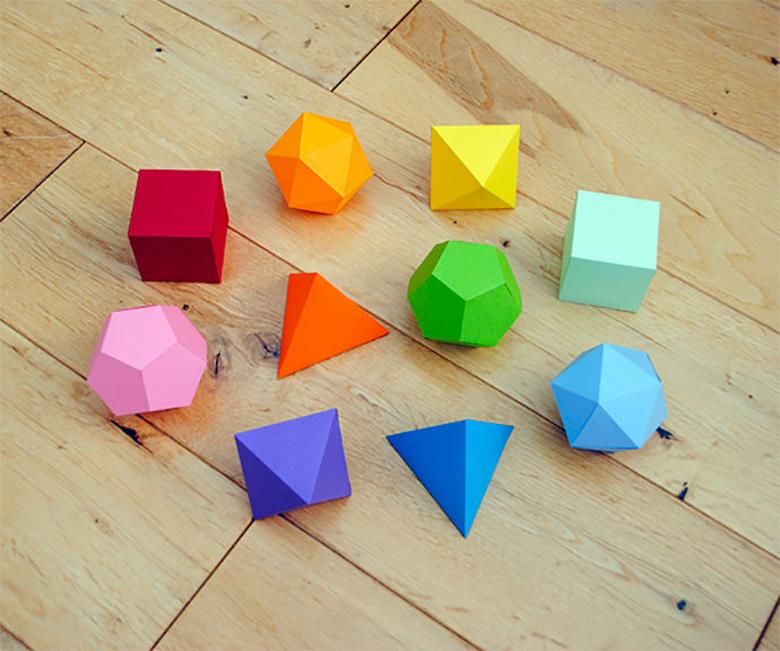
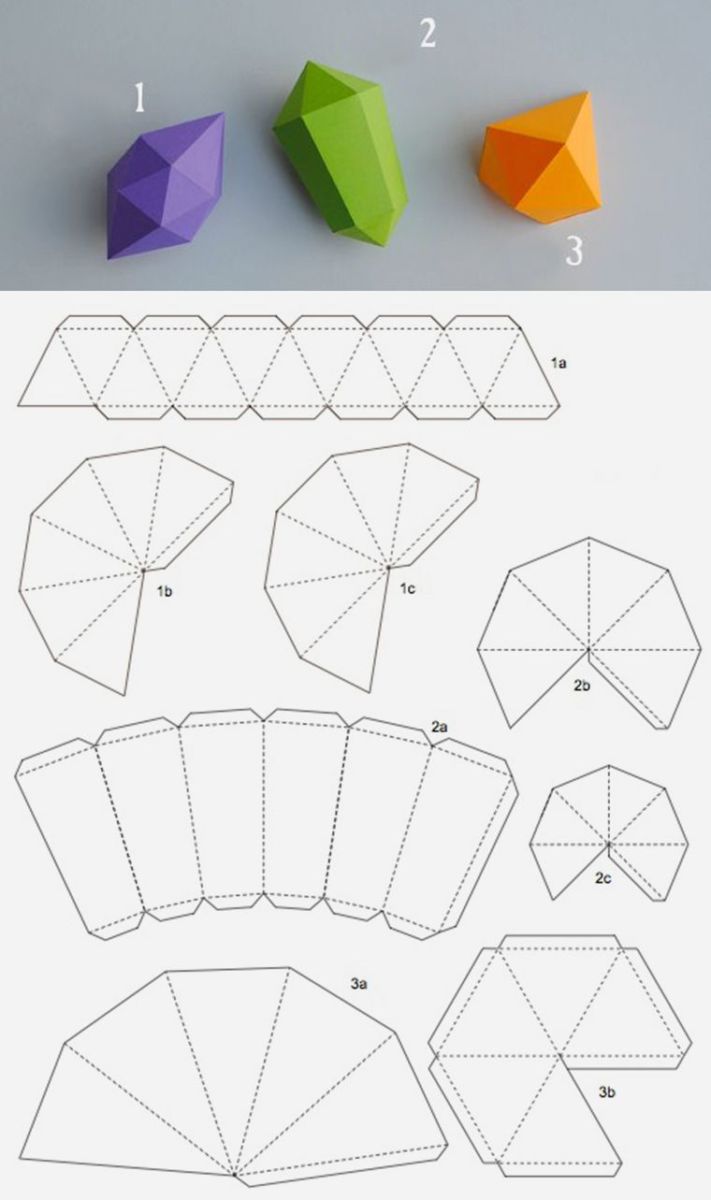
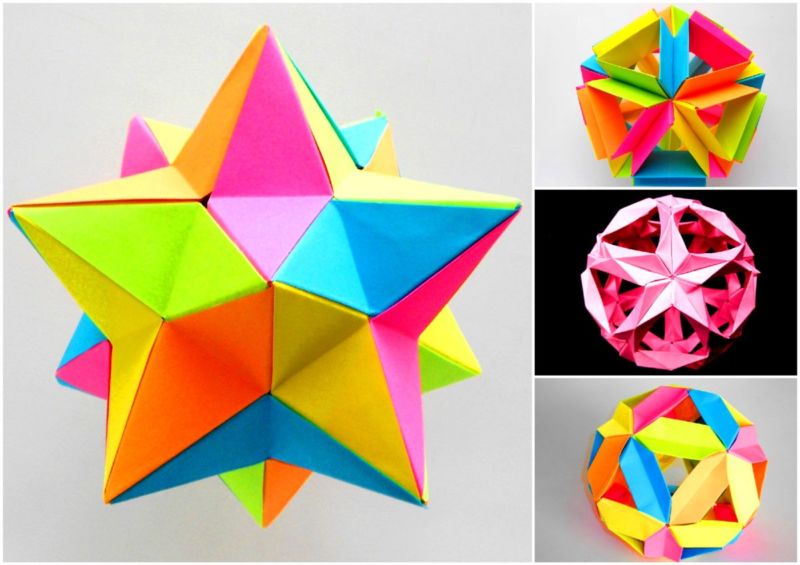
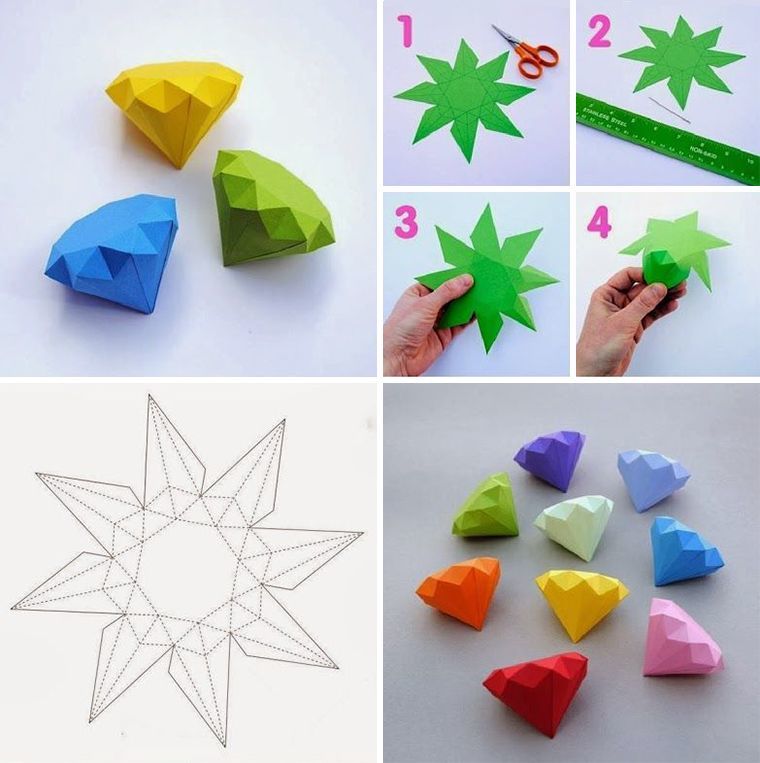
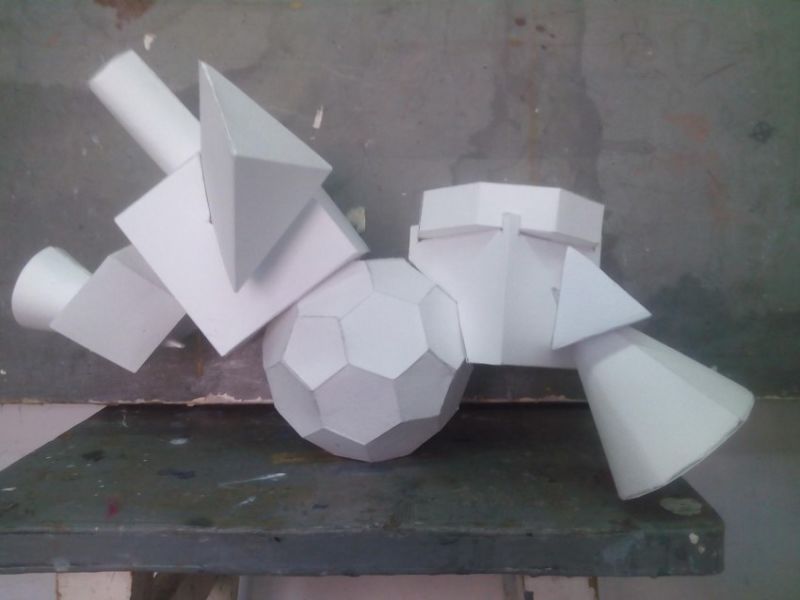
Volumetric geometric handicrafts
To create three-dimensional geometric shapes using origami technique, you will need ready-made assembly diagrams of various shapes.
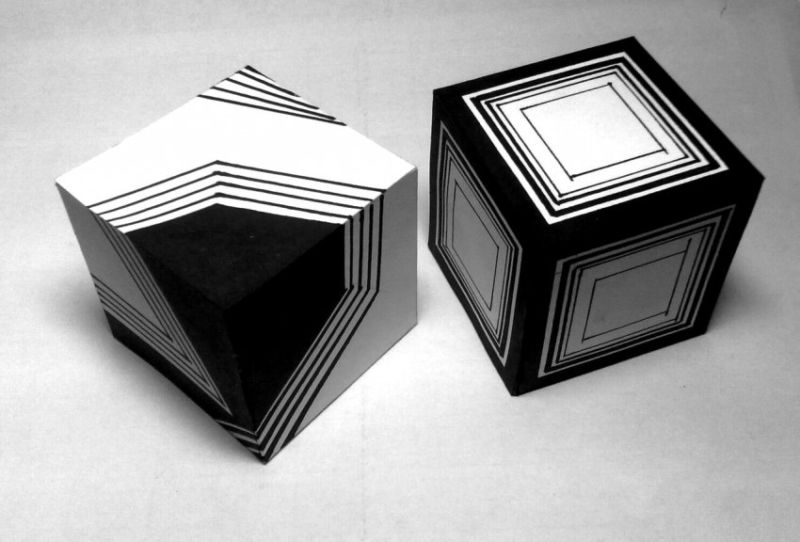
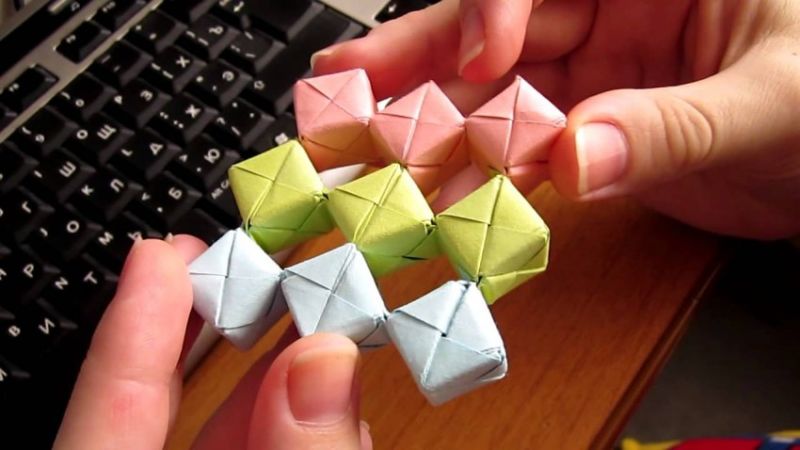
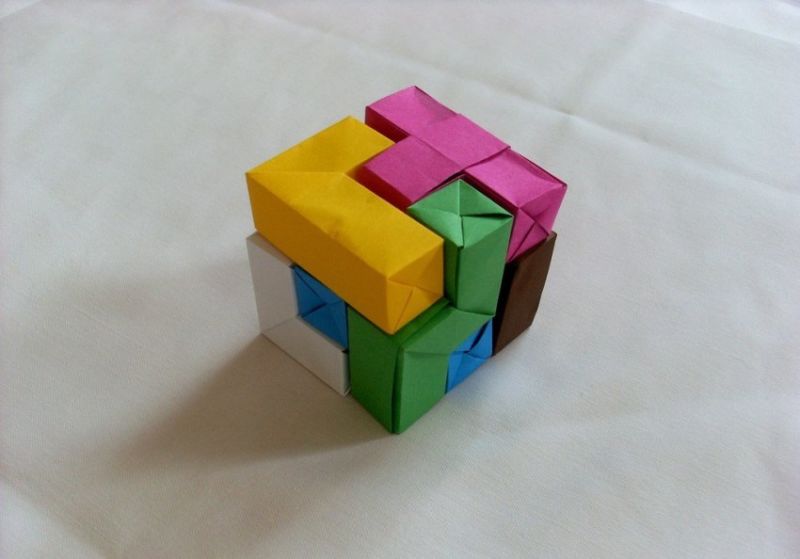
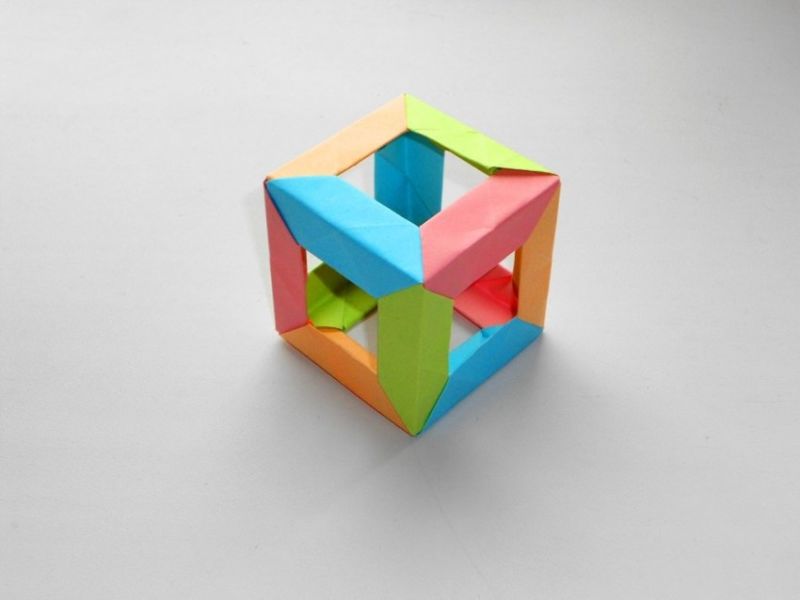
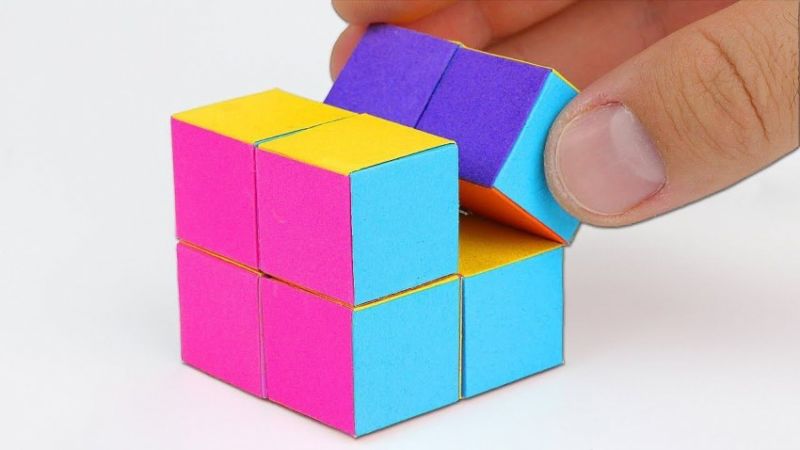
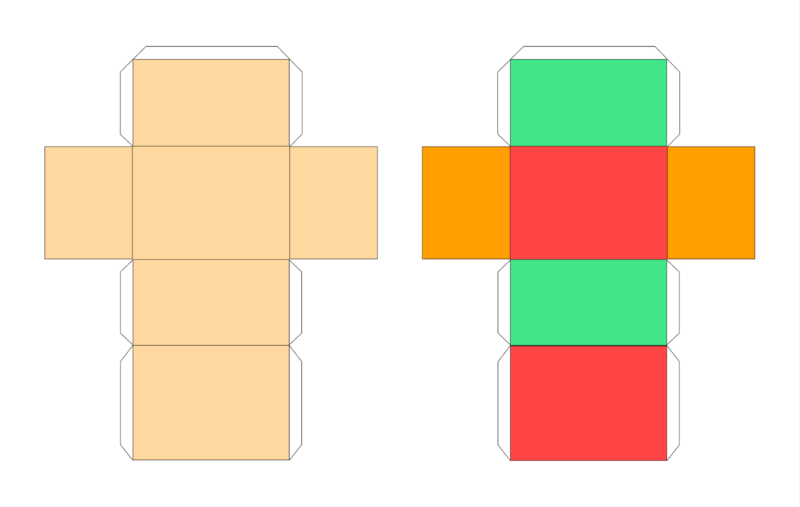
Cube .
Start with a fairly simple figure - a cube. All sides of this figure have a square shape. You can find a ready scheme for its creation on the Internet or draw it yourself:
- First of all, determine the dimensions of the sides of the cube. The width of the used paper sheet should not be less than the length of three squares, and the length should not be more than five.
- After determining the dimensions, in the length of the sheet closely draw four squares - this is the side of the cube.
- Next, next to one square on both sides of draw another square.
- On each square on one side add strips for gluing.
- Now cut the workpiece along the lines, assemble the cube and glue it to the joints.
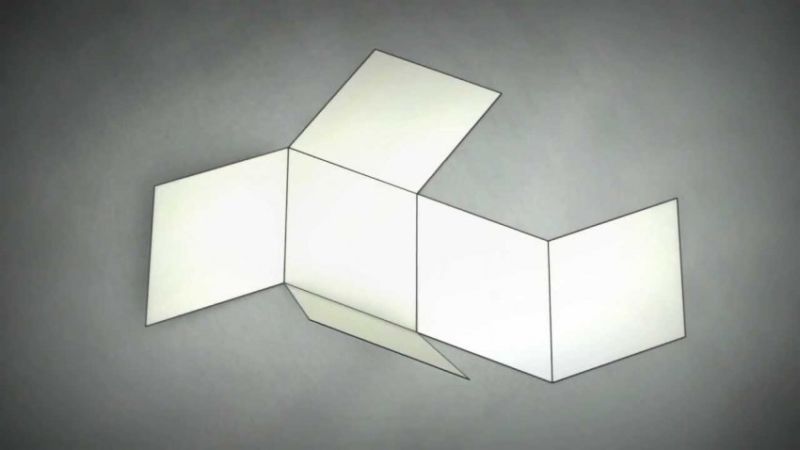
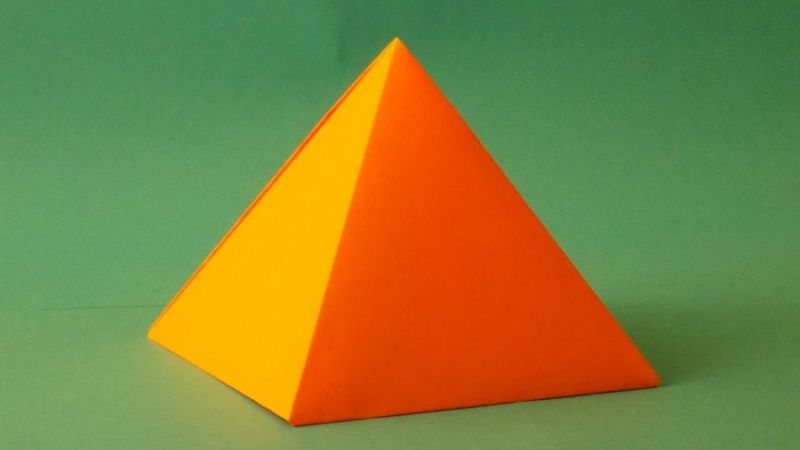
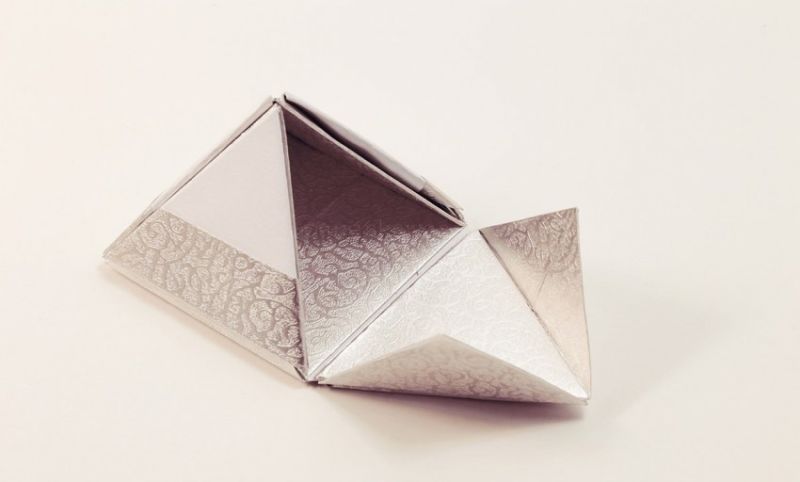
The pyramid
As in the previous version, to start the work is to prepare the scheme of the future pyramid:
- To do this, in the middle of the sheet, draw an equilateral square and at each side of it an isosceles triangle.
- Doris glue lines on one side of all the squares.
- Cut out the layout and fold it into a pyramid.
- And now just glue the figure, pre-spread glue on the glue lines.
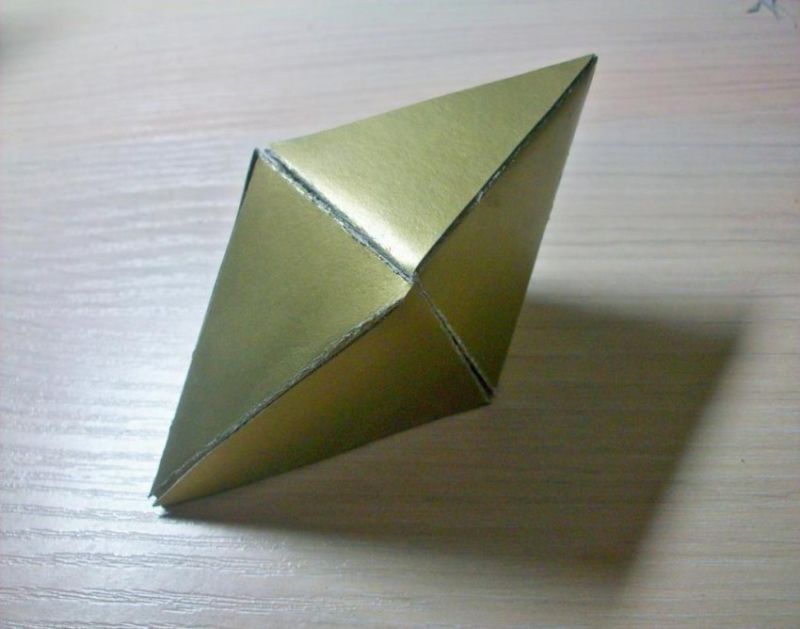
Parallelepiped
This complex geometric figure is made in much the same way as a cube. The only difference is that the facets of the parallelepiped are shaped like a parallelogram.
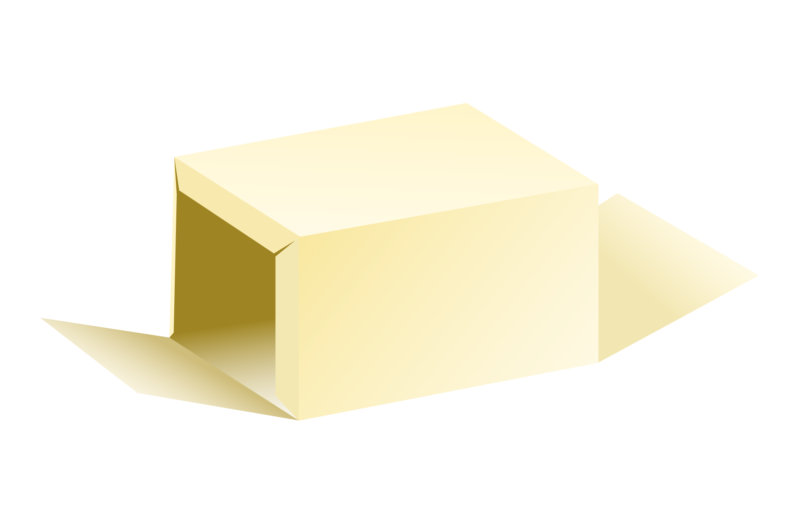
Draw a diagram similar to the cube, replacing the squares with parallelepipeds. Doris glue places, cut out the workpiece, fold the parallelepiped and glue it.
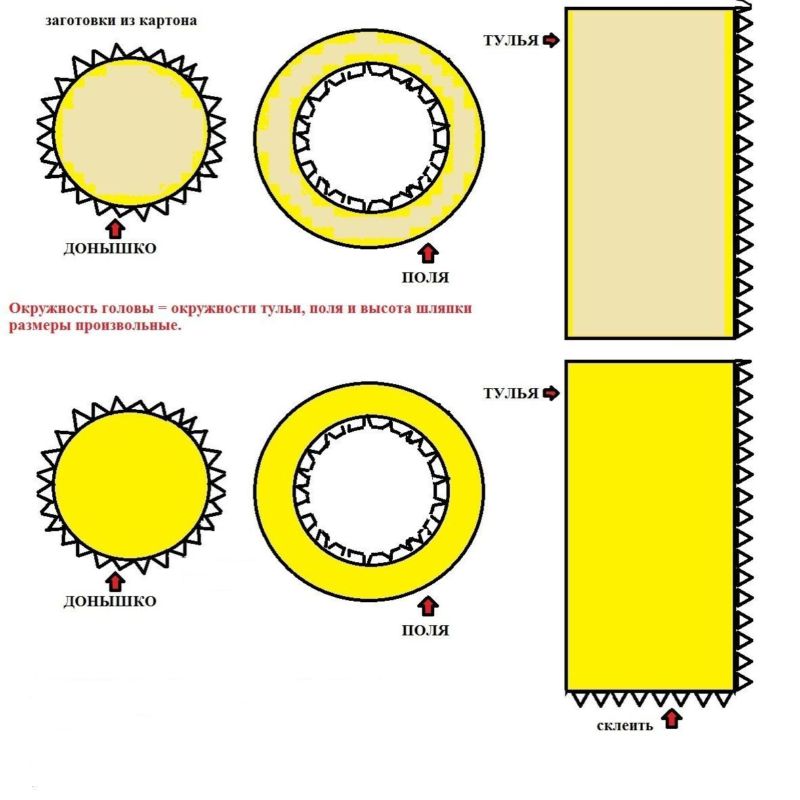
Cylinder
Draw a diagram for the manufacture of the cylinder is a little easier than for the previous three-dimensional shapes:
- So, draw a rectangle on the sheet. The width of the rectangle will be the height of the cylinder, and the length - its diameter. Use the formula from geometry: L=nD (L is the length of the rectangle, and D is the diameter of the cylinder).
- Next, at the three sides finish drawing small triangles, to later use them as a tape for gluing.
- The top and bottom of the cylinder will be in the form of circles, the diameter of which will be equal to the diameter of the cylinder.
- Assemble the cylinder: cut out a rectangle form the side of the cylinder and glue the base of the top and bottom.
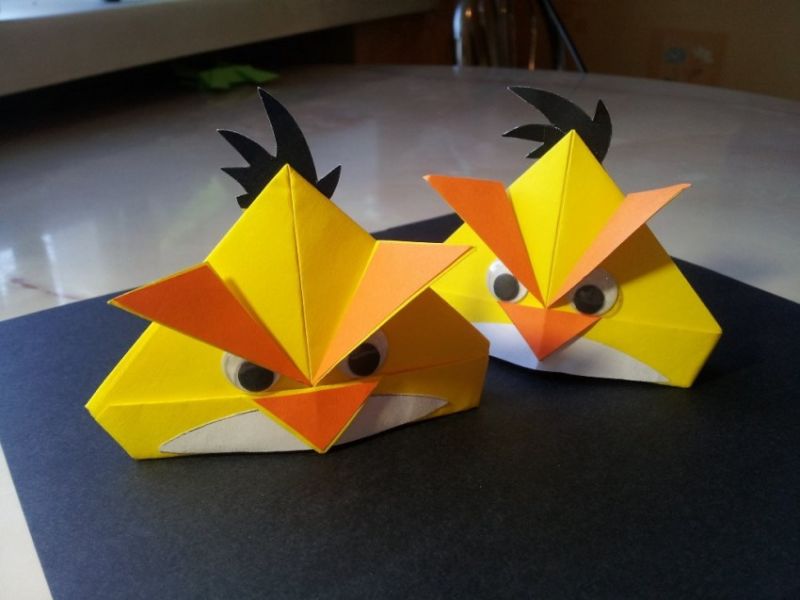
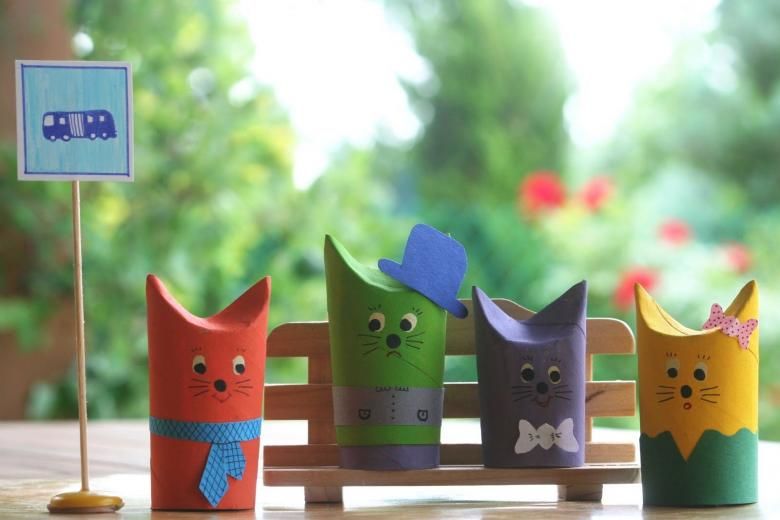
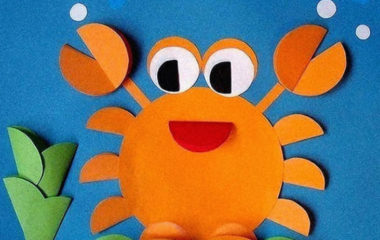
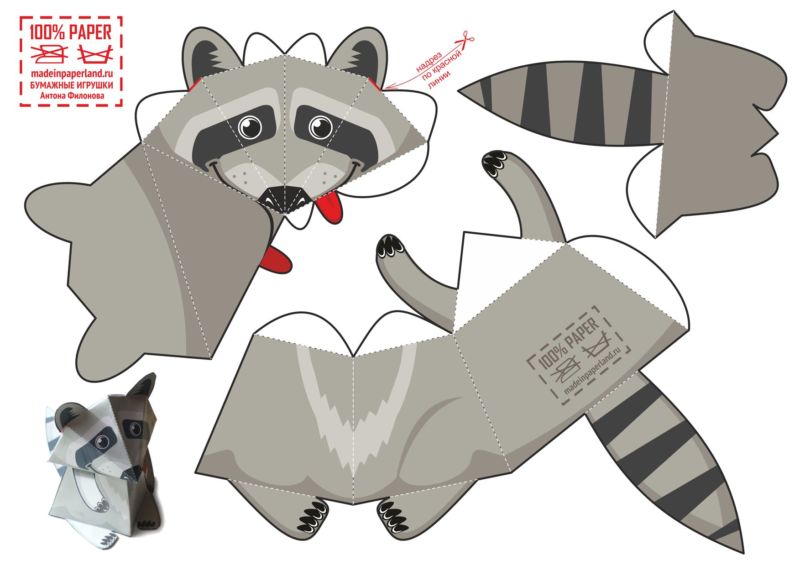
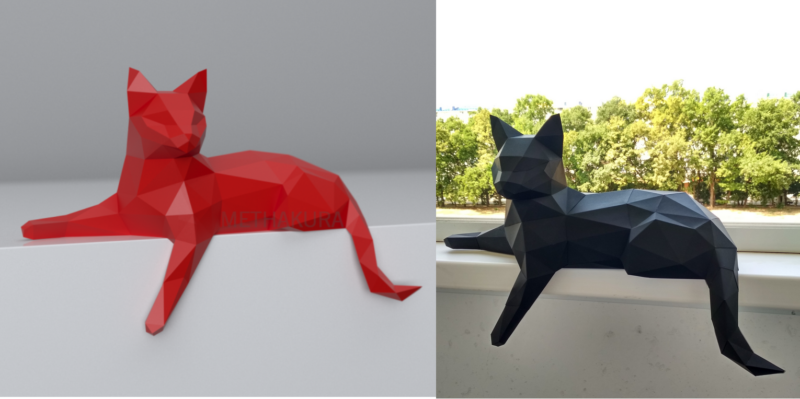
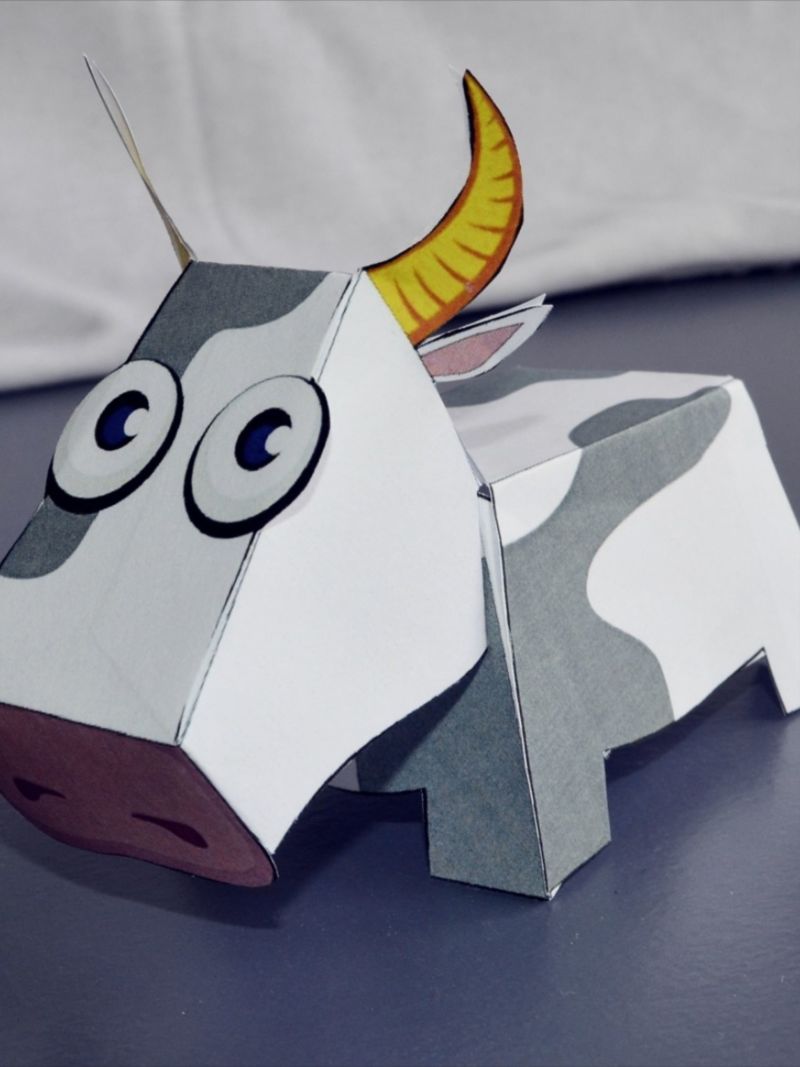
Animals made of geometric shapes
The process of creating geometric shapes can be turned into a game, for this fold on templates from the Internet volumetric animals using geometric shapes.
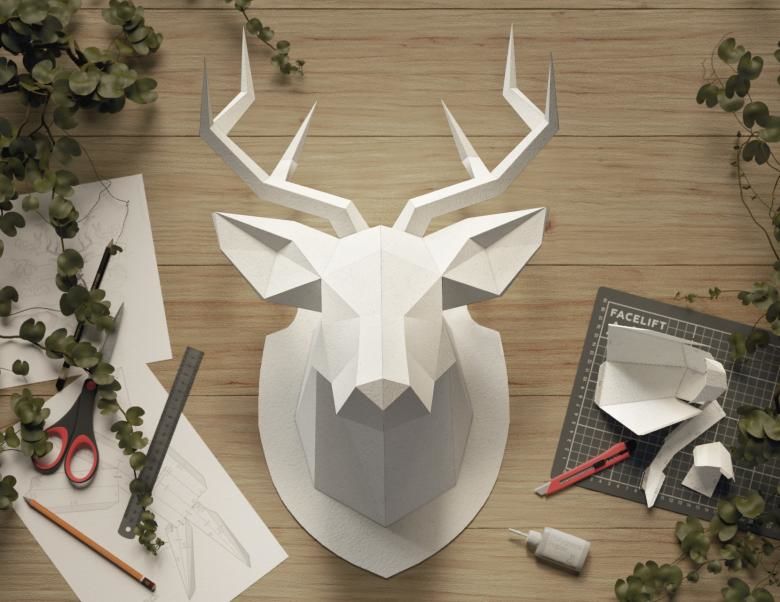
Here everything is simple, print out a ready template of your favorite animal and cut it out. Then fold the figure along the lines of folds and glue the special lines. Doris detail: eyes, whiskers, etc.
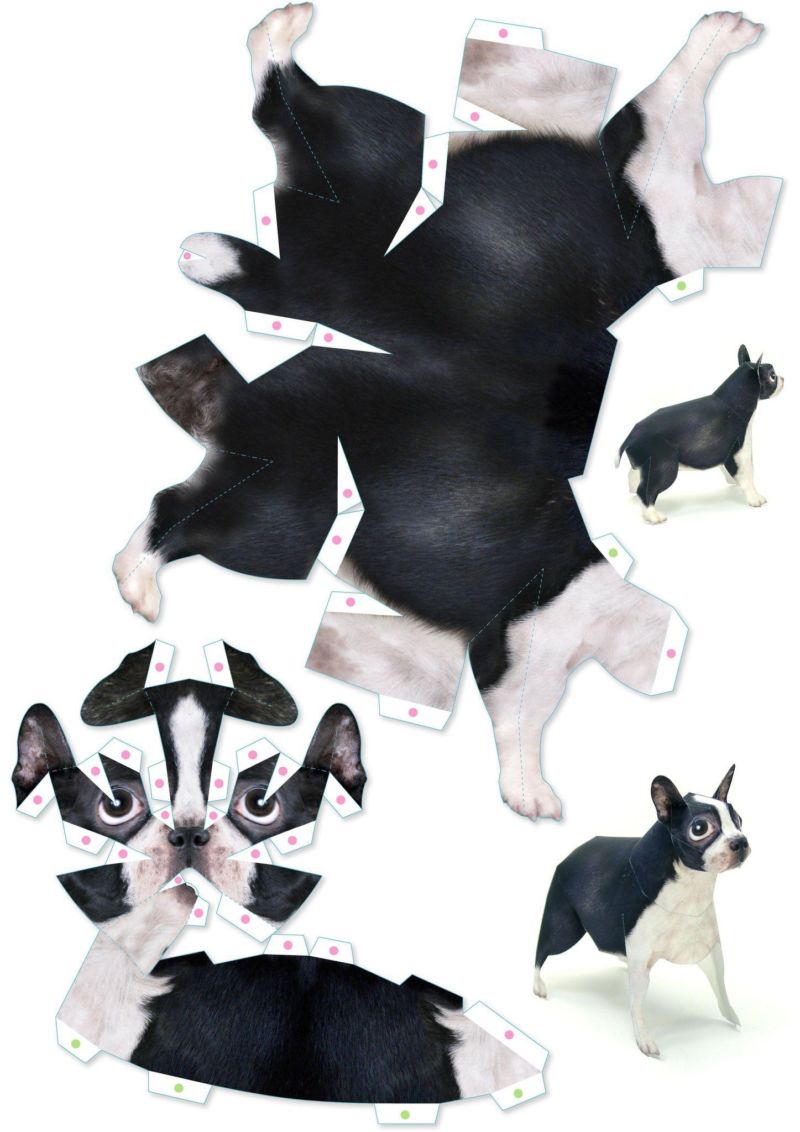
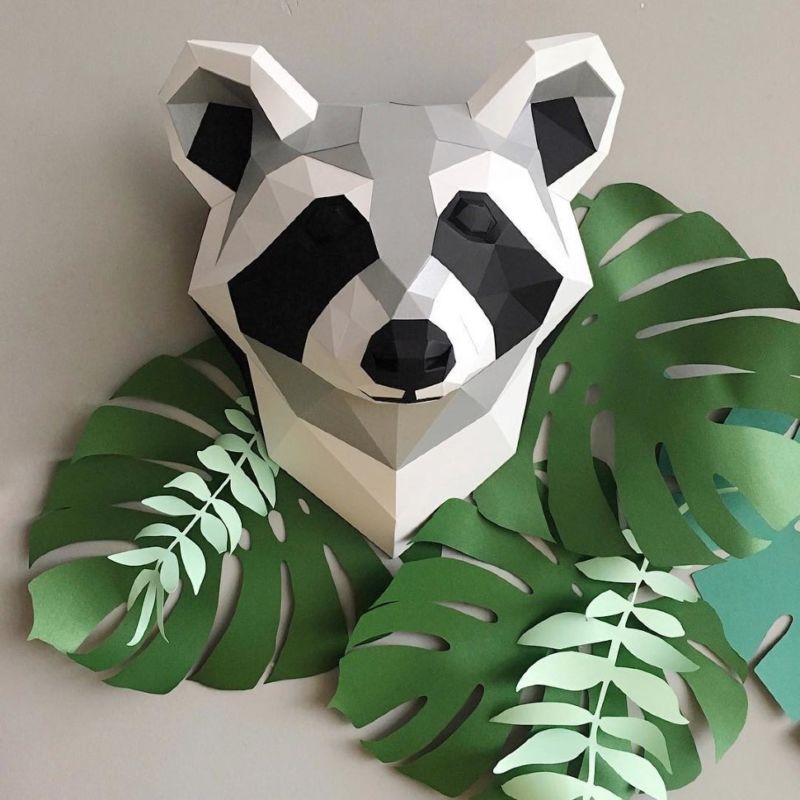
Also, you can make your own template for the volumetric animal, using special programs. They help to design and create a reamer for three-dimensional figures. So you will get a unique scheme for creating a 3D animal, and after assembling it you will decorate your interior with it.

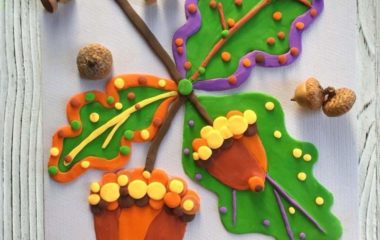
Figures of plasticine
You can also make geometric shapes with your child out of plasticine. Modeling is a great way to develop fine motor skills and creative thinking.
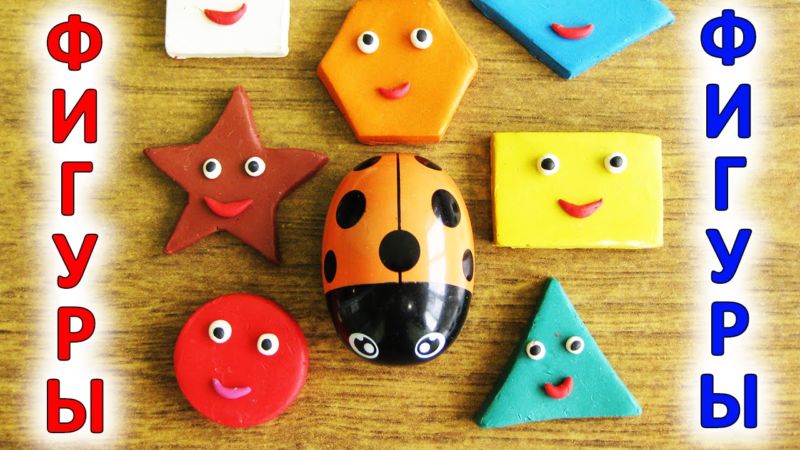
It's much easier to mold shapes with plasticine. It's enough to roll a ball - and you're ready to make a circle. Younger children are offered to make a long plasticine "sausage", which can be then put on a sheet of paper in any geometric shape. Three-dimensional shapes made of clay:
- Pyramid. First of all, put plasticine in layers in the form of a staircase, subsequently giving it a pyramid shape. Then work your hands through the workpiece to get flat and equal sides. Keep an eye on the top, it must be exactly in the middle.
- Cone. Such a figure is molded by analogy with the pyramid, just give a piece of plasticine cone shape.
- Cube. Roll a ball of plasticine, and then carefully flatten it on all four sides. Sharpen the corners, and you get a cube of plasticine.
- Parallelepiped. This figure is made similar to a cube, but first you need to roll an oval.

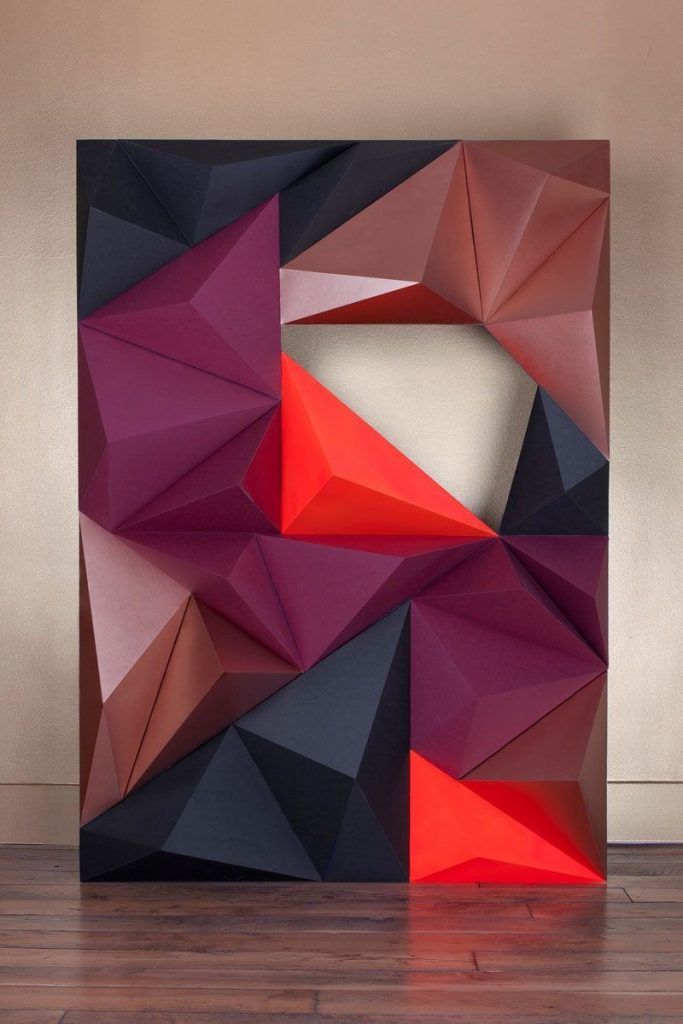
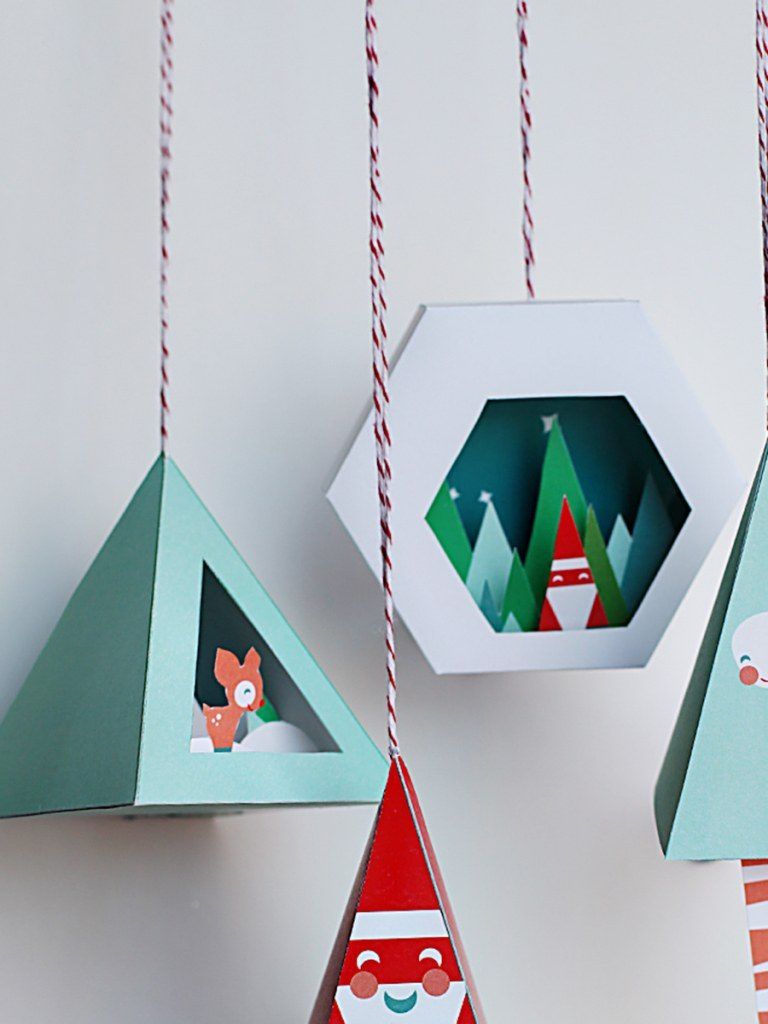
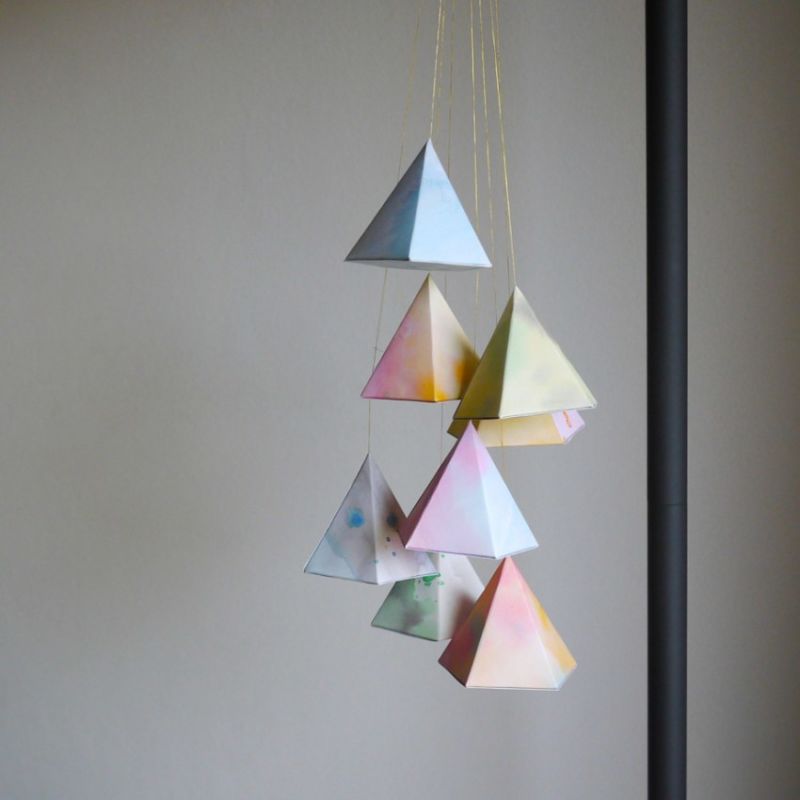
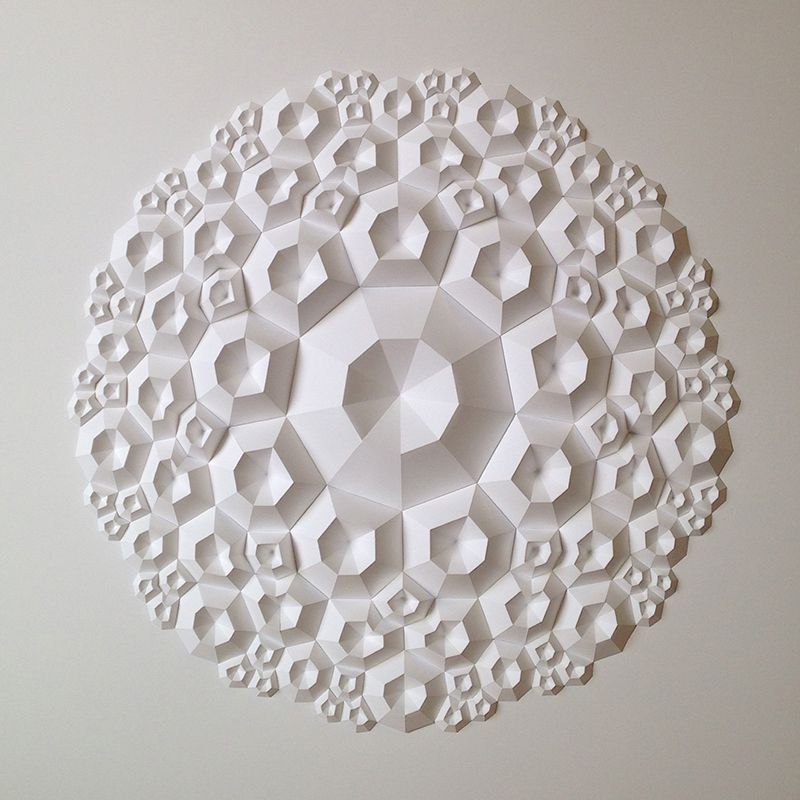
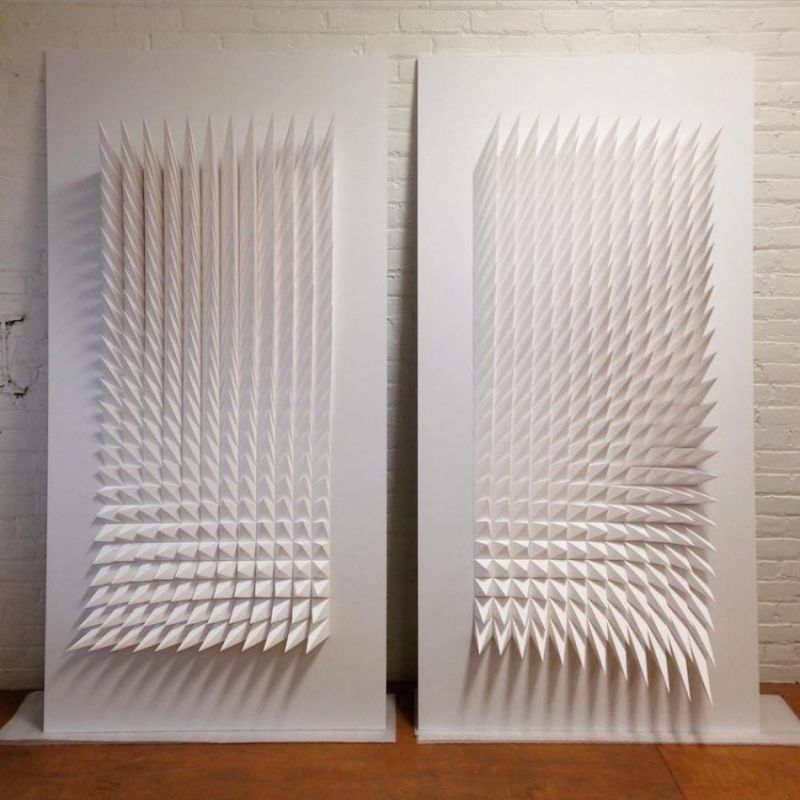
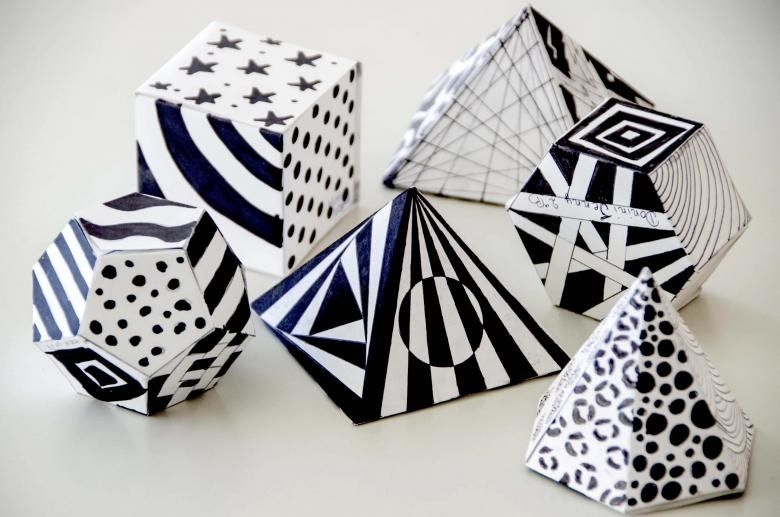
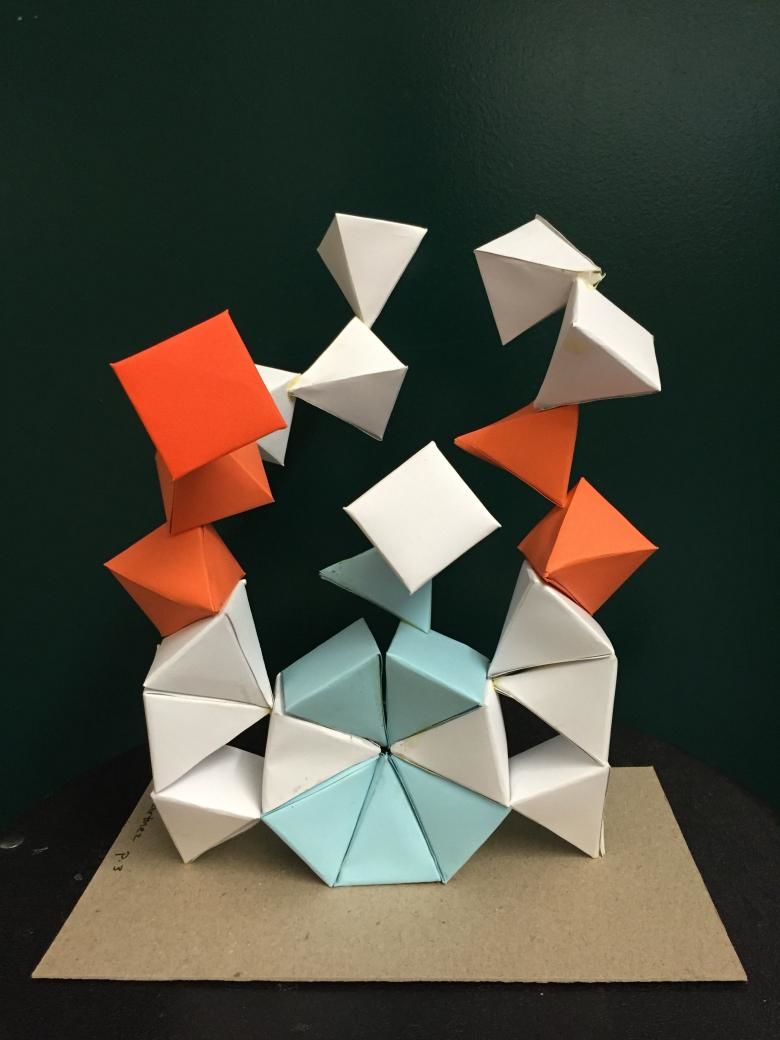
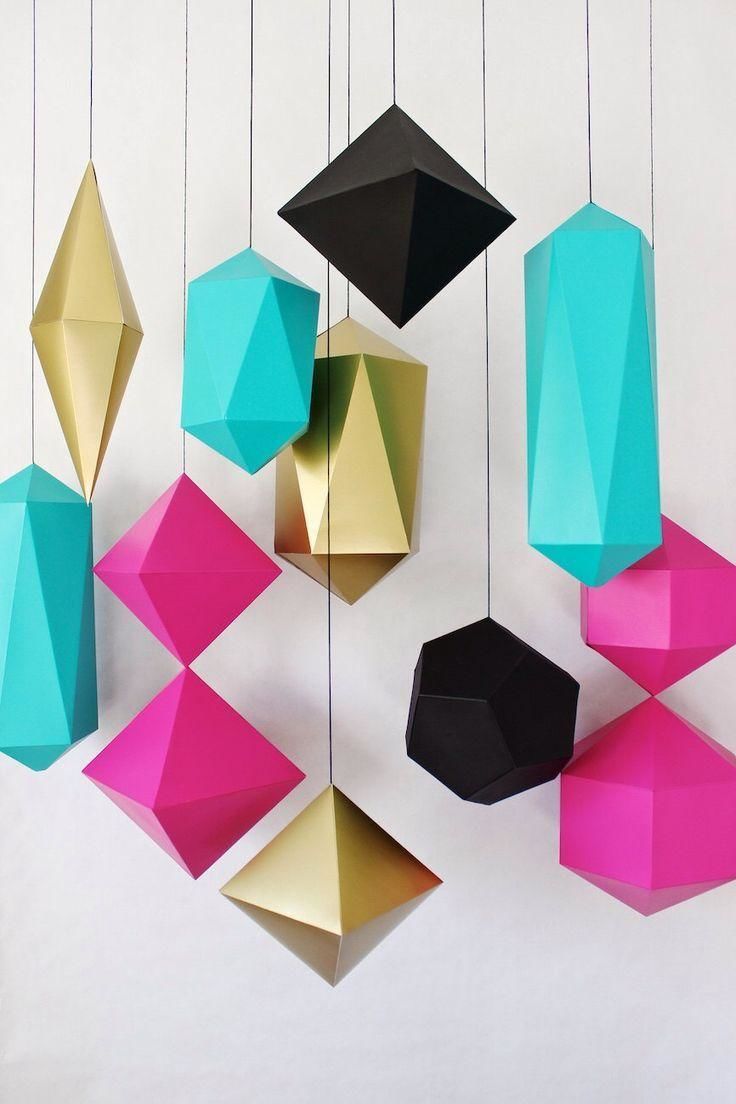
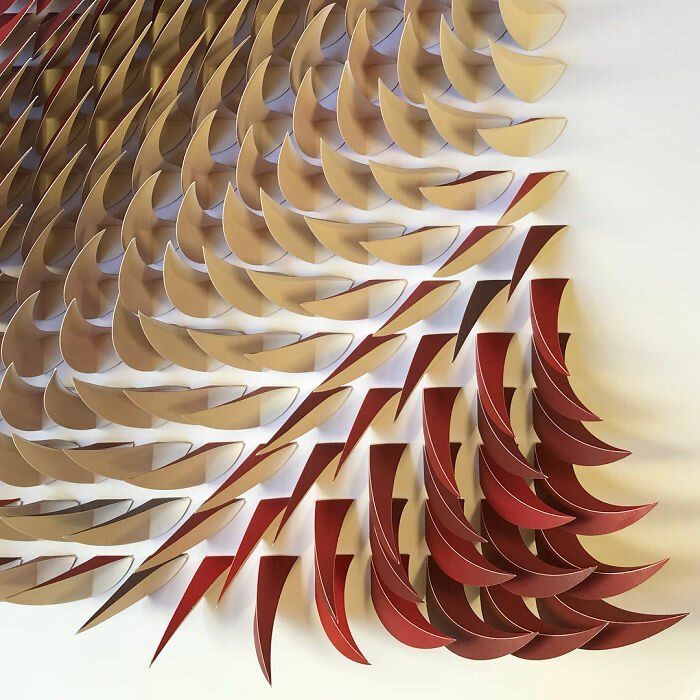
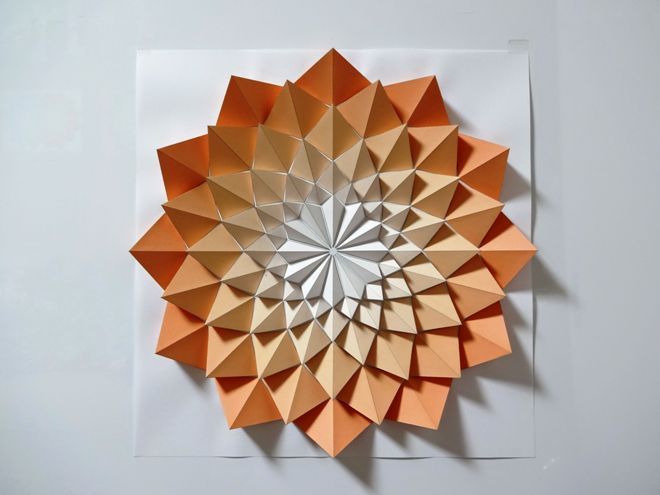
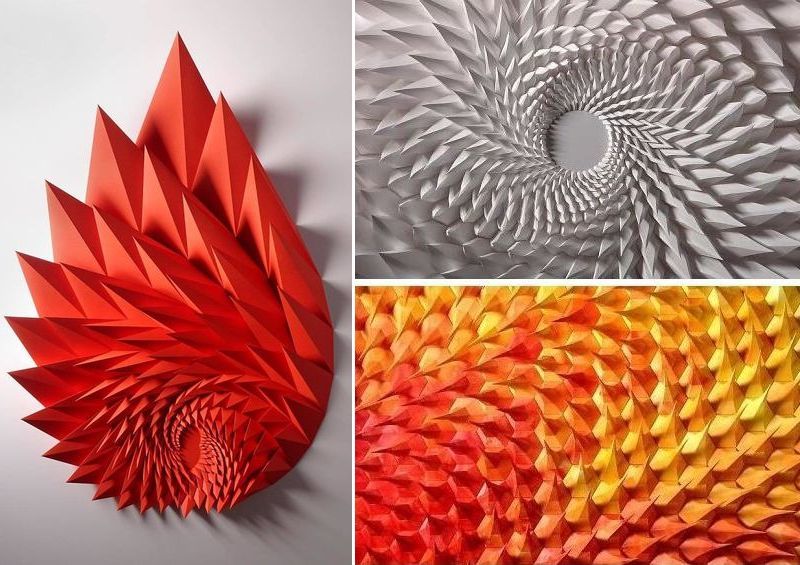
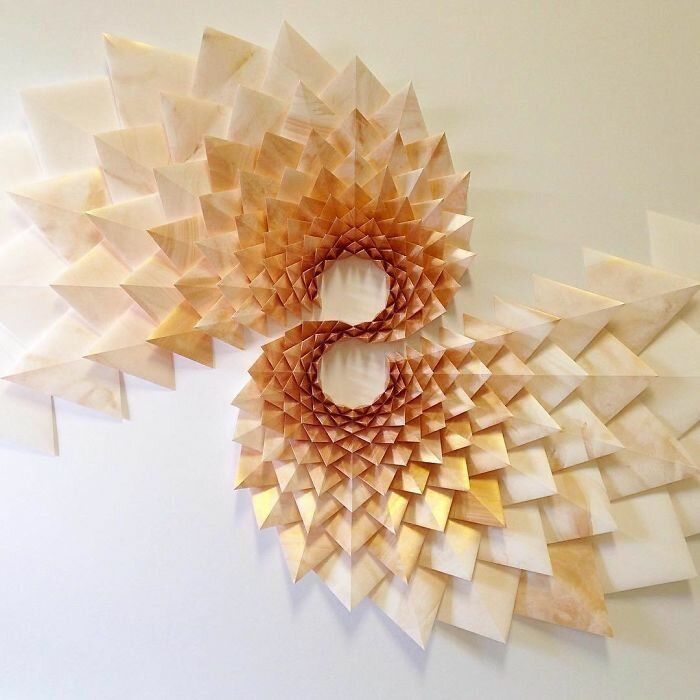
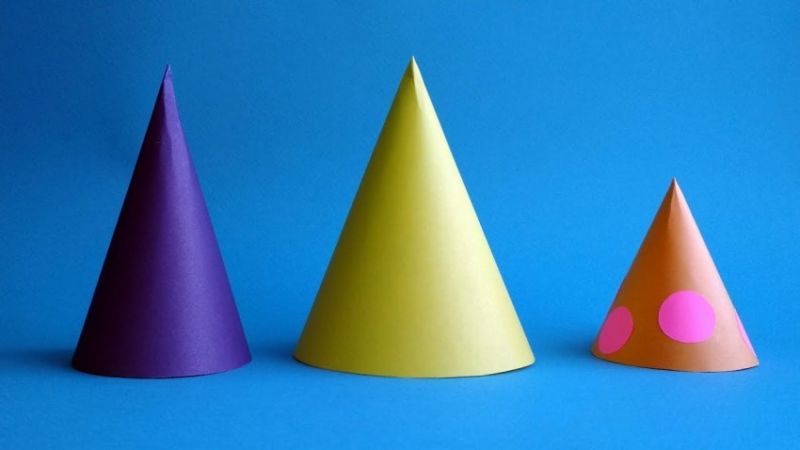
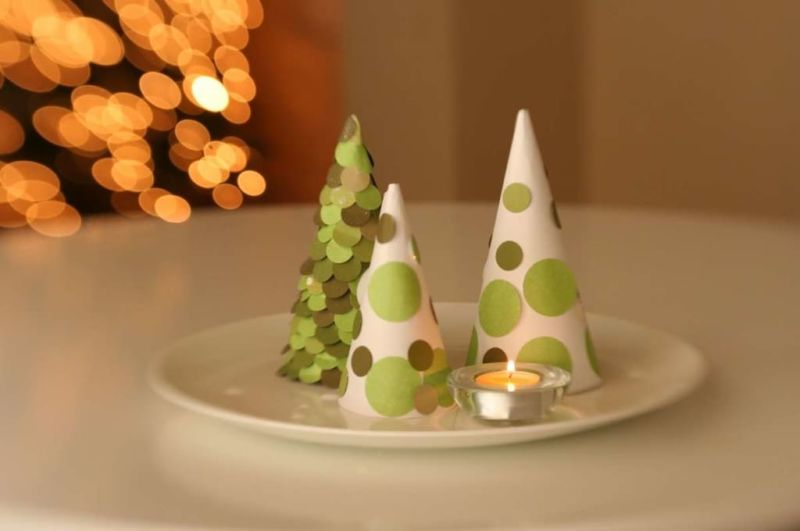
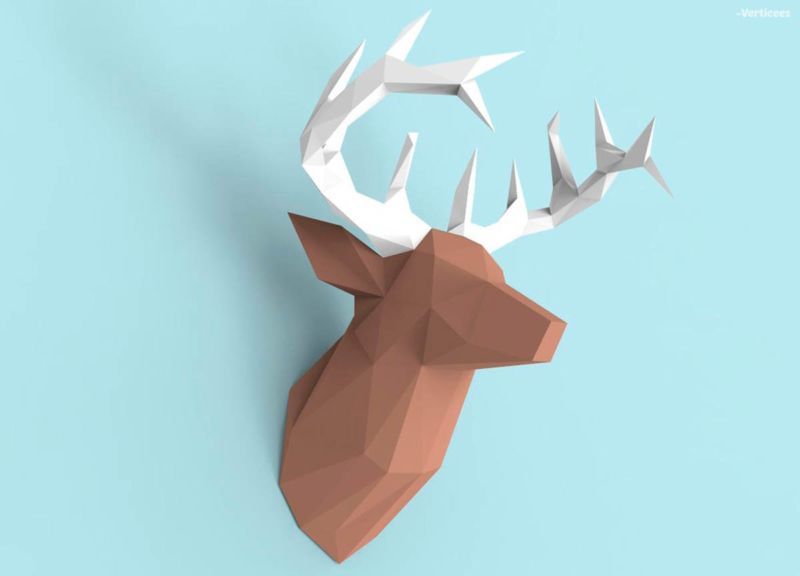
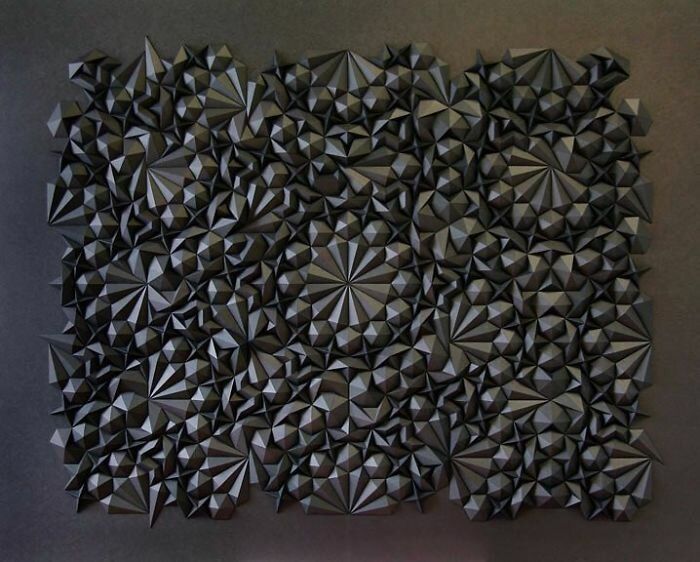
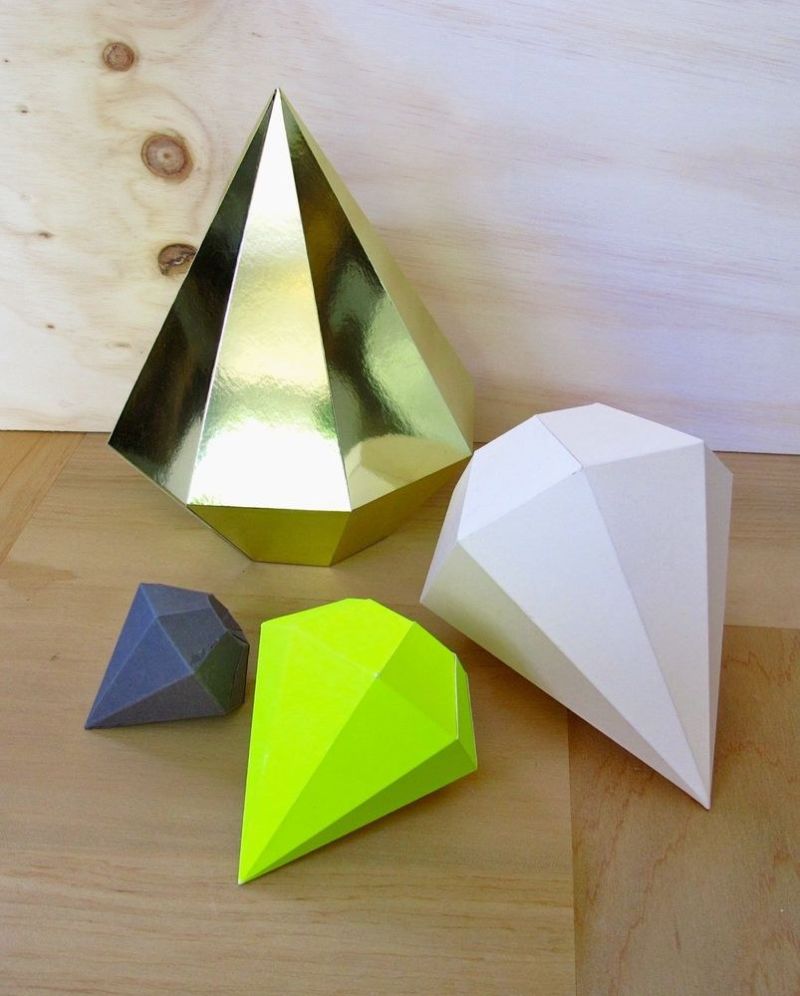
Paper geometric shapes can be a wonderful and unusual decoration of any room.
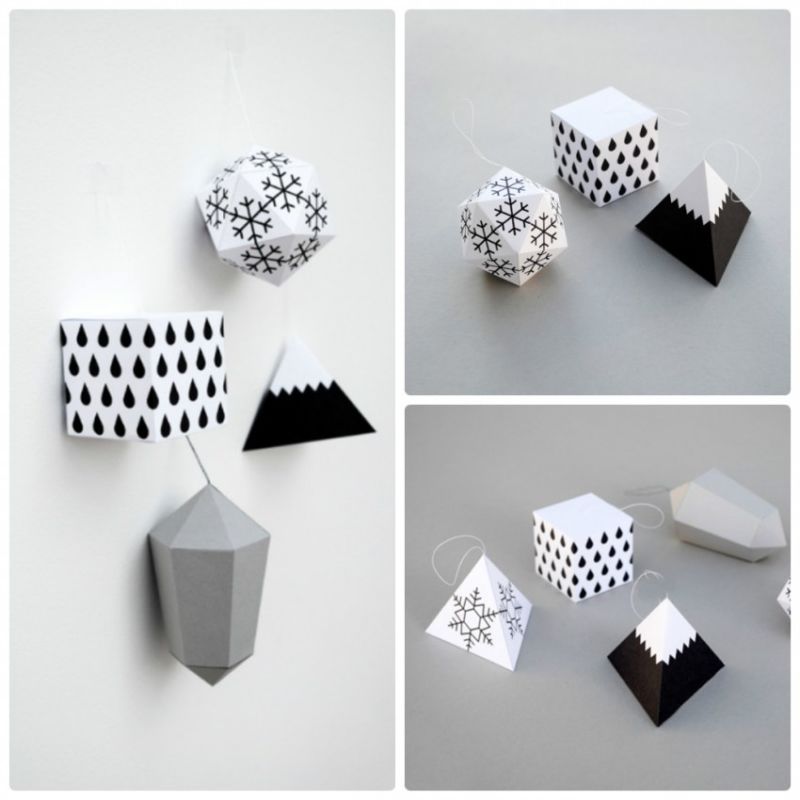
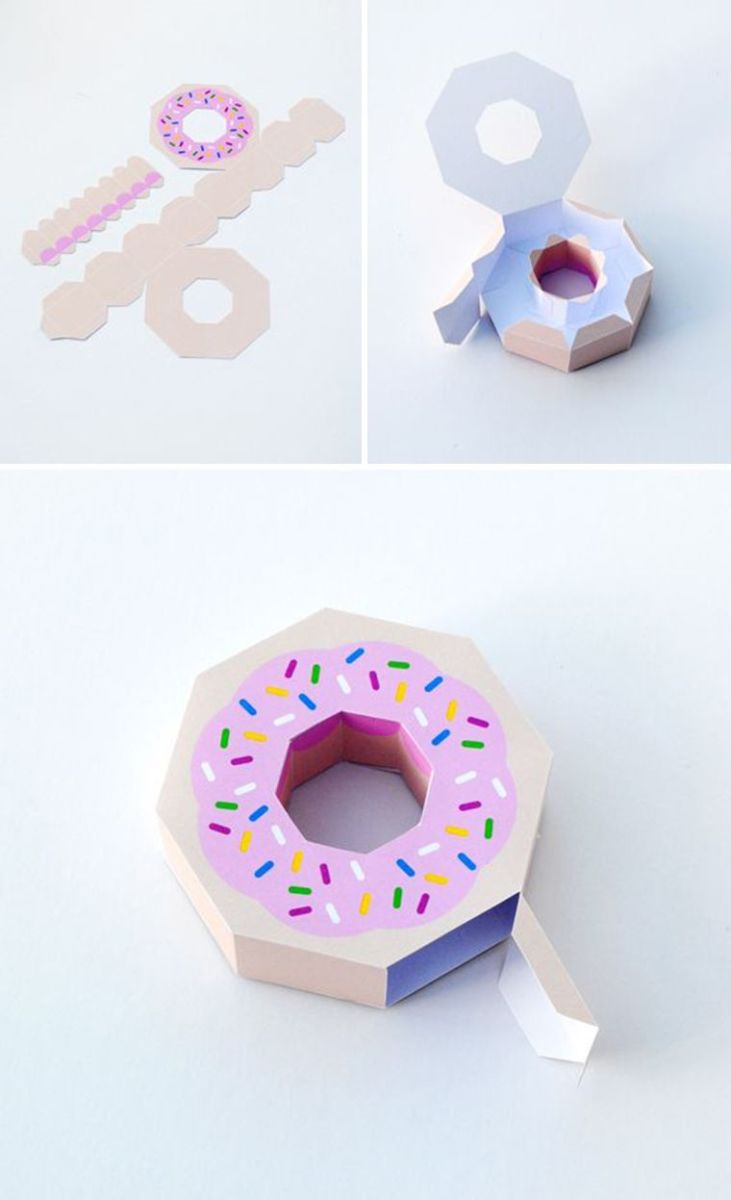
There are many options for the use of geometric shapes. They can be used as gift wrapping or decorate a Christmas tree, make a geometric garland or decorate a chandelier. Applications of cut geometric shapes can be hung in a room as a picture or used as a greeting card decoration. It all depends on your imagination.
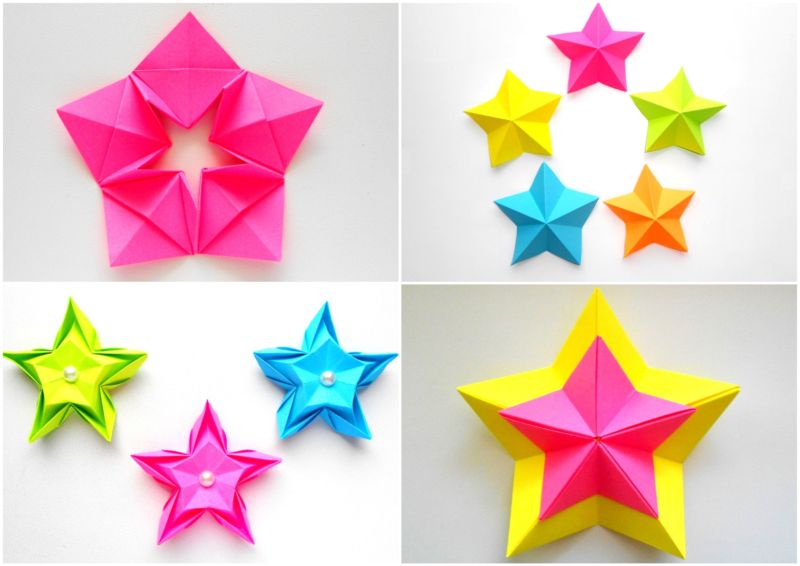
Pictures of geometric shapes crafts