How to Draw Eyes with a Pencil: Step-by-Step Master Class for Beginners
The most expressive part of the body, which can show the full range of our emotions. They can cry, joy and anger.
By them you can recognize lies and truth, but how to draw a person's eyes so that they do not differ from real eyes.
We'll tell you what you'll need to draw eyes and show you different ways to do it.
To get started, you will need:
- A sketchbook or sheets of paper
- A sheet of paper
- eraser
- colored pencils
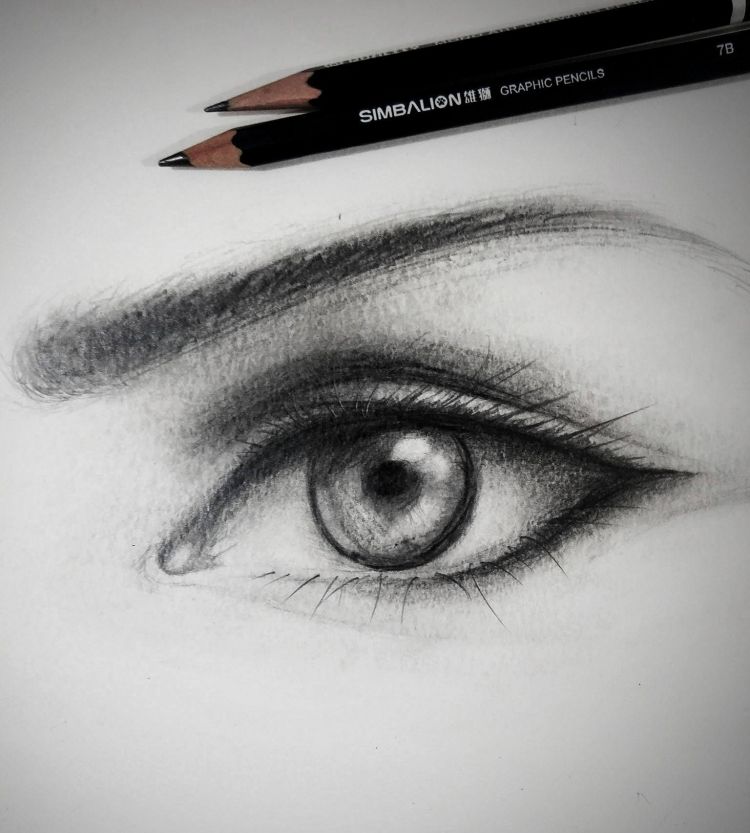
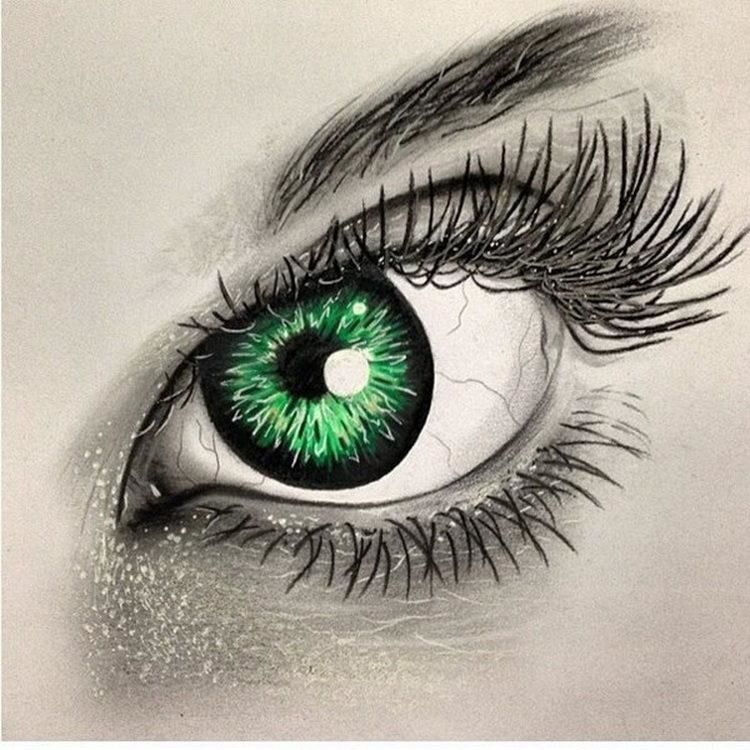
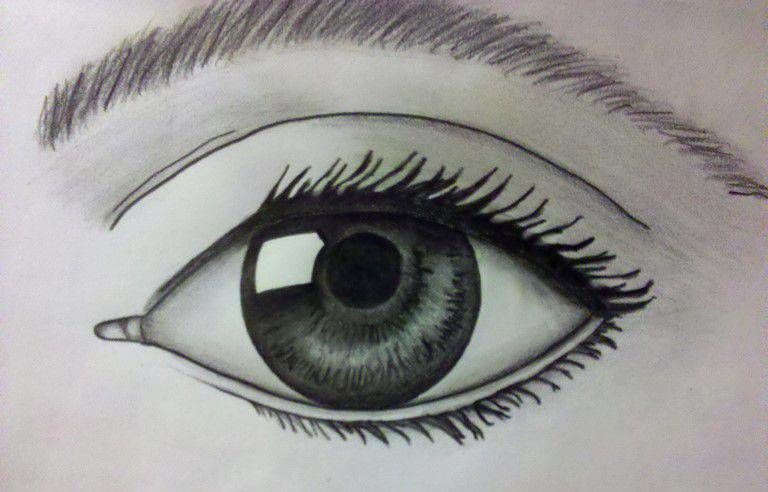
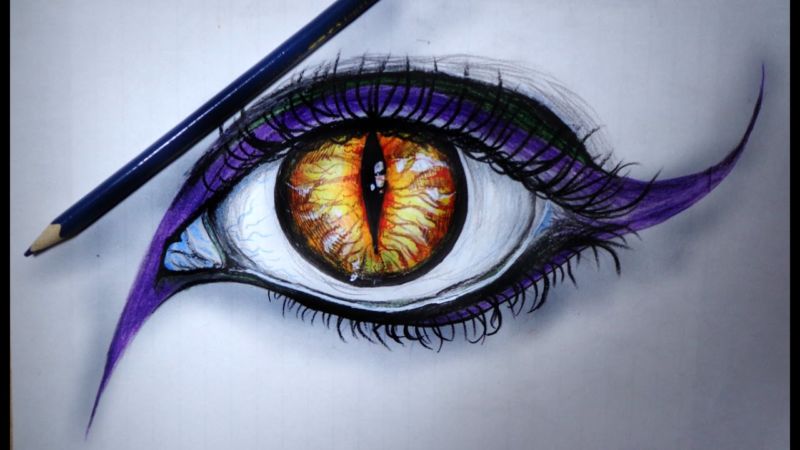
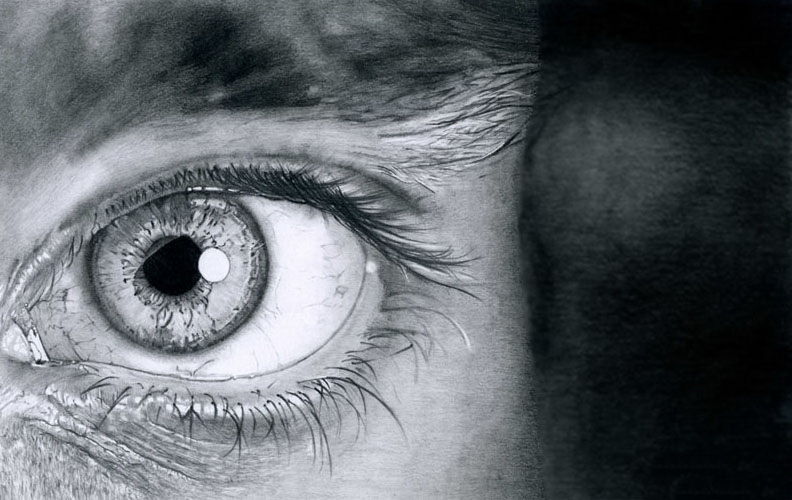
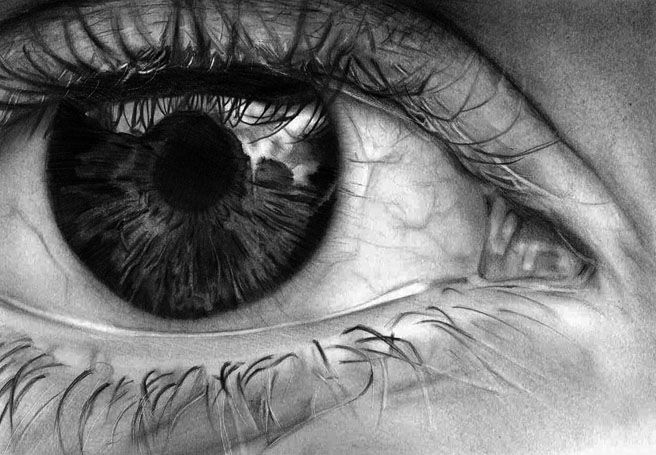
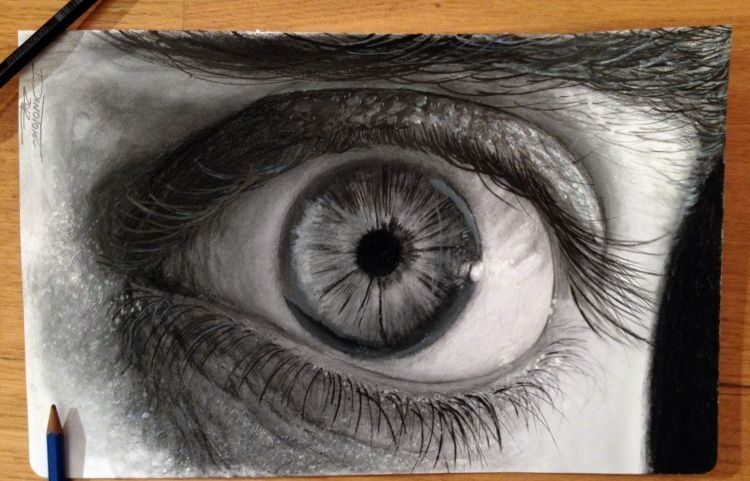
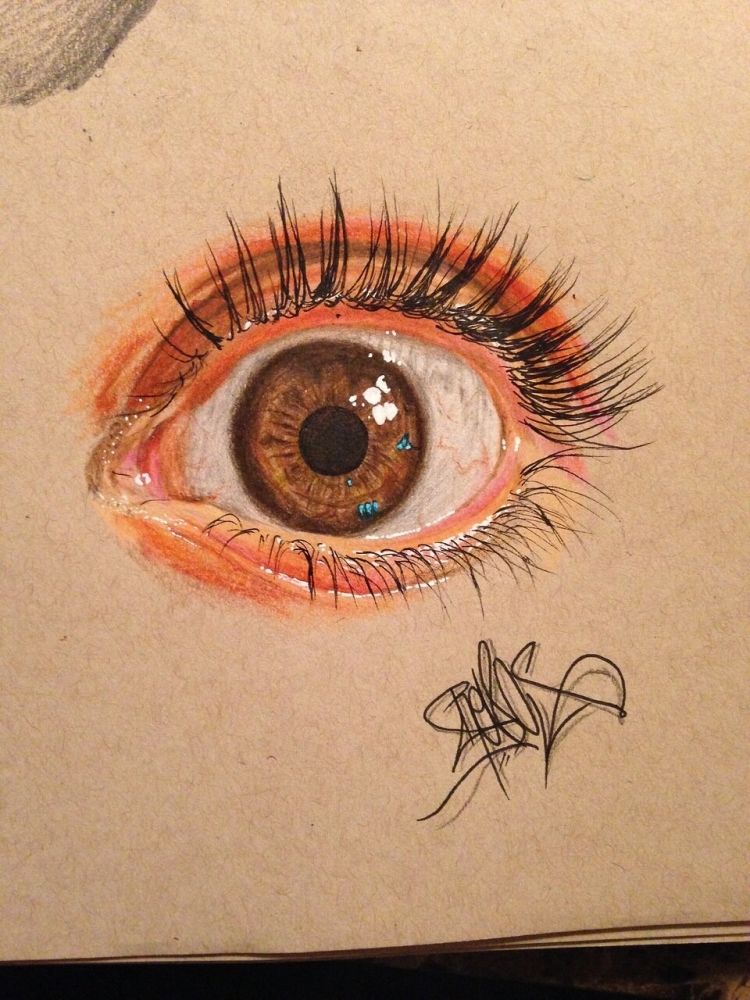
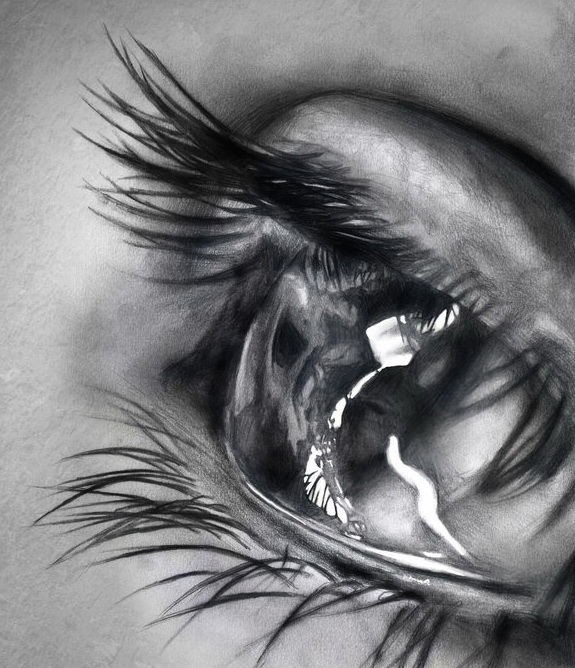
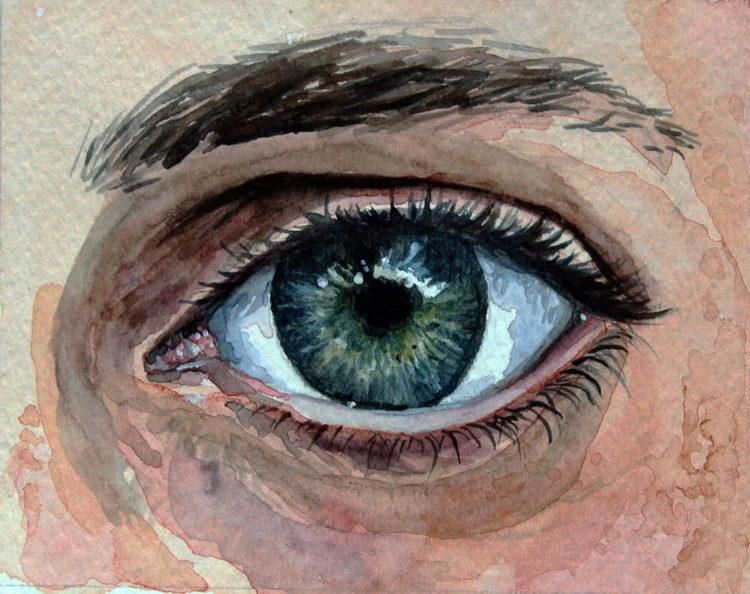
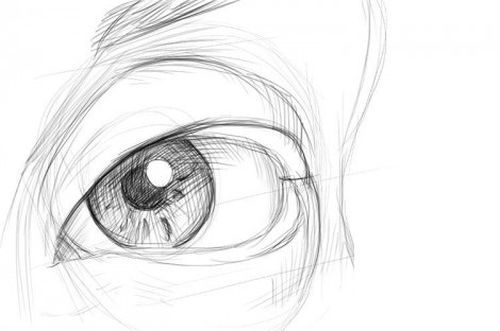
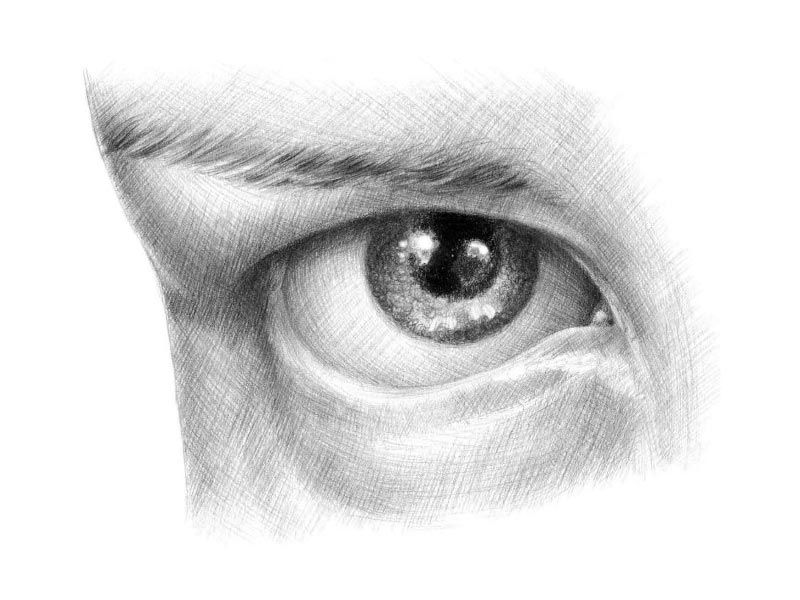
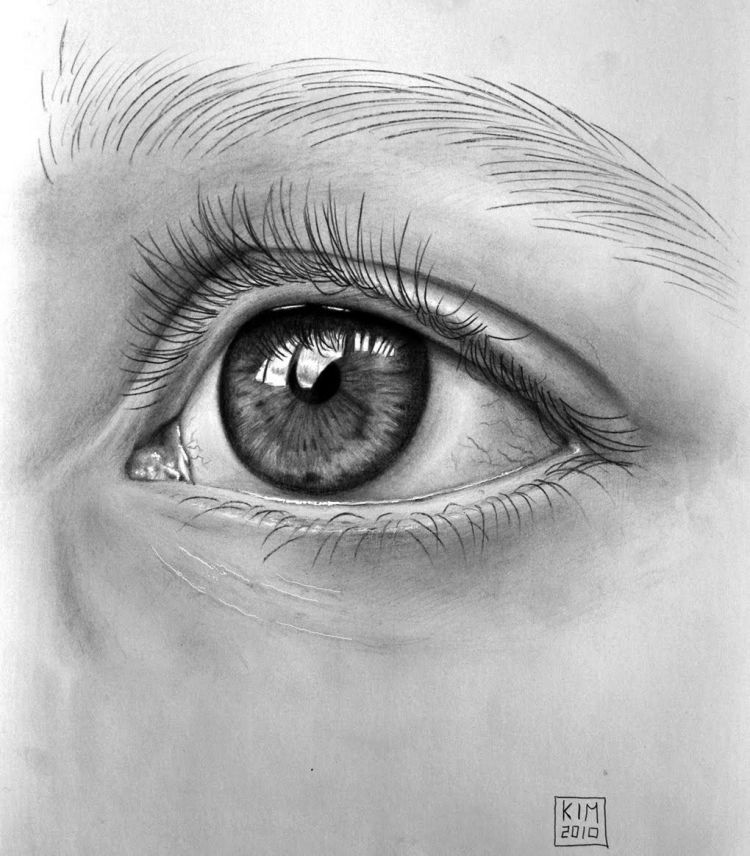
Drawing Dark Eyes
There is a very simple and proven way to draw eyes as realistic as possible. So, what we need:
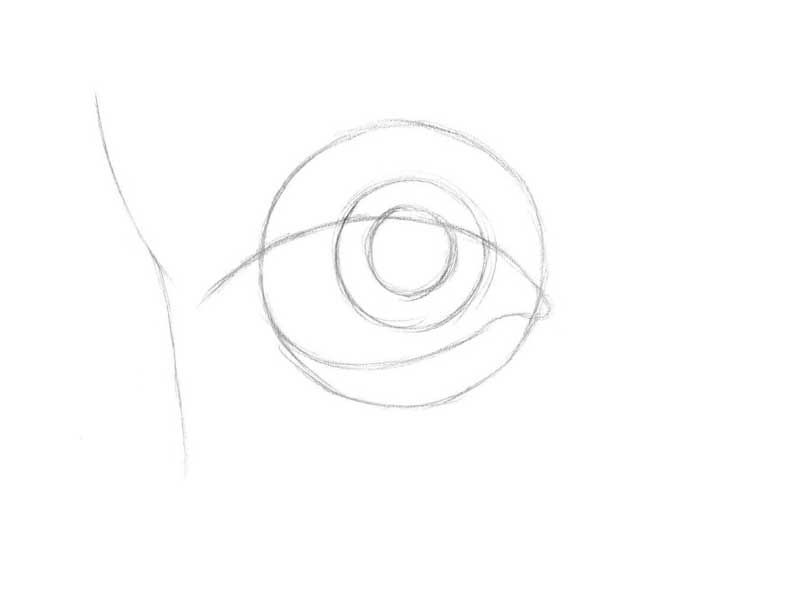
- We take a mirror, consider ourselves in reflection and proceed to draw. We start with a drop-shape, which we have to draw on paper. For more study, you can in your spare time look at the shape of the eyes in people, it can be a photo, pictures or drawings of people, pay attention to how they can be different.
- Again, look at your eyes, and more specifically the upper eyelid, how high or low it is relative to the eyebrows and lashes. Draw a line in the form of a fold of the upper eyelid from the lacrimal sac to the right corner.
- Let's proceed to the iris, we depict it in the form of a circle, look at your reflection and note that when the eye in a relaxed state - it does not fully show the eyeball, therefore, drawing a circle for the iris, stop at the line of the upper eyelid, do not go beyond it. Under the lower eyelid depicts a light line, so that the eyelid appeared thick.
- On paper there is an iris, but now we have to draw the pupil and necessarily a glare on it, to give volume and realism to the eye. Inside the iris we draw another circle that is the same, which is just touching the upper eyelid and inside the pupil another small - this will be the glare.
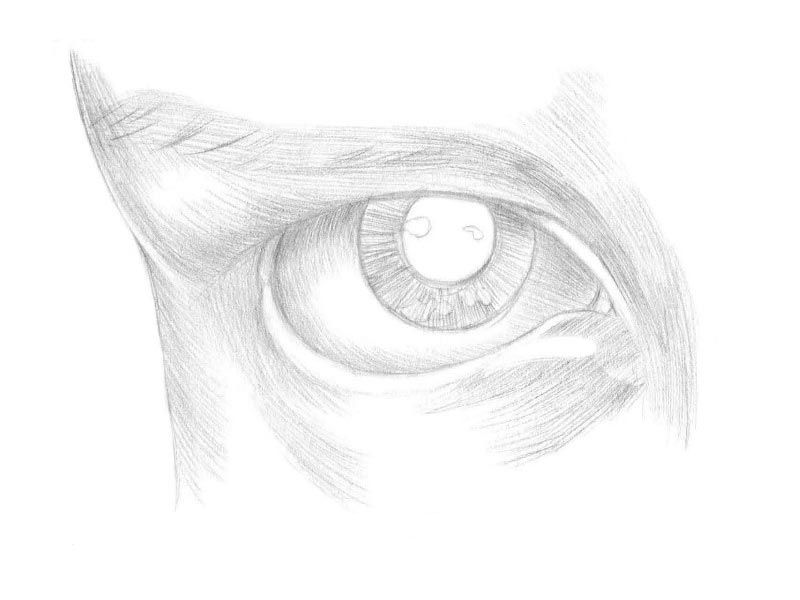
- Fill the pupil with black, and the flare leave white, and that way you create volume.
- If you look in the mirror again, you will see different highlights on the iris, a light that shimmers beautifully on the surface, now we need to portray this light. For this we will use the shading technique, so alternating short and long lines, shade the iris from the pupil to the edge of the outline. But be careful, it's important to leave light parts that will detail those highlights and light.
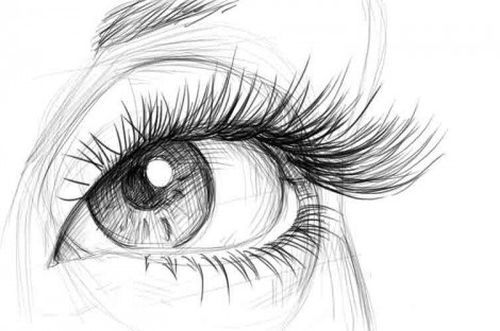
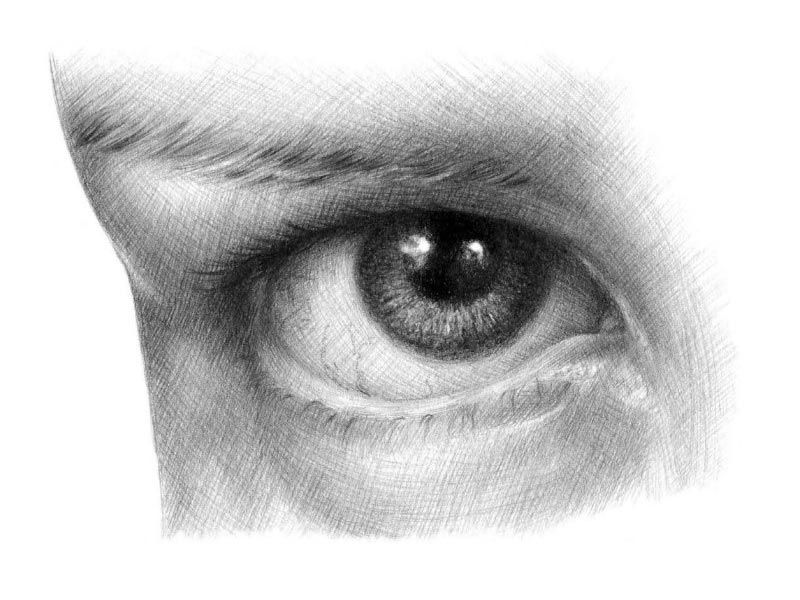
- Look at your eyebrows, at their shape, how thick they are, where they start and end. You have to draw strokes from the eyeball of your eyebrow, mark its beginning, end and approximate thickness. When lightly marked the right points, sketch a line of eyebrows, dense and bold strokes.
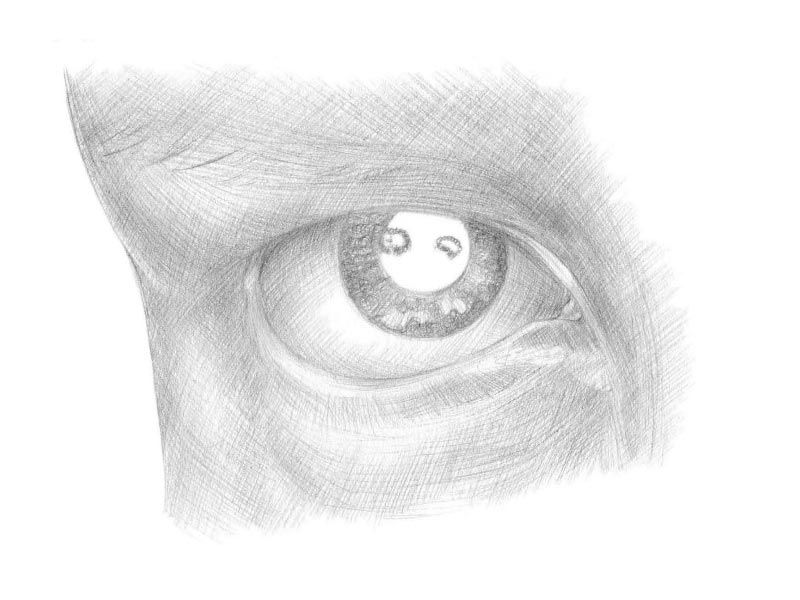
- We work on the inside of the eyelids, with light shadows.
- We look at our eyelashes, at their location in relation to the upper eyelid, how they are grouped by 1-3 lashes, at what angle they grow and at their length. We take a pencil and add to the lash line. Draw them not too even and not too much, then it will look unnatural. Try to curl them at the ends.
- Darken our drawing of the eye. We start from the corner and step by step the upper part above the eyeball and under the eyebrow, at first it should be a light shadow, but for depth increase the contrast - it will show the eye on paper, highlight it.
- Shade along the edge of the lower eyelid, it is important to leave a little light area between the upper eyelid and the lash growth line.
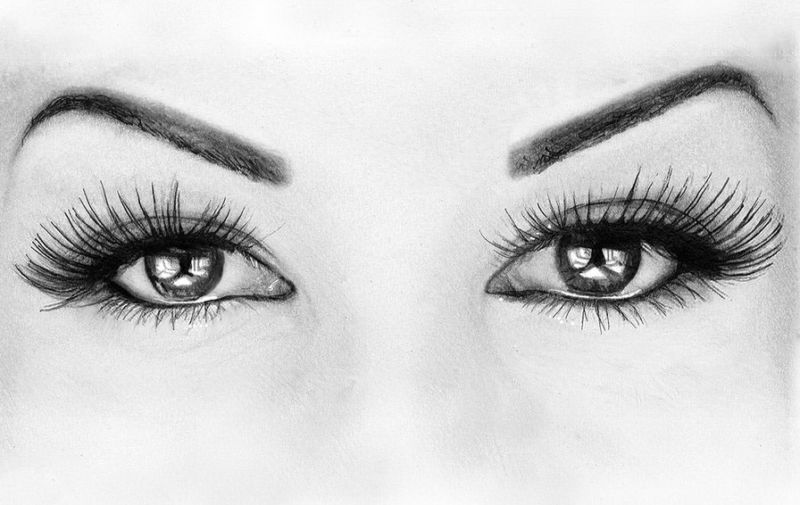
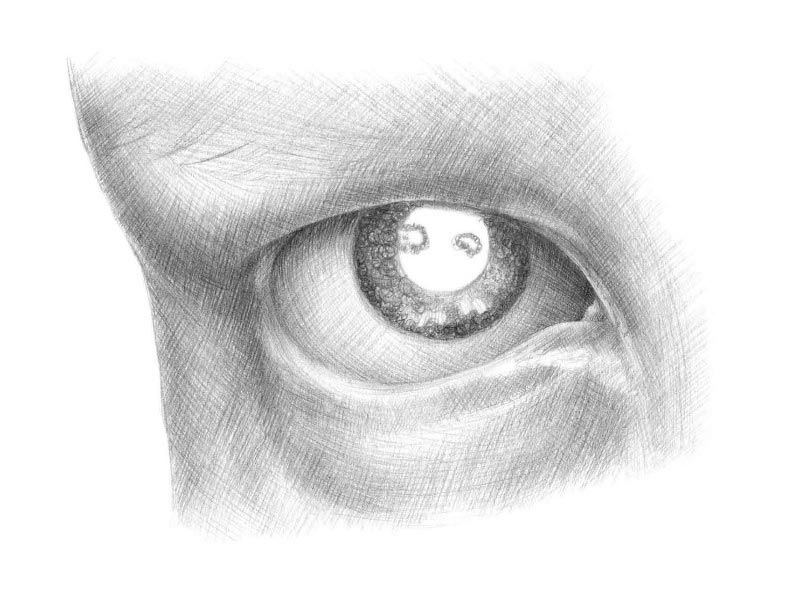
Thus, the mirror of your soul with a touch of gloom and evening makeup is ready!
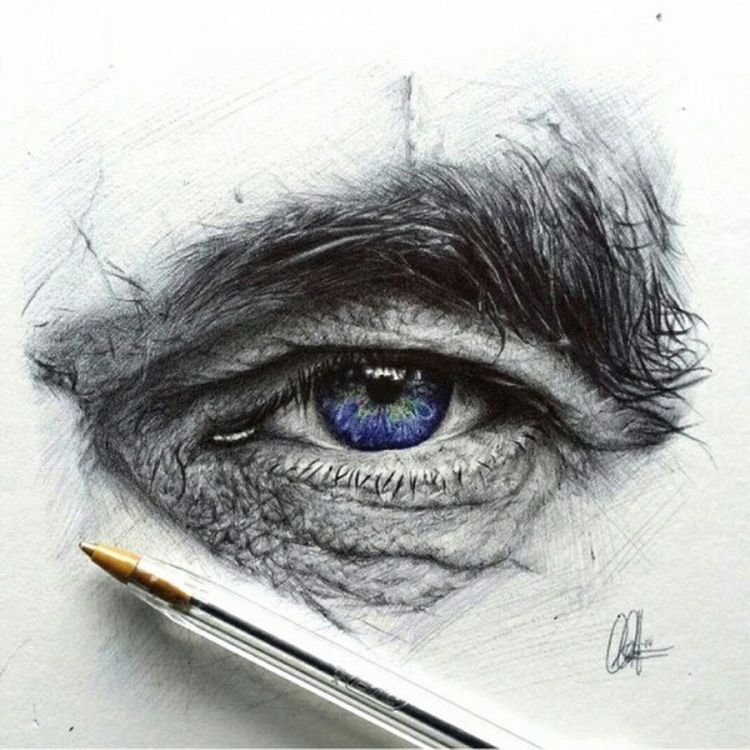
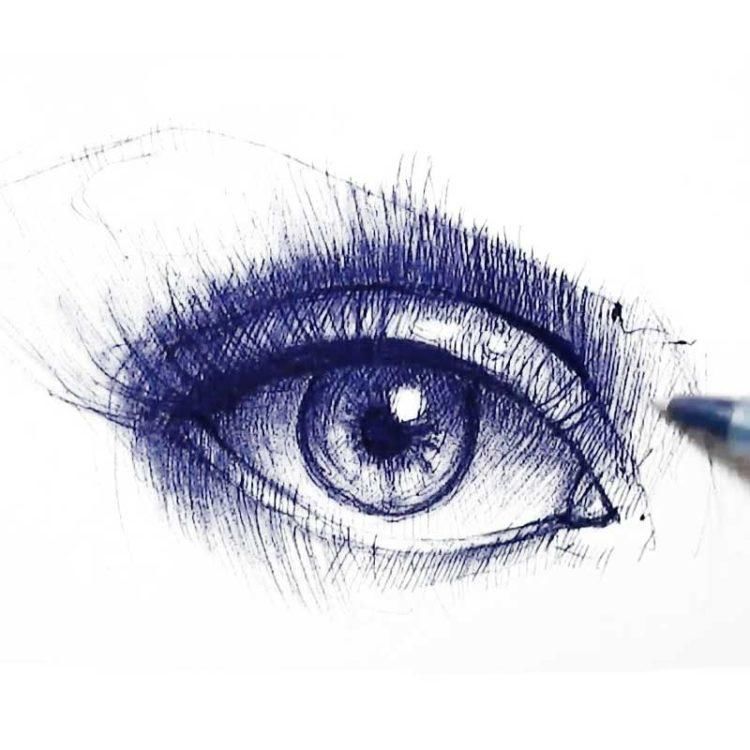
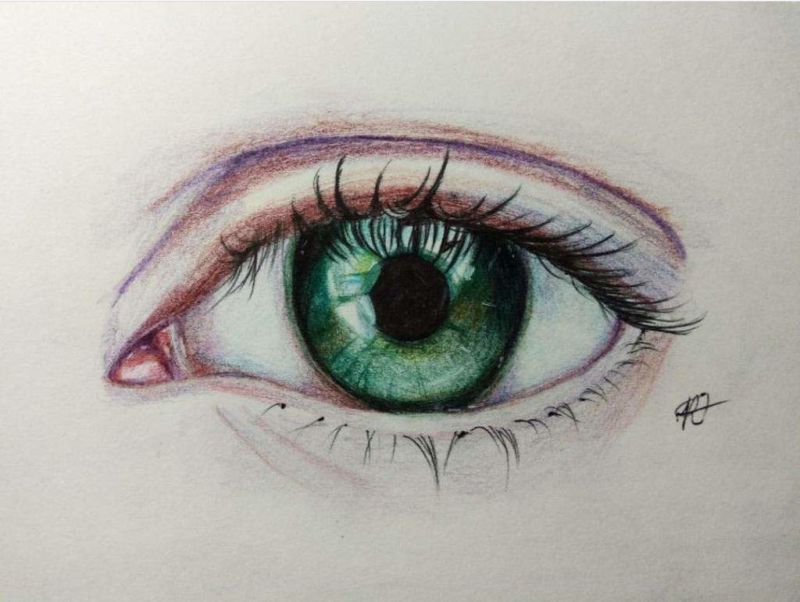
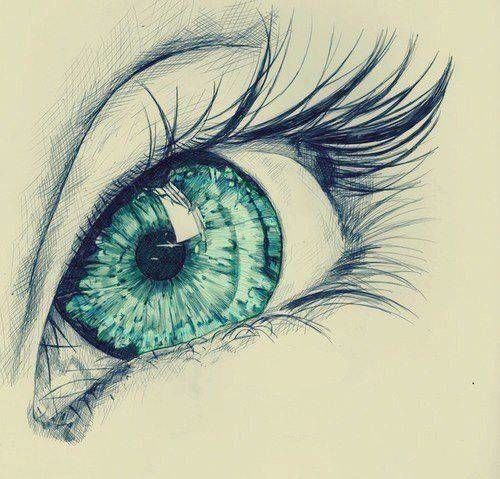
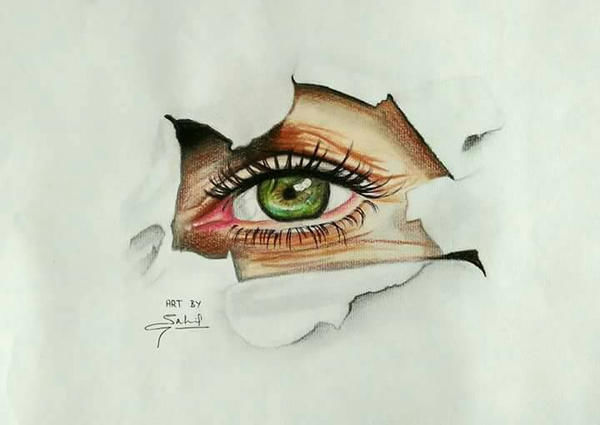
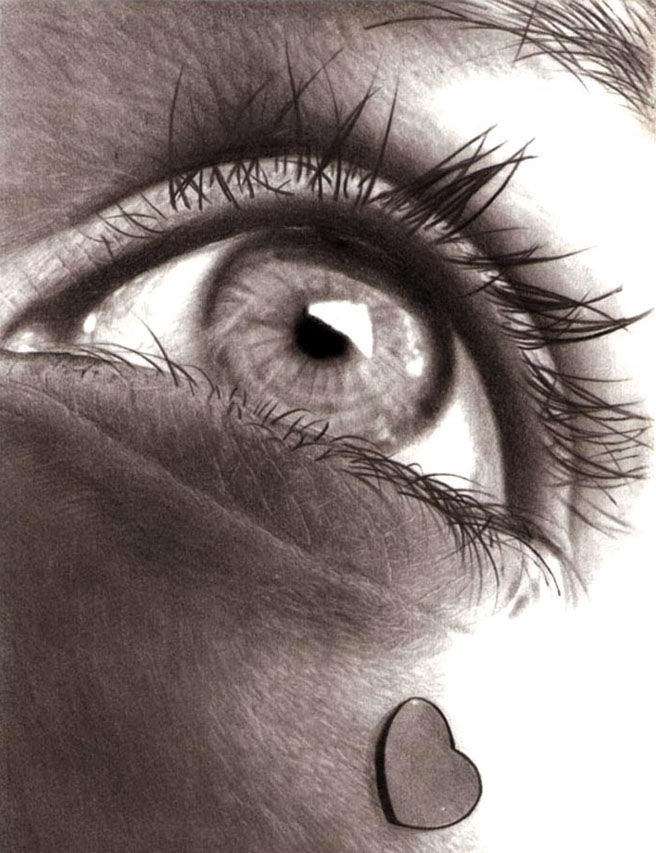
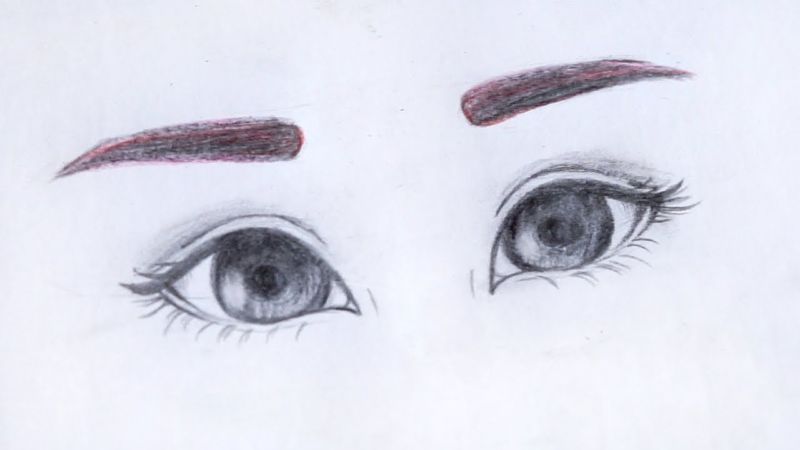
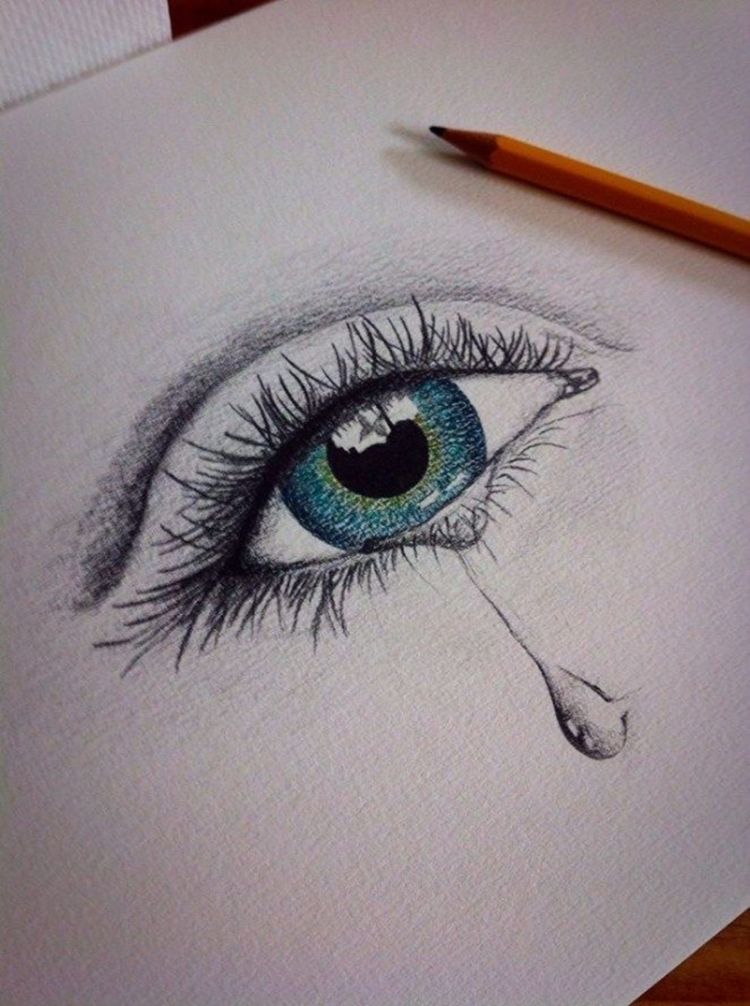
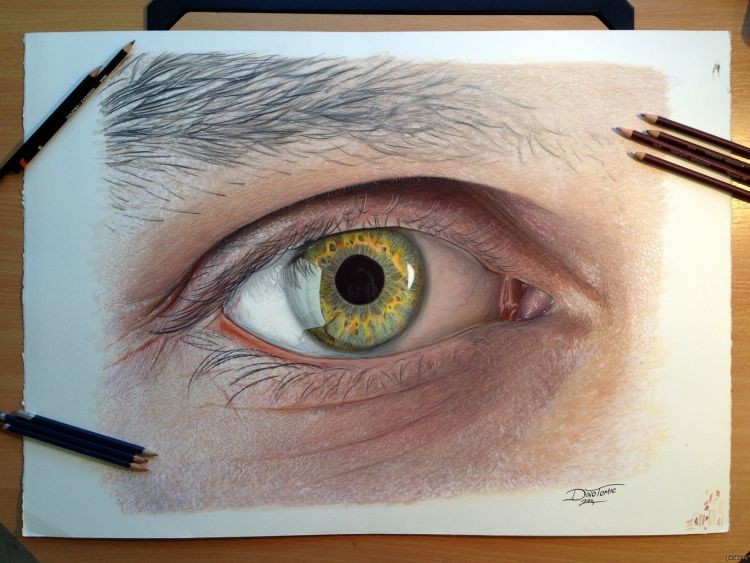
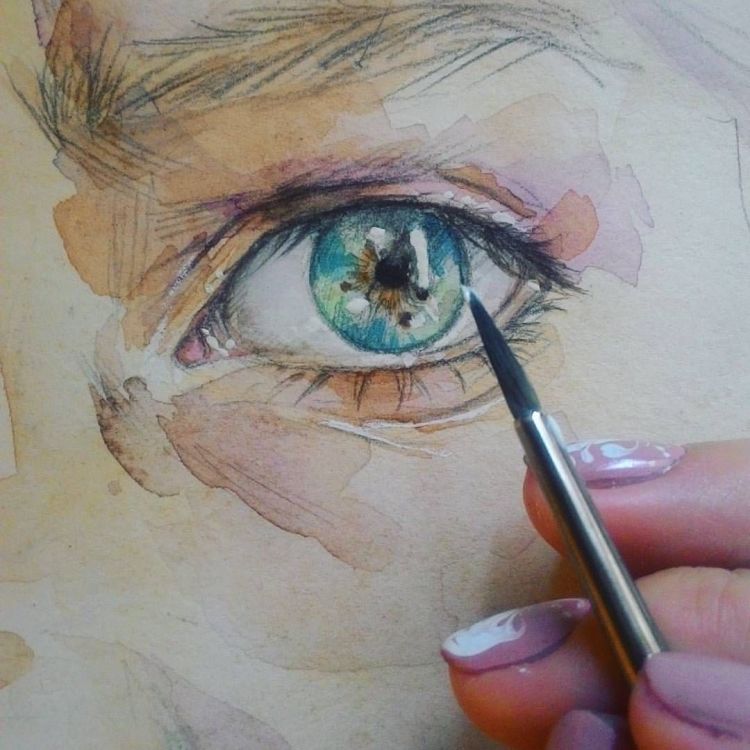
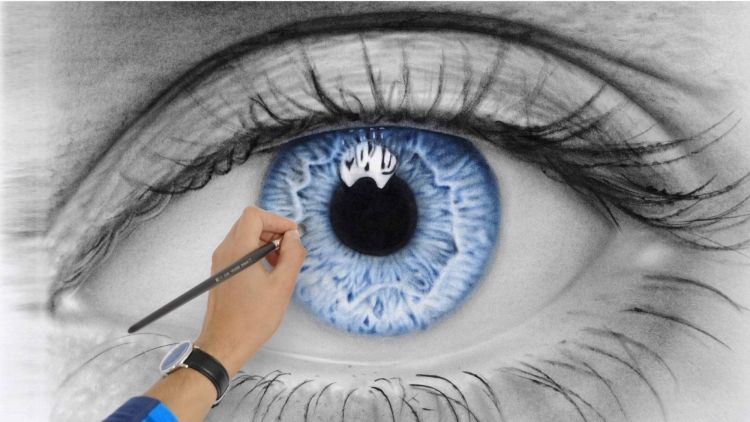
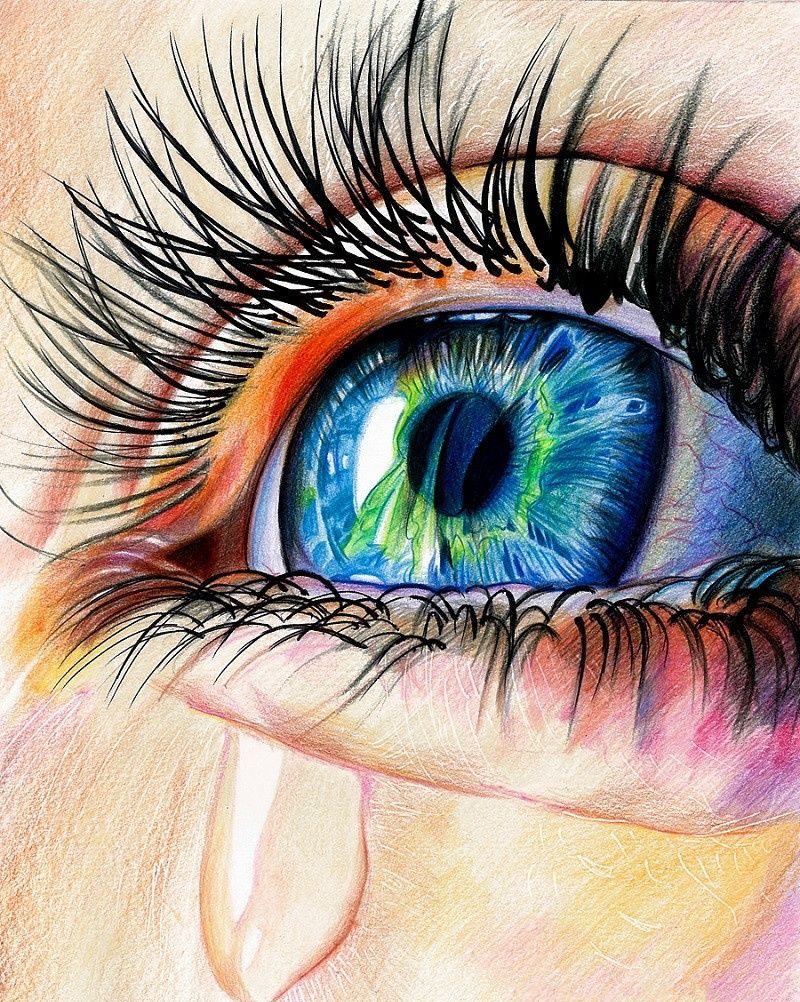
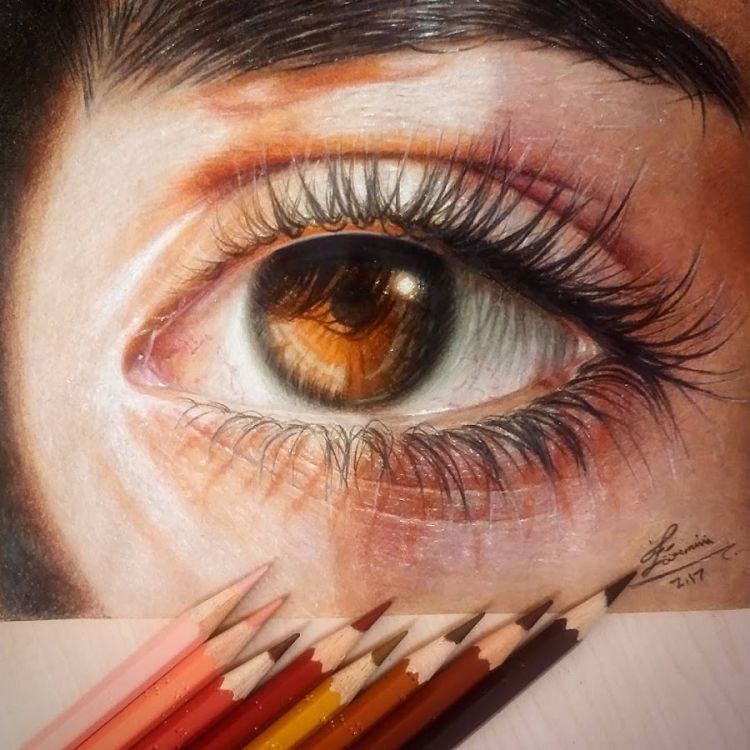
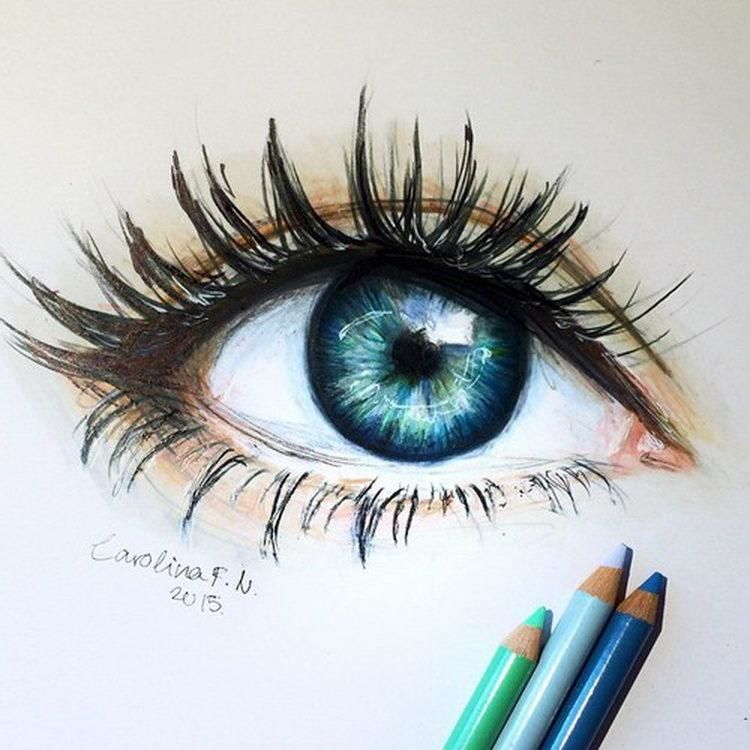
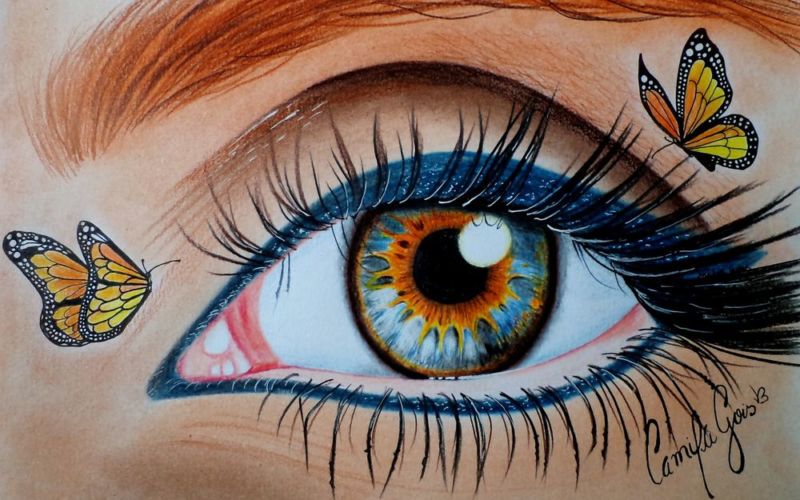
Blue eyes
For this method, we need a simple and colored pencils, especially blue and pink:
- We start with a sketch of our future picture. With light pencil lines we mark the eye where it will be, in the form of a droplet, the crease of the upper eyelid, the pupil, the glare, the tear duct in the form of a grain and the eyebrow.
- We take a sharply sharpened blue pencil and lightly work through the iris from the edge to the pupil, then a simple pencil, tightly over the pupil, leaving a glare for volume
- Let's draw a black arrow, pressing hard on a simple pencil, so that the arrow would be thick and dense. Take the blue pencil and shade the squirrel.
- Above the upper eyelid with a lead pencil and rub it with your finger to create a thick, soft shadow.
- We take the pink pencil and in the same way we stroke under the eye, again rubbing it with your finger.
Now you know how to portray the eyes of a girl using only three pencils in the arsenal.


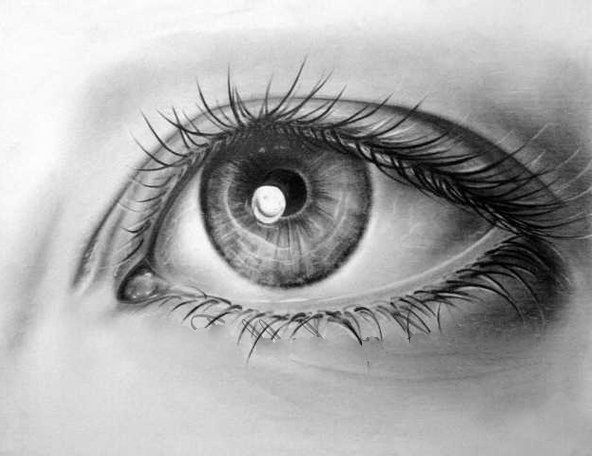
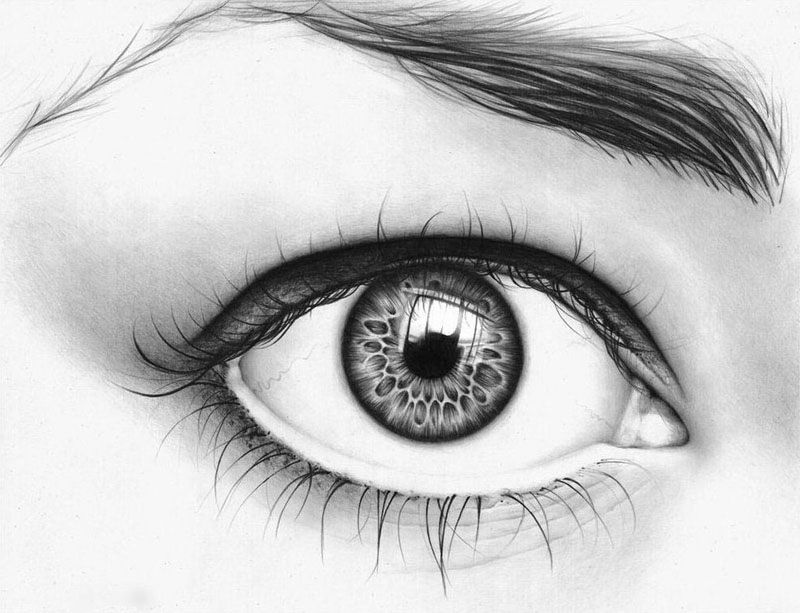
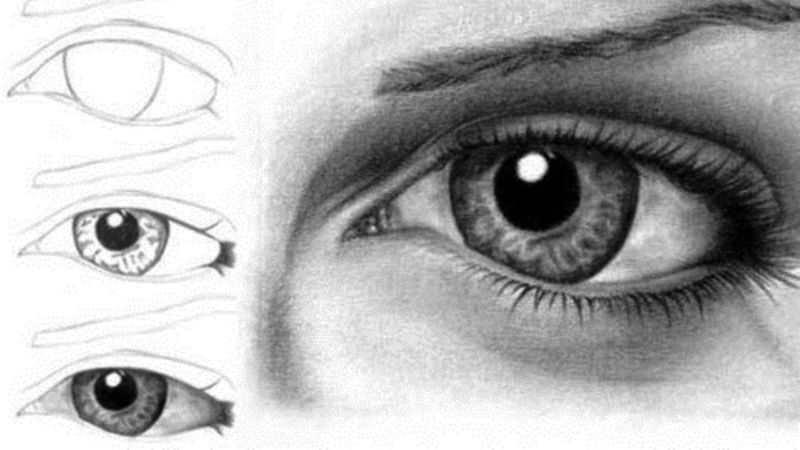
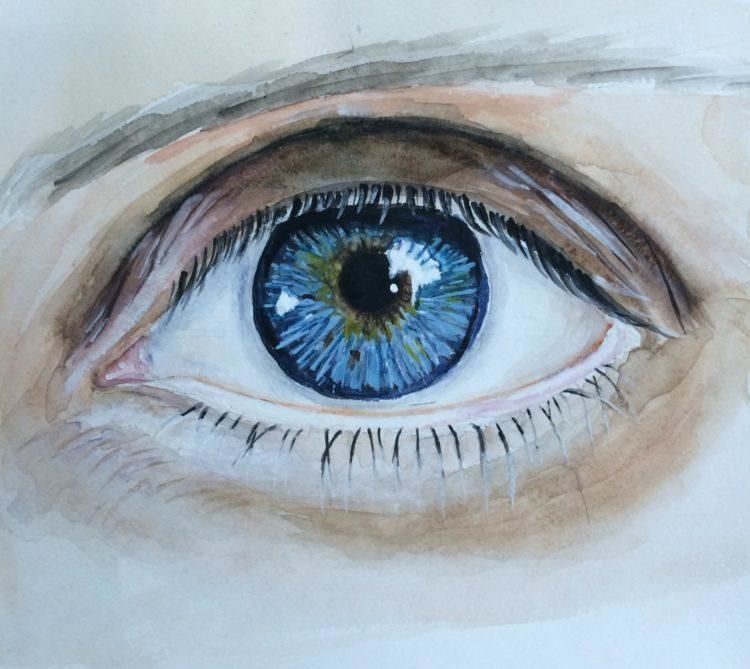
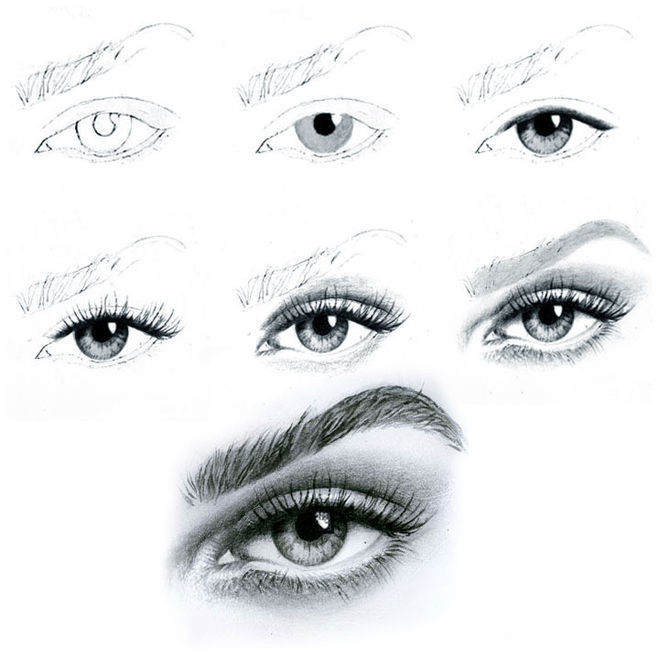
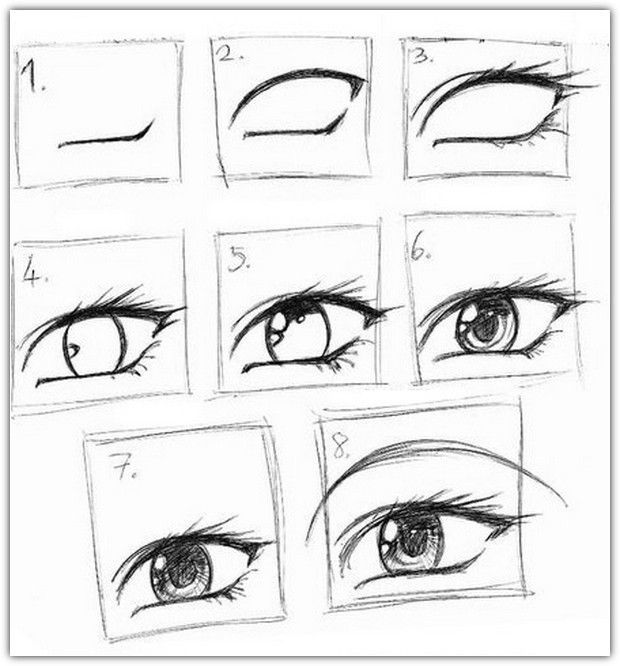
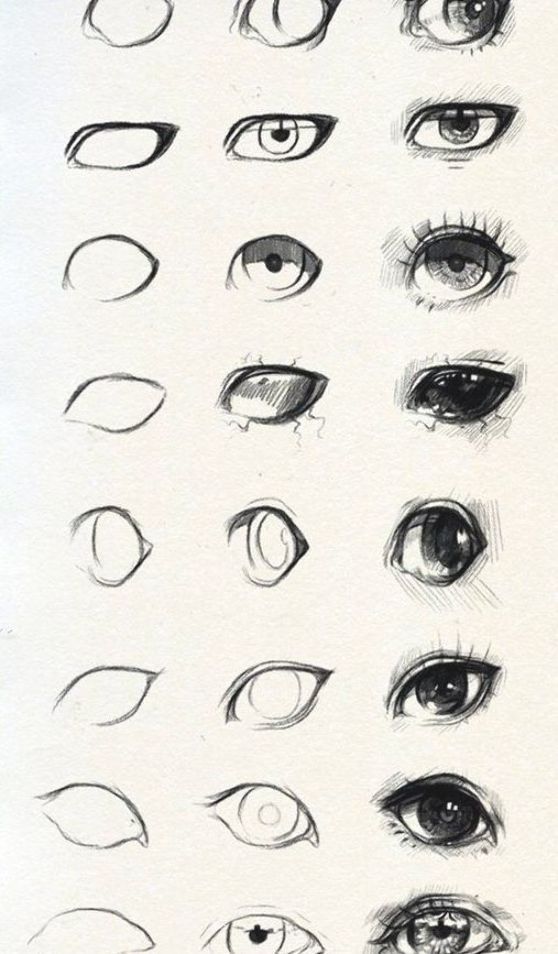
A simple way to draw eyes step by step
Here we will use only a simple pencil:
- We advise, at the stage of marking the placement of the figure on the sheet, decide on the size, the smaller to begin with will be the eye, the easier you will draw it
- Mark the top and bottom of the eyelid, the iris, the pupil and the glare with arched lines.
- Fill in the pupil, leaving the glare white, mark the element of the upper eyelid as a line, point with a pencil from one corner to the other.
- Draw the eyelashes in the form of needles with sharp ends, painting the growth line.
- Darken the iris, smoothly shading from the pupil and the line, add a crease to the upper eyelid.
- The eyebrow is traced with light strokes, intensifying it to the necessary contrast.
- Fill in the space between the eyebrow and the upper eyelid with a shadow pencil and that's it, your eye is ready!
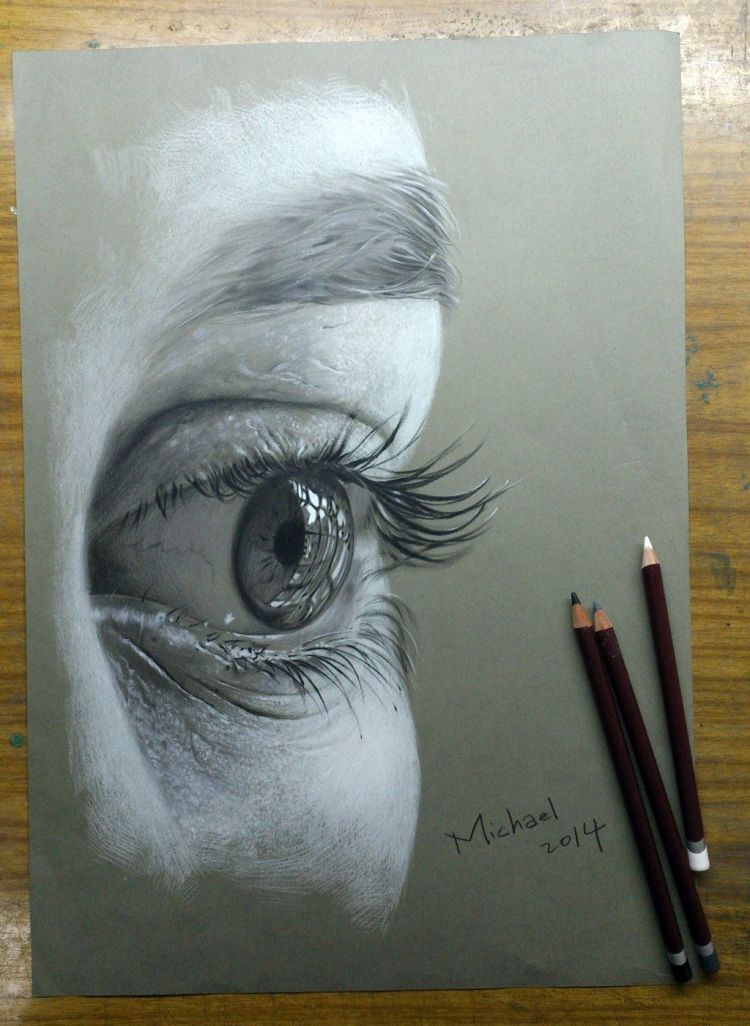
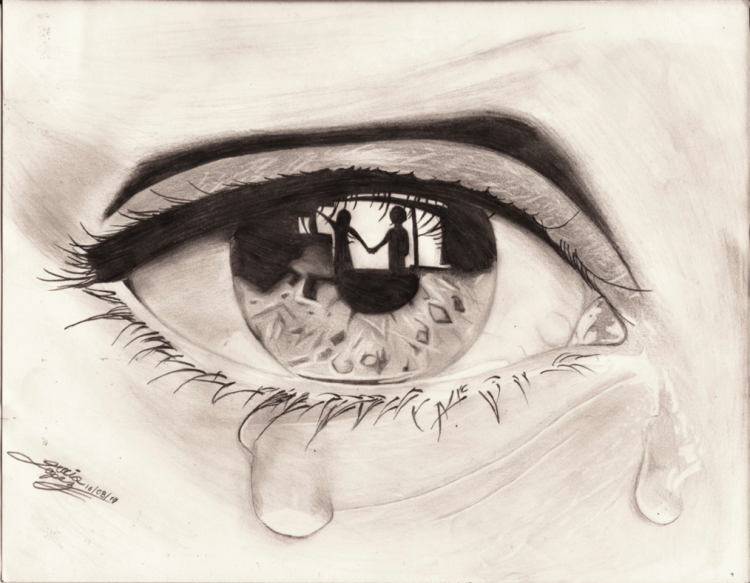
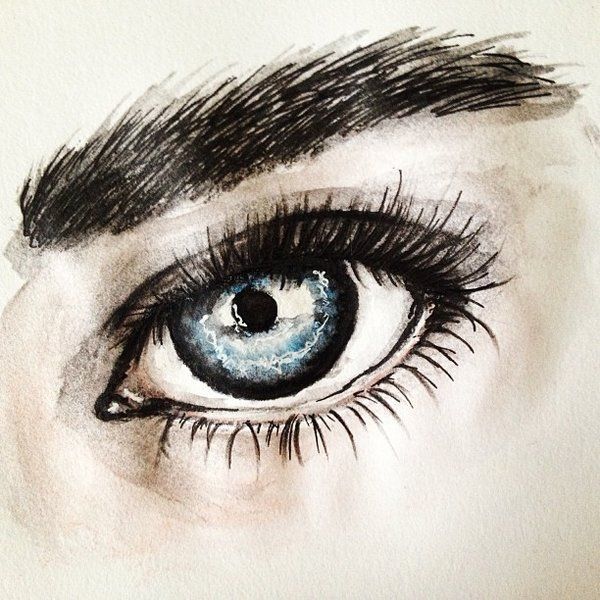
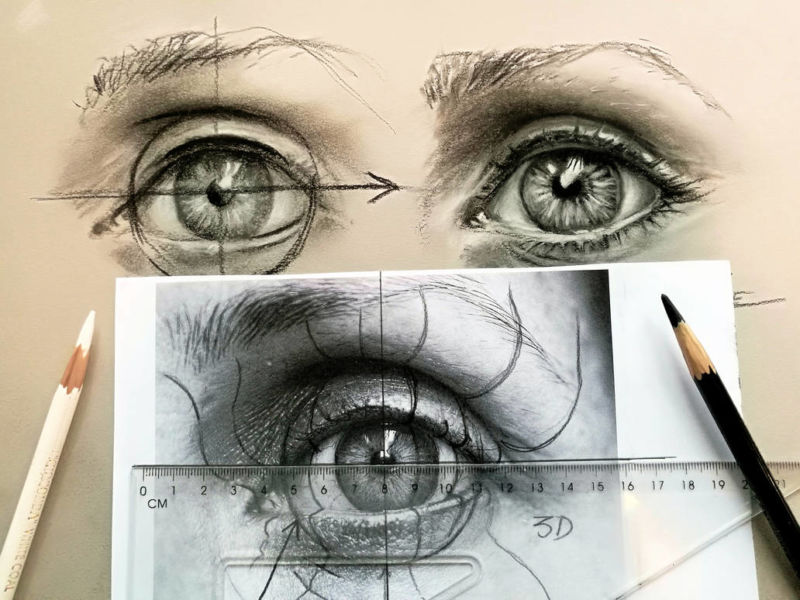
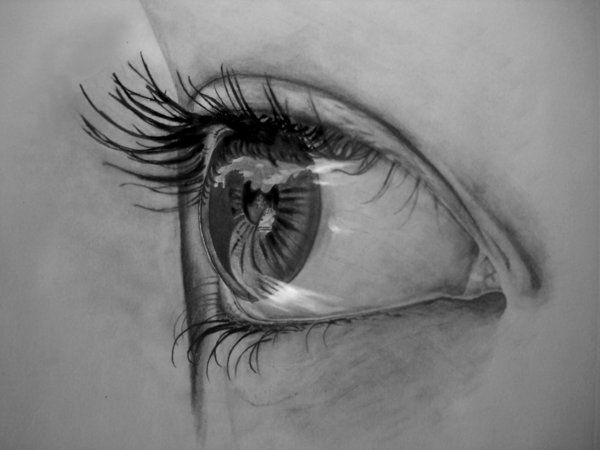
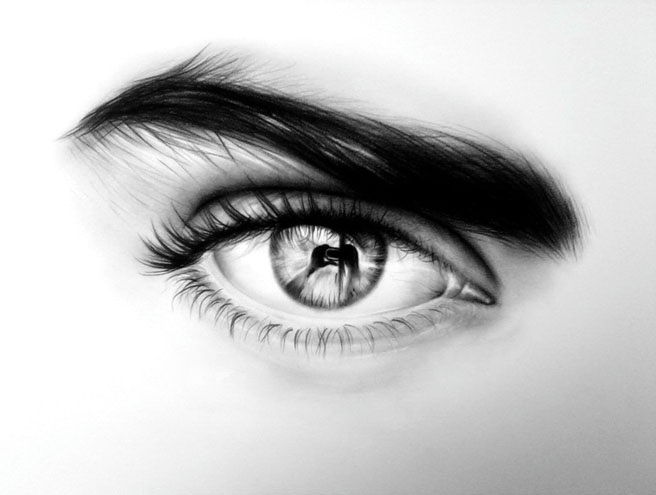
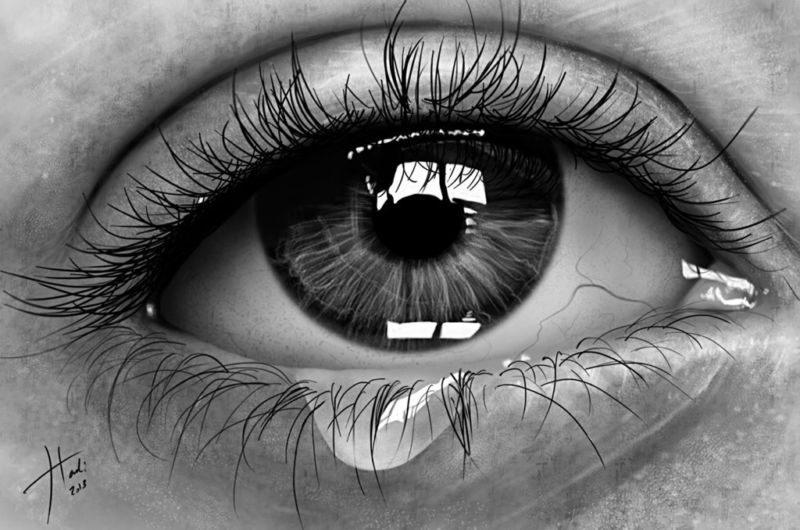
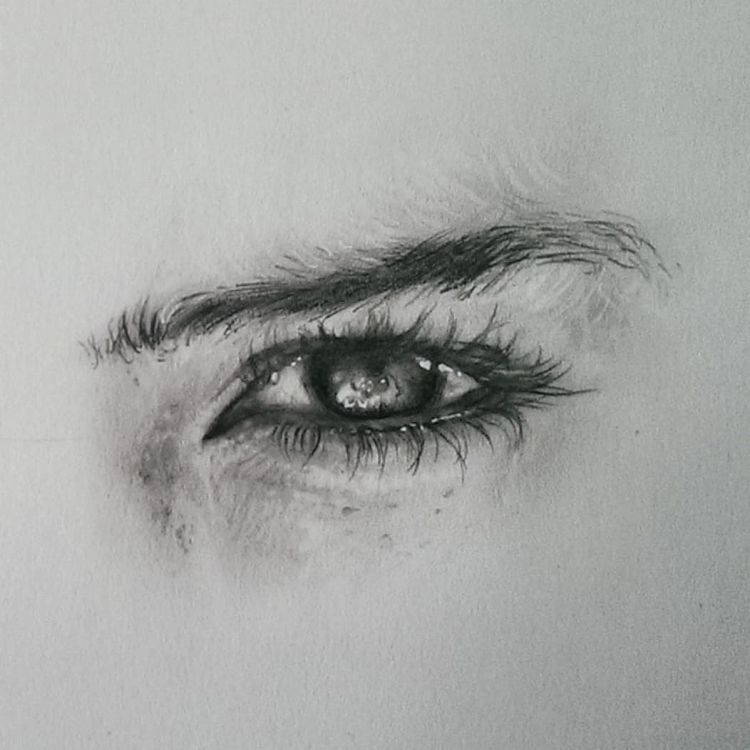
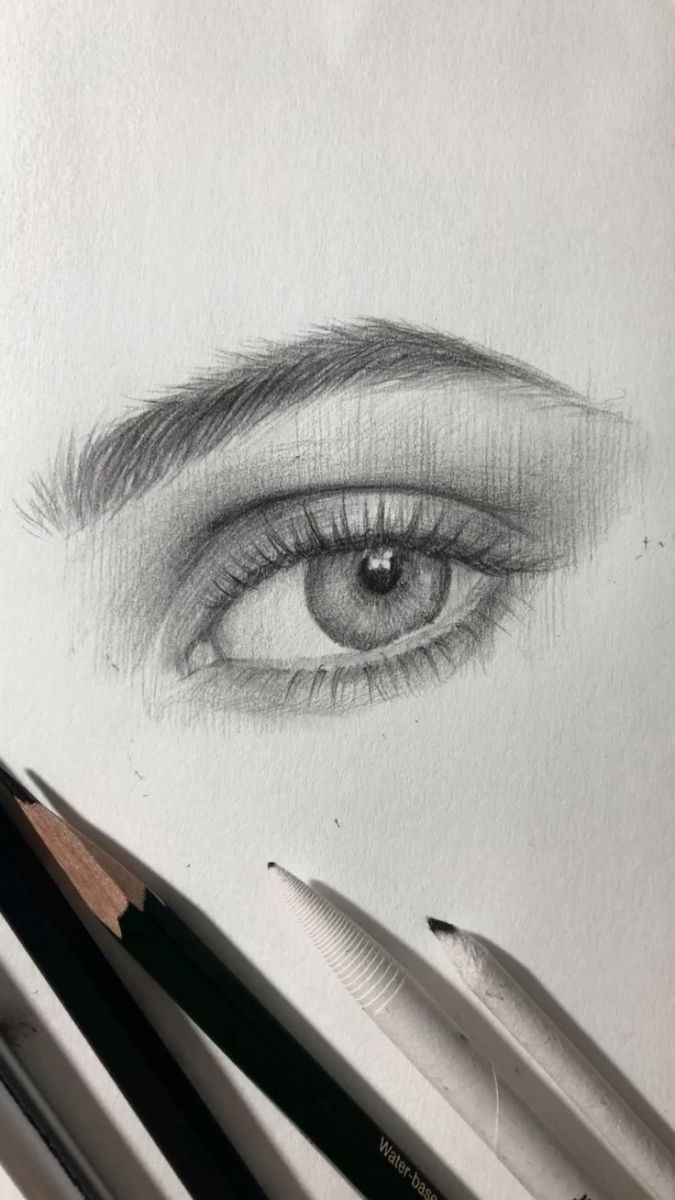
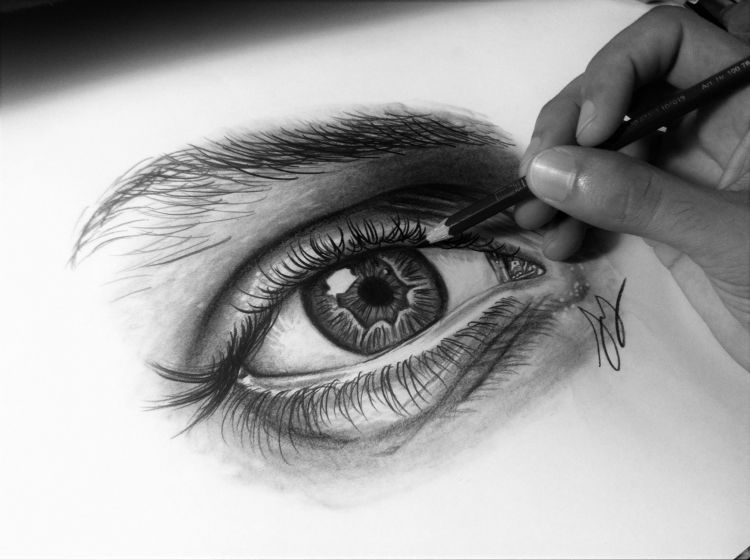
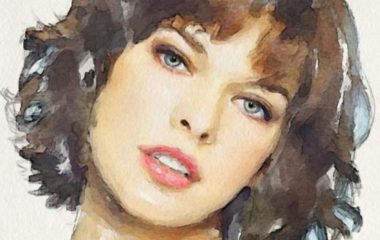
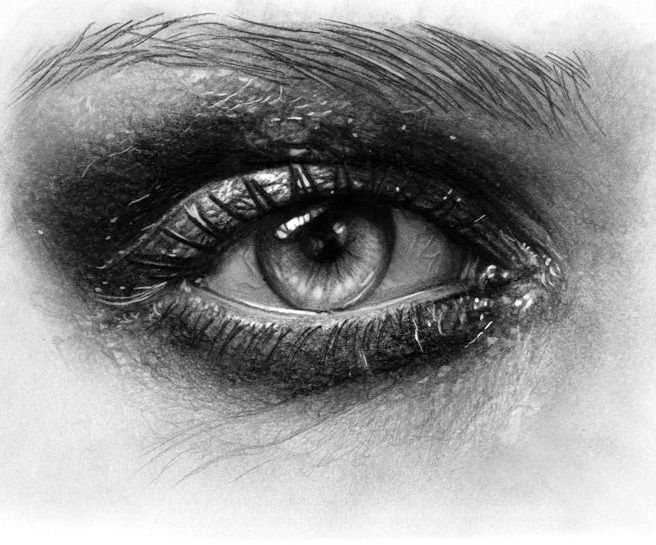
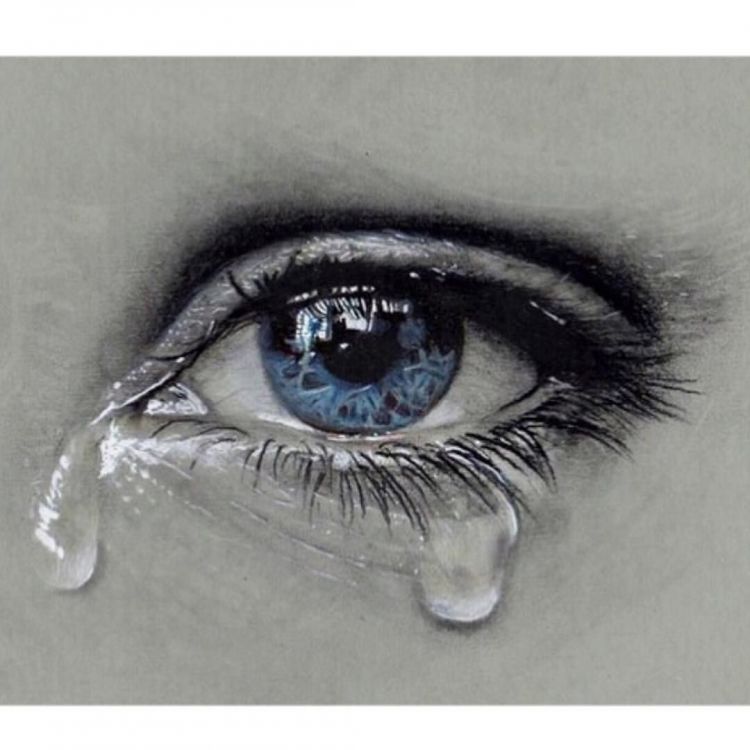
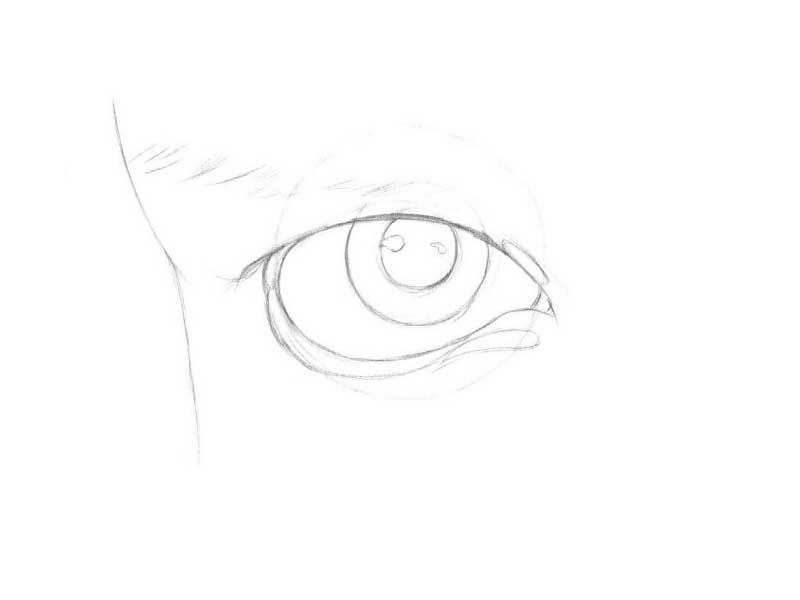
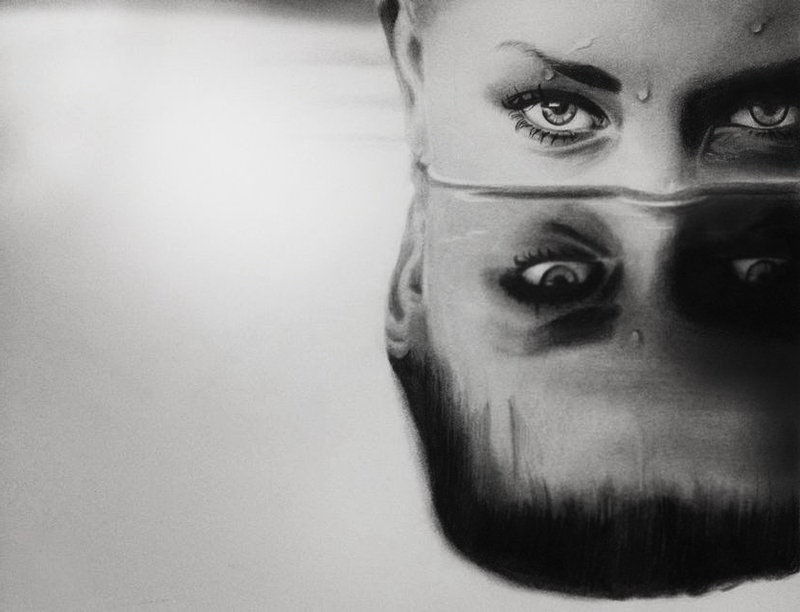
Woman's eyes
For this drawing, we need only a simple pencil and a little knowledge of shading techniques:
- We mark with lines the image of the eye, the shell, the pupil, the eyelid and the eyebrow.
- We shade the most contrasting parts with the hardest pencil, and set a stronger line of the eye-shell.
- We darken the iris elements and paint over the pupil, leaving a glare of white.
- We detail the whites, the eyelash line and the iris with a shadow drawing.
- Blur the eyeball.
- With the eraser strokes do light places and give depth inside.
- Stronger pass on the whites, adjusting the light and shadow inside.
- Draw the upper eyelid, add shadows, blend it with your finger or a tissue, and move on to the lashes.
- We start with the lower part of the eyelashes, we draw rounded lines on the lower part, then we move on to the upper part which must have longer and thicker lines, then we move on to the eyebrow.
- Throughout the process we are adding shadows in different areas, without fear of overdoing it, the main thing is to do it gradually.
- We mark the darkest and thickest parts of the eyebrow, detailing them, increasing the pressure and density.
- In conclusion, once again shading the eye with the shading technique, up to the desired result, the more you darken it, the more realistic and lively the image will be.
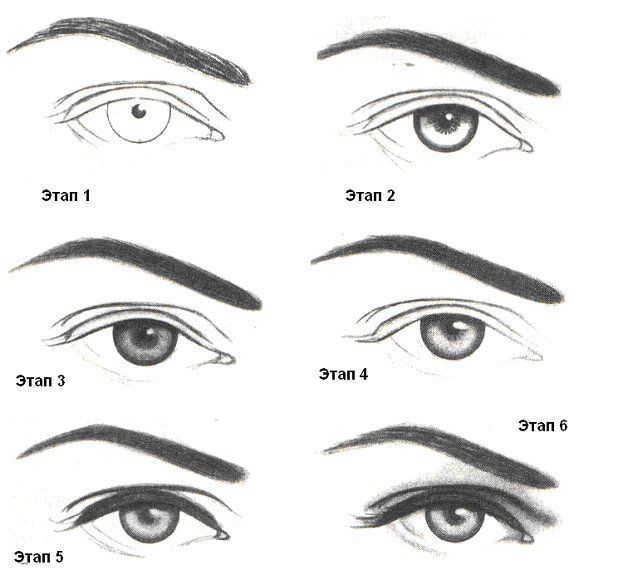
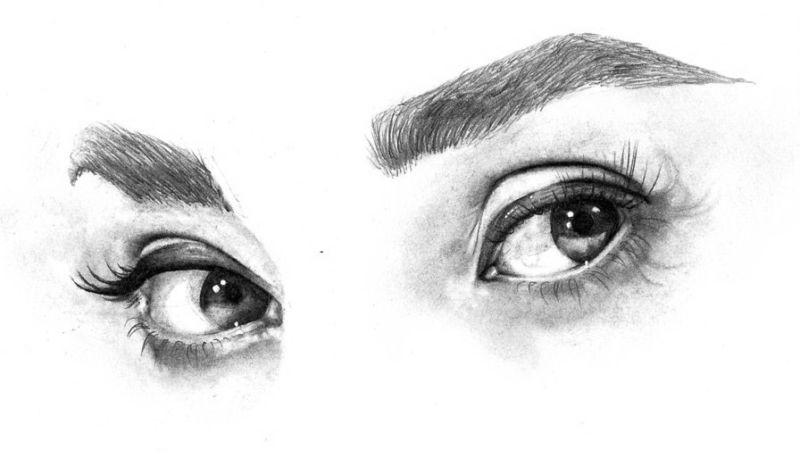
That is the result.
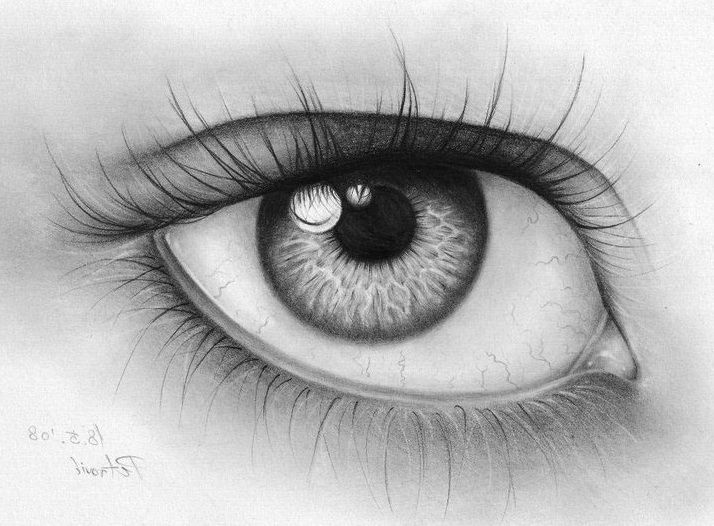
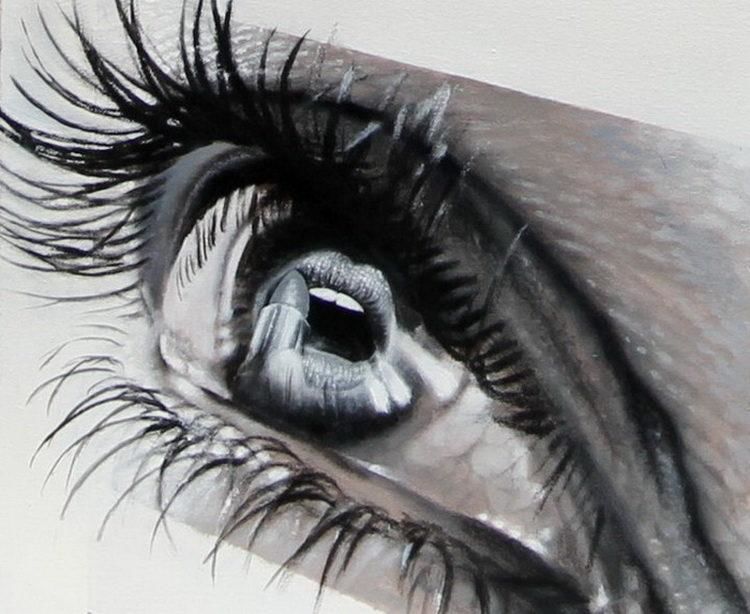
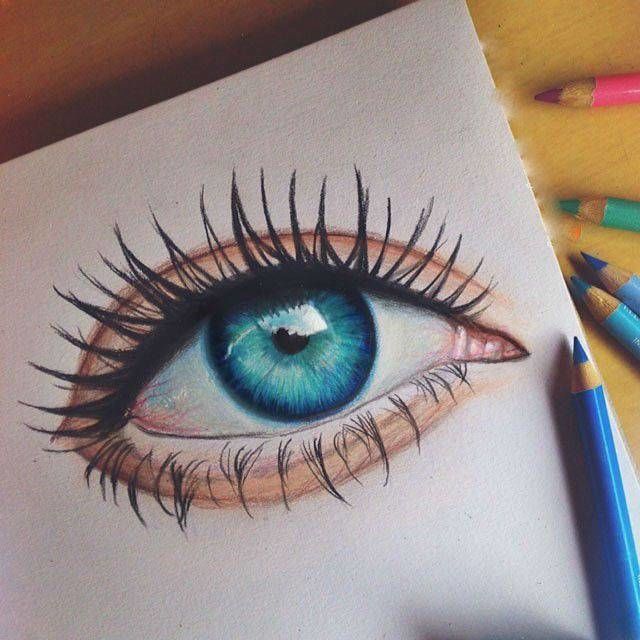
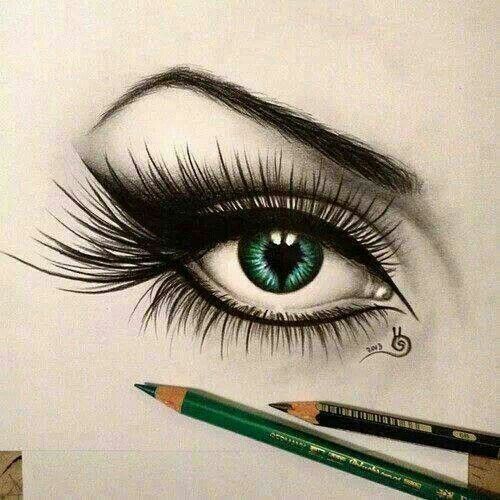
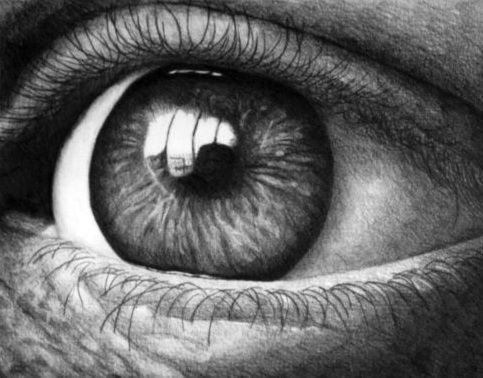
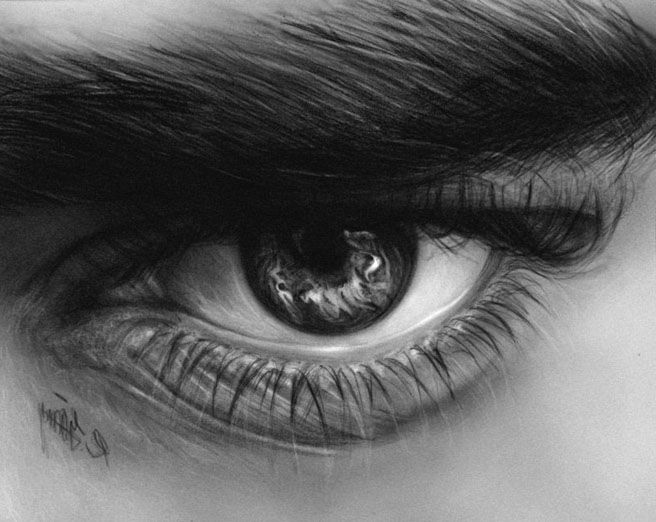
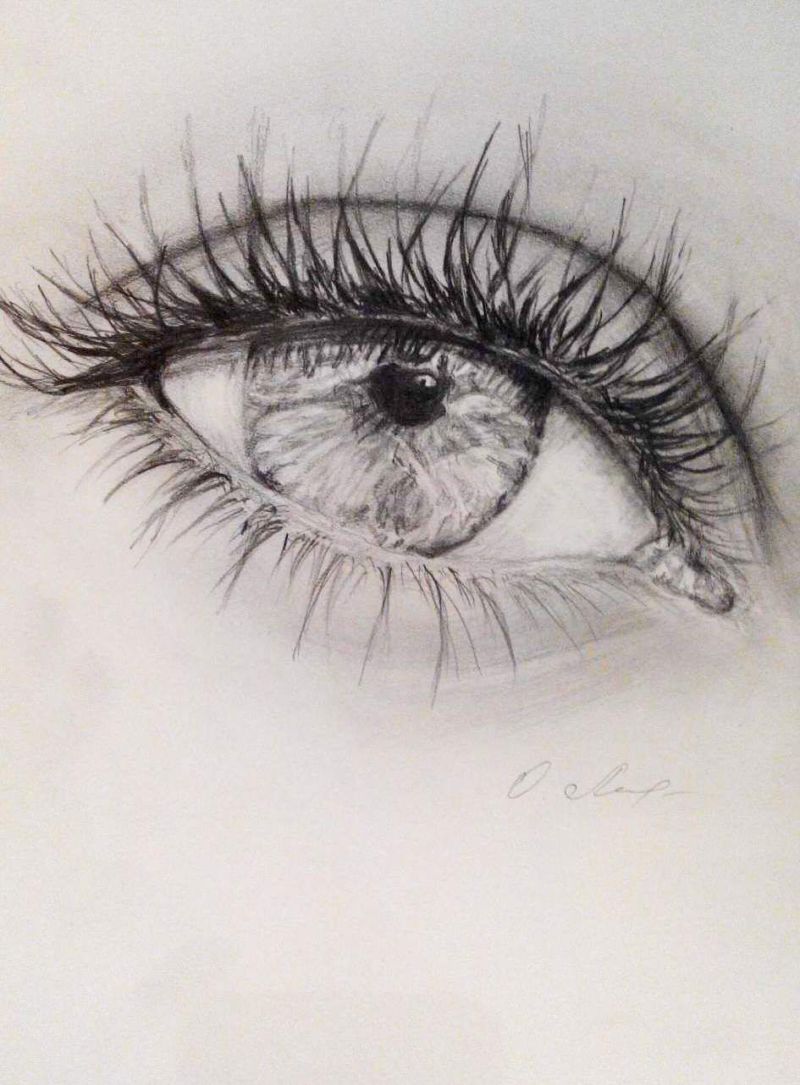
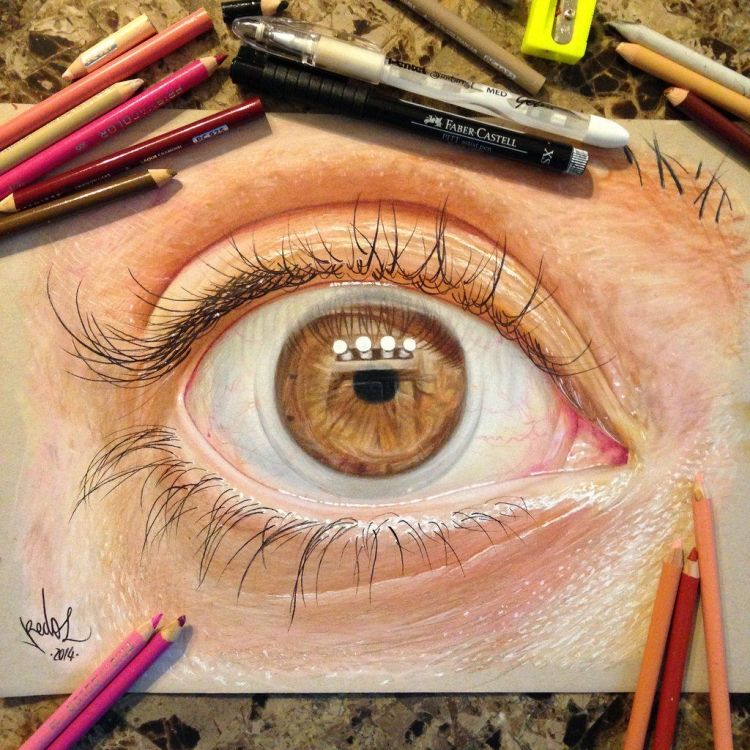
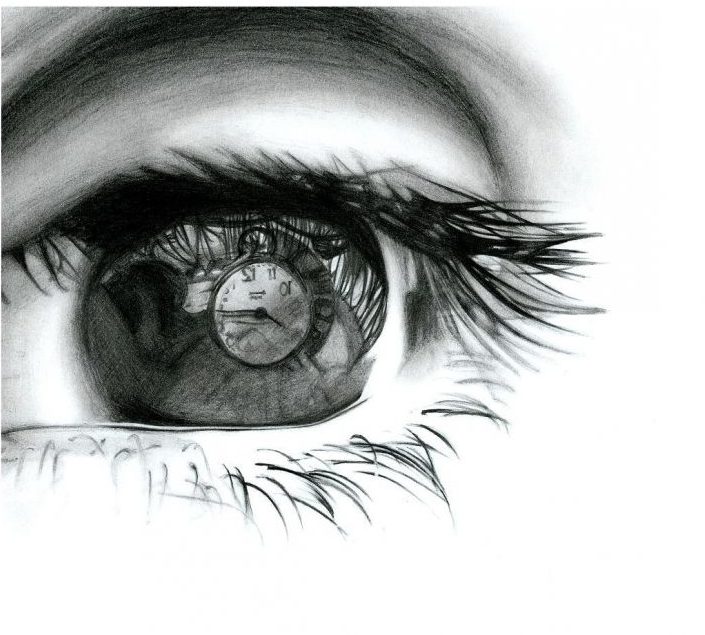
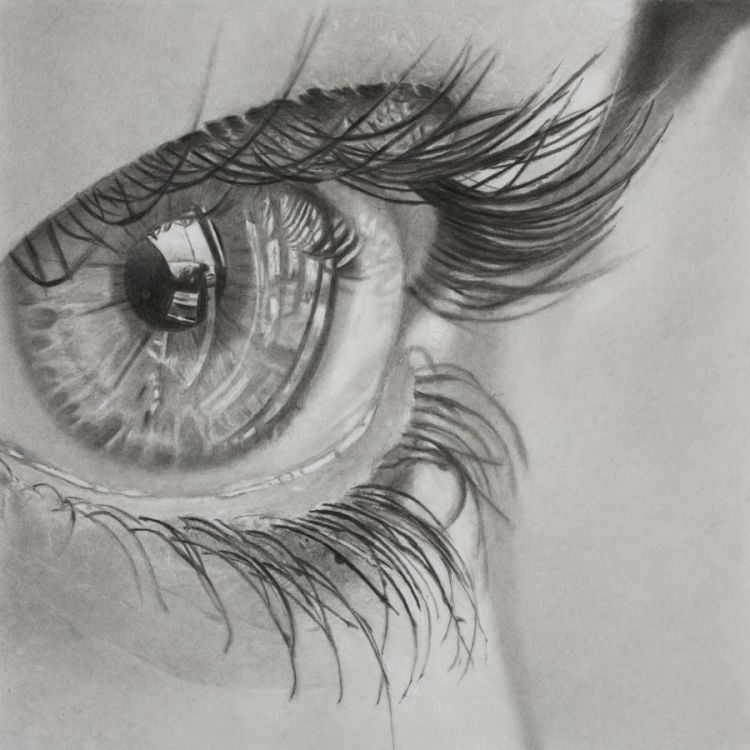
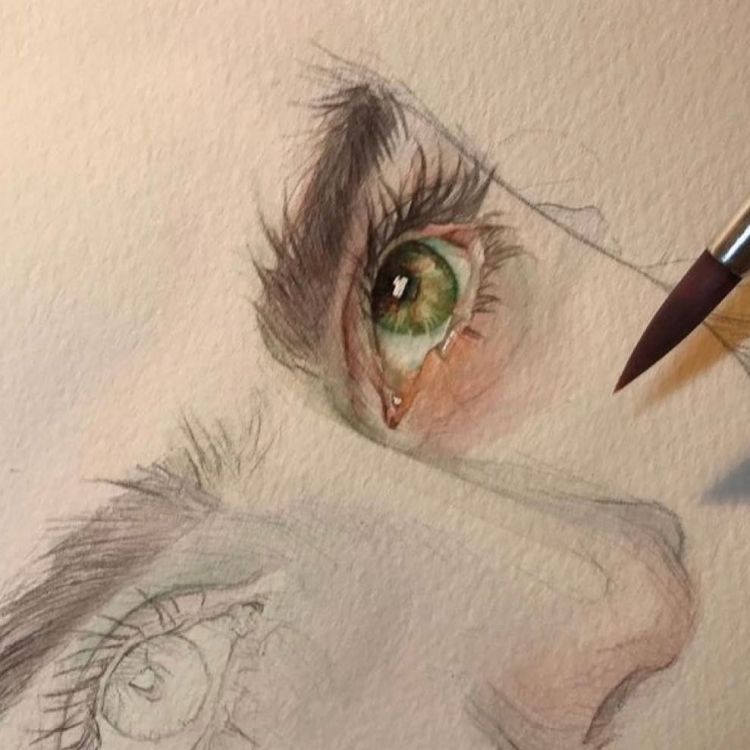
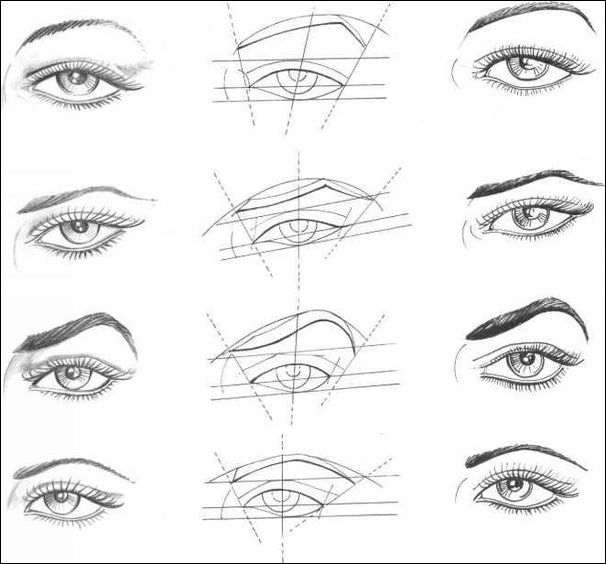
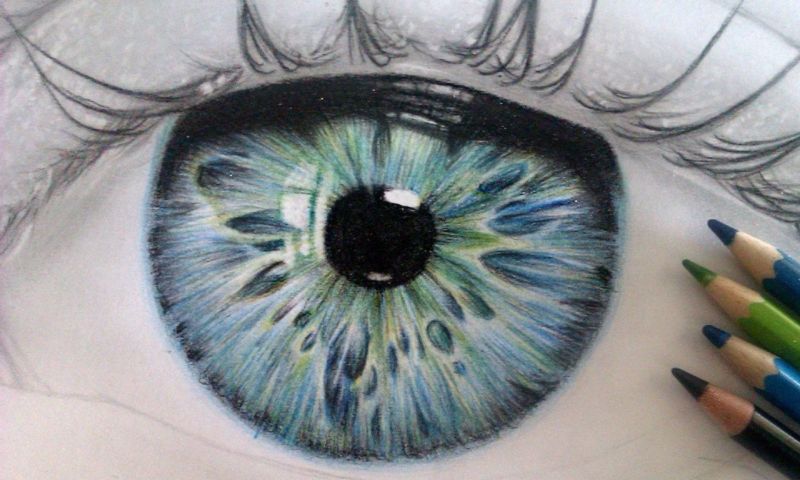
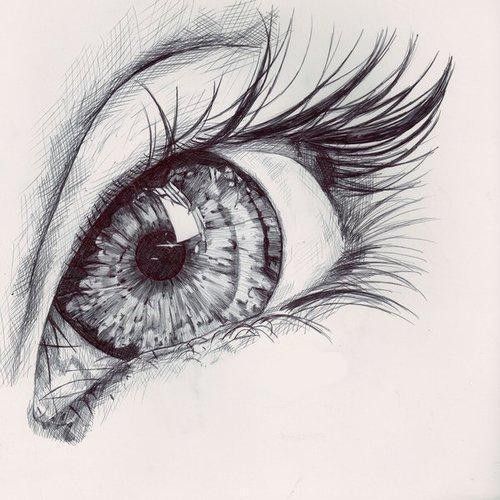
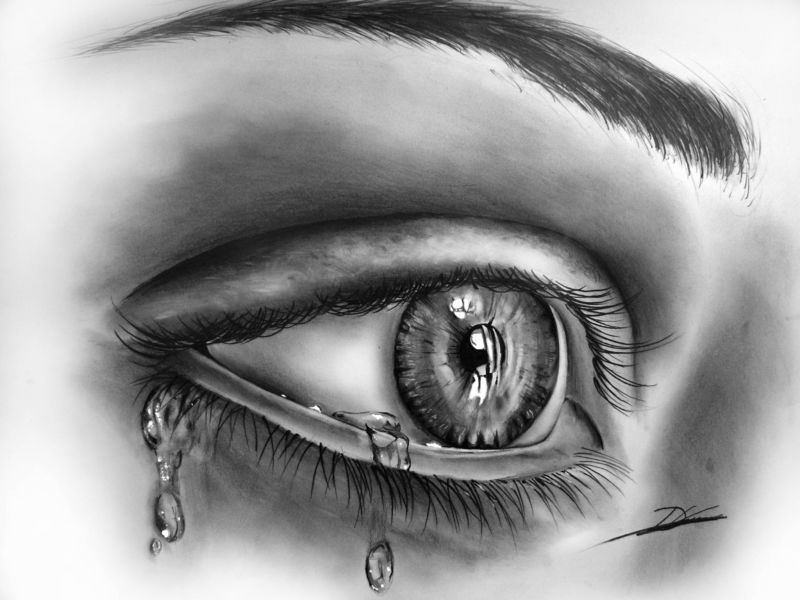
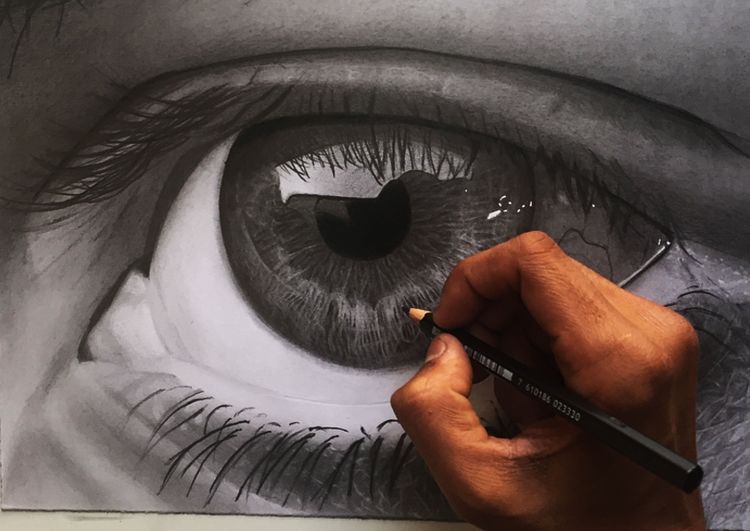
Realistic eyes
This method can seem quite complicated, but with practiced shading skills in other drawings, you can easily cope with the task:
- To begin with, let's practice drawing eyelashes, they should be in the form of lines with a rounded silhouette, if you draw the lines too flat, it will give an unnatural look to the eye.
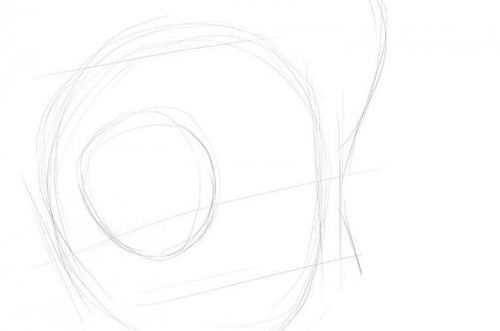
- We have learned how to draw eyelashes and let's start sketching.
- With light lines, we add the outline of the figure on the sheet, such an outline should be as easily depicted as possible, so that later it was convenient, a harder pencil to work out the details.
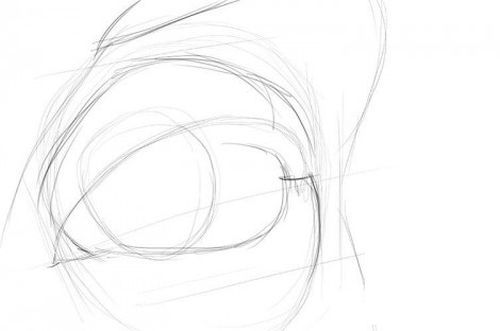
- Draw lashes in the form of curved lines, as we practiced above, lengthening, making them thicker closer to the right corner and changing the angle of the growth line at the top, and then do the same on the bottom, only with shorter lashes. To add contrast, go over the lashes again, pressing harder on the pencil.
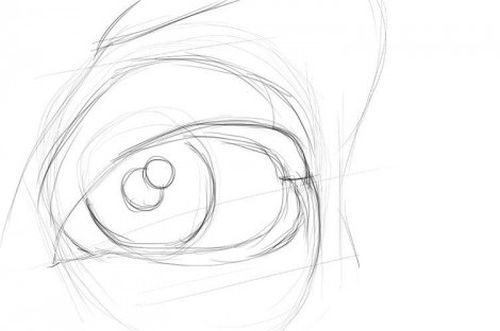
- With this line you can draw the pupil, the iris and the glare, which is important for realism, so do not forget to leave room for it and draw around it carefully so as not to overstep the edge.
- Next, the technique of shading, - fill the iris, relative to the way the light falls in our picture, the top of the gradient will be darker, be careful - do not overdo it. Darken the sides.
- To create more air and light in some elements, you need to use an eraser, which we pass on the lightest parts, to create the right space.
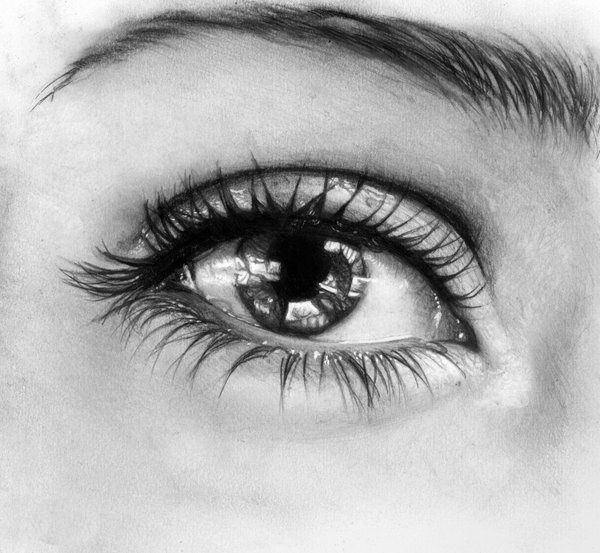
- We're moving on to a deeper shading of the upper and lower eyelids and working on the squirrel with a gradient so as to make the shading darker closer to the top. Let's add vessels to make it look more like a real eye.
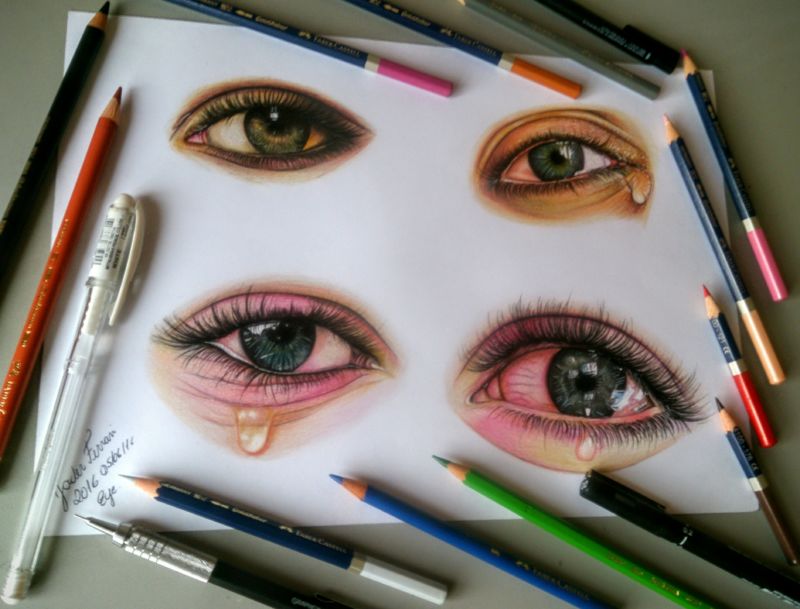
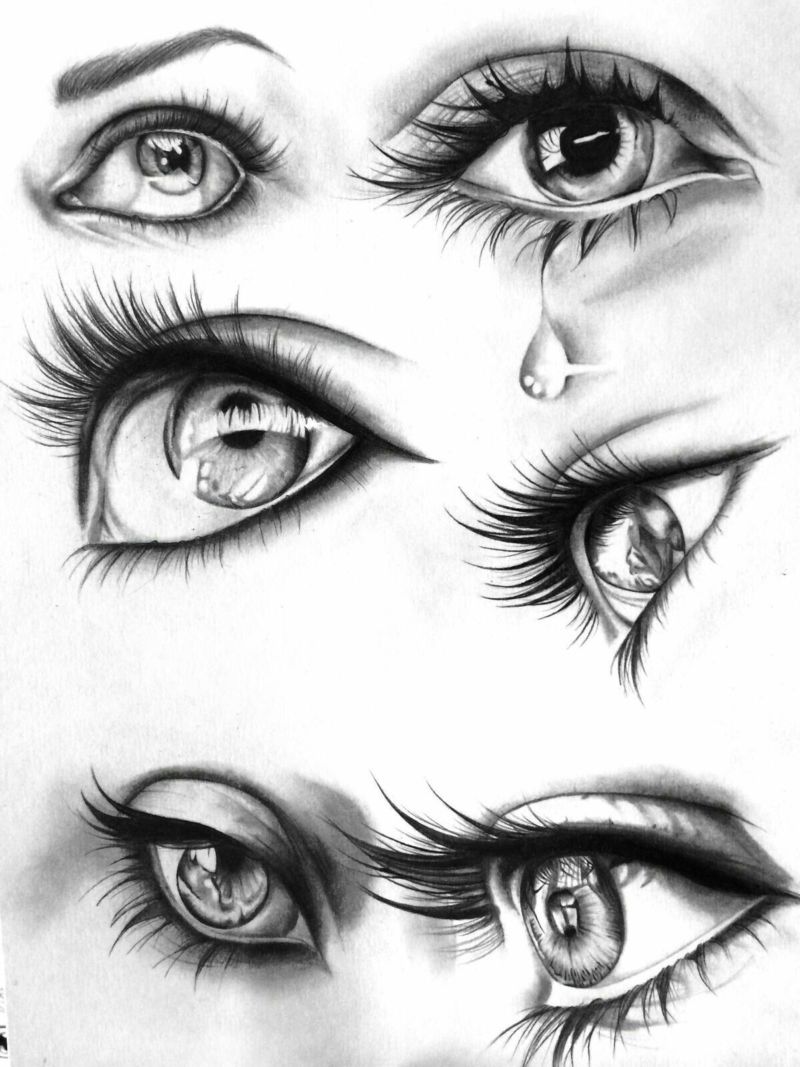
Today we showed you five different ways to draw eyes.
But regardless of the difficulty, choose any of them, practice and you'll get better each time!

We wish you good luck in your creative process.
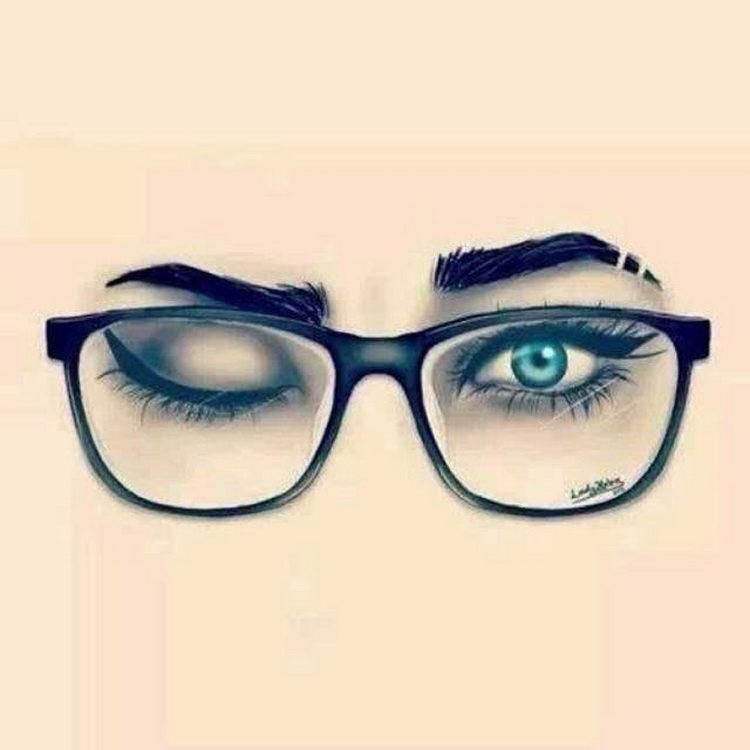
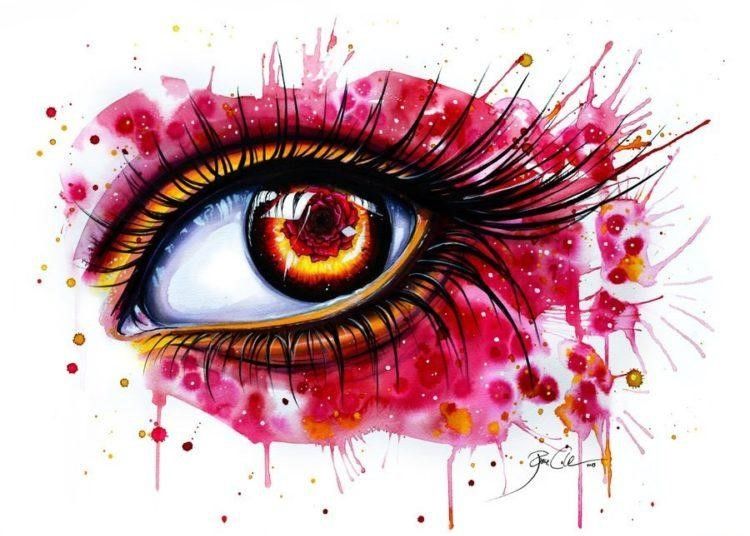
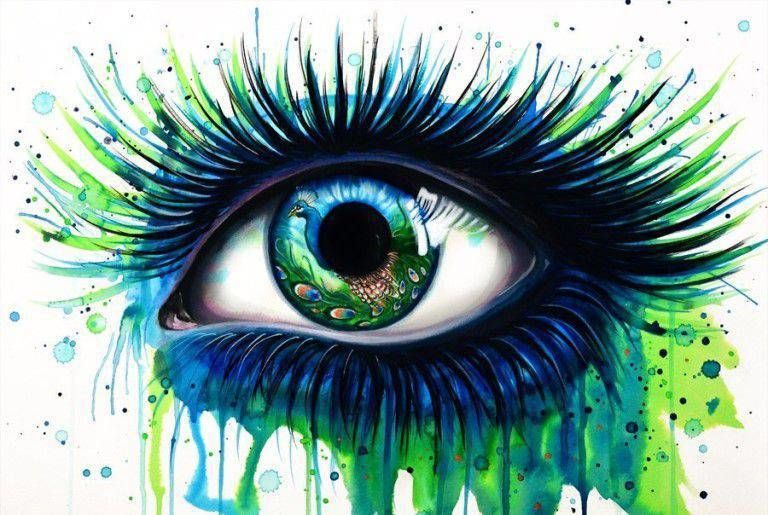
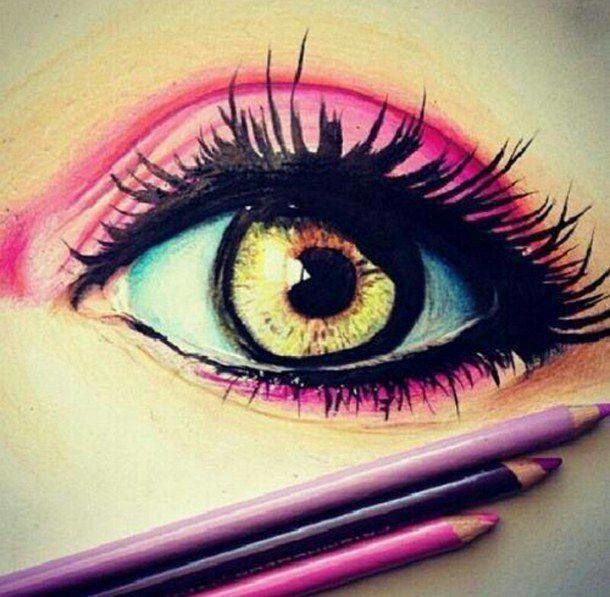
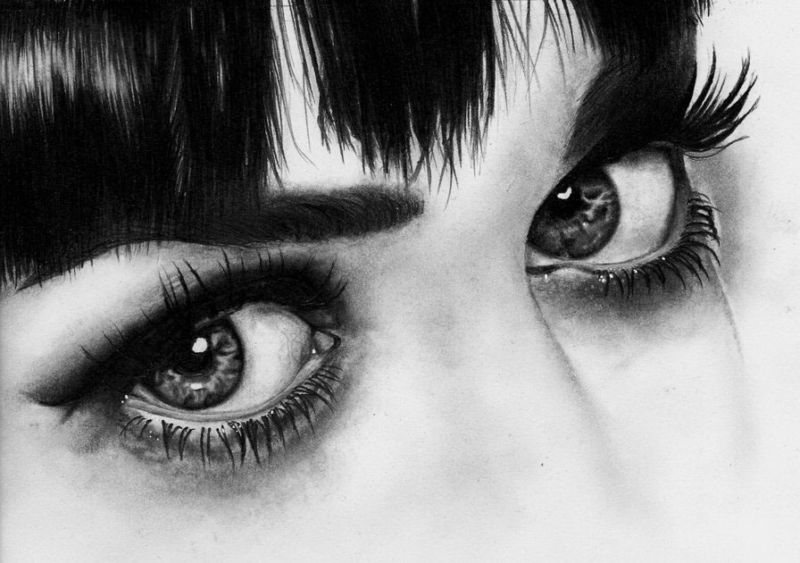
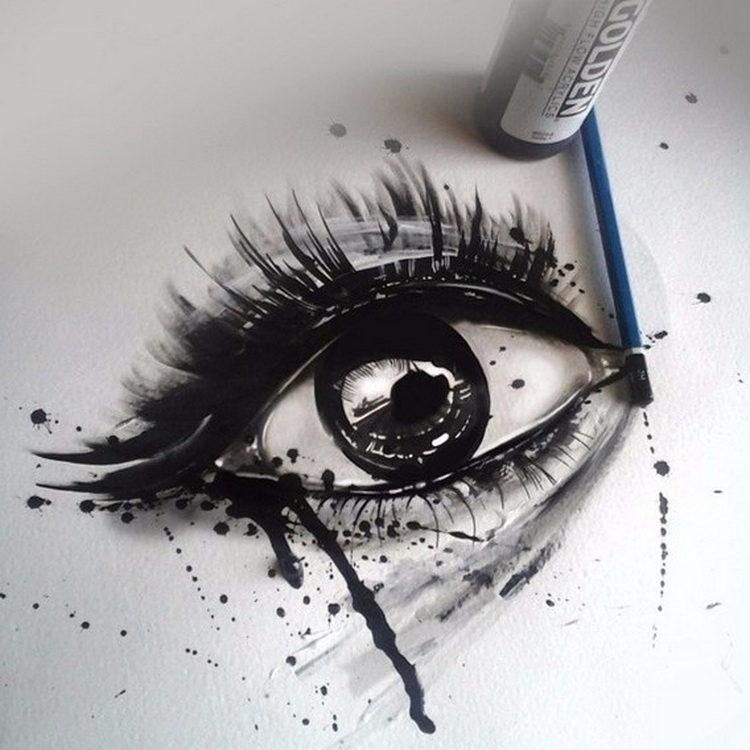
Photo of painted eyes