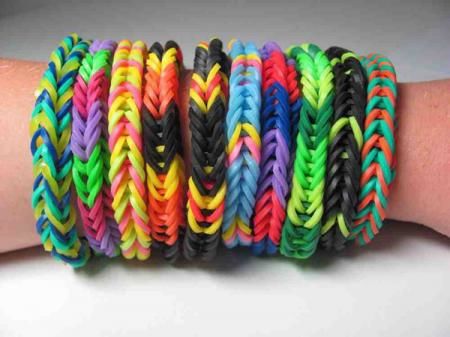
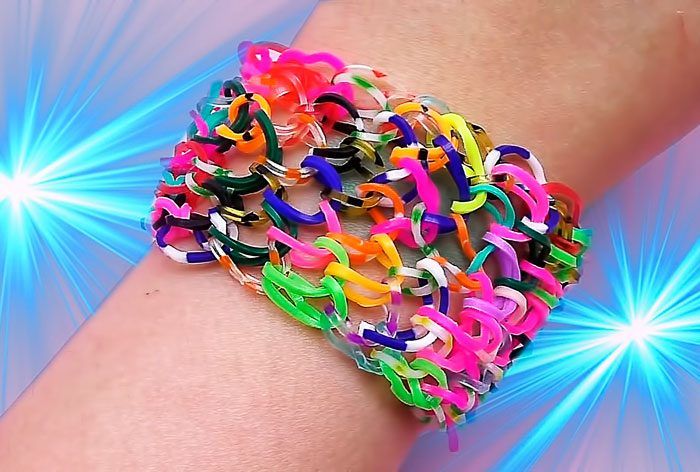
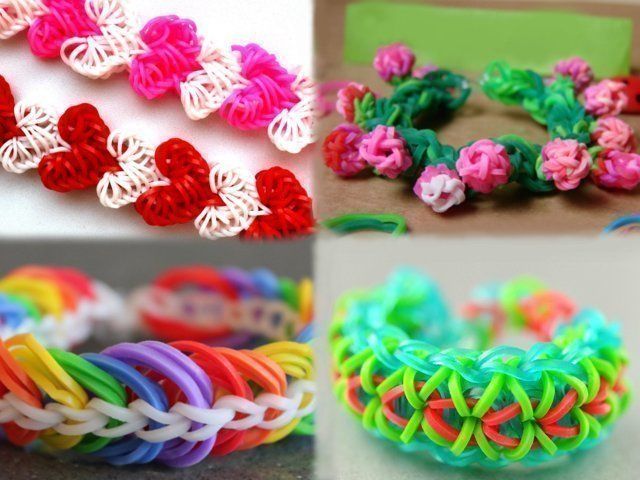
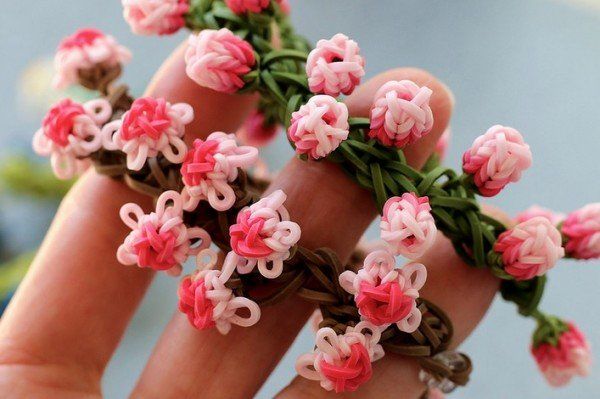
Elastic rubber band weaving - an overview of different techniques for beginners with a detailed description
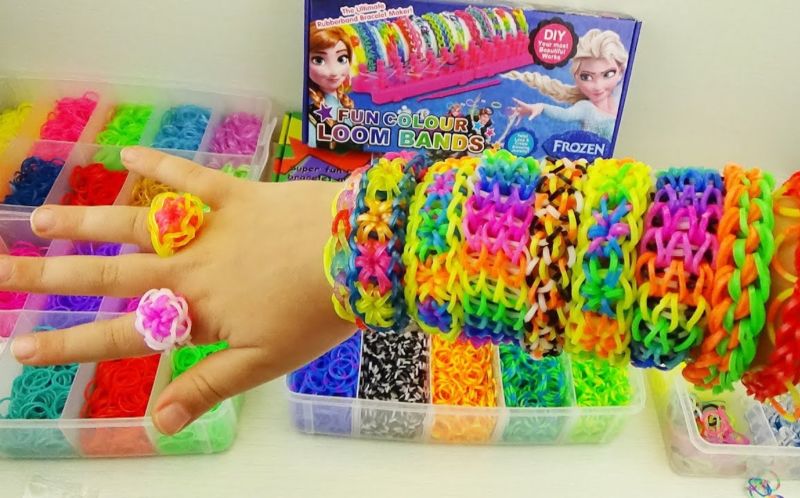
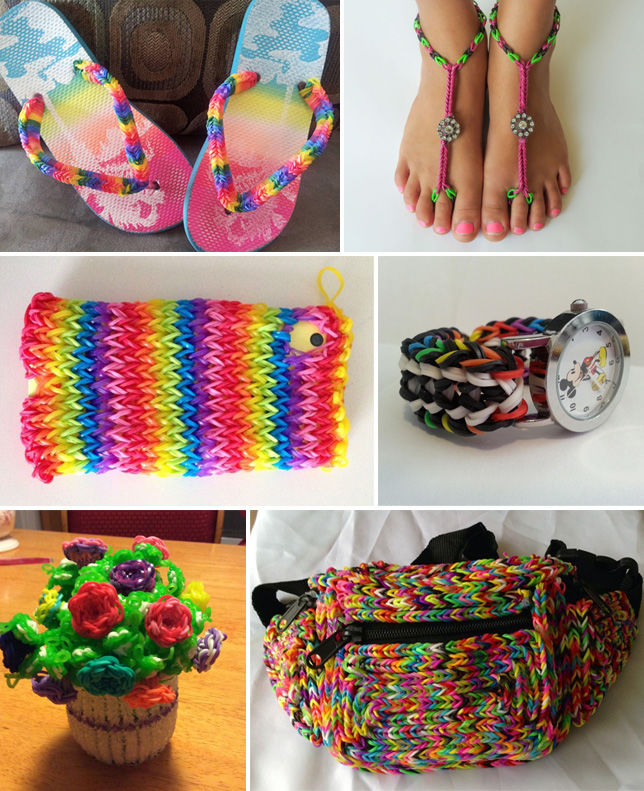
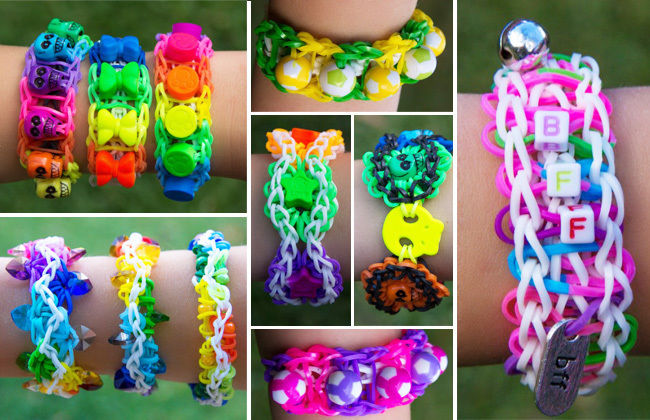
The plaiting of rubber bands appeared in Russia about five years ago. Of them craftsmen are doing not only necklaces and bracelets with different patterns, but also toys, phone covers, key chains, interior decorations and much more.
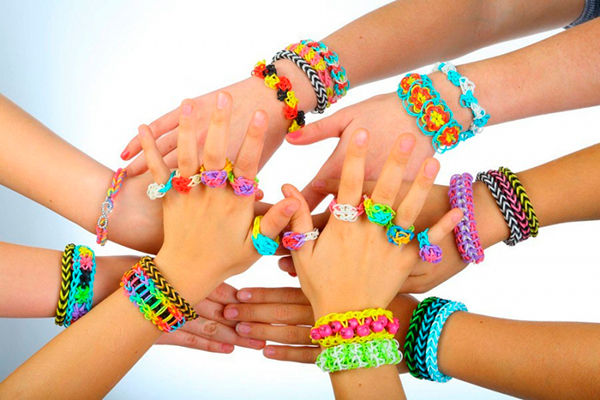
The new hobby was to the taste not only of the girls. Women of all ages and even the stronger sex were happy to learn how to make products from bright rubber circles.
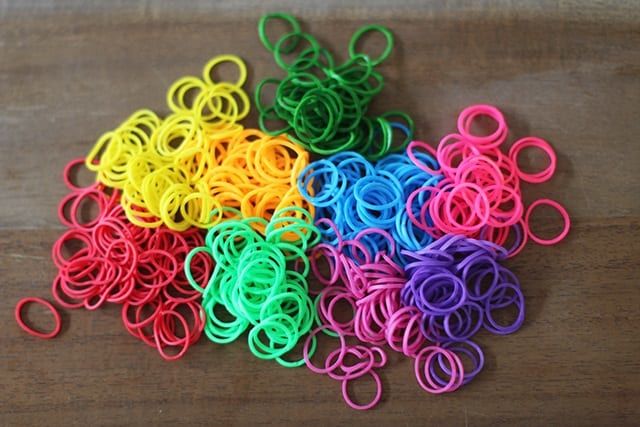
Now the craze has subsided, but there are still those who dream of learning to weave not only rings, bracelets, but also various figures. To create products need elastic rings in the right colors and simple devices.
We will tell you about several of the most commonly used techniques and methods of knitting from elastic rings.
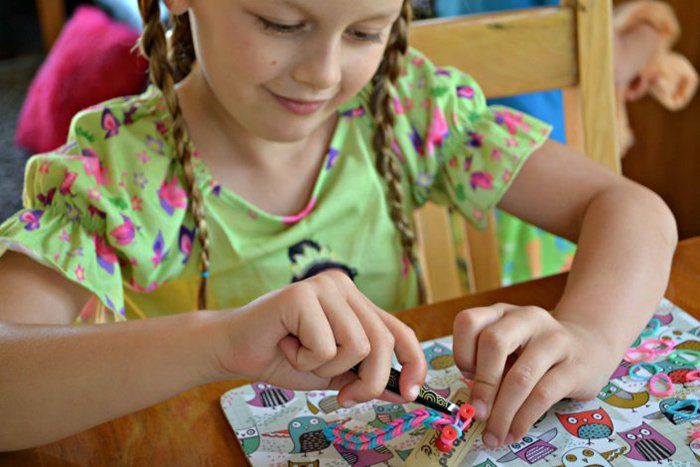
Rubber band weaving techniques for beginners
If we look closely at the products of bright circles, it immediately becomes clear, here, as well as in any other knitting there are many ways and varieties of weaving.
"Knit" you can fork, slingshot, loom, and even fingers. Anyone can master them without difficulty, you just need to follow the instructions clearly.
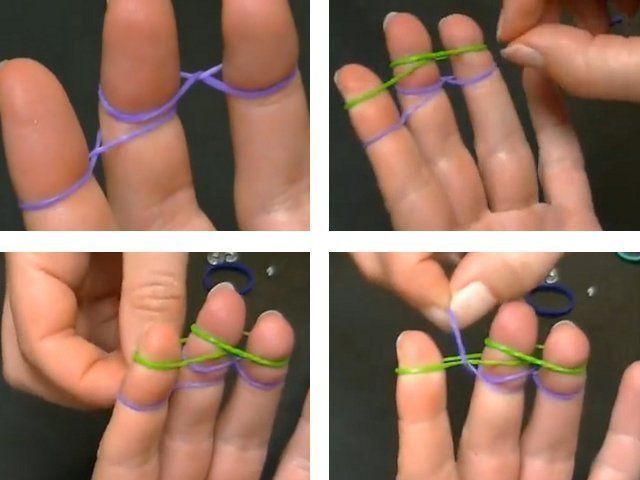
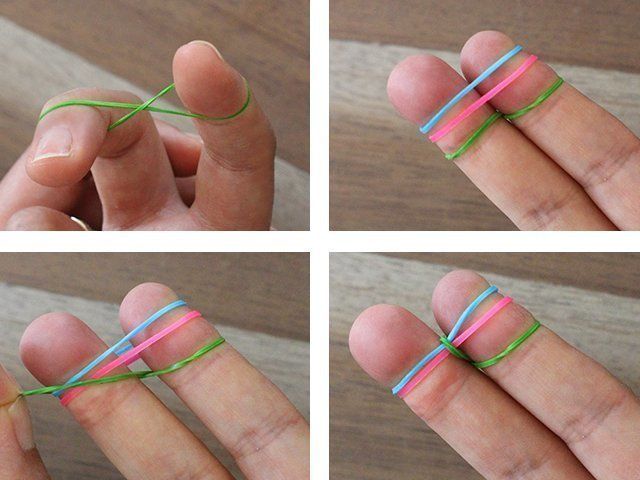
Knitting on the fingers for beginners
This is the easiest technique. It requires only the fingers of the hand and a set of elastic bands. Of course, weave in this way will be possible only the simplest chains, but if you alternate colors, and then attach a pendant to the product - you get a simple, but beautiful necklace.
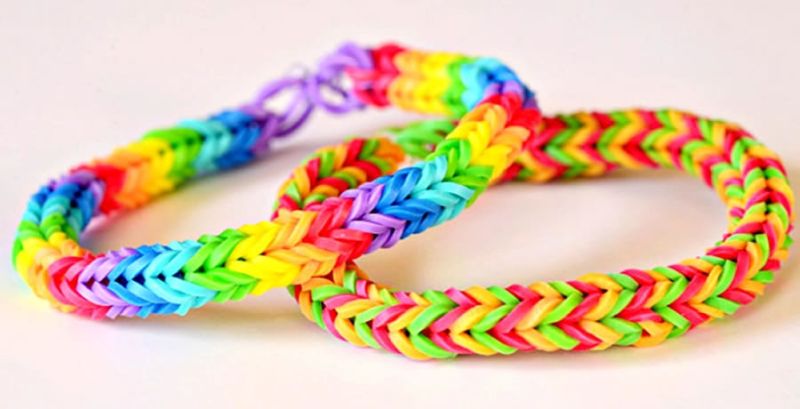
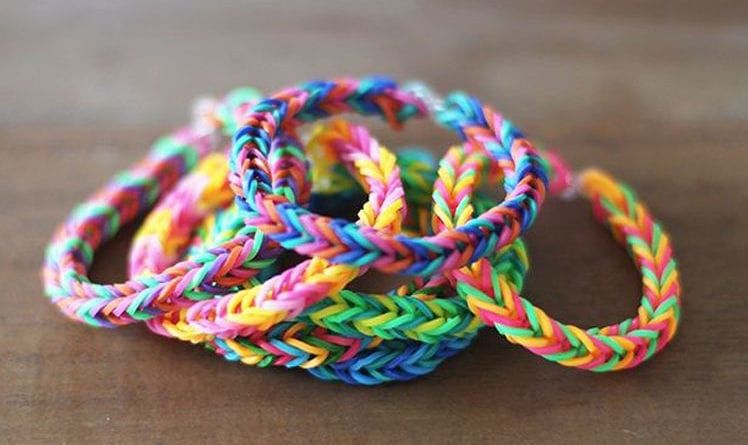
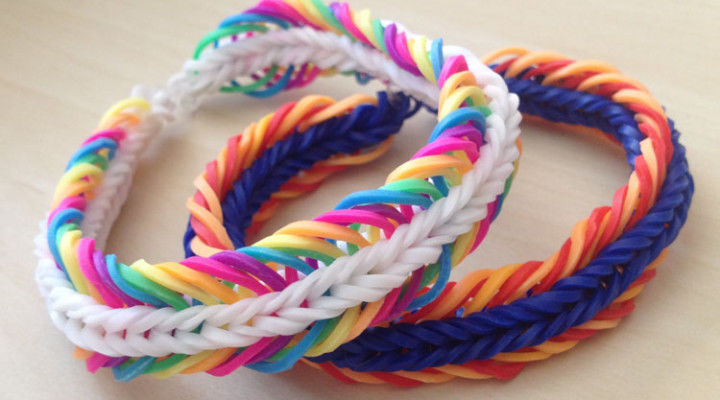
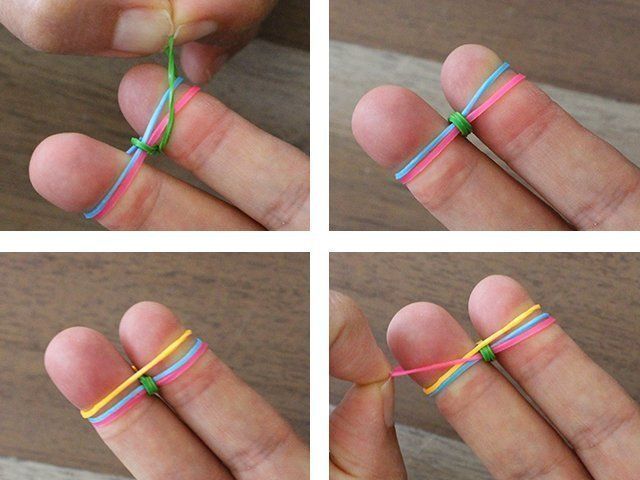
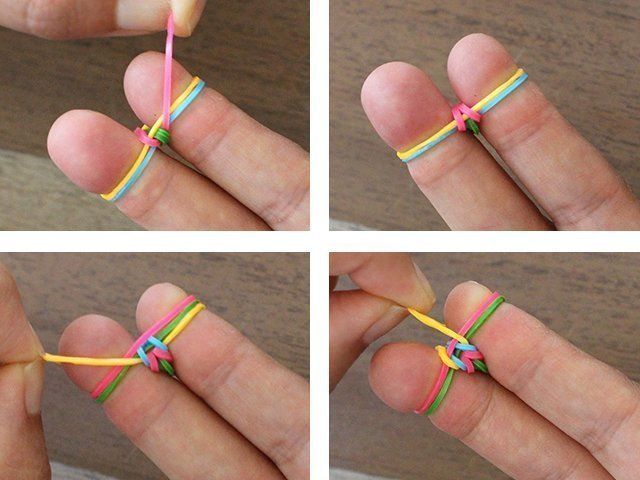
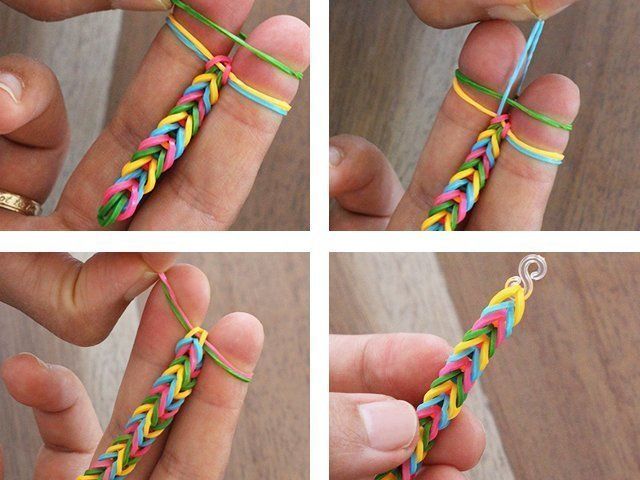
Most often, the fingers are braided pattern, which is called "Fishtail.
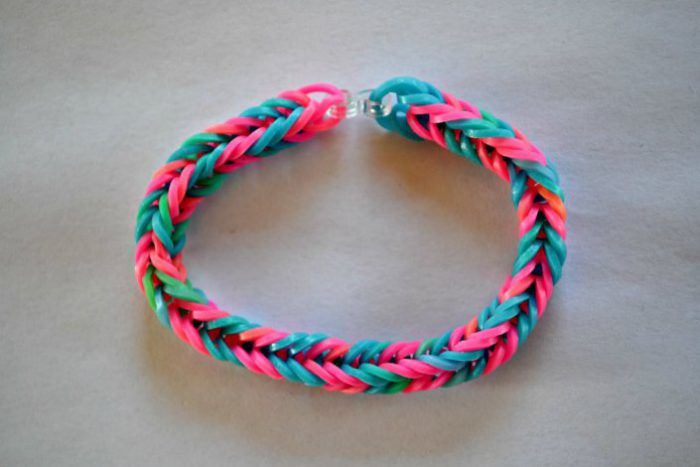
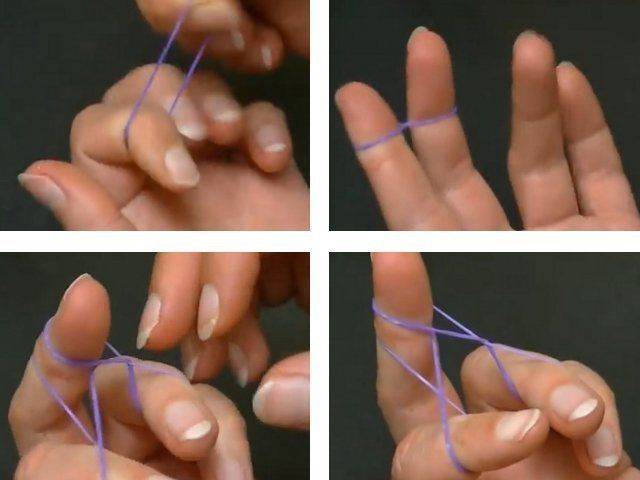
The first thing you need to do is to twist the rubber band in the middle and pull the two resulting loops on two fingers.
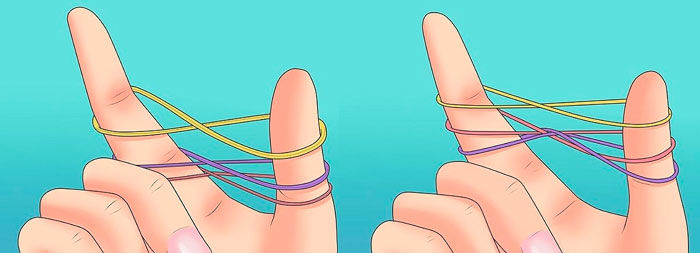
Next, put on both of those fingers in turn two more rubber bands, the bottom one of which should be removed from the fingers so that it moves to the center - bravely pull it up and flip it over your finger. You will have the first link of the chain.
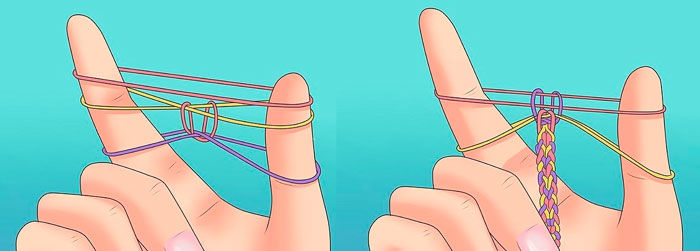
Now put the elastic piece back on your fingers and drop the bottom "figure eight" on it. At this stage a chain will begin to form between the fingers. Adding gradually rings on the fingers, weave the thread to the desired length. Now remove the two loops and attach the clasp to the last ring.
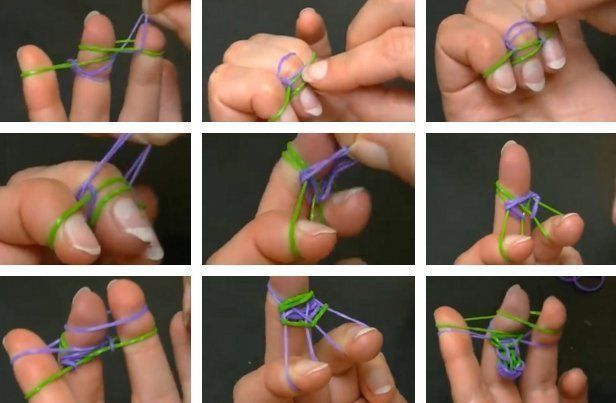

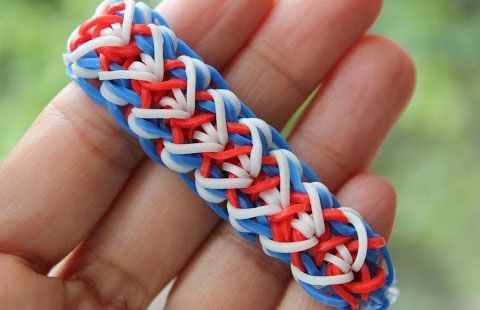
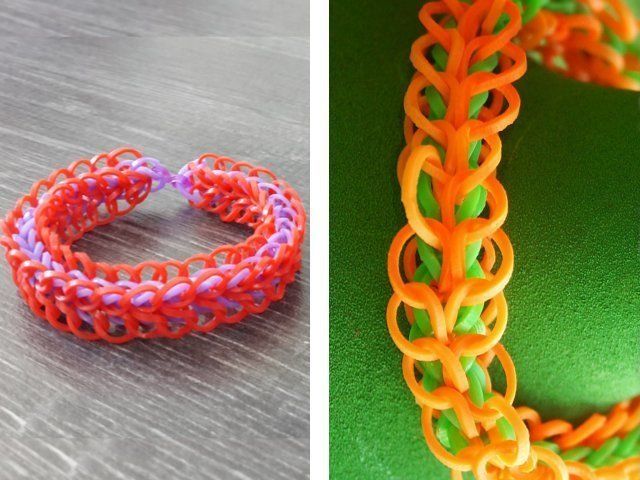
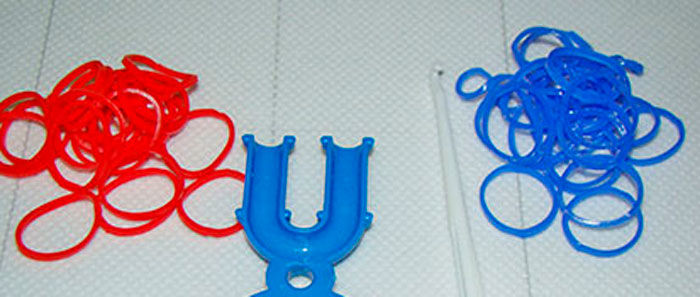
Weaving on a slingshot
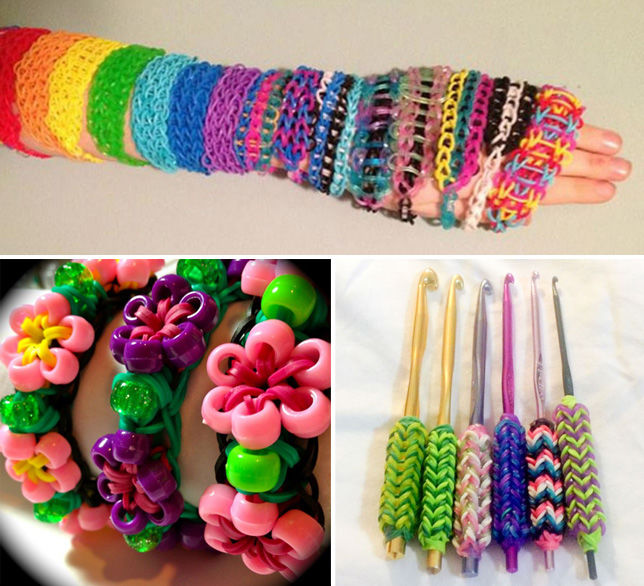
To weave a more complex and intricate pattern - you will have to buy a hook. They come in different forms - plastic, metal and wood. Which one to choose - then it's a matter of taste masters. Also need a slingshot. With its help, you can knit a thicker one out of rubber bands.

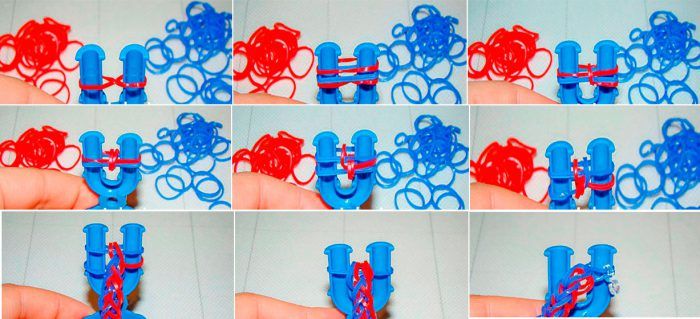
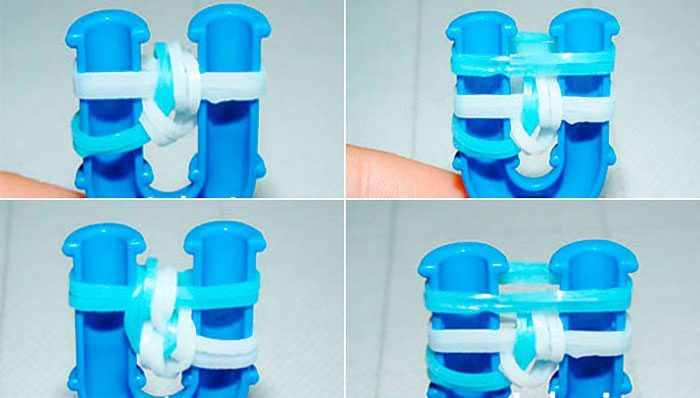
Take an elastic colored ring and bend it in the middle, twisting it once. Eight gently pull on the slingshot. On top of put another two parts in turn. Now we need a hook.
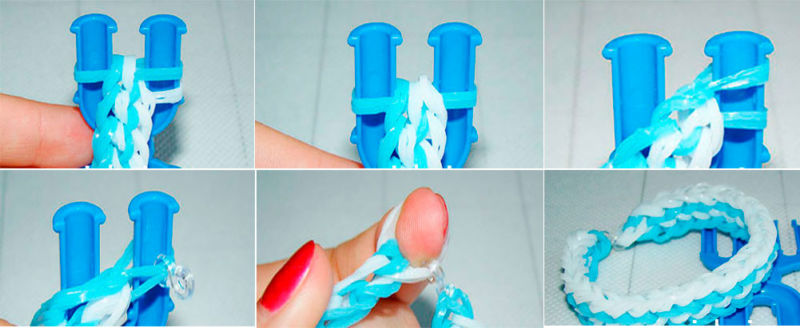
They gently seize the bottom ring in a loop on the right and move it to the center of the slingshot, also repeat on the left. Then put the new rubber bands on the device again and flip, as in the case with the first ring loops of the lower ring in the middle of the device.
Repeat the action will have to, until the chain of desired length is woven.

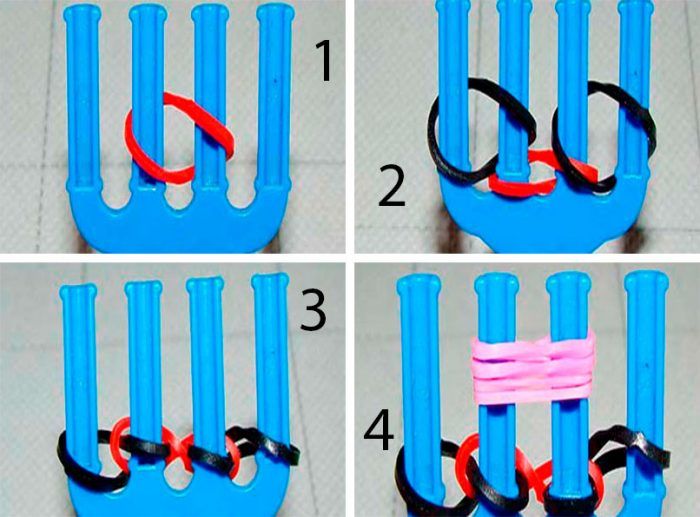
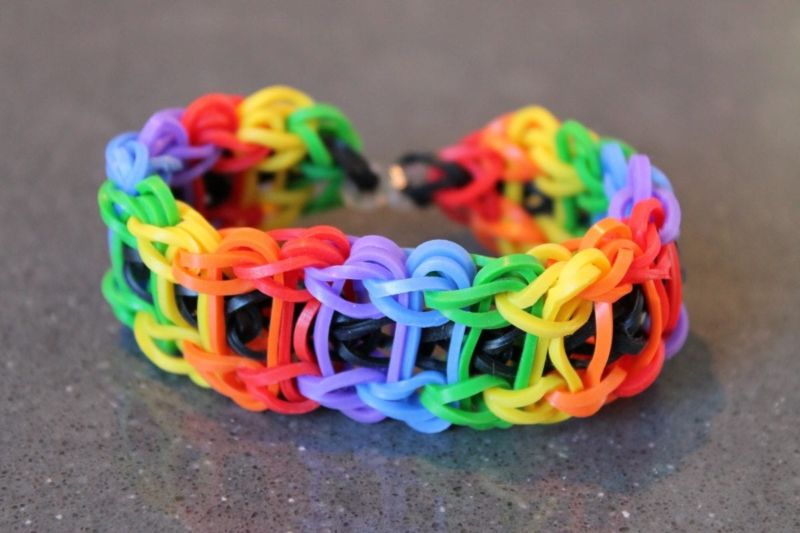
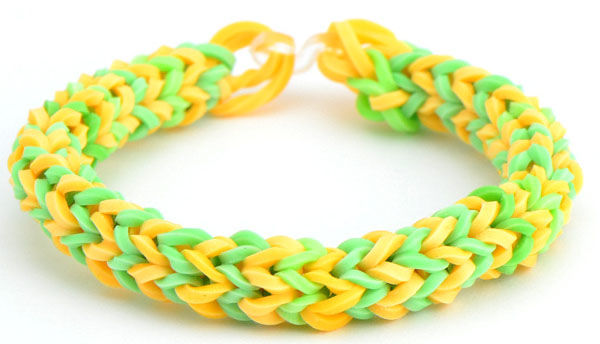
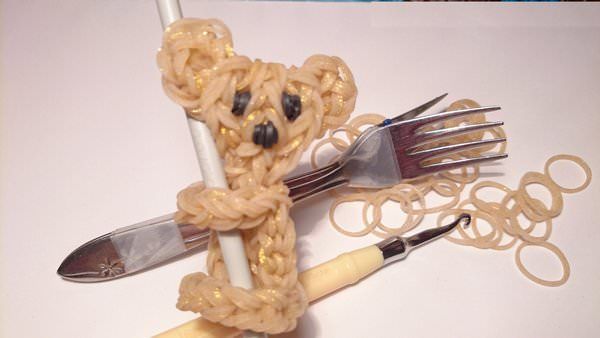
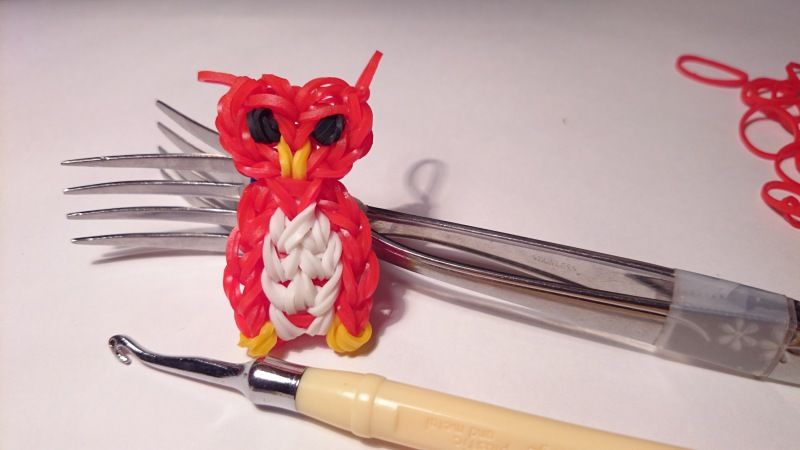
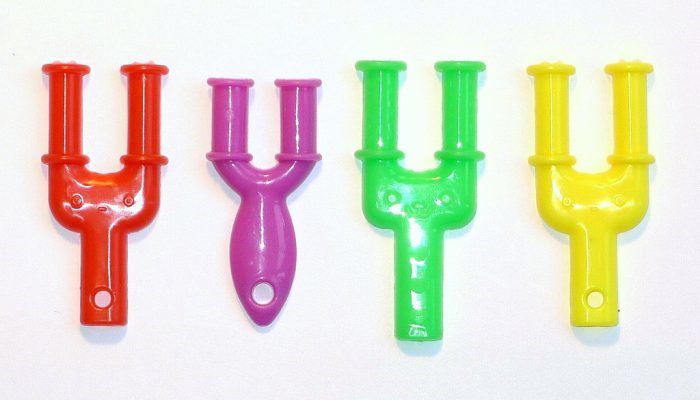
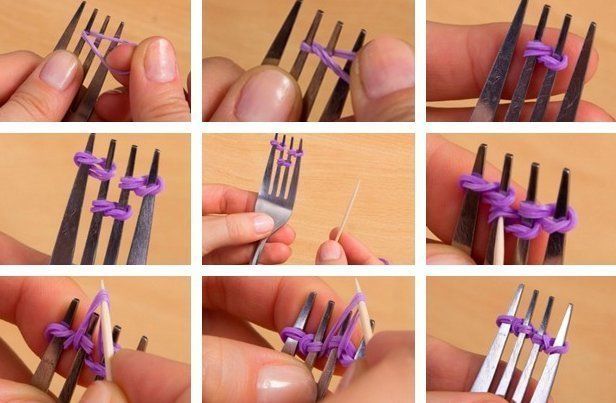
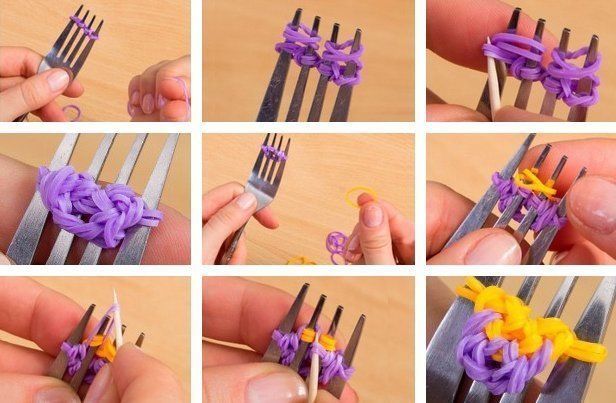
Rubber band weaving on a fork
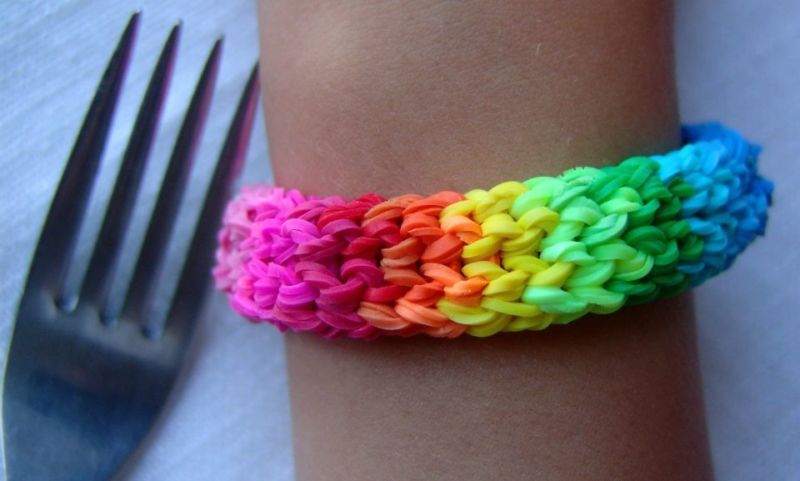
Let's try another easy way to do it - weaving on an ordinary fork. It will appeal to beginners and those who do not want to run to the stores in search of devices for weaving. The pattern is neat and beautiful.
Folds a rubber band in half and twists it into a figure eight, which we place on the middle prongs of the device. On the outermost prongs do the same. Pull another piece in the middle. Now take the ring and put it in the middle. From the middle grab a loop at the bottom and move it up.
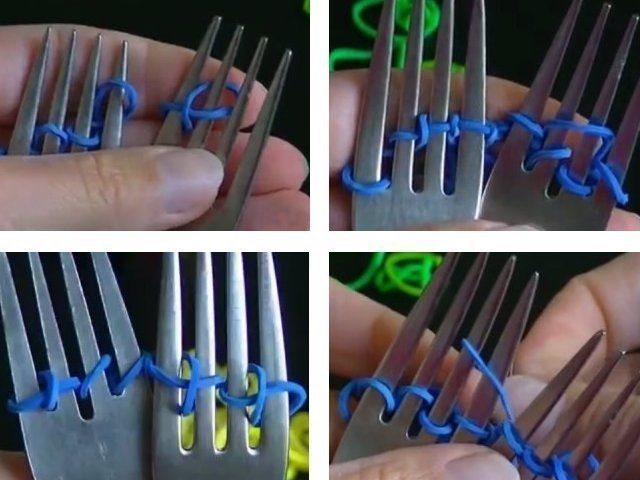
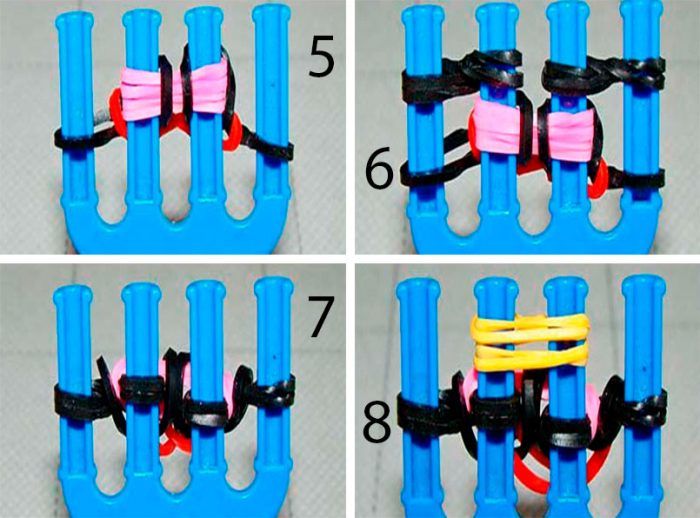
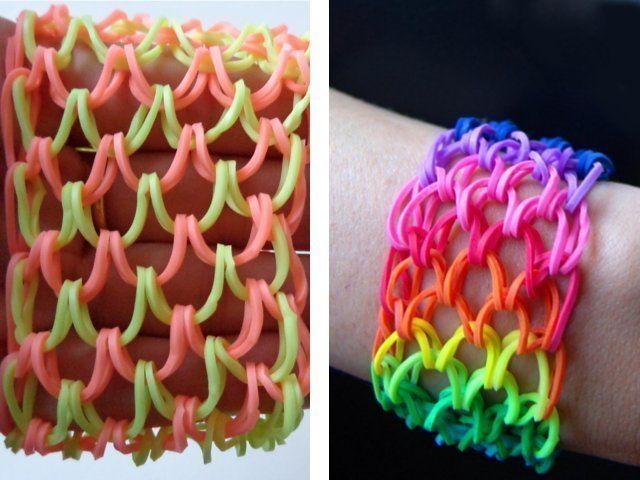
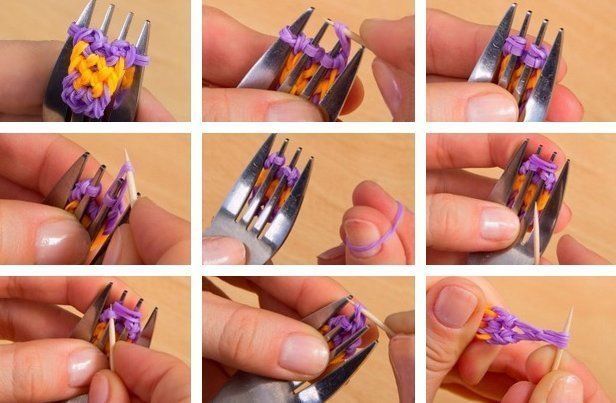
Similarly, and with the second middle cog. Then the technique of plaiting is repeated, only the rubber bands are stretched by a ring without crossing in the middle. The product is braided until it reaches the desired length. To make a beautiful bracelet - take colored parts.

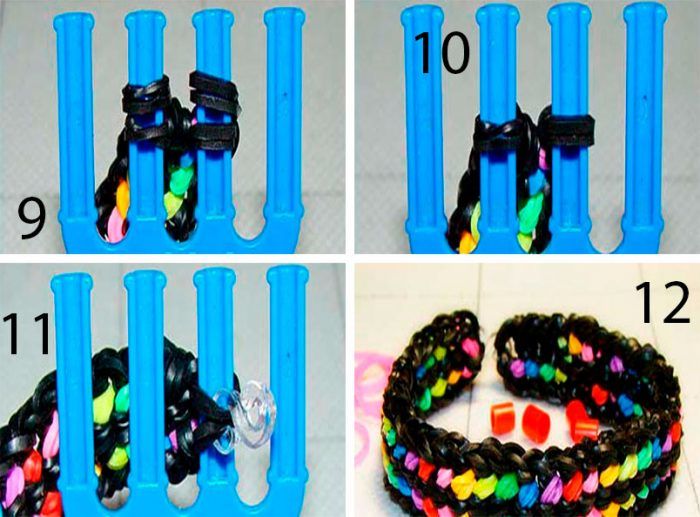
At the end of the plaiting, move the outermost loops to the middle, and there from the bottom bring them up. Before removing the piece from the fork, double fold a rubber band in the center of the bracelet. Drop all the loops that are left at the bottom onto it.
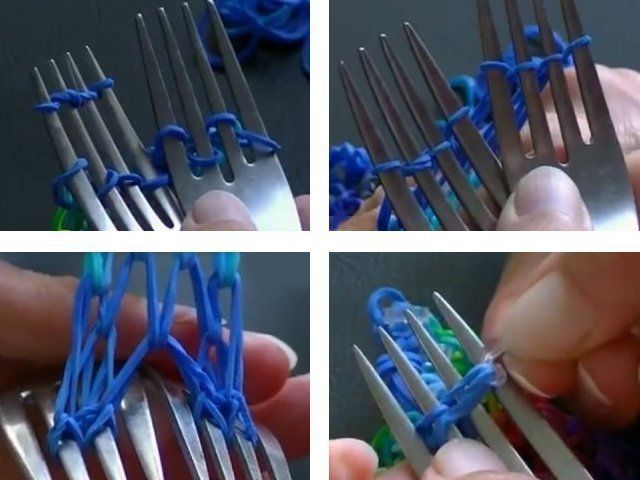
As a result, one rubber band will be left on the prong. Put one end of it over the other and fasten the clasp.

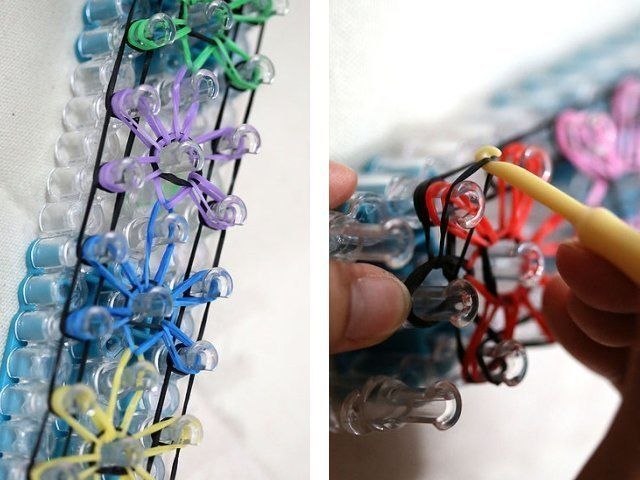
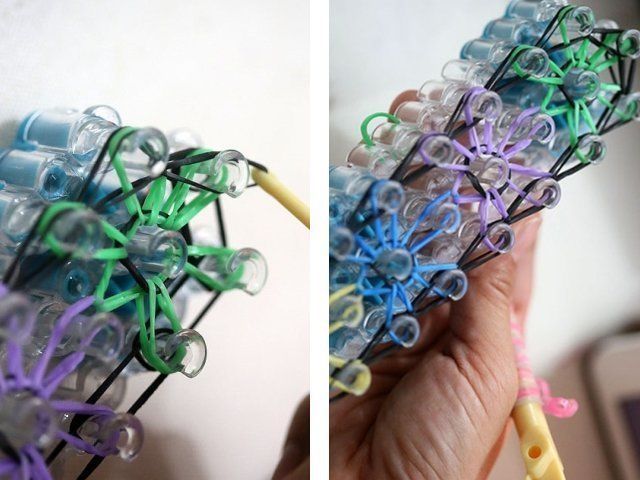
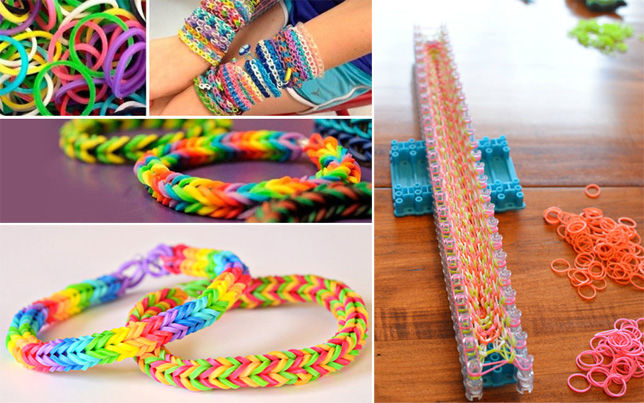
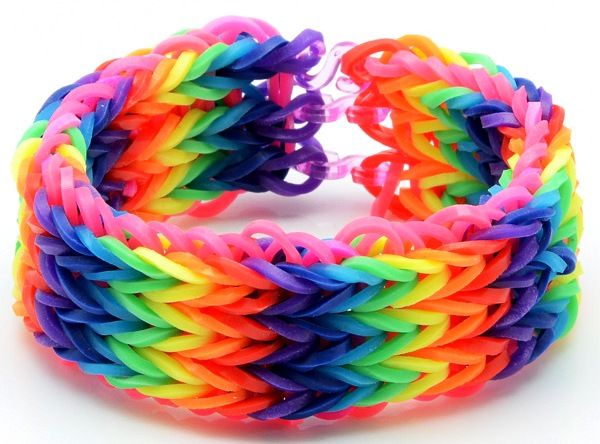
Weaving on a loom
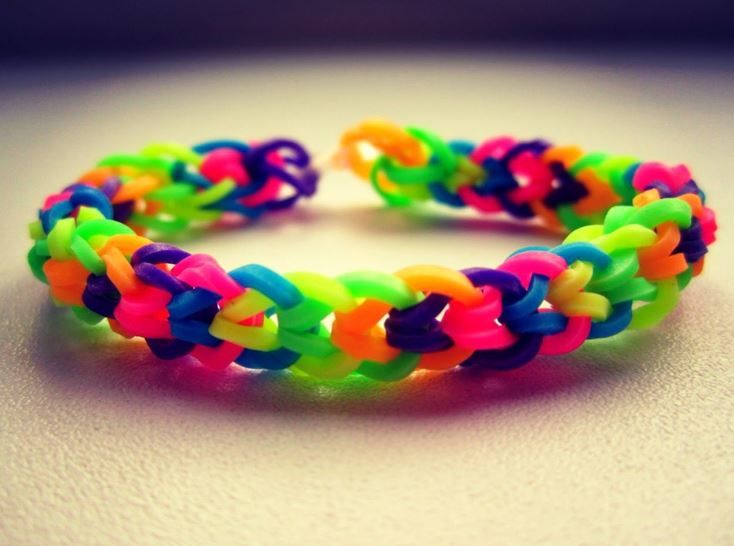
If you became not interested in weaving products on the fingers and slingshot - it's time to move on to making more complicated things. For them you will need a special loom. On the Internet, if you want to save money, you can find a huge number of instructions for making at home.
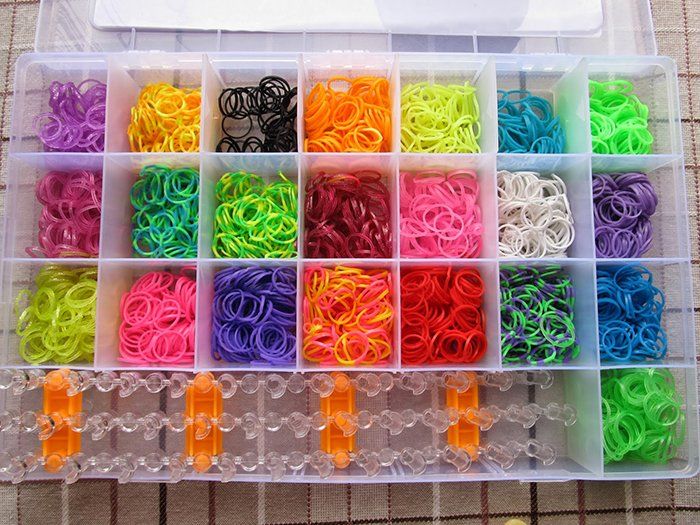
But it is easier to buy a ready-made one to start with. In stores for needlework it can be found most often in sets with the name Rainbow Loom. The loom is a solid or detachable design, which has two to five rows of plastic "stumps. They do not let the rubber bands slide off the device.
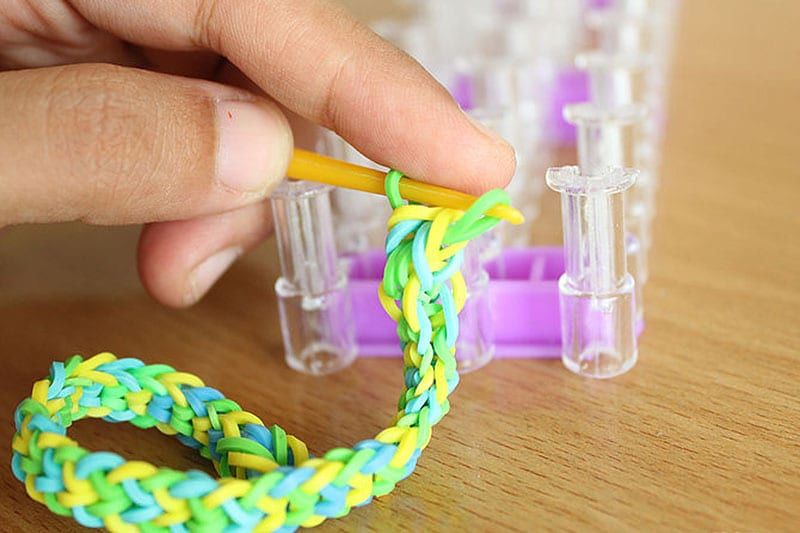
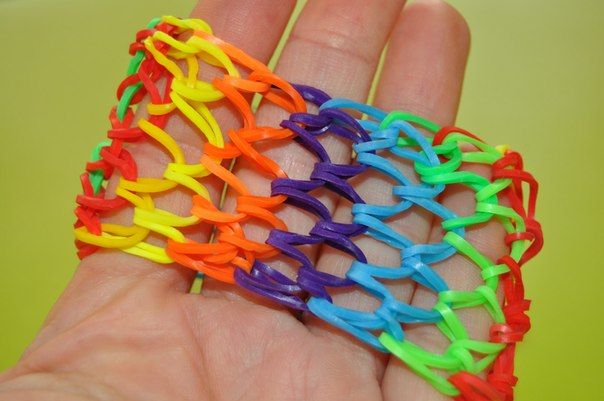
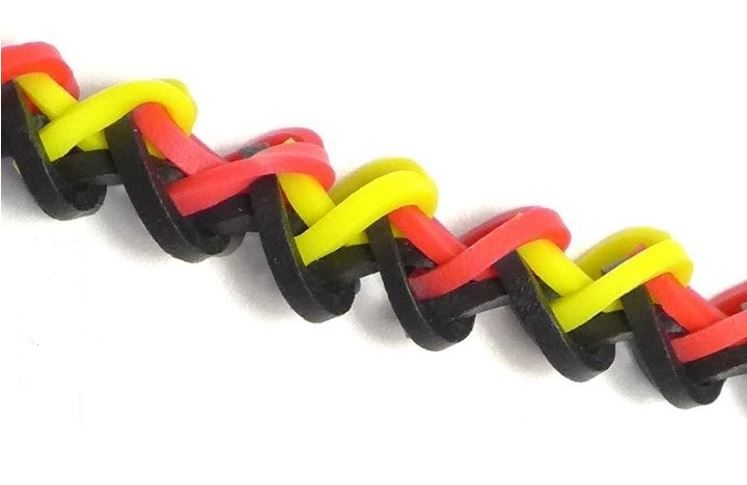
We take the loom, put a ring on the center and on the nail on the left. The second part we put on the rubber band on the left and the other end on the next nail in the middle. And so do the whole length of the machine.
To see if you did it right - see if you got a "zig-zag" and only then proceed to knitting. Grab the bottom piece from the nail in the center and send it upward while making a cast on with the neighboring loop.
The removed link is fastened on the closest post, thus obtaining a figure eight. Repeat these actions with all the loops that are stretched on the loom.
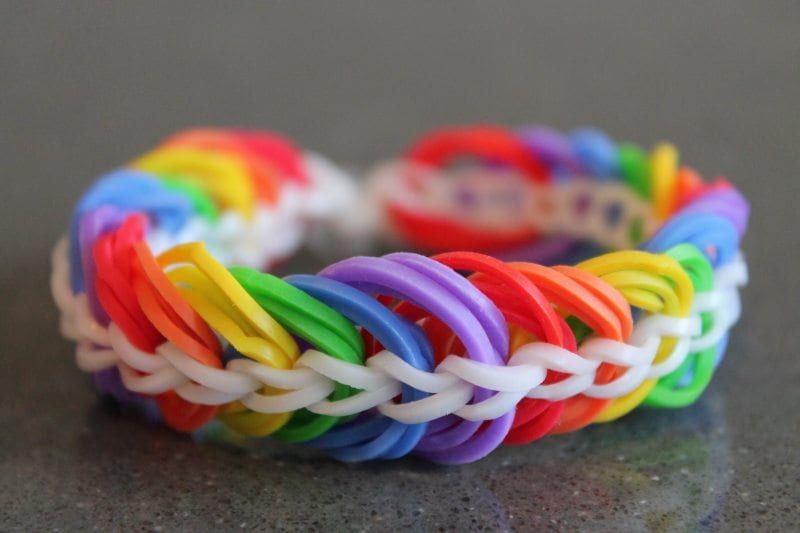
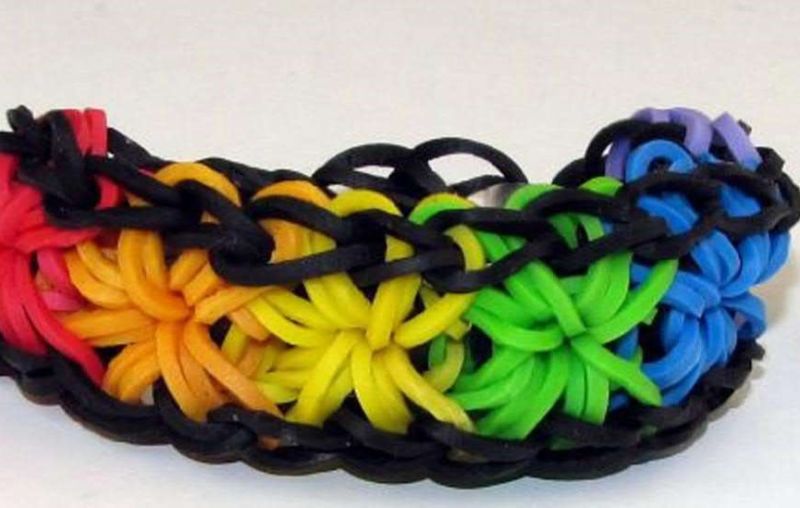
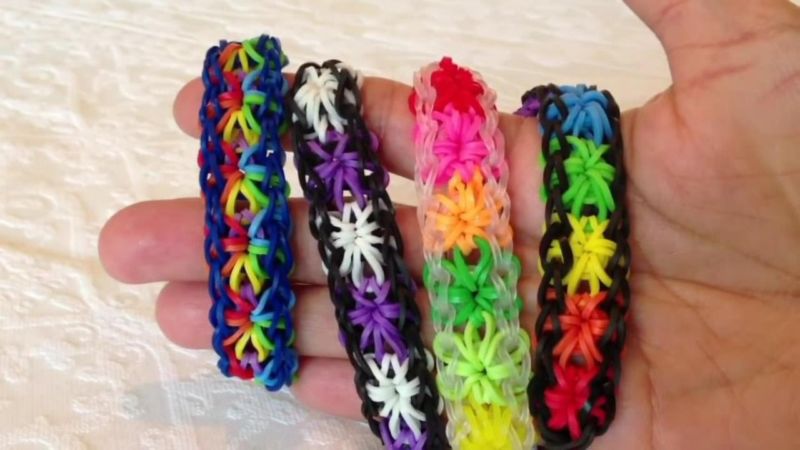
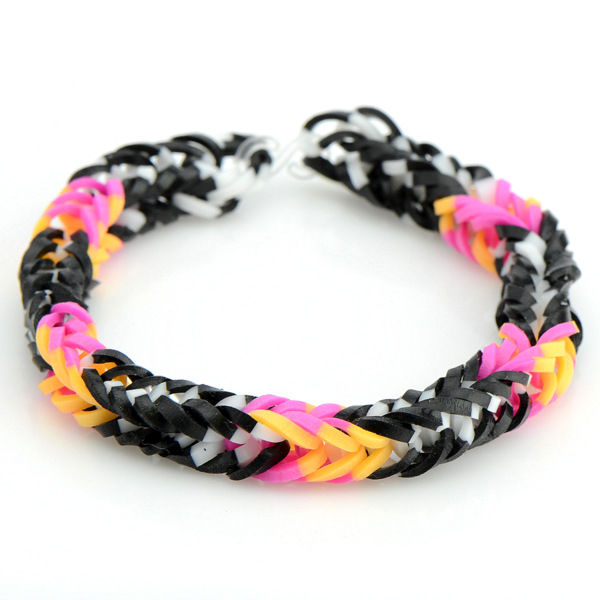
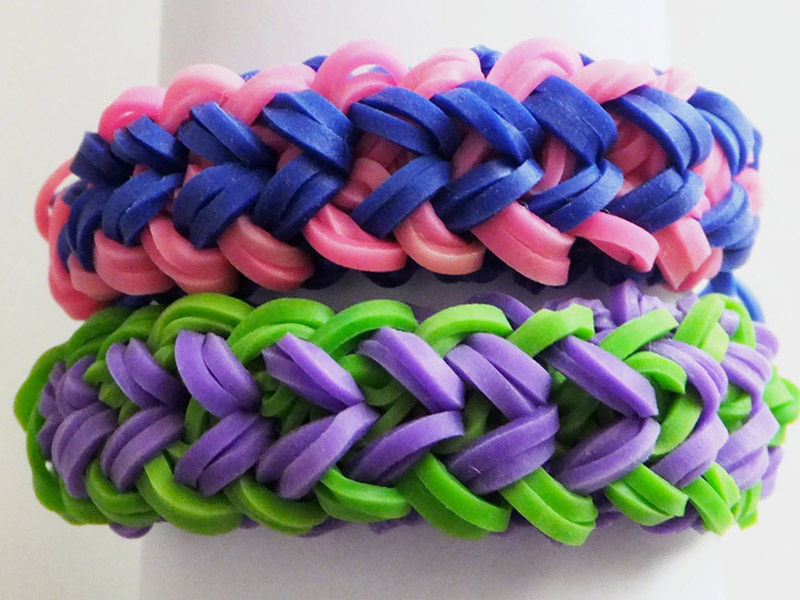
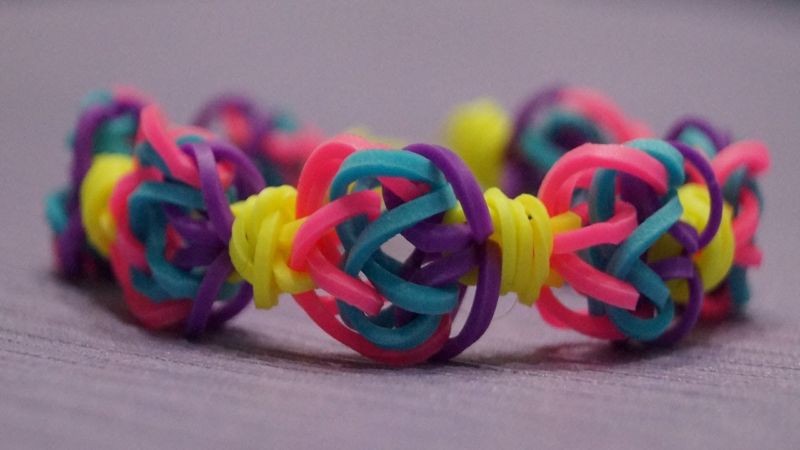
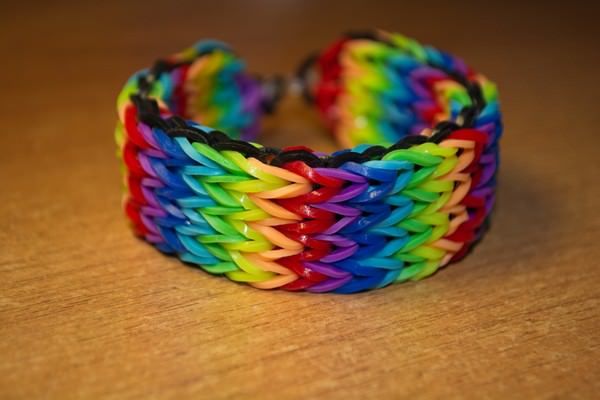
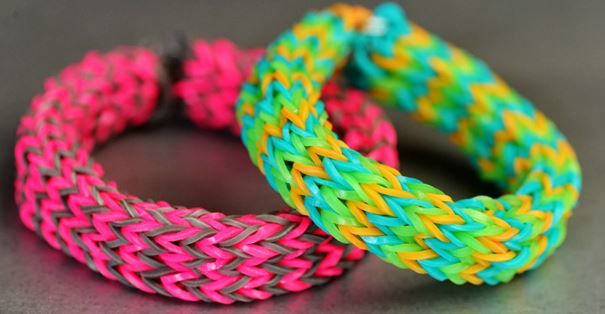
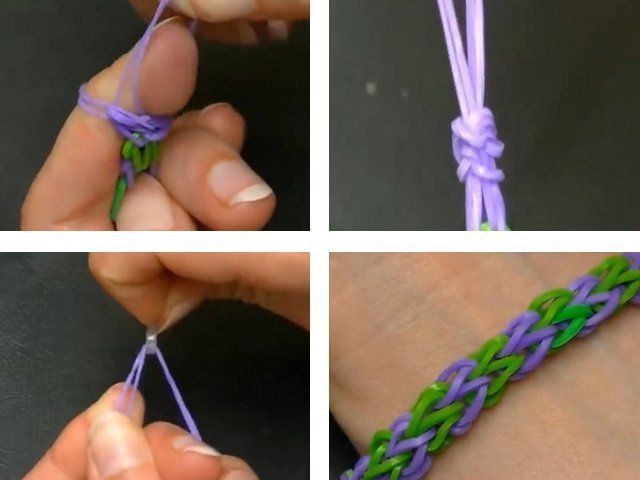
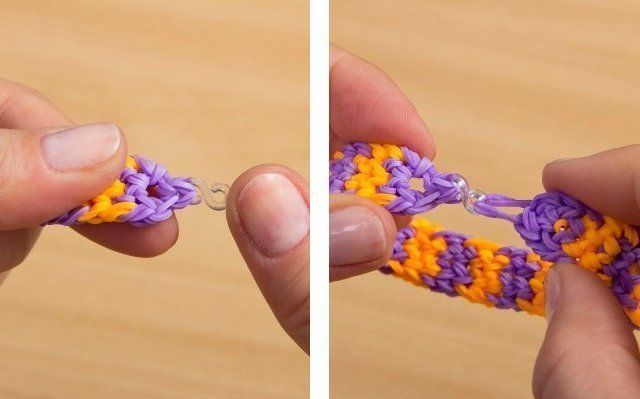
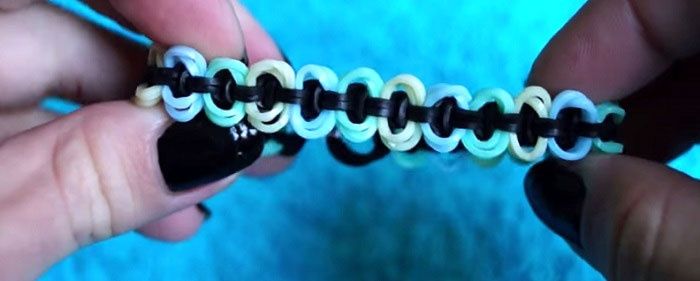
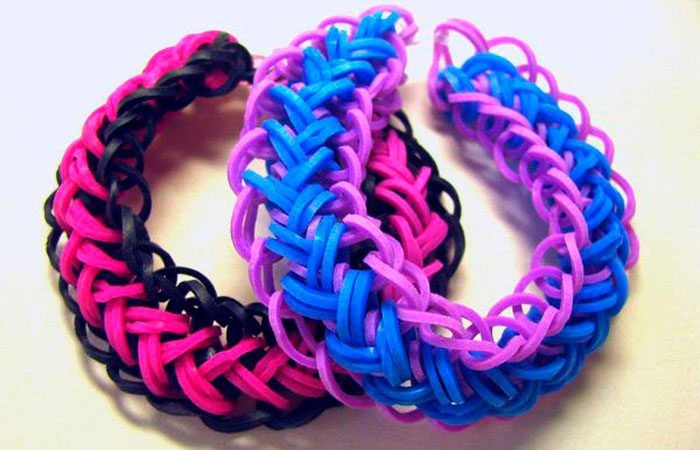
Another popular way to weave bracelets. To make it - take a special loom and rubber bands of two colors, for example, lavender and fuchsia. The loom is assembled so that the columns look to the right and about three of them in the center should not be fastened. we will also use a hook.
The first, lavender, we pull the rubber band in a figure of eight over two columns. The other color also, but from the second to the third column. Next, take the lavender one and pull it over the first two nails. Now grab the bottom light lilac rubber band and pull it off the post.
Next, pull the fuchsia rubber band from the second to the third stitch. Then hook the hook so as to grab the middle elastic and throw it over the column. Add another piece on the first and second column. Grab the bottom rubber band and throw it over the column.
Pull a new rubber band from the second to the third stitch and similarly grab the middle piece with the hook, pull back and grab the bottom rubber band and throw it over the stitch, as well as the third rubber band from the stitch to the center. Continue weaving to the desired length according to the pattern.

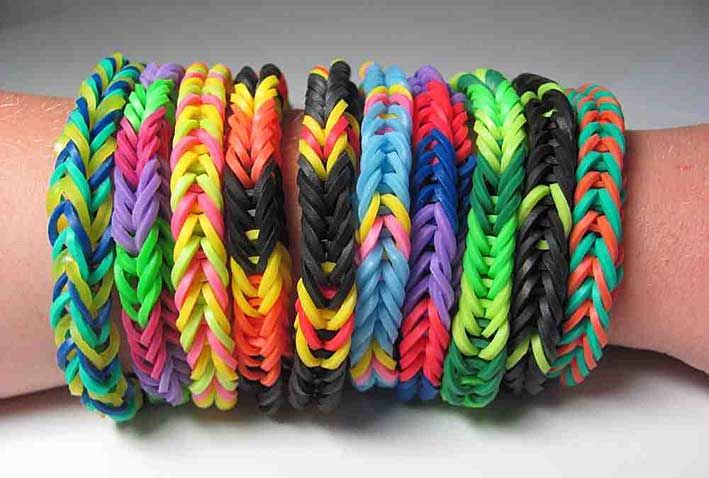
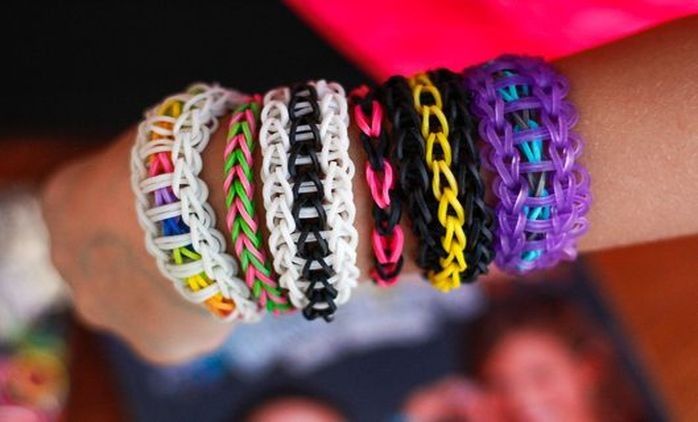
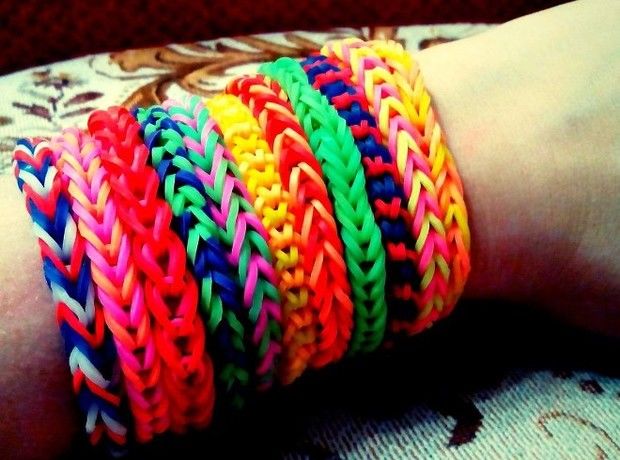
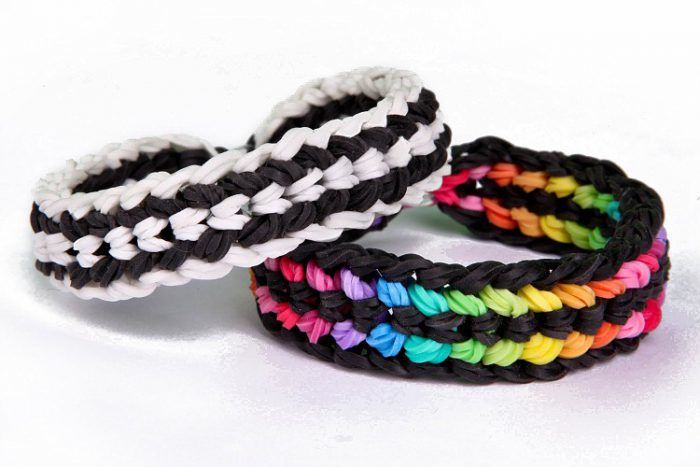
Bracelet weaving by different techniques
Often, for the product to be unique, or the figure was as close to the original as possible, masters perform the product using two or more techniques. But first we advise to practice on weaving simple things in one technique.
What you can weave from rubber bands
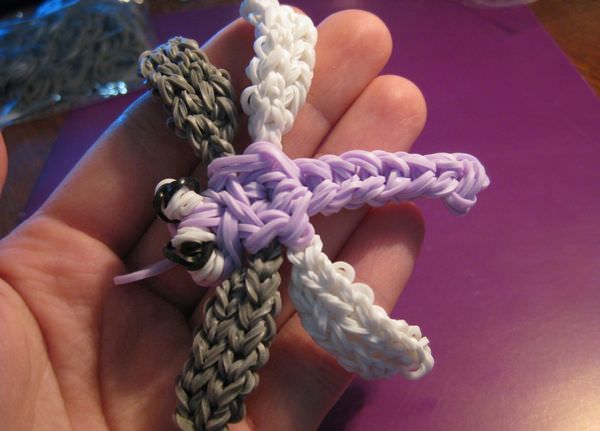
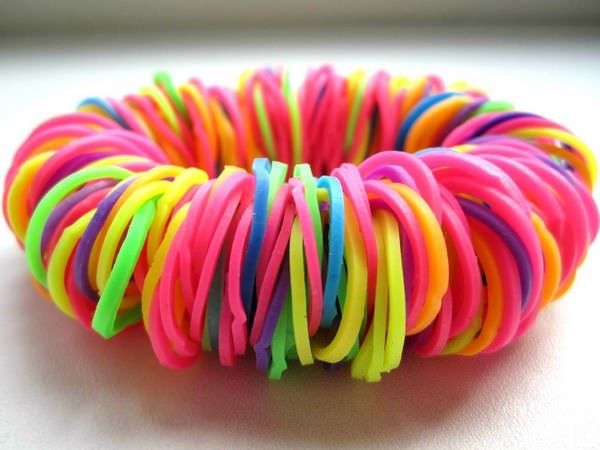
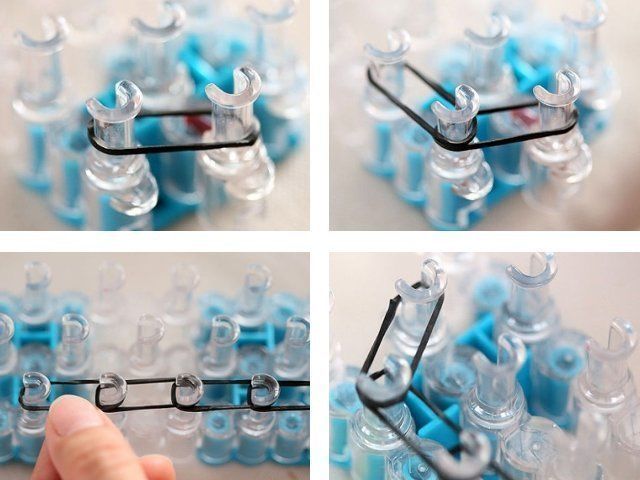
The easiest toy that can be made out of rubber bands - ball "hopper".He really like kids, however, and to make it under force even a 2-3 year old child. You need the basis - a small ball of thread or absorbent cotton and rubber bands - the more the better.
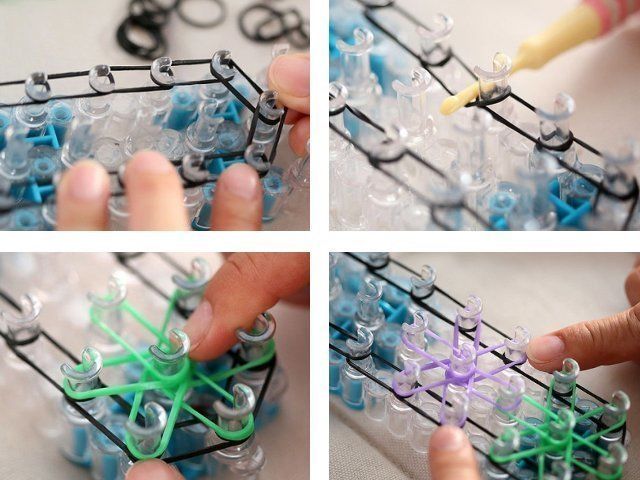
The ball can be made both monochrome and iridescent. We take the base and pull it with a rubber band in two, or better, three turns. The following rubber band is wound so that the basis is a cross.
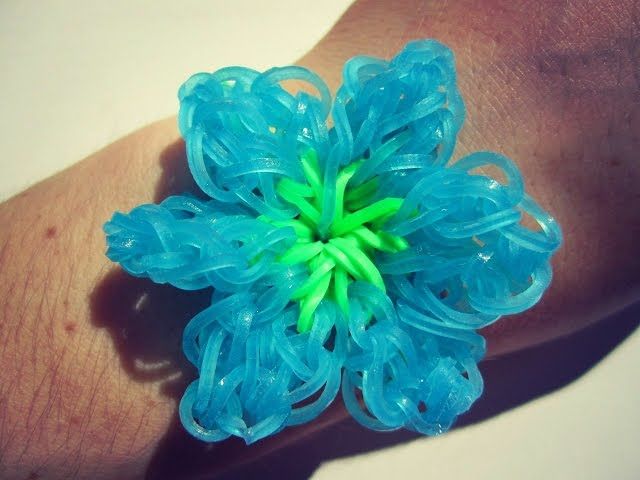
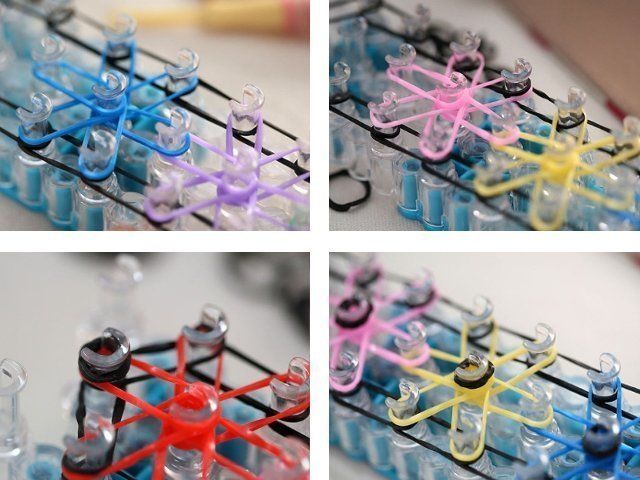
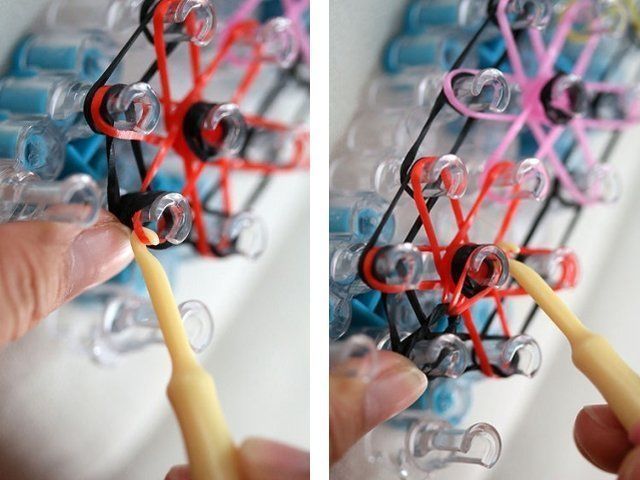
Subsequent parts slips on the basis, wrapped in two turns and arrange them so that the pattern began to resemble a snowflake. Gradually the rubber bands will cover the base, and you need to distribute them evenly around the center, until you get a ball of your desired diameter.
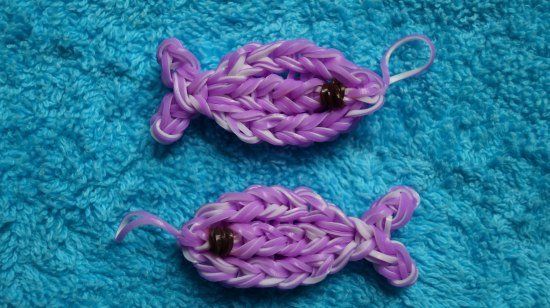
Out of rubber bands are great key chains-fruits. For example, a banana. Take three kinds of rings: black or brown and yellow rubber bands. You will also need a slingshot and a hook.
On the left post of the slingshot, wrap a dark colored ring three times. Then pull the three pieces onto both "stubs". Hook all three turns of the dark piece with the hook and move it to the center on all the yellow rings.
Put the three yellow circles back on and hook first on the right and then on the left to move the loops from the columns onto them. Repeat with the yellow elastic bands twice, then instead of three, take two yellow elastic bands and crochet a loop from them.
The final touch - the two dark elastic bands should be fixed on the product so that you get a loop, for which you can hang up the banana.
Having practiced and learned to read the scheme you can easily perform a strawberry, cherry and orange.
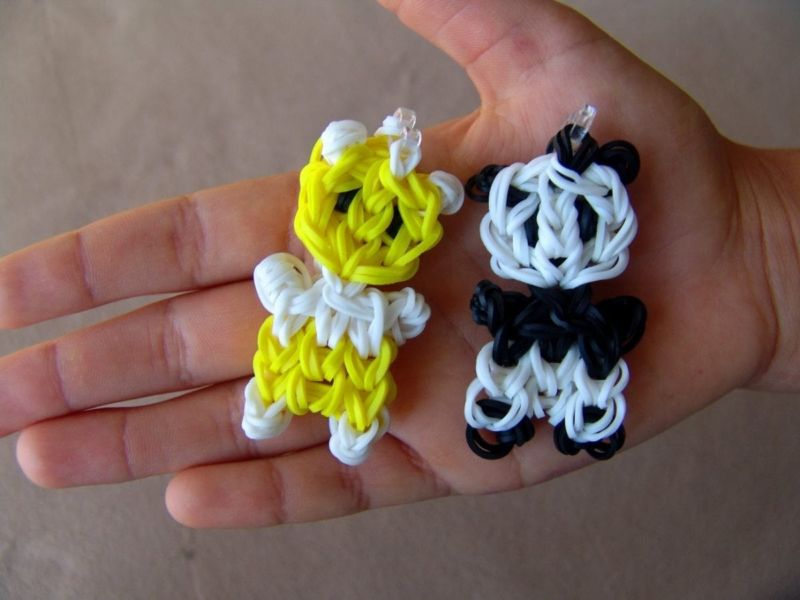
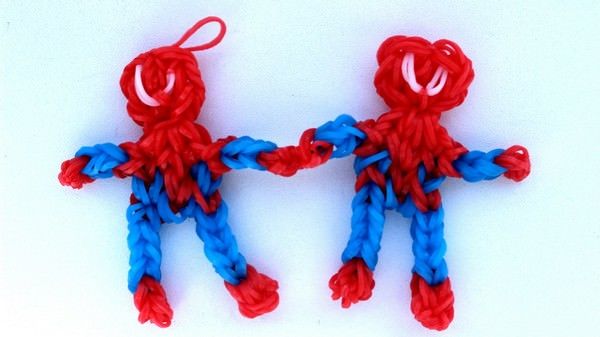
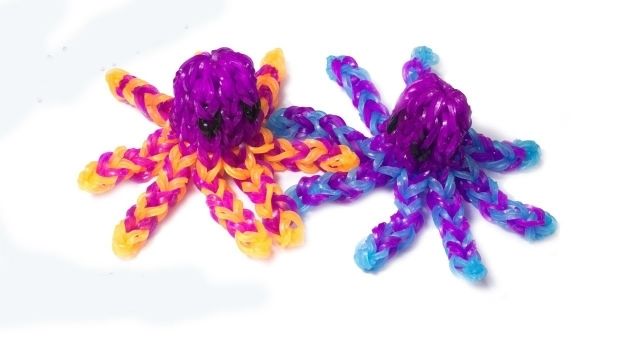
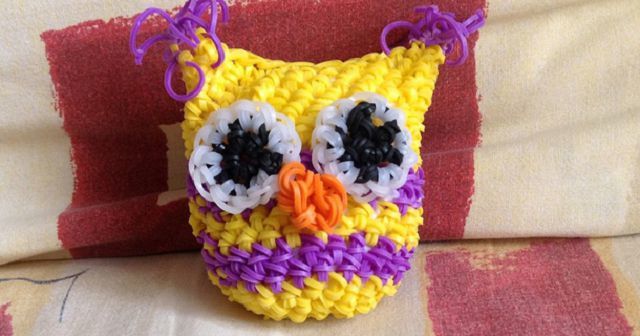
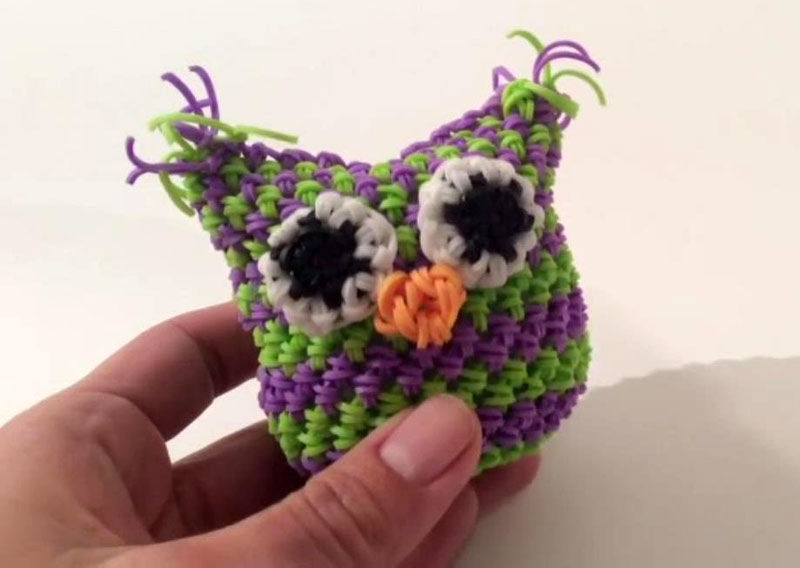
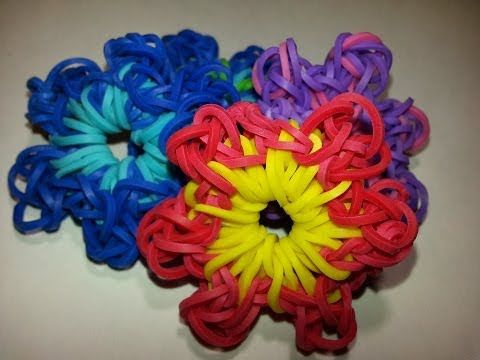
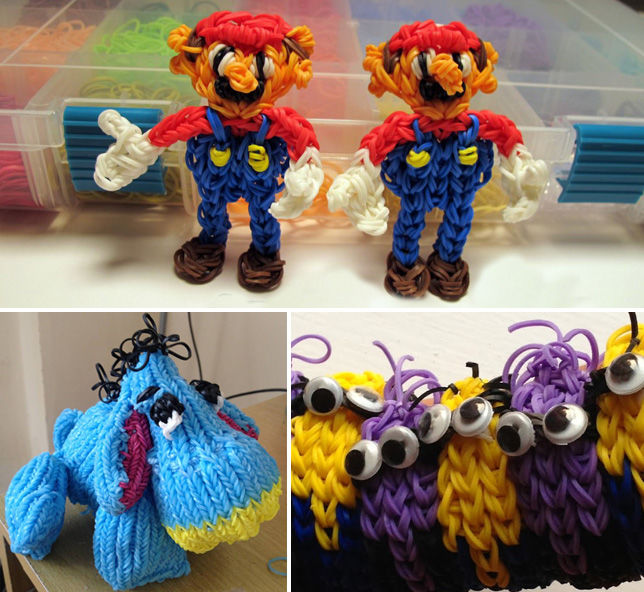
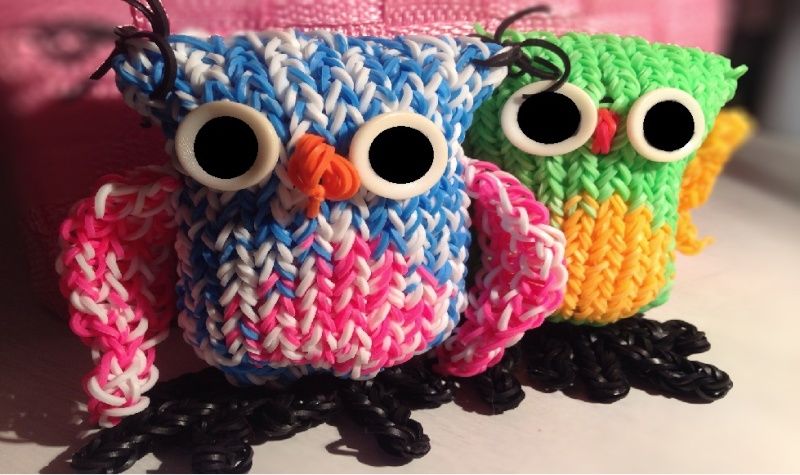
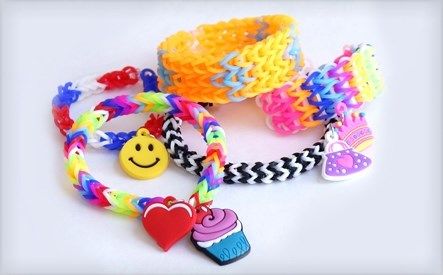
Often, as pendants and trinkets performed with rubber bands figurines of birds - an owl, a penguin, animals - a rabbit, a frog and a bear cub. If it is too difficult for you - try to practice on lighter pendant figures, make the Eiffel Tower or a smiley face.
In this article we showed you only the basics of rubber band weaving. In fact patterns, techniques and types of weaving appear every day.
Artisans vied with each other to put new patterns, however, and you, if you show a little imagination and patience, you may also invent your own way of weaving and be able to impress others with unique products of rubber bands.
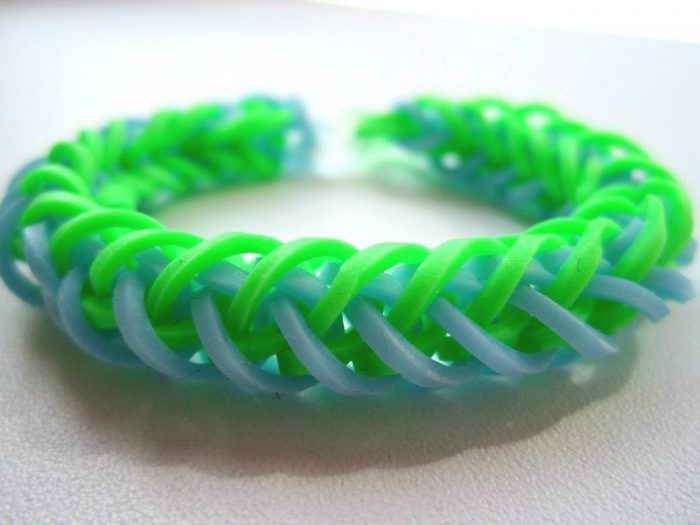
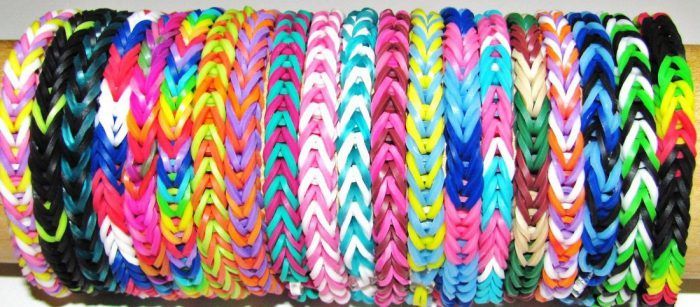
Rubber band weaving photo