Birch birch bark crafts for beginners with their own hands: Features of the material, easy step-by-step master classes and photo examples
The slender beautiful birch-tree bark is a true symbol of Russia. It was loved at all times not only for its flexible mill and branches, but also for its white smooth bark - birch bark.
Since ancient times birch bark was the only material available for ordinary people in Russia. That is why it was so often used in the economy:
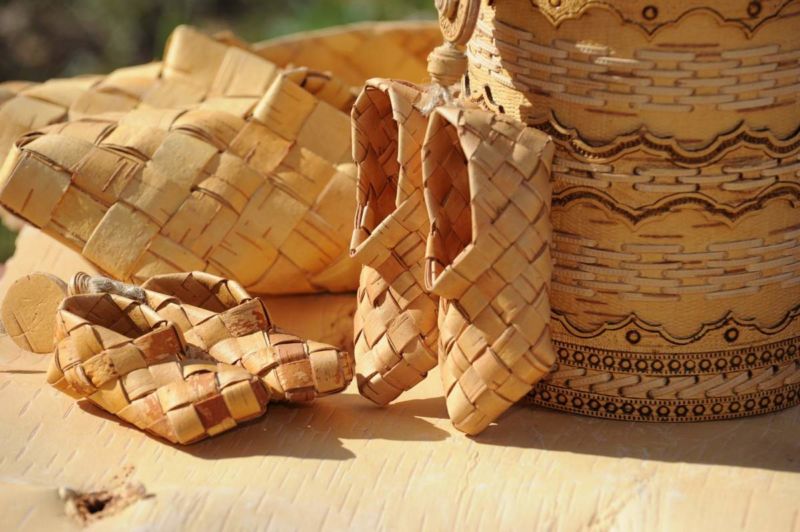
- Made tableware, household utensils (sacks, boxes, baskets, bowls);
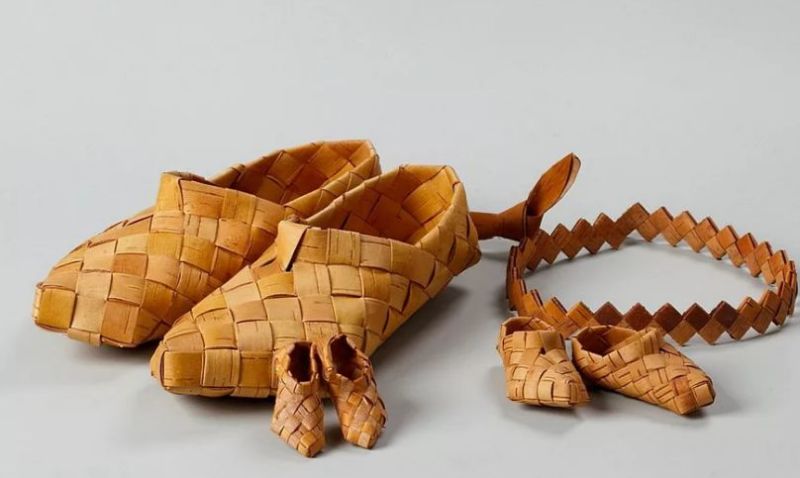
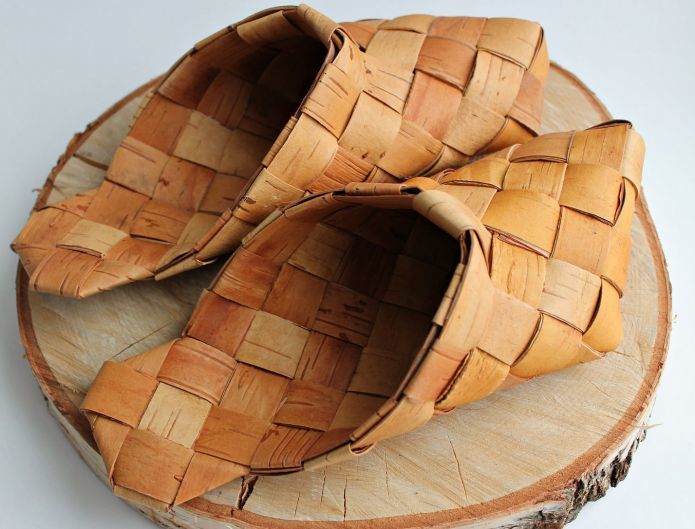
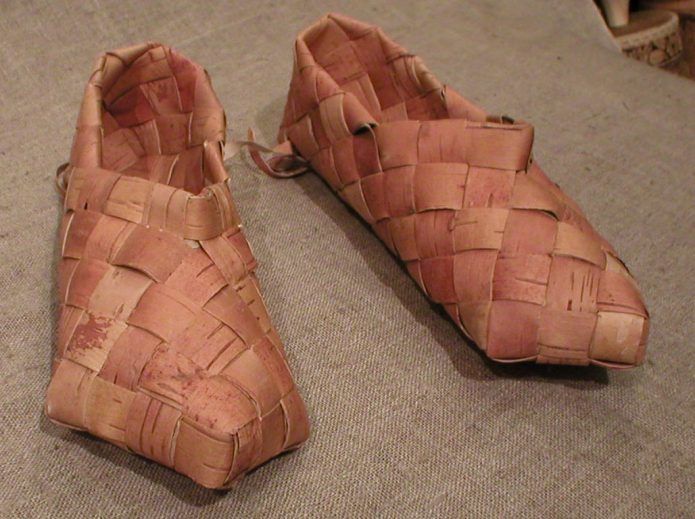
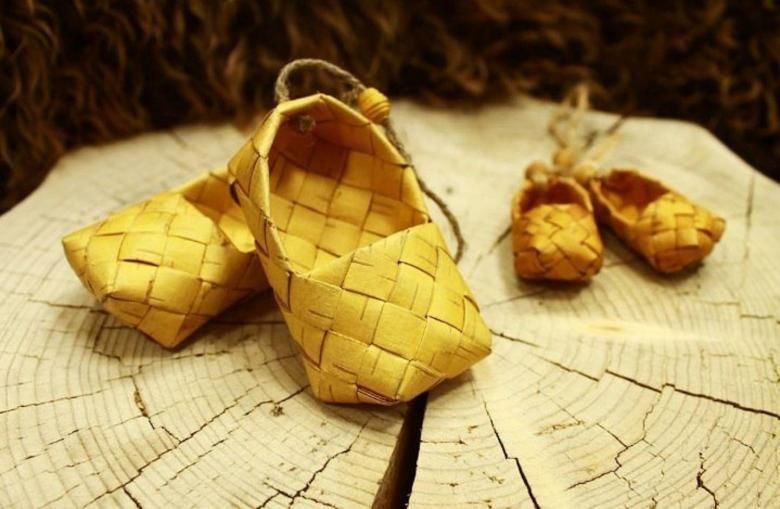
- Clothes and shoes (noodles);
- toys and musical instruments;
- Furniture (chairs, cradles);
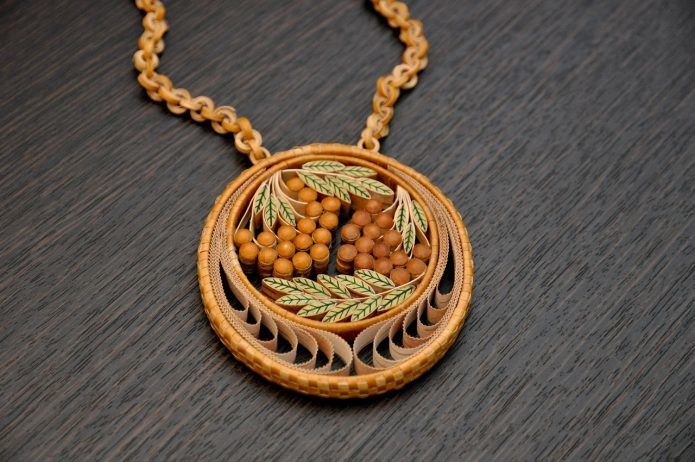
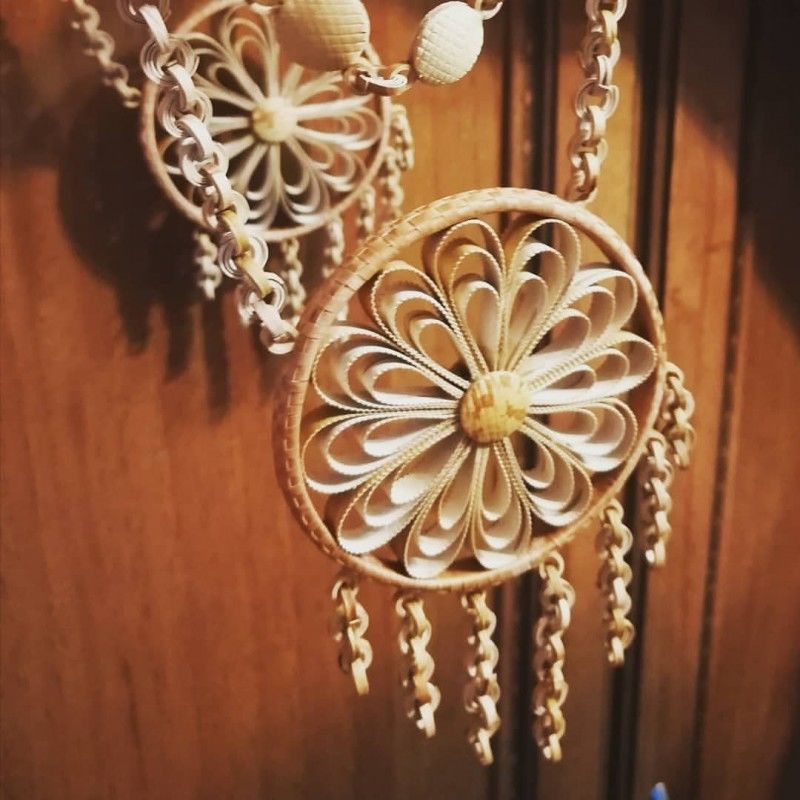
- amulets and jewelry;
- boats, tackle, ropes, horse harness;
- stoked ovens, lit fires;
- covered the roofs of houses;
- they recorded important life events (birch bark writings).
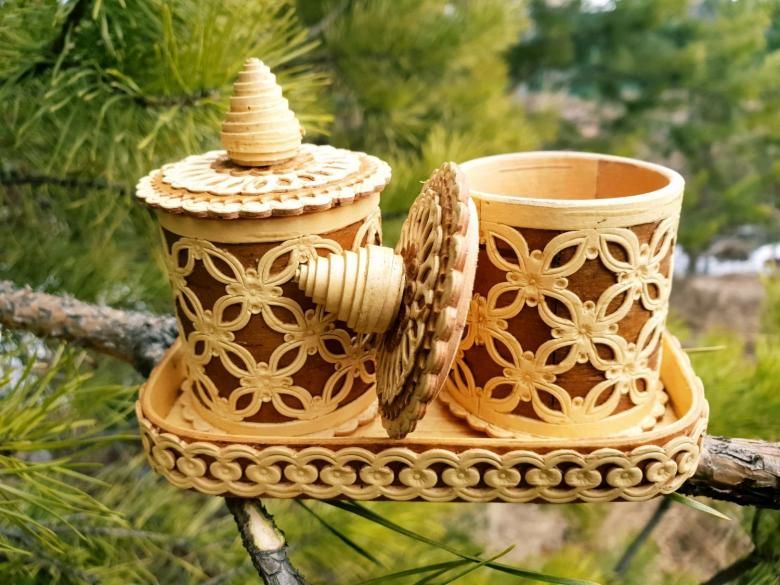
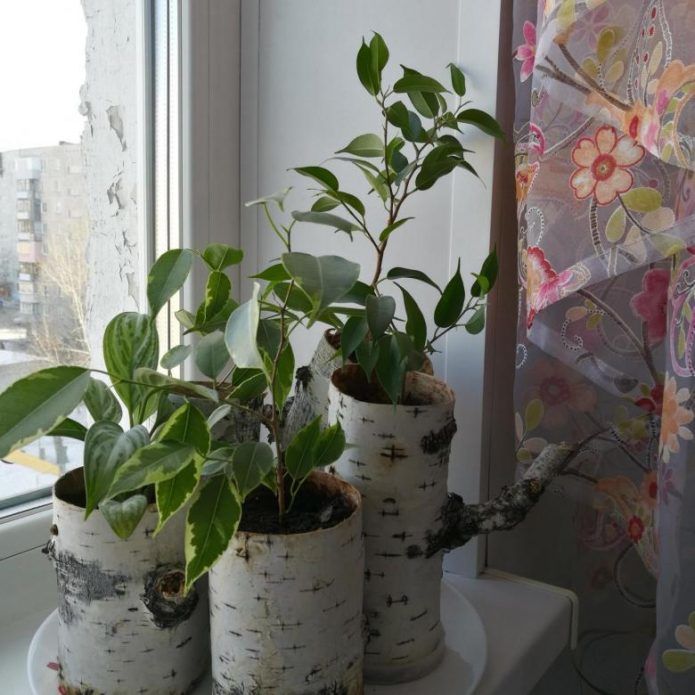
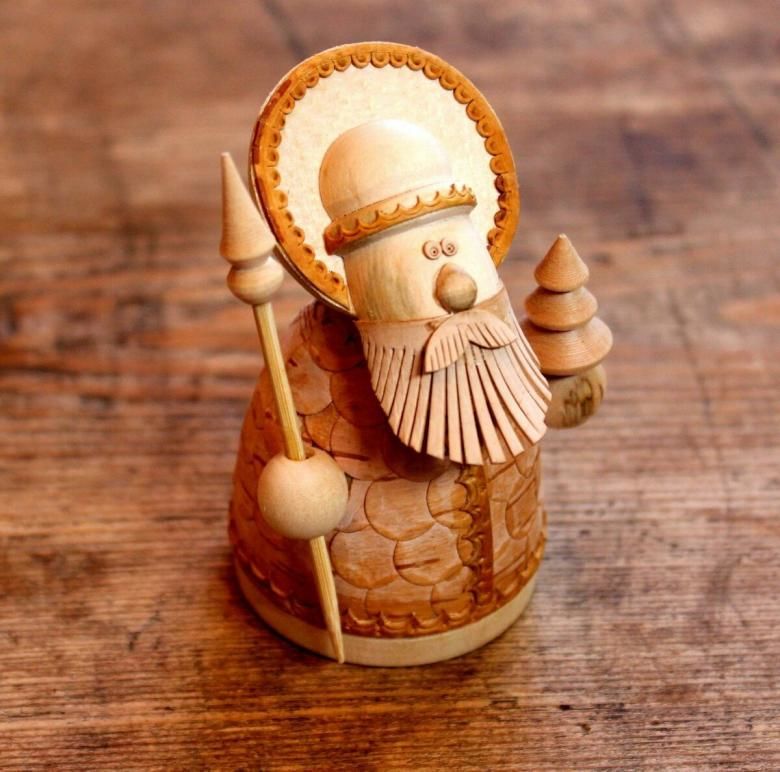
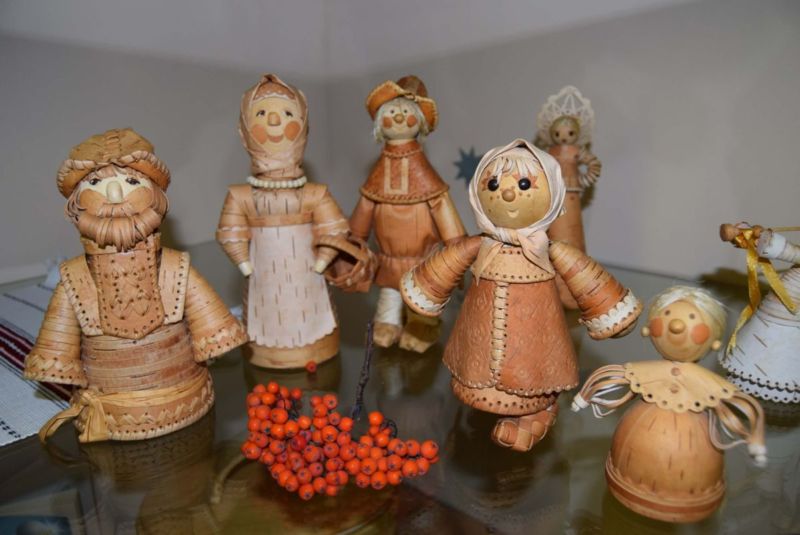
Now the love for natural materials is returning, and birch bark crafts are becoming popular again. Modern craftsmen make antique utensils, caskets, paintings, art panels, souvenirs and much more from birch bark.
What is so attractive about birch bark?
- It is flexible and easy to process.
- It is able to keep warm and let the air pass through.
- Products in birch bark dishes stay fresh for a long time.
- Products made of it are safe for allergy sufferers.
- Beautiful, strong and durable material, not afraid of moisture.

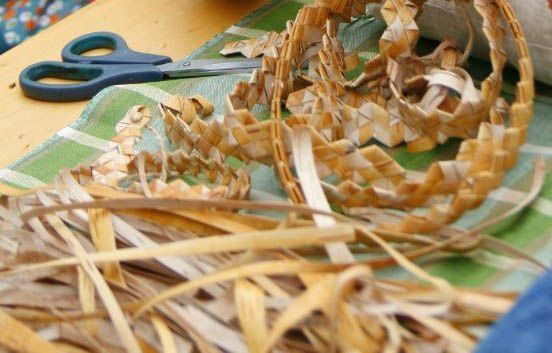
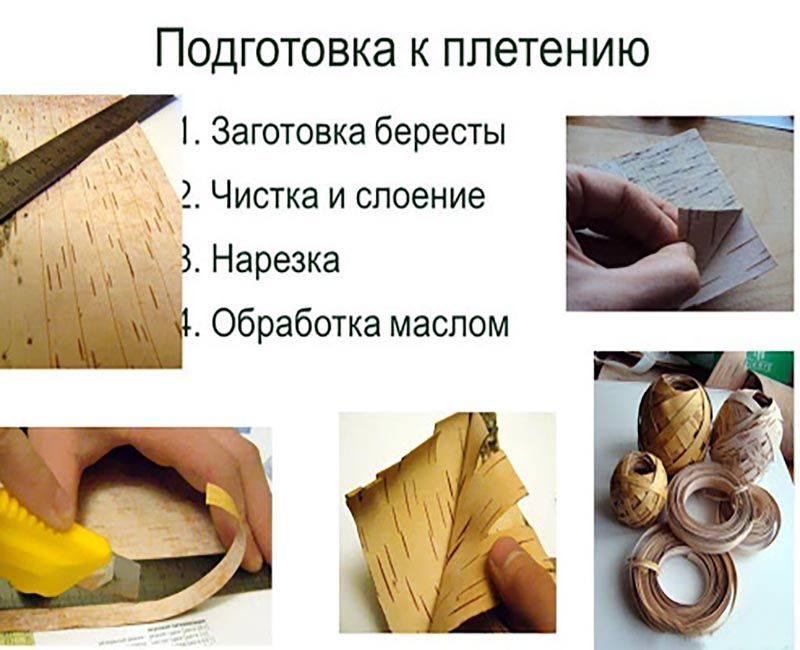
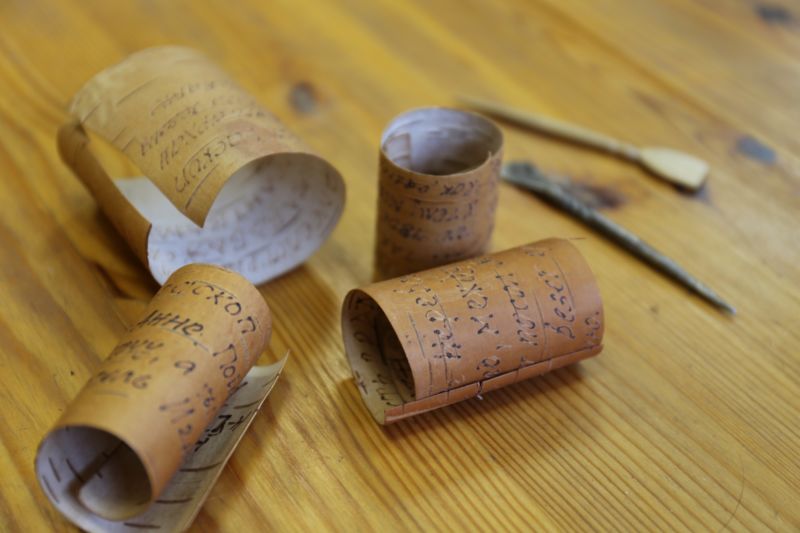
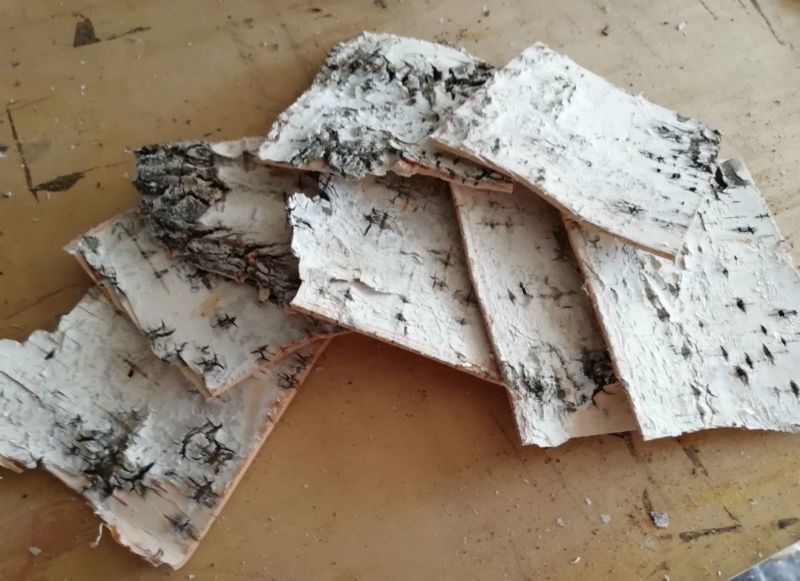
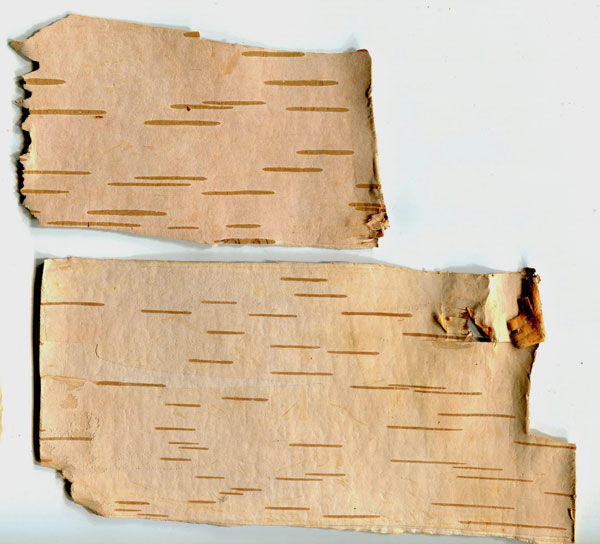
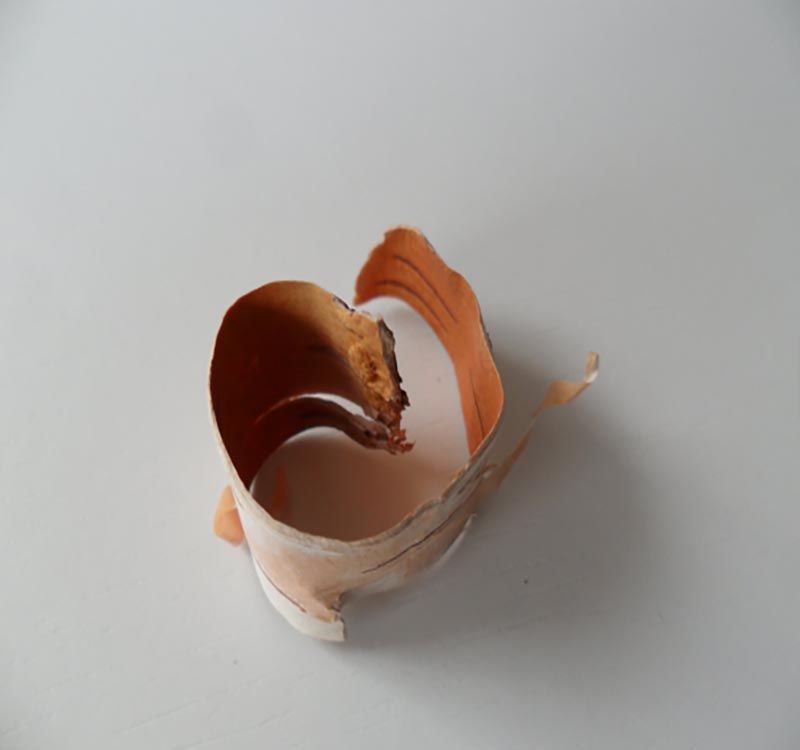
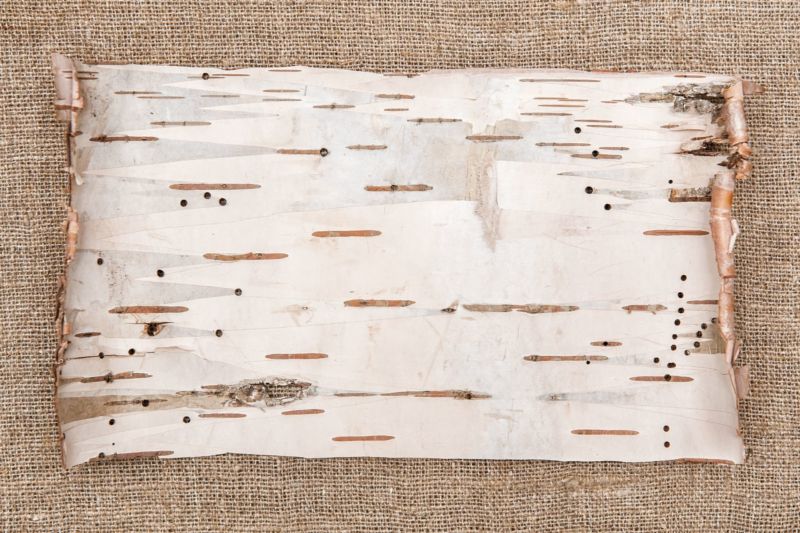
Preparing birch bark
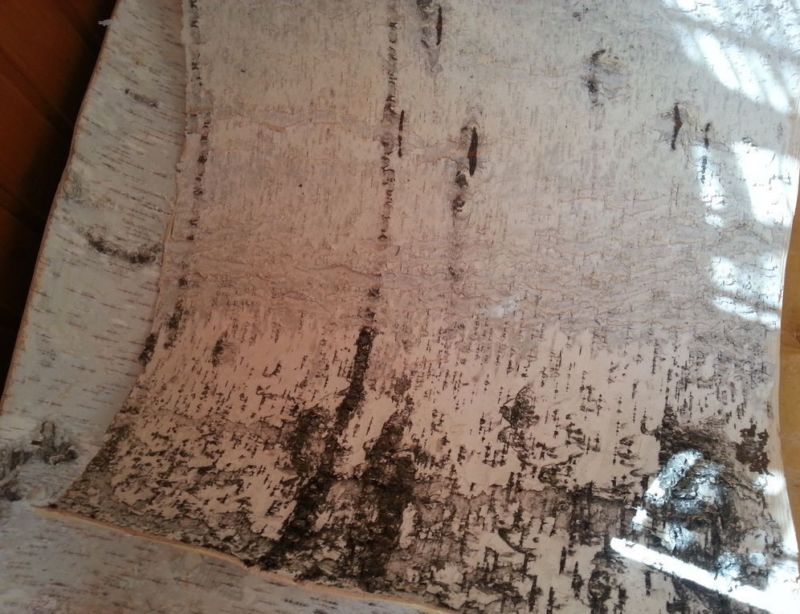
Before you start the creative process it is necessary to prepare birch bark for the handicrafts. It is best to do it in June-July, when the birch bark is most pliable.
It is better to choose cut or fallen trees so as not to spoil the forest. If you remove the bark from a young tree, make sure that you cut very deeply so as not to damage the tree.
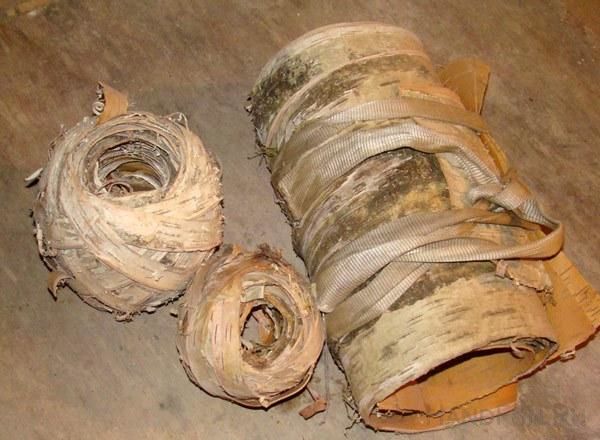
Logging can be done in layers or in strips. To do this:
- On the bark you need to make not too deep to 1 cm vertical incision.
- Then - 2 circular notches on the edges of the vertical one.
- To separate the birch bark from the trunk, its edge is picked up with a knife or spatula. This is how the birch bark is cut in layers.
- If there are many layers, they are put on top of each other, alternating the outer and inner sides.
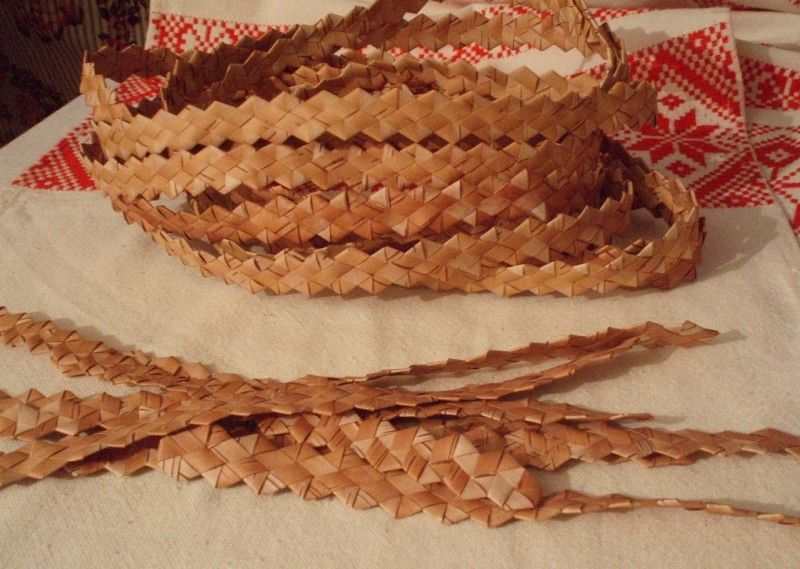
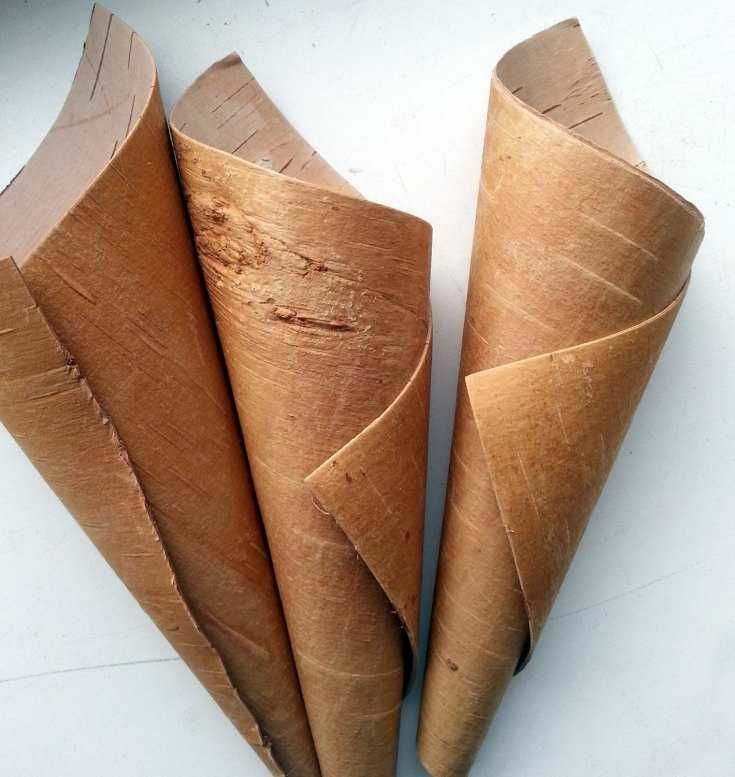
- To prepare the bark in strips, it is cut in a spiral, and then immediately twisted with the outer side up.
It is believed that birch bark ribbons are best for making birch bark crafts for beginners.
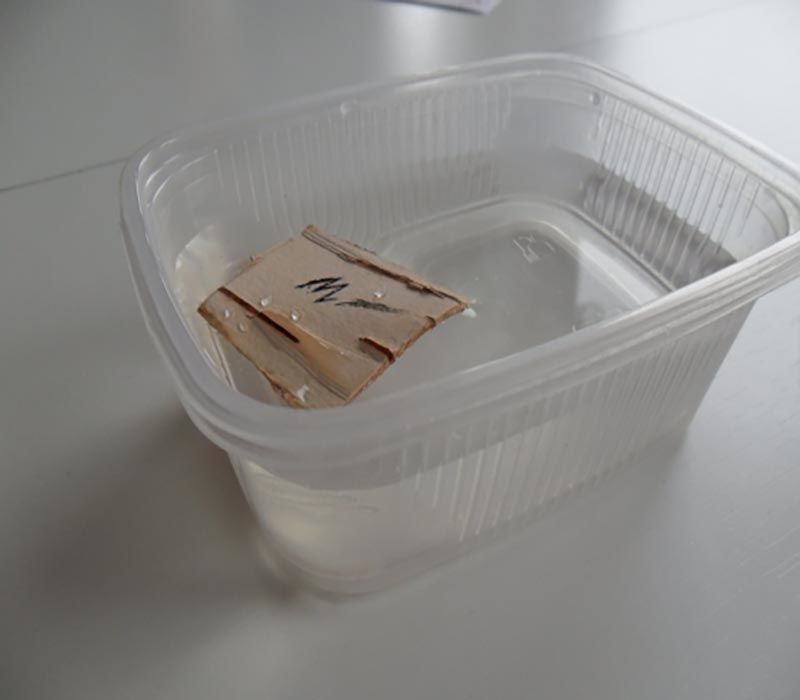
Processing birch bark for handicrafts
So, the birch bark is collected. But before proceeding to the creative, the base must be prepared:
- To begin, birch bark is cleaned of dust, dirt, growths with sandpaper.
- With a soft cloth or sponge, the underside of the bark is slightly wet.
- Then in a large bowl prepare a warm salt solution and place the birch bark material there for 2-4 days, depending on the age of the tree.
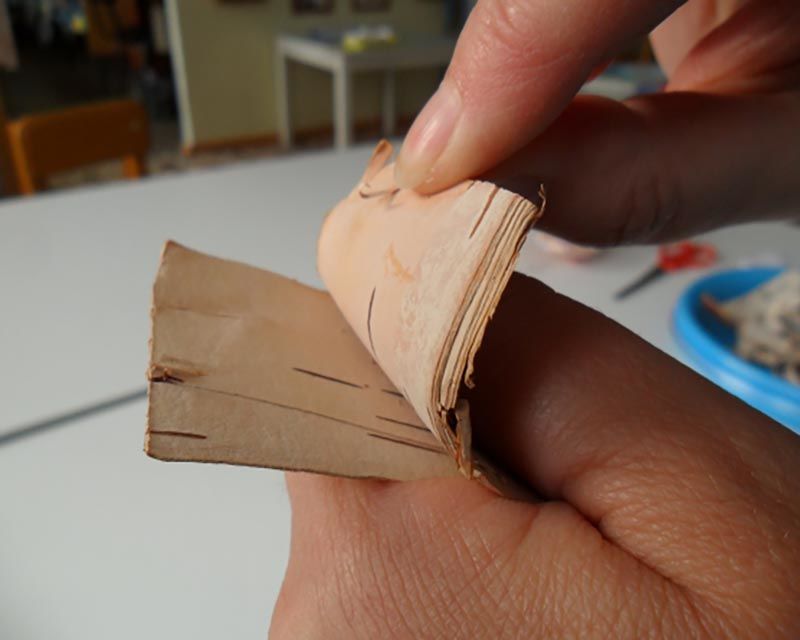
- The soaked bark is separated into strips and layers.
- After that they are ironed for final drying and separated according to shape, color and pattern.
- If one wants to get small crumbs to decorate future products, birch bark is ground in a meat grinder.
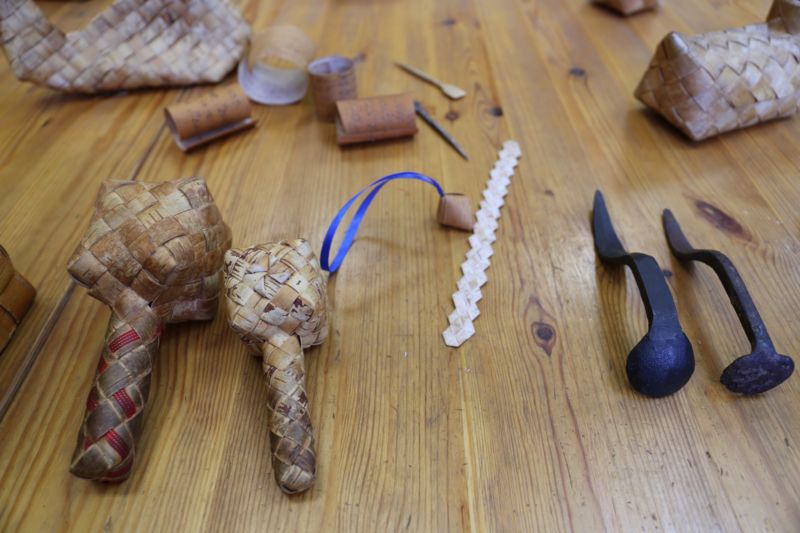
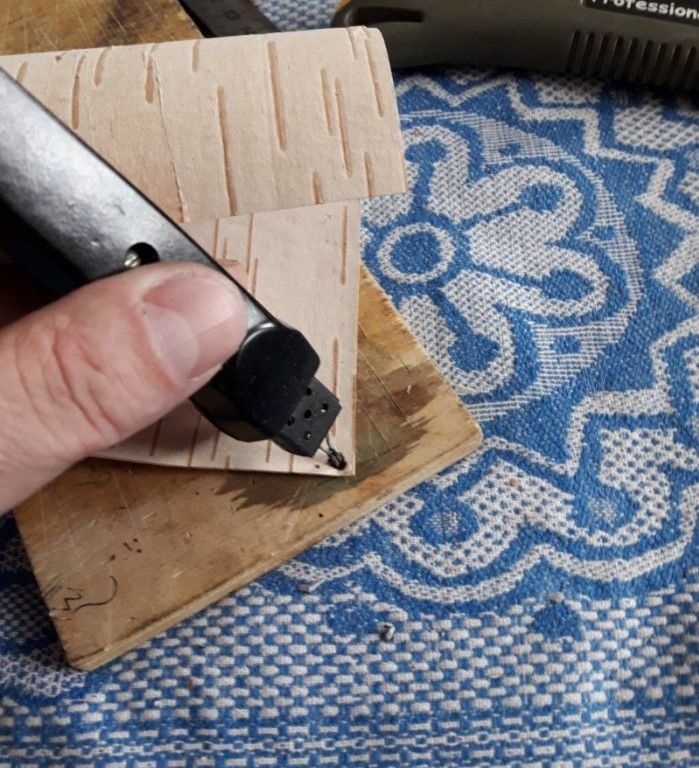
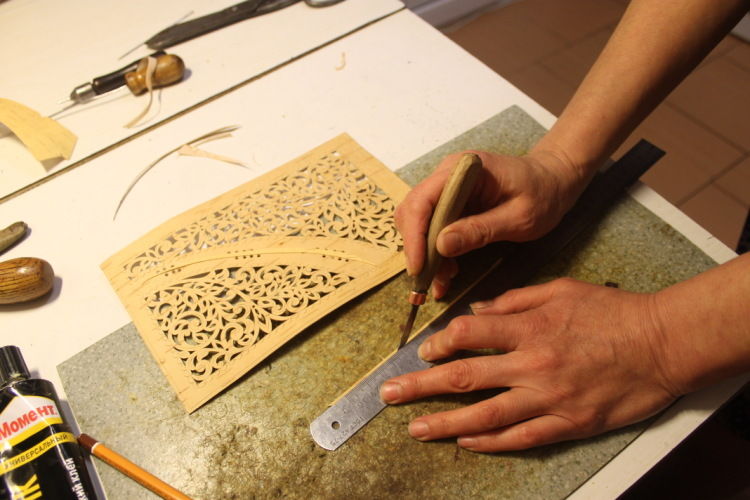
Tools for making birch bark handicrafts
For fruitful and high-quality work with birch bark you will need:
- scissors;
- sharp knife;
- staples;
- Clips for fixing or clothespins;
- tweezers;
- pencil or pen;
- compass, ruler, angle;
- templates;
- awl, pliers;
- hole punch, chisel;
- a board or any hard surface to work with sharp tools;
- vegetable oil and a soft dry cloth.
Birch bark crafts with children
Birch bark is a pliable and environmentally friendly material that both adults and children can work with. Involving kids in creative activities, you develop their imagination, creative thinking and fine motor skills, train assiduity and attention.
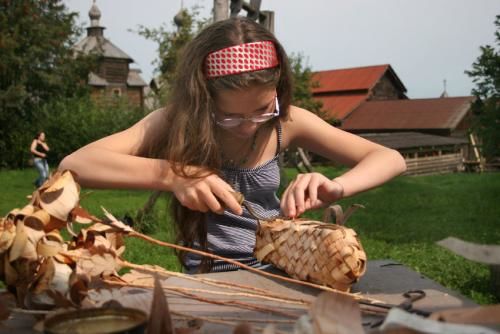
And if your child attends kindergarten or school, then bringing the product from birch bark, you will not only surprise everyone with its uniqueness and beauty, but also surely win the contest for the best handicraft from natural materials!
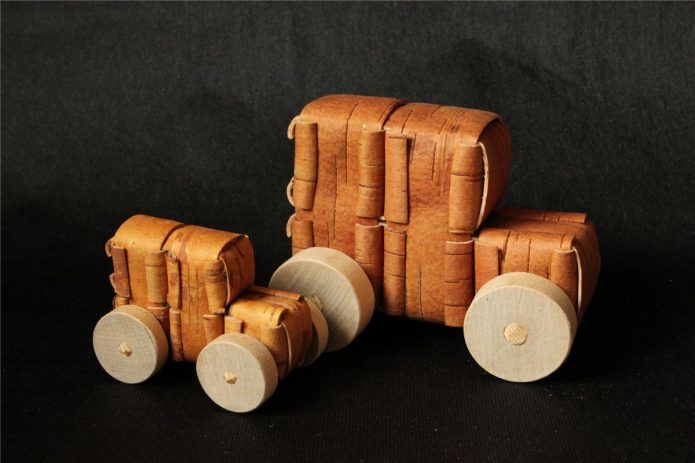
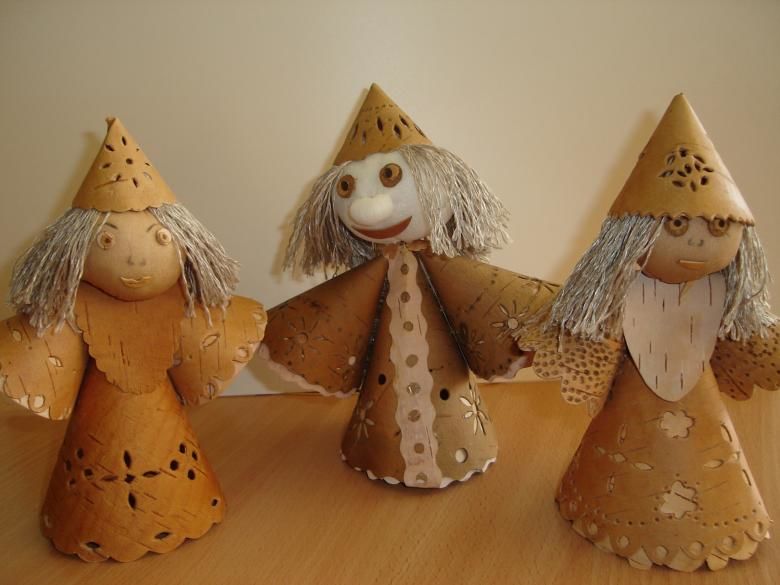
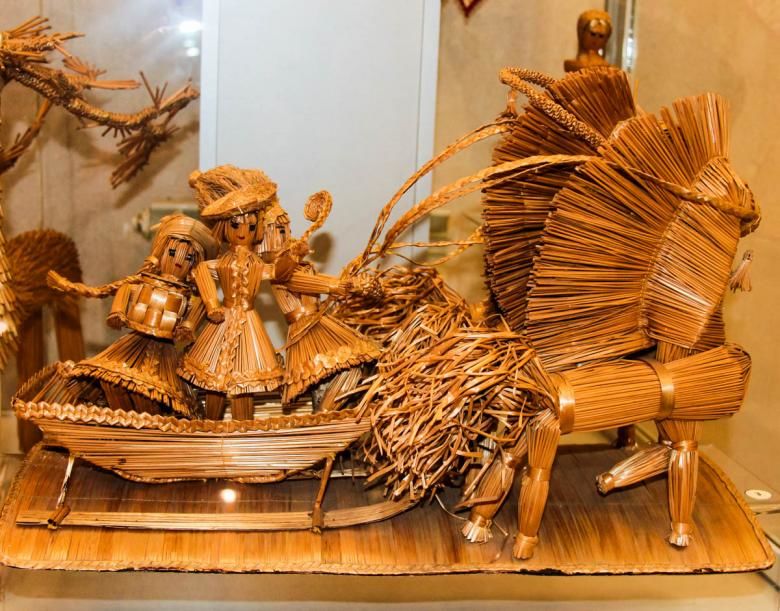
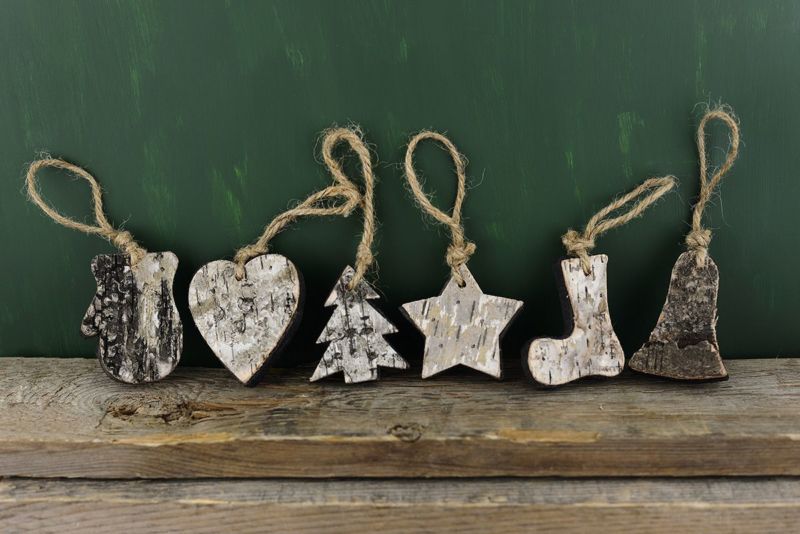
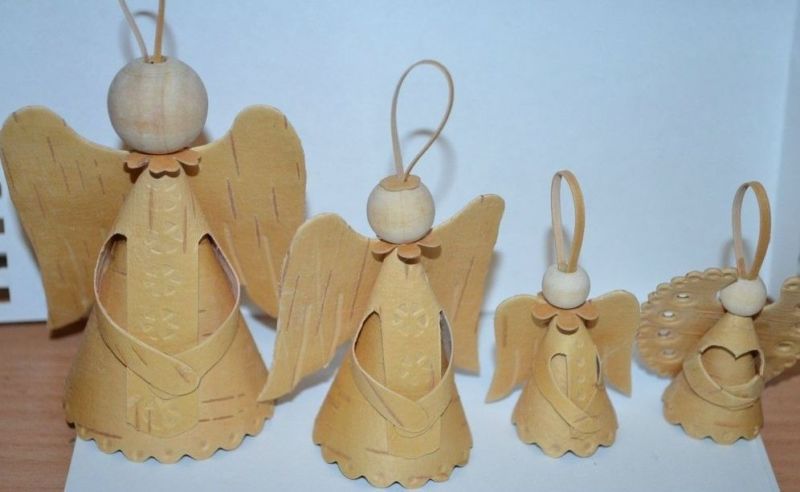
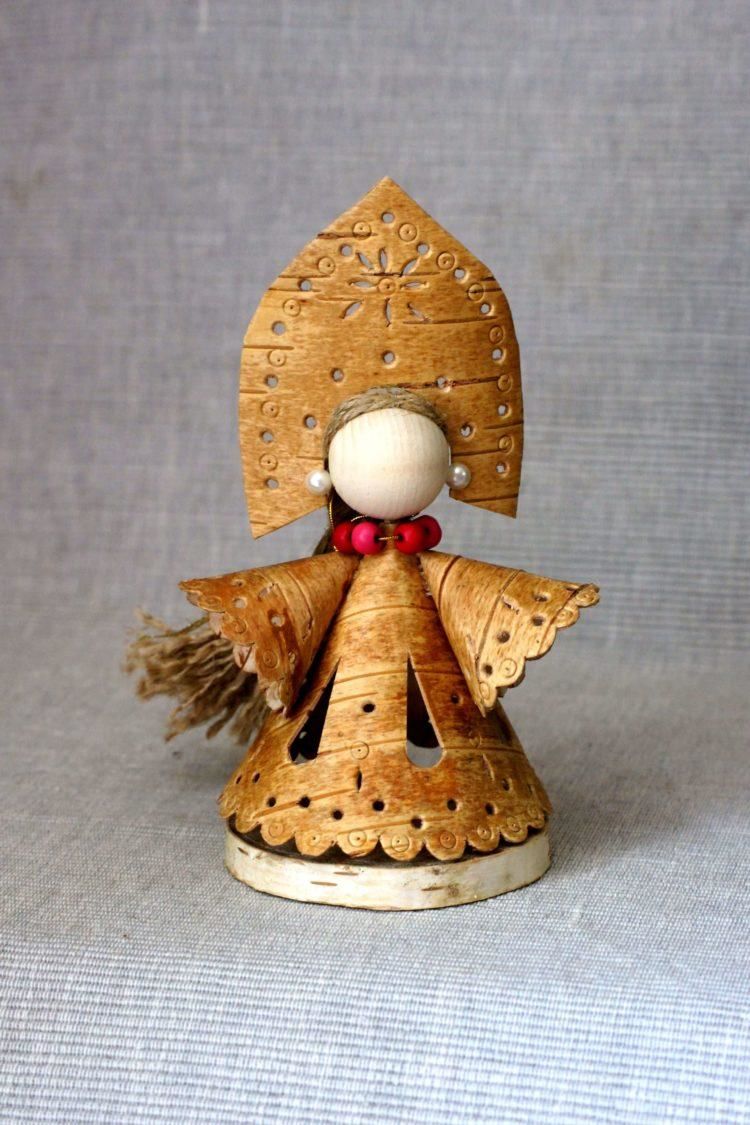
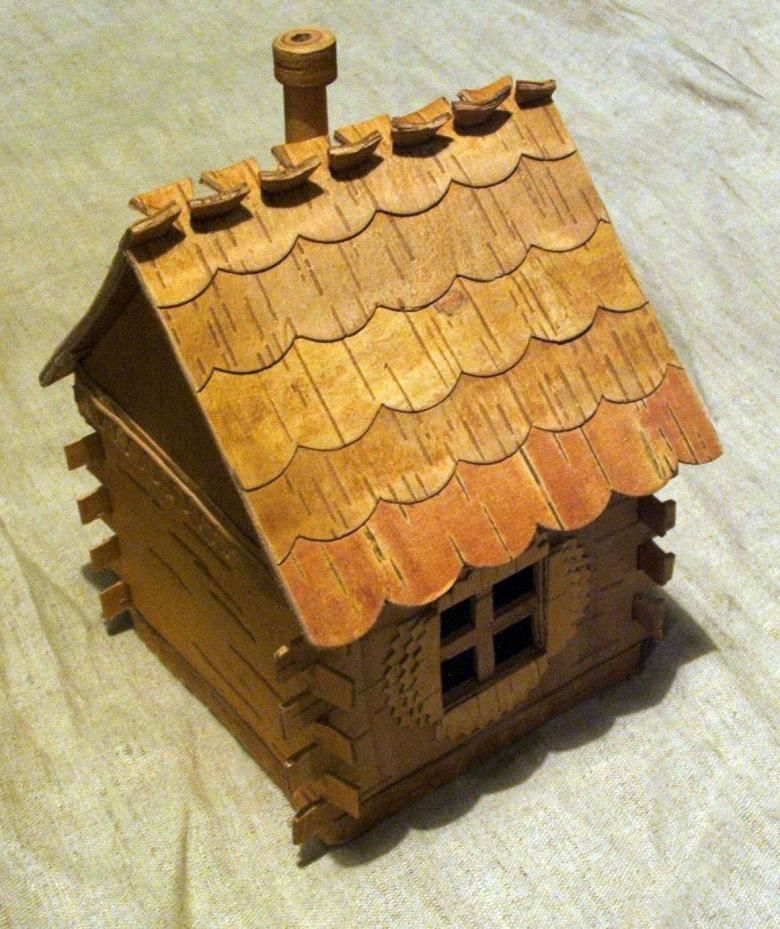
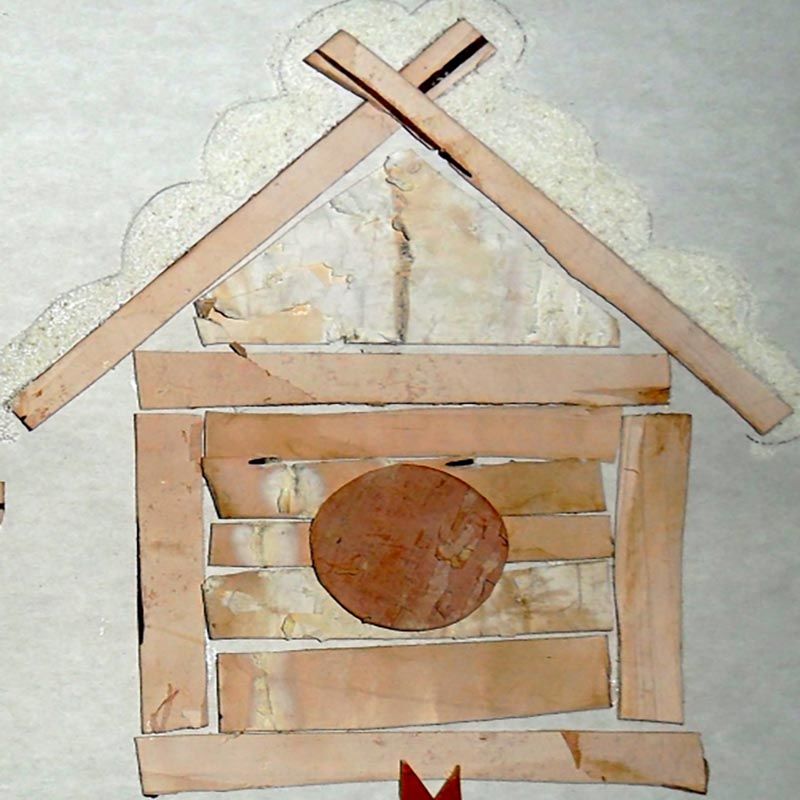
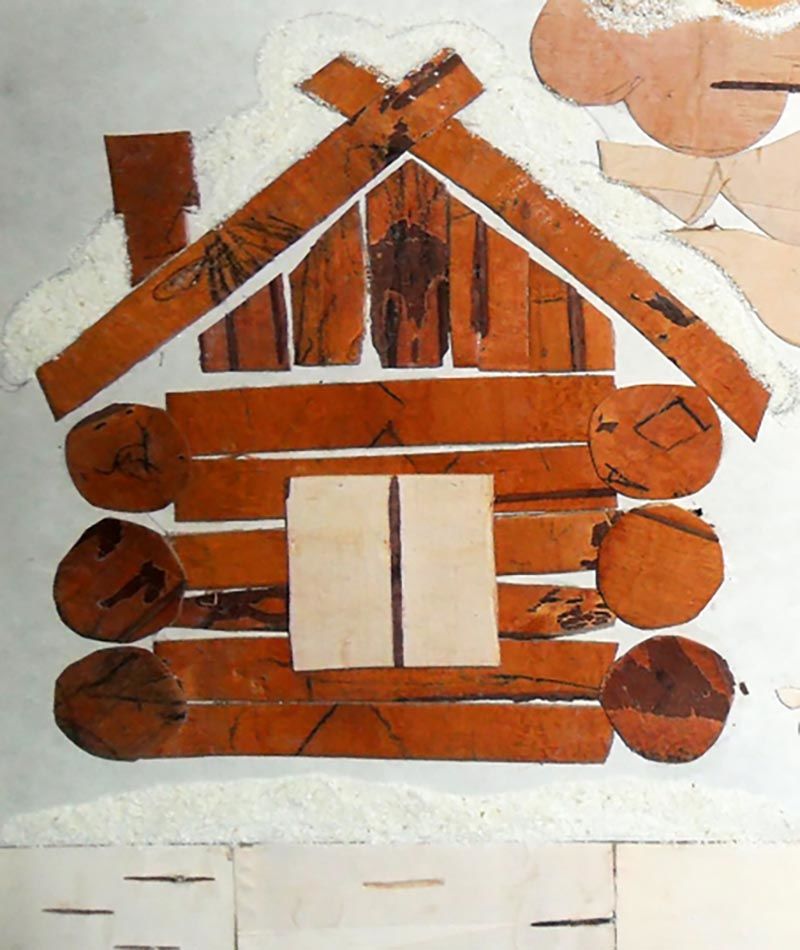
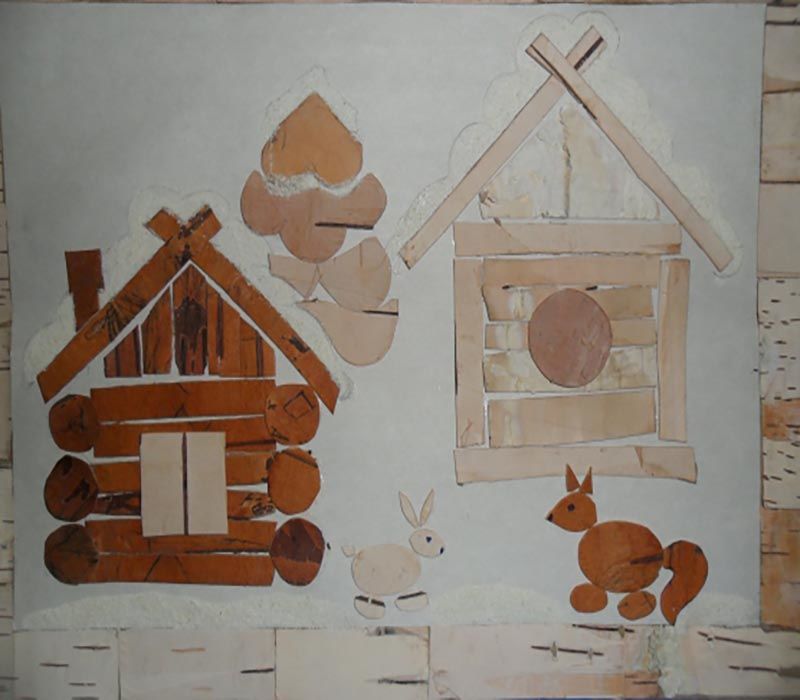
Little creators are able to make such children's crafts from birch bark as:
- a house;
- coaster under the hot dishes;
- applique;
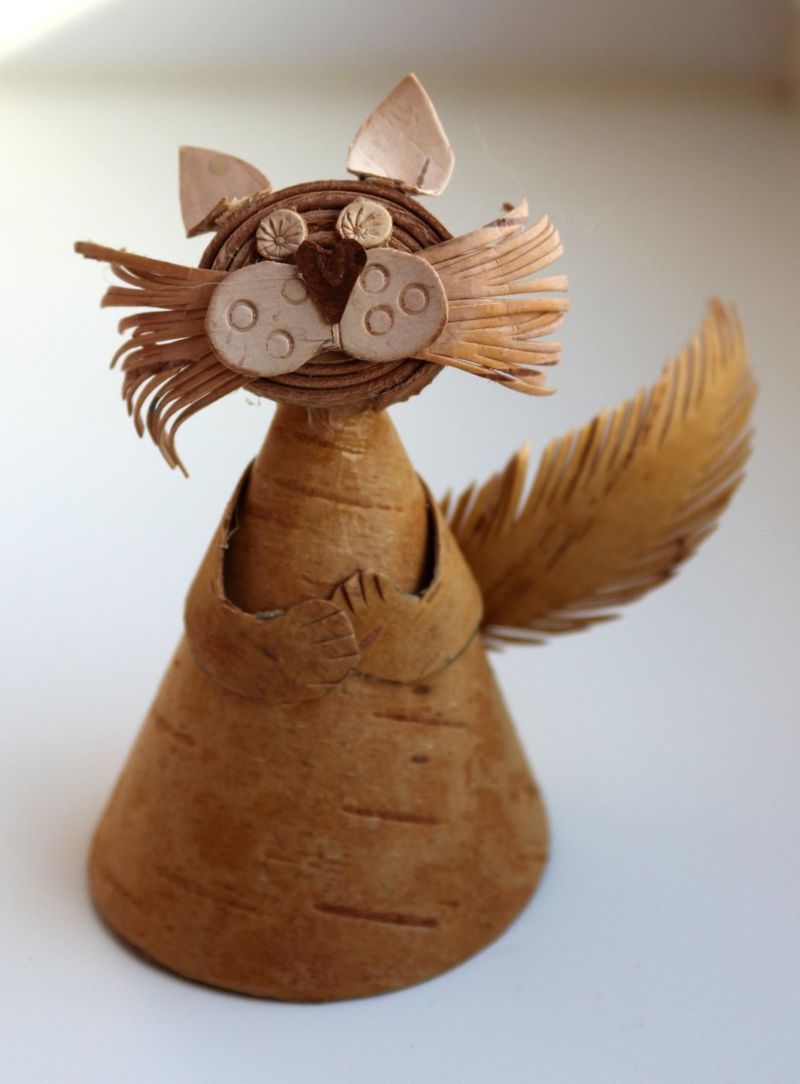
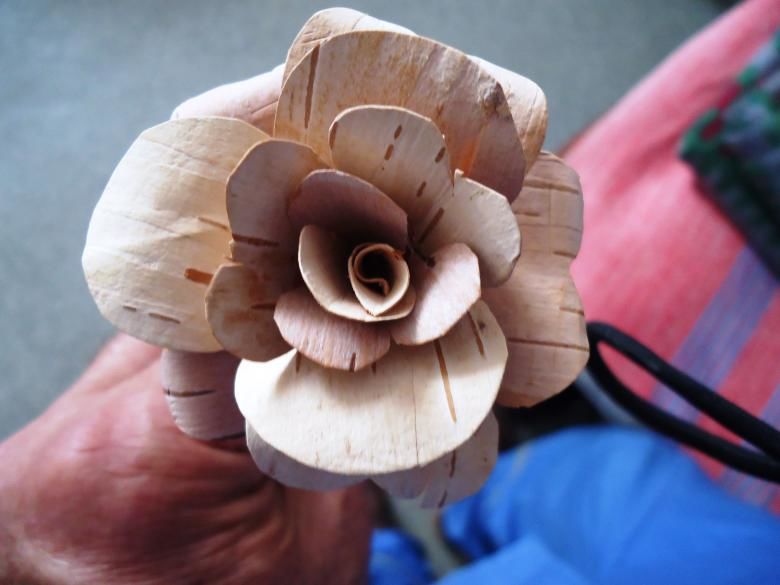
- Three-dimensional figures (a flower, an animal, a salt cellar);
- flat animal figurines;
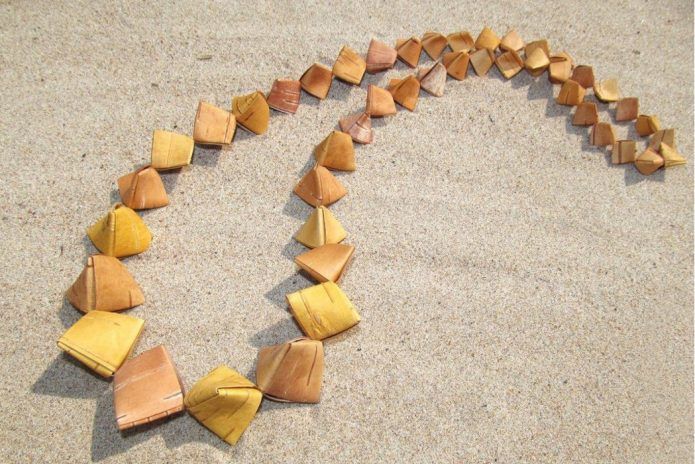
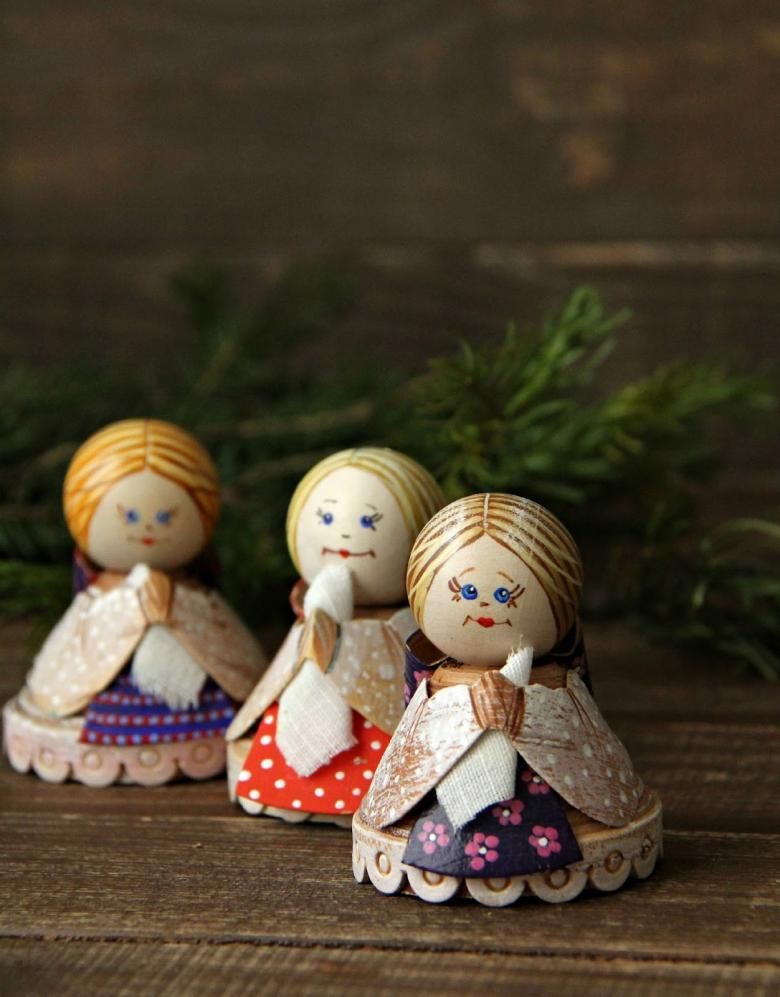
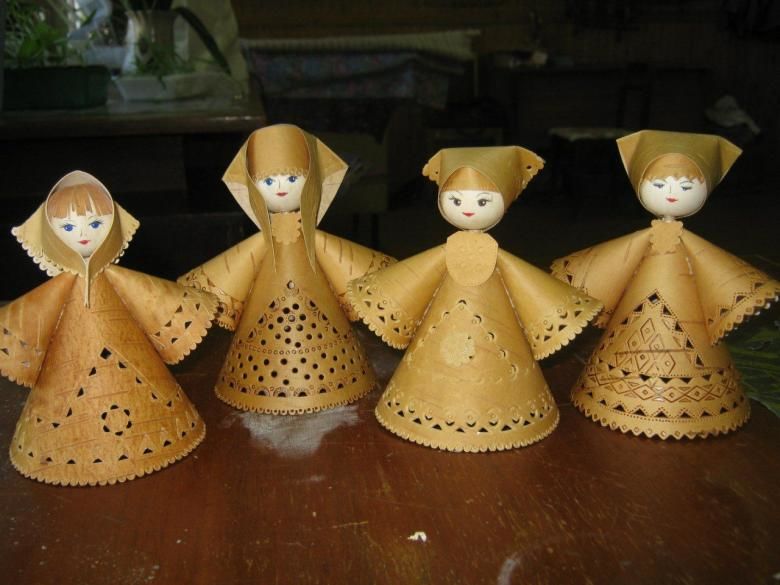
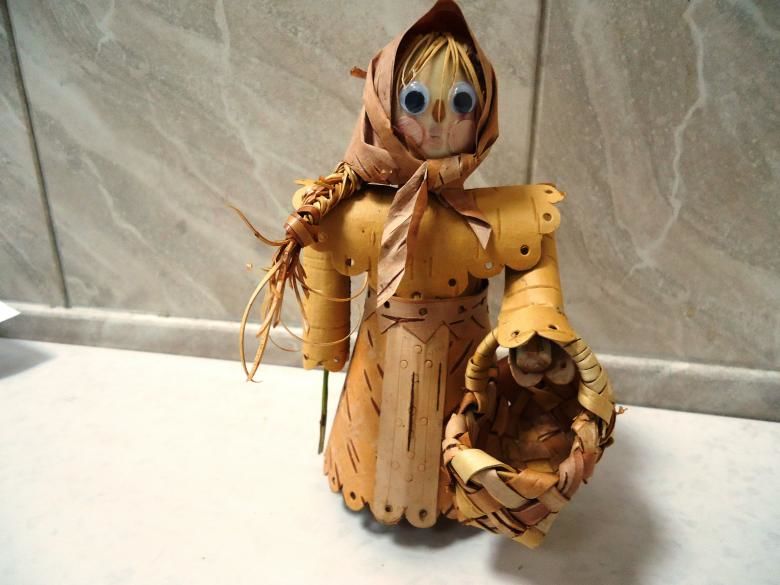
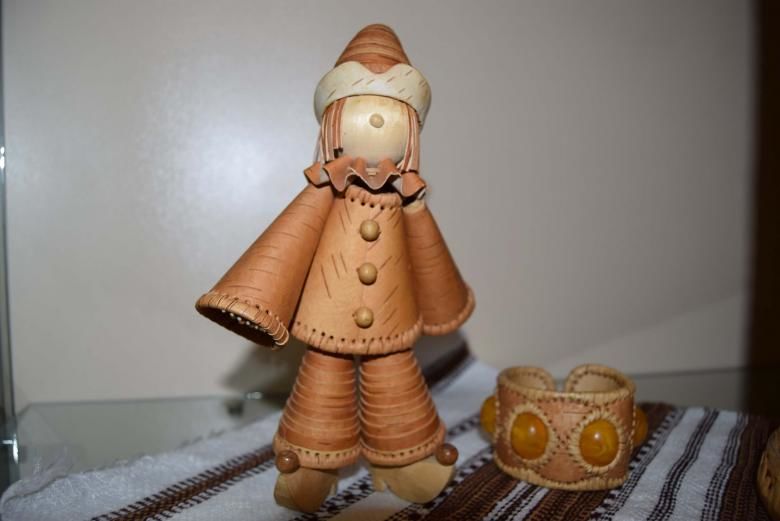
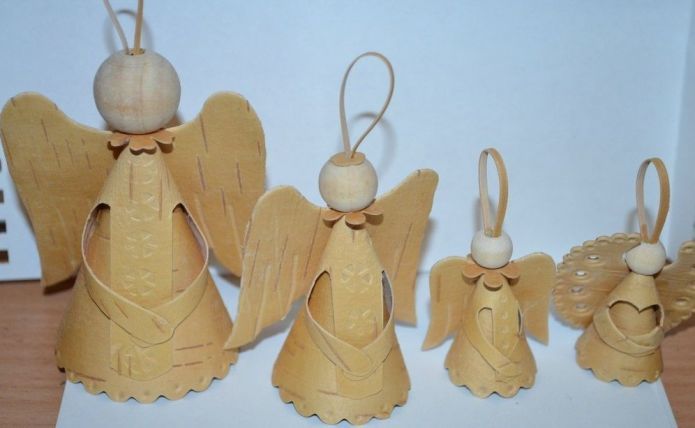
- dolls, pendants, trinkets;
- boat;
- a magnet on the fridge;
- a small picture or panel.
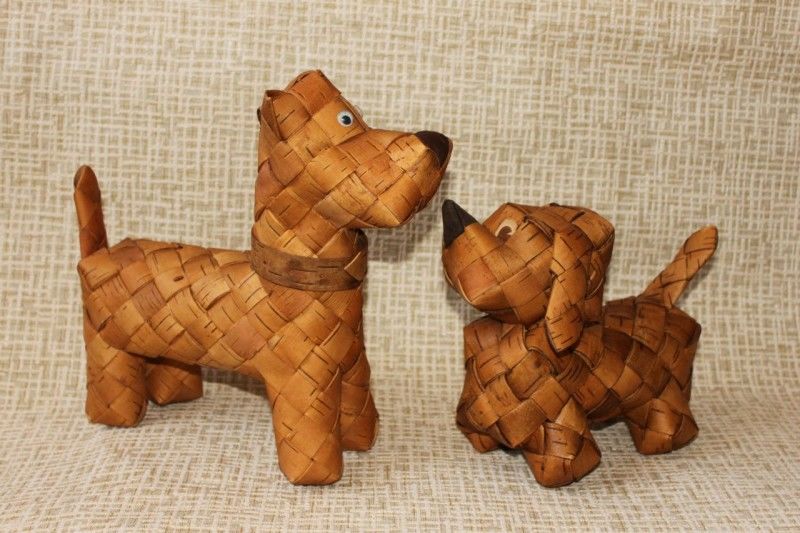
Animal figurines from ancient times were the favorite toys of children. Created with their own hands, such a craft will be a great gift for friends and family:
- For a flat model, draw or print out a template of the animal together with your child.
- Then transfer the drawing to 2 bark blanks, tracing the stencil with a pencil or pen.
- Carefully cut out the outline.
- Cut birch bark ribbons.
- With an awl or puncher make holes around the edge of the parts.
- Join the halves of the figures, passing the birch-bark ribbon through the holes made.

In this way you can make talismans, pendants, key chains, coasters.

An excellent souvenir, made by children's hands, can be a magnet. For its manufacture need to take:
- birch bark;
- Young birch-tree stick;
- cardboard;
- scissors;
- a small magnet;
- glue;
- pencil;
- awl;
- sharpener.
Work Stages:
- Draw or trace on cardboard the shape of the magnet (heart, star, animal, flower, etc.).
- Cut out the cardboard base and transfer it to birch bark.
- Cut the shape of the magnet out of the bark.
- Glue the cardboard and birch bark together.
- Glue the magnet to the cardboard part.
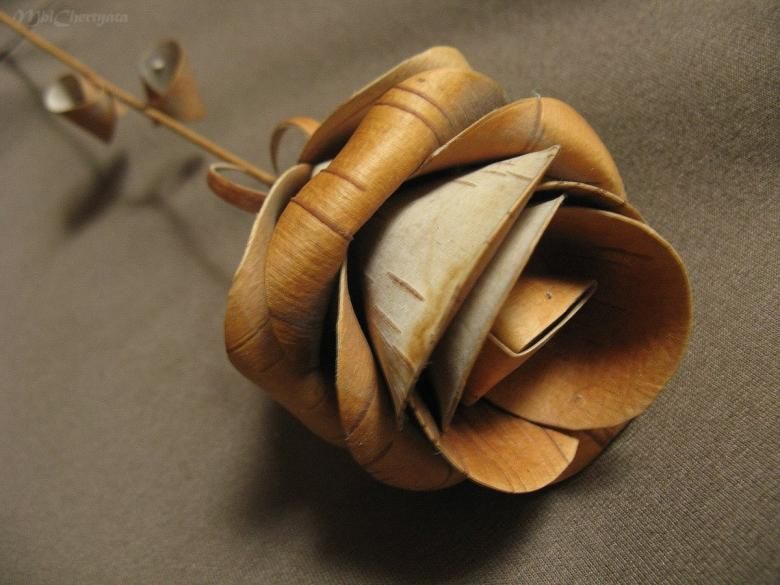
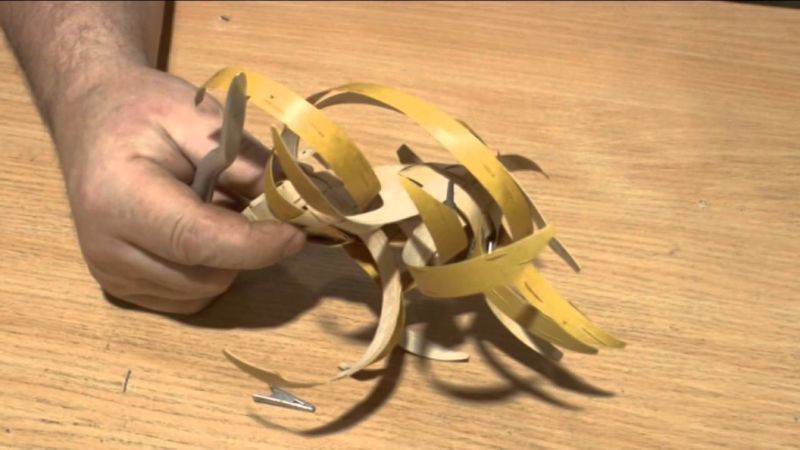
- Take a birch stick and sharpen it with a sharpener to make a solid chip. If you can't find a birch broomstick, you can use any soft pencil.
- Shape roses from the shavings and glue them to the birch bark blank.
- If you wish, you can decorate the magnet with other elements at hand (beads, beads, ribbons, ribbons, ribbons, jute).
Together with adults, children can participate in the creation of various birch bark crafts.

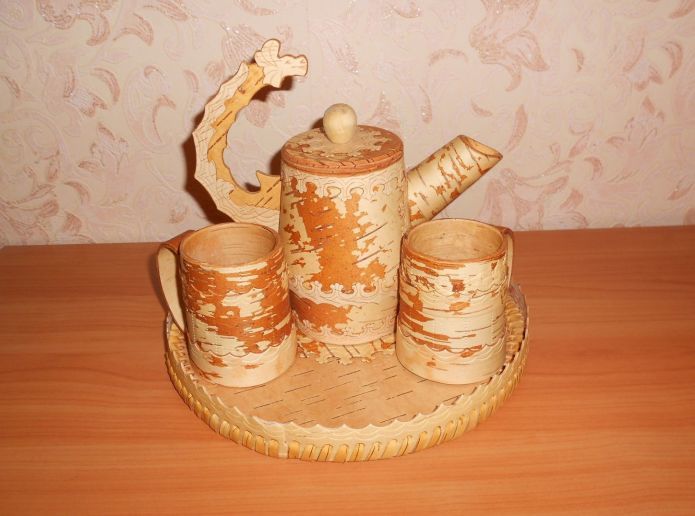
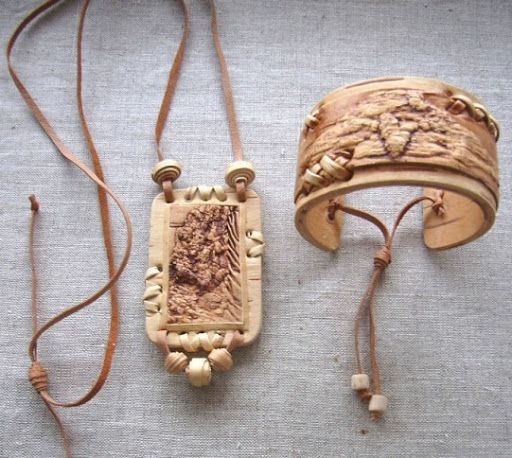
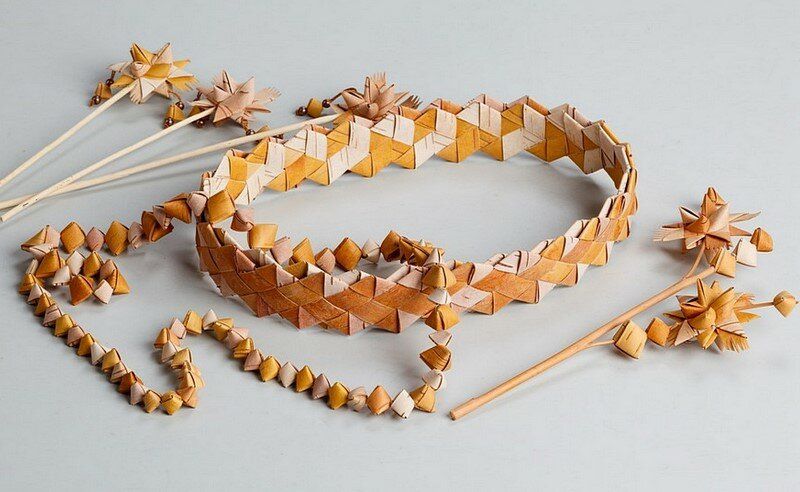
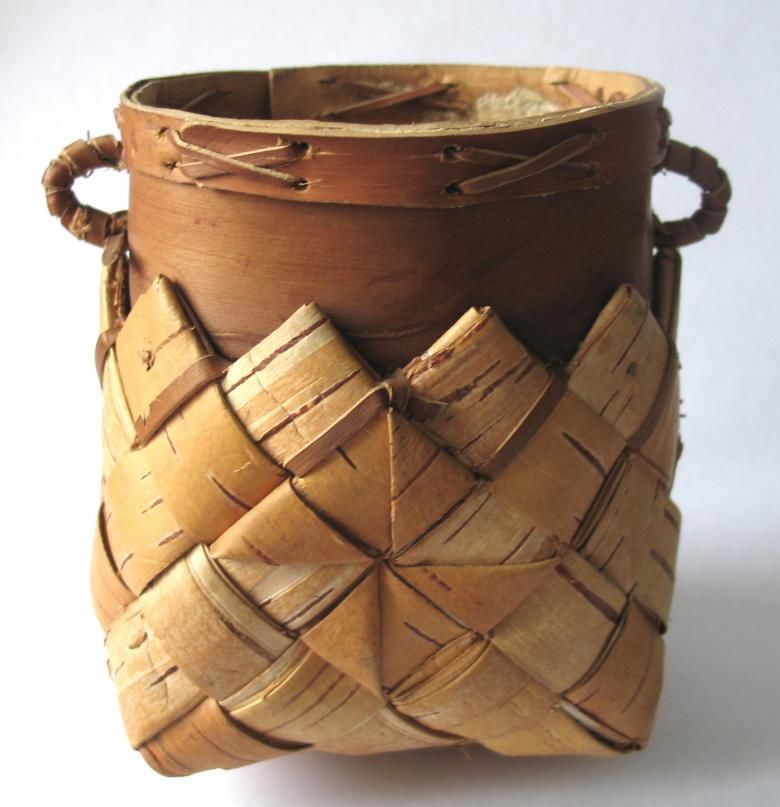
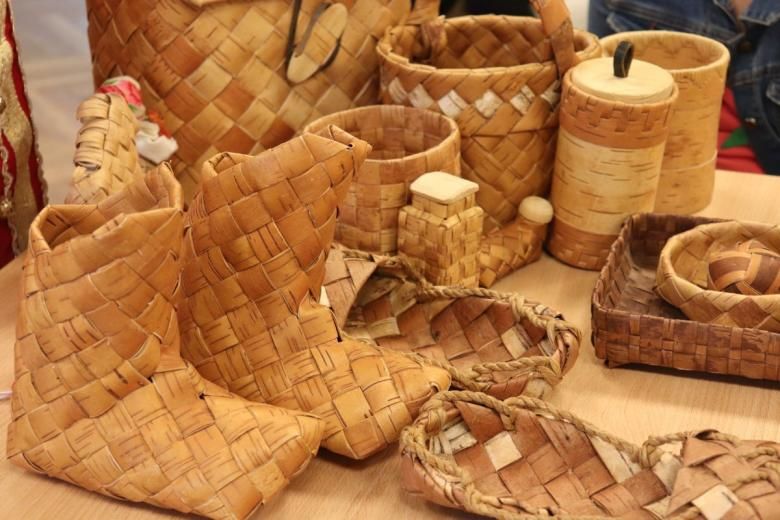
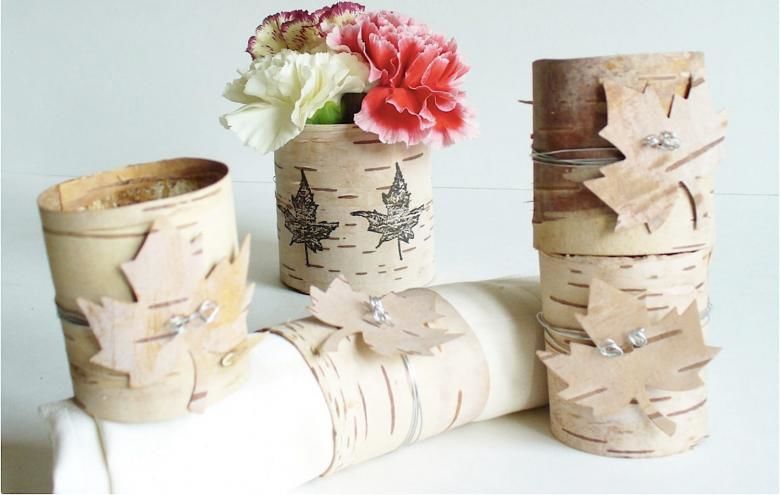
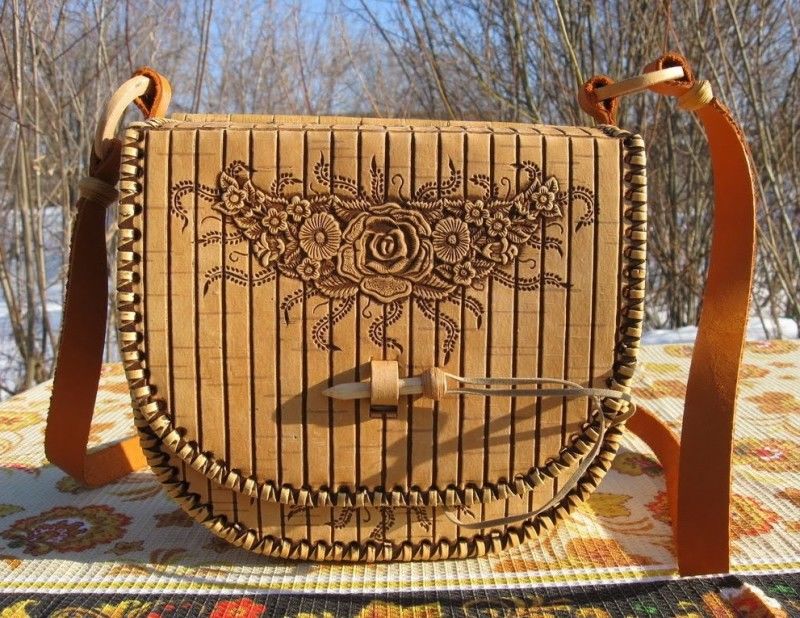
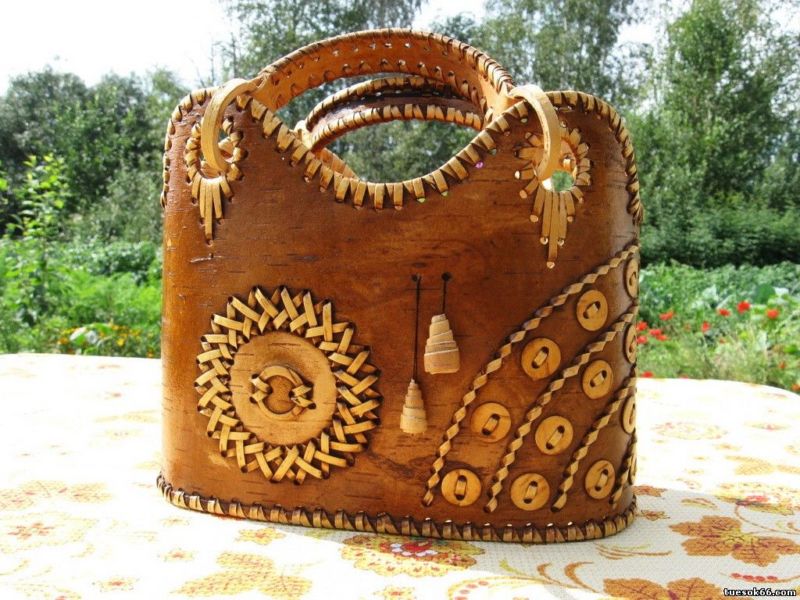
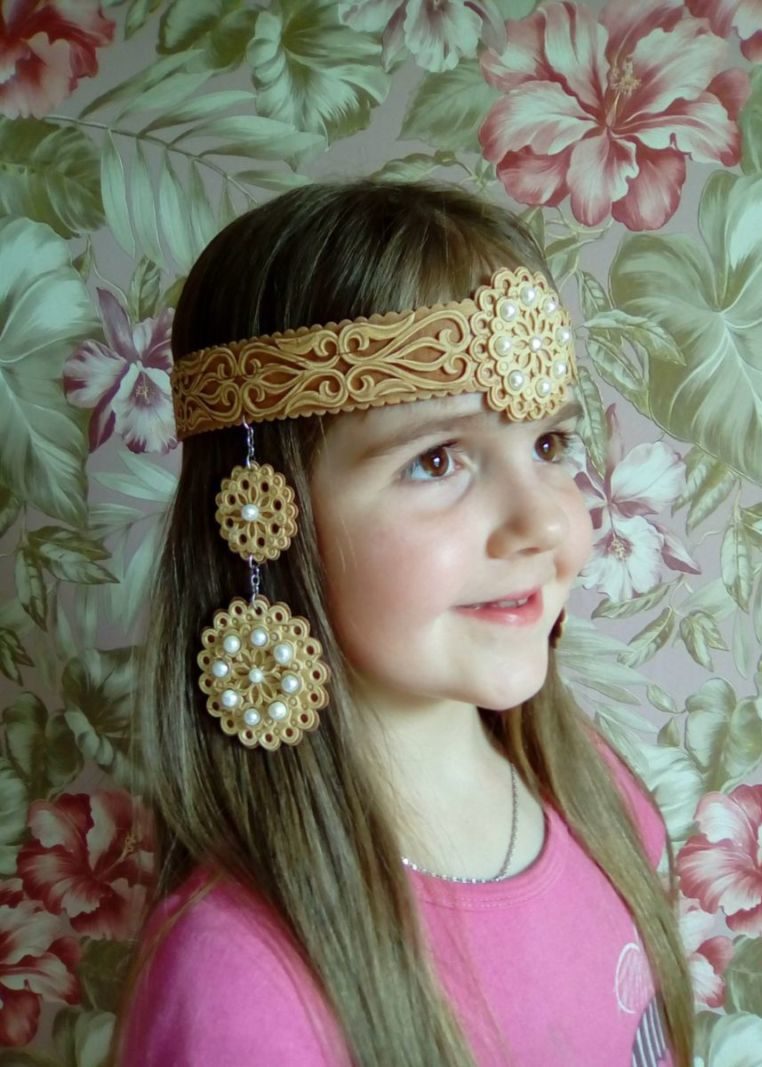
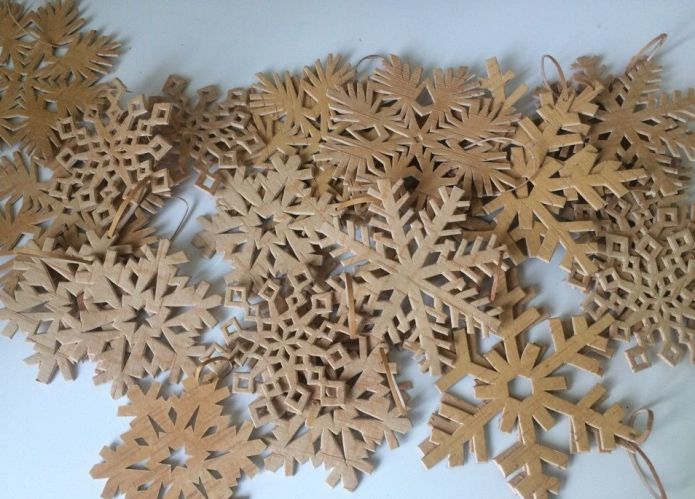
In the arts and crafts direction, especially popular now are:
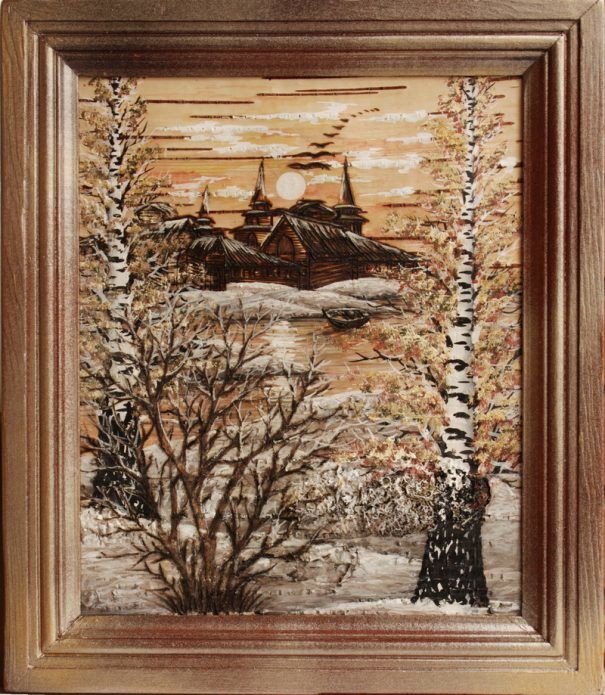
- artistic wall panels;
- paintings;
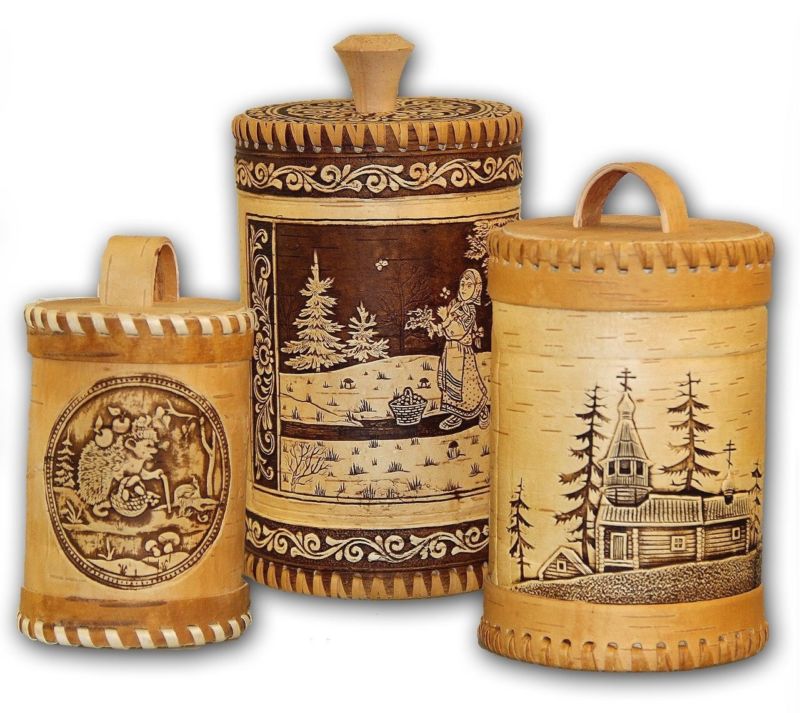
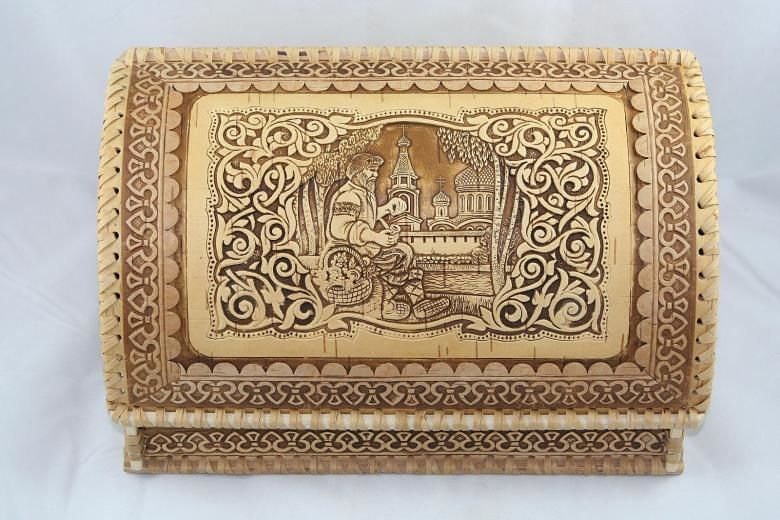
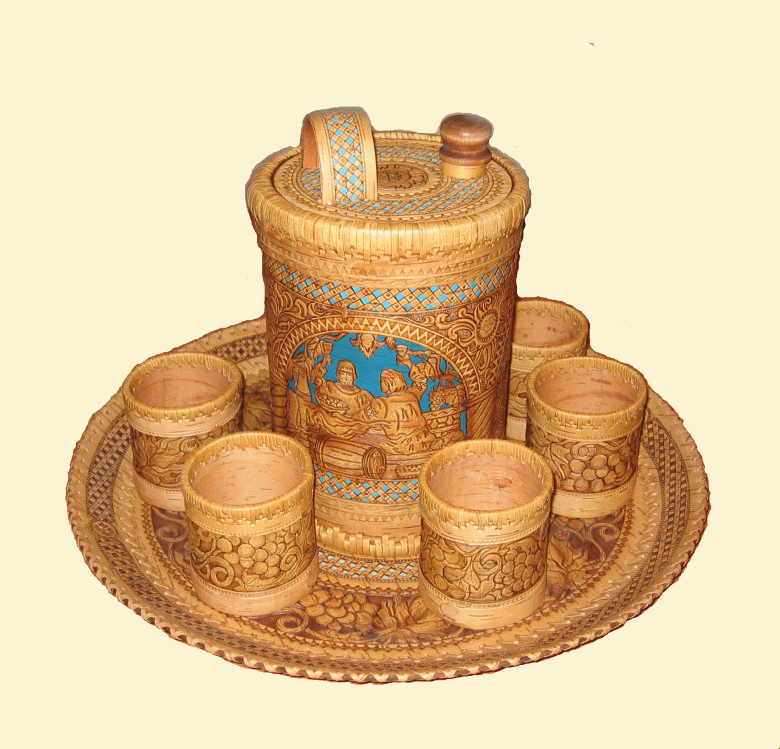
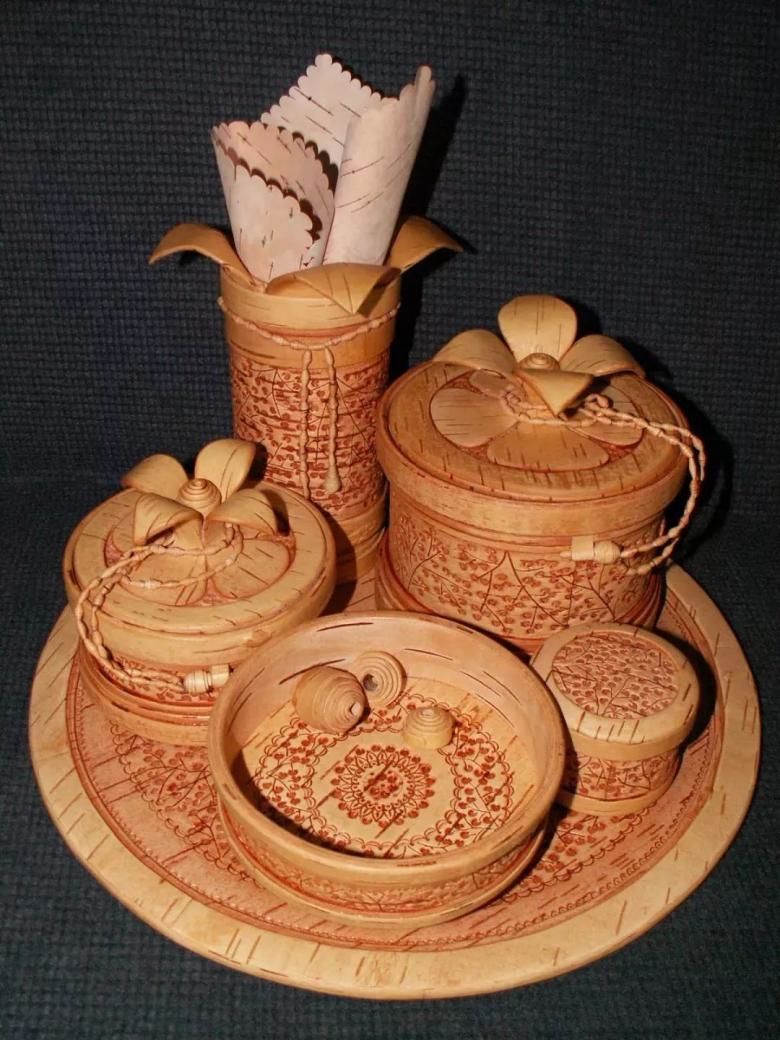
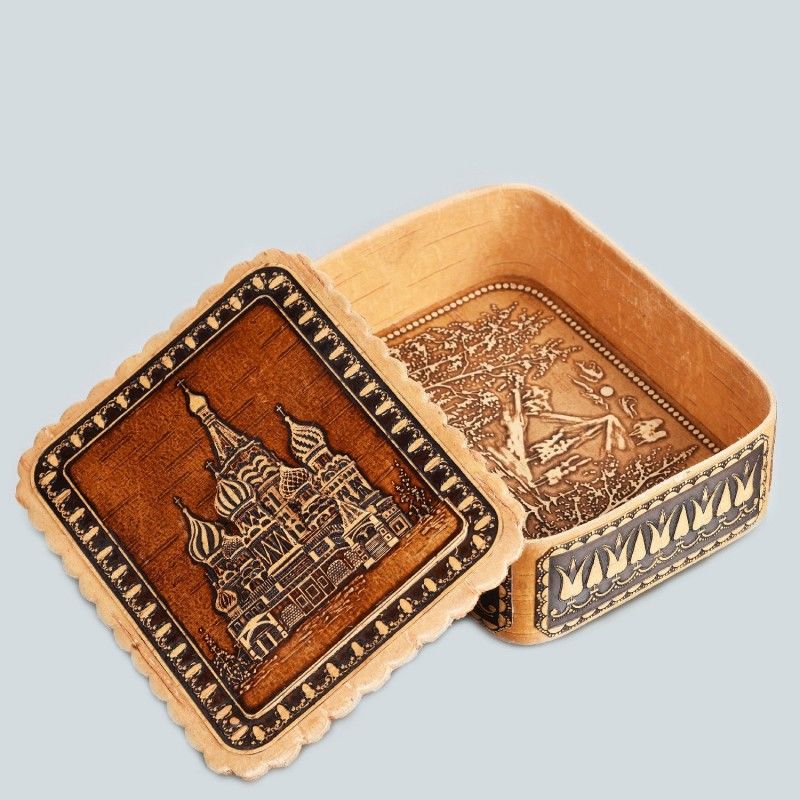
- caskets;
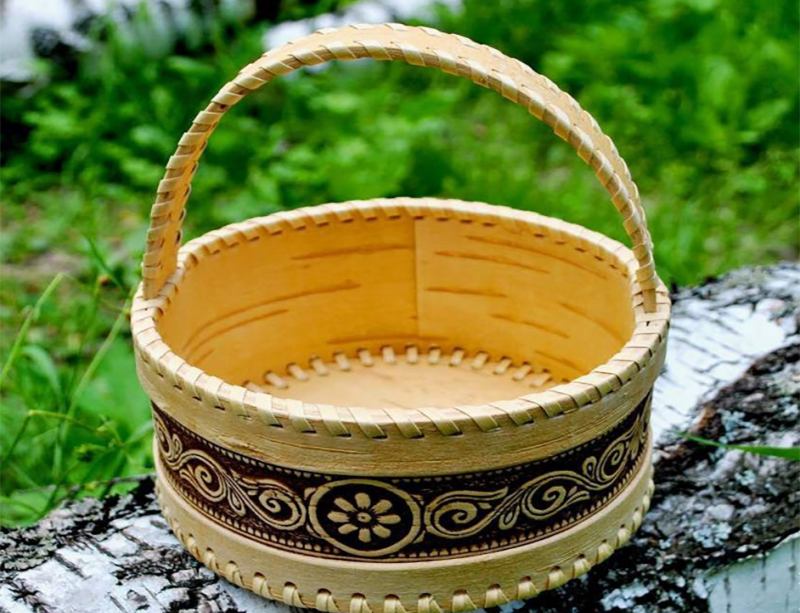
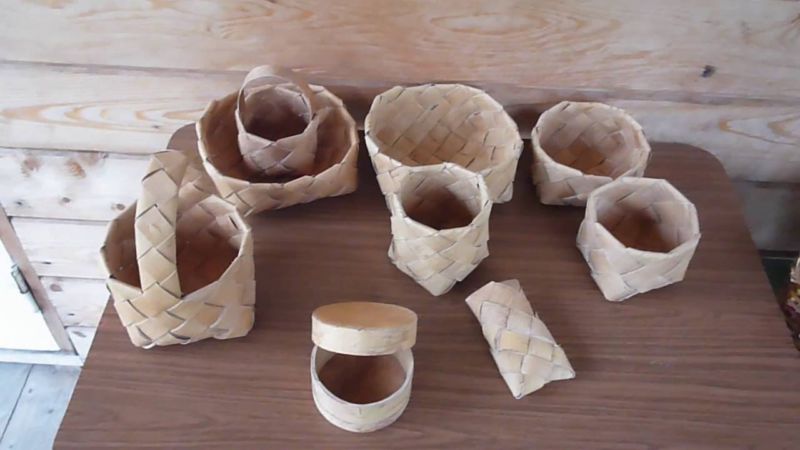
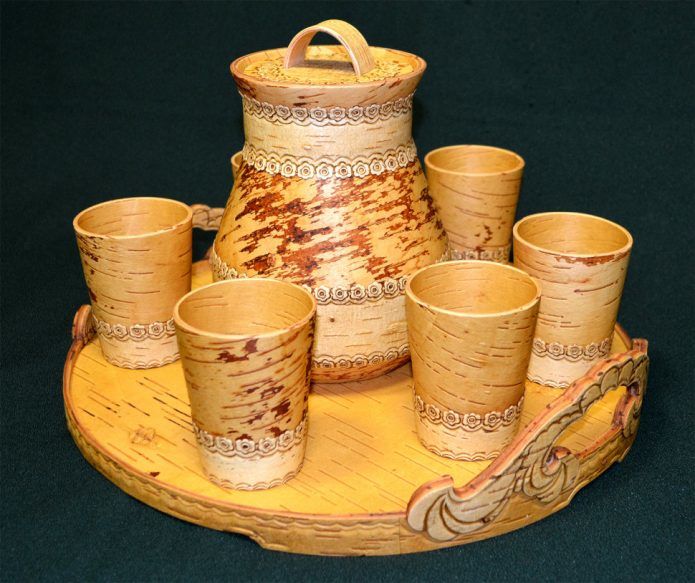
- berry-collecting baskets;
- boxes;
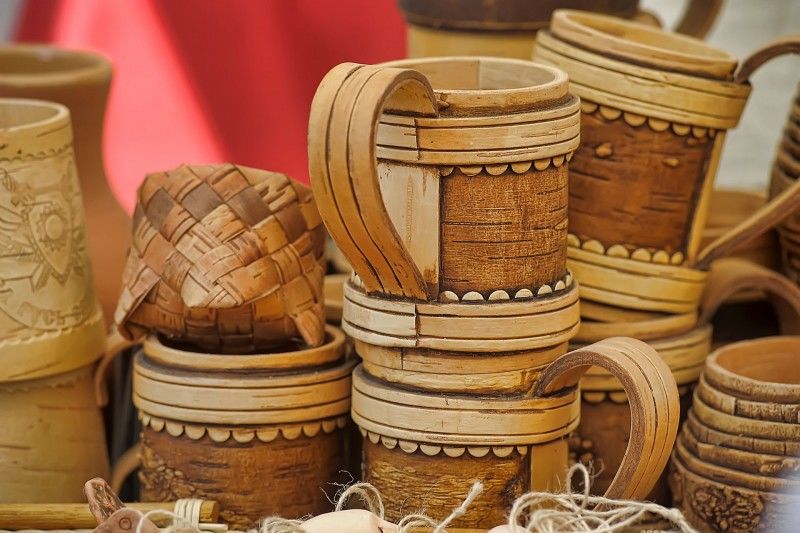
- mugs;
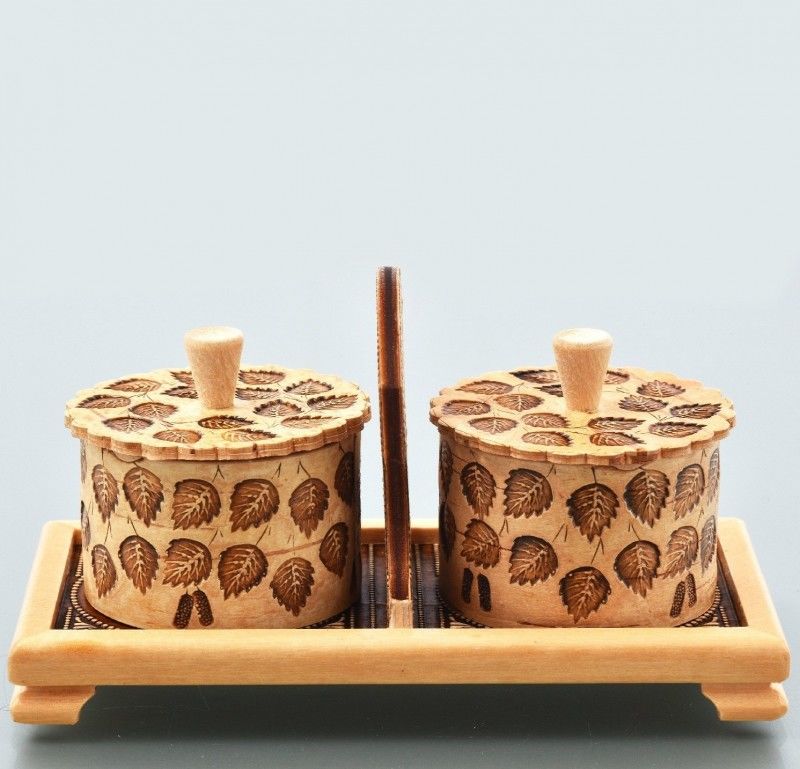
- containers for storing loose products;
- machetes;
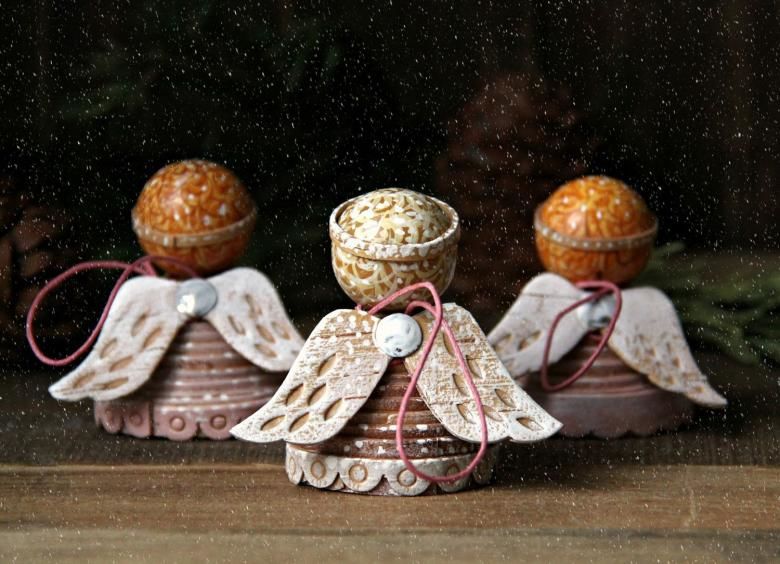
- hanging decorations for the house;
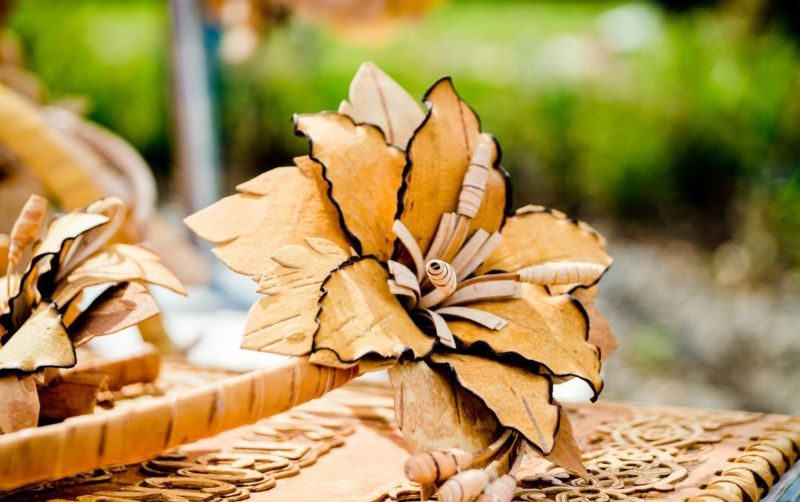
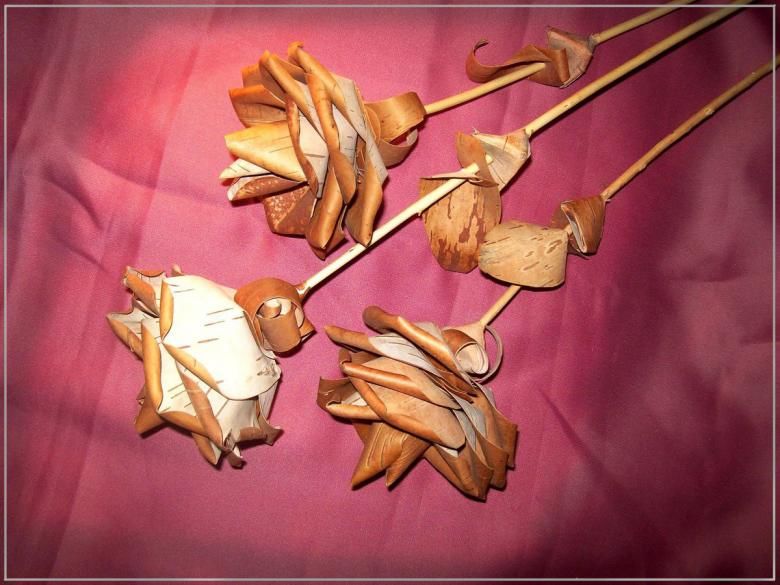
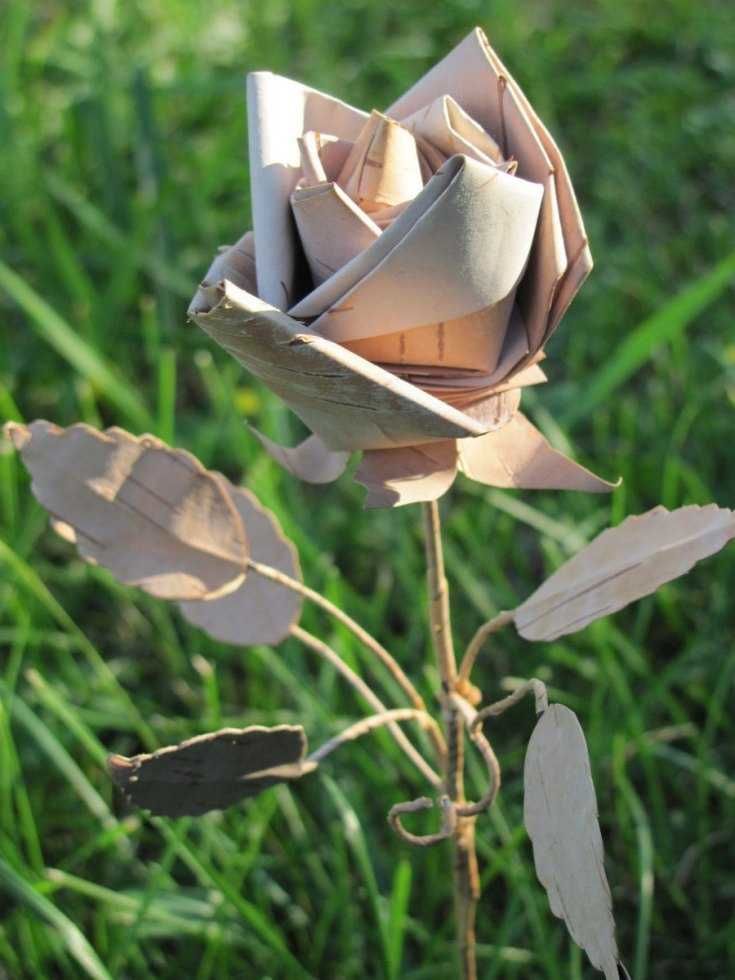
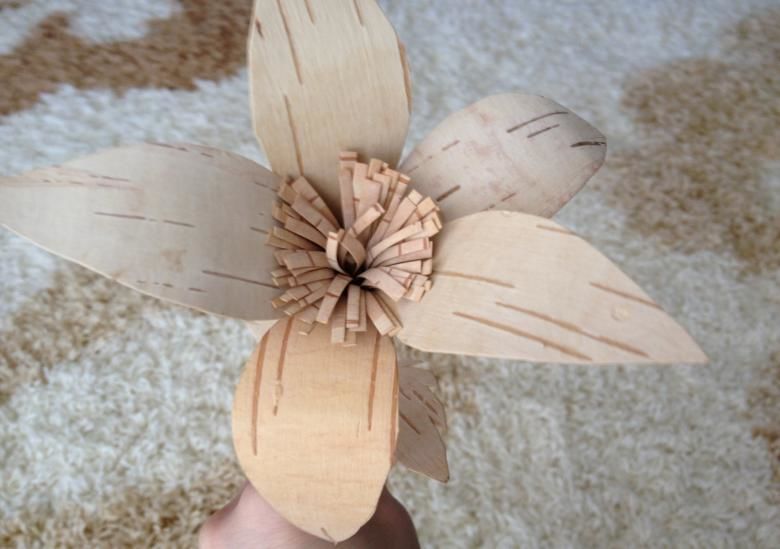
- floral bouquets;
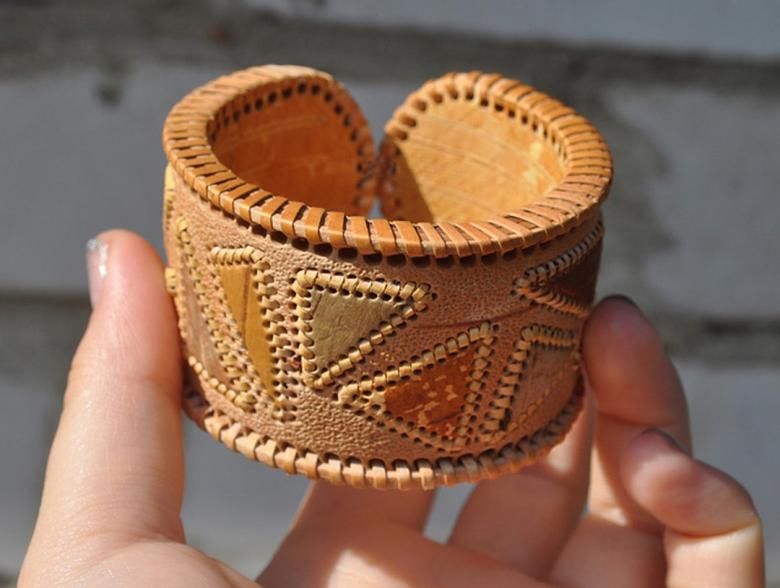
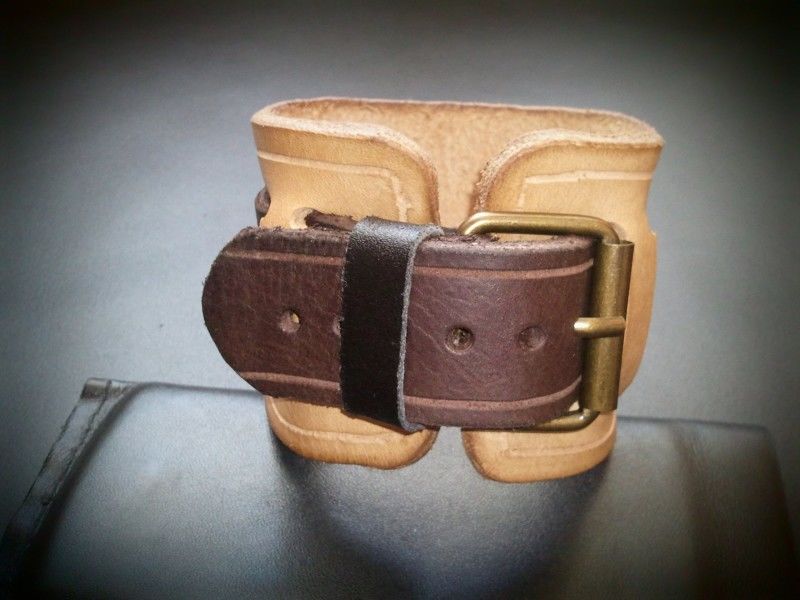
- belts, bracelets;
- a case for a cell phone;
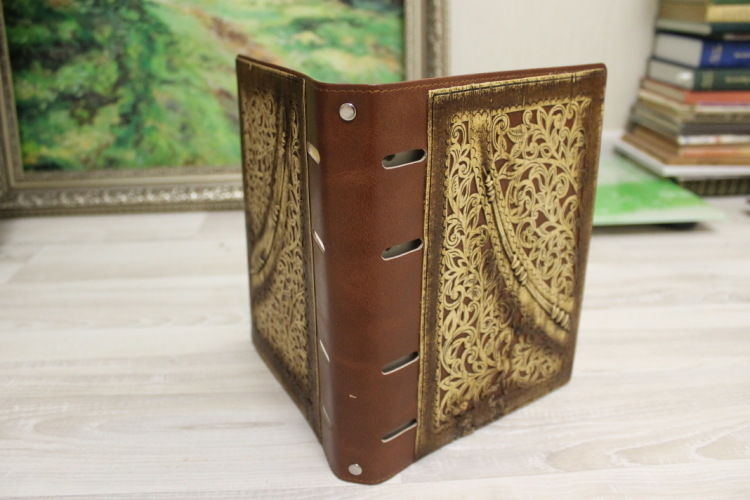
- birch bark passport cover.

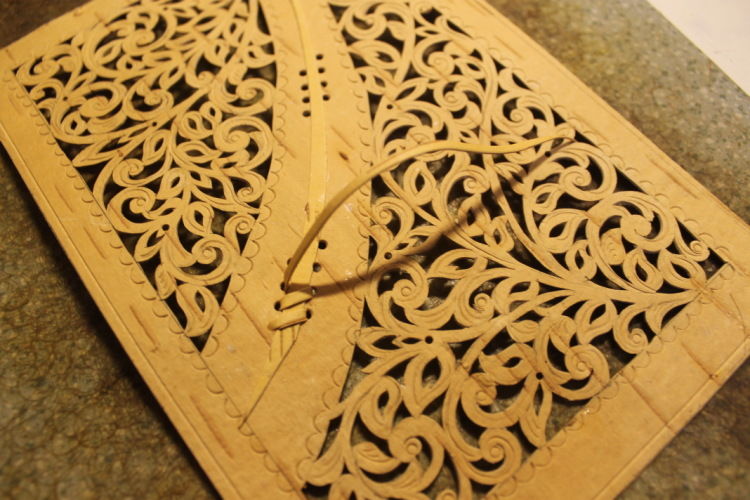
Let's look at the stages of making some of them.
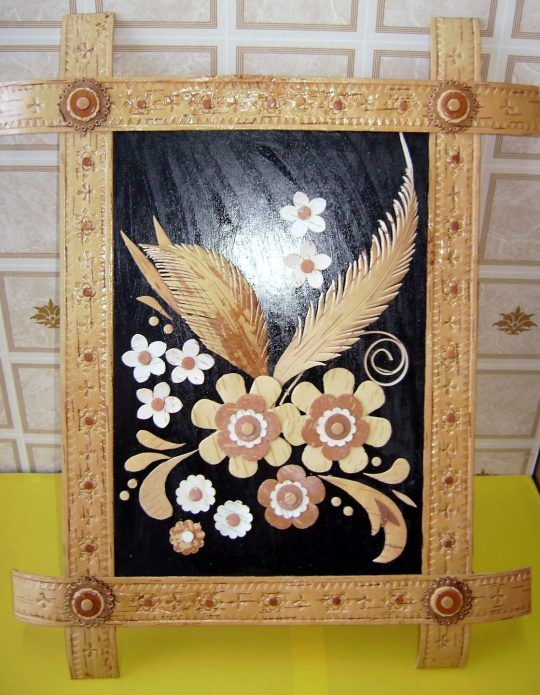
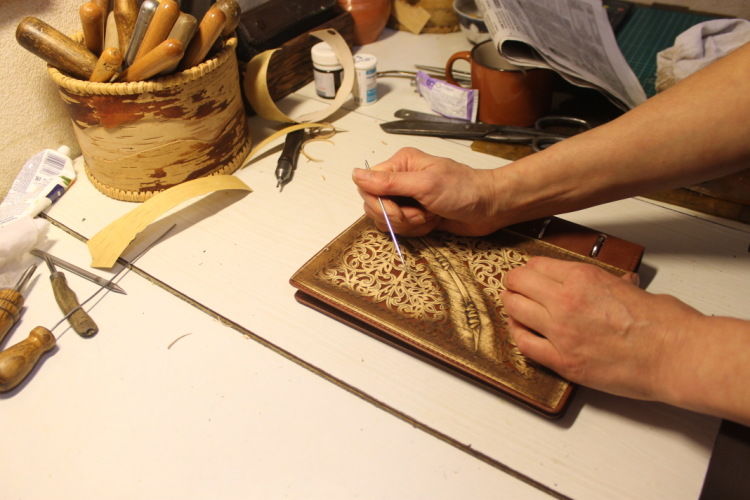
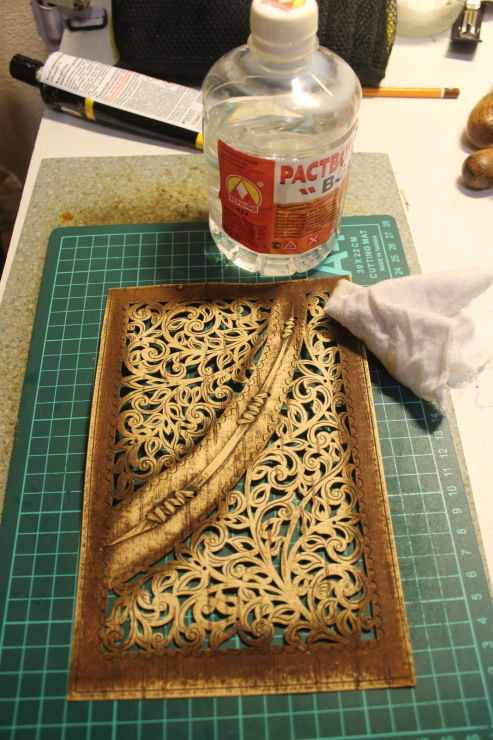
Wall panel
A birch bark panel is an excellent alternative to artistic paintings! It will not only decorate the wall of your house, but also bring an element of eco-style into the interior, will give a note of freshness and unity with nature.
To create your panel you will need:
- thin birch bark blanks and birch bark crumbs;
- A pencil and paper;
- cardboard (it can be colored);
- scissors or a knife;
- PVA glue and glue gun;
- wooden beads, beads for decoration (optional).
Work steps:
- PVA glue is applied to the smooth side of the cardboard and birch bark chips are poured. If colored cardboard is taken, the color should contrast with the birch bark. A good combination would be light bark and a blue, black or chocolate background.
- While the glue dries, the elements of the plot of the future panel are drawn on a sheet of paper.
- Then they are cut out and traced on birch bark.
- The resulting drawings on the birch bark are also cut out.
- Then they are glued down with a glue gun, embodying the conceived plot.
- To give the panel a 3D effect, it is best to use birch bark in different shades.
- If necessary, you can decorate your creation with decorative elements (beads, beads, etc.).
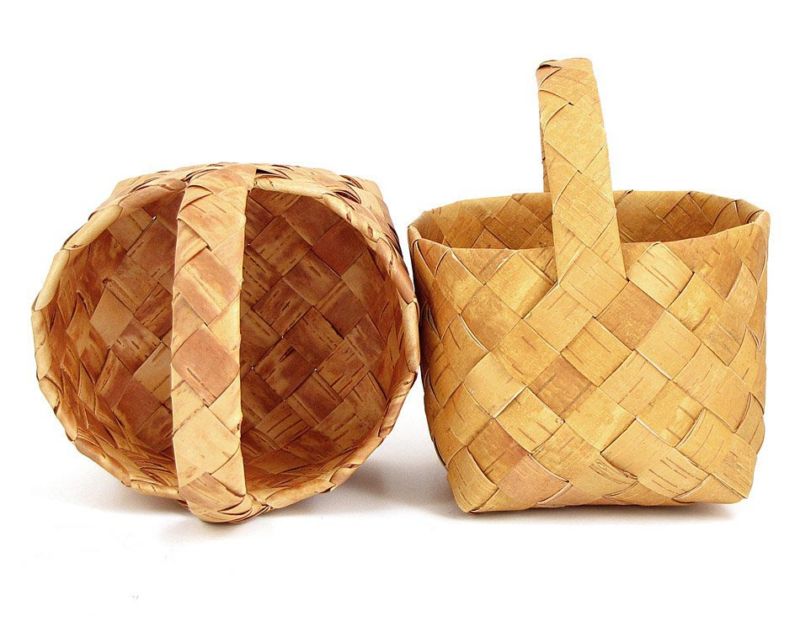
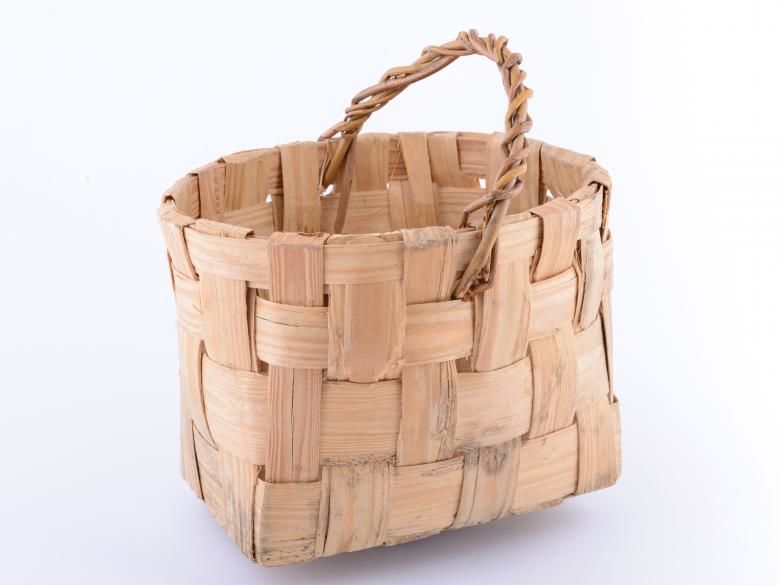
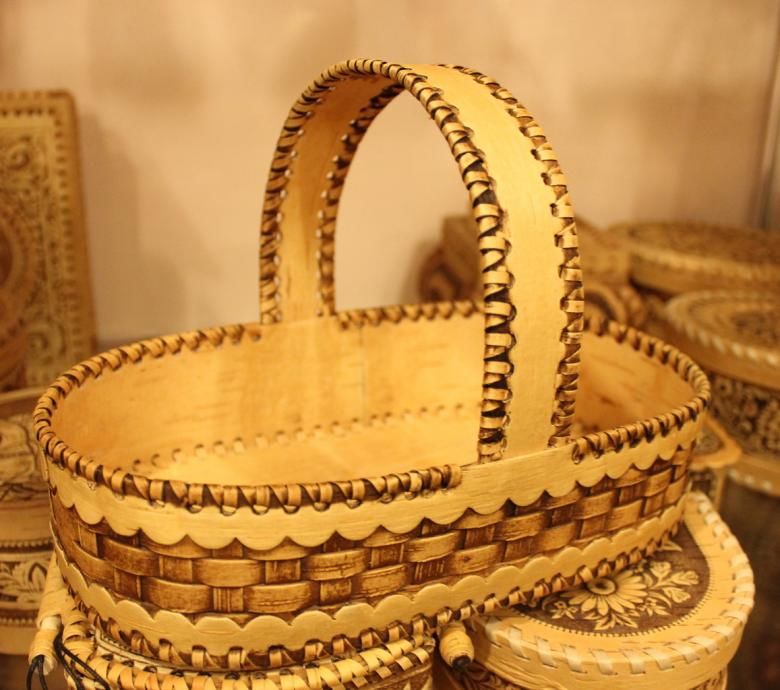
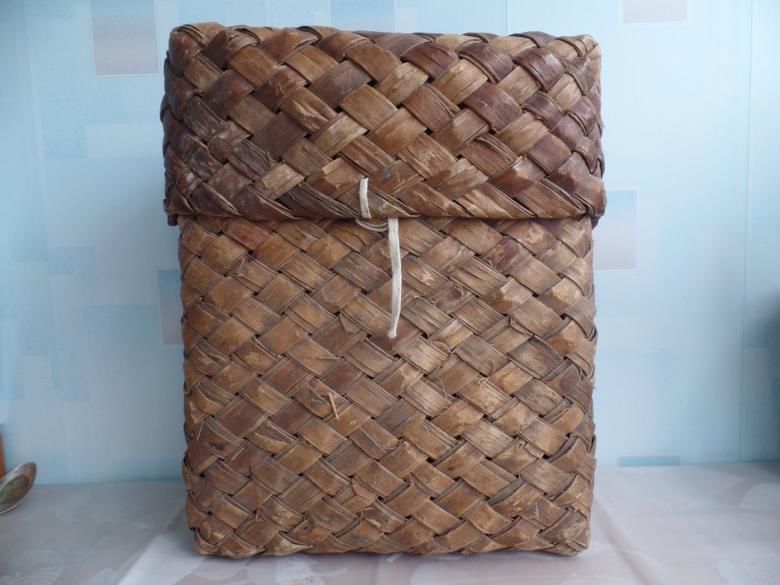
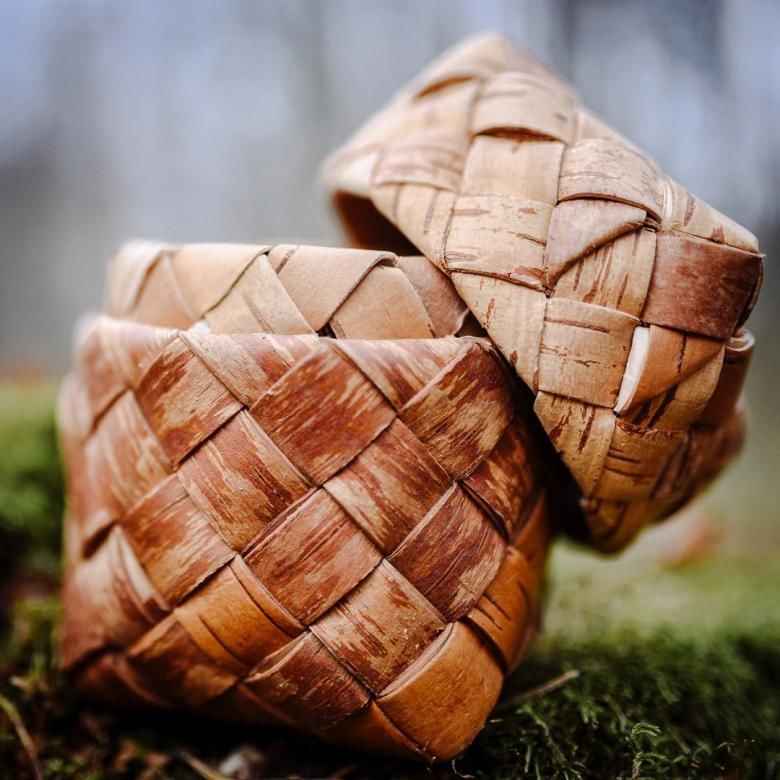
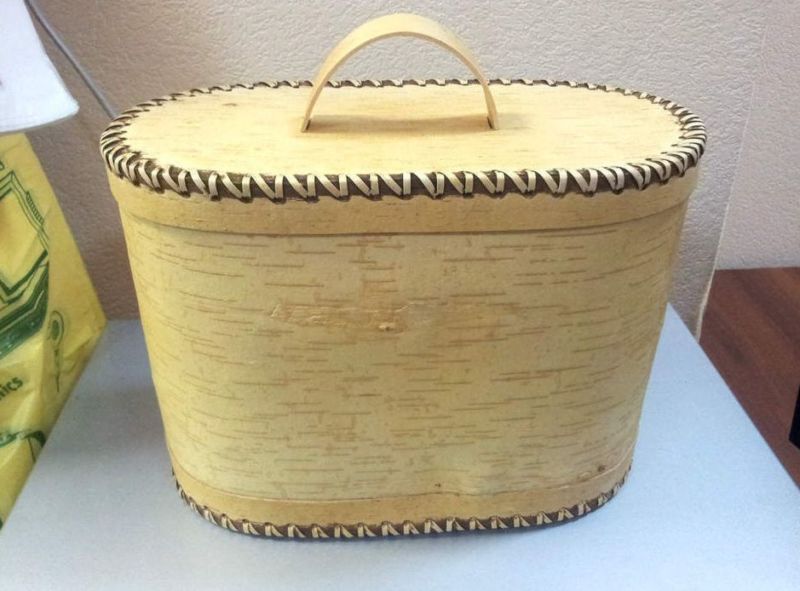
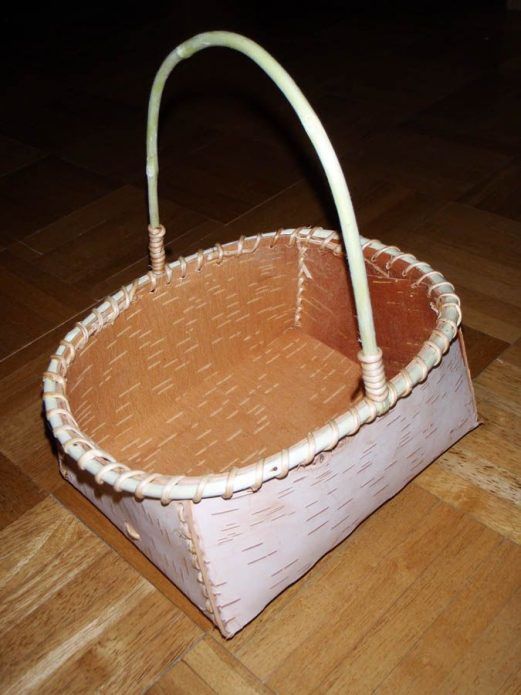
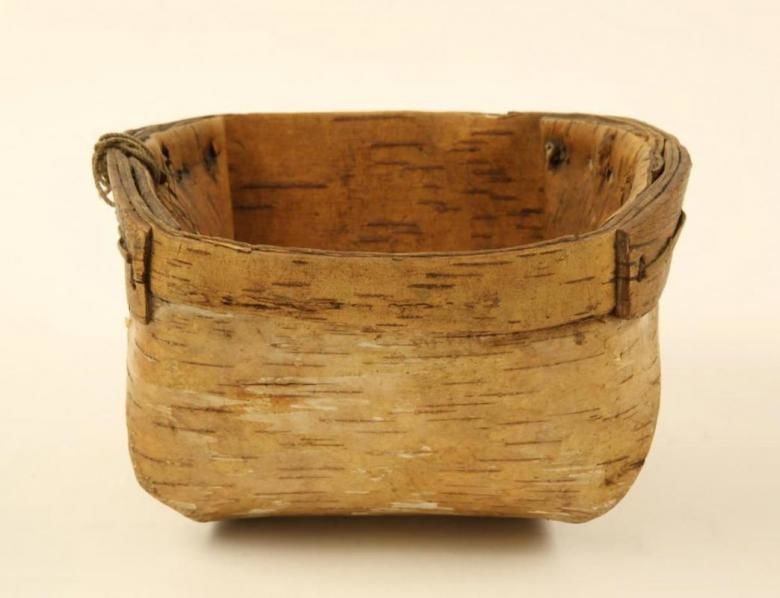
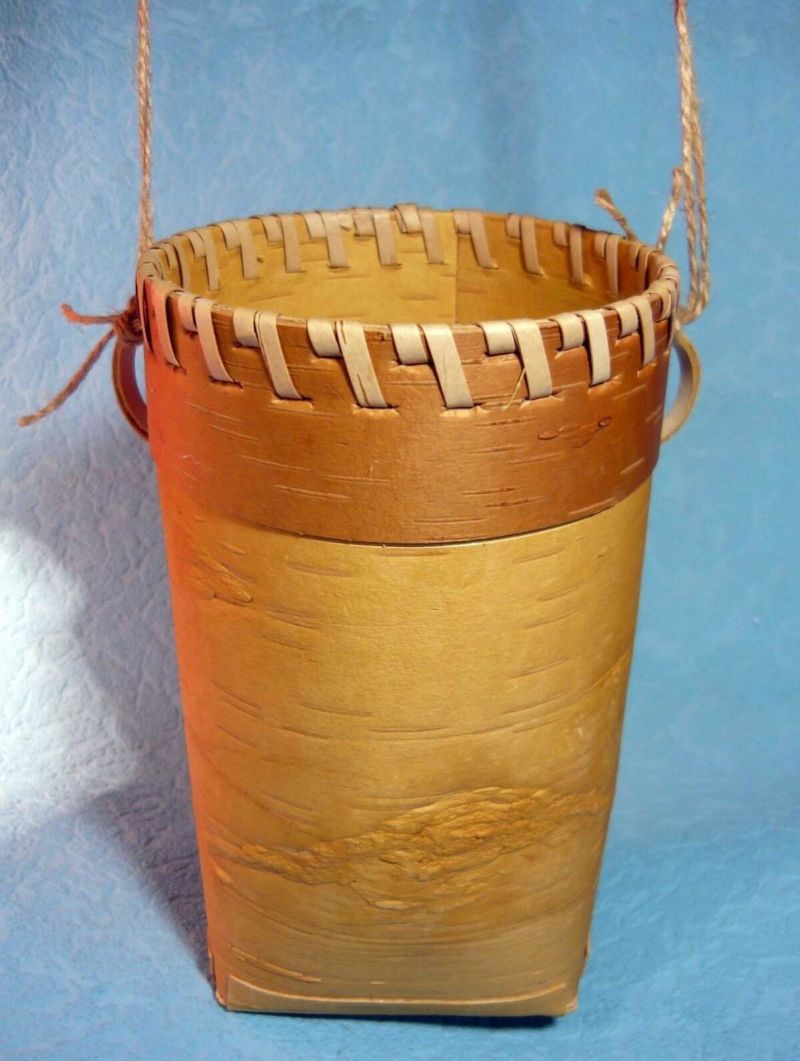
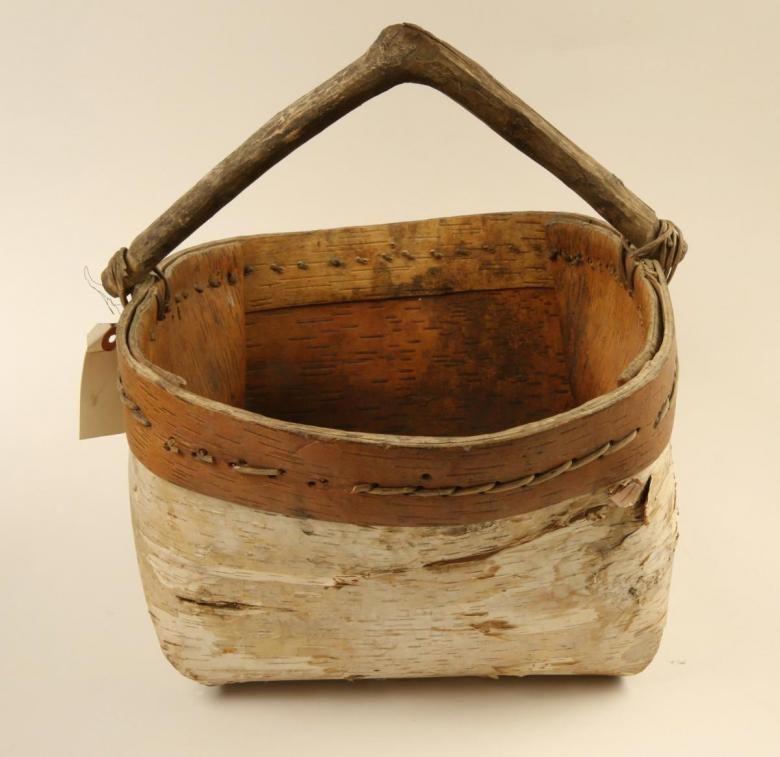
A basket made of birch bark
A birch bark basket is a multifunctional household item! With it you can go berry picking in the woods. Store loose products. Or use it as an original shelf for pencils, for example. It just takes imagination!
Before you begin, prepare:
- birch bark of the right size;
- birch bark ribbon;
- A pencil or pen;
- scissors, knife;
- awl;
- Clips or clothespins.
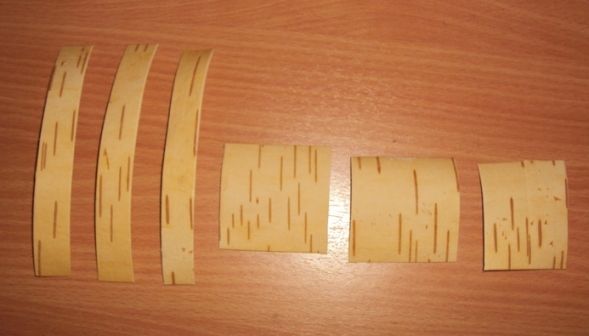
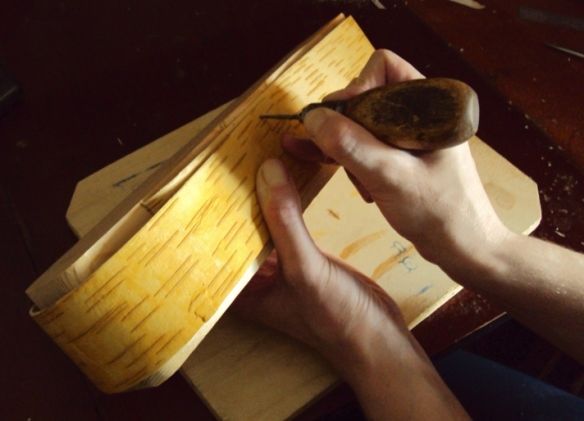
Work steps:
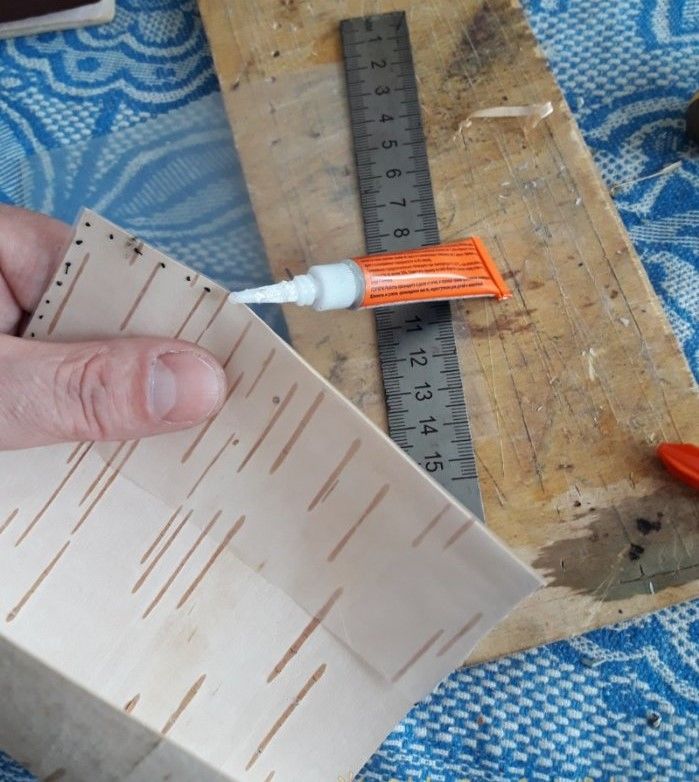
- From the birch bark blank, cut a rectangle of the desired size and roll into a cylinder so that the edges are on top of each other. Fix it with clamps.
- Along the seam make holes with an awl.
- Pass a birch bark ribbon through them.
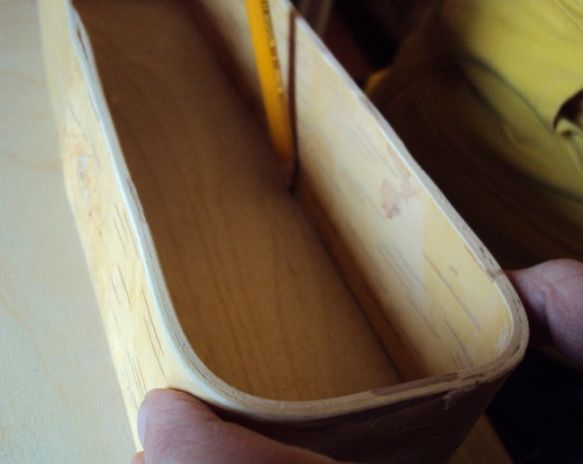
- From the bottom of the cylinder step up 10 cm, make a mark. This will be the bottom of the body.
- Up to the mark cut the edges of the birch bark in 4 places at an equal distance and bend them inside.
- After that puncture the edges of the bends and fasten them with a birchbark ribbon.
- You can make a lid for the caddy by cutting it from bark of a suitable diameter.
- The basket is also easy to complete the handle, if you make one hole from two opposite edges and pull the ribbon.


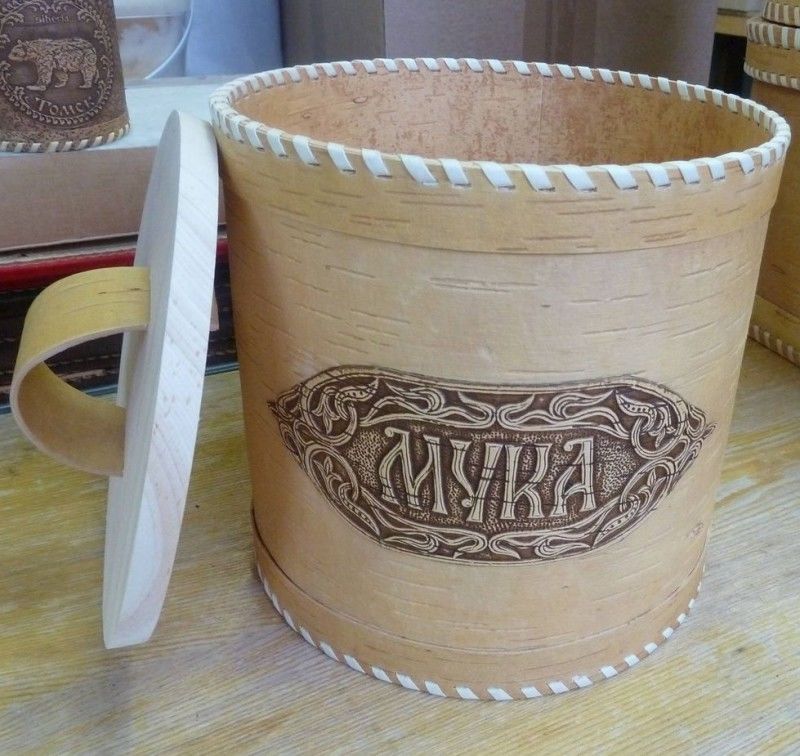
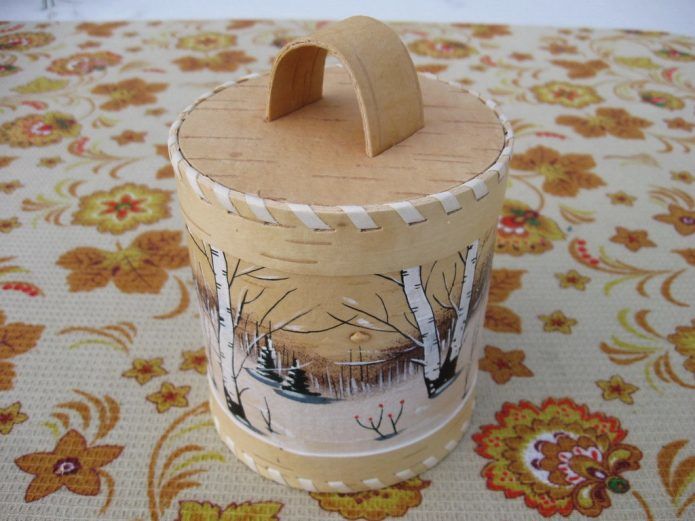
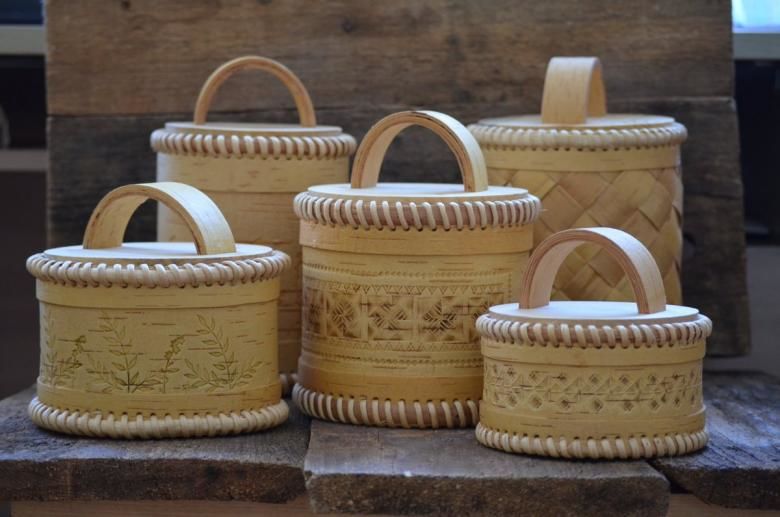
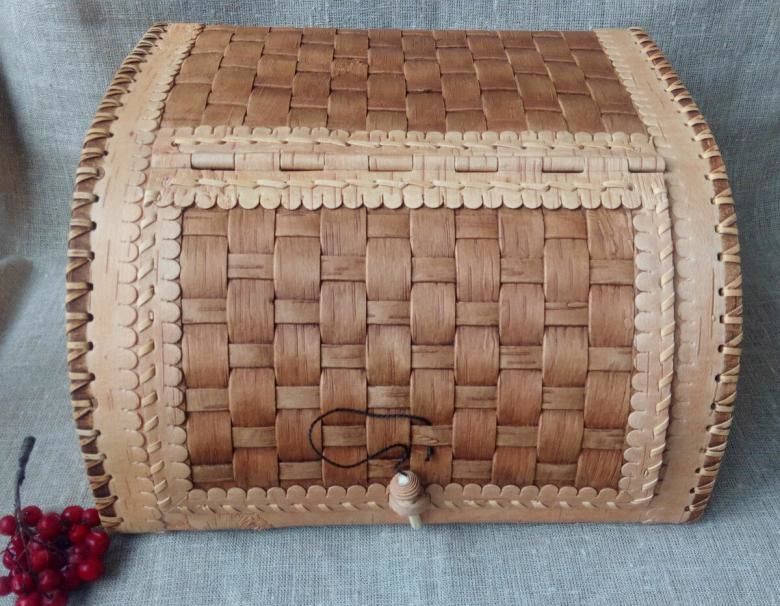
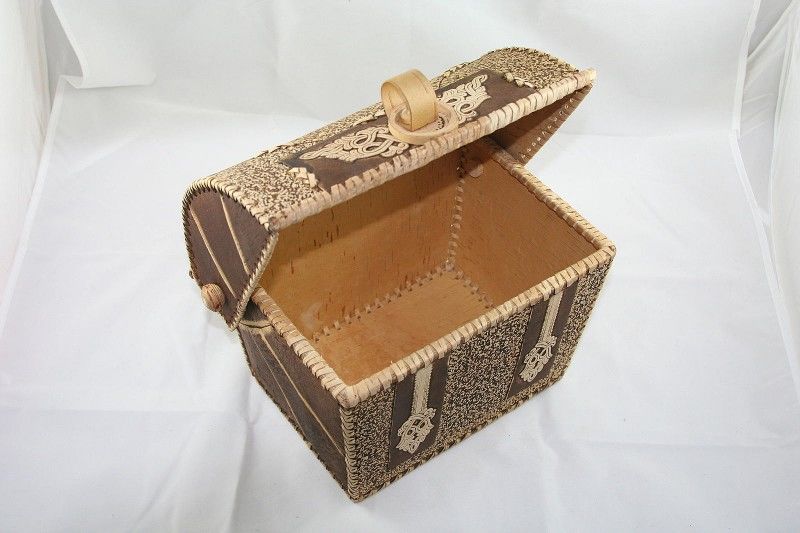
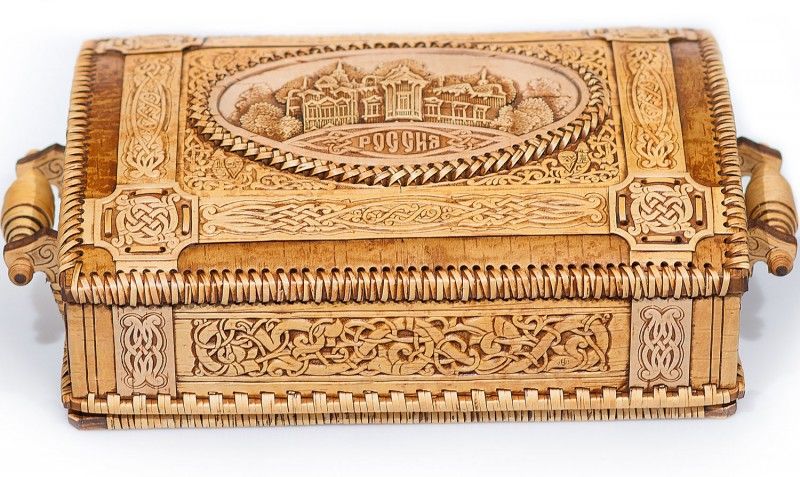
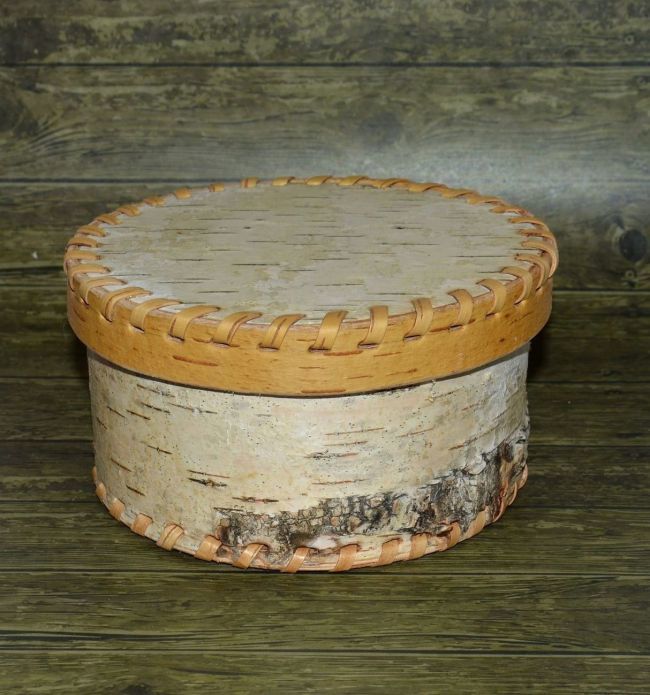
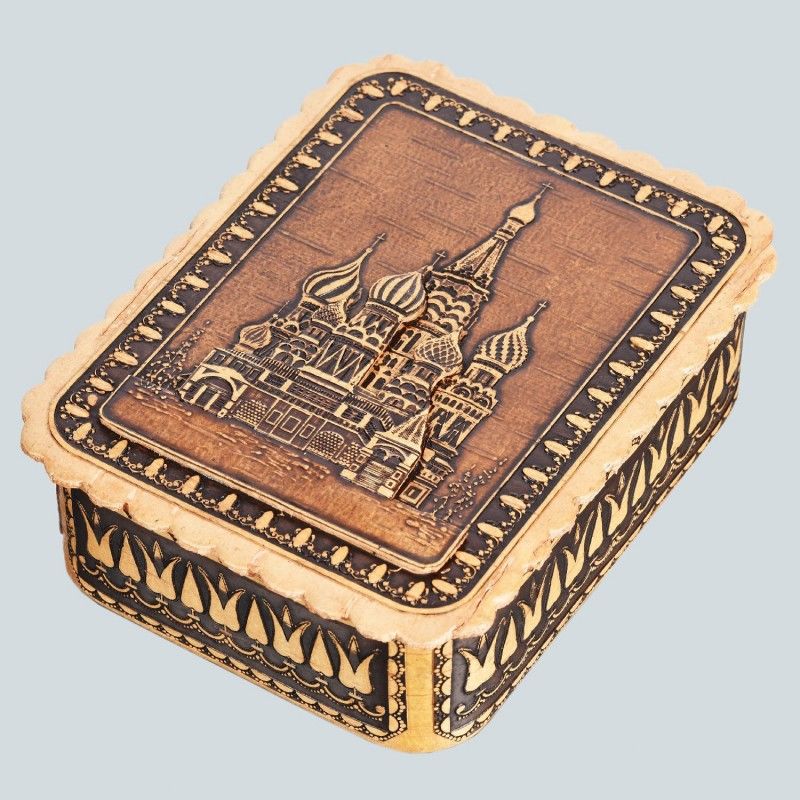
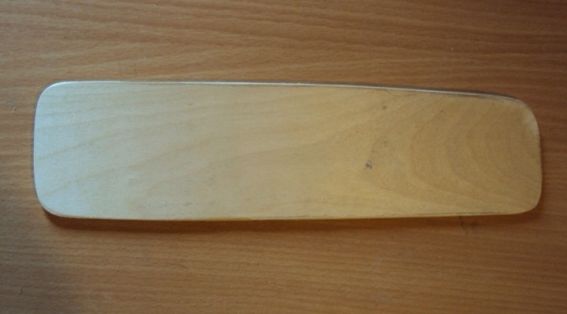
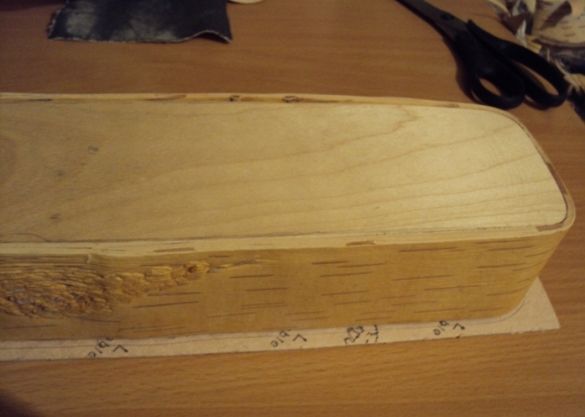
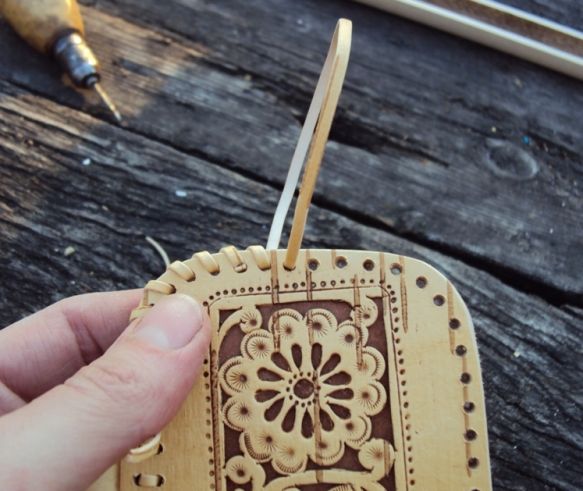
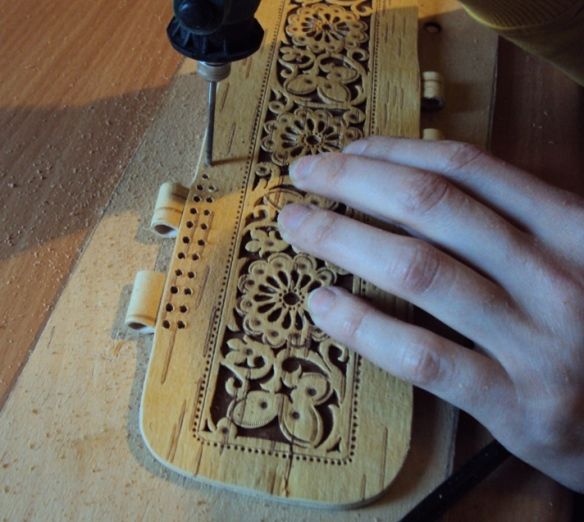
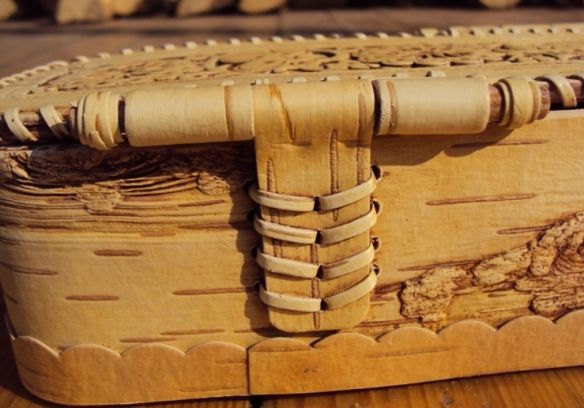
Box
How many little things can be found in the house of any woman. A birch bark casket will be a great gift and a receptacle for the most valuable treasures.
To bring the gift to life you will need:
- birch bark;
- cardboard;
- a knife and scissors;
- glue;
- photocopier;
- paper and pencil, ruler, compass;
- sturdy thread and needle.
Work Stages:
- Figure out what your jewelry box will be: shape, size, ornamentation.
- Draw on paper the necessary size parts (bottom, lid, sides).
- Cut out the paired stencils and transfer them to the cardboard.
- Once the cardboard elements are ready, glue them together.
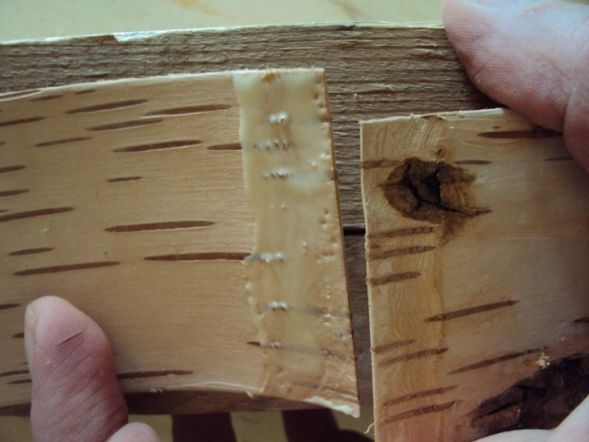
- On the bark mark the location of the elements of the product based on the size of the cardboard with an allowance for seams.
- On the underside of the birch bark draw the conceived pattern through a carbon copy.
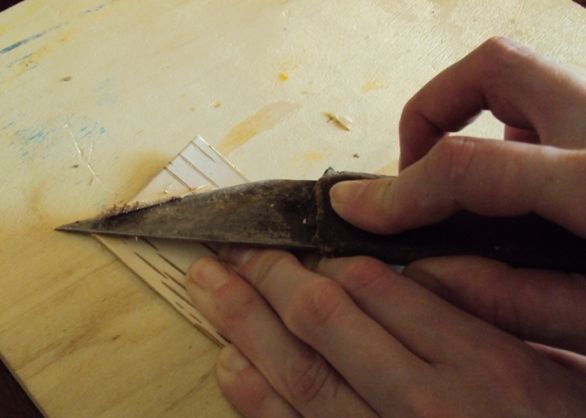
- Cut out the pattern with a knife.
- Glue the paired birch bark pieces together and dry.
- The casket is almost ready. It remains to glue details of bark on the base of cardboard. Or stitch the birch bark elements with strong thread, and paste the cardboard base inside.

Birch bark products are beautiful, safe and practical. No matter what handicraft you planned to make yourself or a child, it will please you and your friends for a long time. And give a feeling of warmth and unity with nature.
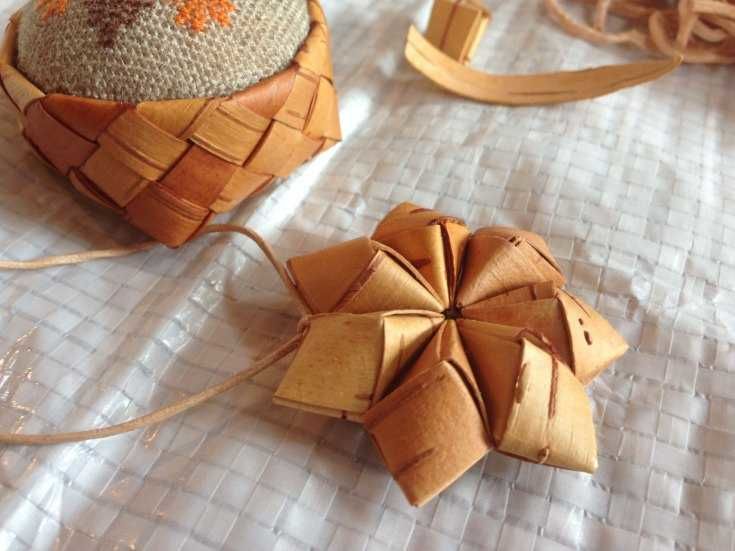
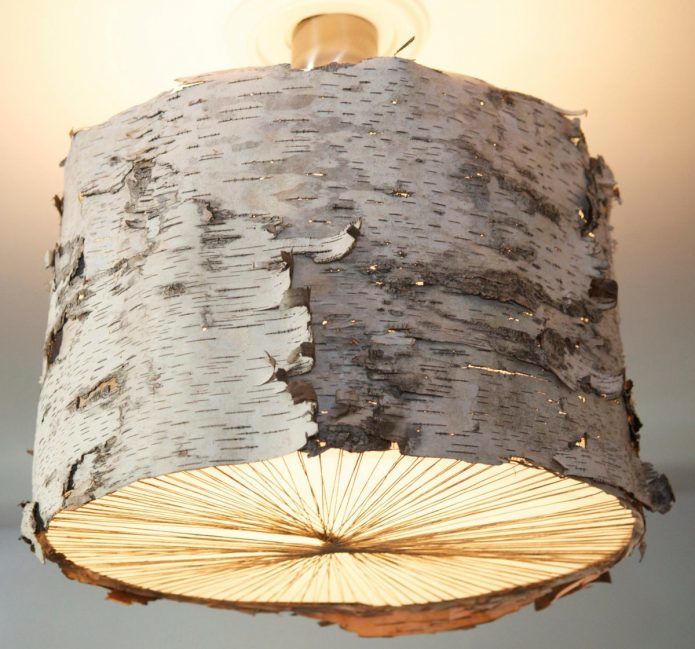
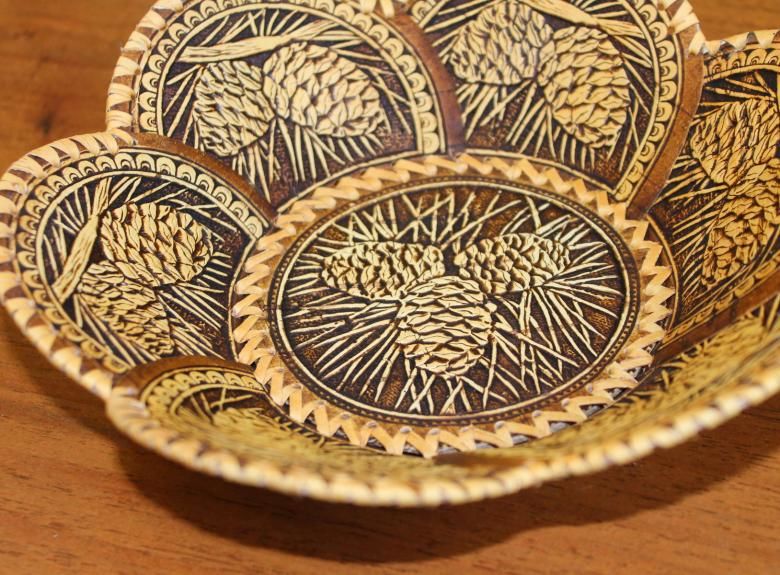
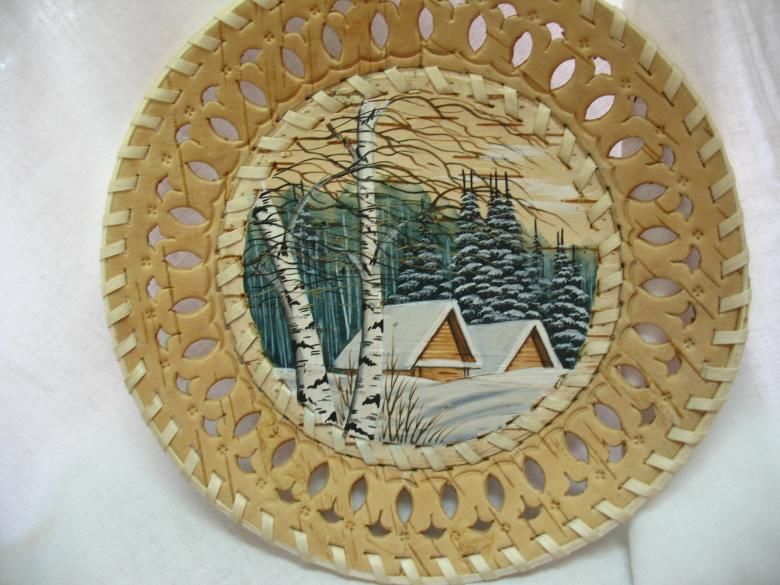
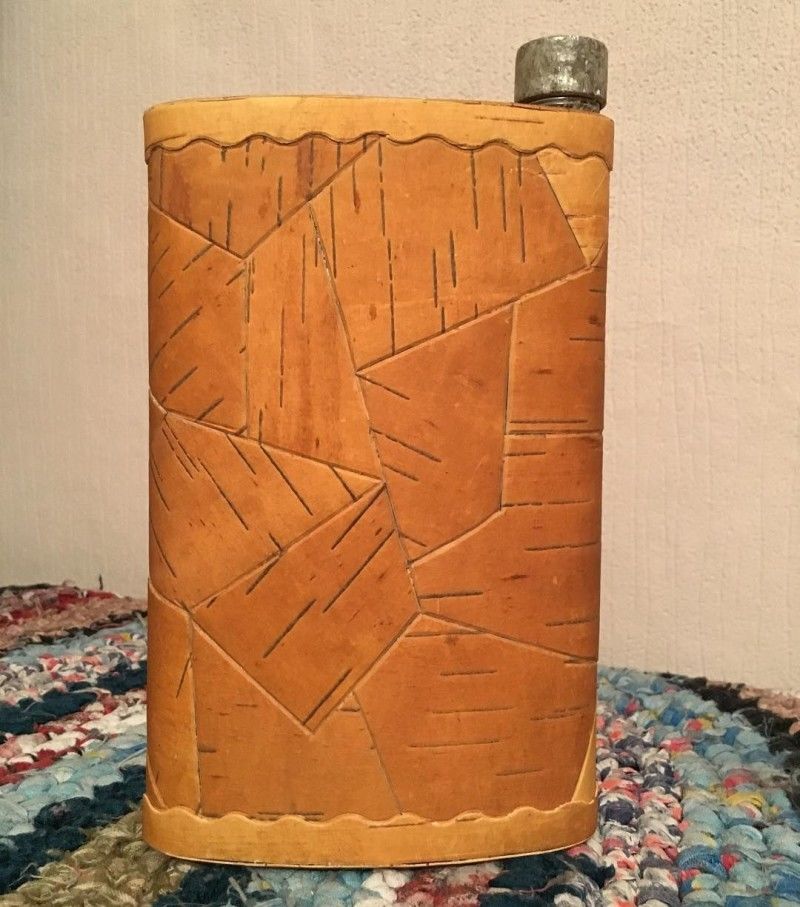
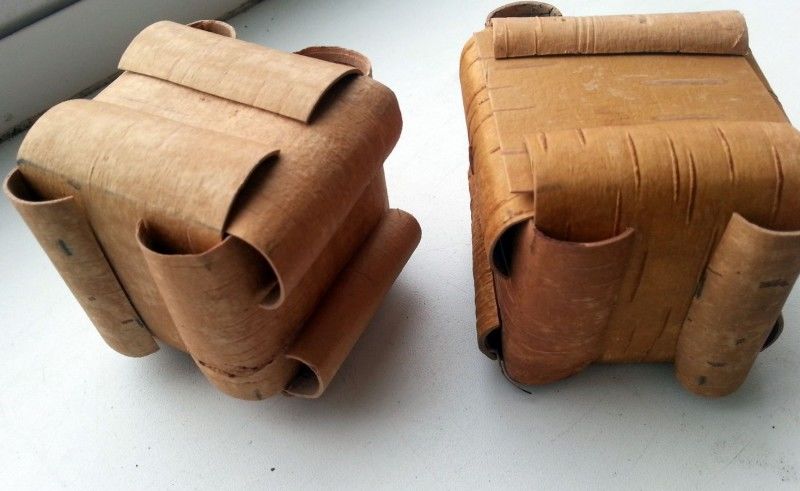
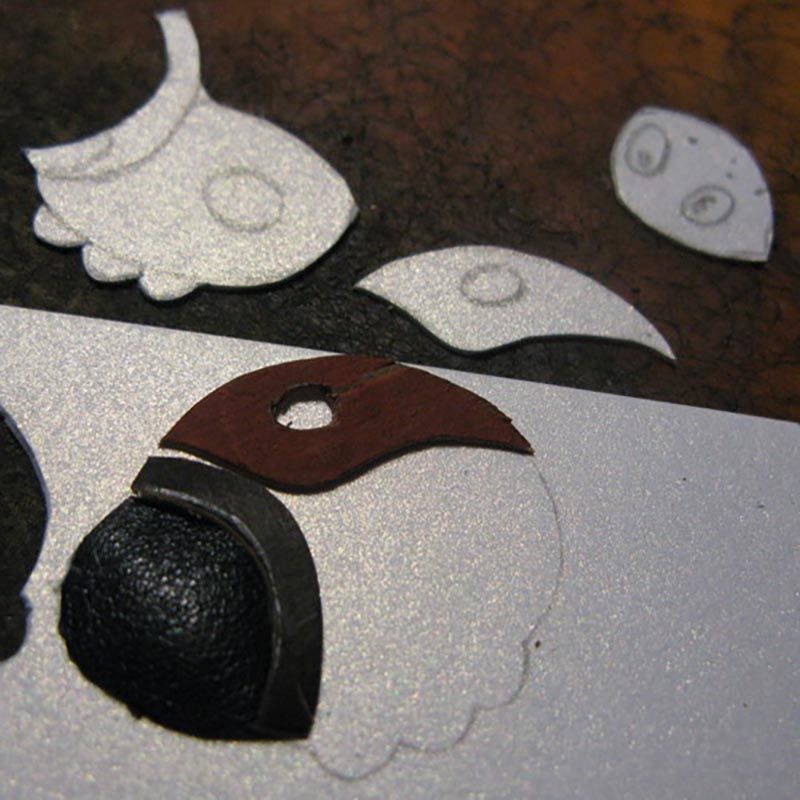
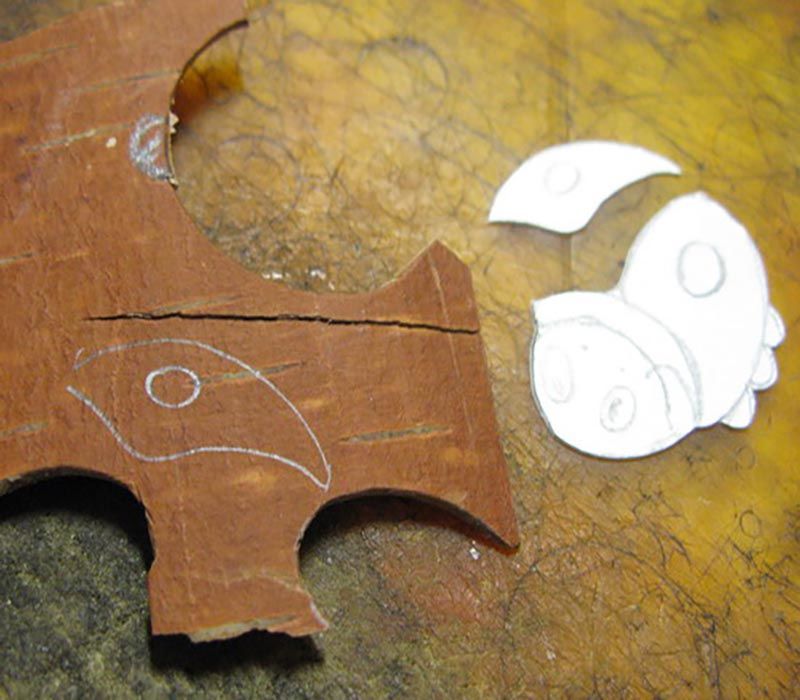
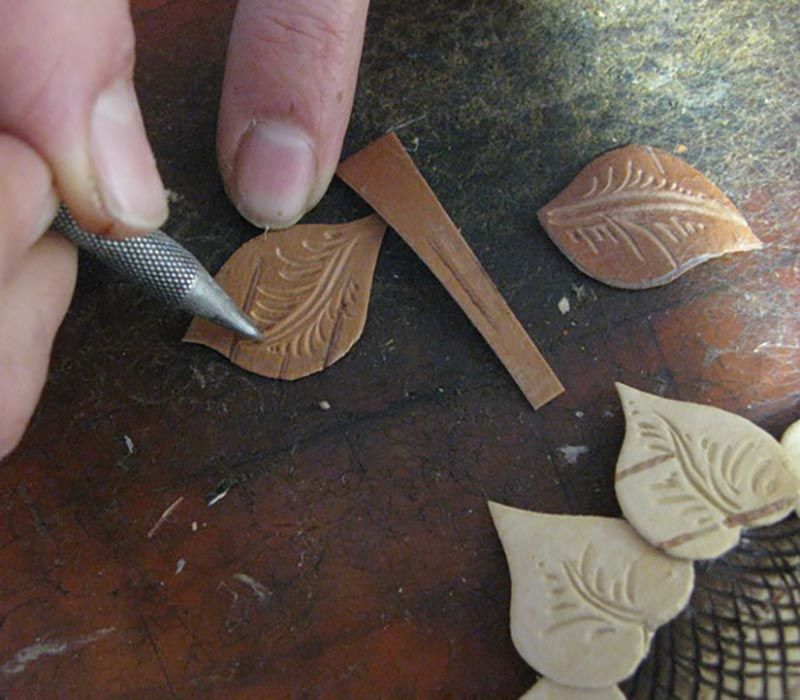
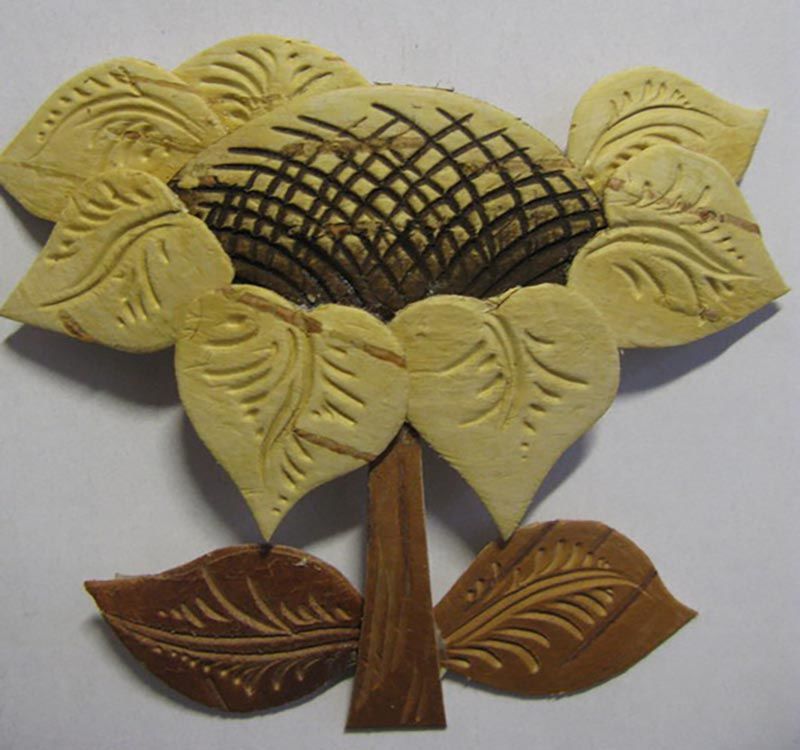
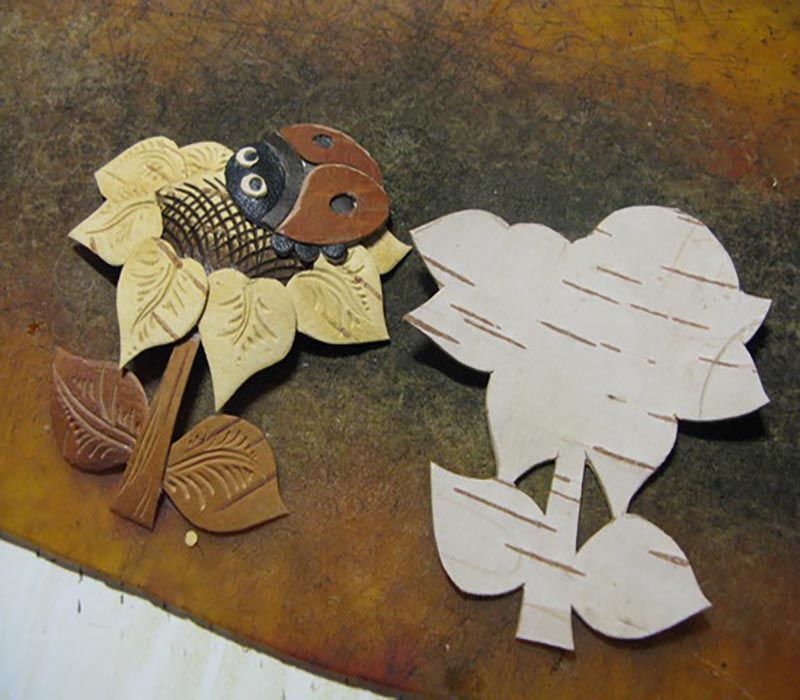
Photo of birch bark crafts