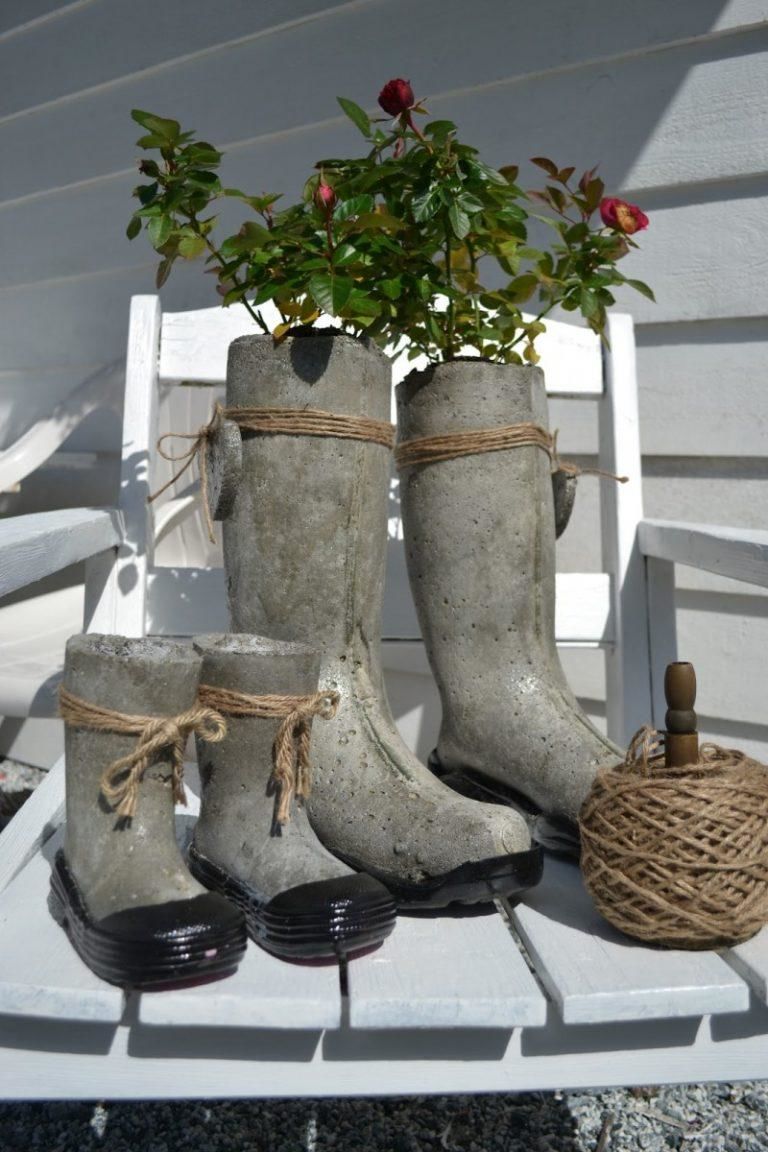
Cement crafts with their own hands: a collection of step-by-step master classes for making products for the house, cottage, garden (136 photos)
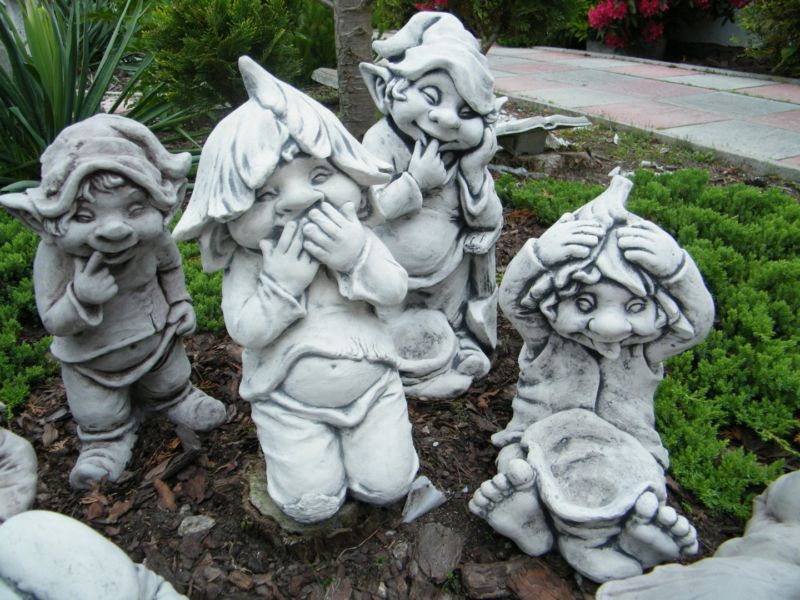
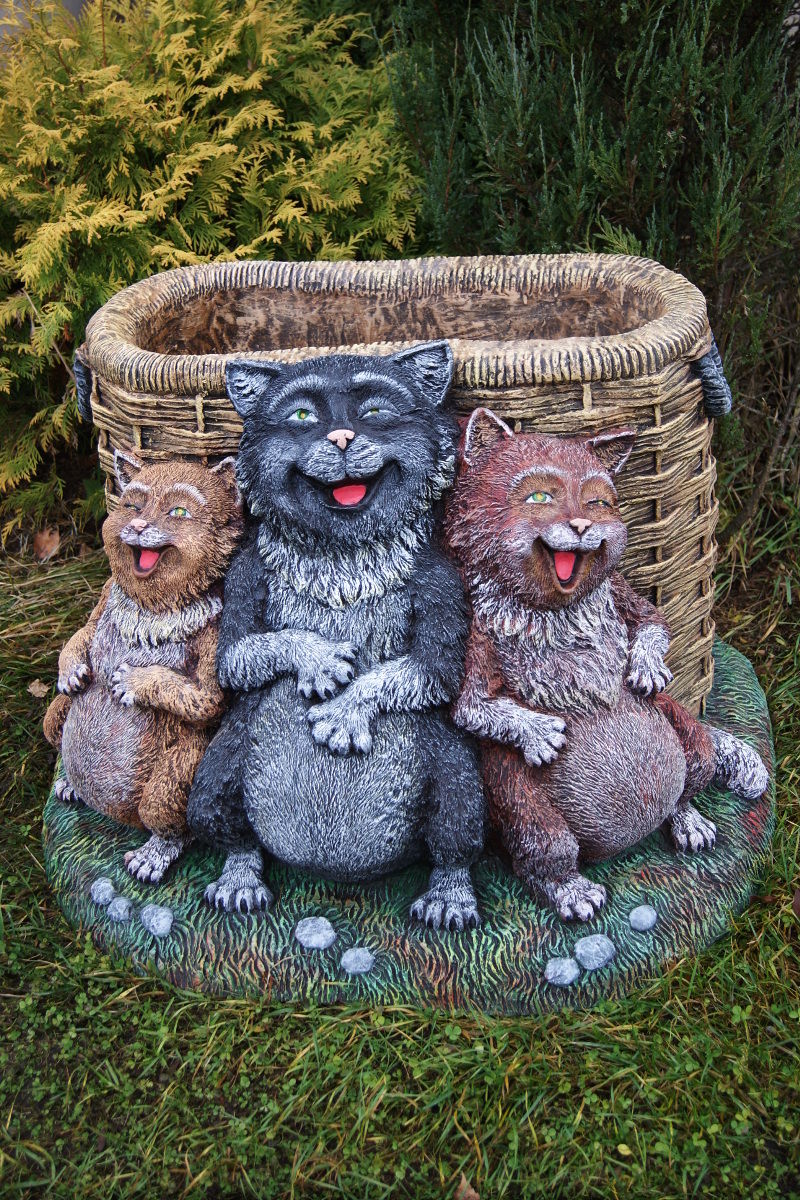
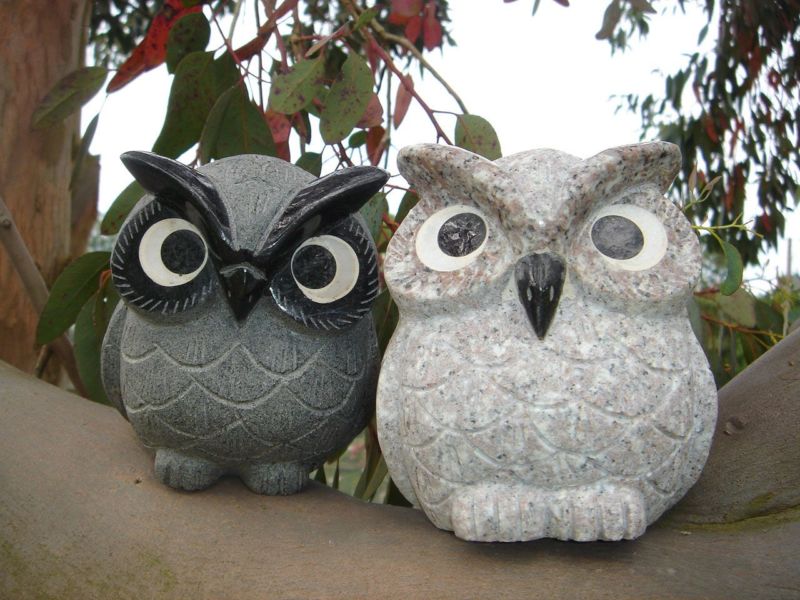
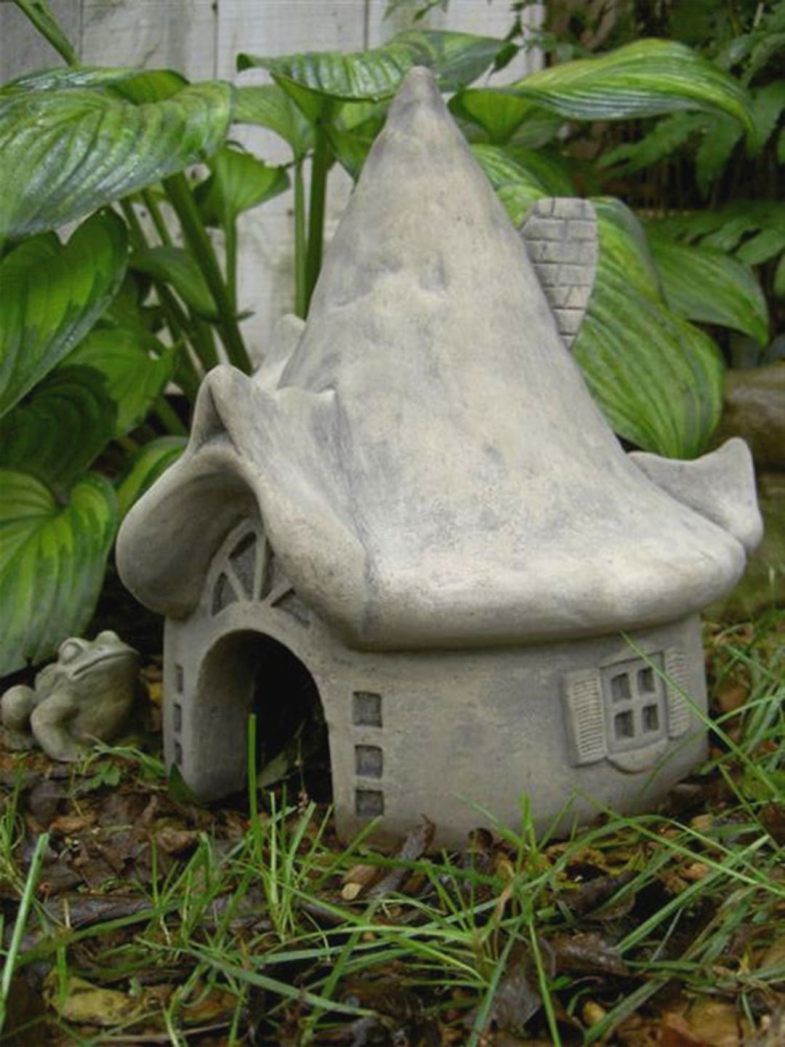
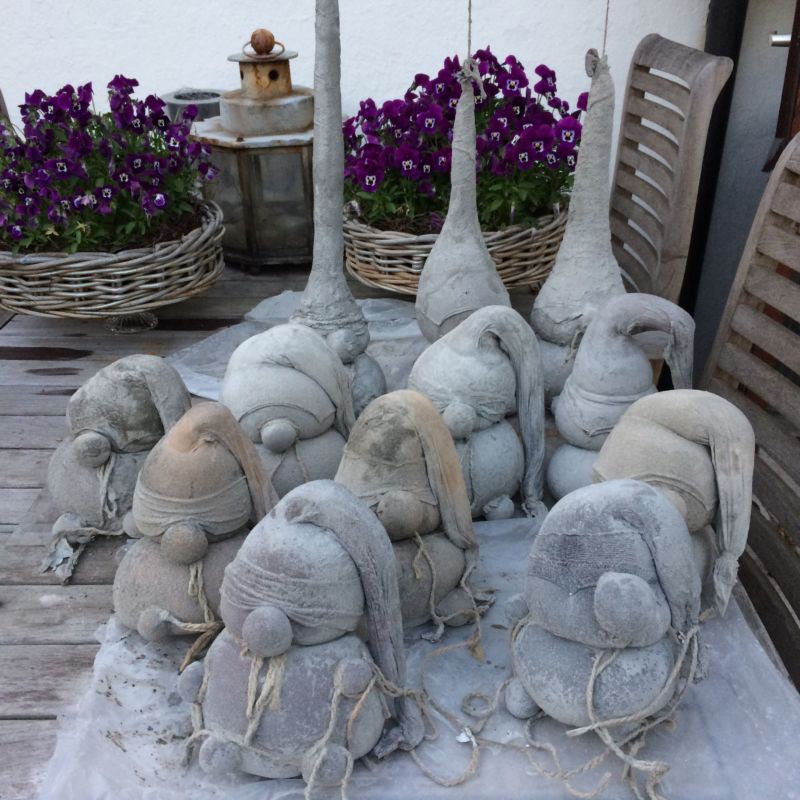
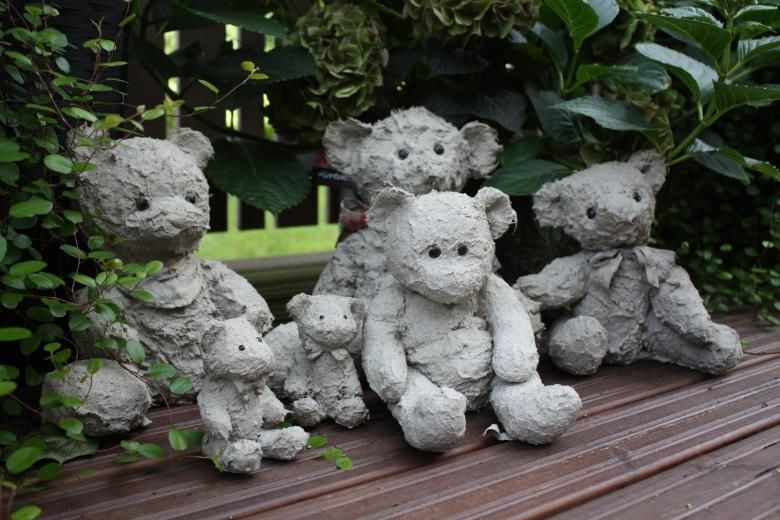
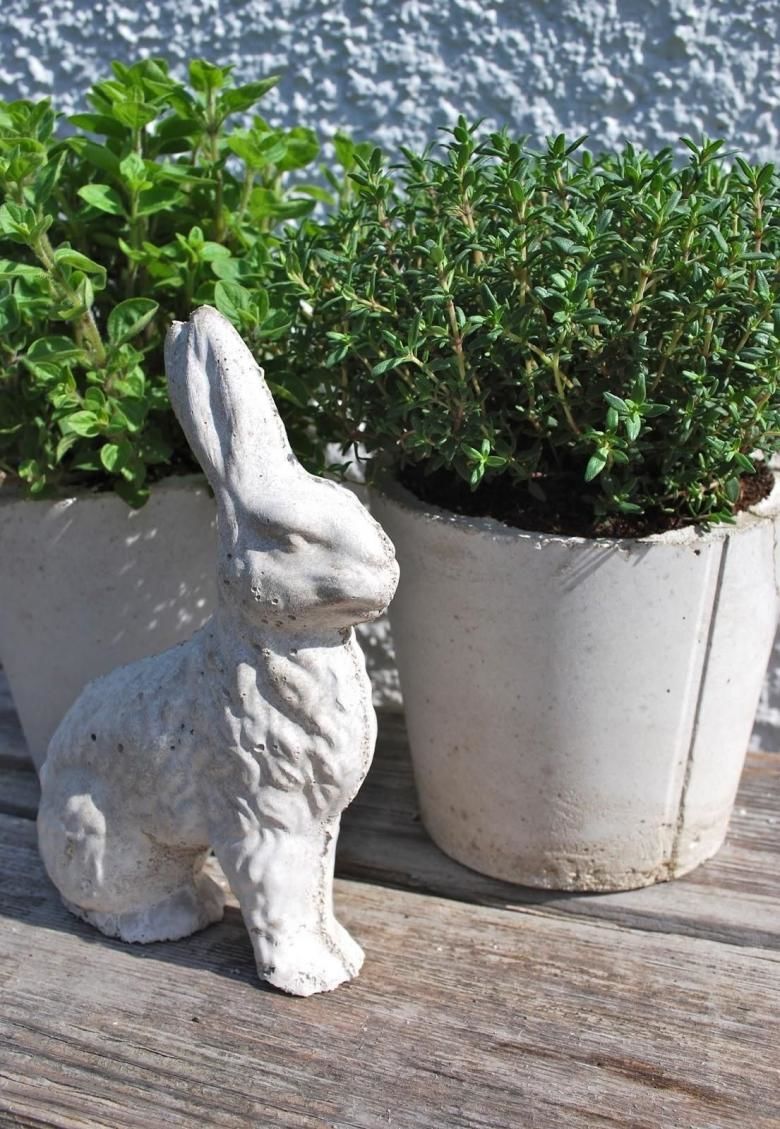
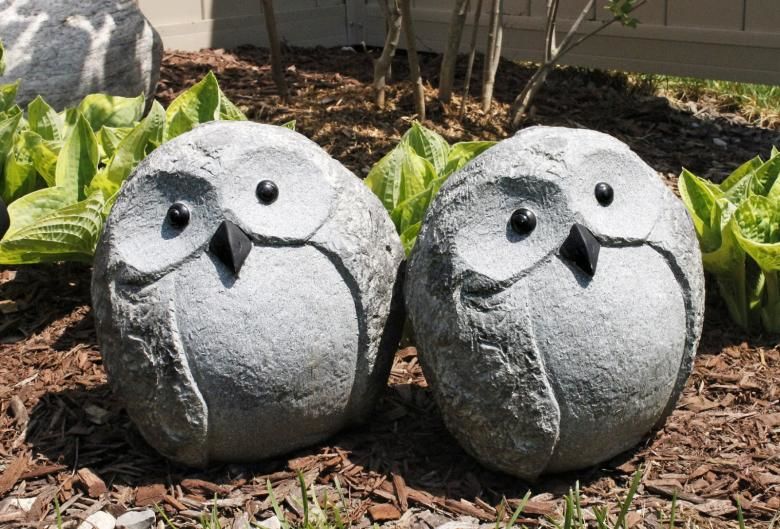
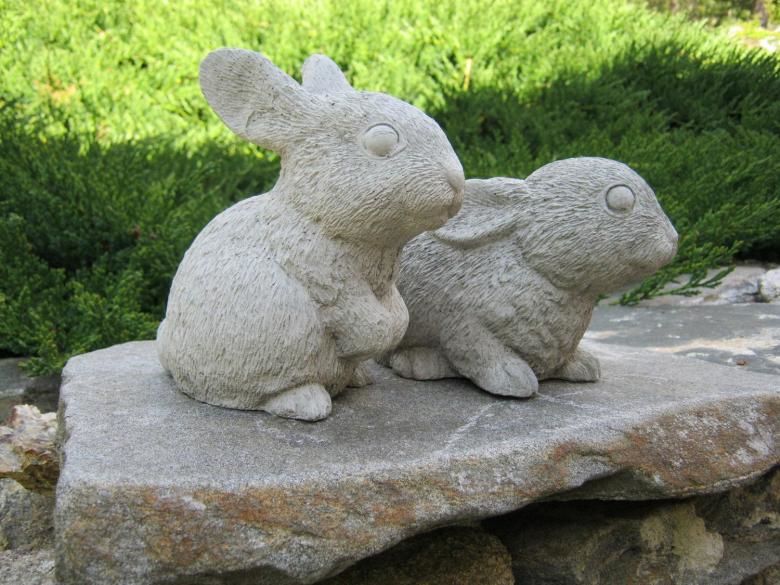
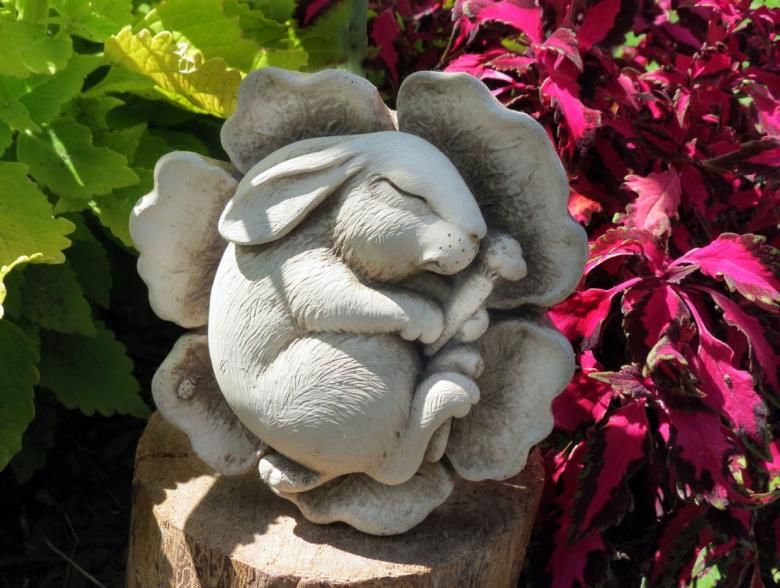
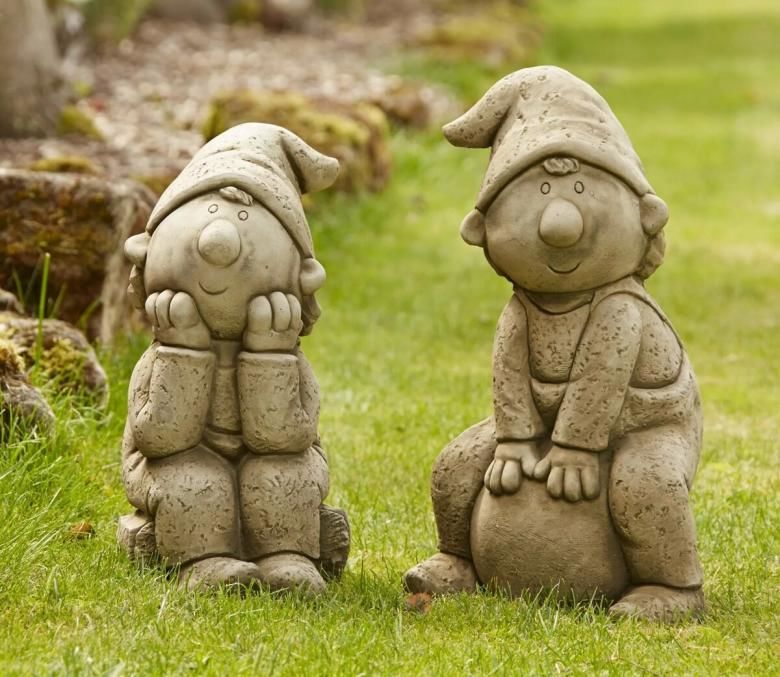
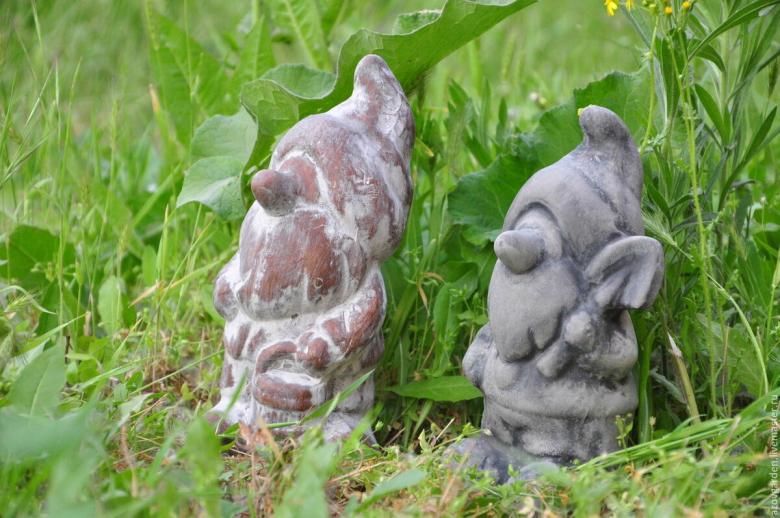
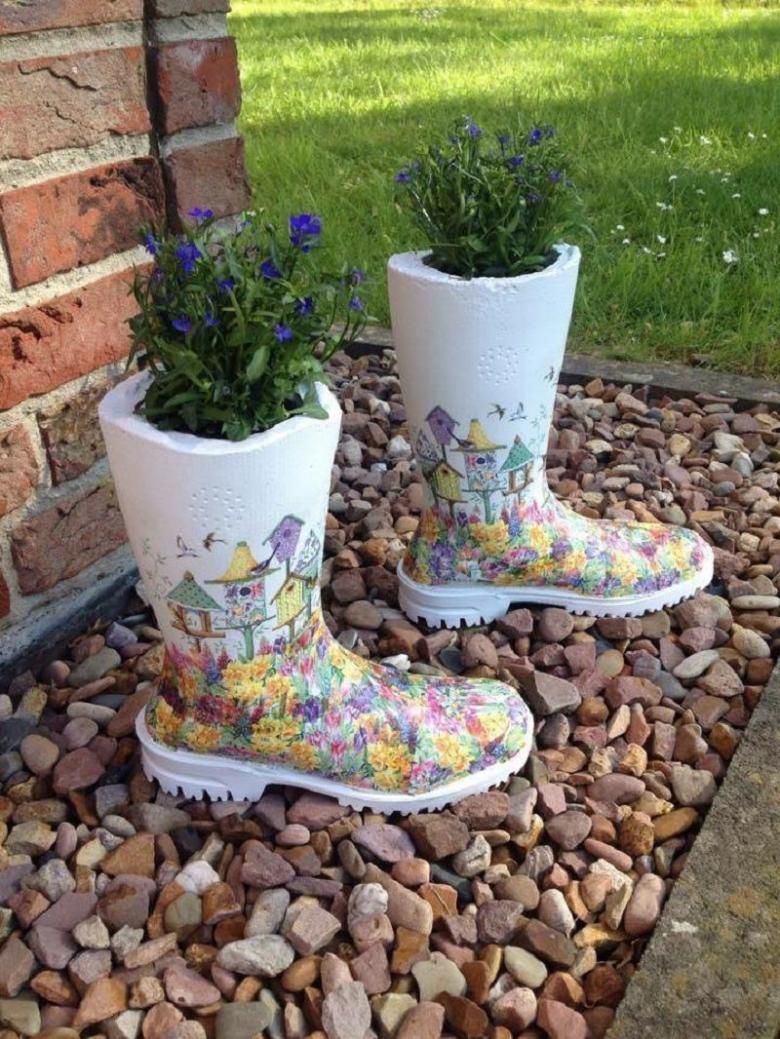
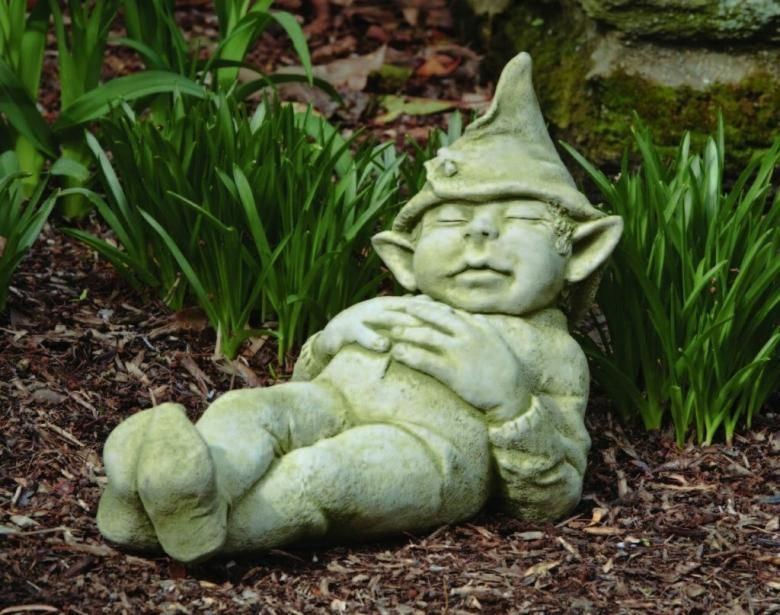
Every hostess strives to create beauty and comfort in her home. Surely many have seen figures of gnomes, bunnies, mushrooms on garden plots. It looks very beautiful and adds zest.
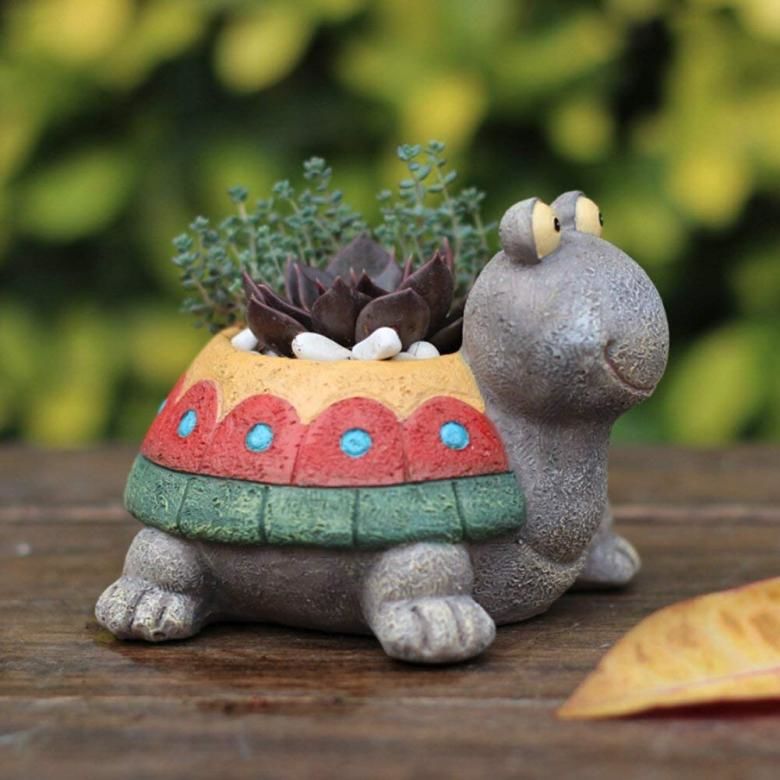
But these figures are worth a lot, and besides, they are not always made to the conscience. If you are a creative person and like to create comfort, then this article is for you.

It is not necessary to spend money on the purchase of decorative products, because you can make original crafts from the cement itself. In this article we will tell you in detail about the nuances of working with cement mortar and show you some interesting ideas for beginners.

Peculiarities of working with cement mortar
In order for the craft to turn out beautiful and neat, it is important to take into account some of the subtleties of working with cement mortar.
Choice of materials
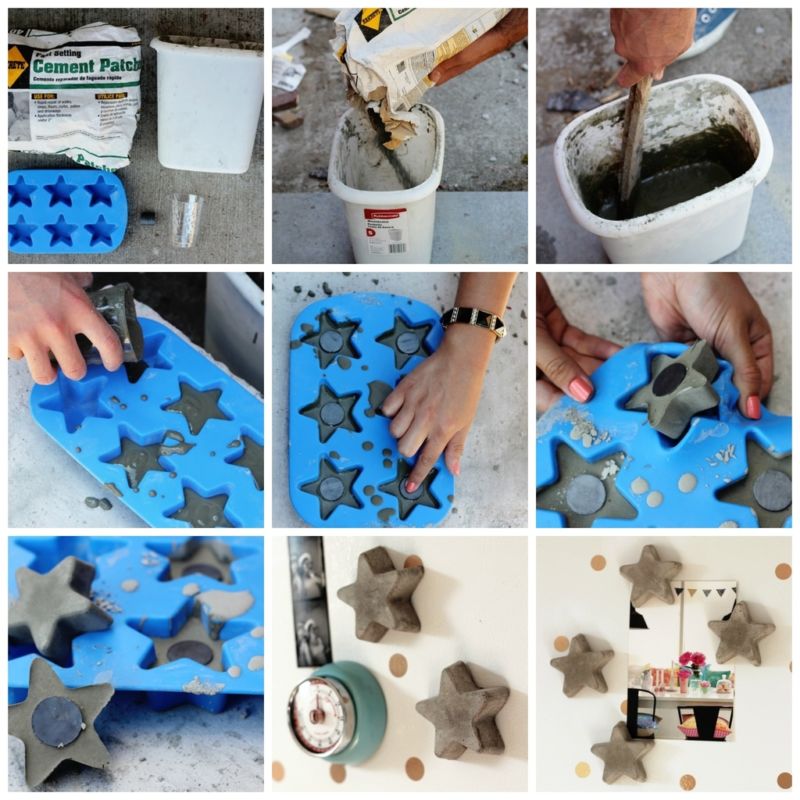
To create decorative products, you will need 4 components: cement, water, sand, PVA glue.
To make your products last for a long time, choose quality materials. For work buy cement of grade M400 or higher. White cement M600 is ideal: it is used for architectural and decorative works.
Construction sand should be dry and sifted. Concrete or gypsum can be used as the basic material.
Concrete has a higher strength: it is convenient to use it to make a base for various compositions.
You can also make mortar from gypsum, but it hardens quickly, and the material itself is more brittle. It is better to use gypsum to make frameworks for future figures.
Various objects can be used as a framework. Suitable for this purpose will be:
- old dolls;
- Plastic and glass bottles;
- tin cans;
- old stockings or pantyhose;
- plastic containers;
- metal rods;
- assembly foam.
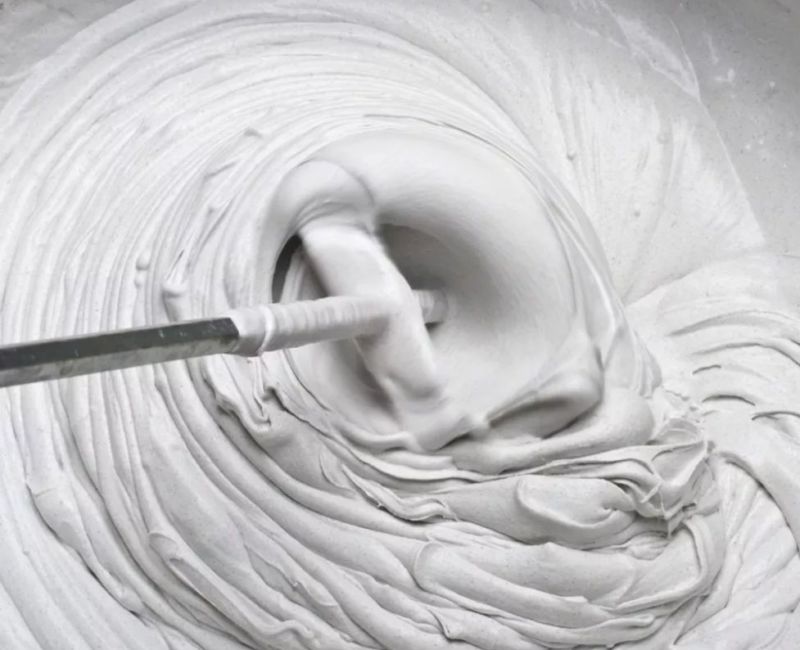
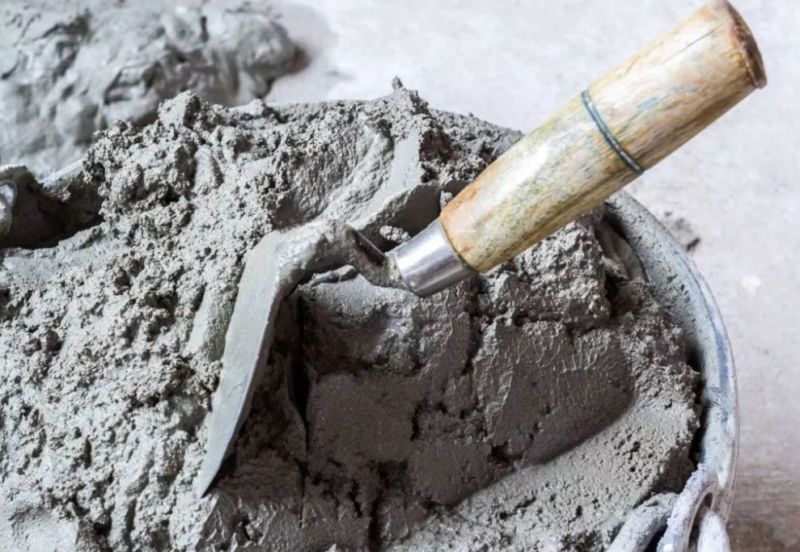
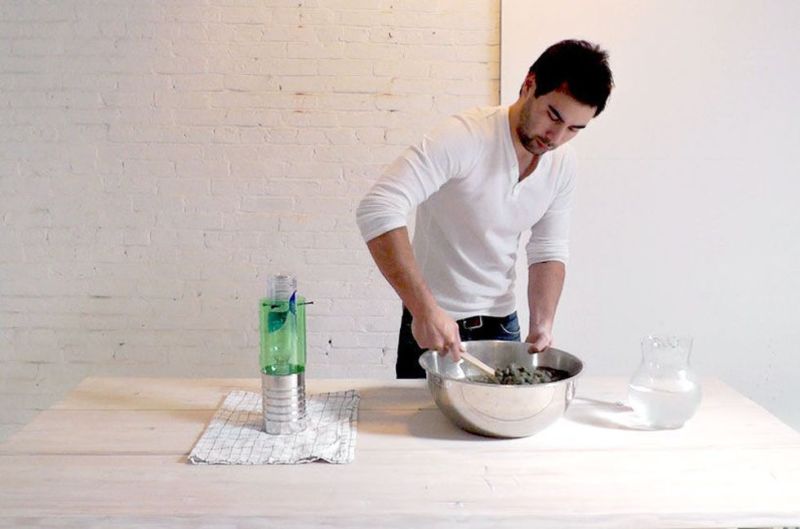
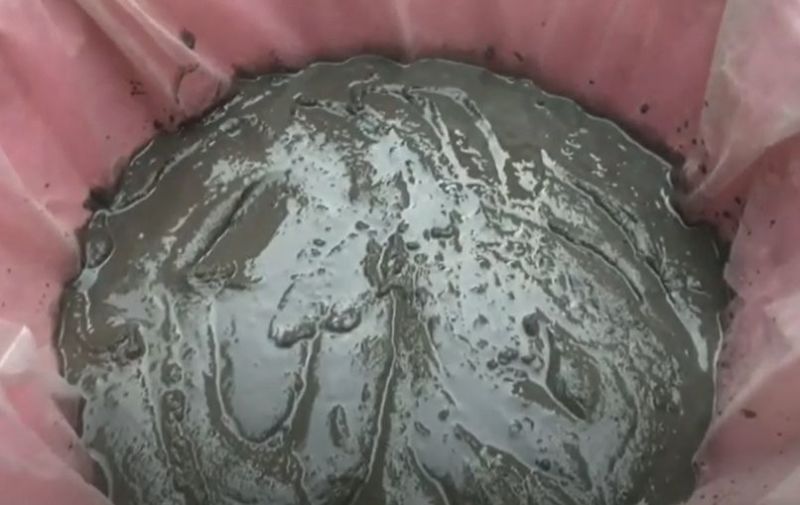
Cement mortar: proportions and preparation
To prepare the mortar, mix one part cement and 2 parts sand:
- Stirring the mixture, gradually add water until the solution is the desired thickness. At the very end, add one part glue and mix well.
- The consistency of the mortar should resemble a thick sour cream: it will be plastic, but it will not run down.

This versatile recipe is suitable for both gardening and small decorative crafts. A little secret: You can add dish detergent or washing powder to improve plasticizing. But don't add too much: a maximum of one teaspoon per bucket of cement mixture.

Storage and handling
The finished figures should be covered with foil, so that they do not spill out. Store in a cool, dry place at a temperature of at least 5 degrees.
Cement should harden well, usually takes three to seven days, depending on the size of the product. After hardening it is necessary to sand the figure with sandpaper or a file to make the surface smooth. And at the end, treat the surface with primer.
Creating figures from cement is a painstaking, but not complicated process. Even if you have never worked with cement - do not be afraid. In this article, you will find step-by-step instructions for creating crafts that even a beginner can make.
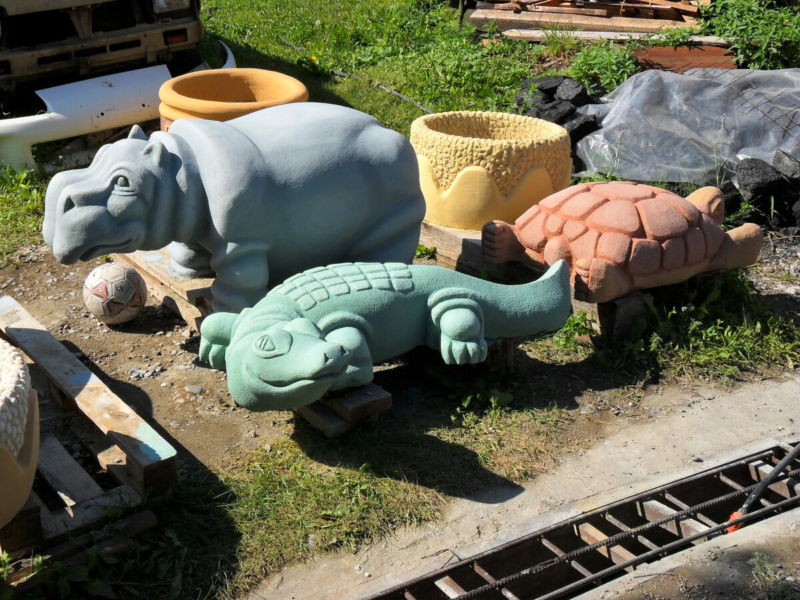
Crafts for the garden
Both concrete and cement are good for garden crafts. Do not rush to throw away unnecessary rubber balls, buckets, brushes and trays - you can still use them.
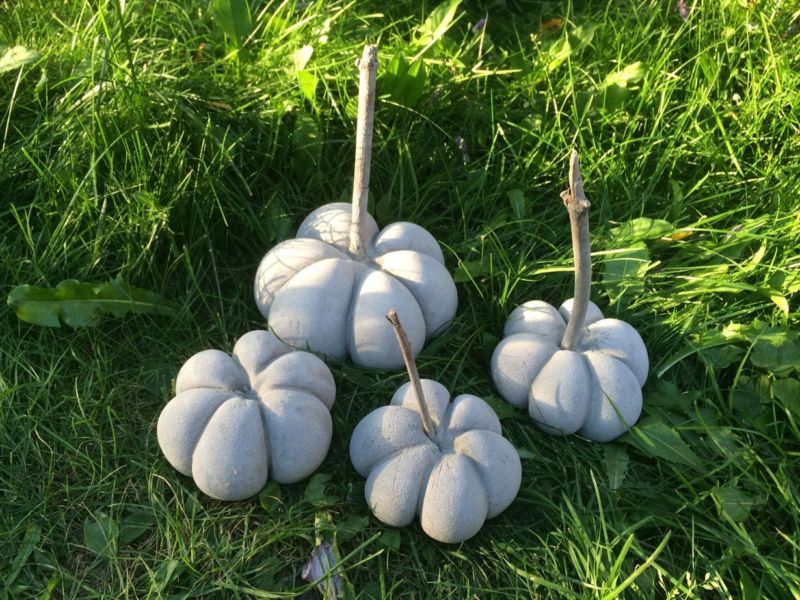
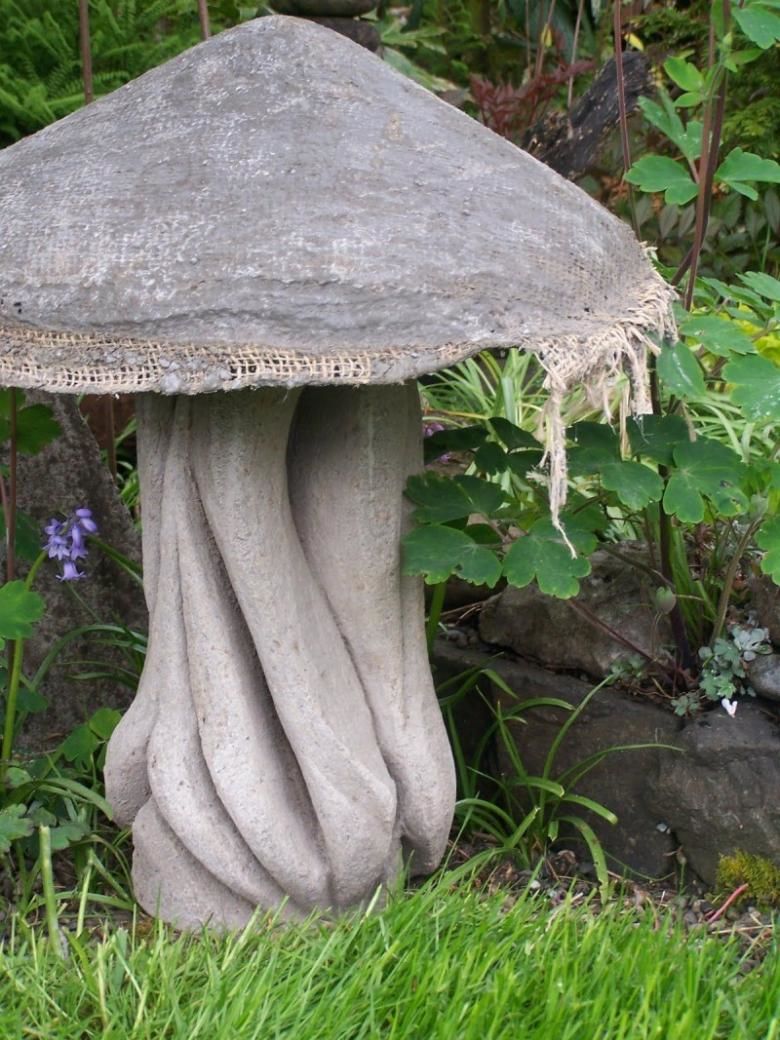
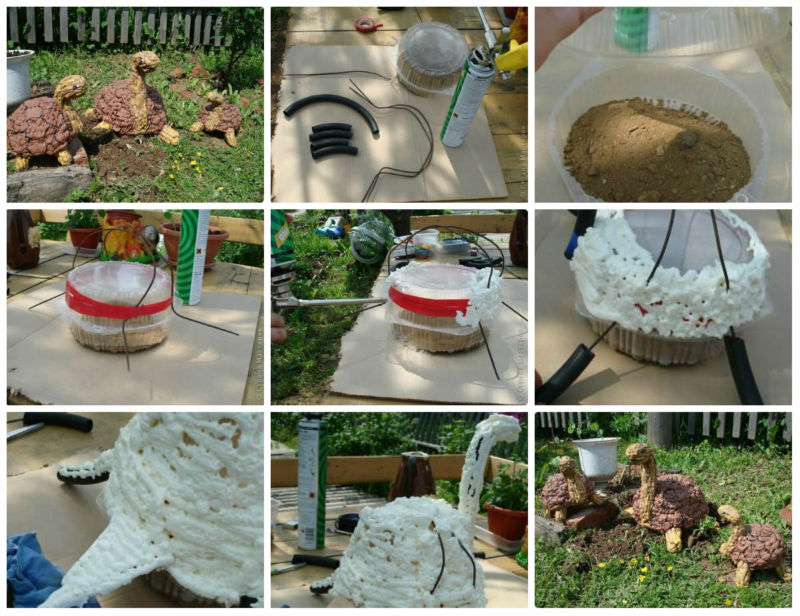
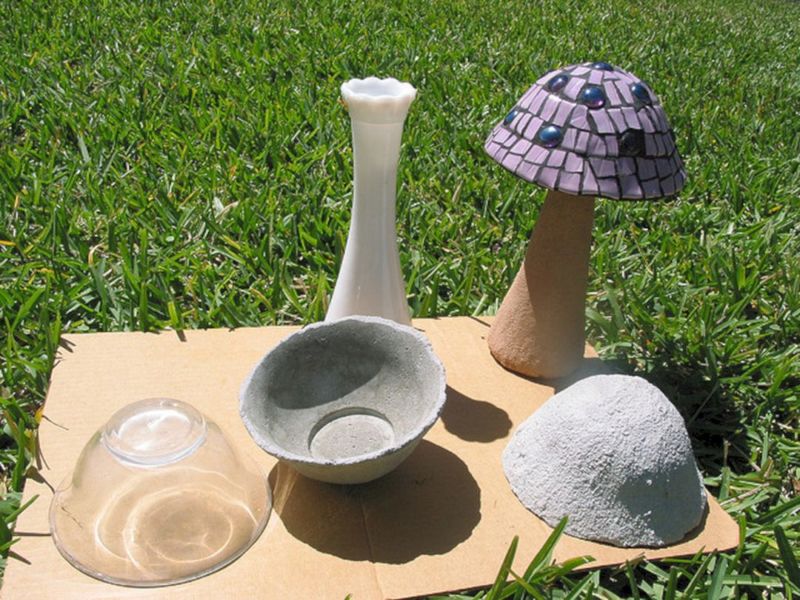
Ornamental Mushroom
To create a mushroom, you will need: an unwanted rubber ball, a piece of plastic tubing or a tin can, a rubber rod, and a bucket of sand:
- Cut the ball into two halves. The diameter of the ball will depend on the size of the cap of the mushroom.
- Pour the sand in a bucket.
- Put half of the ball on the sand and tamp it so that it is well fixed.
- We fill the hemisphere with cement.
- Make even cuts in the plastic tube on the sides, then insert it into the center of the filled form. Submerge the tube to about 1 - 2 cm.
- Using a metal rod, connect the cap and stem of our mushroom.
- Fill the cavity inside the plastic tube with cement mixture.
- Cover the mushroom with cling film and leave it to harden in a cool place for a few days.
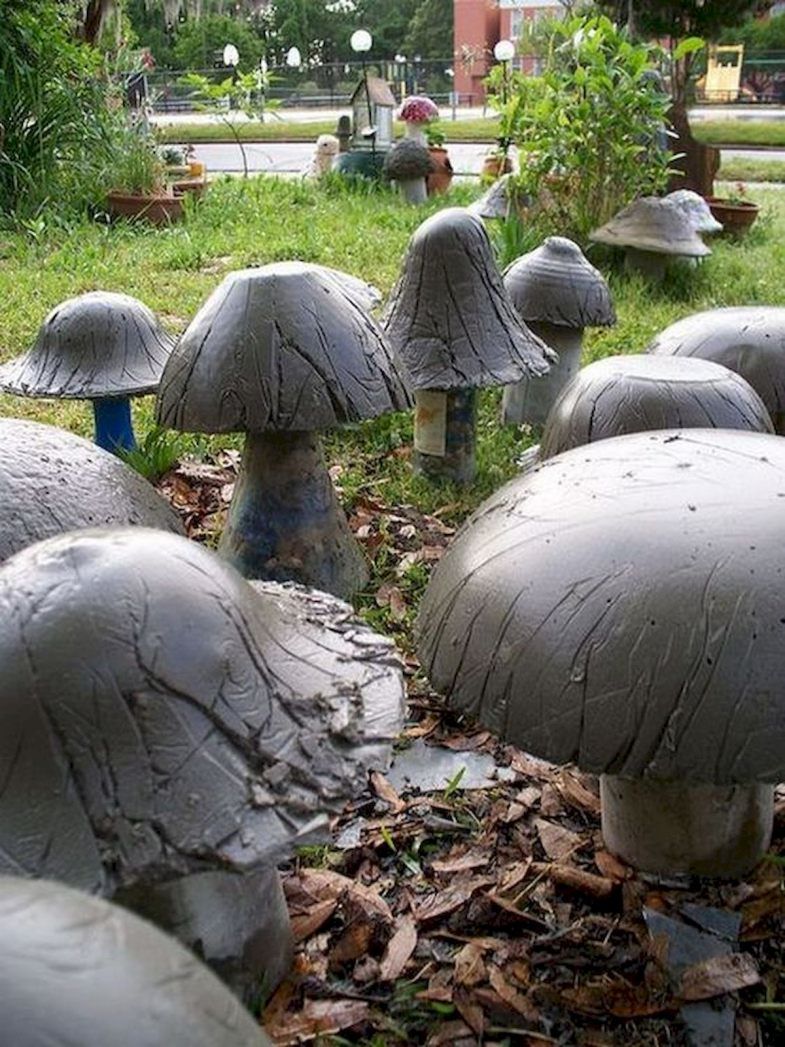
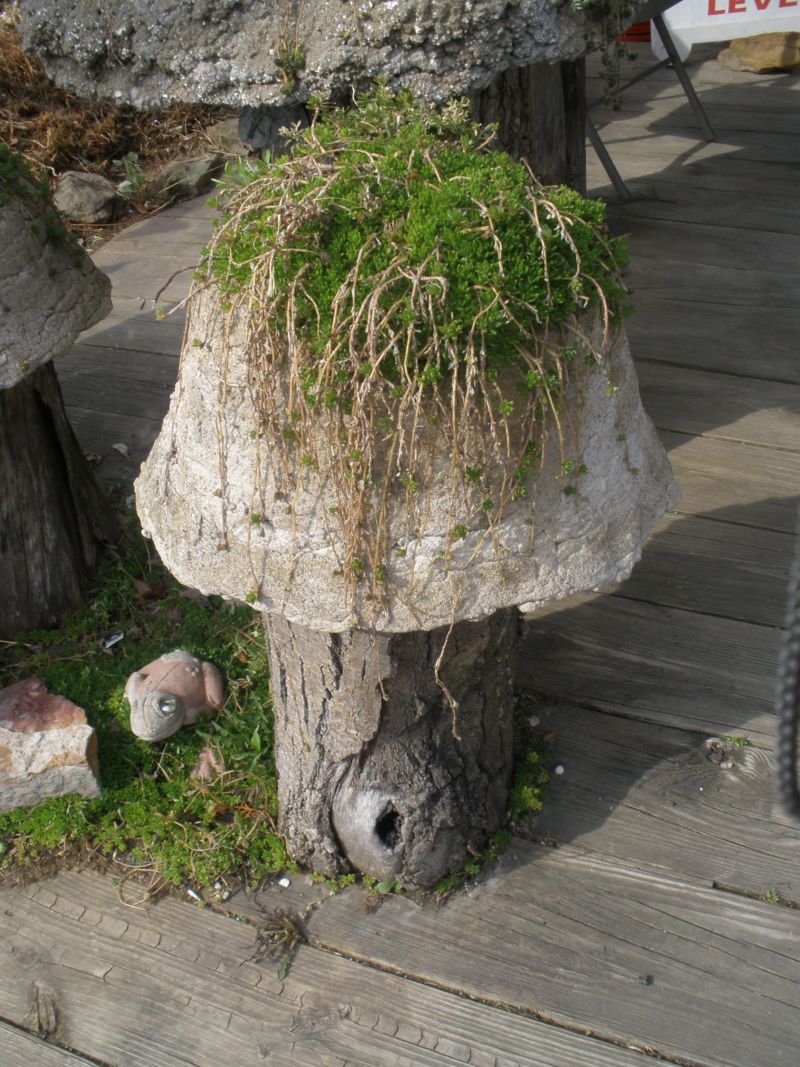
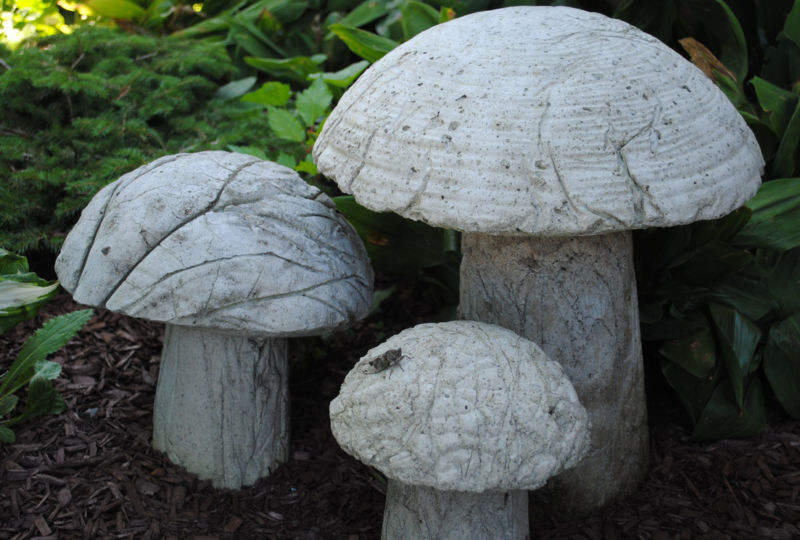
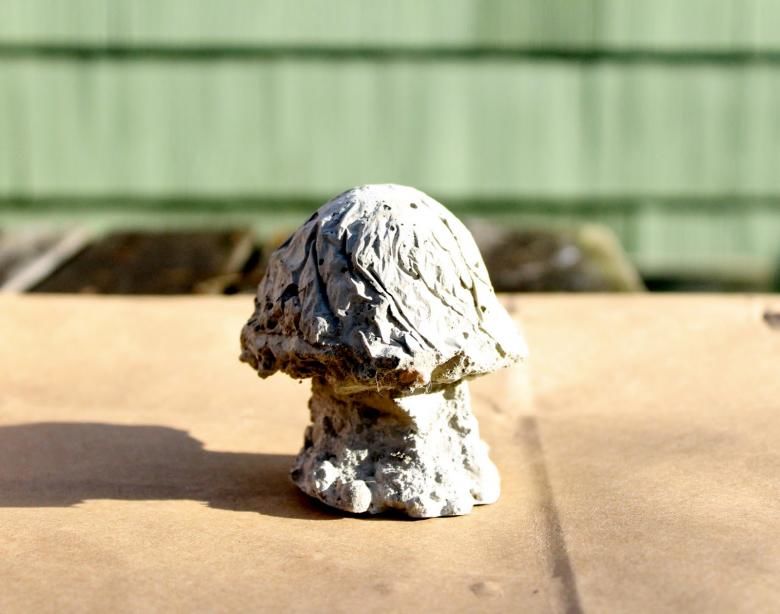

After drying, remove the rubber ball and the bottle. Our mushroom is ready.You can treat the surface with primer and apply paint.
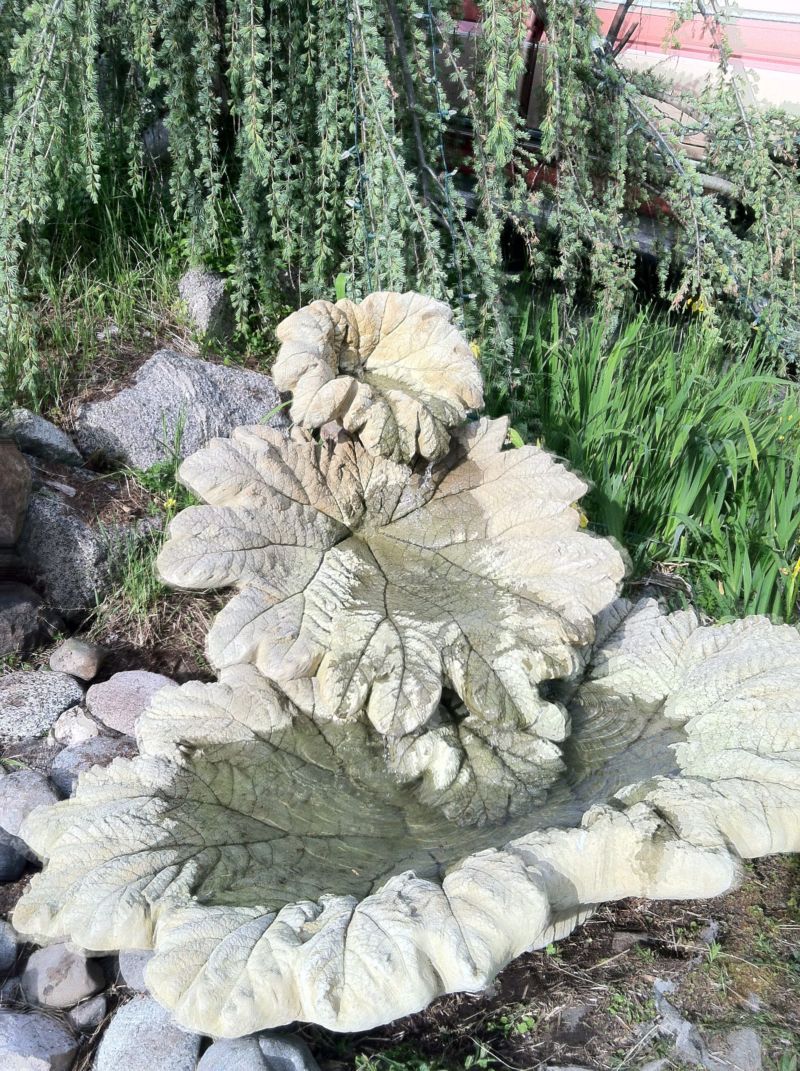
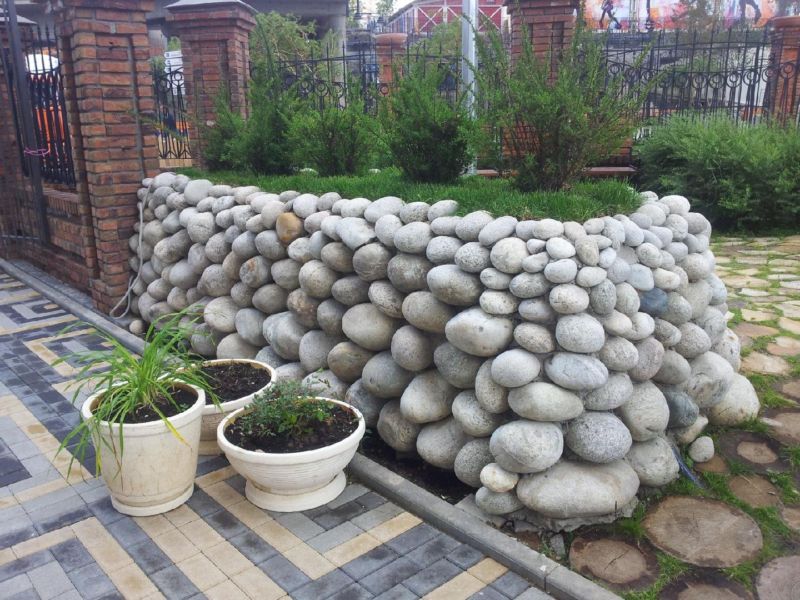
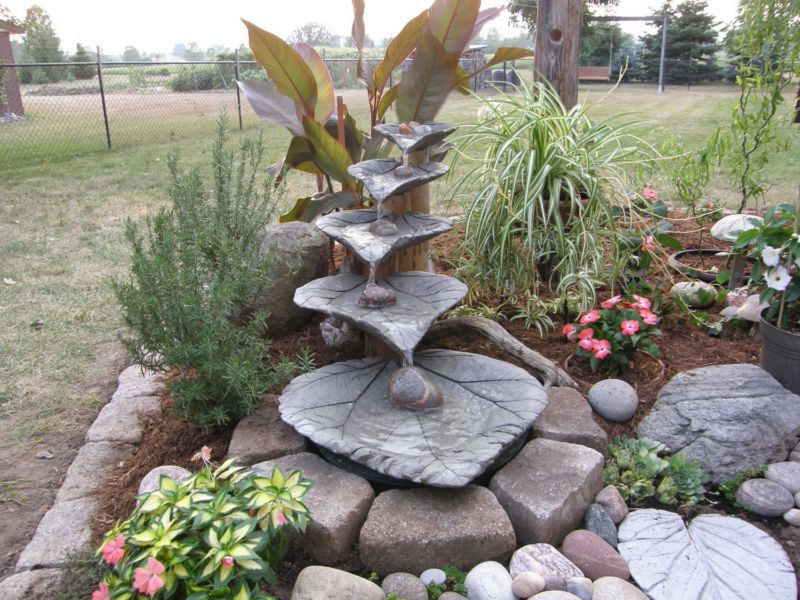
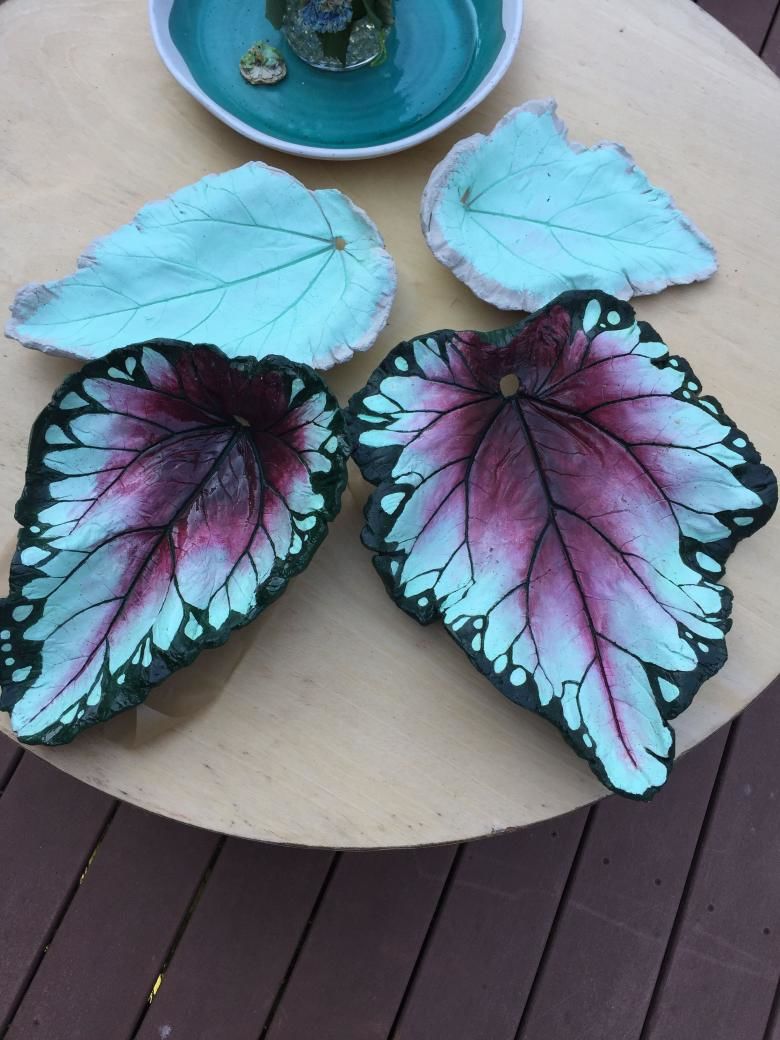
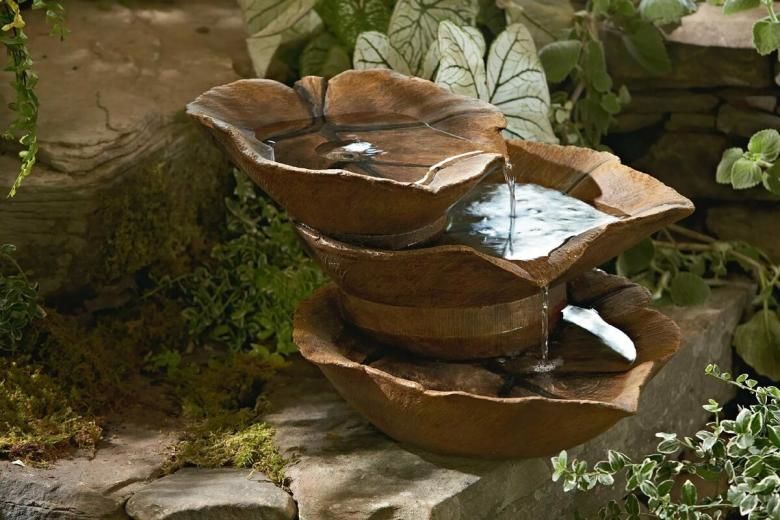
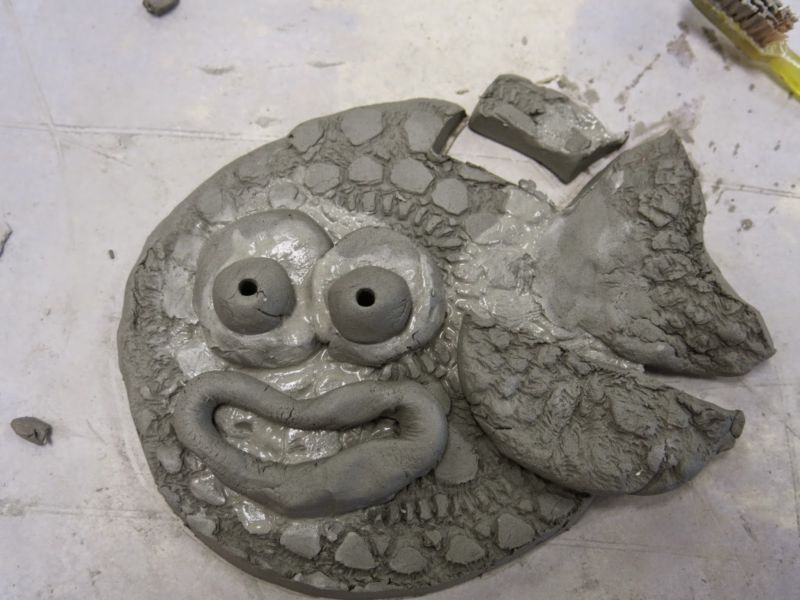
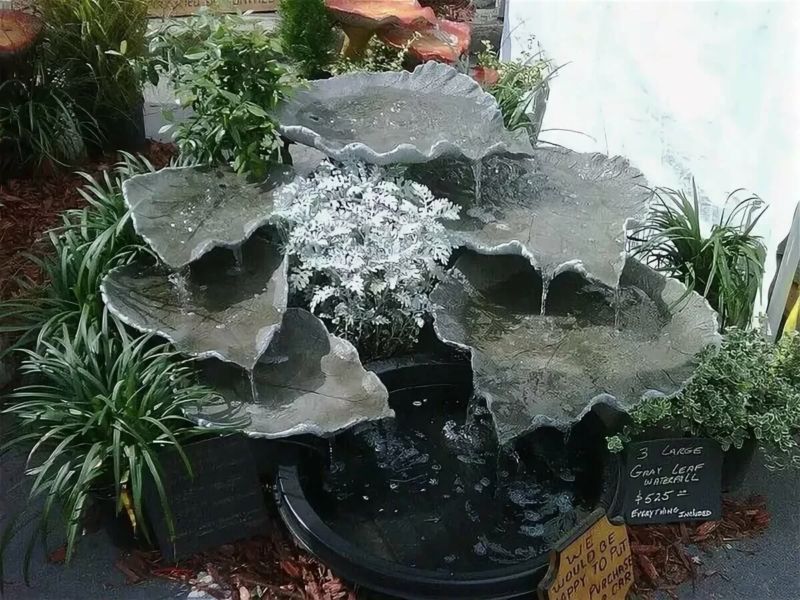
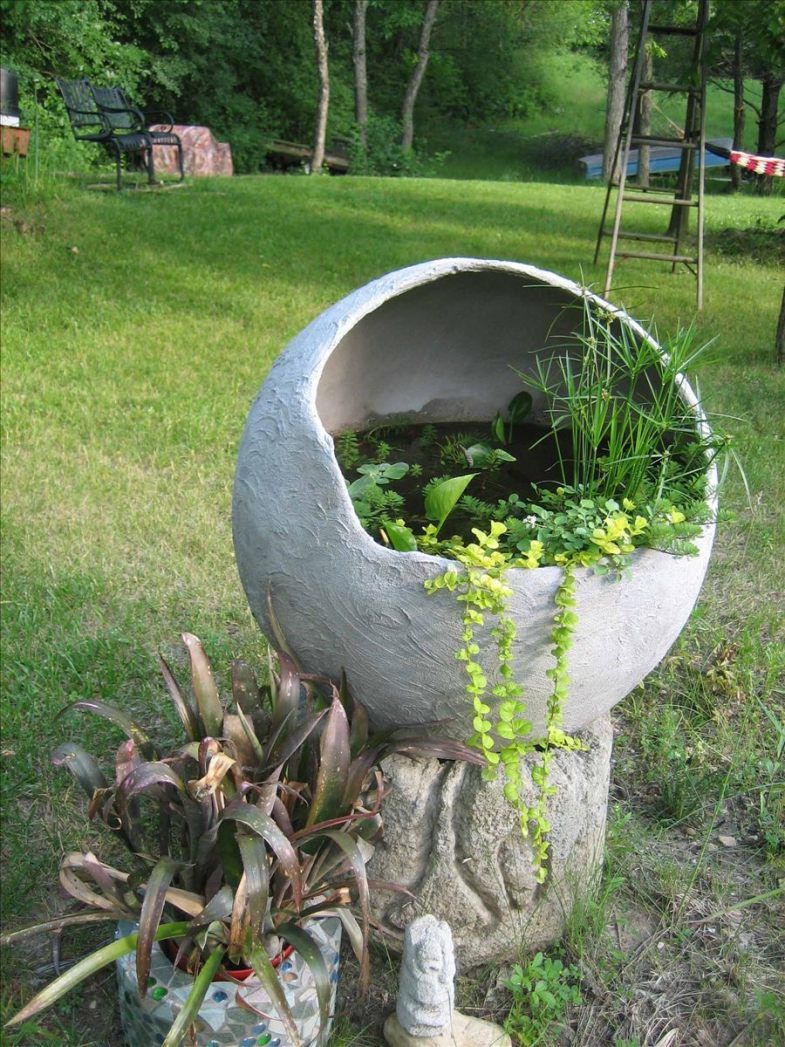
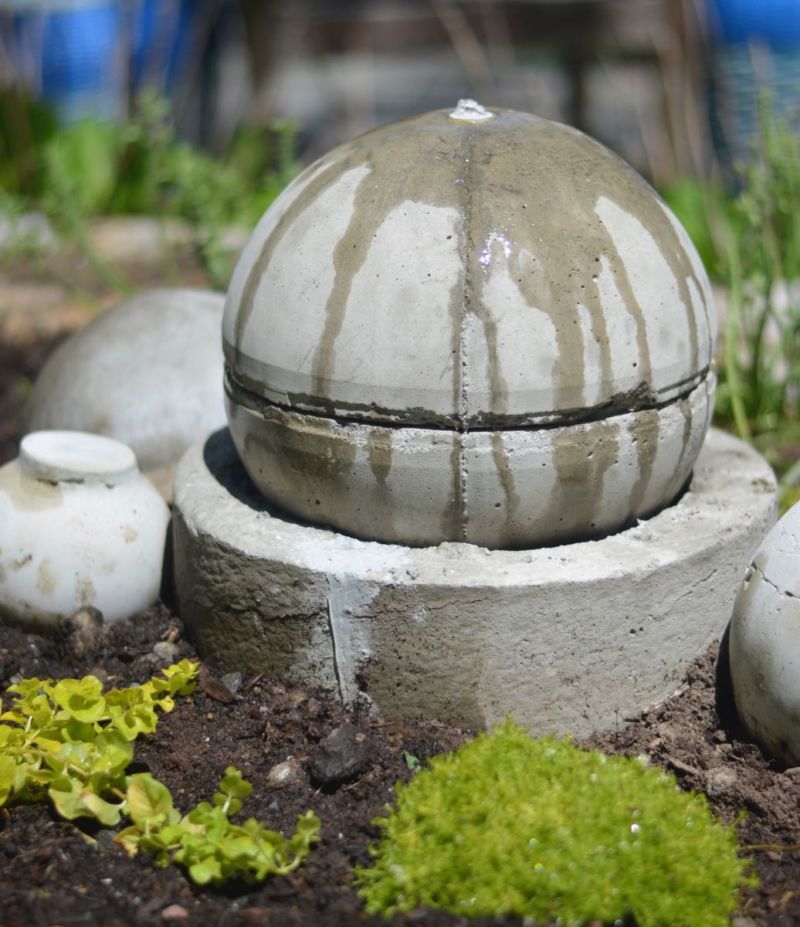
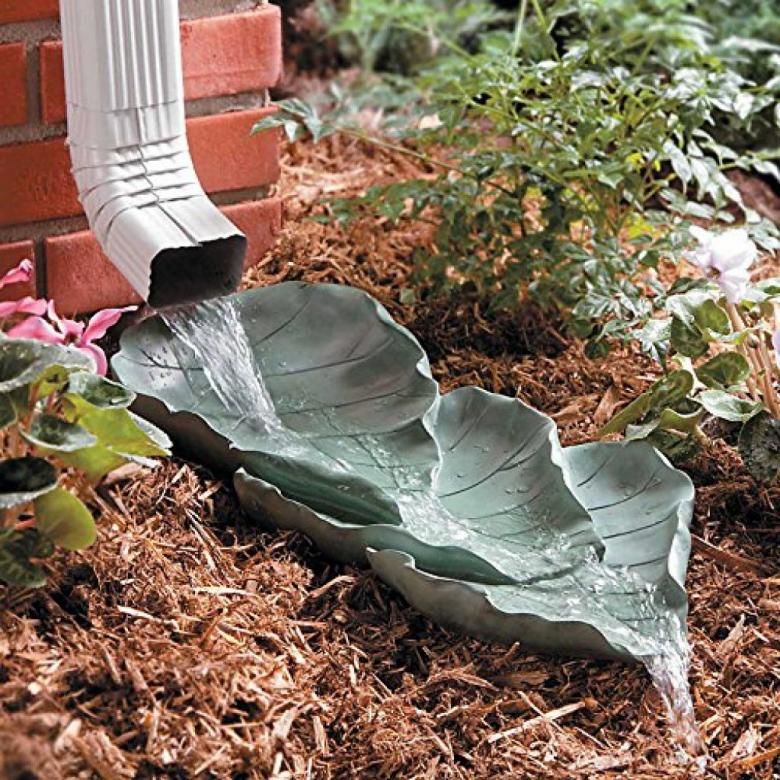
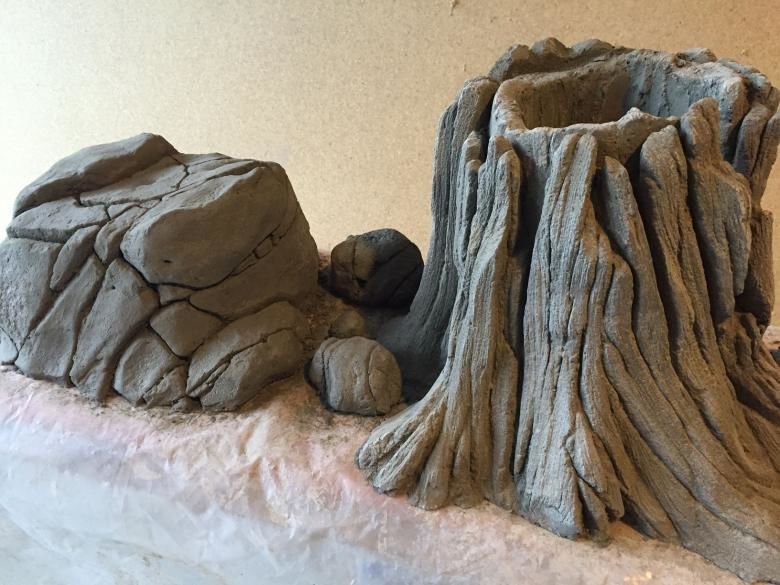
Decorating reservoirs
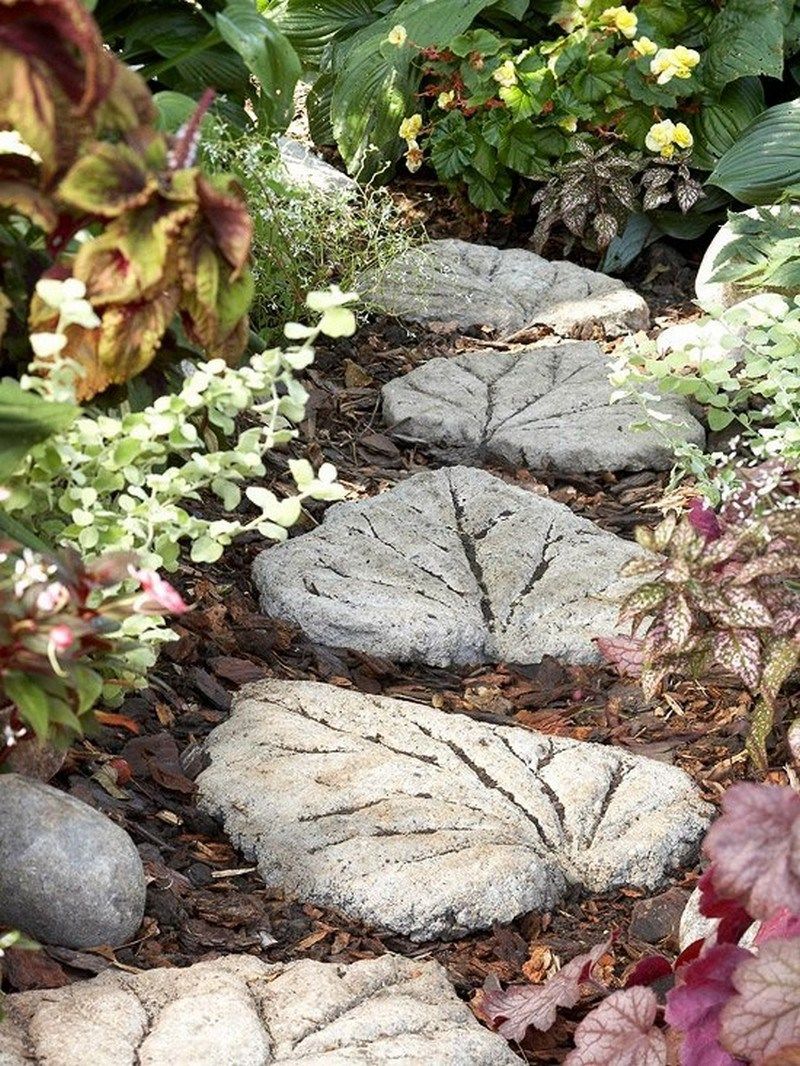
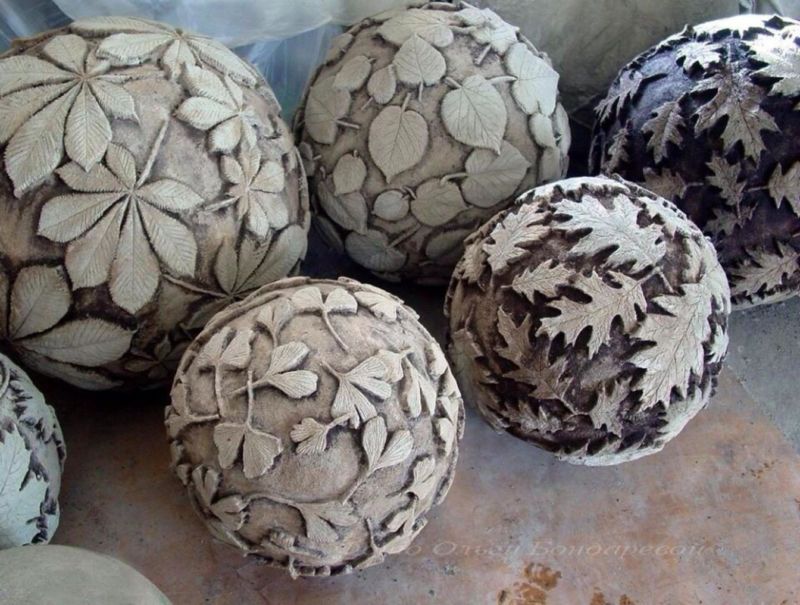
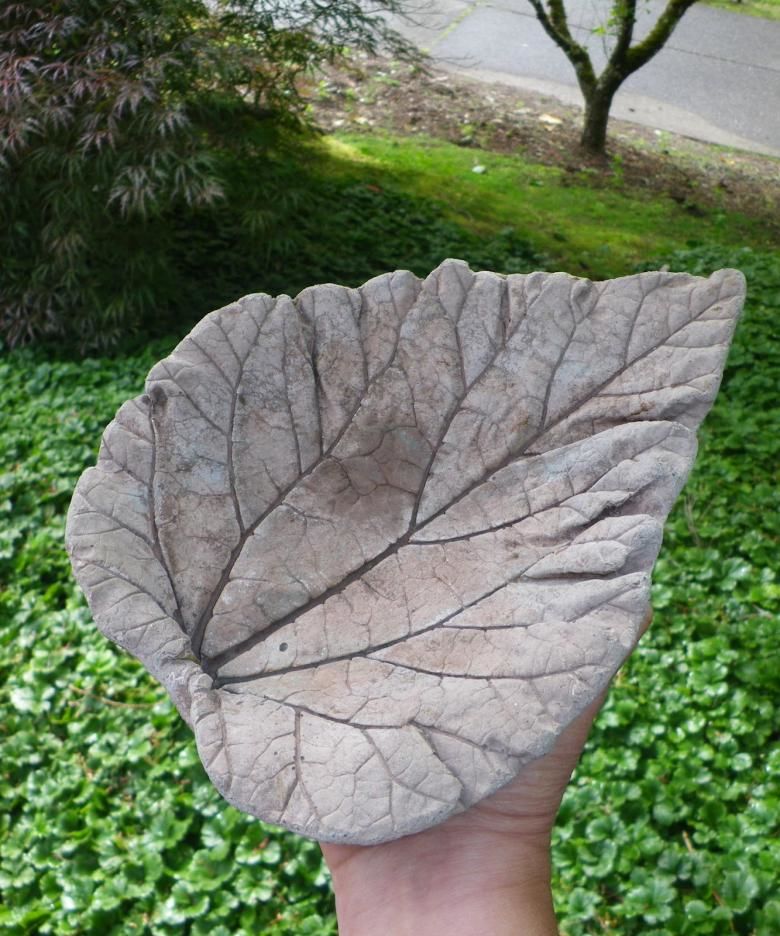
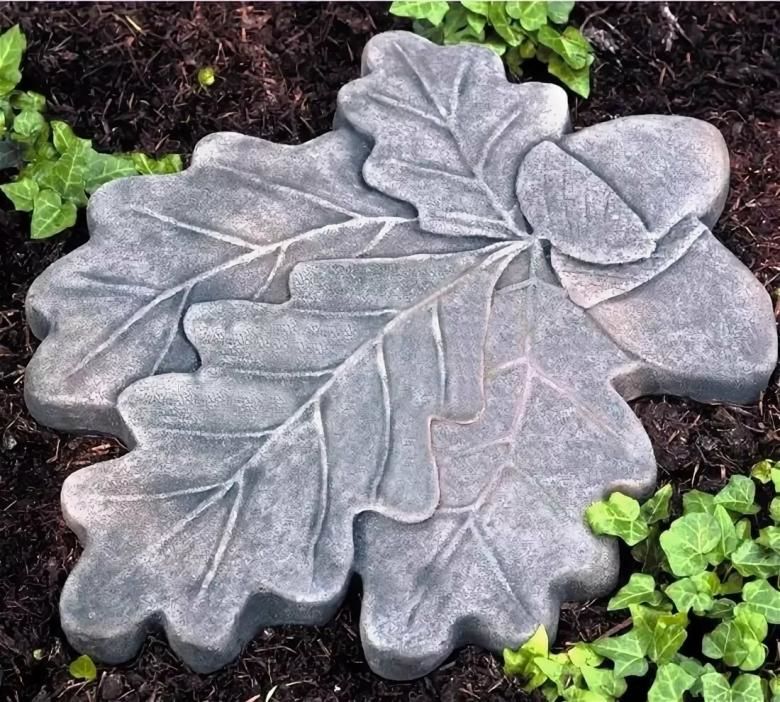
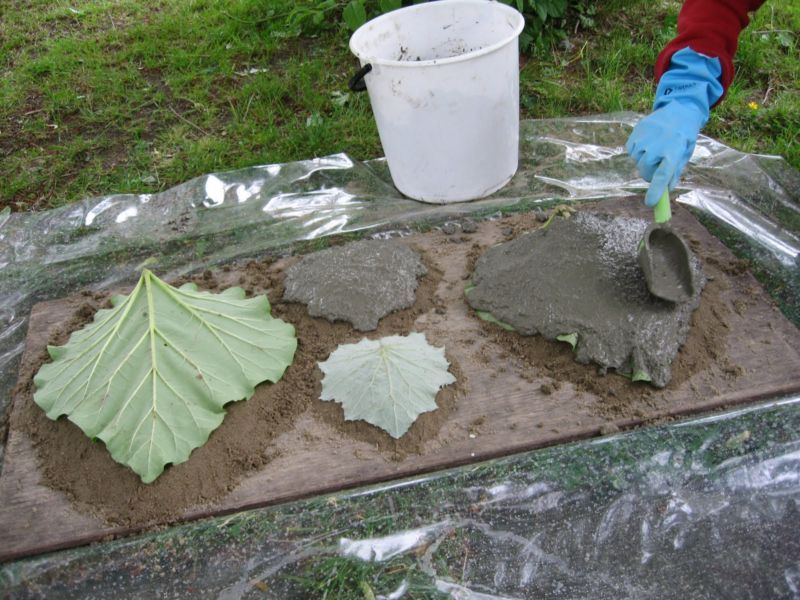
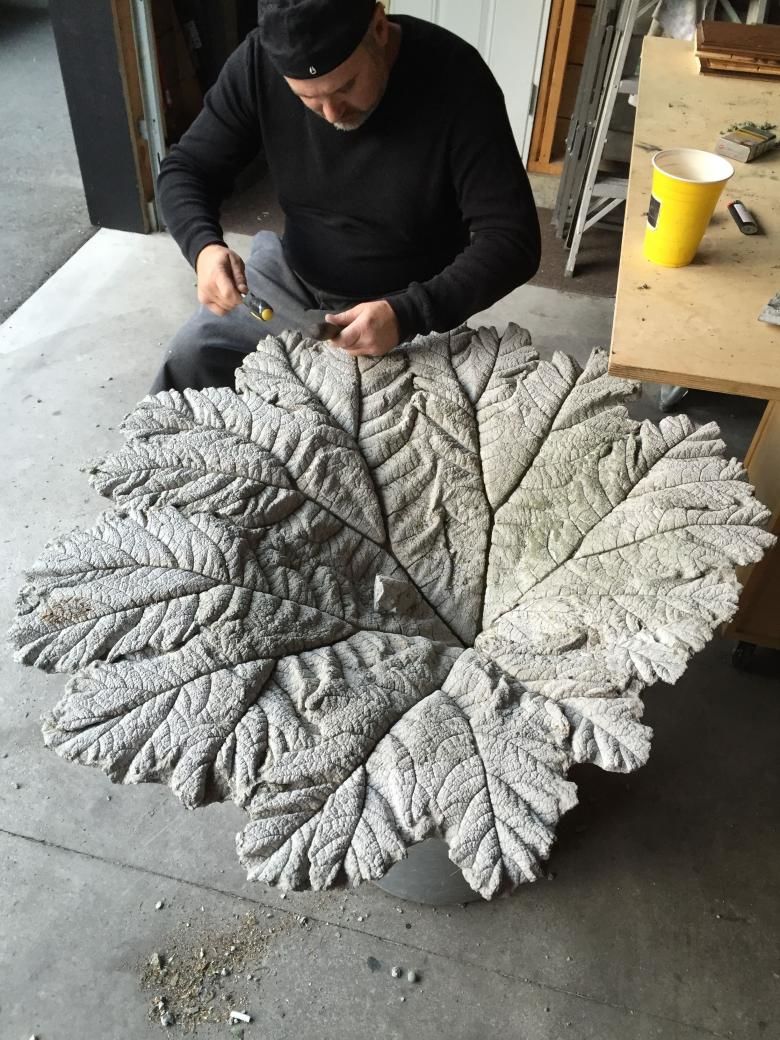
If you have a fountain or pond in your garden, stone products will look just right. Another idea for a fountain or pond is petrified leaves. To create them you will need: a large leaf of any plant, film, a wooden board:
- Cover the wooden board with cling film.
- Place the leaf on the foil face down. You can pour some sand under the foil to make the sheet look more realistic than flat.
- Spread the concrete on top of the sheet, not going over the edges.
- Cover the sheet with foil and take it to a cool place.
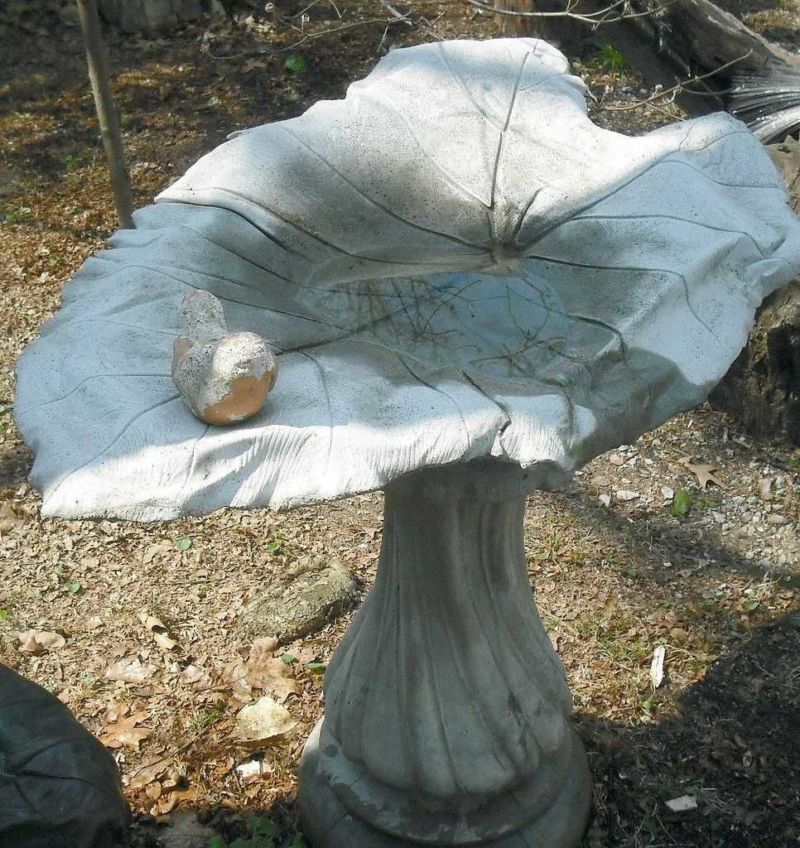
- After it dries, remove the rest of the sheet and cover the piece with primer.
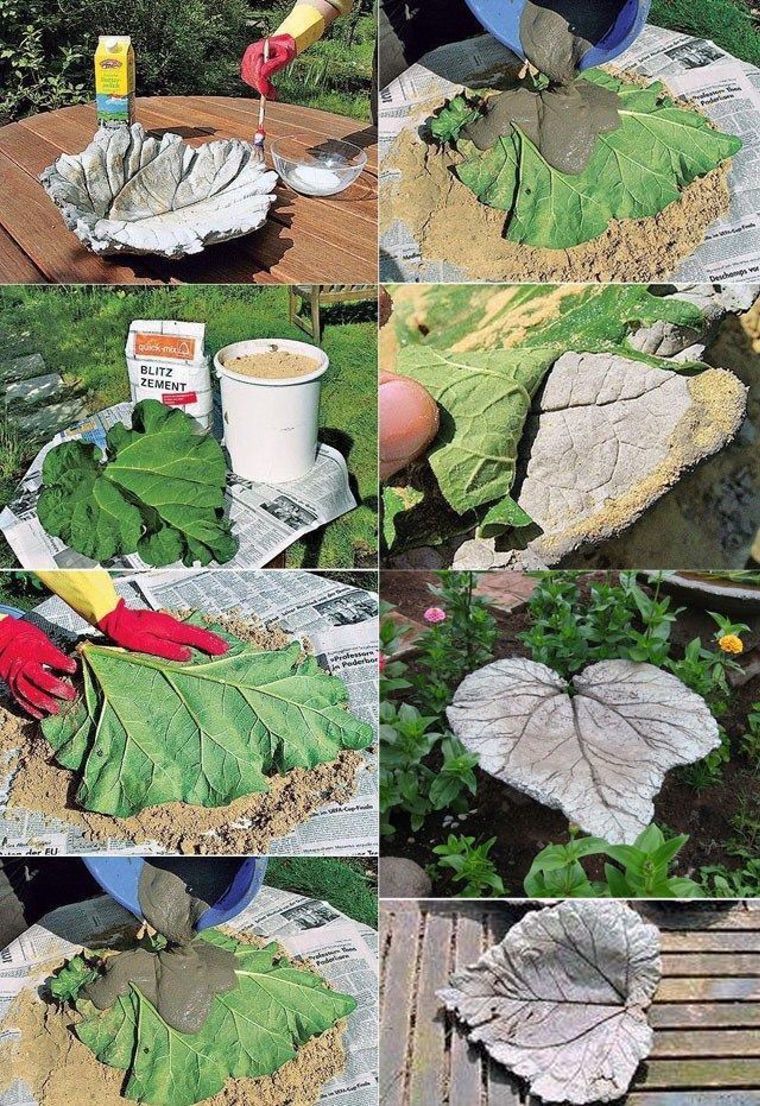
Such a petrified sheet looks beautiful without painting. Using sheets of different sizes, lay them on top of each other, in ascending order.
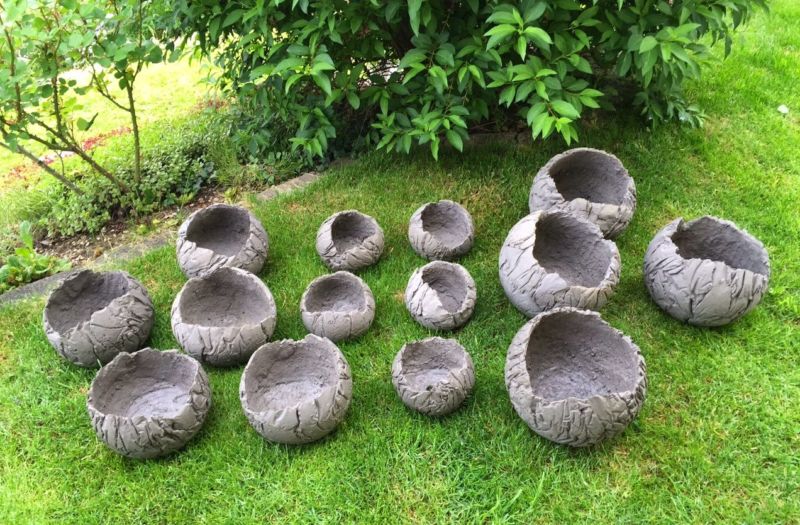
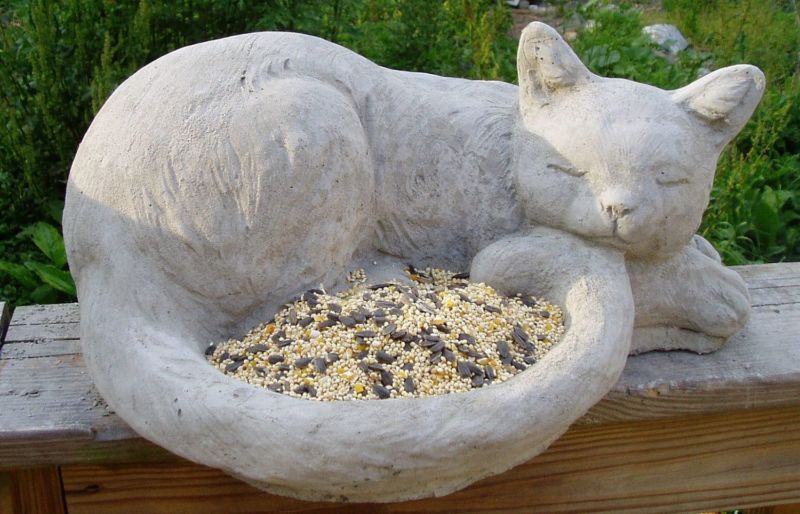
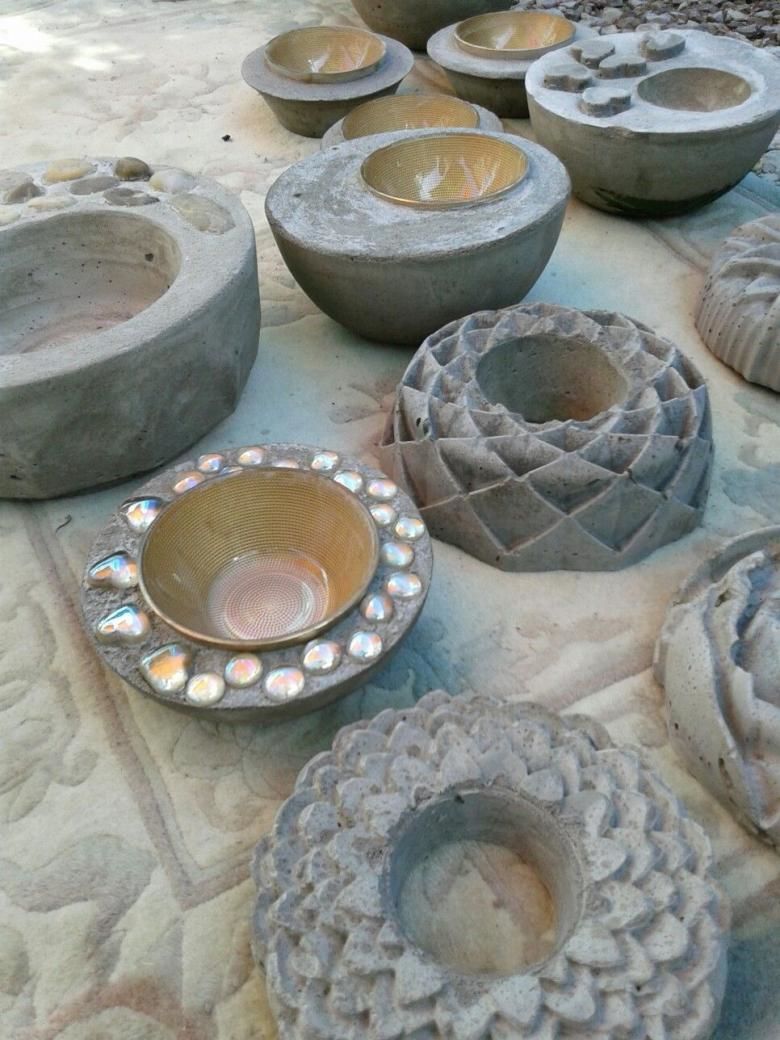
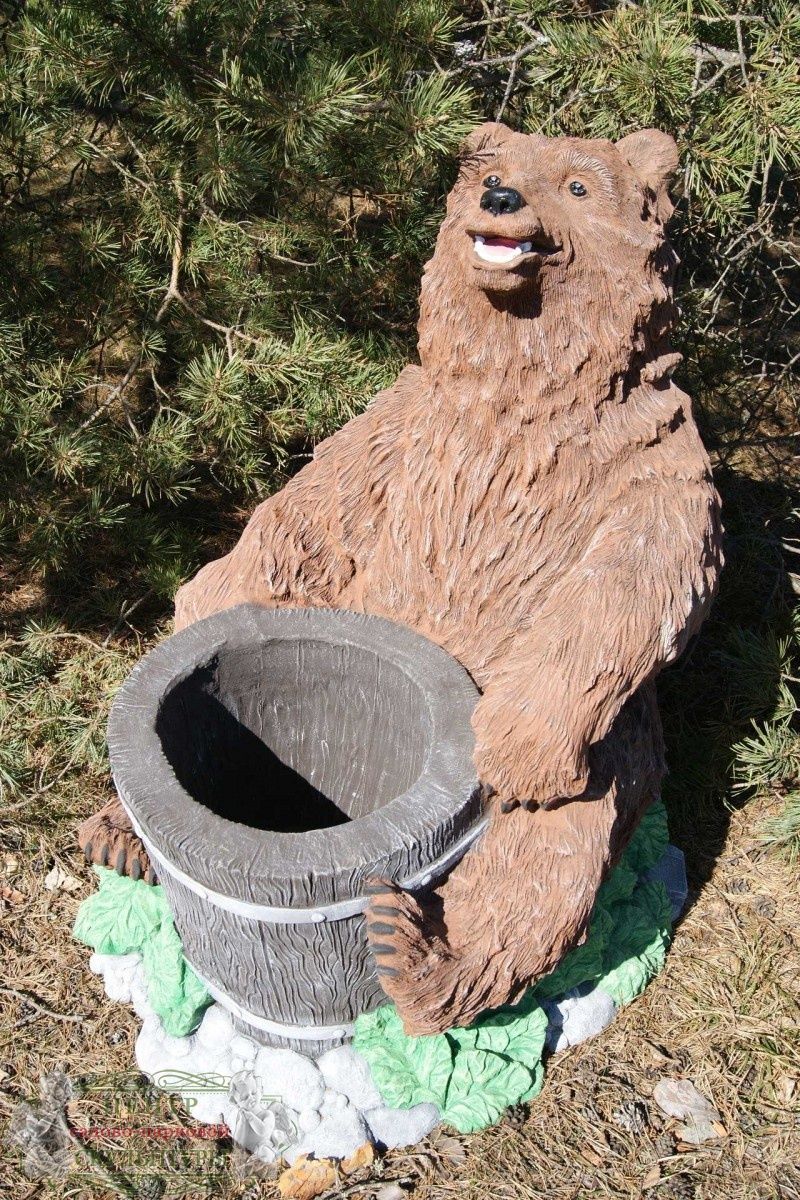
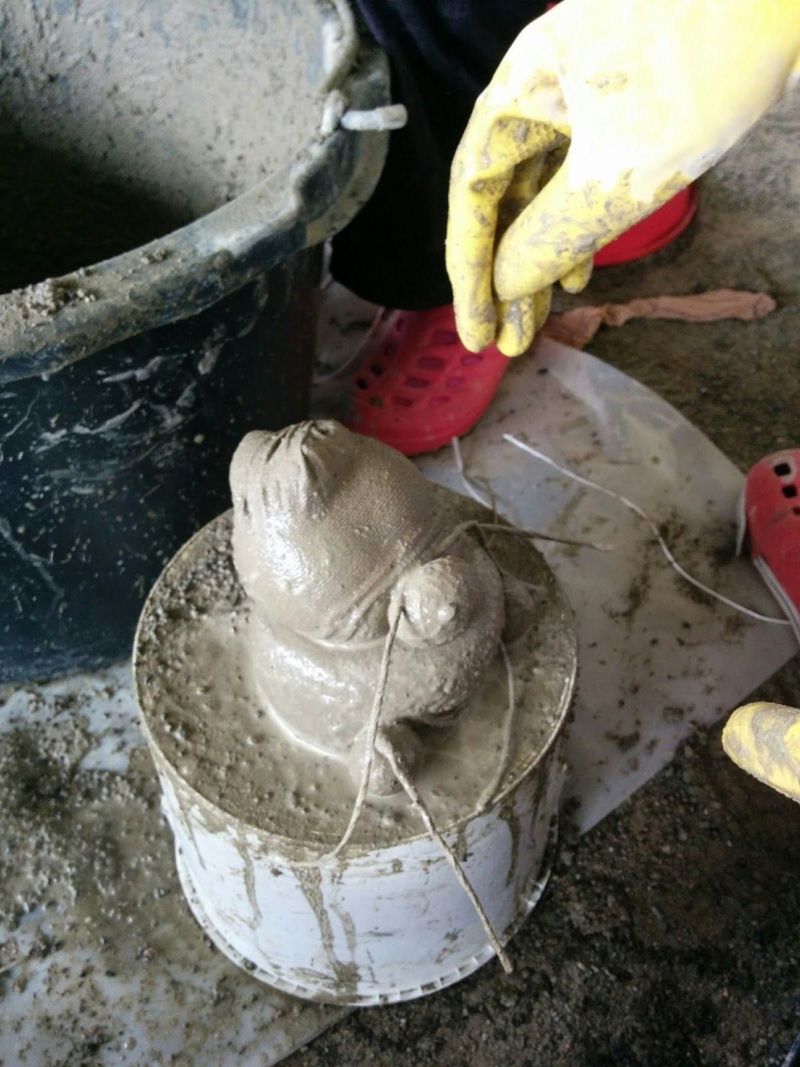
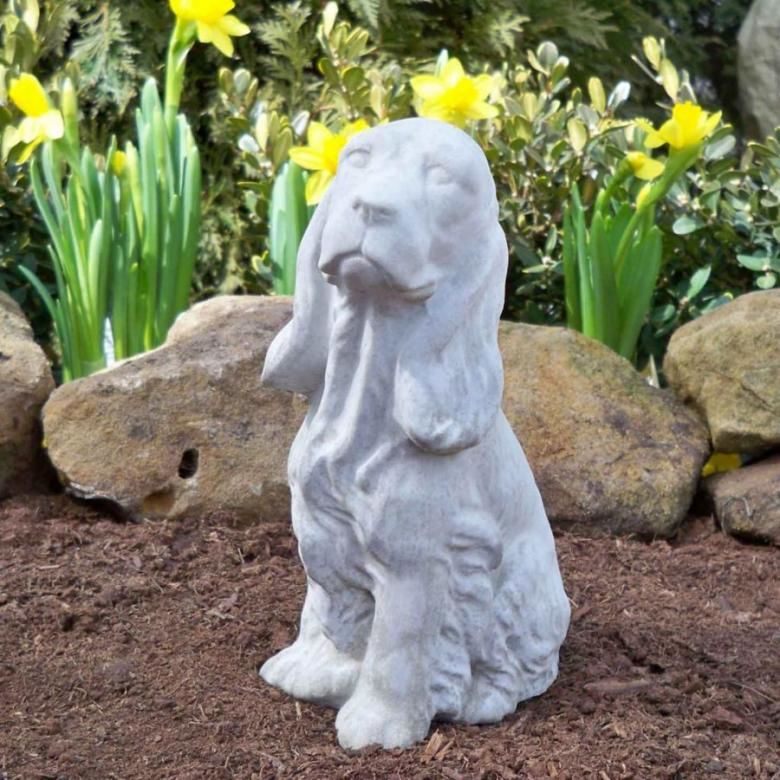
Animal drinker
To make such a drinker, you will need any container that will fit in size and depth. It can be an unnecessary plastic or metal bowl:
- Wash and dry the drinker container well.
- The solution is gradually applied to the surface of the container. It is more convenient to apply it with your hands, so be sure to wear rubber gloves.
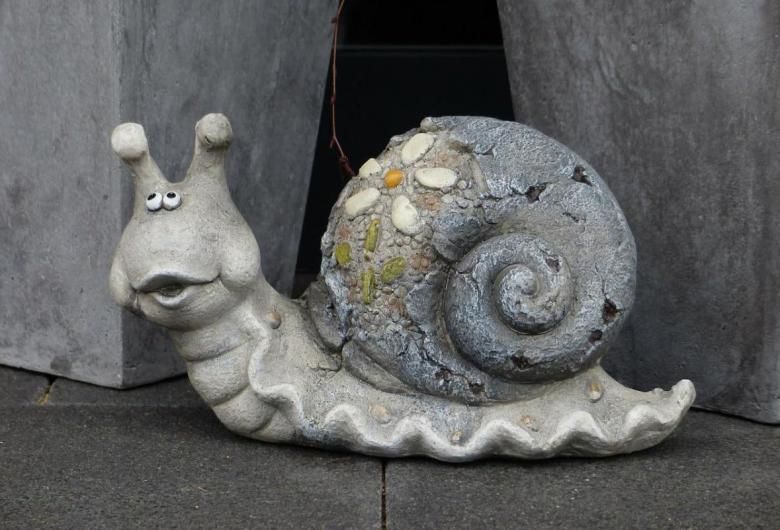
- After you've completely covered the drinker with cement, you can make patterns with a thin metal rod. You can also use stones of different sizes for decoration.
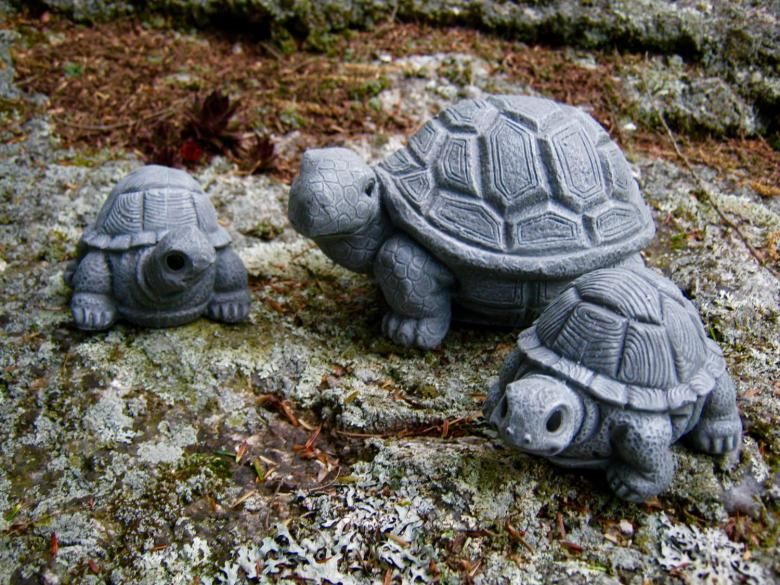
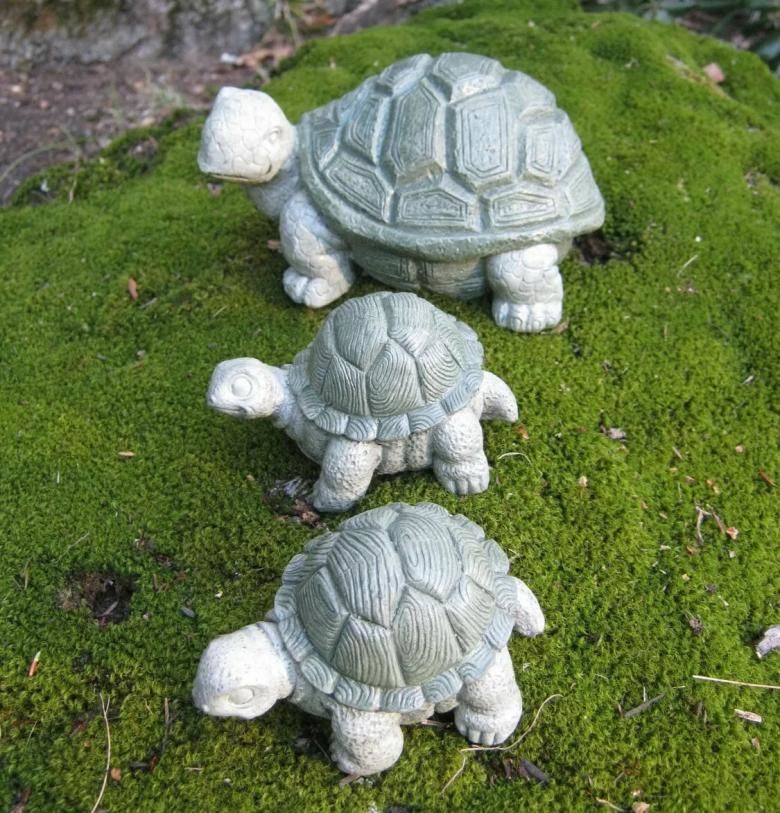
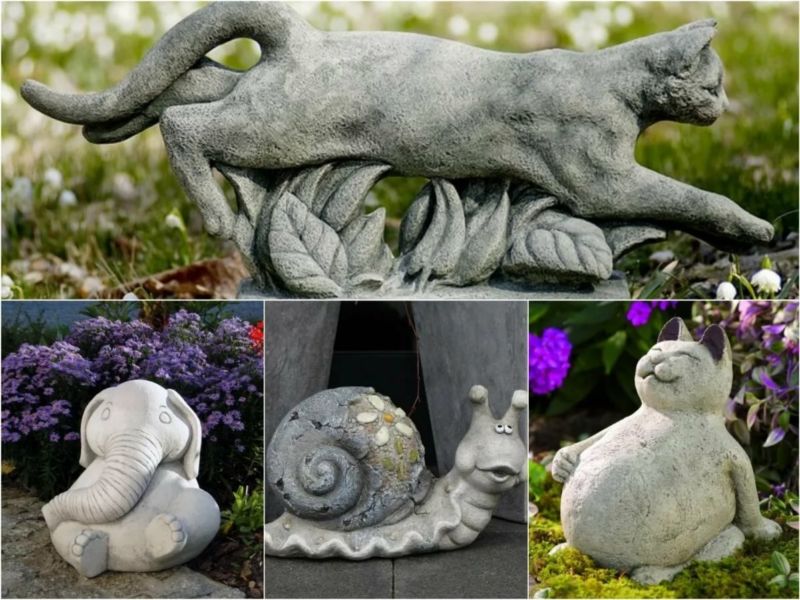
As you can see, many unnecessary things can be given a second life.
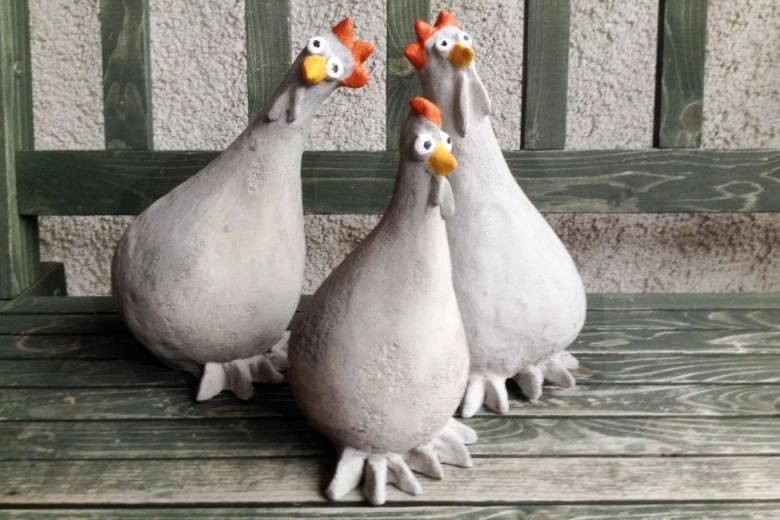
Garden figures with their own hands will always look more interesting than those bought in the store. Include your imagination and do not be afraid to experiment.

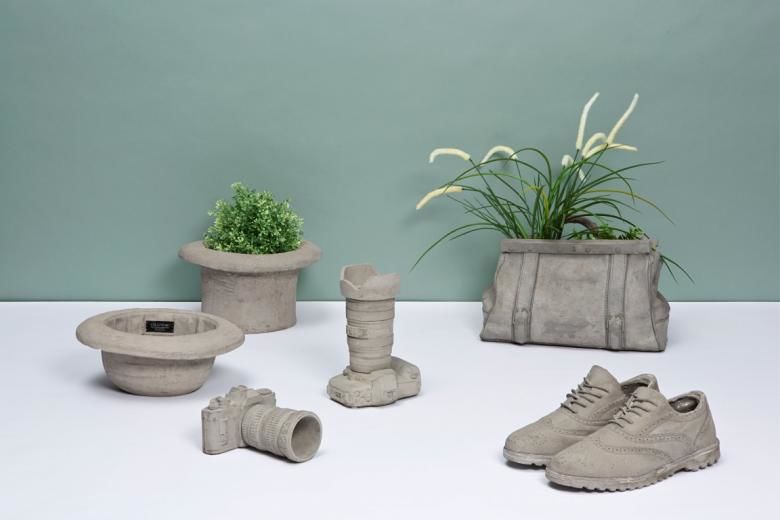
Interior decoration
Figures made of cement will perfectly complement the interior of any house. If you have unnecessary buckets, balloons, remnants of cardboard - it's time to use them. Below we will tell you some interesting ideas.
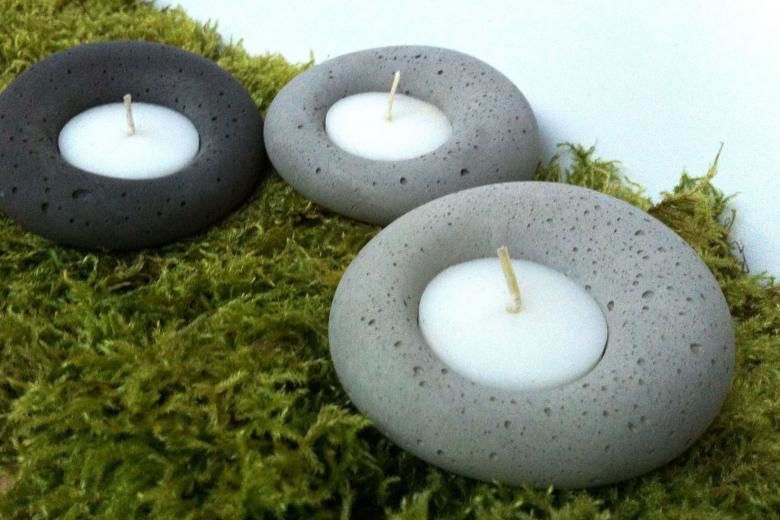
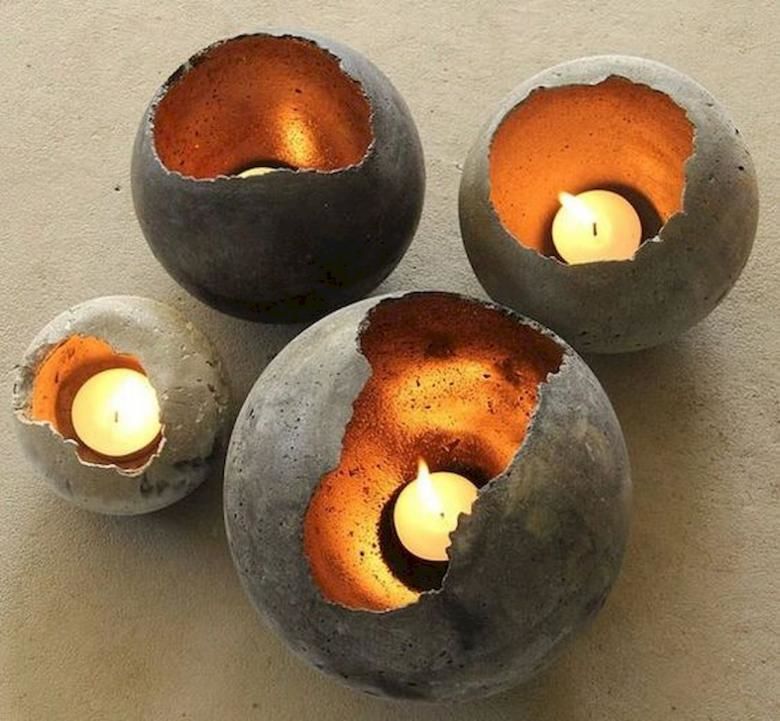
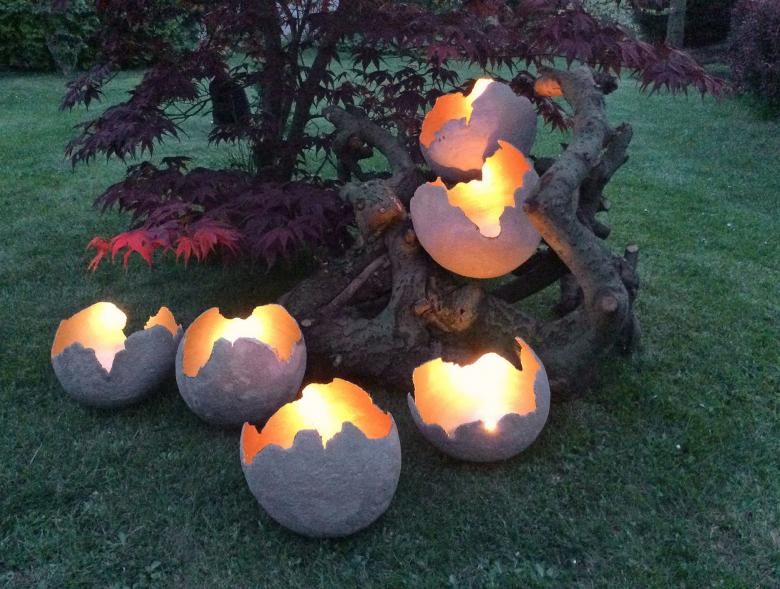
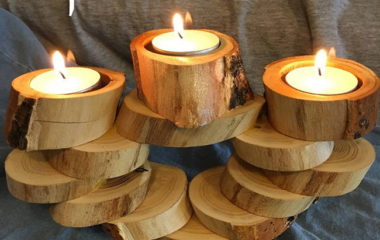
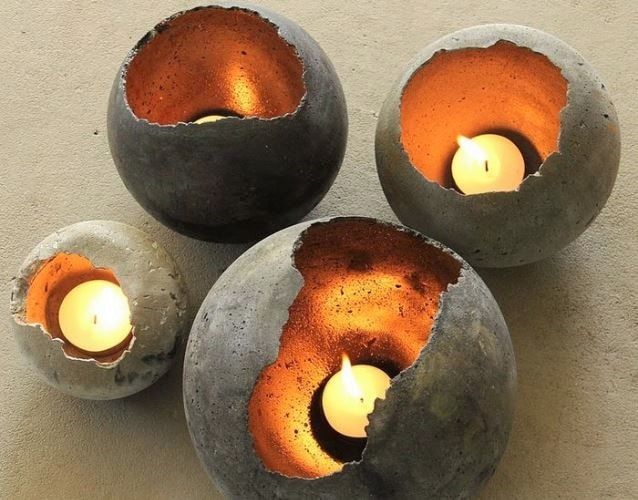
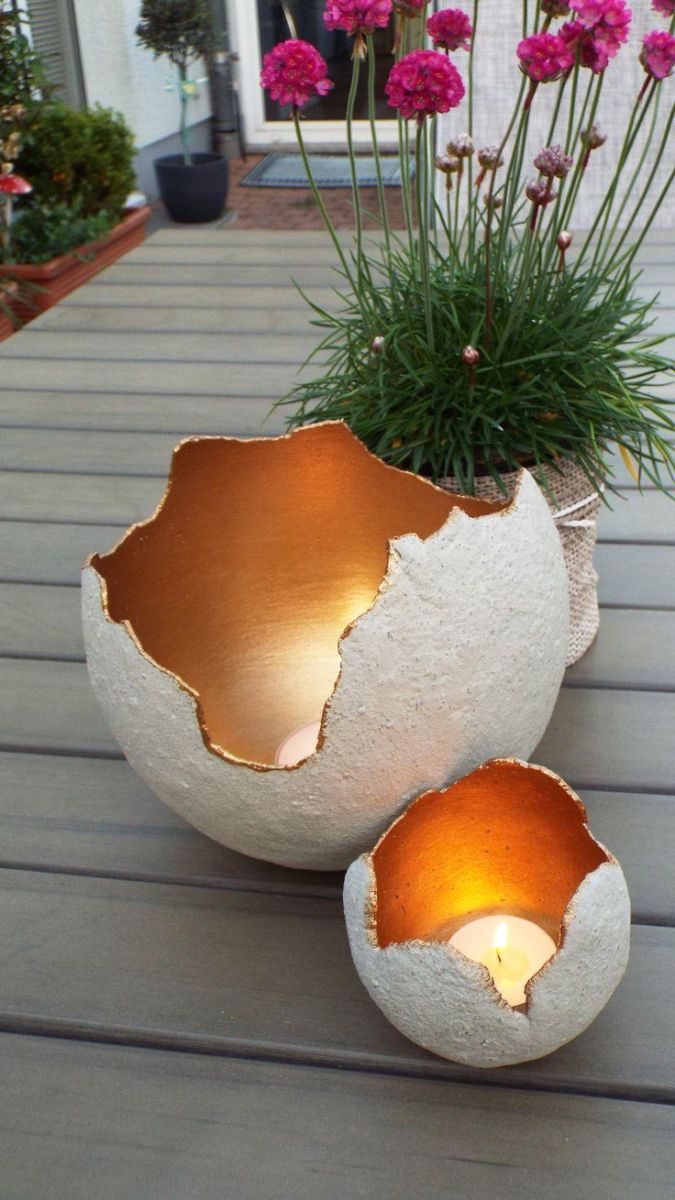
Candle holder
To make a candlestick, you will need: a balloon, a plastic cup, tape:
- Inflate the balloon to the desired size.
- Use duct tape to fix the balloon on top of the glass. To prevent the glass from falling, you can pour some sand or rocks on the bottom.
- Put a thin layer of cement on top of the ball, cover with cling film and leave to dry.
- After drying, we paint the candlestick with acrylic or enamel paint. It is better to choose a paint color with a golden hue - the flame will beautifully shade the candlestick.
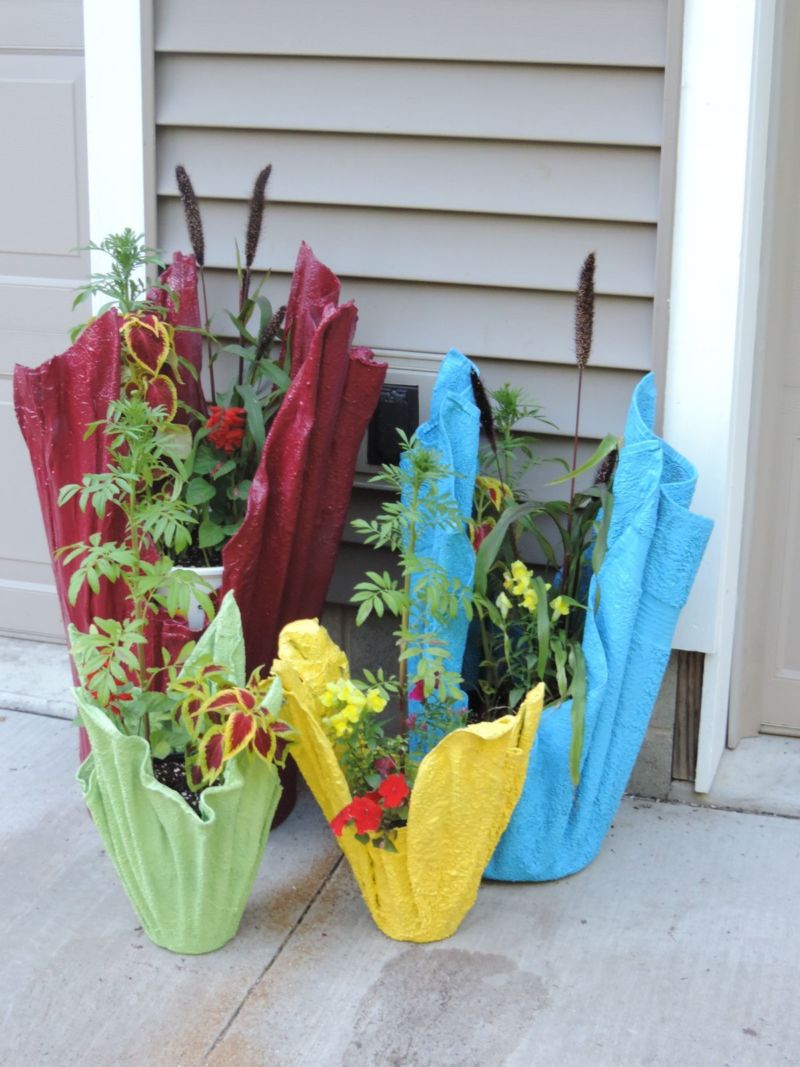
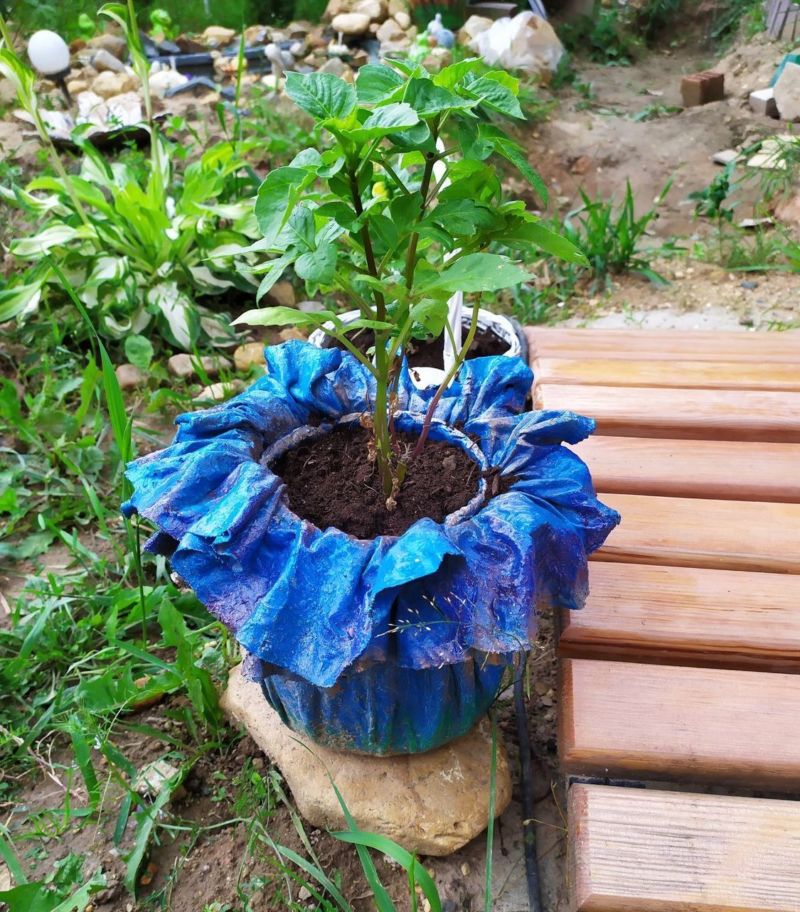
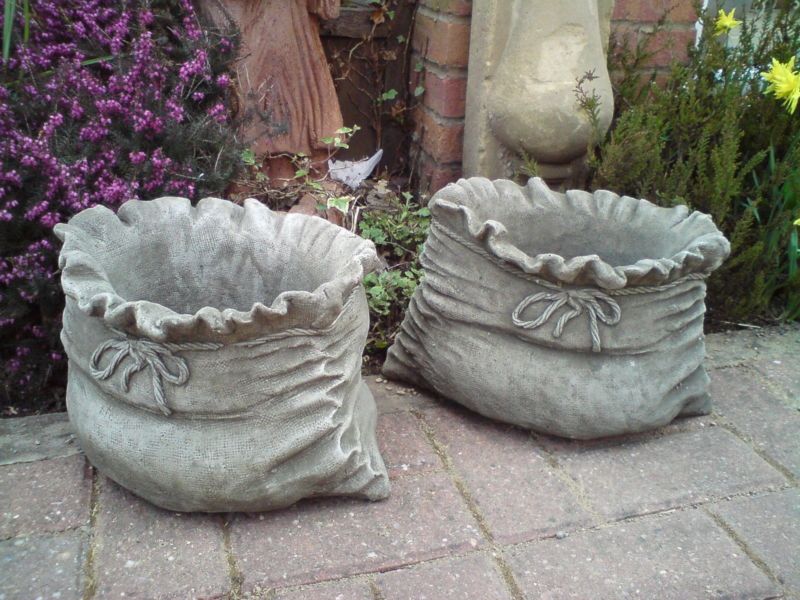
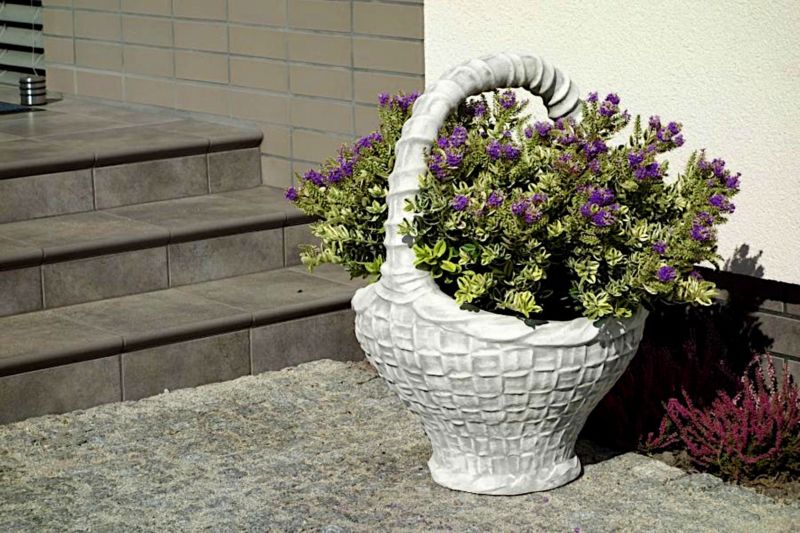
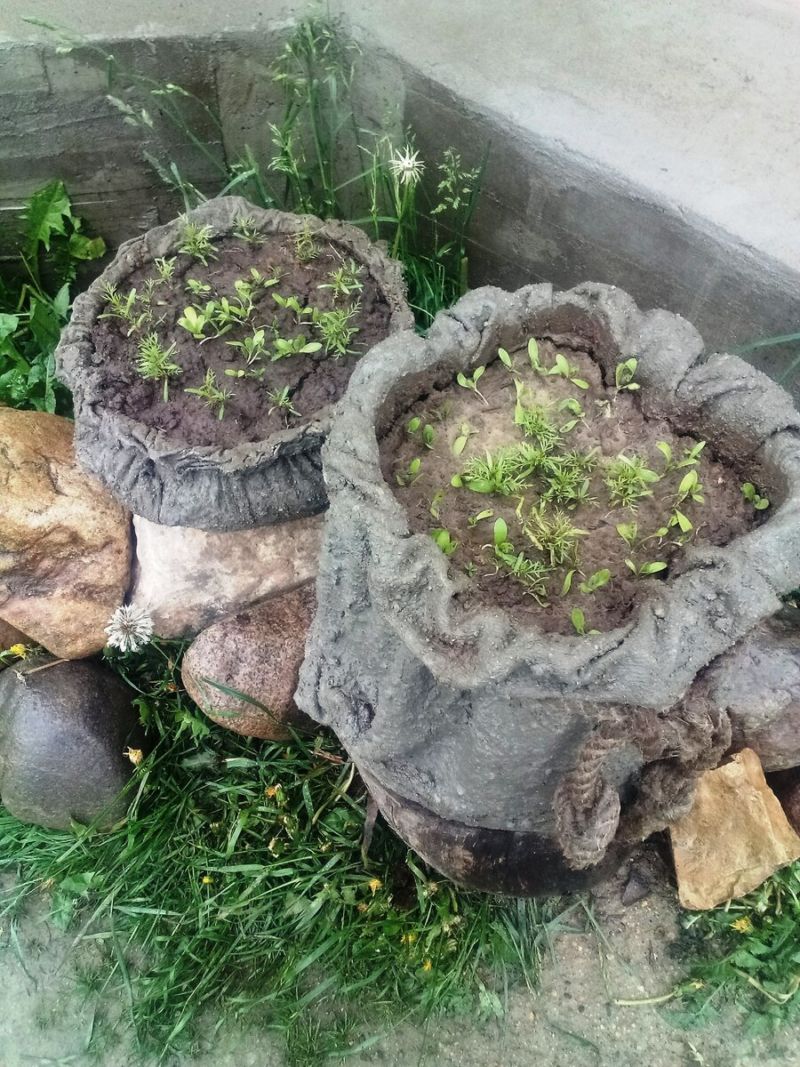
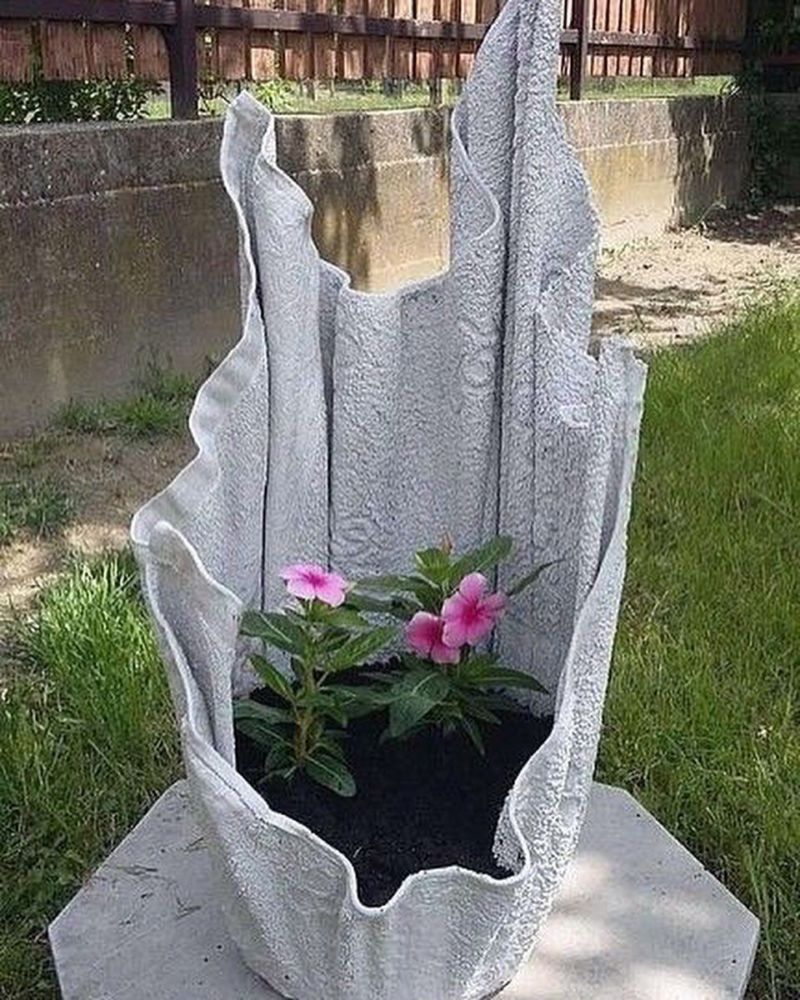
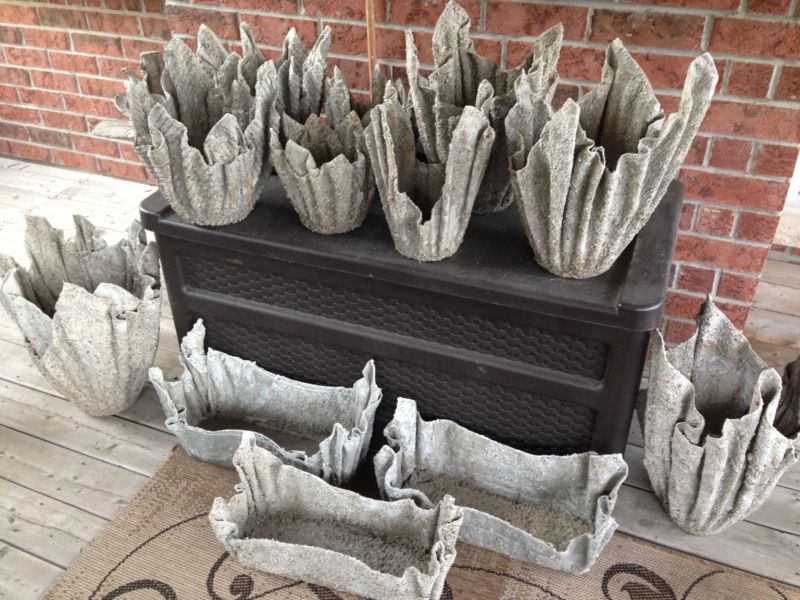
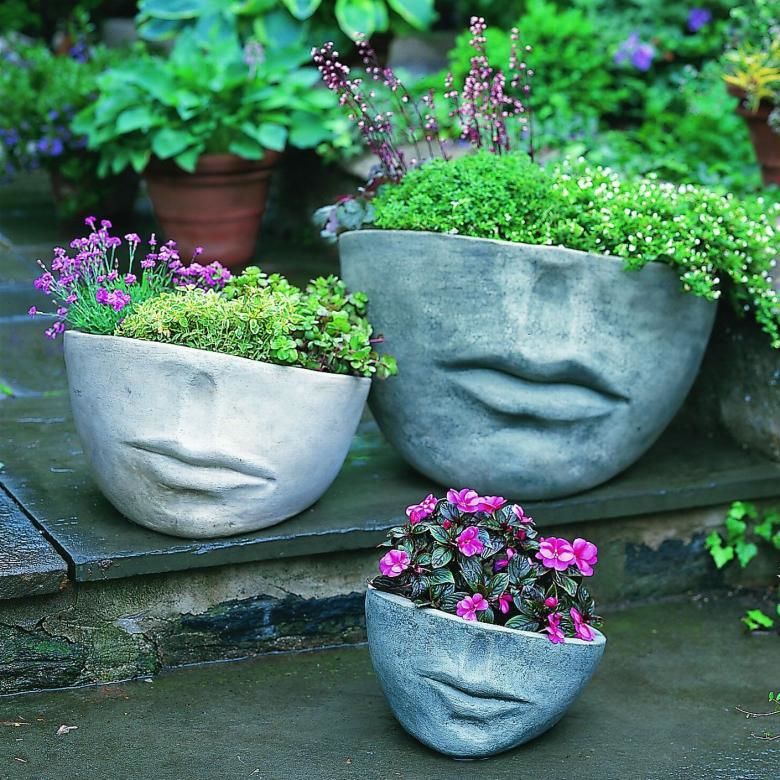
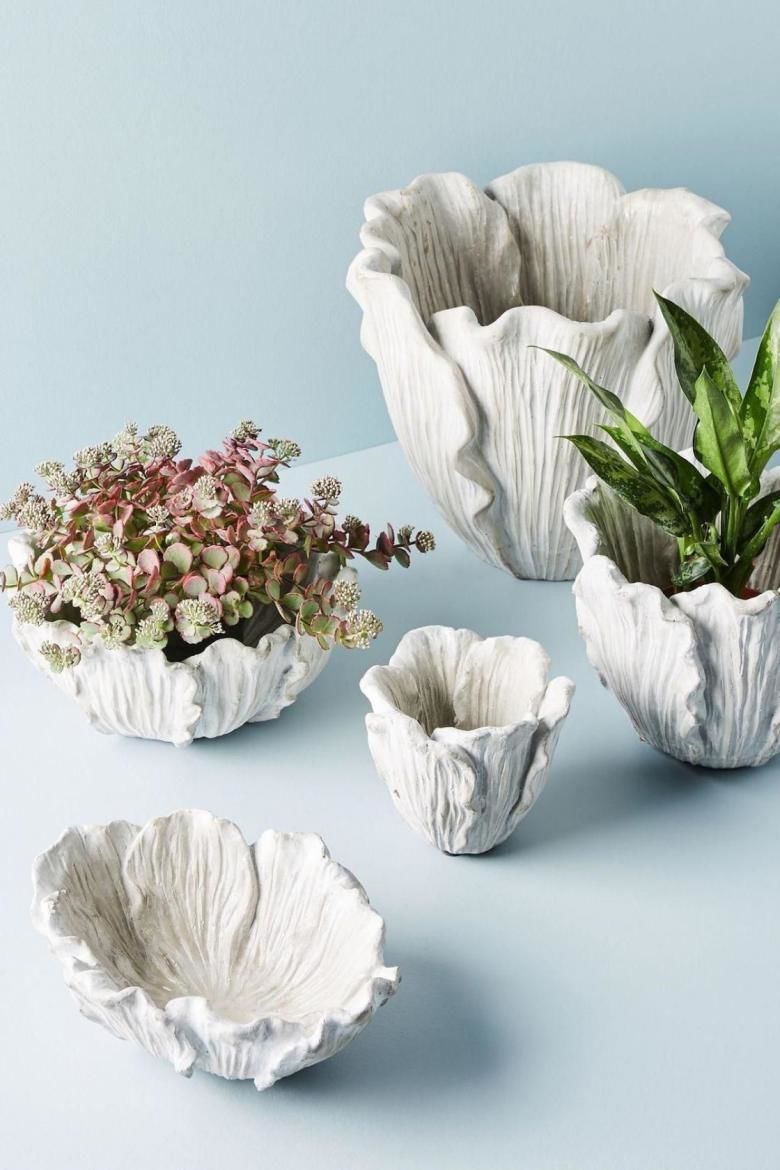
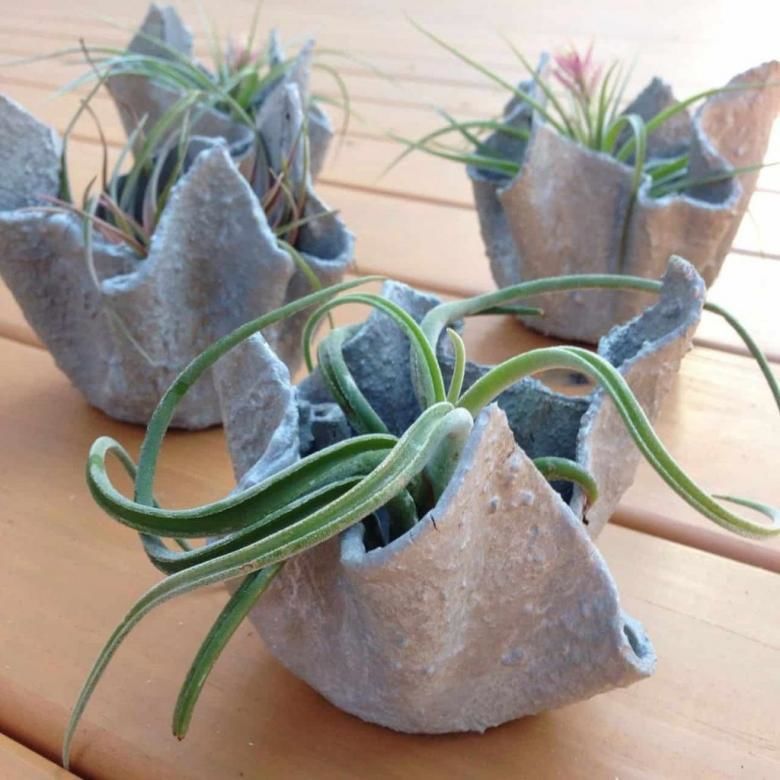
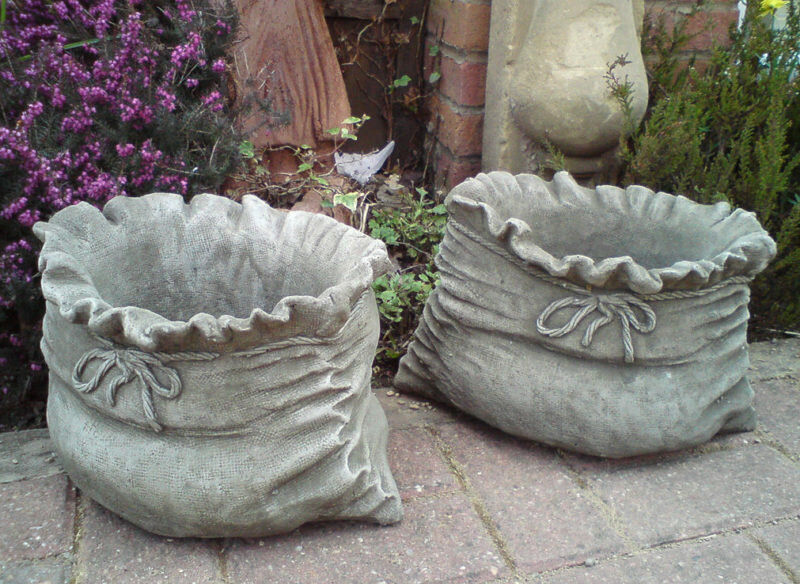
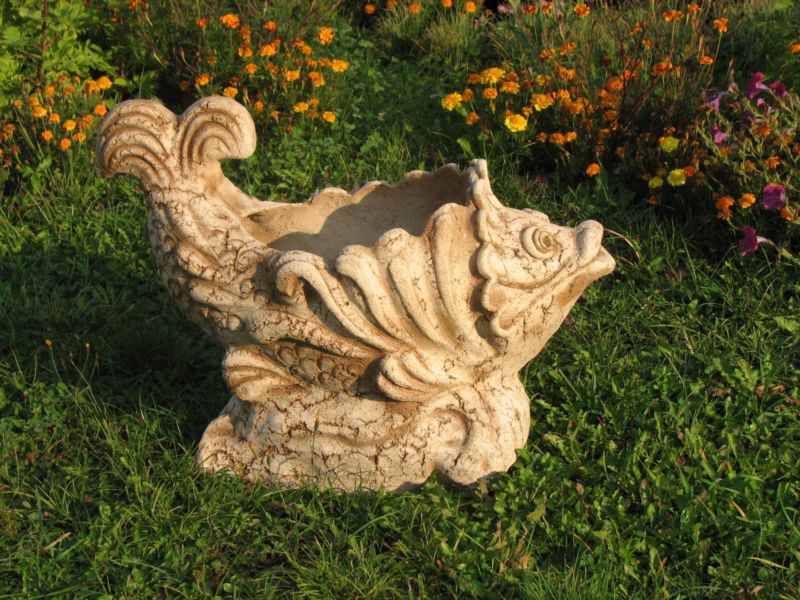
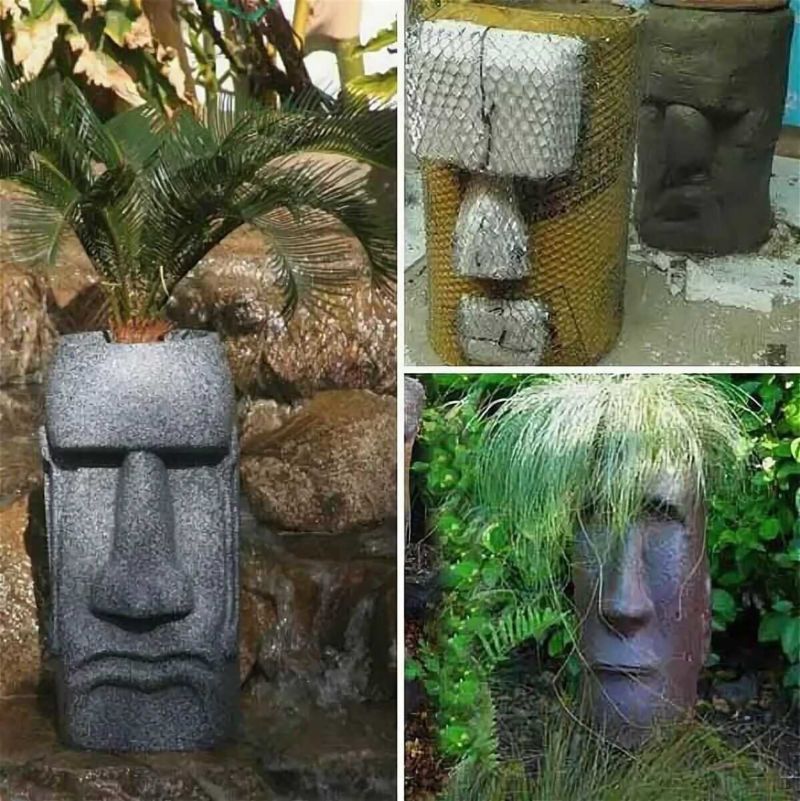
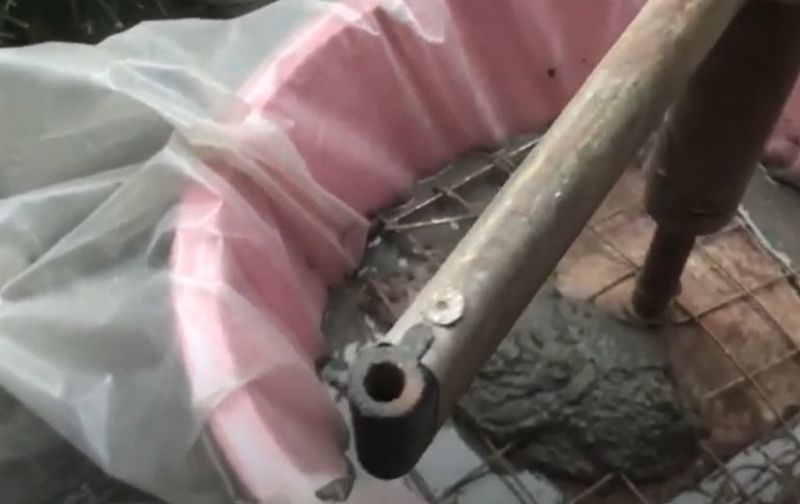
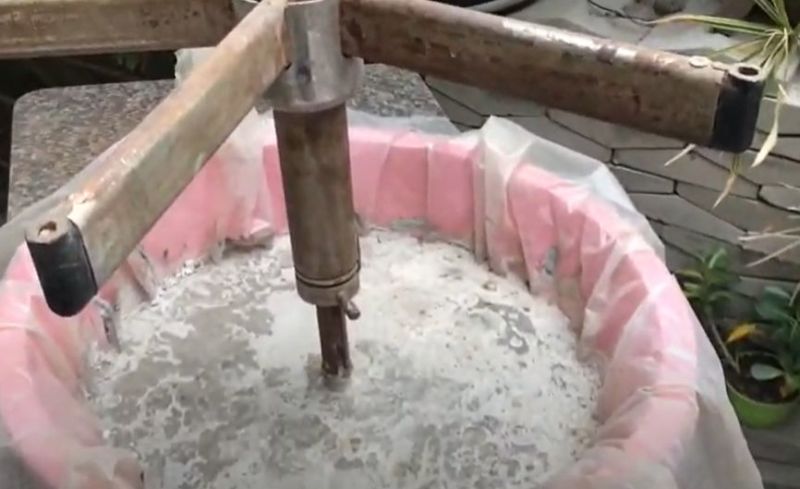
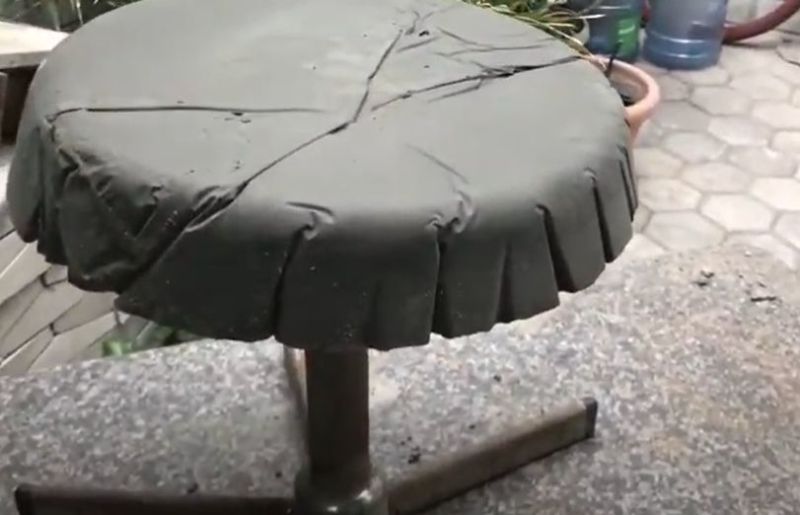
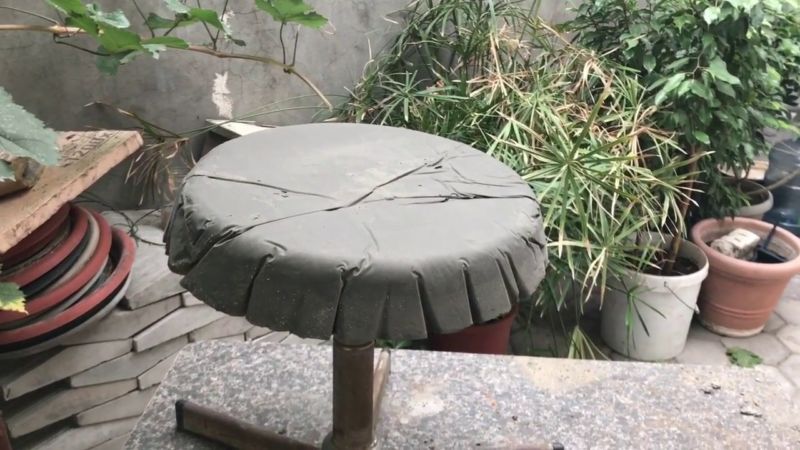
Fluted flowerpot
To make a flower pot, you will need: sand, a plastic bucket, a wooden board.
- Pour wet sand into the bucket and tamp it well.
- Cover the bucket with a wooden board and turn it.
- It is necessary to gently tap the bucket on all sides, and then carefully remove it.
- We pour a thin layer of cement on the sand form.
- Then spoon the rest of the mortar over the top of the future pot to form an overhang.
- After it dries, remove the sand from the pot. Inside, smear it with cement with a brush.
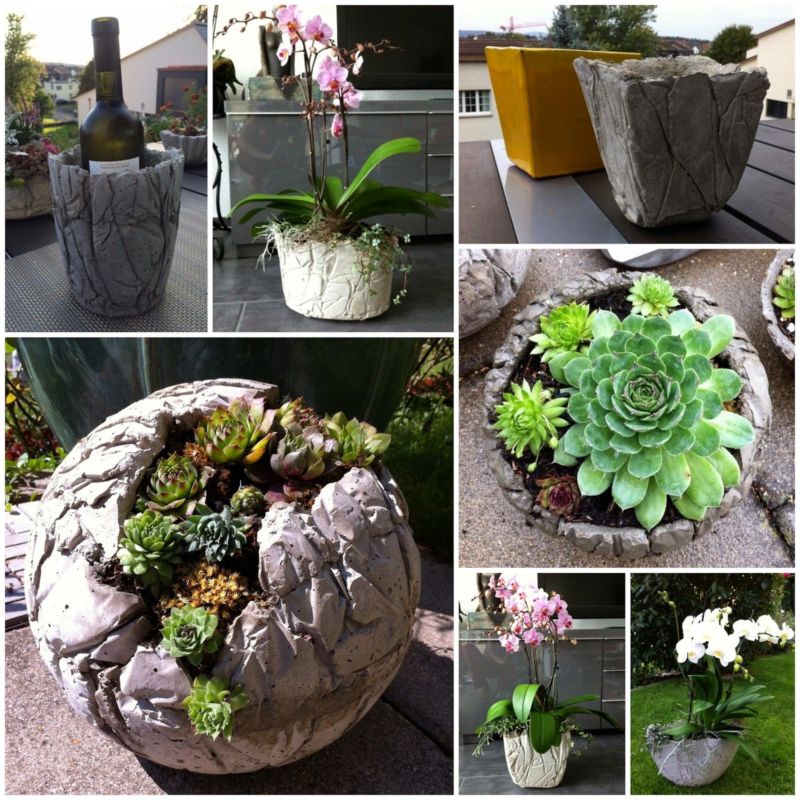
The finished flower pot can be painted in the same color, but using different shades. It looks very unusual.
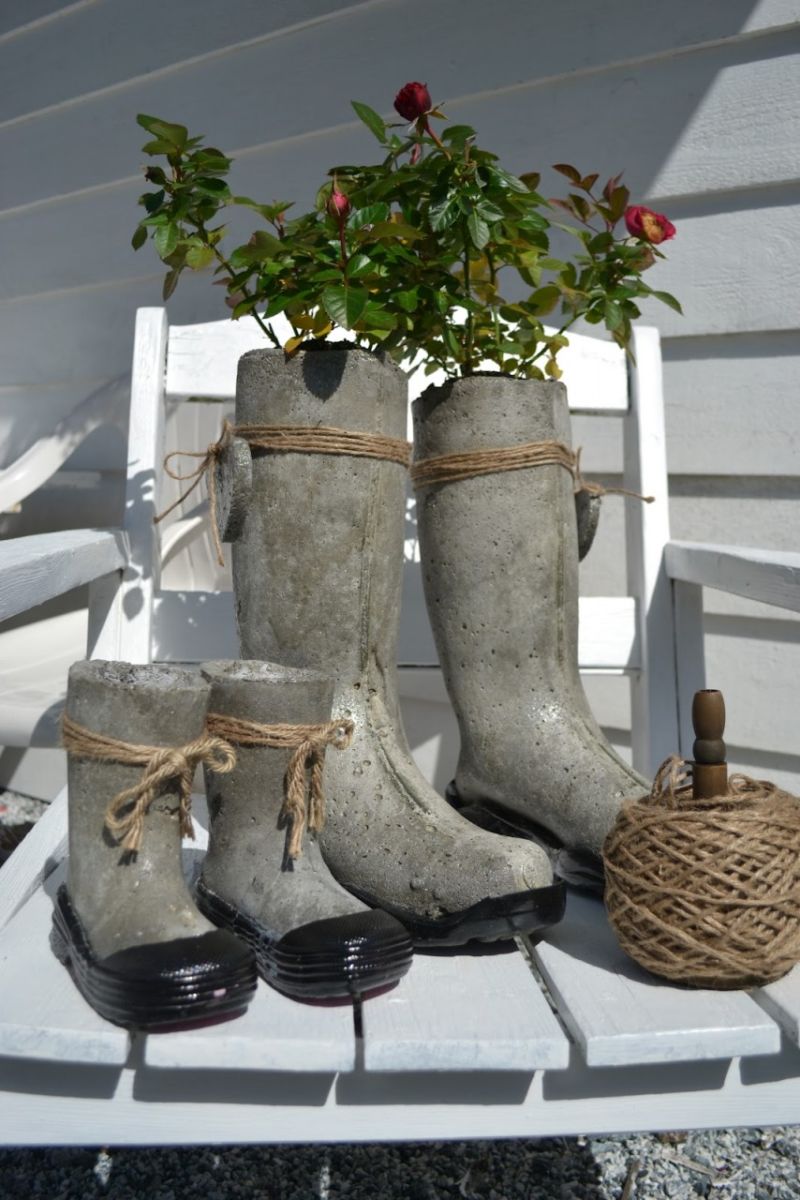
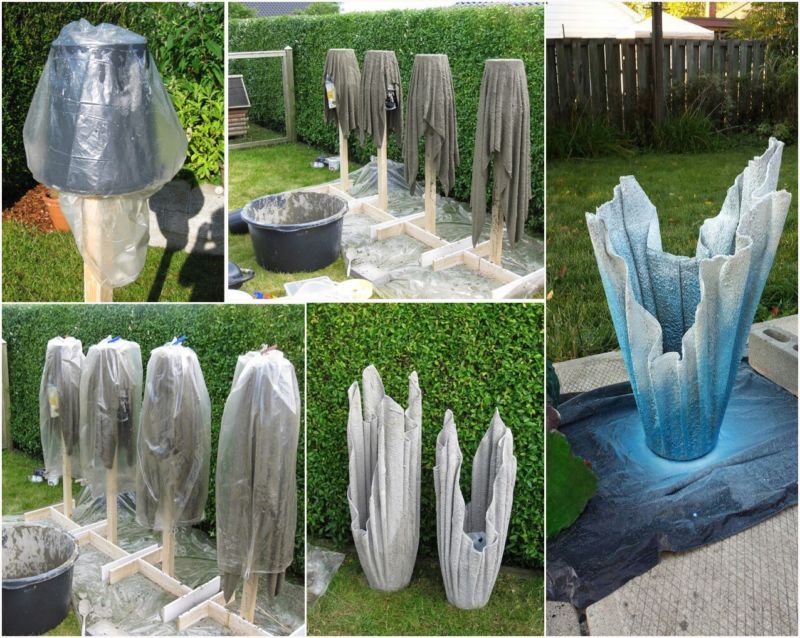
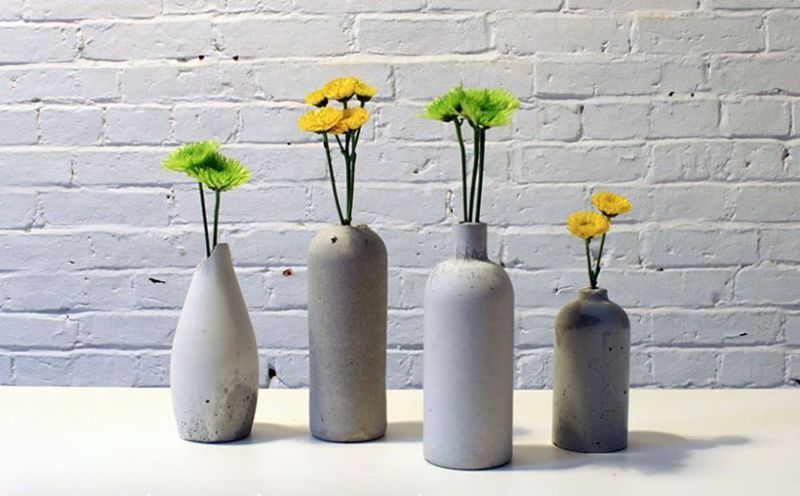
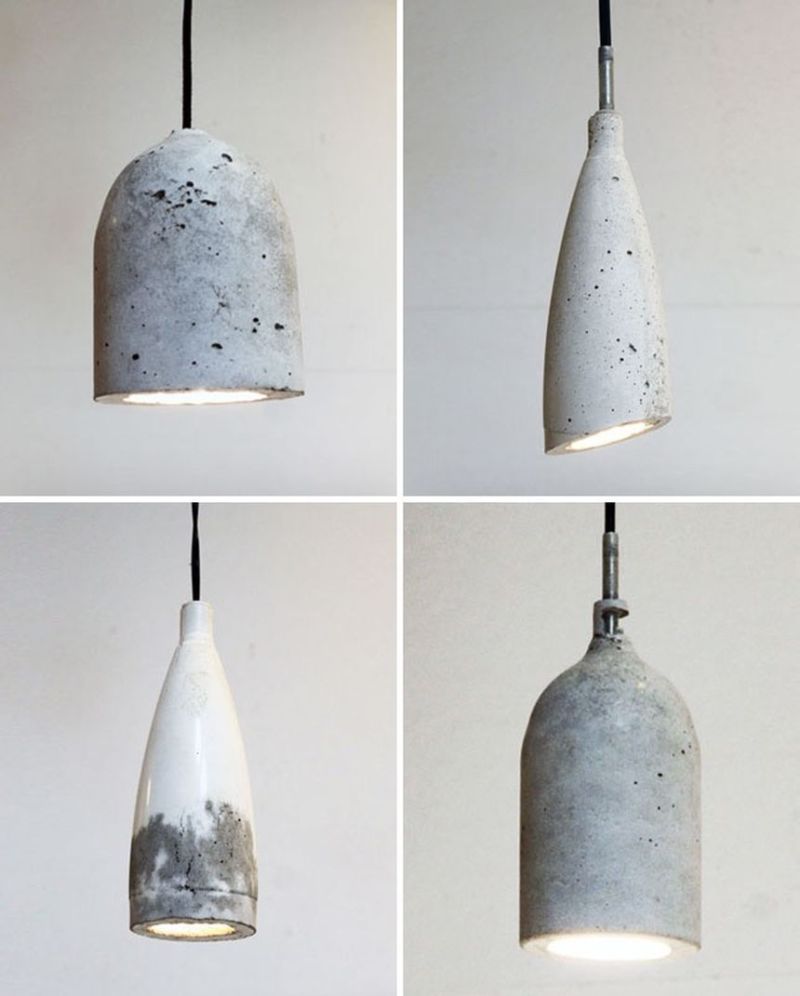
Vase
Incredibly beautiful obtained vases that are made from bottles. Due to the fact that the mortar is poured inside the bottle, the product does not need to be sanded down with sandpaper:
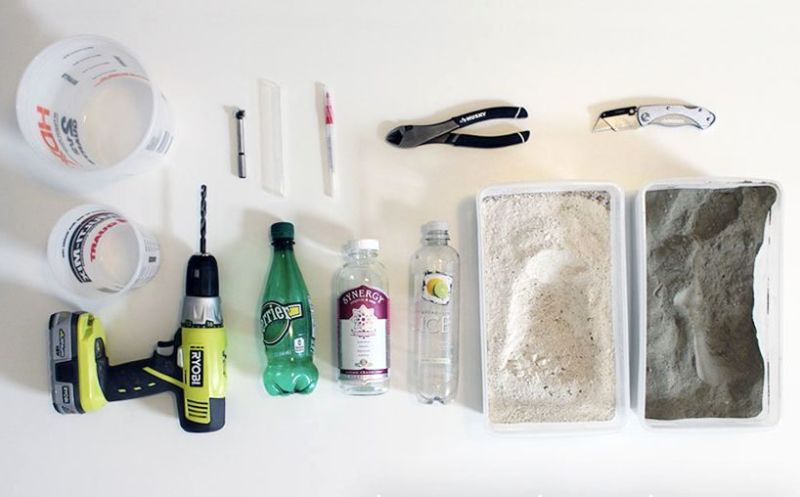
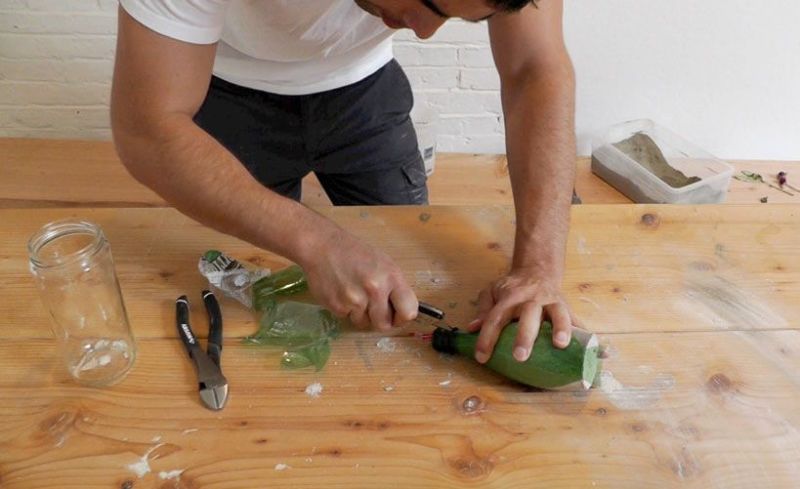
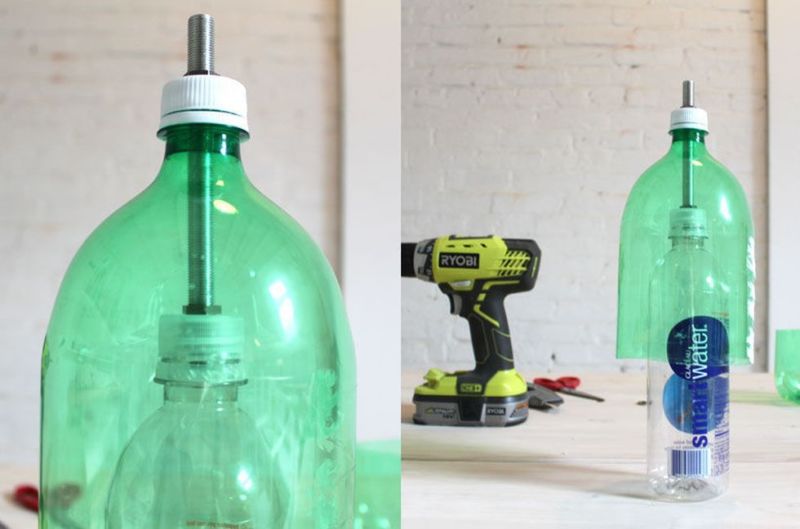
- Such a vase will decorate the interior of any house. To create a vase, you will need: a glass or plastic bottle, a pencil, a sharp knife, a long candle, a drill, pliers, a glass jar.
- Screw the lid on tightly and use the drill to make a hole in it so that any oblong object can be inserted there. This is needed to form a space for the flower stems. You can use a pencil, a candle, or a metal rod.
- After you have made a hole of the right diameter, put a pencil in it. Then turn the bottle upside down and place it in a glass jar.
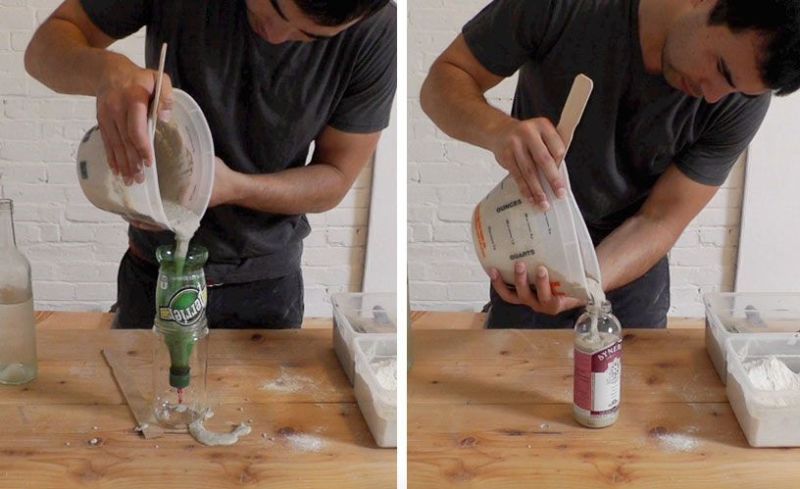
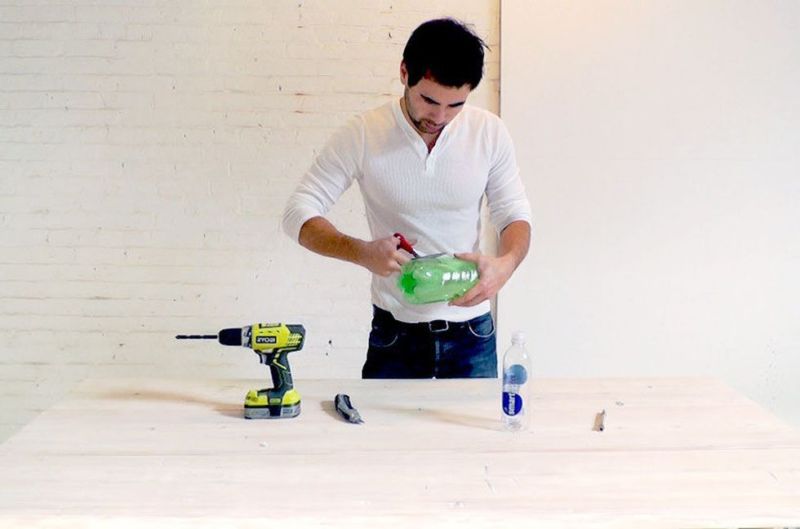
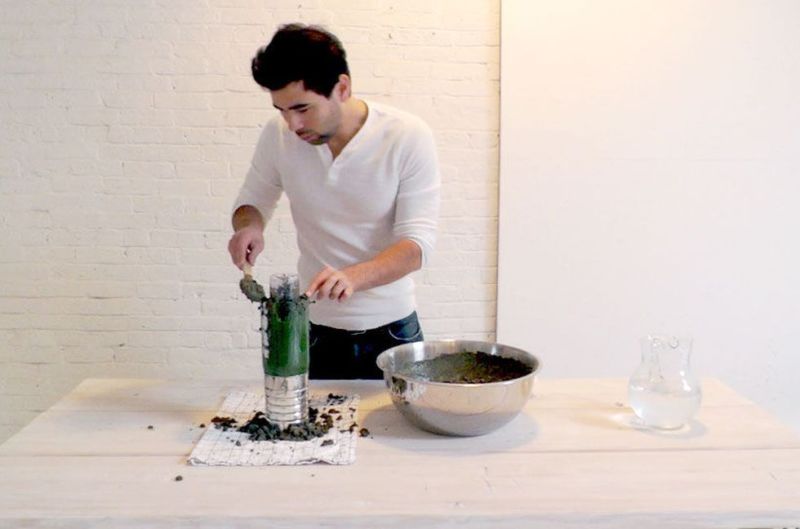
- Cut off the bottom of the bottle with a knife and pour in the cement mortar. If you are using a glass bottle, you don't need to turn it upside down. Pour the cement inside, then close with a lid, and put any long object in the hole.
- Tap a little on the sides to let the excess air out.
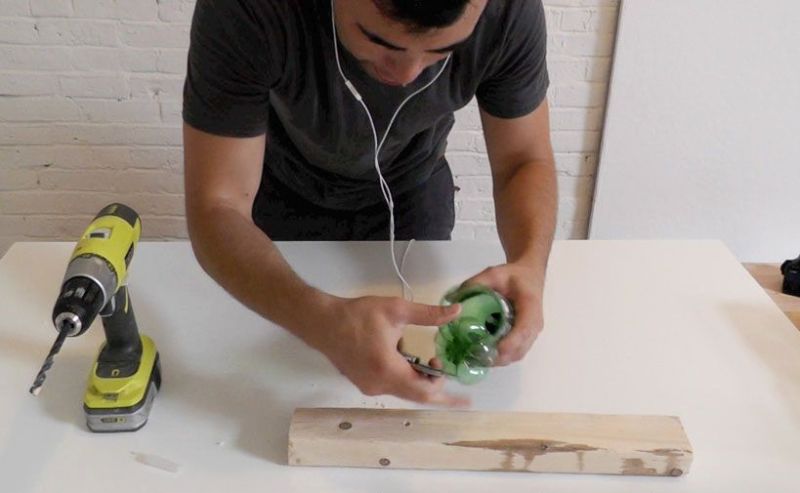
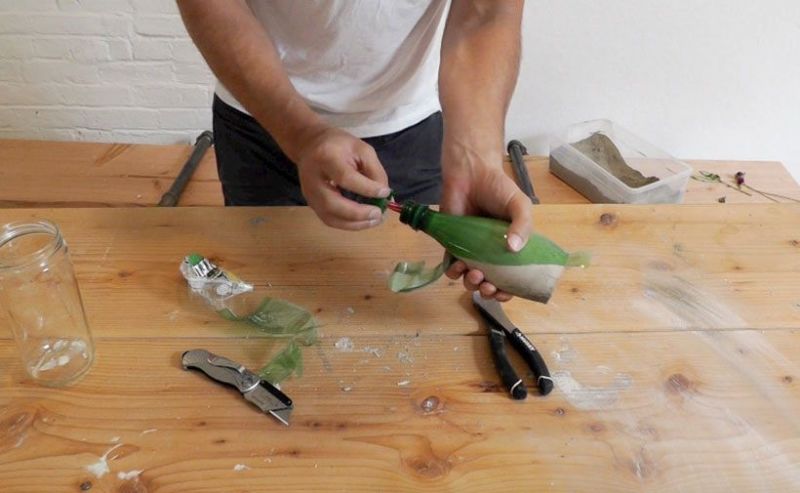
- Once the plastic is dry, carefully cut with a knife and remove it from the vase. If you have a glass bottle, you need to wrap it in cloth and gently crush it with a hammer.
- Use pliers to pull out the middle. If you used a candle or pen, you can warm them up a little before removing them.

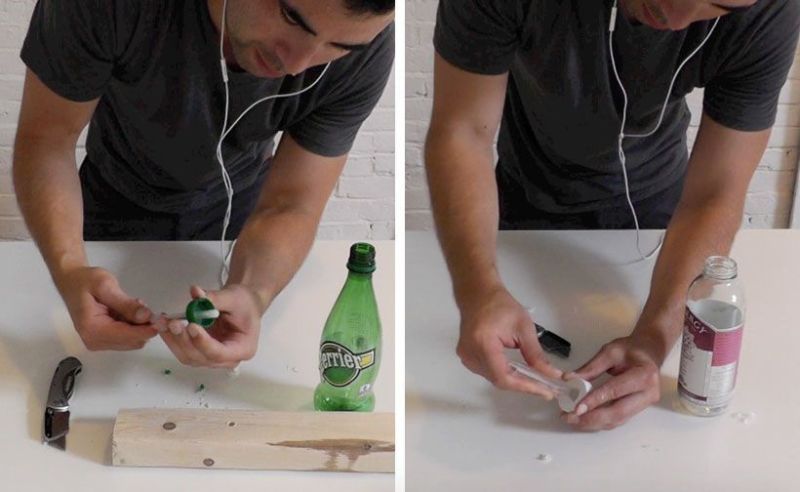
Our vase is ready - the only thing left is to prime and varnish. You can make a whole set of several vases of different shapes and sizes.
Light fixture
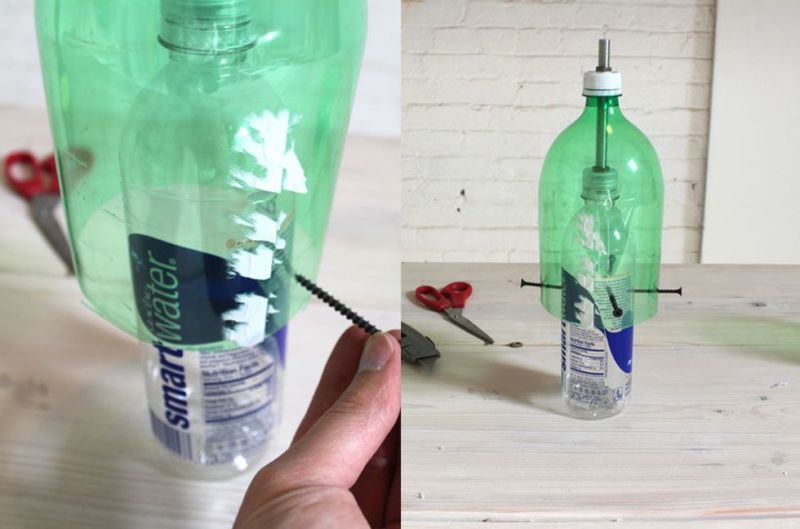
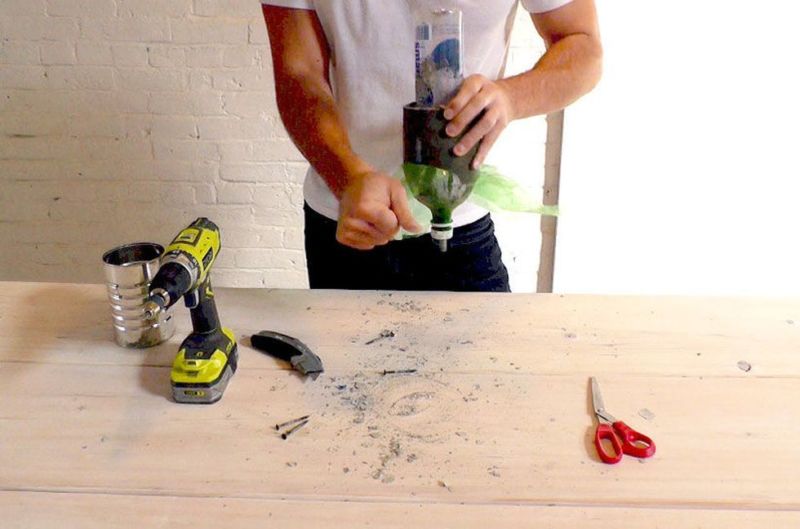
Another interesting idea is a table concrete lamp. Unusual design and simple execution. You will need: a plastic bottle, a milk carton, sealant, a drill:
- Cut off all the folded edges of the box, rinse well with water, and dry it. It is better to choose a tetra pack box, as this material is waterproof. Note, the size of the future light depends on the size of the box.
- Put a plastic bottle inside the box and drill through them.
- Put a bolt through the hole and fasten it. Caulk the joints of the bolt and the box with sealant.
- Carefully pour cement mortar into the space between the box and the bottle and tamp it well.
- Then shake the package a little to expel the excess air.
- After it hardens, unscrew the bolt. Then remove the bottle and remove the box.
- Use a drill to drill a few holes in the light fixture. To make the design look more interesting, use a different size drill bit.

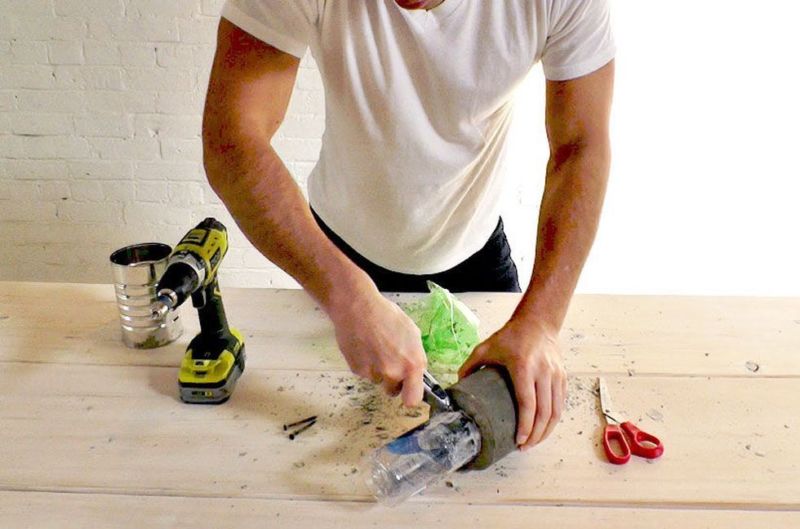
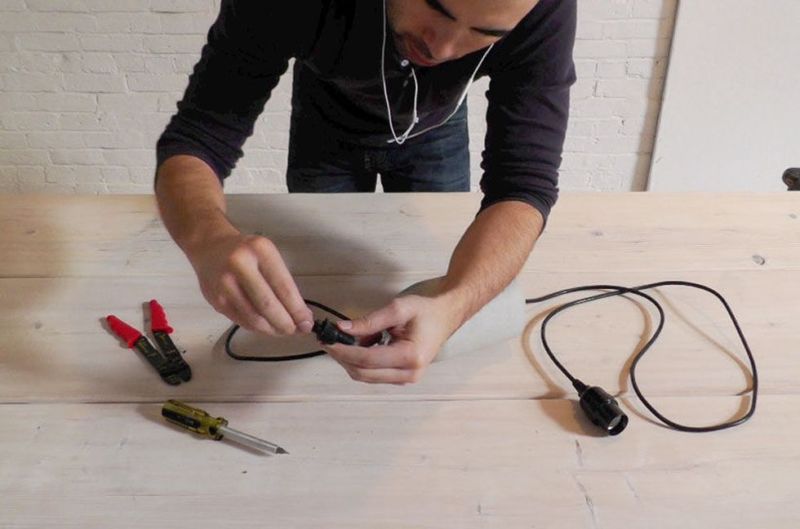
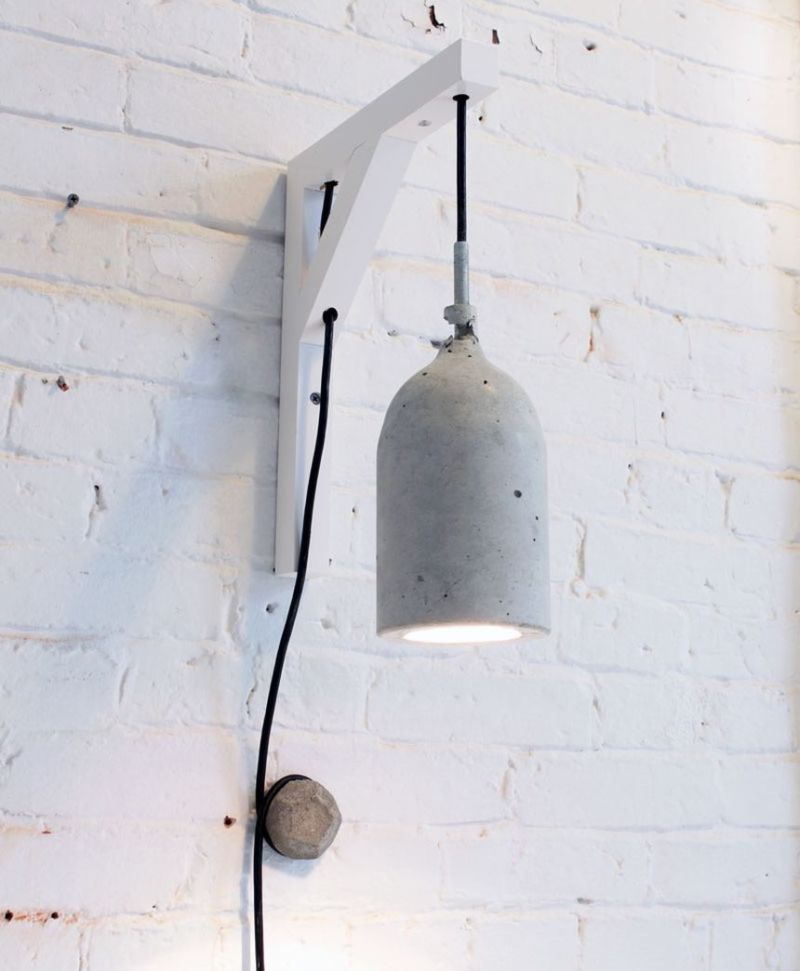
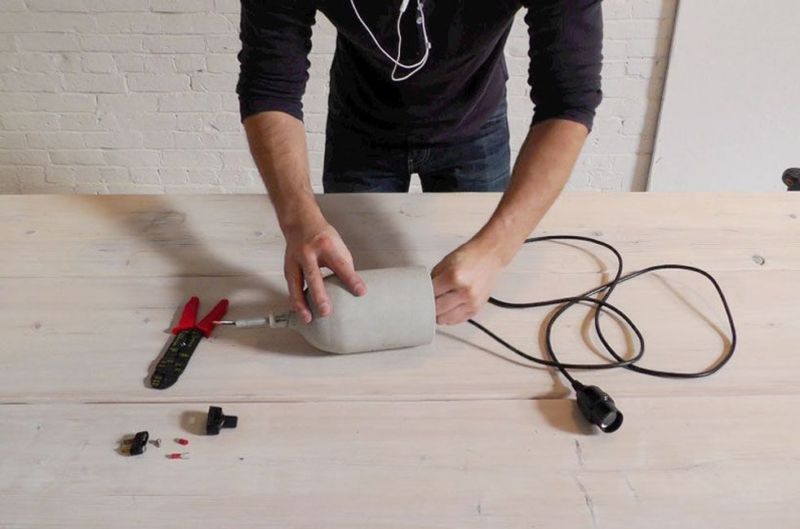
The light fixture is ready to use! Place a light bulb inside and connect it to the wiring.
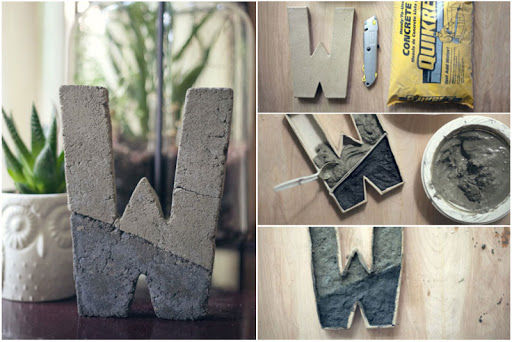
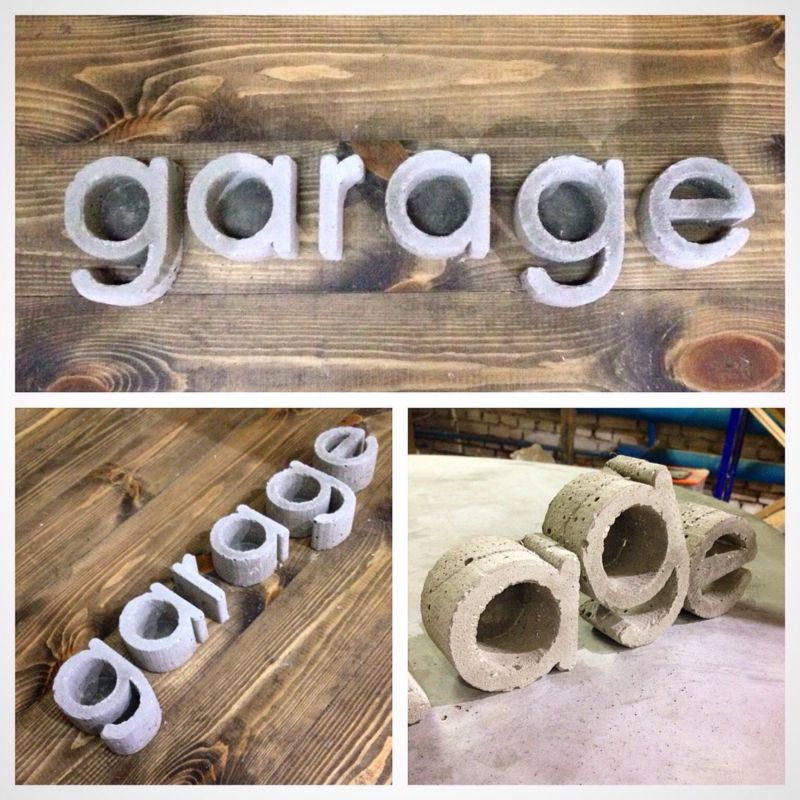
Letters
This idea is borrowed from American designer Amanda Wright. Experimenting with concrete, she made an original sculpture in the shape of the letter "W".

Such an interesting idea will also come in handy for your home. To make the letter, you will need: a three-dimensional letter from cardboard, a stationery knife, dye for cement:
- You can make a frame for the letter yourself. For this you need to cut strips of cardboard and staple them together. Choose a cardboard that is thick enough.
- Mix the cement in two containers. In one of them add dye.
- Cut a small strip of cardboard and insert it into the shape for the future letter. This is needed in order to create a partition, as we will be using different colors of cement.
- Fill the form with the prepared mortar and tamp it well.
- After a few minutes, slowly remove the cardboard partition so that the cement mixture of one color does not mix with the other, but the figure is homogeneous.
- After drying, remove the cardboard, sand it down, and prime the piece.
Such a figure looks very unusual and original.
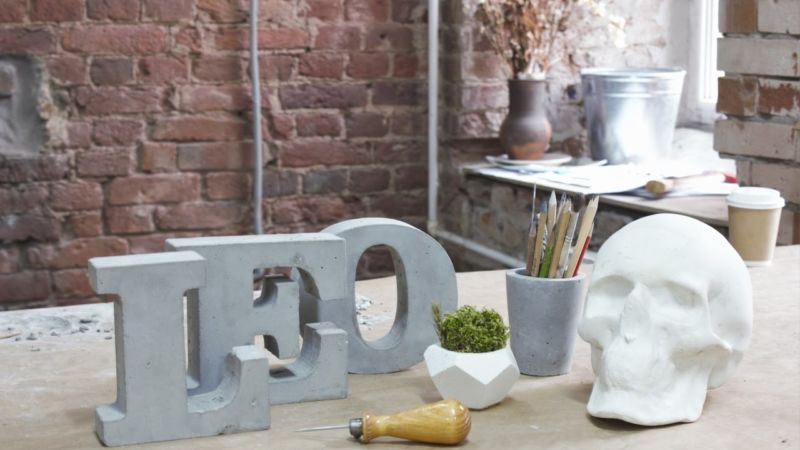
If you wish, you can use several dyes or add small stones of different sizes to the mortar.
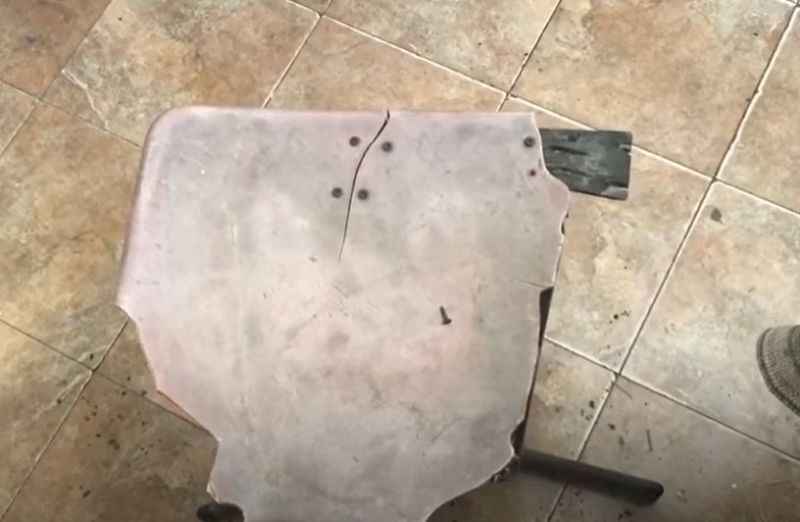
Concrete chair
To make the chair, you will need a bucket and three wooden sticks.
- Pour a concrete mortar about 5 cm high into the bucket.
- Insert three wooden sticks into the mortar so that the tip of each stick looks slightly in different directions. For this kind of chair choose sticks made of sturdy wood with a diameter of at least 3 cm.
- After curing, sand the surface of the seat with sandpaper.
- It is better to use a metal bucket for the mold, as it will be easier to remove after the mortar hardens. To do this, you need to warm up a little the bottom of the bucket - when heated, the metal will expand a little and you can safely remove the finished product.
Such a chair will look appropriate and in the garden, and in the kitchen, and near the bar.
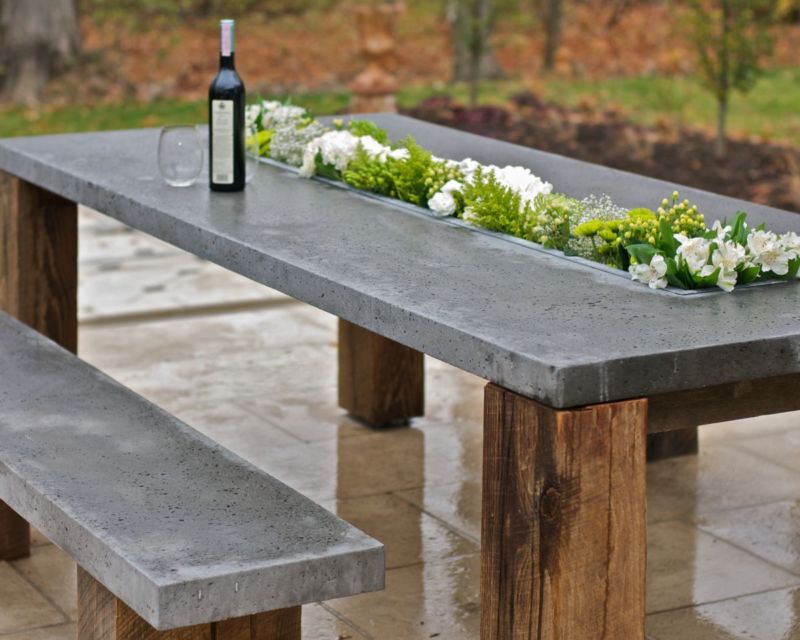
Concrete table
To make the table you will need: self-adhesive textured wallpaper with imitation of brickwork, metal mesh, plastic sewer pipes:
- Glue the textured wallpaper of your desired size to a flat base. You can glue them either to the floor surface or underlay a wooden board. The main thing is to make sure the surface is level.
- Around the perimeter of the wallpaper, set the formwork of bricks, and also cover them with textured wallpaper.
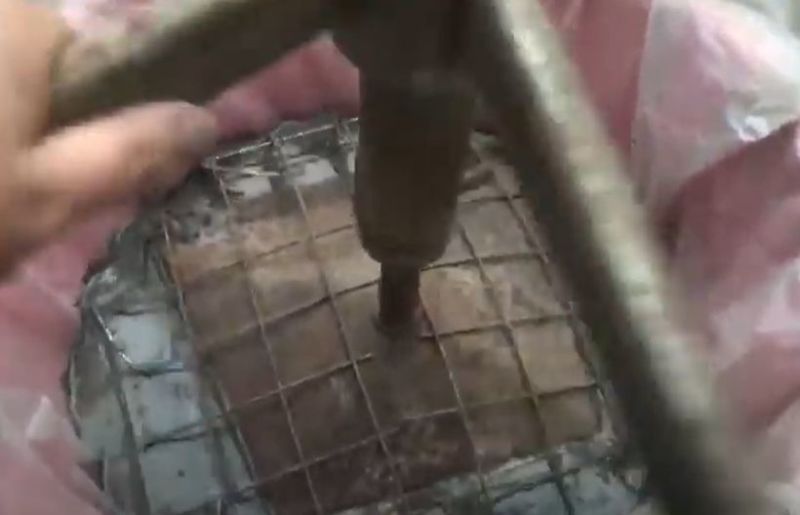
- Pour the first layer of cement into the formwork.
- Then cut the necessary size of the metal mesh and drown it in the first layer of cement.
- Pour another layer of mortar on top and smooth it out.
- Make two more small formworks for the base of the table legs and fill them with cement mixture.
- Cut four plastic tubes and insert them into the base forms.
- Once you have leveled the legs, pour the cement inside.
- When the legs and countertop have hardened enough, disassemble the formwork.
- Place the legs at the desired distance from each other and on top of the table top.
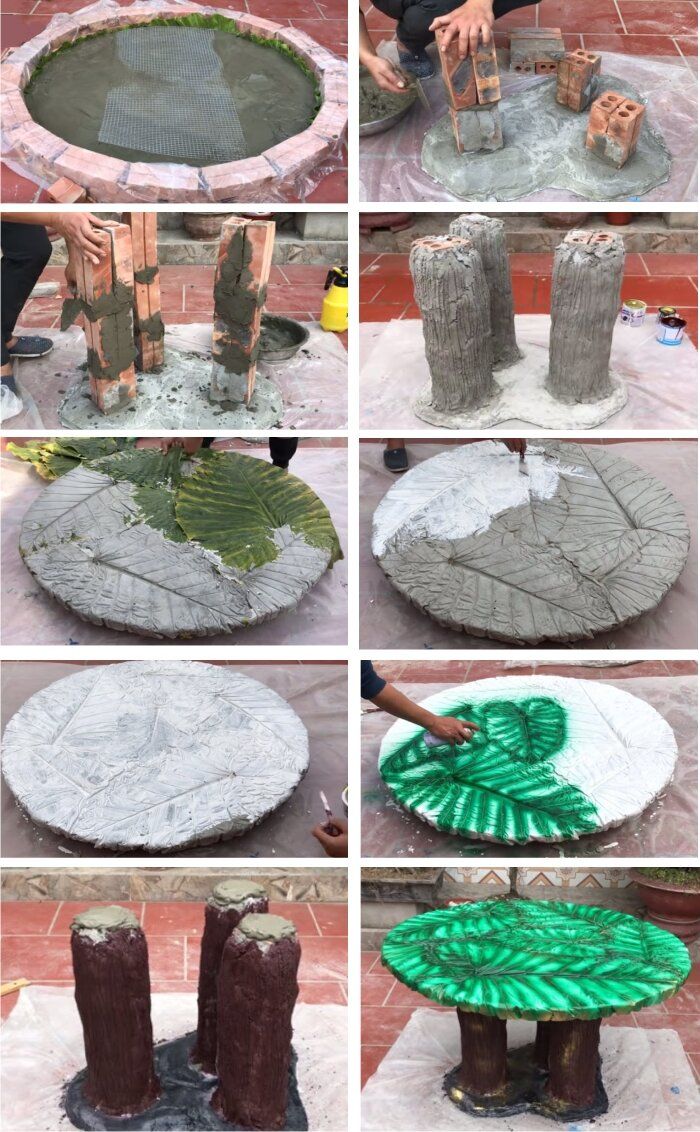
The table will look interesting if you cover it with a light gray paint, and notches from the textured wallpaper to paint with a thin brush in a darker color.
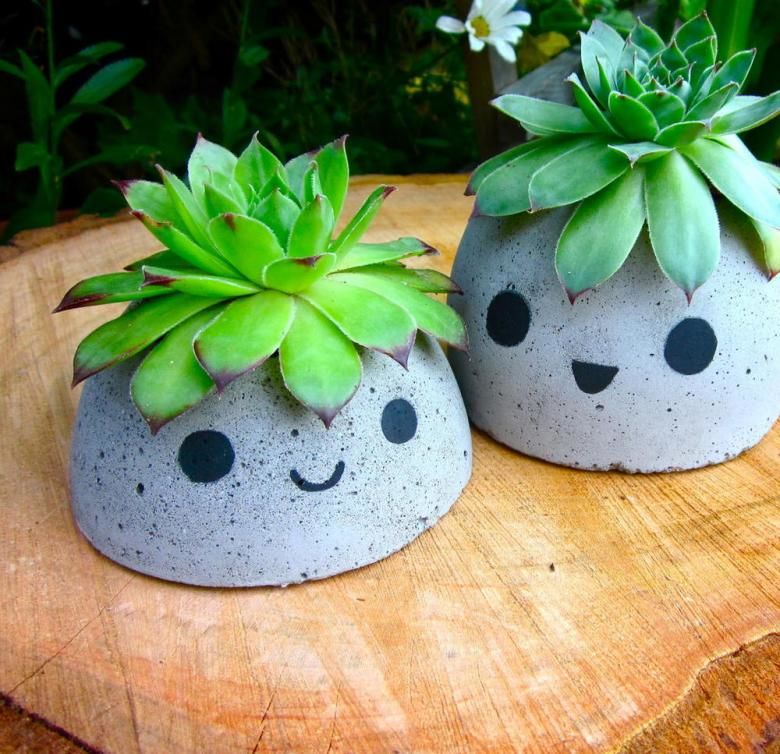
Even the simplest concrete crafts can help make the interior of any home or institution unique.
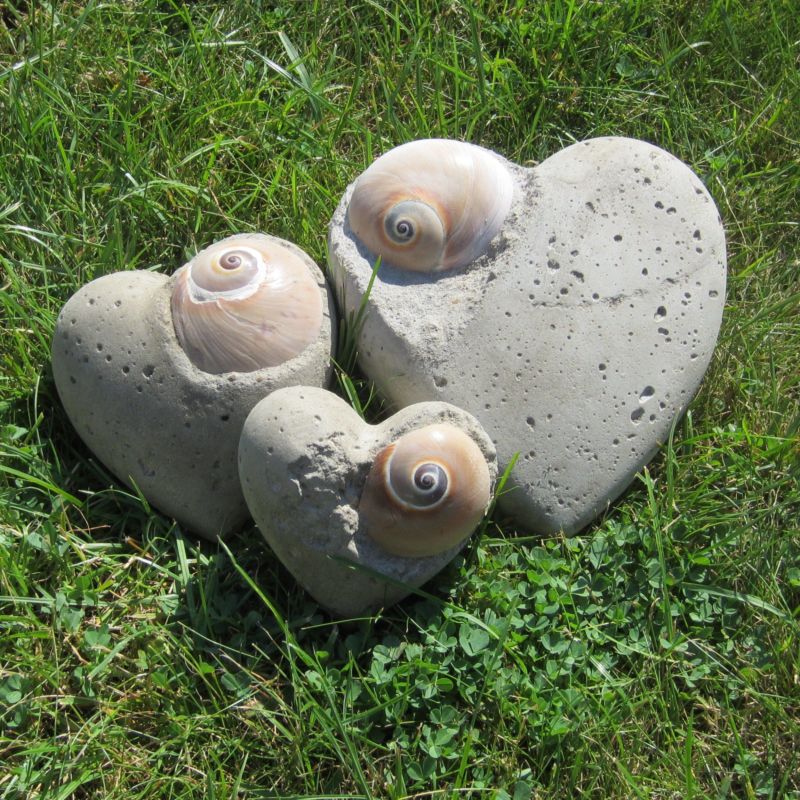
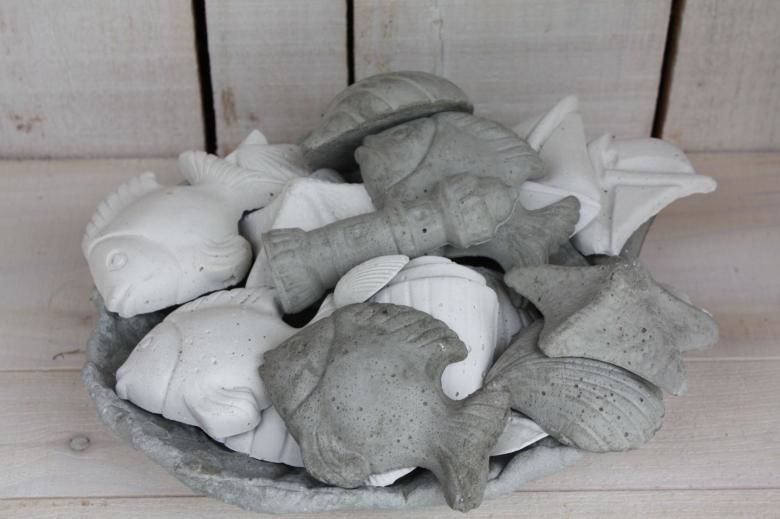
To create the design of your future figures you can use any materials: acrylic paints, glass of different colors, seashells, coins and more. Such decorative elements you are unlikely to see anywhere else.
Cement and concrete have long been used not only for construction or finishing work. These materials are available at any construction store, and cost several times cheaper than ready-made figurines. In addition, garden figures made of cement can become not only your hobby, but also a source of income.
Photos of original cement figurines for your home, garden, and dacha