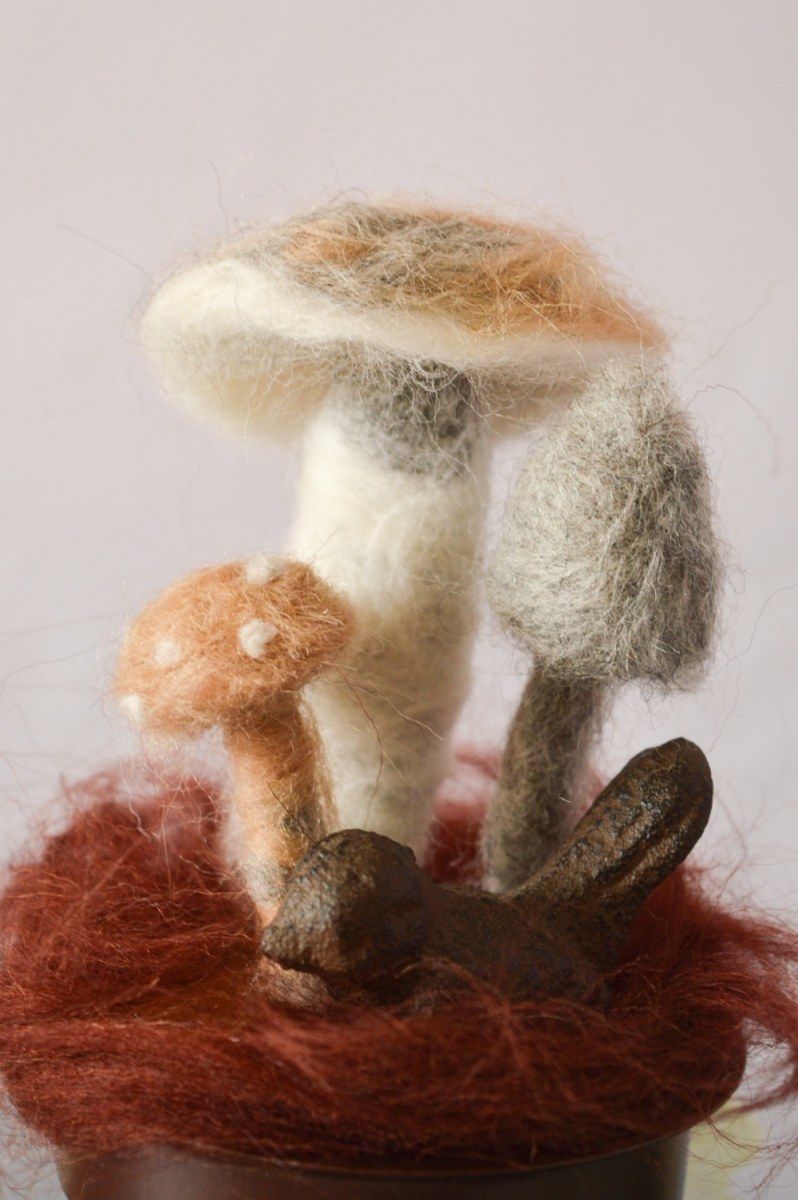
Make a mushroom with their own hands: step by step master classes of natural and man-made materials with photo examples
Mushroom craft - very popular in kindergartens and schools. Firstly, because it is not at all difficult to make it with your own hands. Secondly, the mushrooms turn out very bright, beautiful and lifelike.
They can be used as an unusual decor for home interiors. And homemade mushrooms made of improvised means will be a great garden decoration!

The variants of applications for mushroom crafts
Handicrafts in the form of mushrooms do:
- for the development of motor skills and imagination;
- The decoration of the garden area;
- Decorate the kitchen, living room and children's room;
- props for children's theater;
- Teaching children to work with different materials.
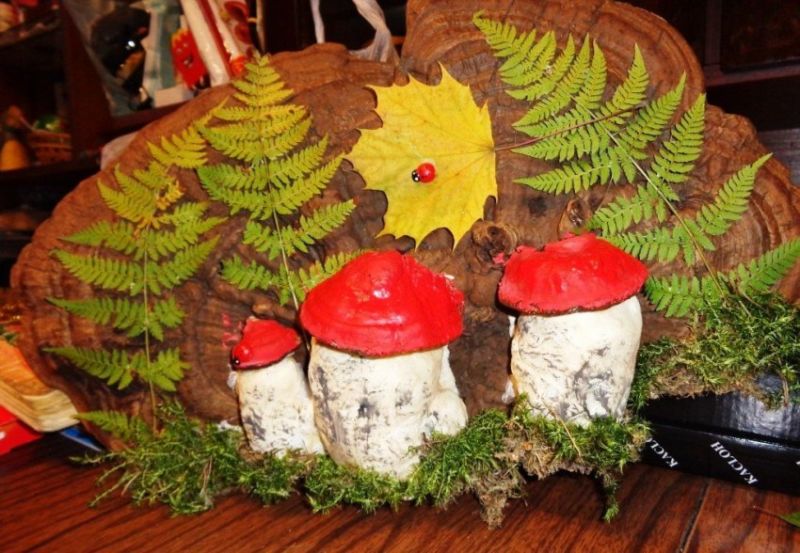
Mushroom from natural material with their own hands
Working with the material provided by nature itself is always a pleasure. And the result of the creative process also pleases. You only need to turn on your imagination and add a little patience. And then everything will turn out!

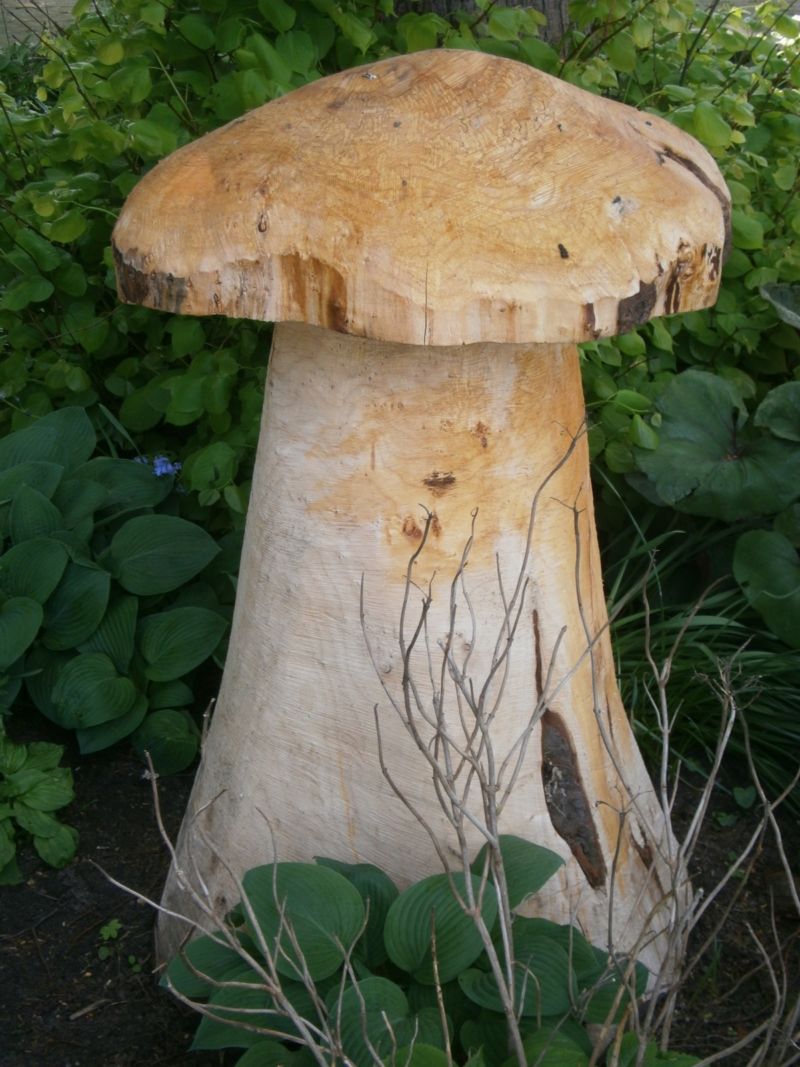
From stumps
This option will suit the joint work of a grandmother with her grandson at the dacha. There are enough stumps in the garden (if not, you can use a log or a sawn log).
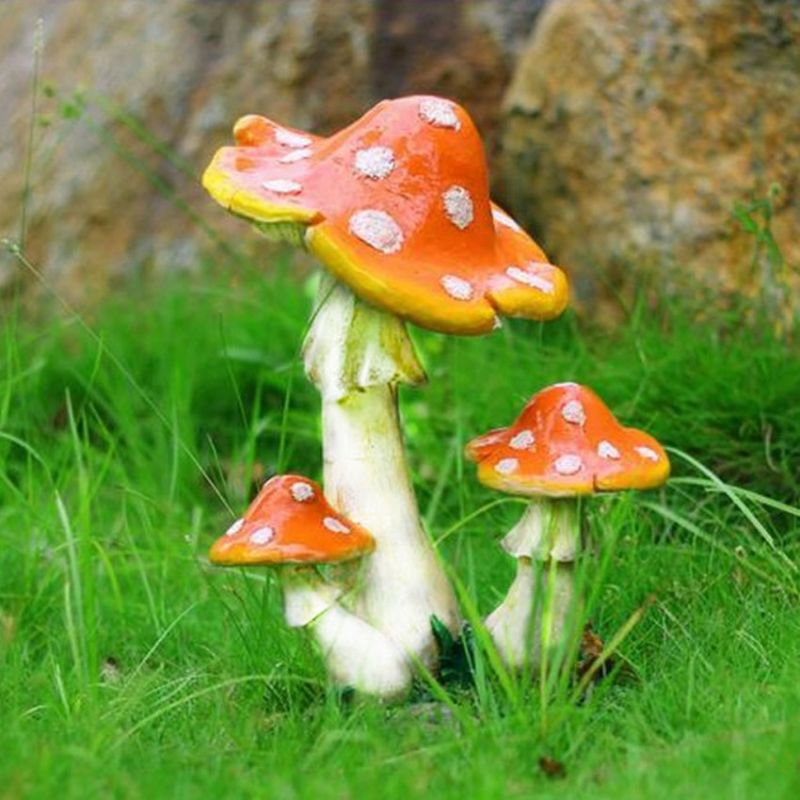
The stump itself will be a leg of a fly agaric, but the hat must be made from a small old basin. To do this, it must be cleaned of dirt and dust and painted with red acrylic paint for garden figures.
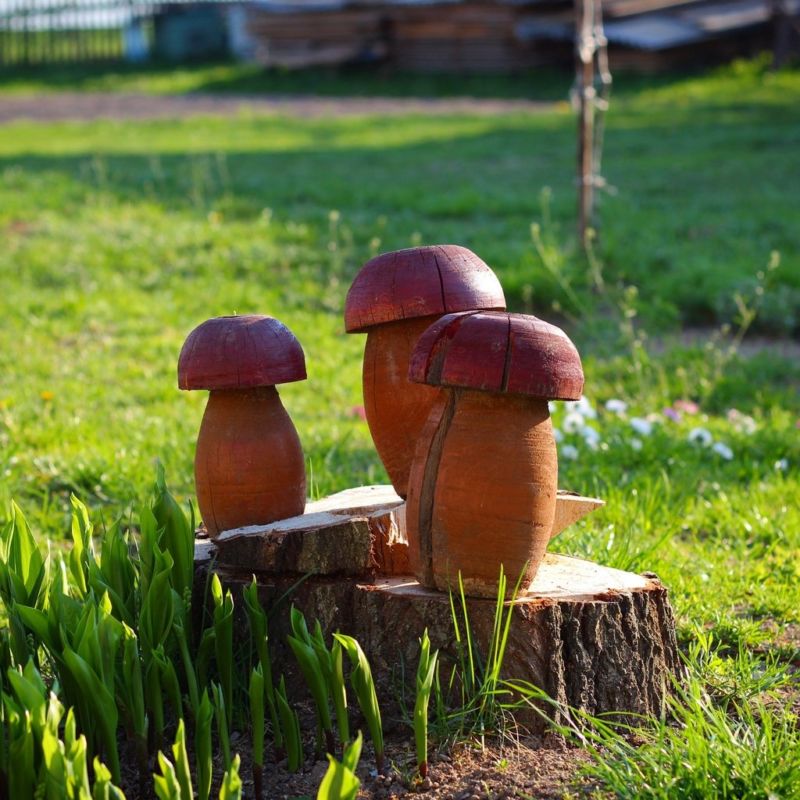
When the cap dries, white acrylic paint beautiful neat spots on it. The garden mushroom is ready!
It can be displayed in a flower bed or "planted" under currant bushes.


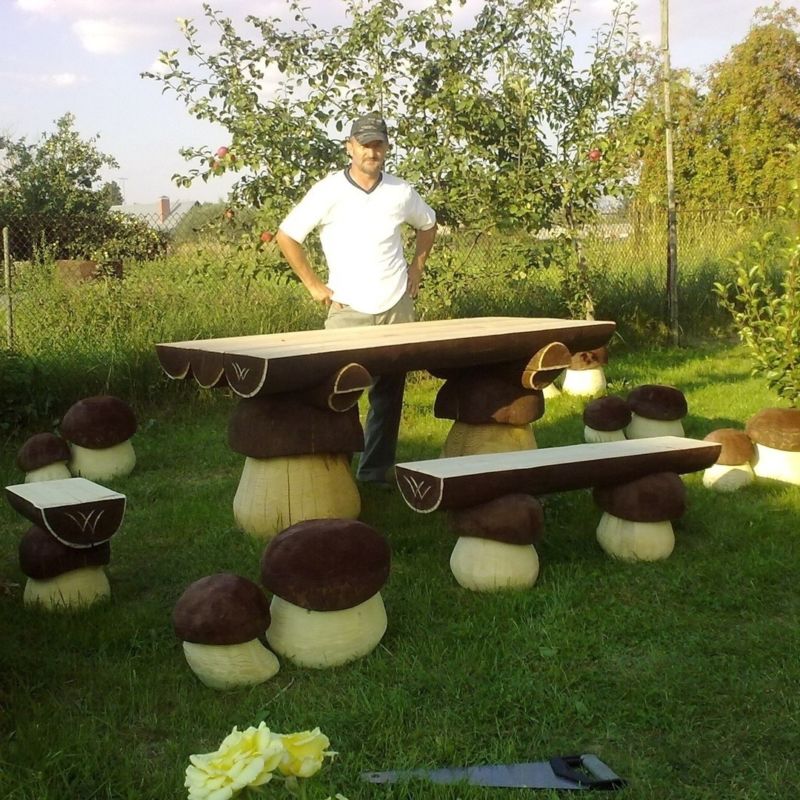
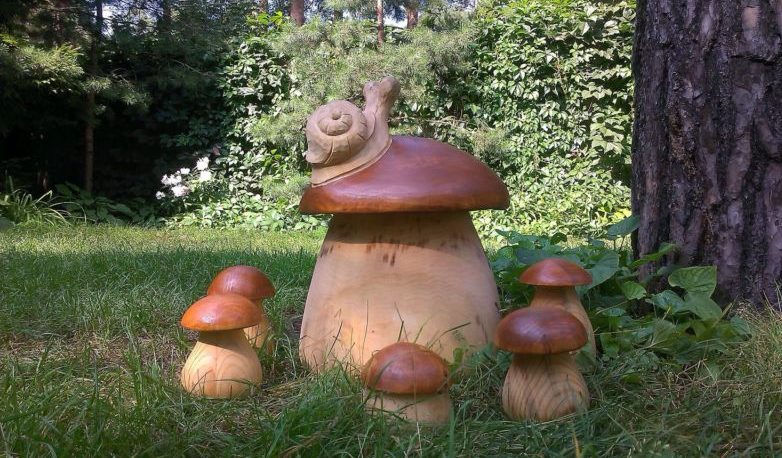
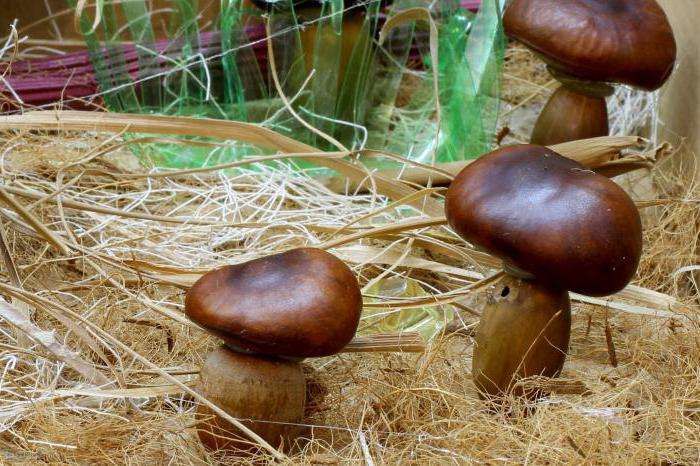
Wooden mushroom
Another version of the garden mushroom made of wood:
- The stem will also be from a stump, but already longer (a column of 30-40 cm is sawed off from the log).
- It is dug into the ground, and moss and leaves are placed around it.
- Now it is necessary to make a hat. For this role will do old basket without handles or straw Vietnamese panama. Or you can make it out of twigs.
- From any flexible and long branches "twist" a large bird's nest.
- In the process of work they fasten branches with jute threads.
Finished nest inverted and put on a stump - the mushroom is ready!
From the acorn
Acorns are very similar to mushrooms in their shape. And that's great: they make great crafts! Acorn caps fly agarics look beautiful and bright.
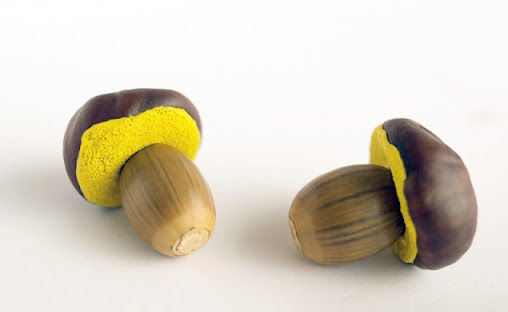
To create them you will need:
- Twigs 8-10 cm long;
- acorn hats;
- Styrofoam or floral foam;
- red and white gouache;
- an electric glue gun;
- acrylic varnish;
- brush;
- a wide flower pot (cachepot);
- moss and herbarium.
How to make a craft:
- To begin with neatly tear off caps of acorns (10 pieces approximately).
- Color them with red gouache and let dry.
- White paint make fly agar spots.
- Dried caps are covered with varnish. Allow to dry.
- Drip glue inside each cap and fix the twigs (hold it upside down for a long time).
- Take a brick of Styrofoam or oasis and glue it to the bottom of the pot.
- Fungi poke the legs into the foam, distributing evenly over the entire area.
- Add between them herbarium and moss.

The original handicraft is ready! It can be placed on the window at the cottage.

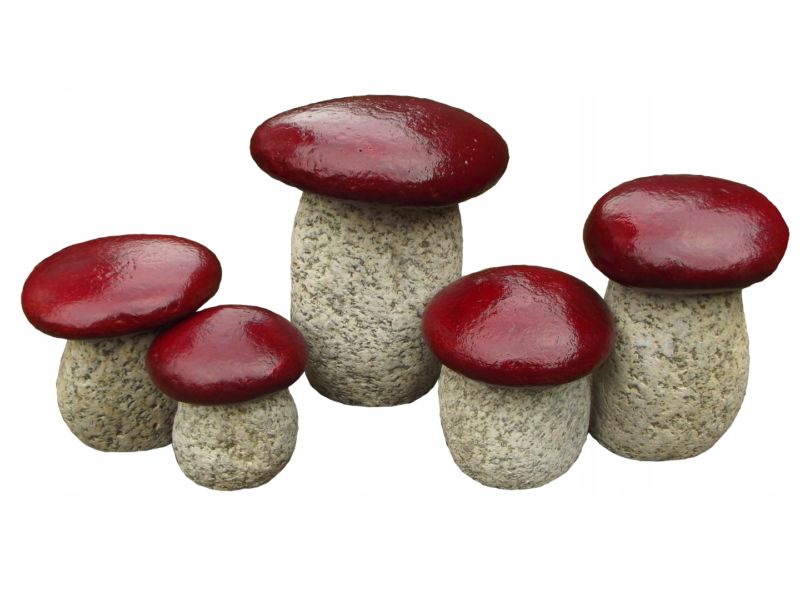
Using pebbles
They make unusual mushrooms from sea rocks. On pebbles they make drawings of Podberezovikov, Podosinovikov, fly agariches with acrylic paints. They add details: the structure of the fibrous stem, a glossy sheen on the cap, a crawling bug and grass at the bottom. The image is varnished.

From pebbles and stable boulders make white mushrooms. To do this, select stones with similar shapes. The wider stone is painted with white paint and varnished. The second stone is brown. He should be more flat. Varnish also. Leave to dry for some time.

The foot is placed on a stable surface (earth, sand, small pebbles). Drop hot glue on it and lay a flat stone. Stones are selected so that they are stable and without glue.
Mushroom from artificial materials
From improvised means and construction materials, colorful mushrooms are mastered. Handicrafts can look very realistic or fabulous and fantastically beautiful. Such a decor will be the center of the garden plot, and children will be happy to play near it and take pictures.
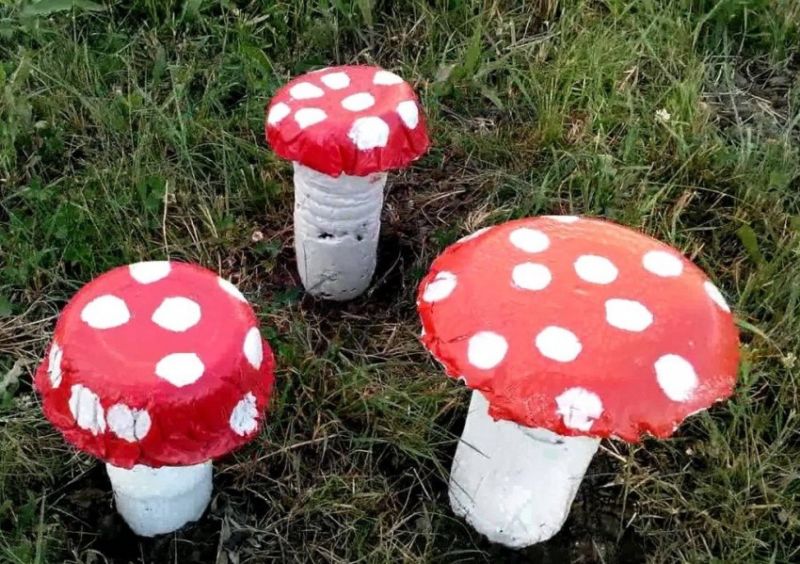
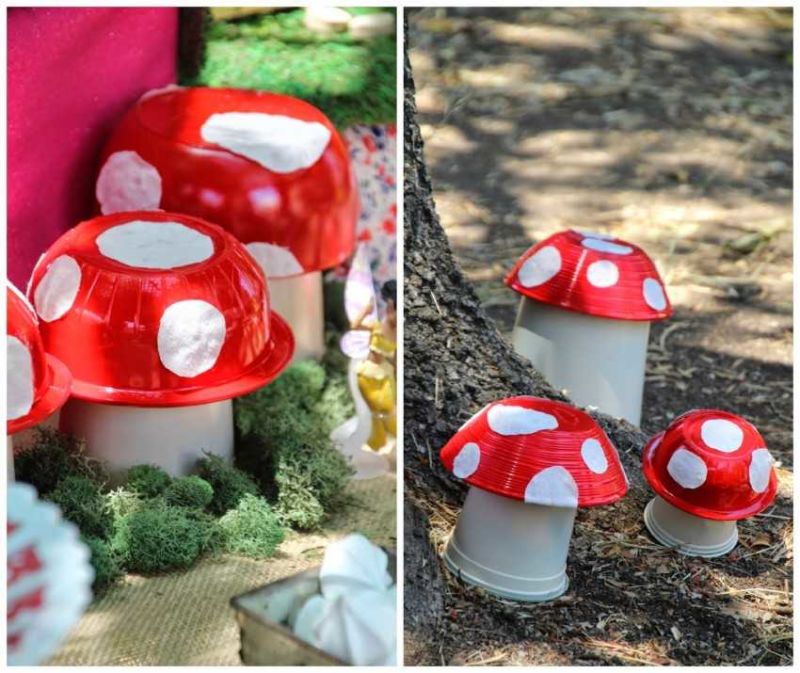
From plastic containers
From plastic pots with trays come out big bright fly agarics.
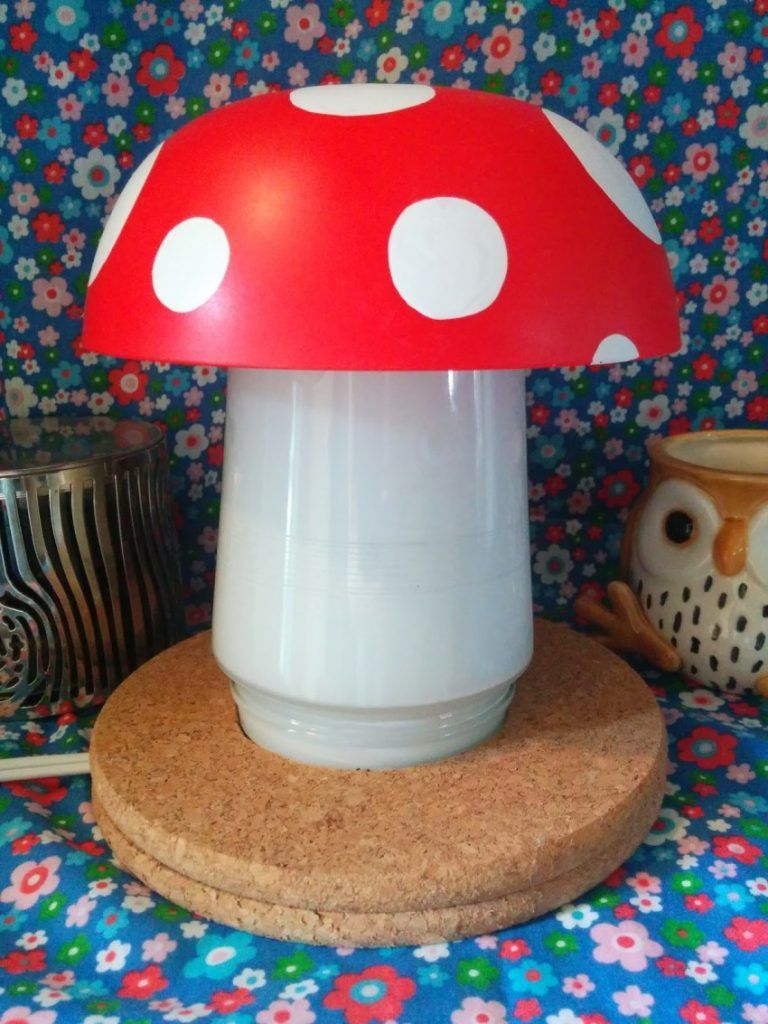
The pot is turned upside down.
The potted tray plate is given a red color with garden figures or exterior paint. And paint white circles on it.

Put it in flowerbeds, beds or under garden trees.
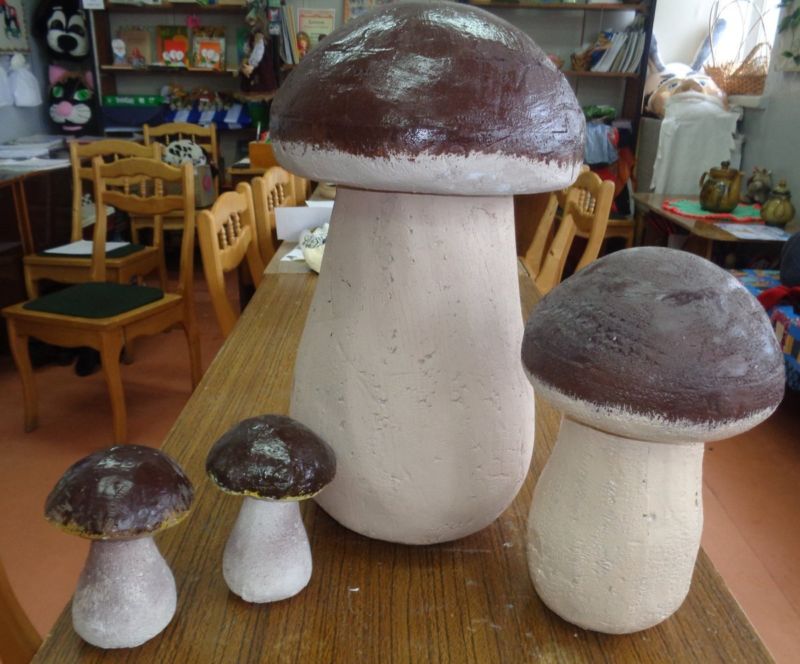
Made of construction foam
A wonderful fairy-tale huge mayflies can easily be made by yourself from construction foam.
For the work you will need:
- plaster (facade or for interior work);
- nails (three pieces);
- wallpaper glue;
- A plastic bottle of 1.5 liters;
- building foam (in cans or professional);
- acrylic paint with tint (brown, yellow, beige);
- primer.
The process of creating a homemade paint:
- On the floor or on the ground, lay newspapers.
- Foam is applied to the plastic bottle in layers.
- The stalk of a large mushroom gradually emerges. It is left to dry.
- Next create a hat by squeezing out the foam and applying it to the newspaper in circular motions. At first, it will not look very much like a mushroom head, but after the foam hardens, using a knife, the shape will be adjusted.
- From the resulting shapes, use a stationery knife to hone the desired shapes.
- Use three nails to fix the hat and the leg together. You can add hot glue for better fixation.
- Diluted wallpaper glue is applied to the homemade item. It is needed for a good adhesion of polyurethane with plaster mixture.
- Dilute the plaster and distribute with a spatula over the parts.
- The dried undercoat is sanded with sandpaper and coated with primer.
- Then proceed to painting. The stalk will be grayish. The top part of the cap - light brown, and the inside part - light yellow.
- After the paint dries, the figure is covered with varnish.

Miracle Podberezovik will decorate any garden plot or area near the house.

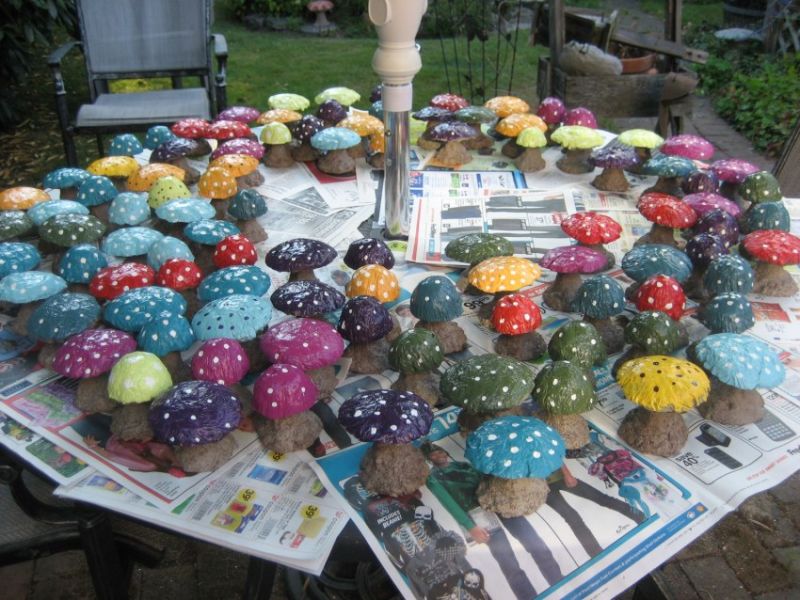
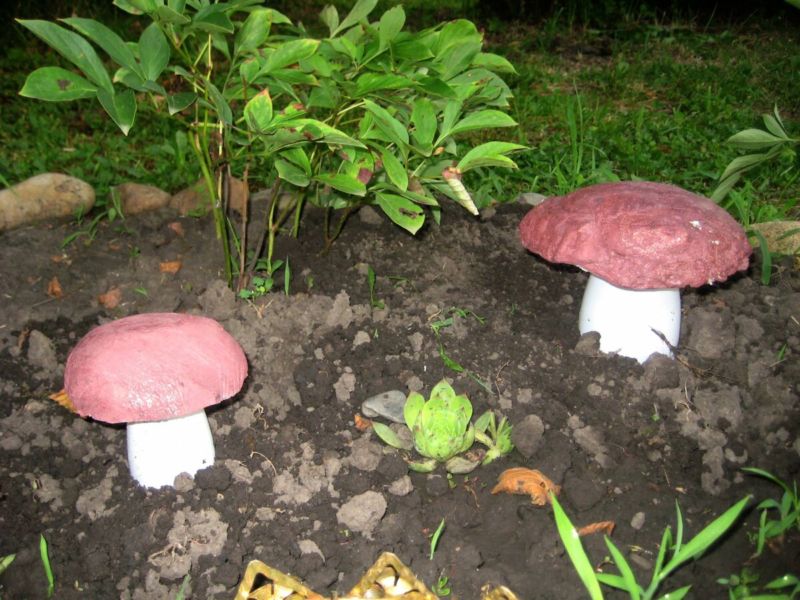
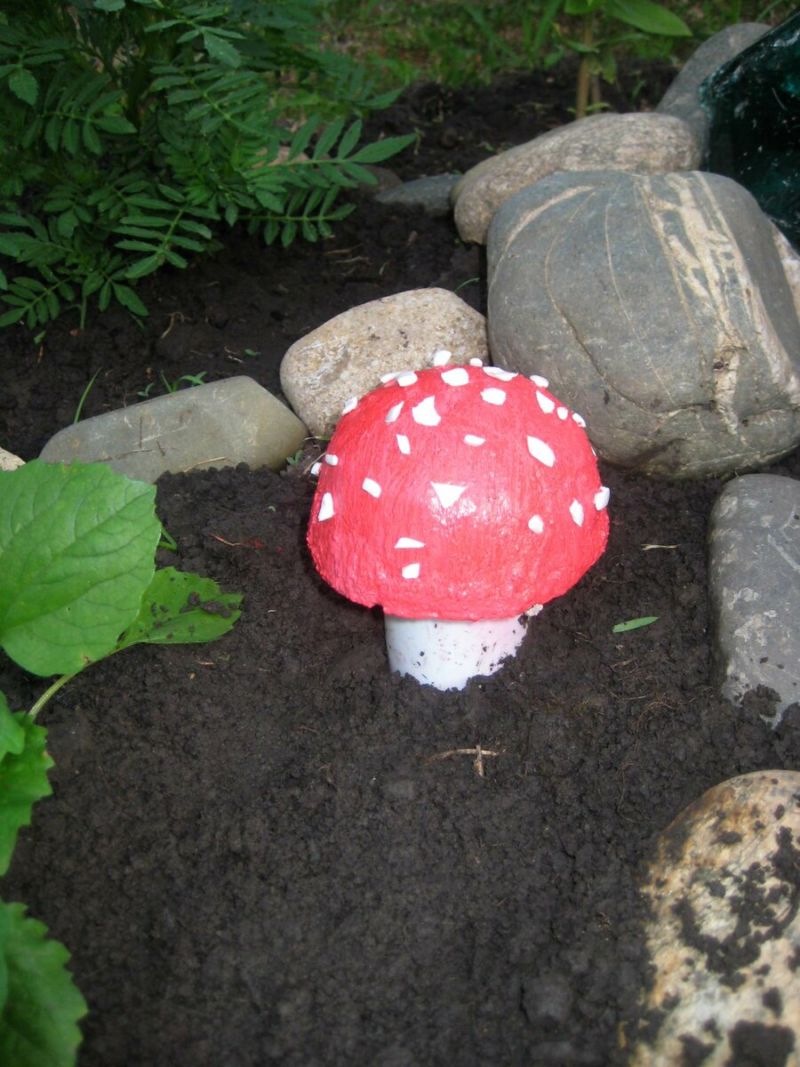
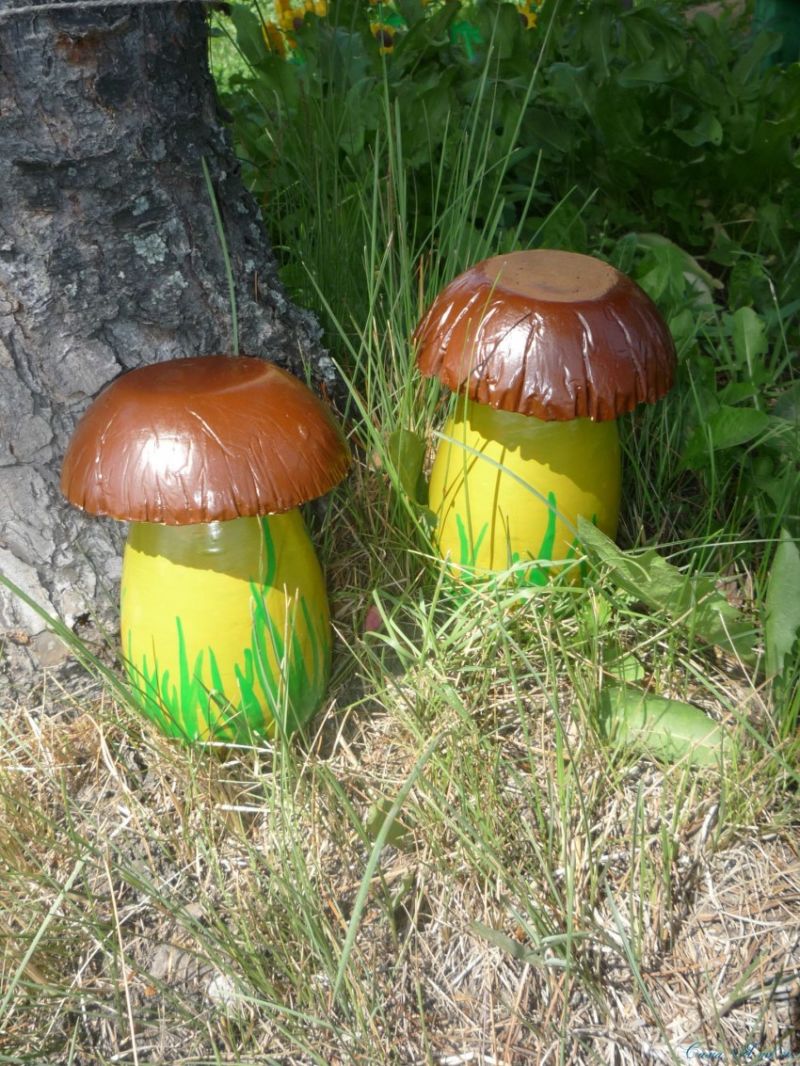
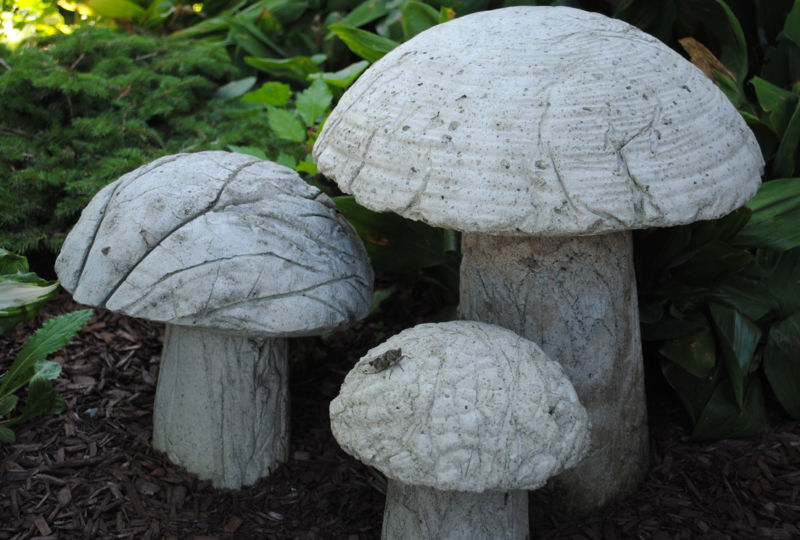
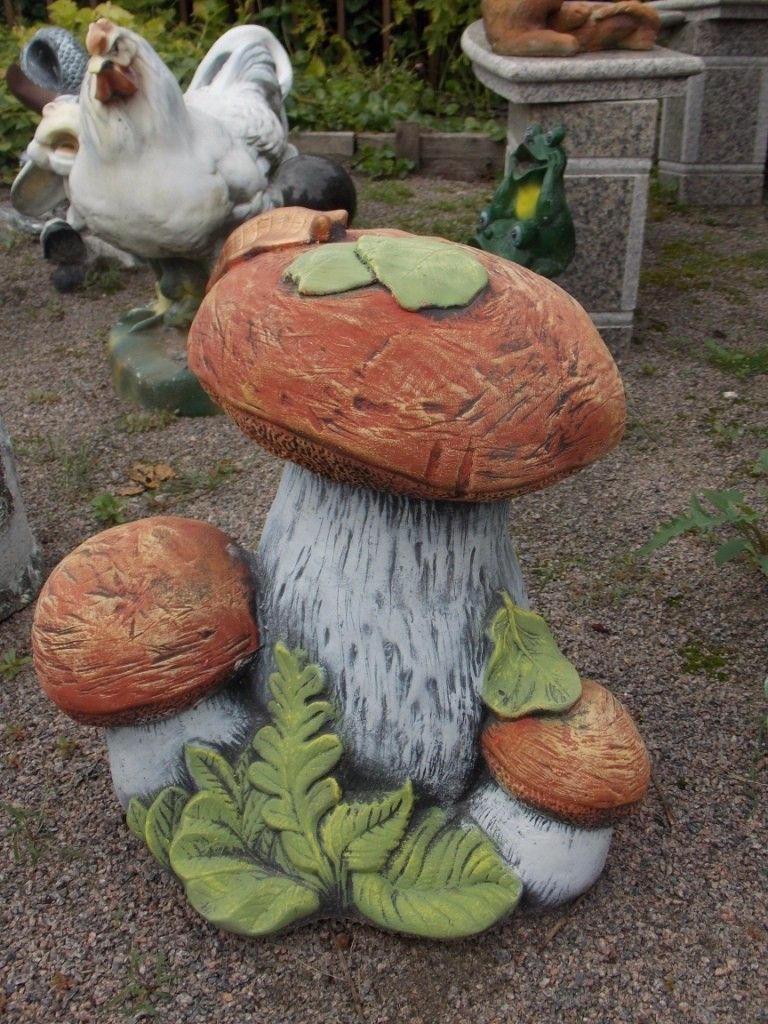
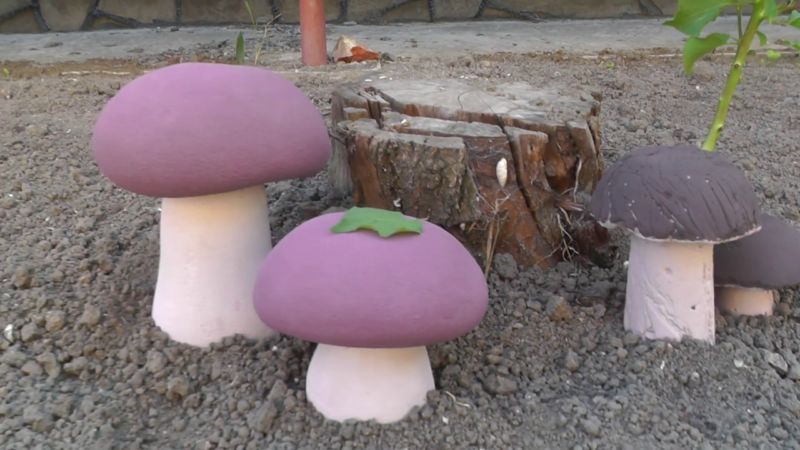
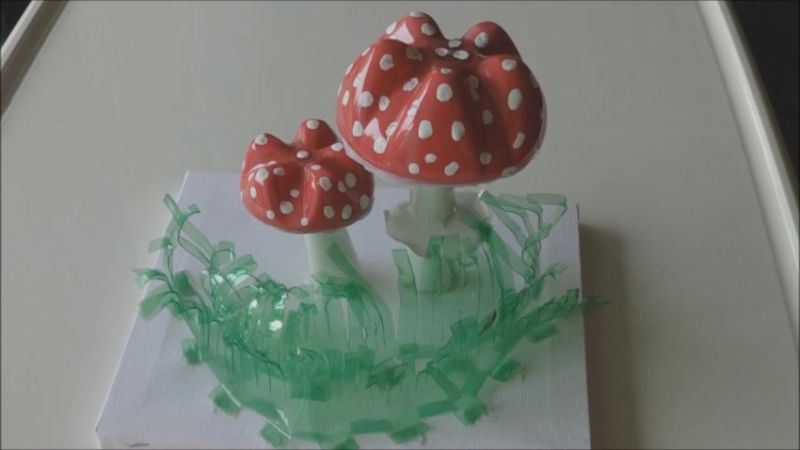
From cement
Unusual and very realistic or, on the contrary, fantastic and magical mushroom, mastered from cement mortar.

To create a homemade mushroom for the garden plot will need:
- facade paint (acrylic);
- plasticizer (or liquid soap);
- primer for outdoor work;
- glass;
- cement;
- abrasive paper;
- brushes;
- plastic bottle;
- rags.
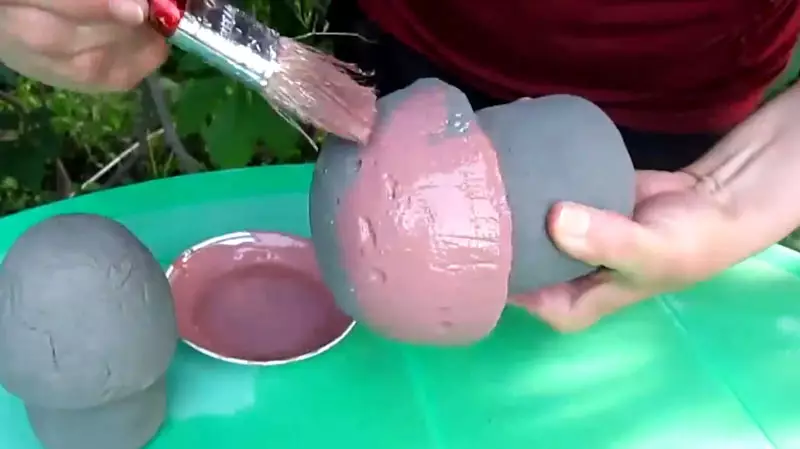
It is made as follows:
- Cement mortar is mixed at a ratio of 1 to 2 parts sand and add water and a little plasticizer (or liquid soap).
- Cut off the top of the bottle and pour the mortar into it.
- In a large dish, put food film and pour the solution, forming a mushroom cap.
- Leave the parts to dry.
- Take the hat out of the mushroom, and using a stack and mortar and imitate the fibers of the fly agar.
- The foot is taken from a plastic bottle.
- Dilute a liquid solution and dip a square cloth into it for a special "skirt".
- Cover the top of the post with it and put the hat on top, adding thick cement between the parts.
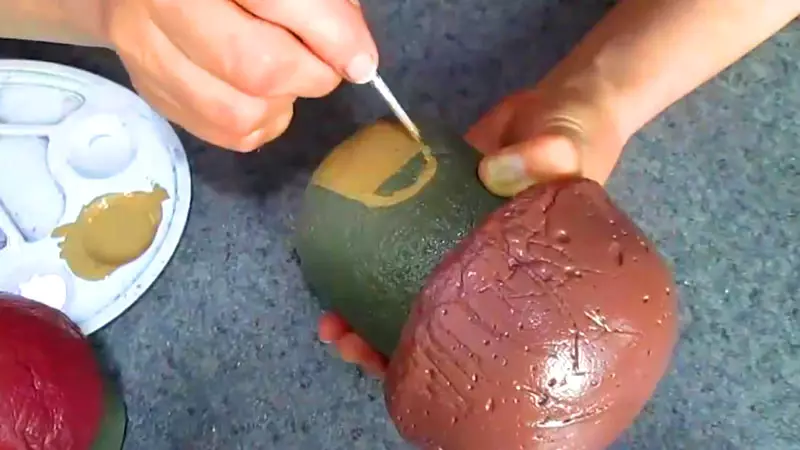
- The dried mushroom is sanded with sandpaper and primed.
- Then paint and varnish the handicraft for shine.


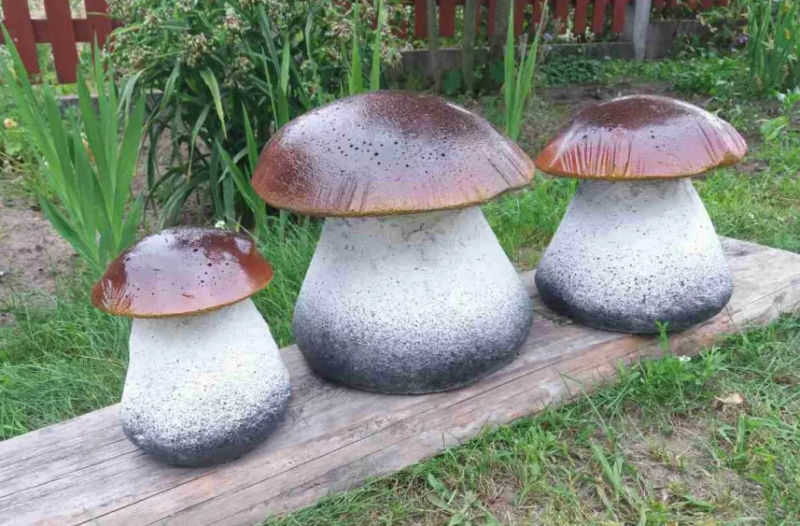
Now a whole glade of fly agaric mushrooms grown in the garden, but no one swears and does not shoot down the artificial mushrooms, even though they are "poisonous. Because fly agaric mushrooms are an amazingly beautiful craft for the garden plot!
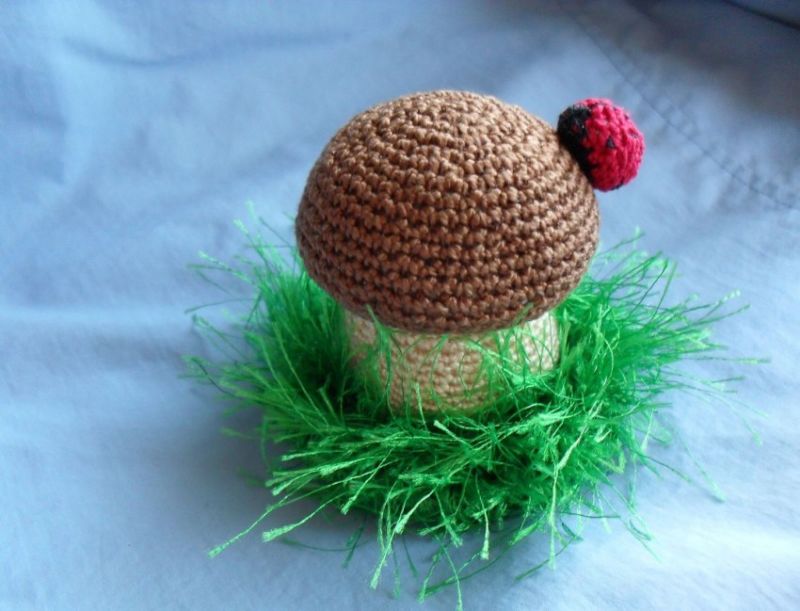
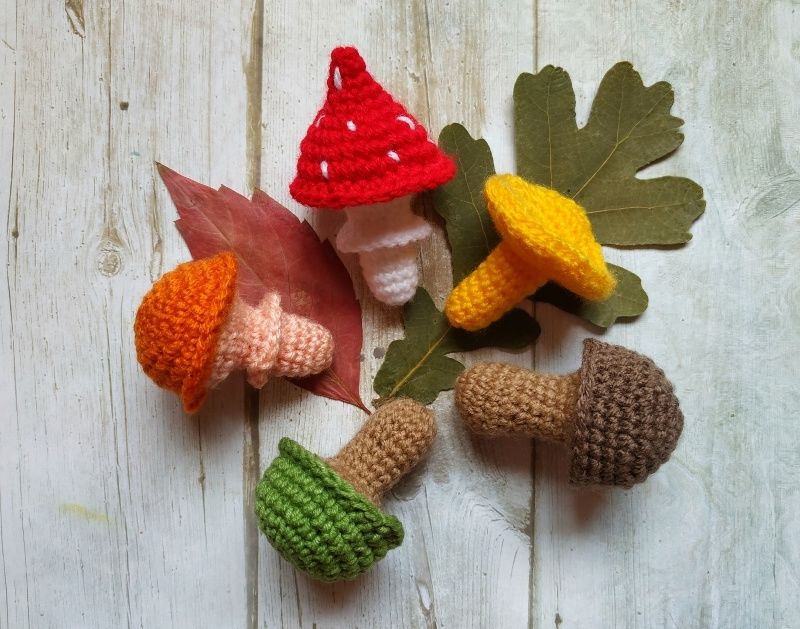
Crocheted
For a child, you can crochet a mushroom from thread (to create a homemade baby carousel over the crib or just for developmental games).
To create you will need:
- scissors;
- Crochet thread (can be Iris);
- soft filler;
- hook 1;
- needle with sewing thread.

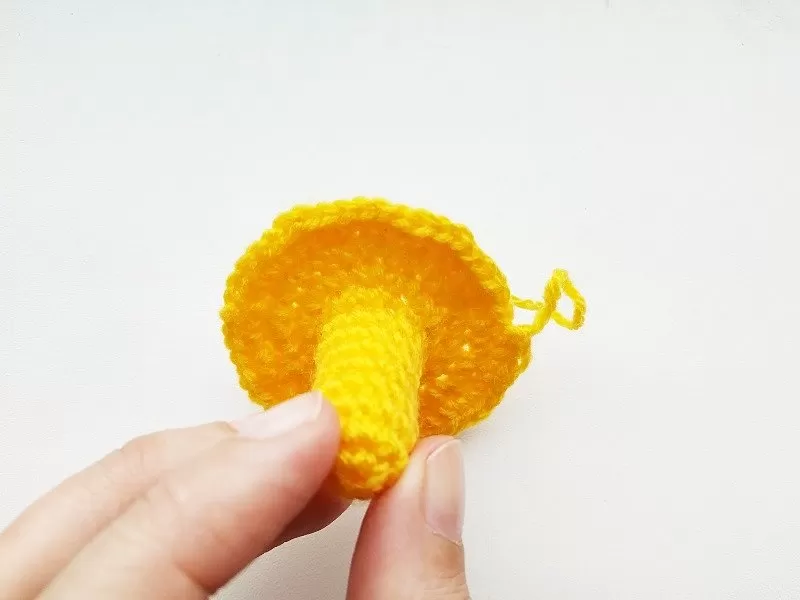
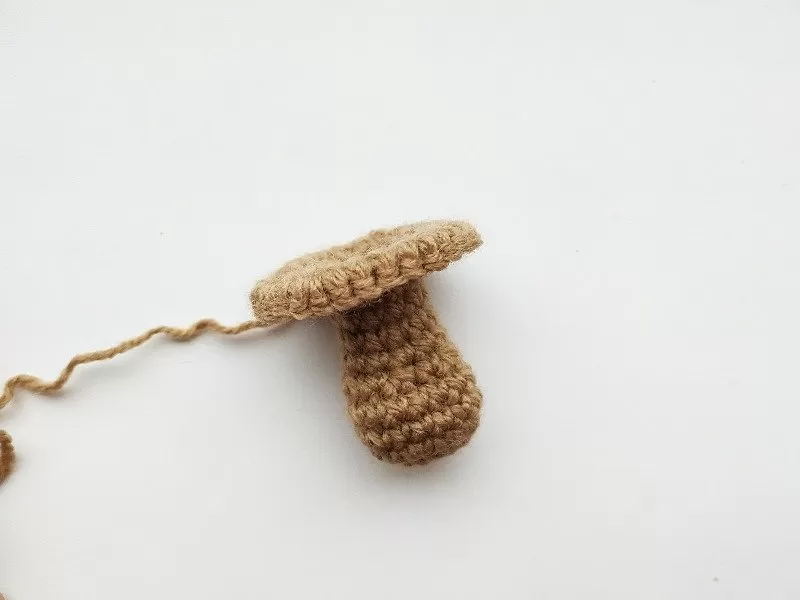
How to knit a mushroom foot:
- Start by knitting the foot. To do this, dial 5 BP (air loops) and connect them. Do 1 VP lift.
- Then knit in a circle.
- In the second row add another SBN (column without a stitch) through one, in the 3rd - through two, and in the 4th - through three.
- The fourth row is knit without additions.
- Now cut the columns: the ninth row - two. On the tenth - two. On 11,12,13 and 14 - remove one each.
- Then 15,16,17 are knit without the reduction. The last row ends with two half-stitches for the transition.
- Foot ready. It is filled with padding or absorbent cotton.
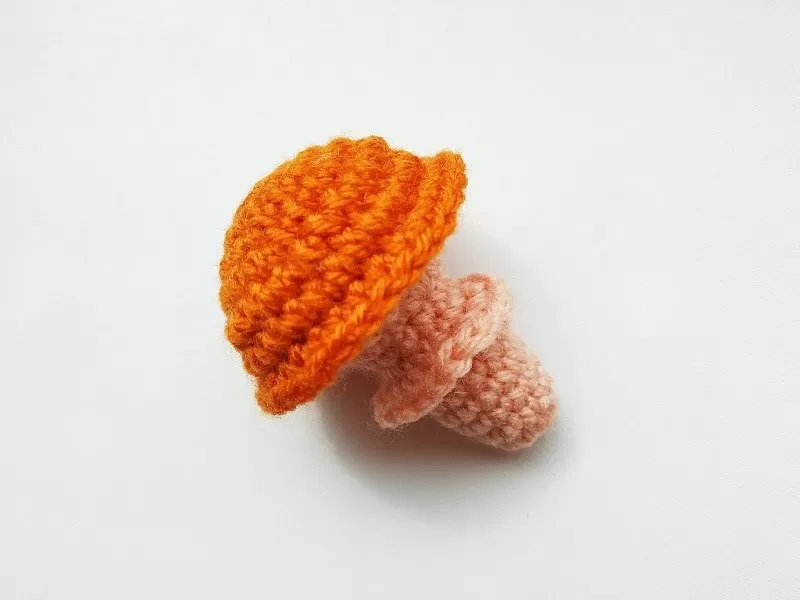
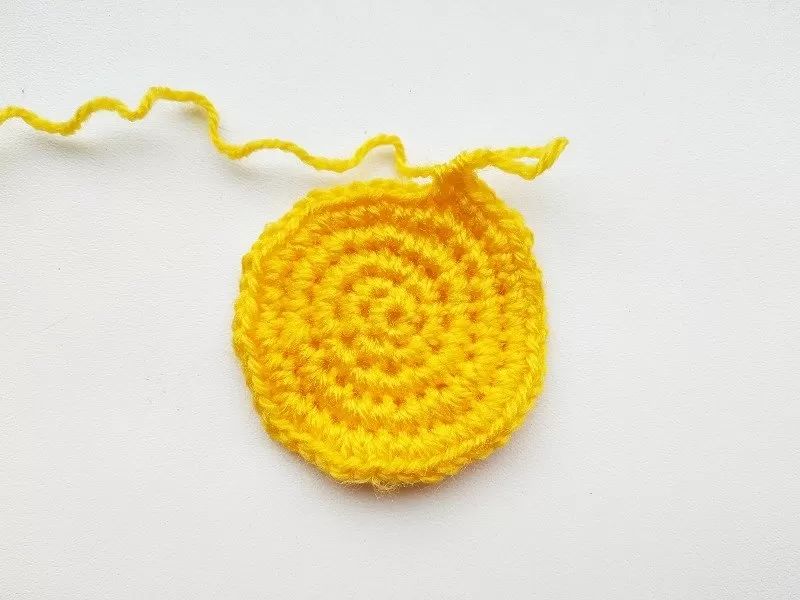


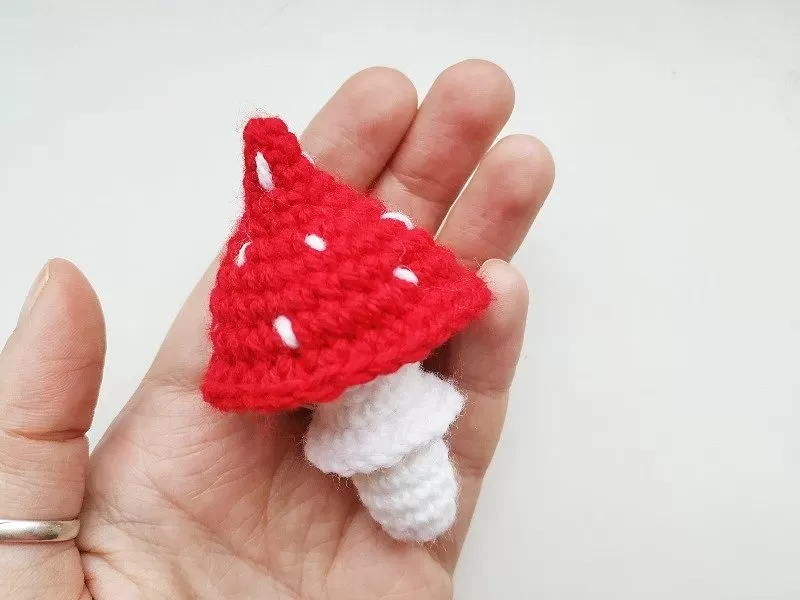
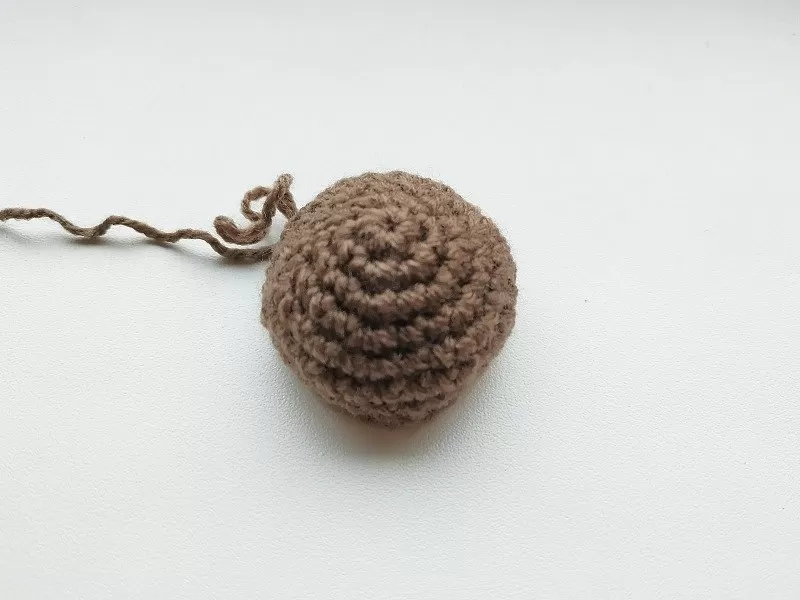
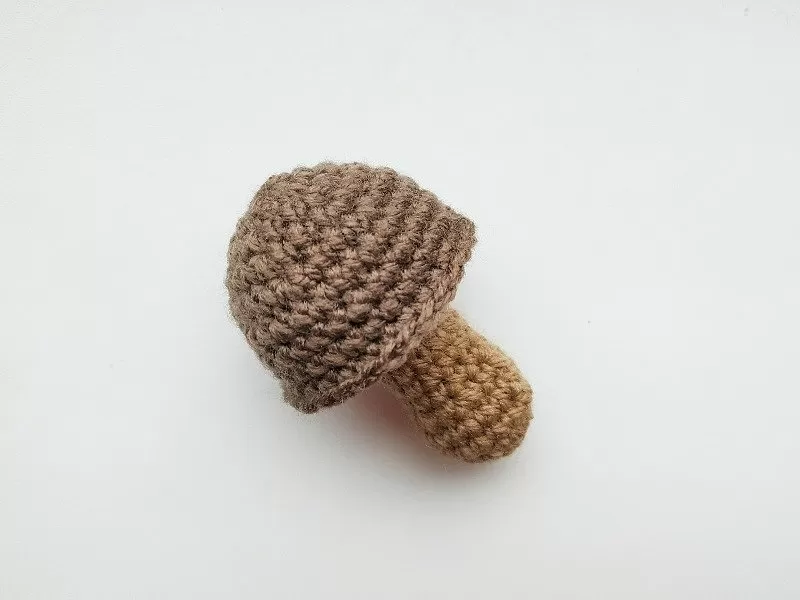

Knitting the two parts of the hat:
- The bottom part (from white or beige yarn): 5 GP in the ring and 1 VP for the lift.
- 10 STITCHES.
- In the 2nd row add through one column. In the 3rd through two columns, in the 4th - through three, in the 5th - through four, and in the 6th - through five. The last two stitches are tied with half stitches to even out the transition.
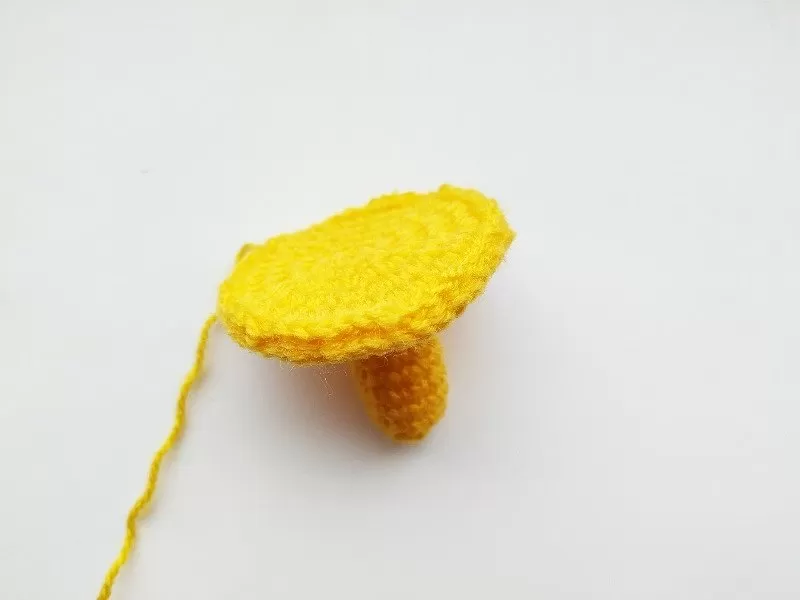
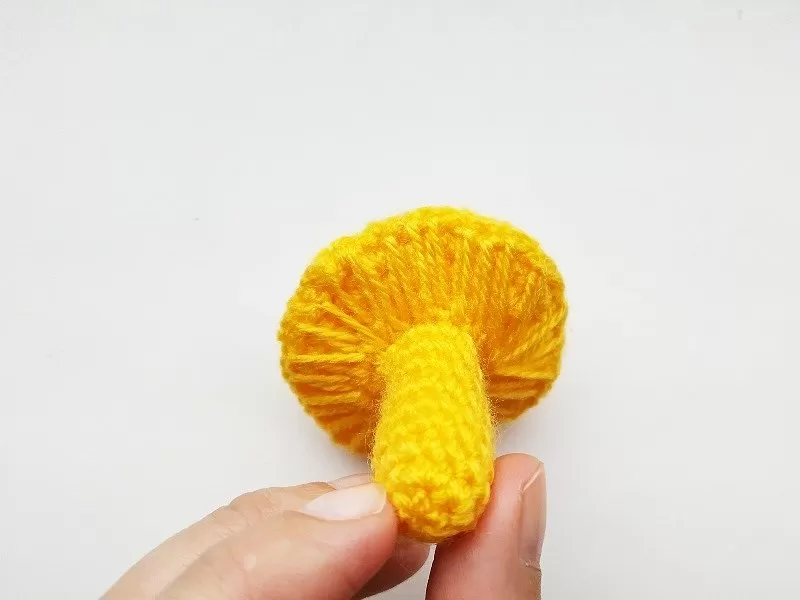
- Upper part (yellow, red, brown - your choice): make a ring of five BP and one hoop loop. In the ring knit 9 IBS.
- In the 2nd row add a column through one. In the 3rd - in 2, in the 4th - 3, in the 5th - 4, in the 6th - 7, and in the 7th - one column per row.
- Two rows of stitching are done without adding more stitching.
- The light bottom of the hat is sewn to the top, dark.
- Thread with a needle attached stem. Mushroom ready!
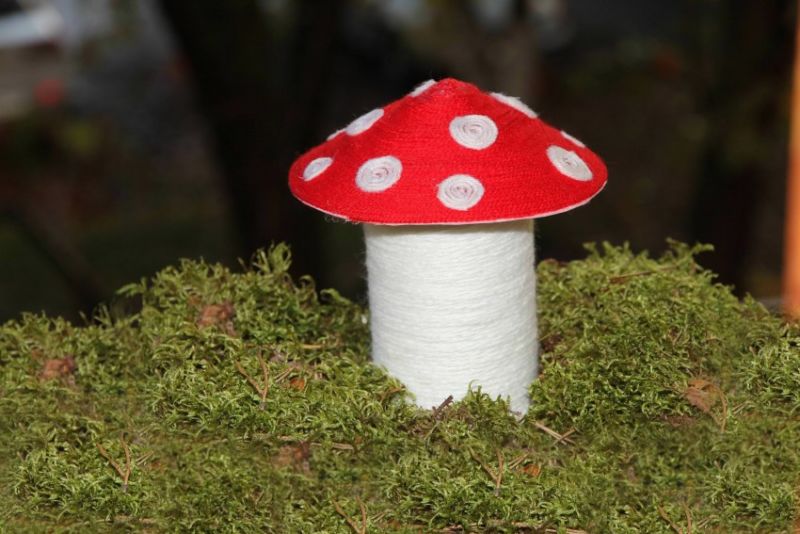
From a plastic bottle
To make a fly agaric from a plastic container, take a bottle of 1.5 liters:
- Cut off the top with a sharp knife: about 10 cm from the neck. Separate the bottom 3 to 5 cm.
- Take acrylic or gouache of red and white and paint the plastic, but not from the outside, and the inside: and the leg, and the hat.
- On the outside of the hat will need to make a spot of white acrylic, so they are not washed away by the rain, when the craft put in the garden.
- Dried parts are connected with each other using hot glue or silicone ("Titan").
Bright red crafts from plastic bottles will decorate any homestead plot to the envy of the neighbors!

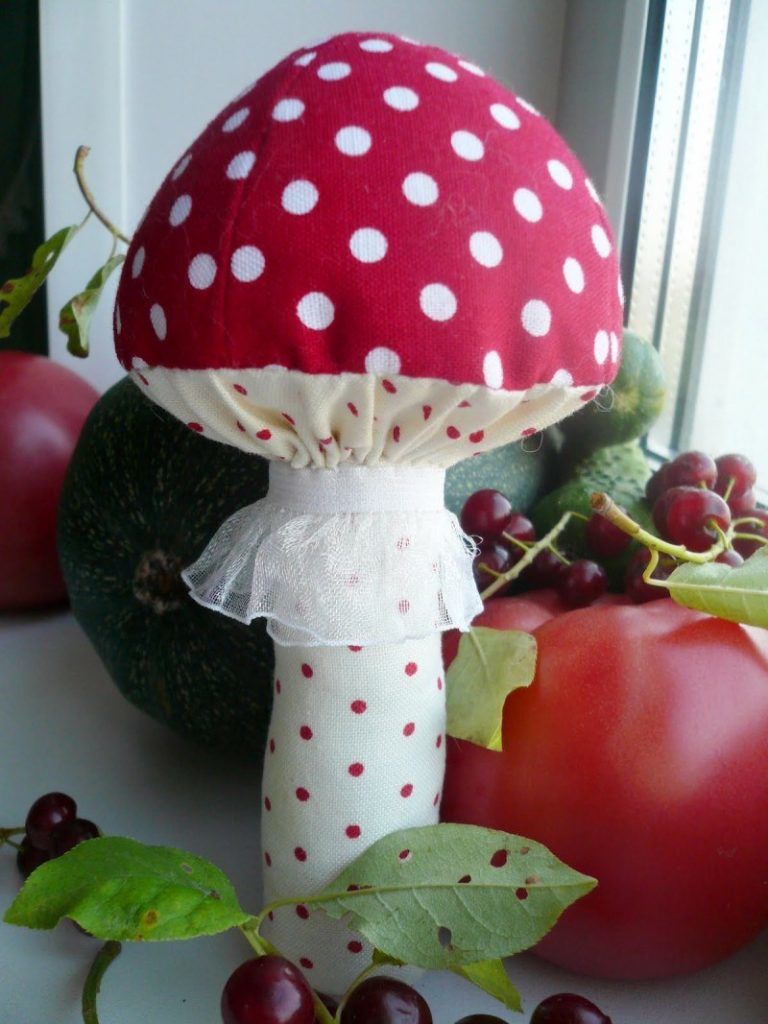
Sewn from fabric
For a textile dampener craft you need to take:
- Any scraps of fabric, but they should match the color of the mushroom (pinkish and beige);
- scissors;
- needle with thread;
- A sheet of paper and a pencil.
Sew in this way:
- First, on a piece of paper draw a pattern: a circle of desired diameter (10-15 cm) and a rectangle with rounded bottom edges (9-12 cm).
- The template is transferred to the fabric.
- Details cut out and sew in pairs, forming a leg and a hat and leaving the rectangle is not stitched top.
- In the lower circle must be cut a hole with a diameter equal to the diameter of the foot.
- Mushroom elements of the fabric is filled with something soft: ellofiber, sintepon, cut rags and stitched together.

The result is a textile decoration for the house or stuffed toy for the baby.
With plasticine
The simplest homemade Podberezovikov (or Podosinovikov), but very effective for the development of fine motor skills in children. It is made quickly and easily. To make a whole glade of mushrooms - no problem.
To make the feet of white/beige plasticine, roll sausages, preheated plasticine layer in his hands. The "sausage" is cut with a special plastic knife.
Then proceed to the hats: round cakes are formed from the balls and their edges are slightly bent inward. Then glue the bottom part of the Podberezoviks to the top - and you can make a basket for a rich harvest!
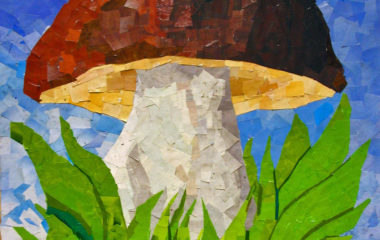
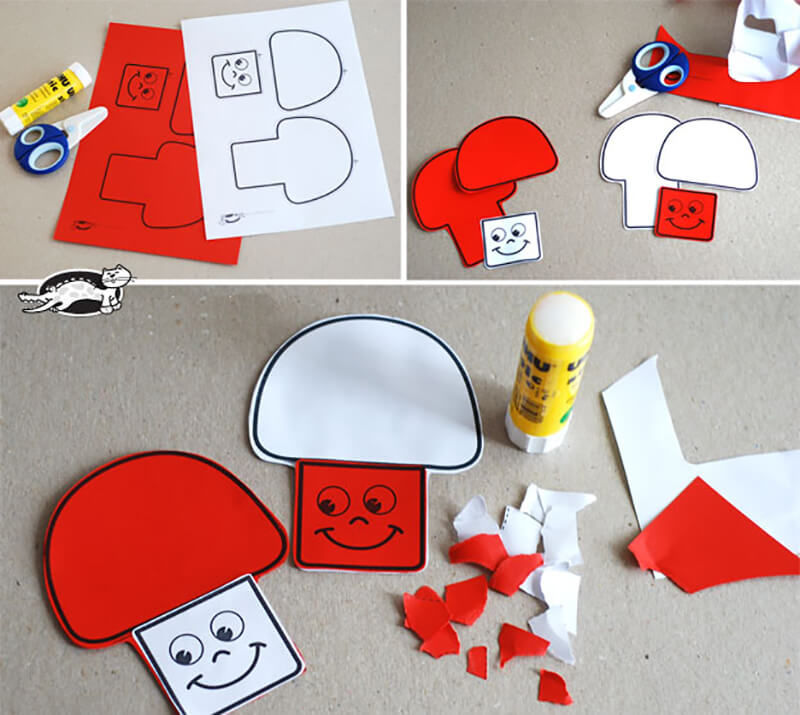
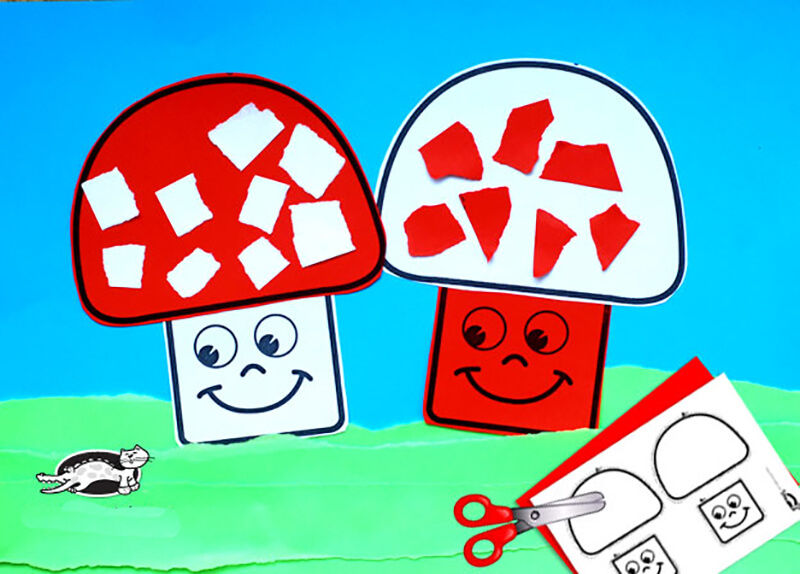
Applications of cardboard and paper
To work take cardboard, a set of colored paper, scissors and PVA (pencil or tube). First draw the future mushroom on paper: each part on a sheet of appropriate color. On green paper depict a low grass.
Then all the elements you drew are carefully cut out with scissors and pre-placed on cardboard, not glued.
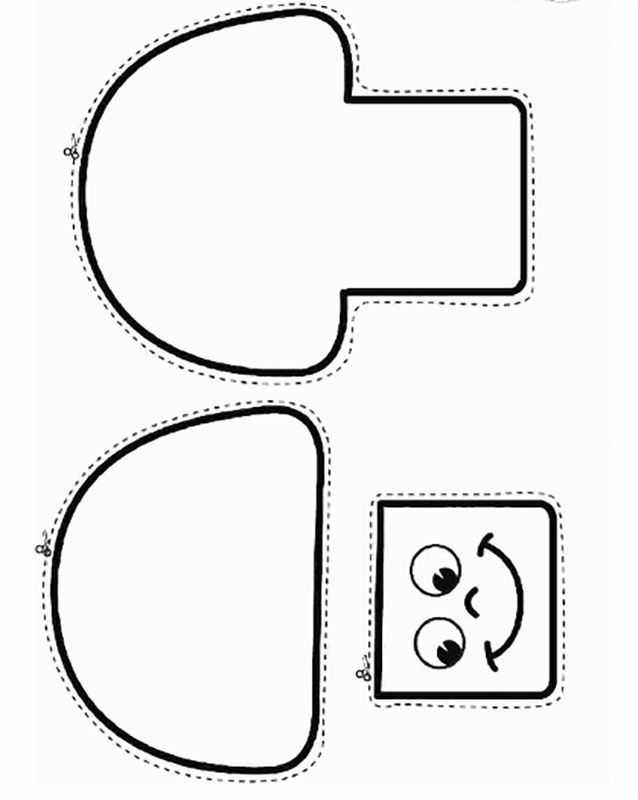
If you like the picture, start gluing. First the leg, then the brown hat and grass underneath.

If desired, make a bright frame for the fungus. Such a collage can be easily made by children in kindergarten (middle and pre-school groups). The picture can be presented to mom or grandmother on March 8.
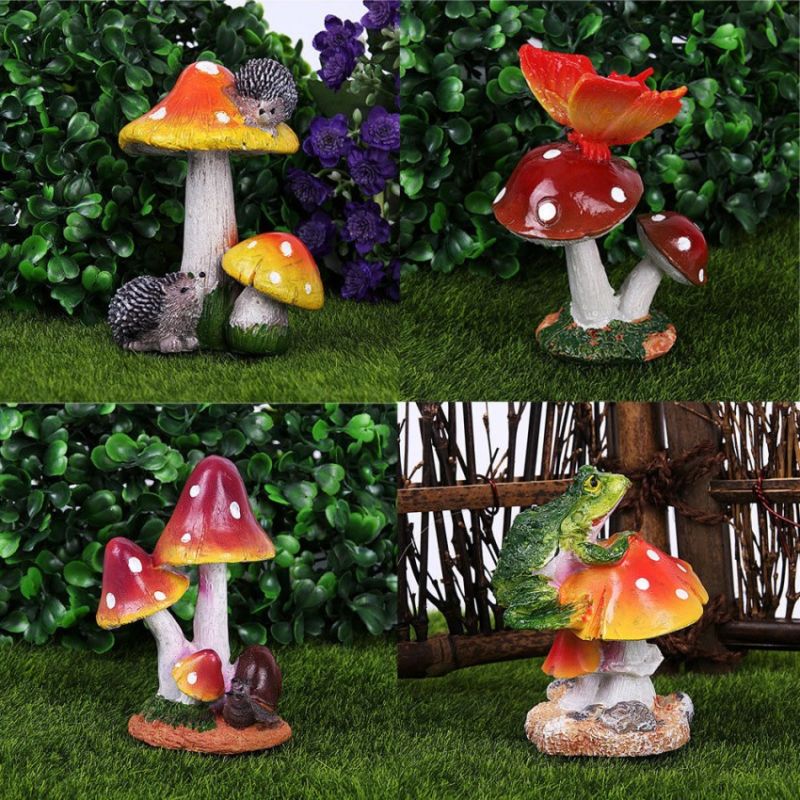
If you want to decorate a garden plot or yard near the house, and for garden figures do not have money, then an excellent solution in this situation would be mushroom crafts from different improvised means.
You can make them together with kids for fun and the benefit, which is that the younger generation will be interested in learning to do something with their hands. Creating a world filled with homemade beautiful and fun things - what could be more fun!
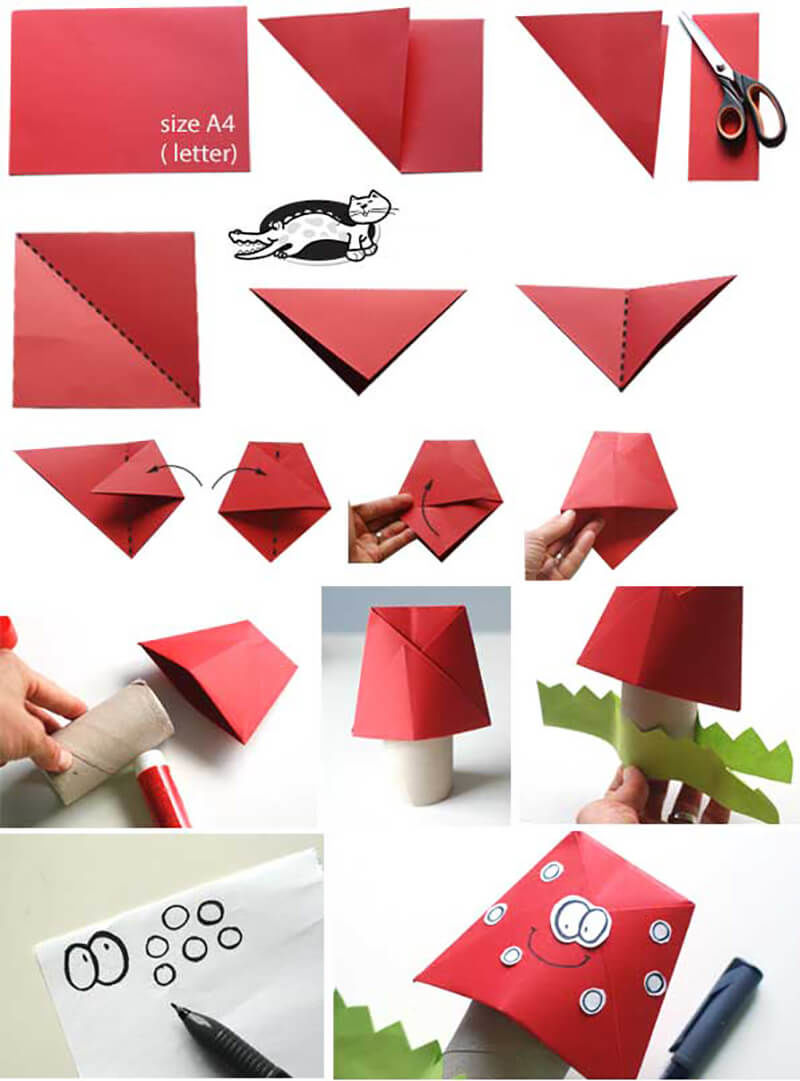
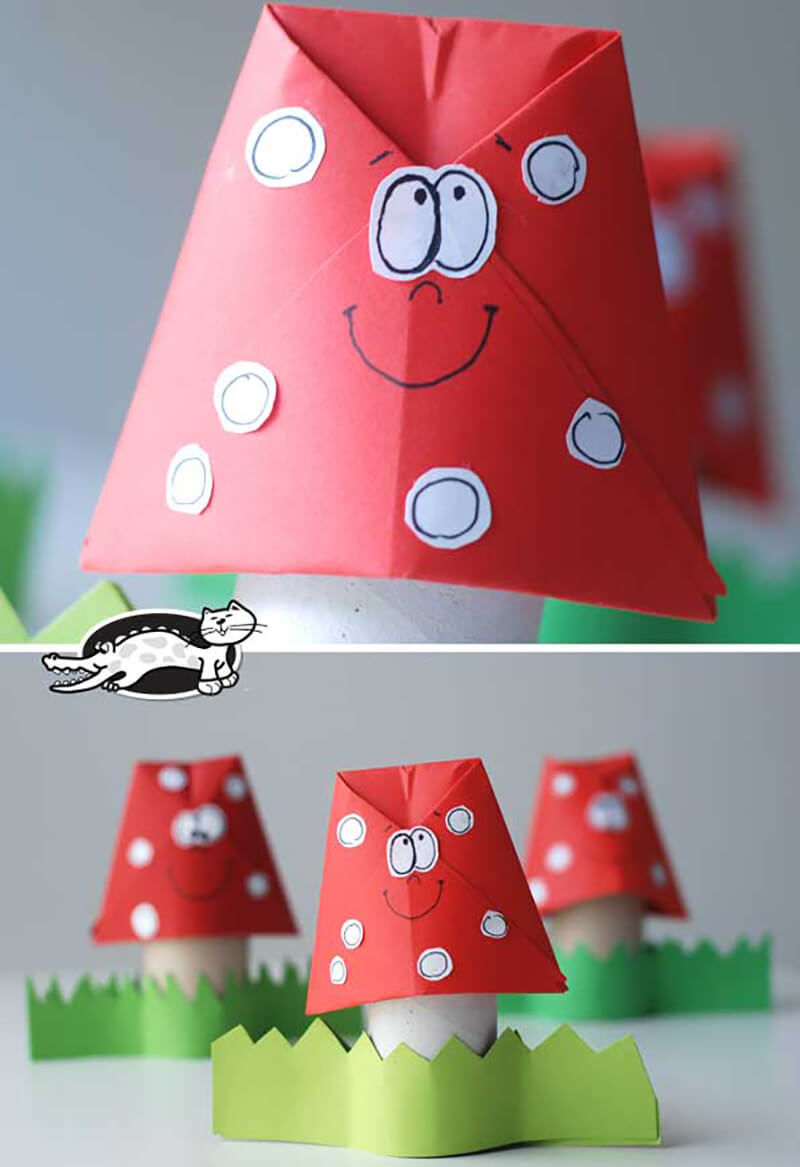
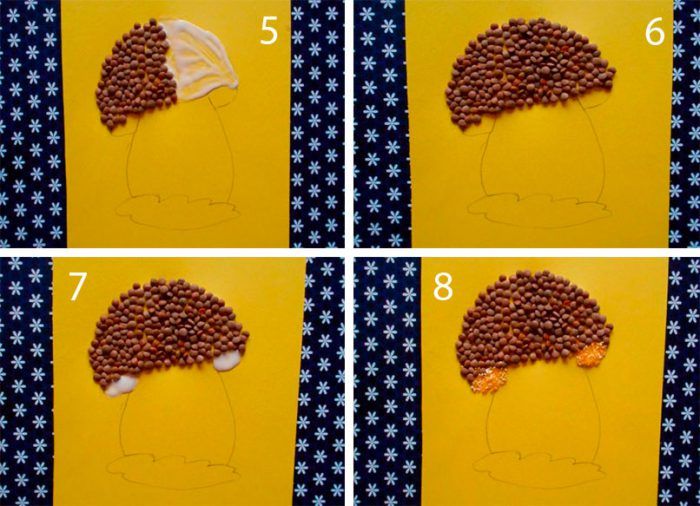
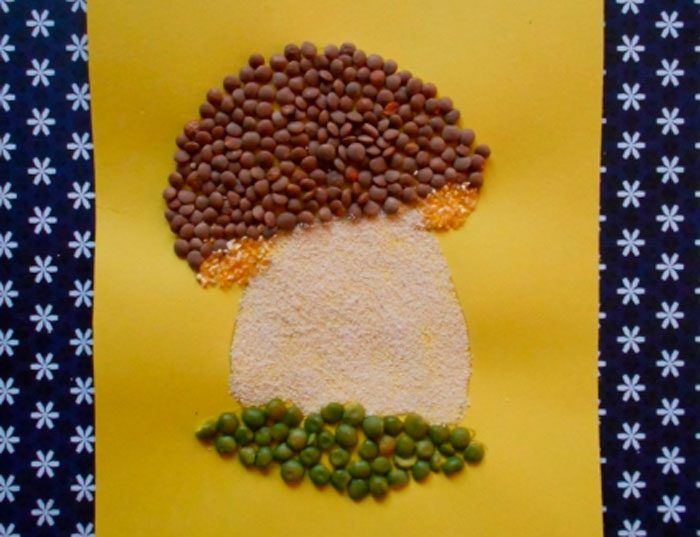

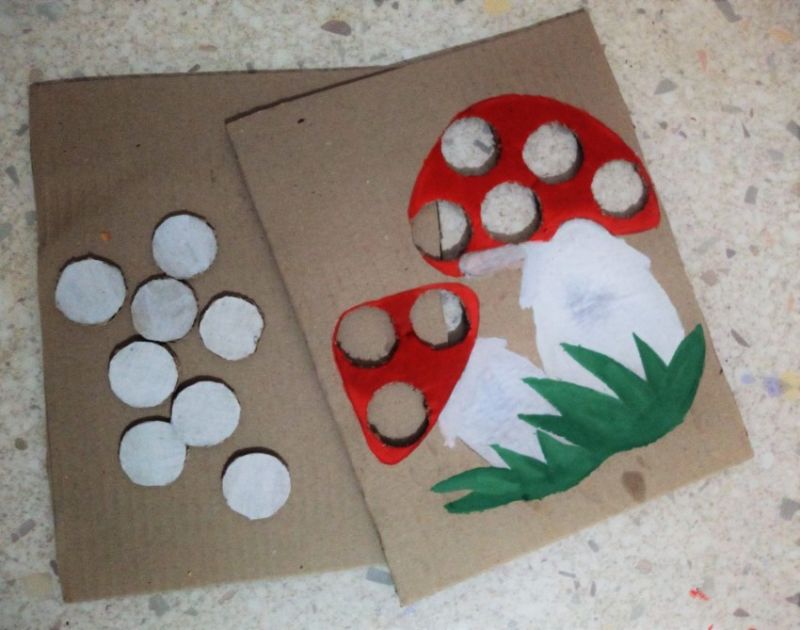
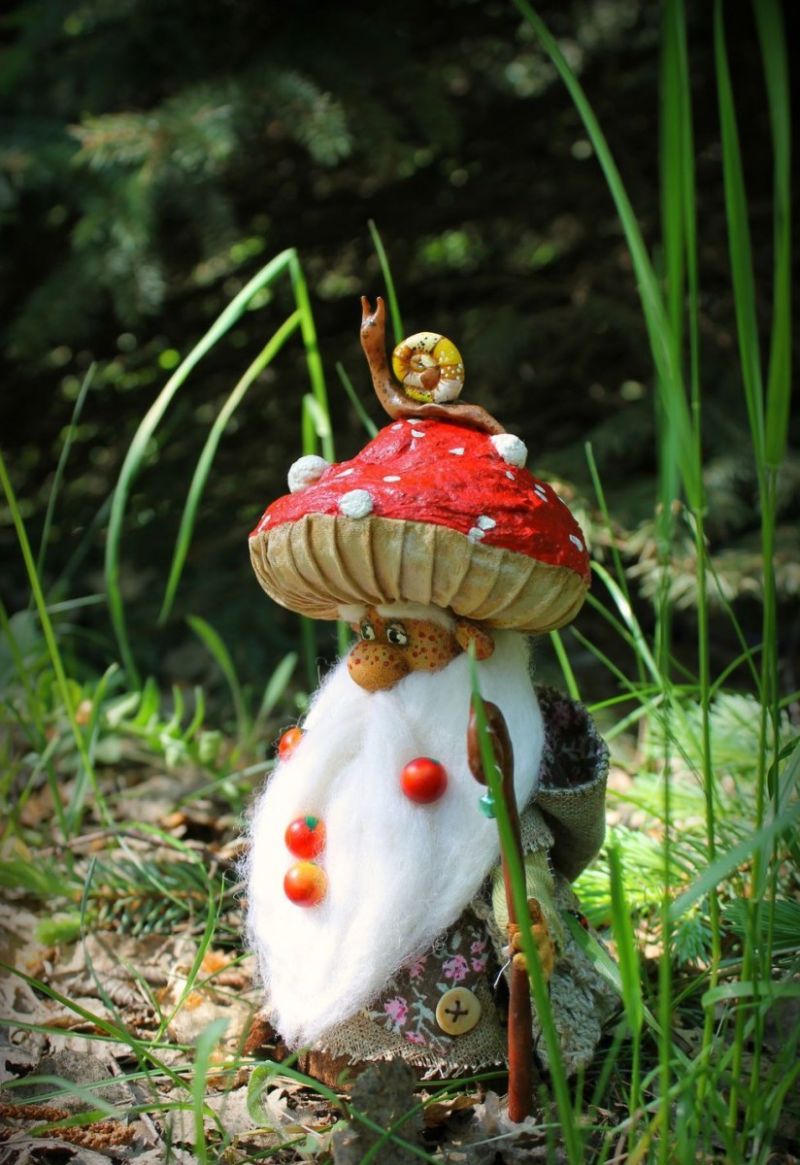
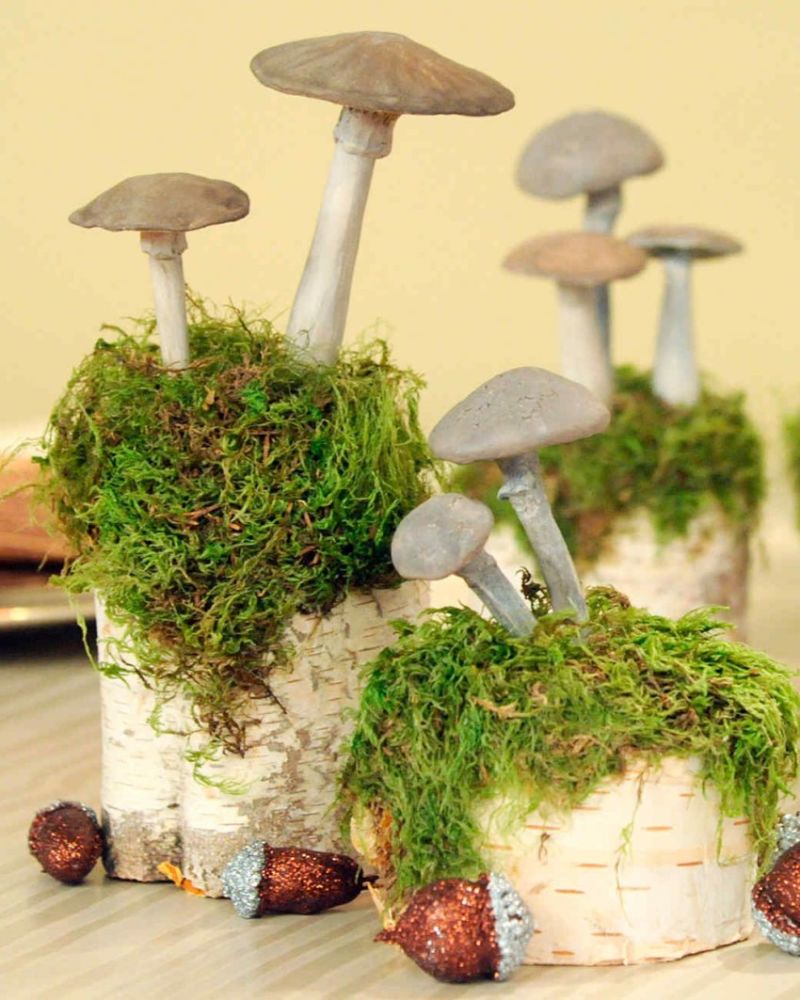
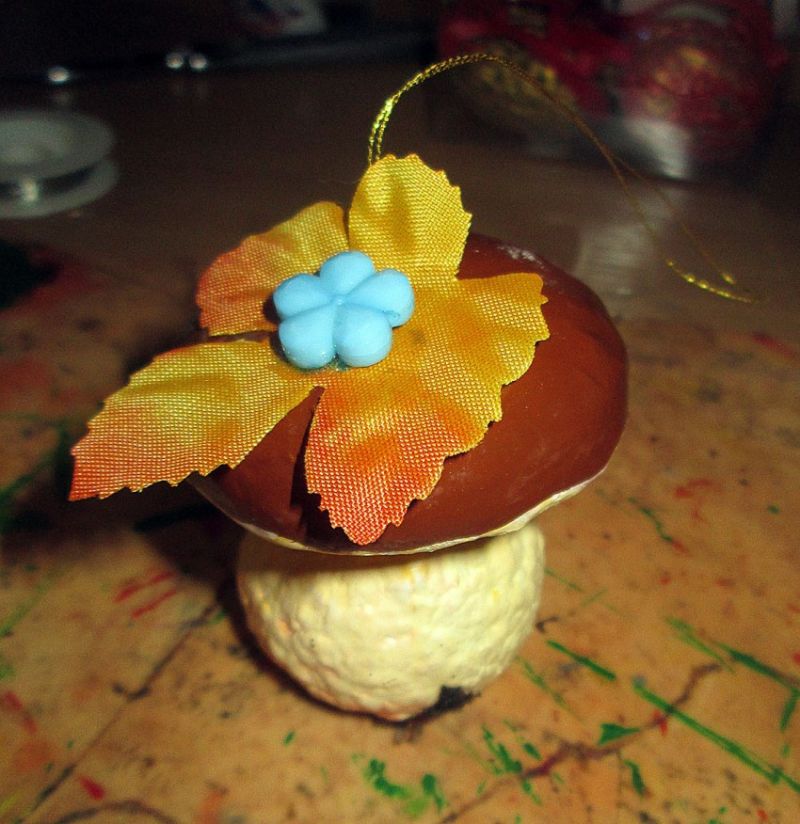
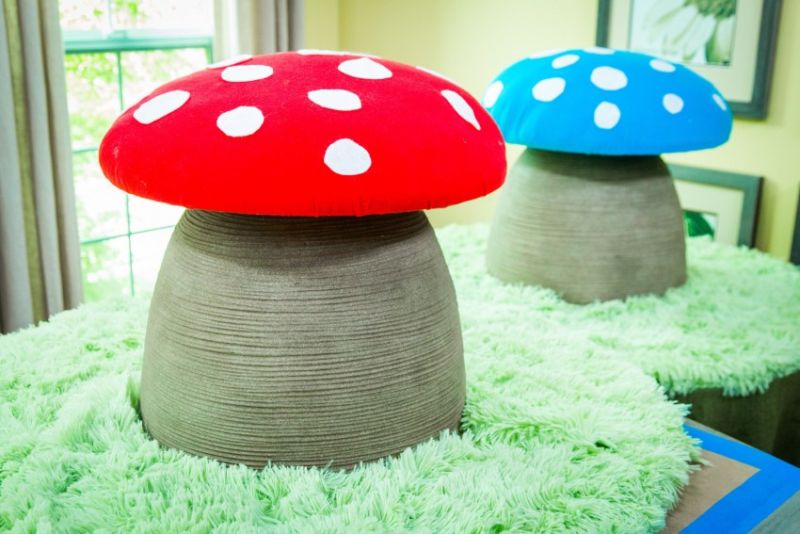
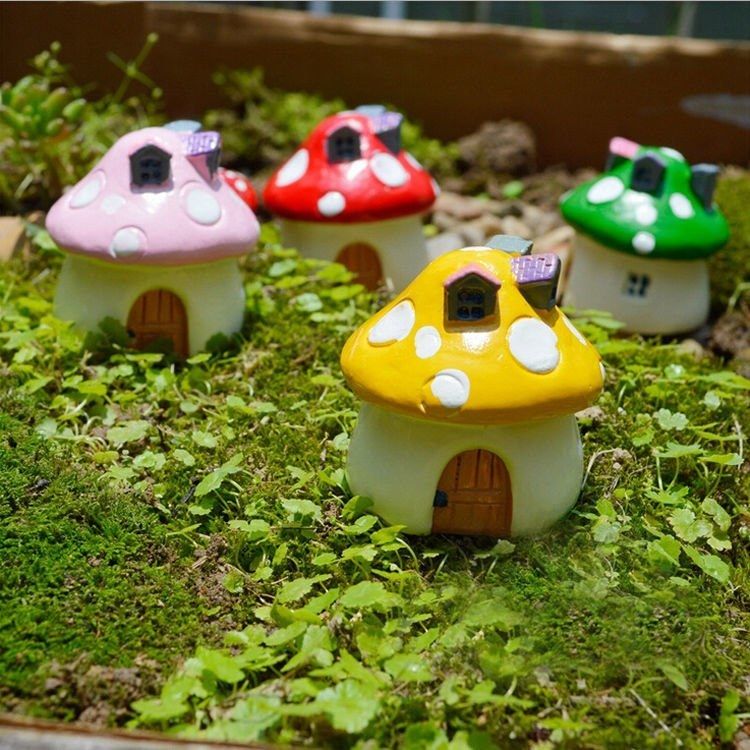
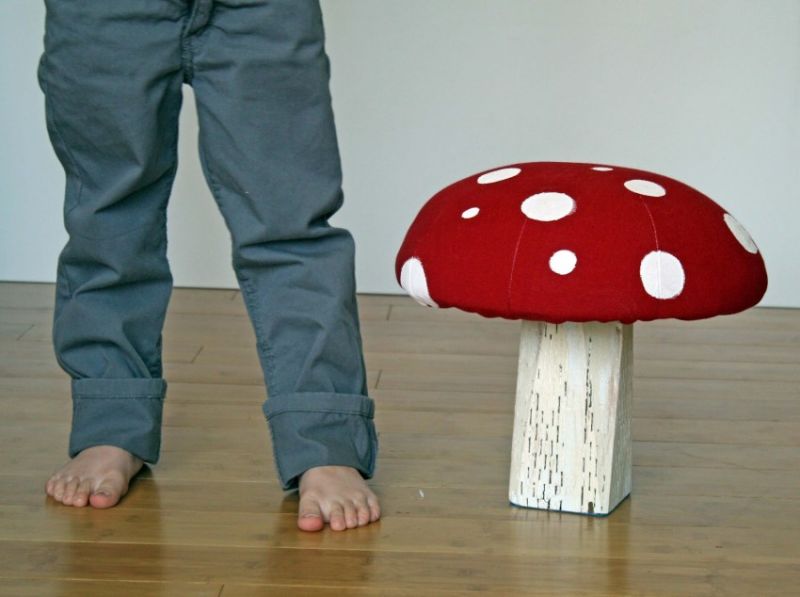
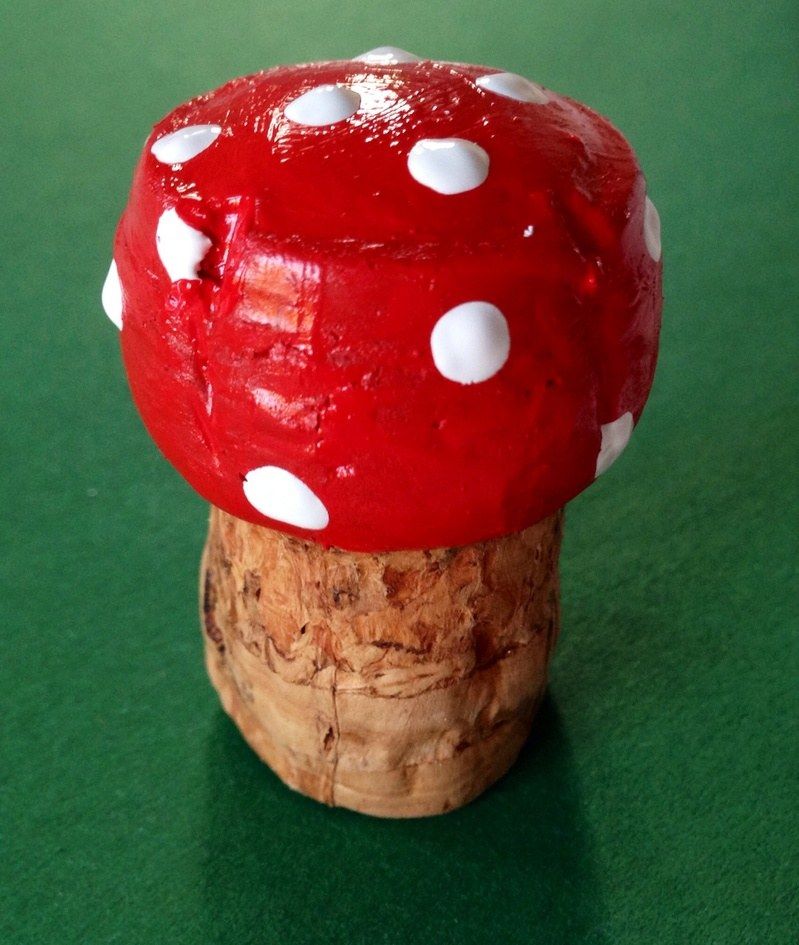
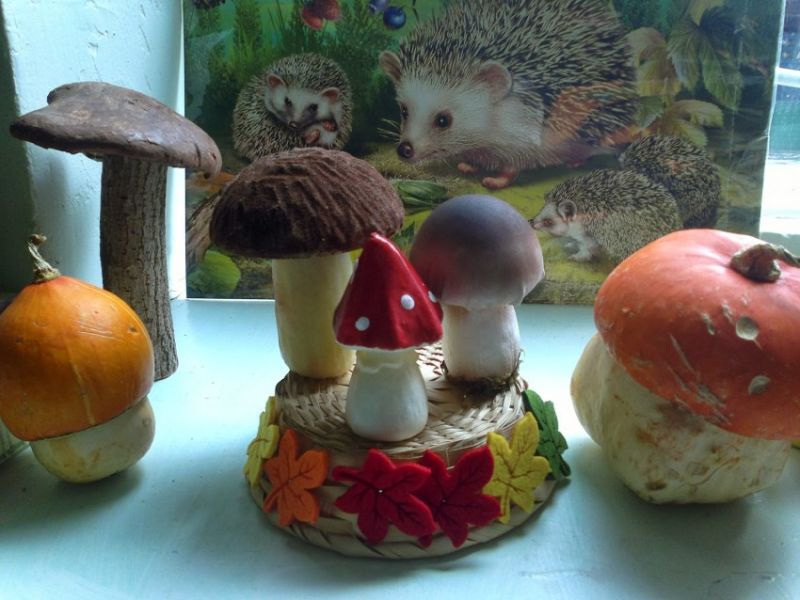
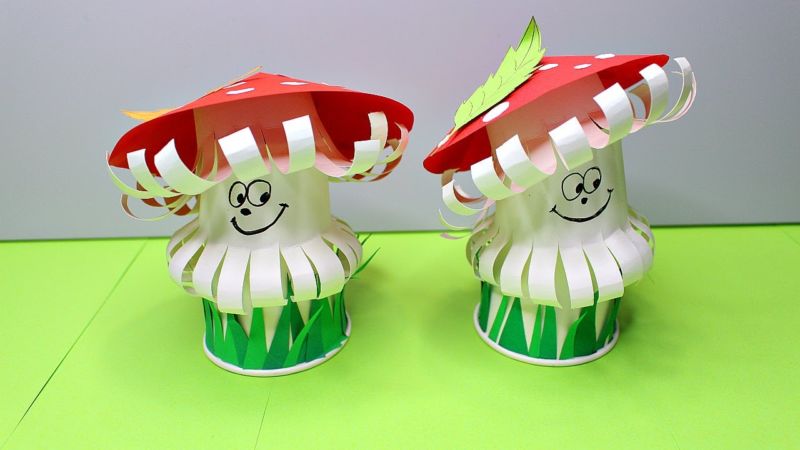
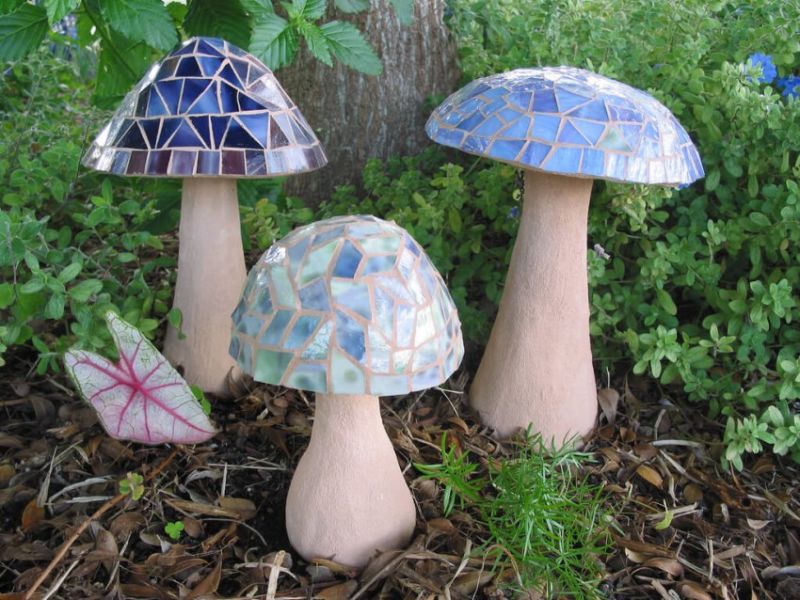
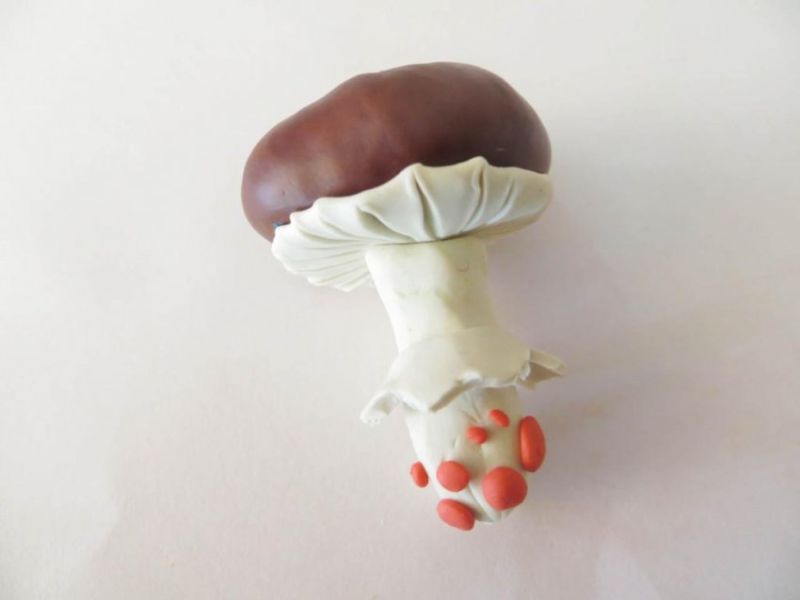
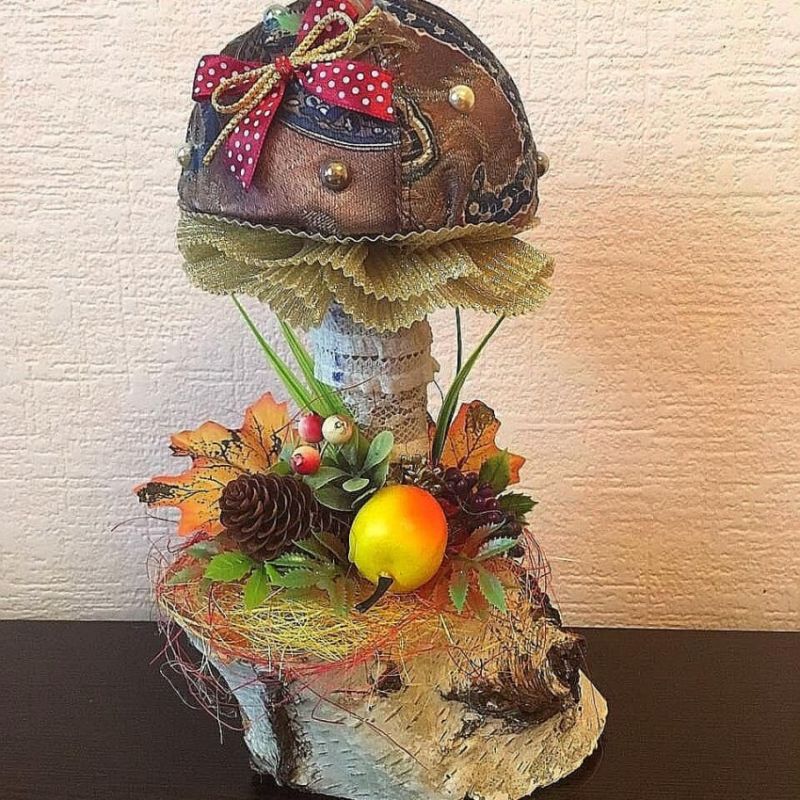
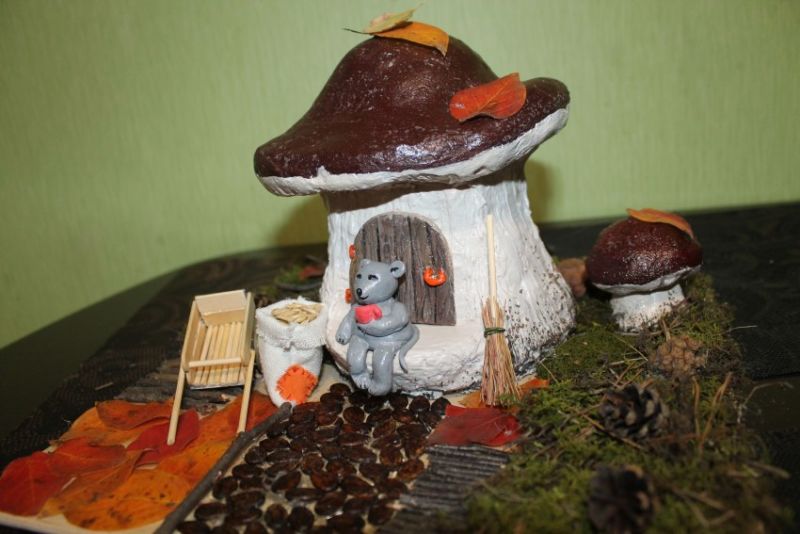
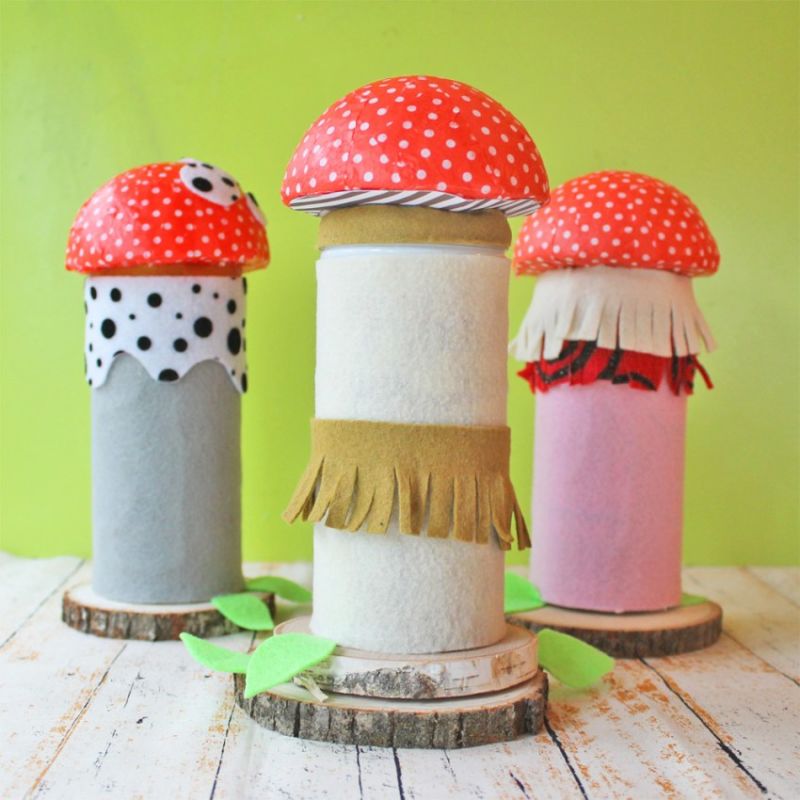
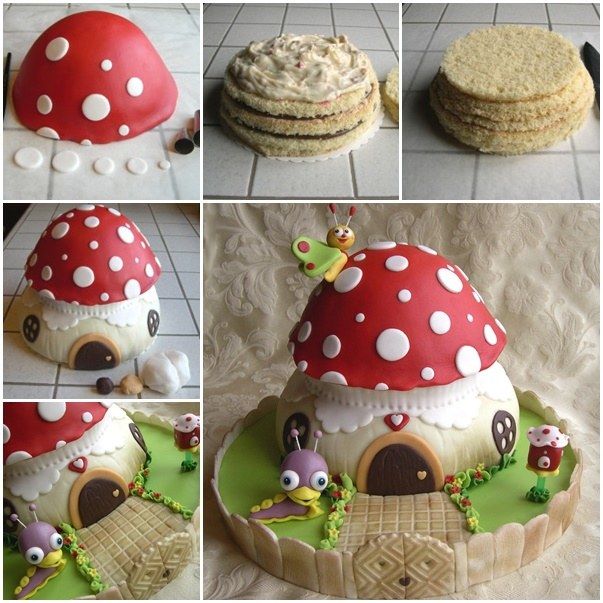
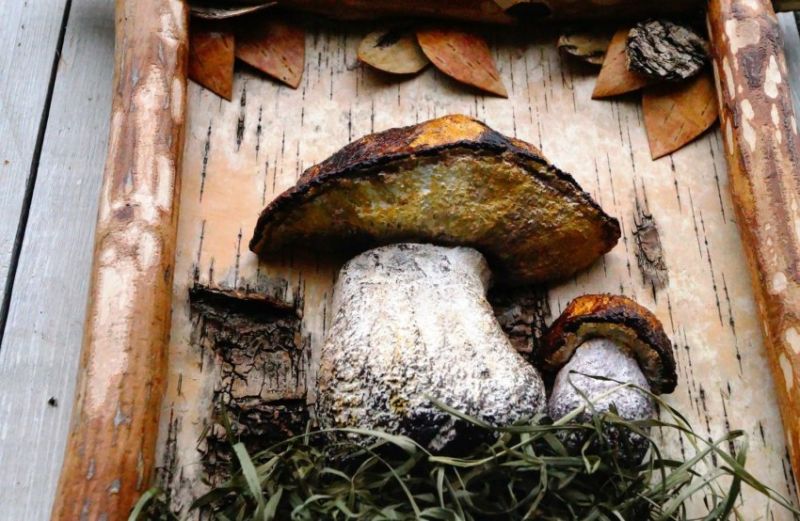
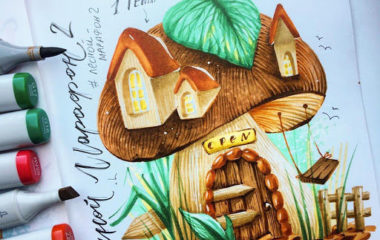
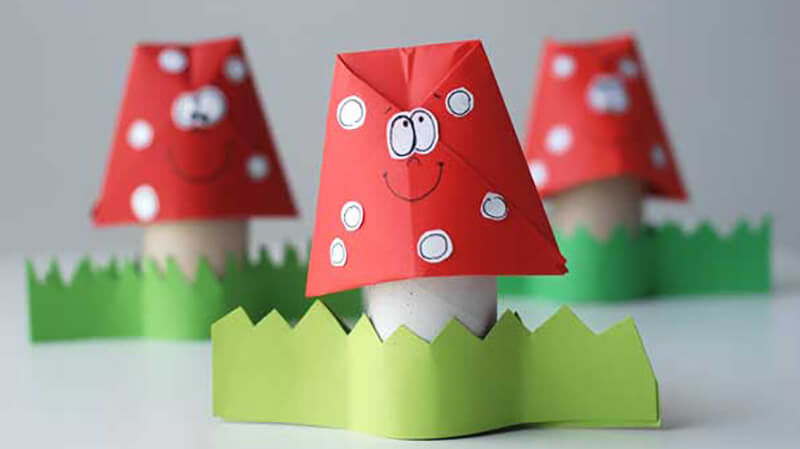
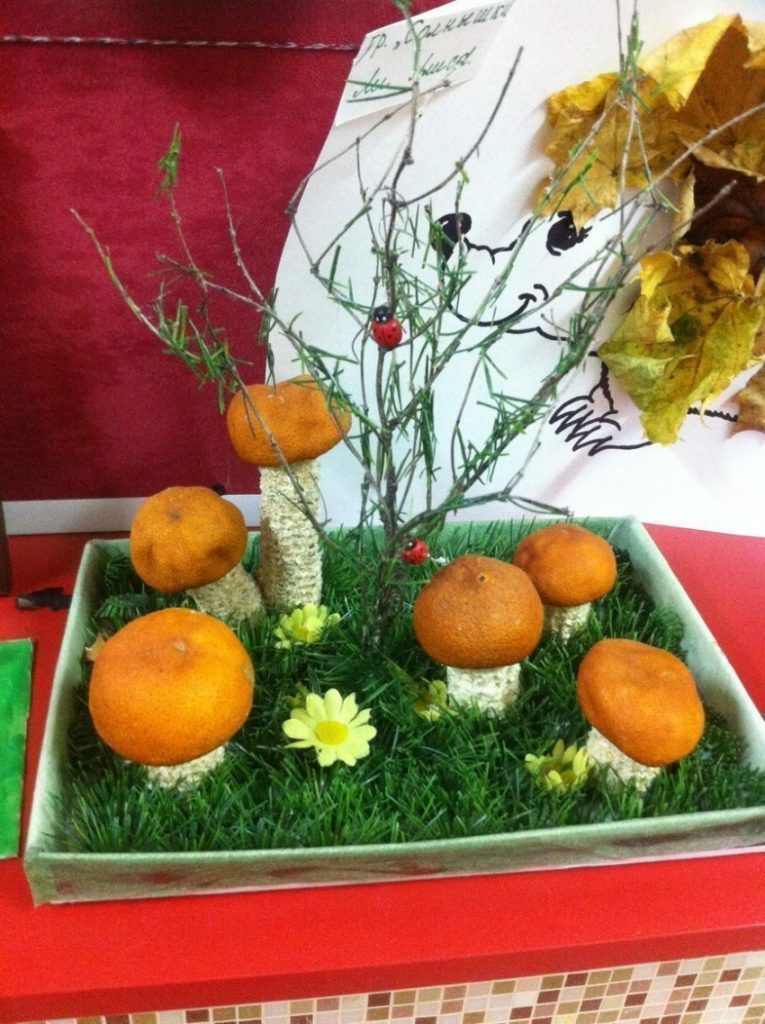
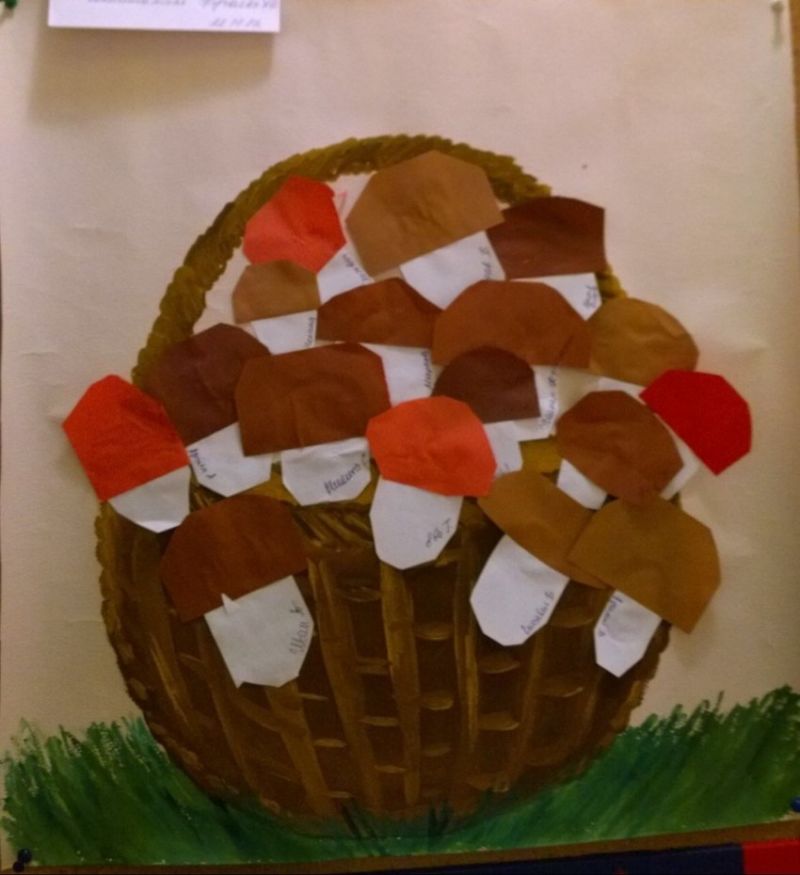
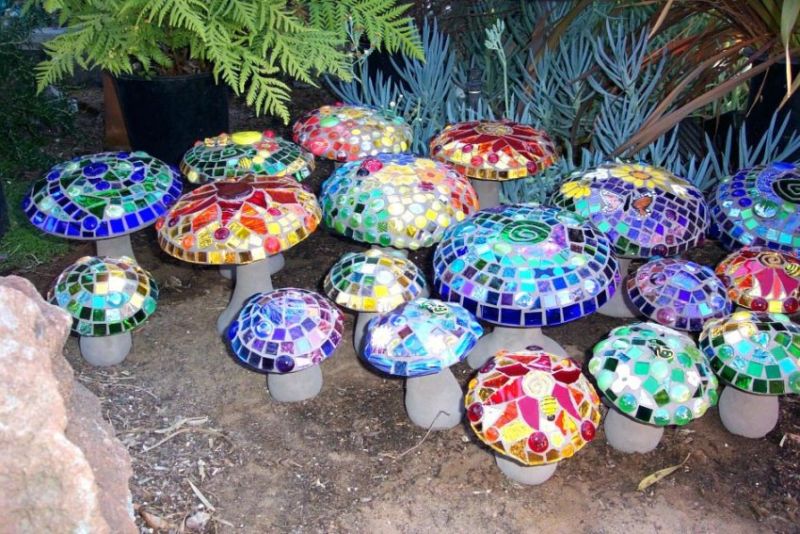
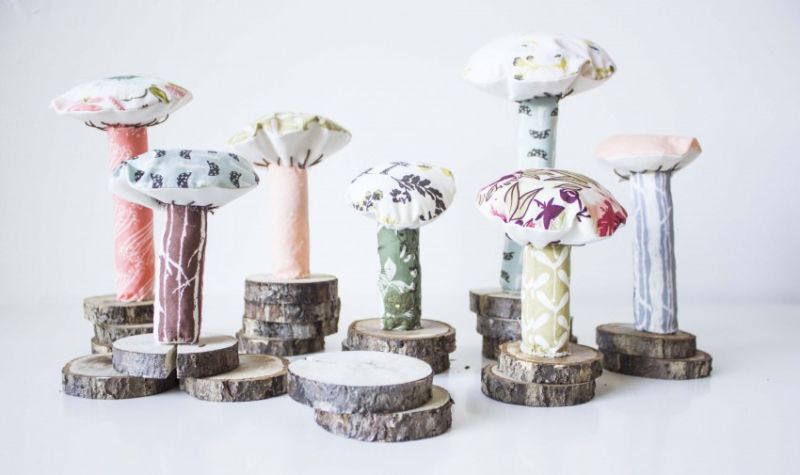
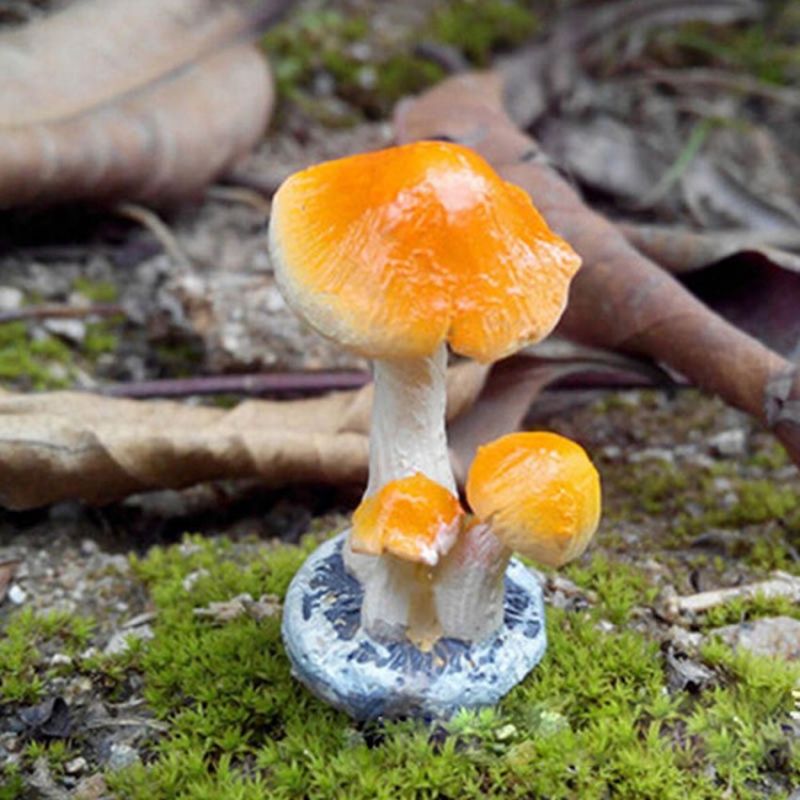
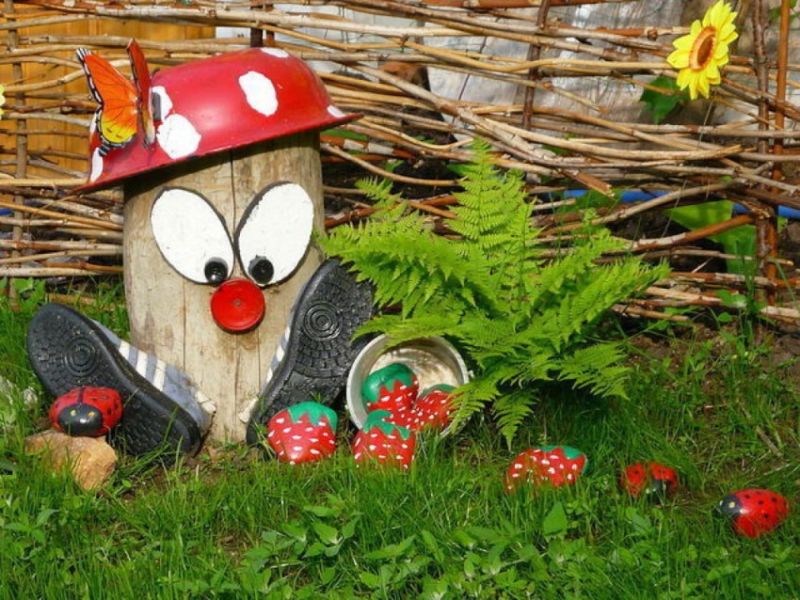
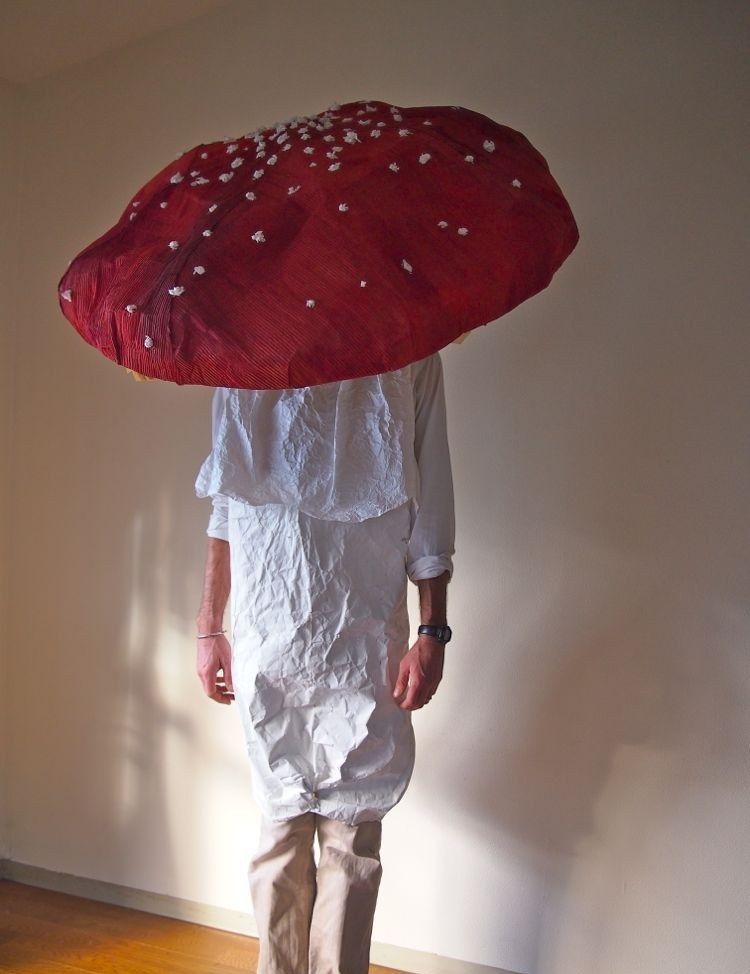
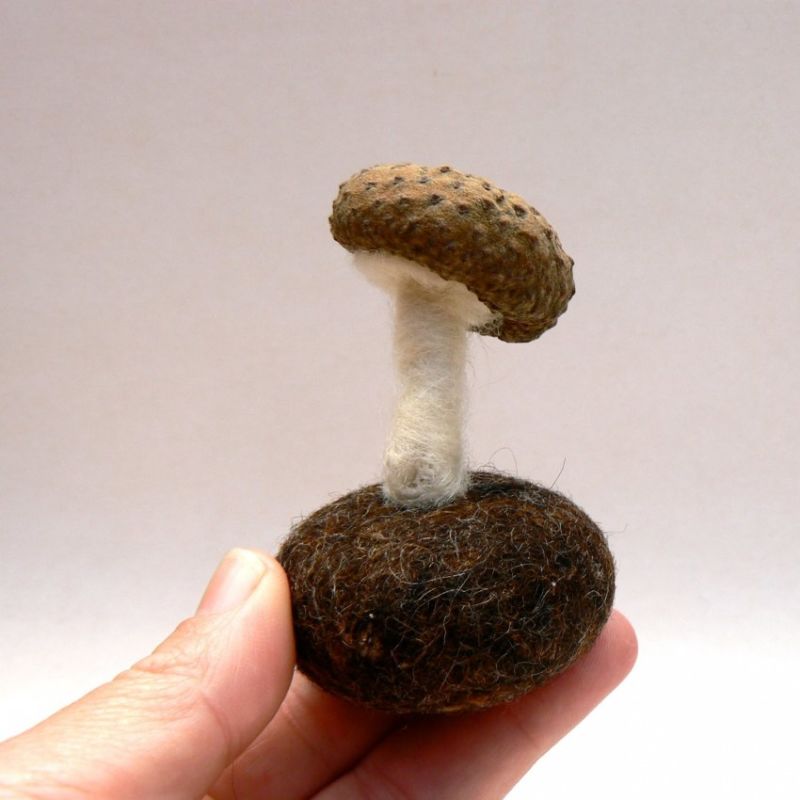
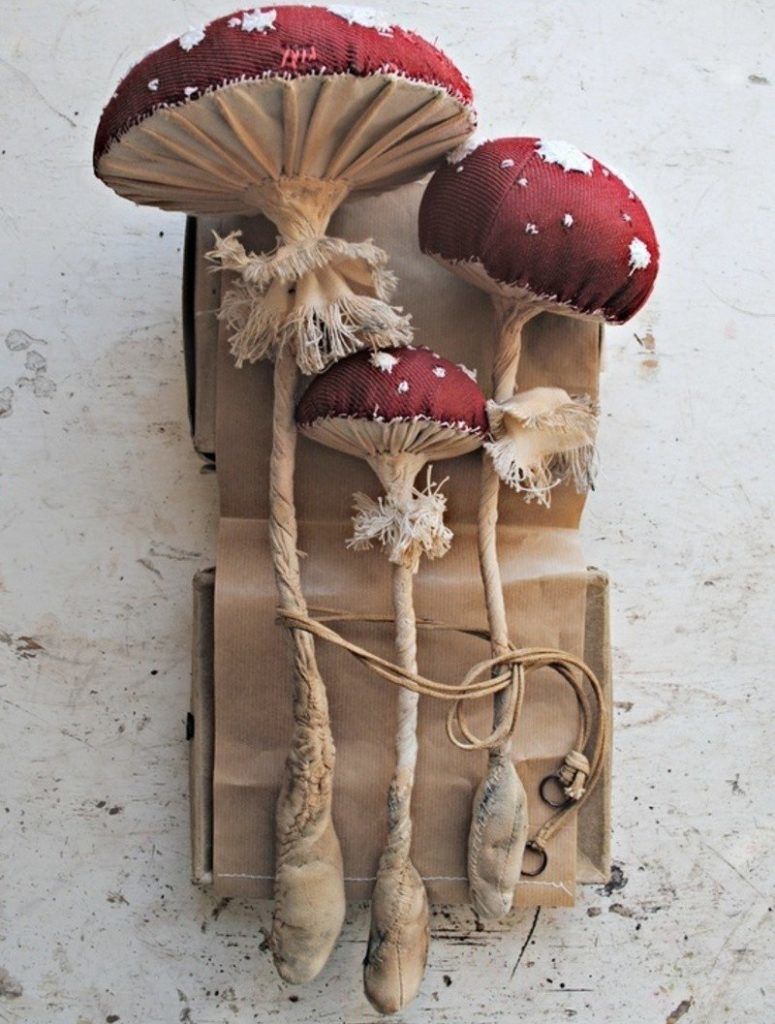
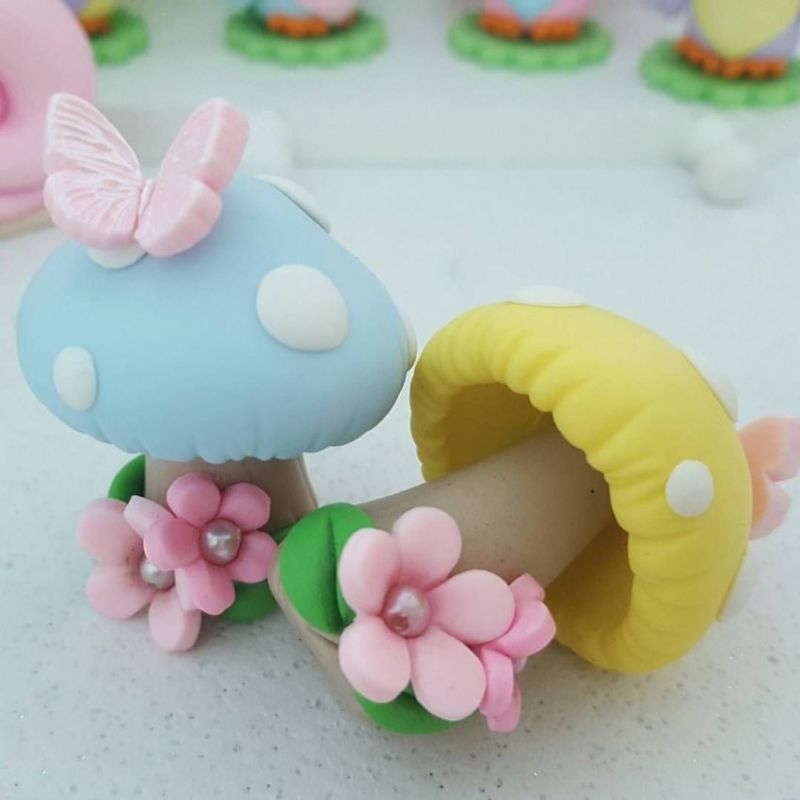
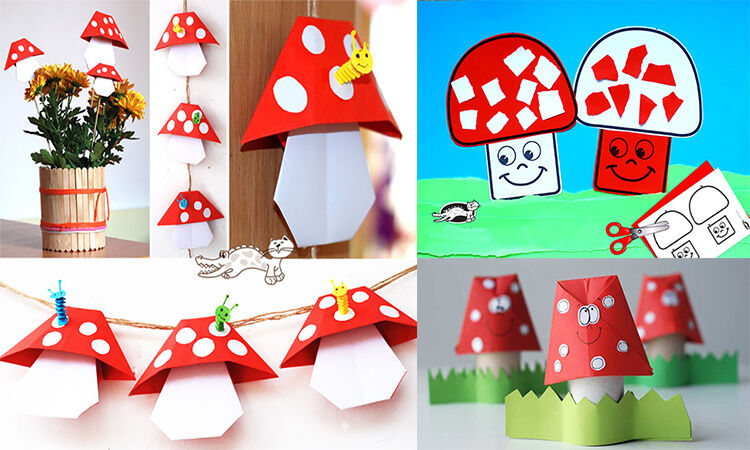
Photo ideas of homemade crafts in the form of a mushroom