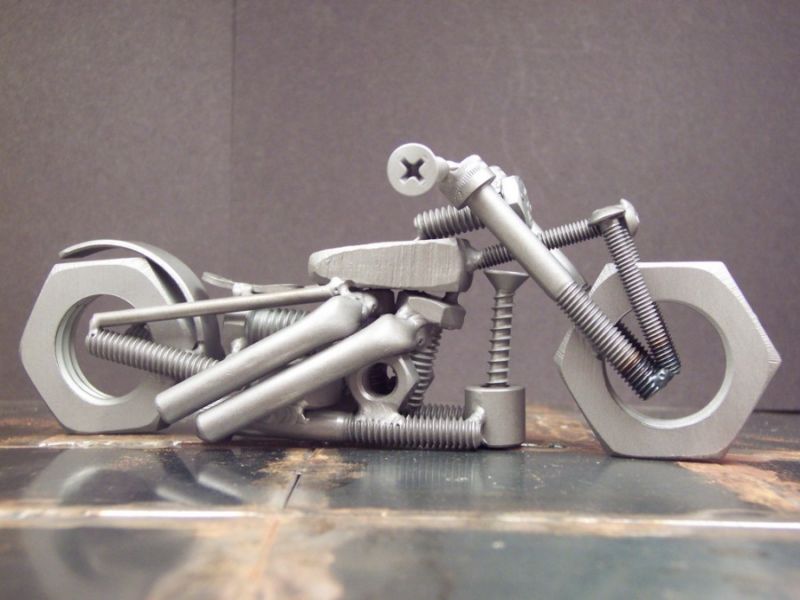
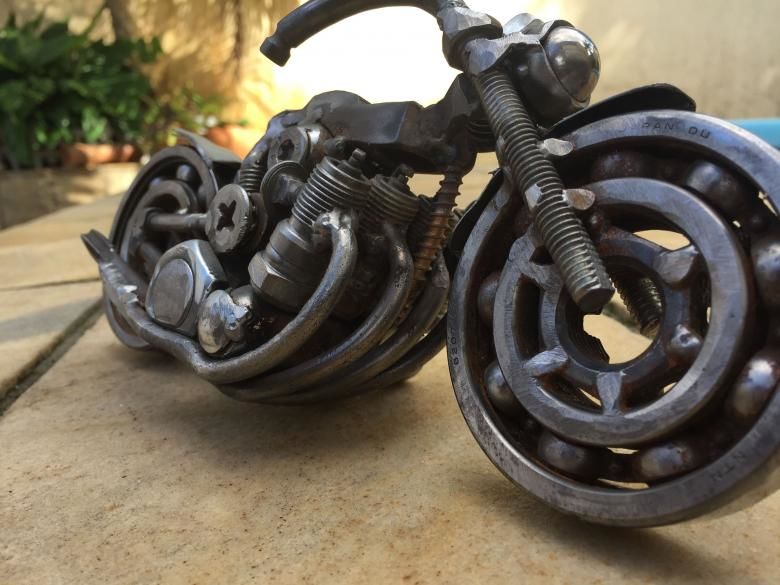
Handmade metal crafts - useful master classes on how to create things to decorate your home, house, garden
The first articles made of metal were made by craftsmen in ancient times. Over time, by resorting to forging, people began to get beautiful masterpieces of art.
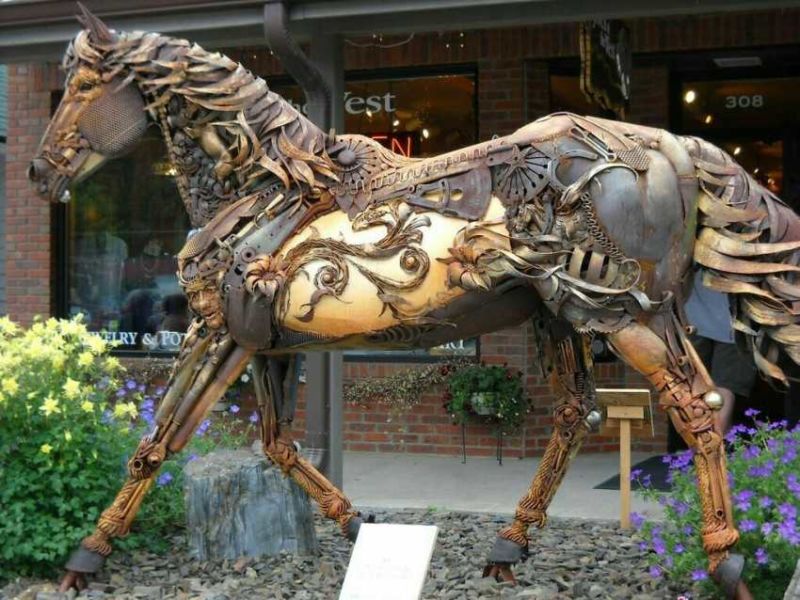
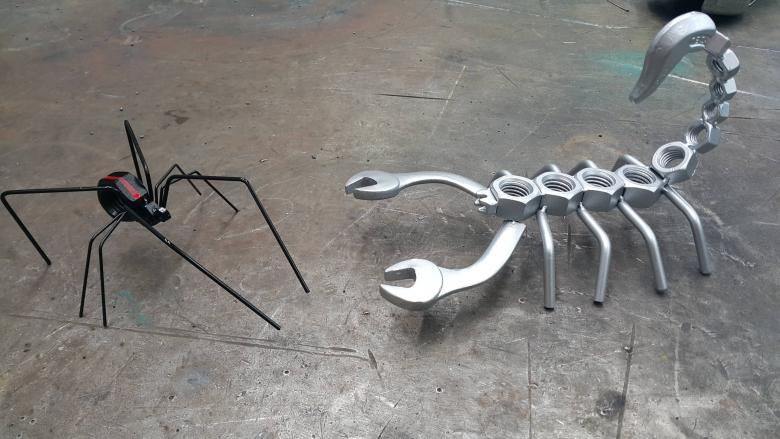
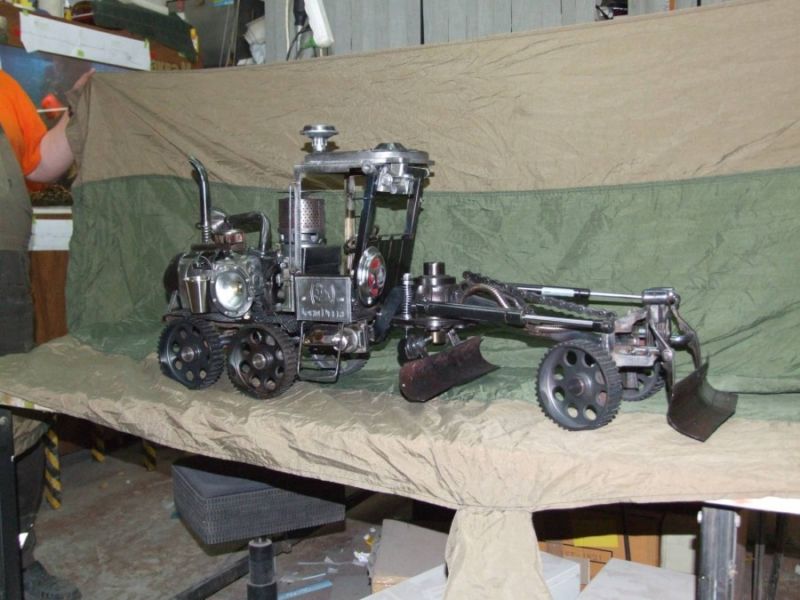
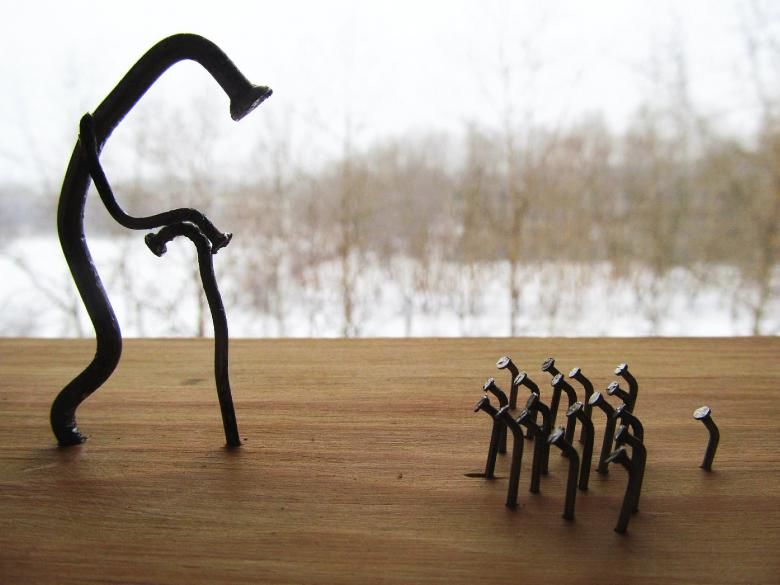
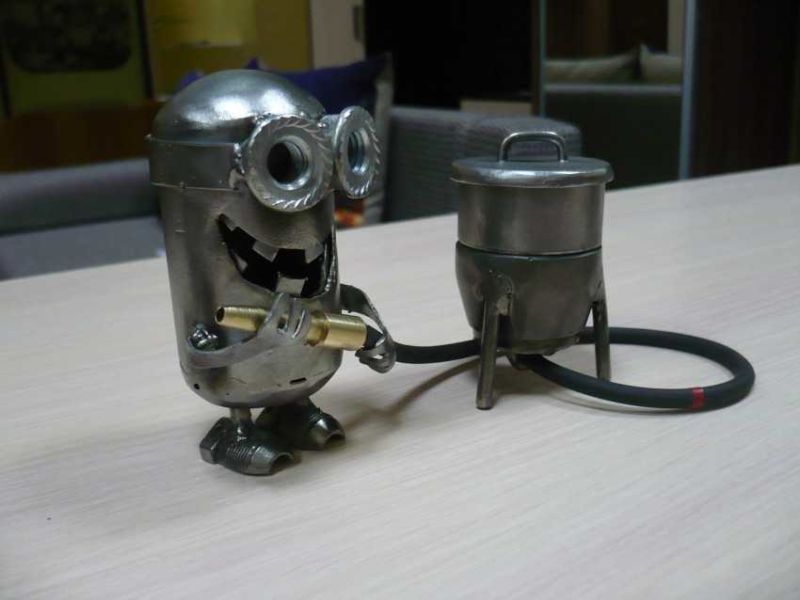
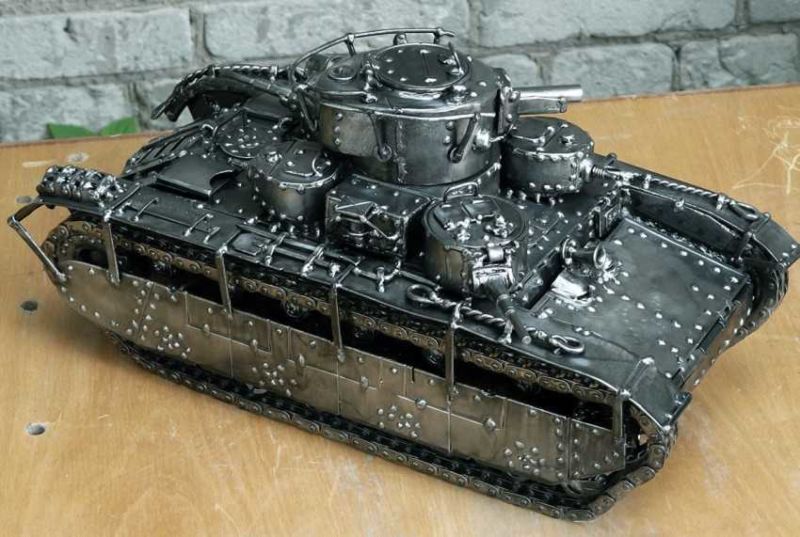
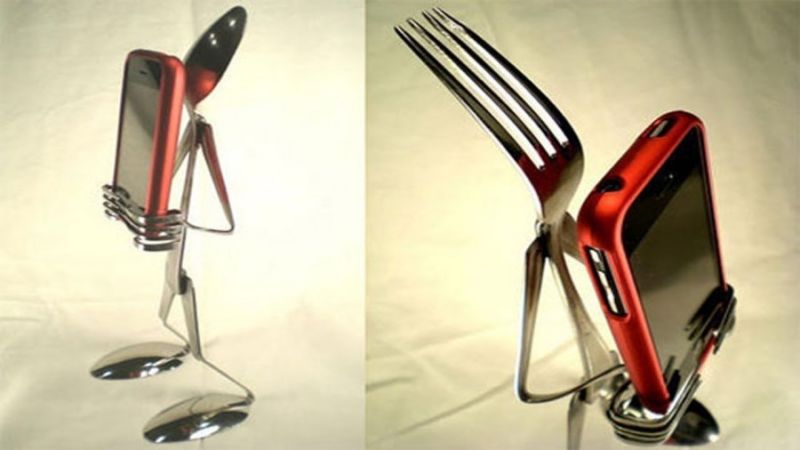
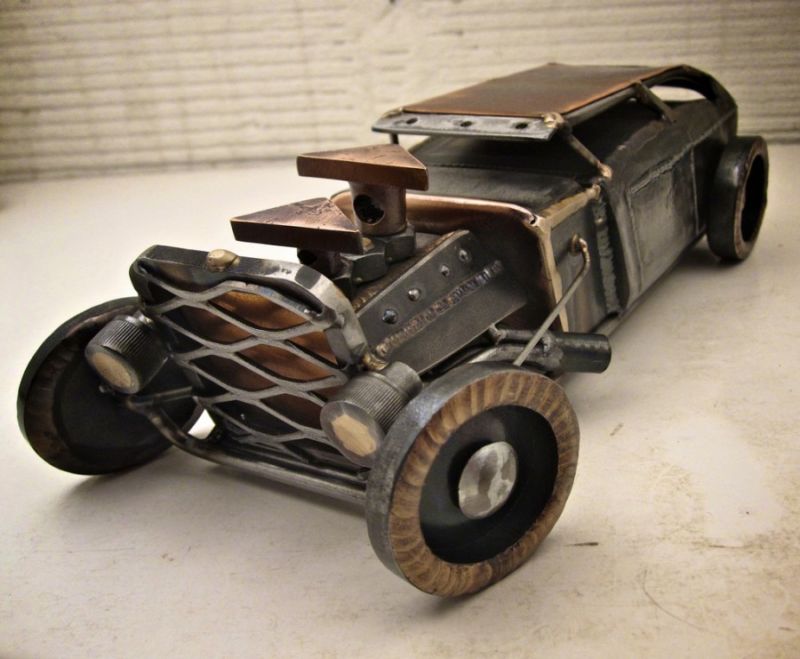
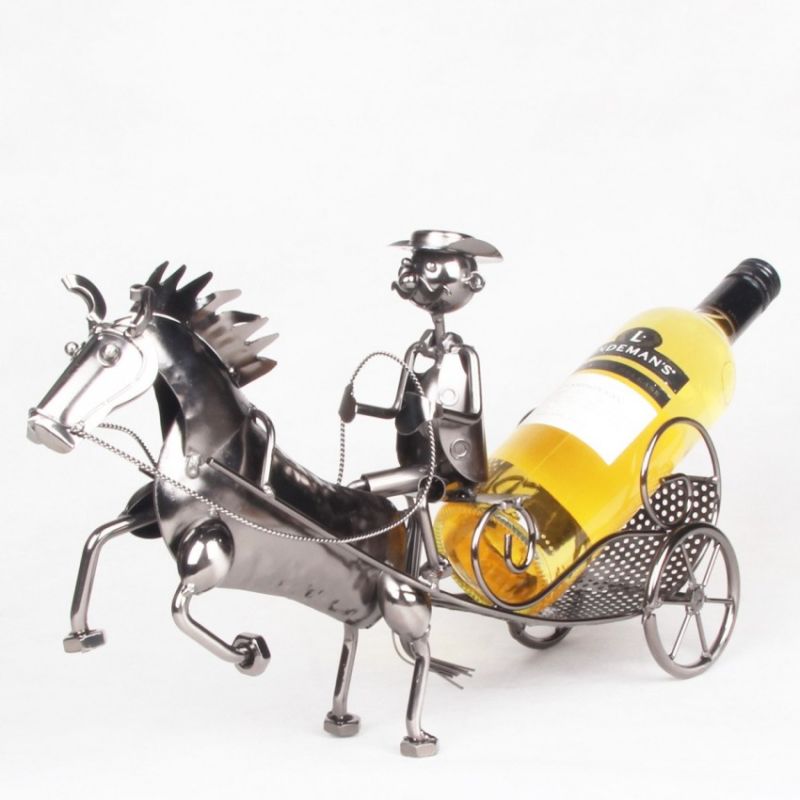
Nowadays items made of metal are effective, decorative decorations that serve as a wonderful addition to the decoration of an apartment or private residence.
With more information and tips on working with metal, you can prepare to make beautiful objects with your own hands. The cool beauty of such items will bring freshness to the room and allow you to enjoy the view.

Technology of working with metal
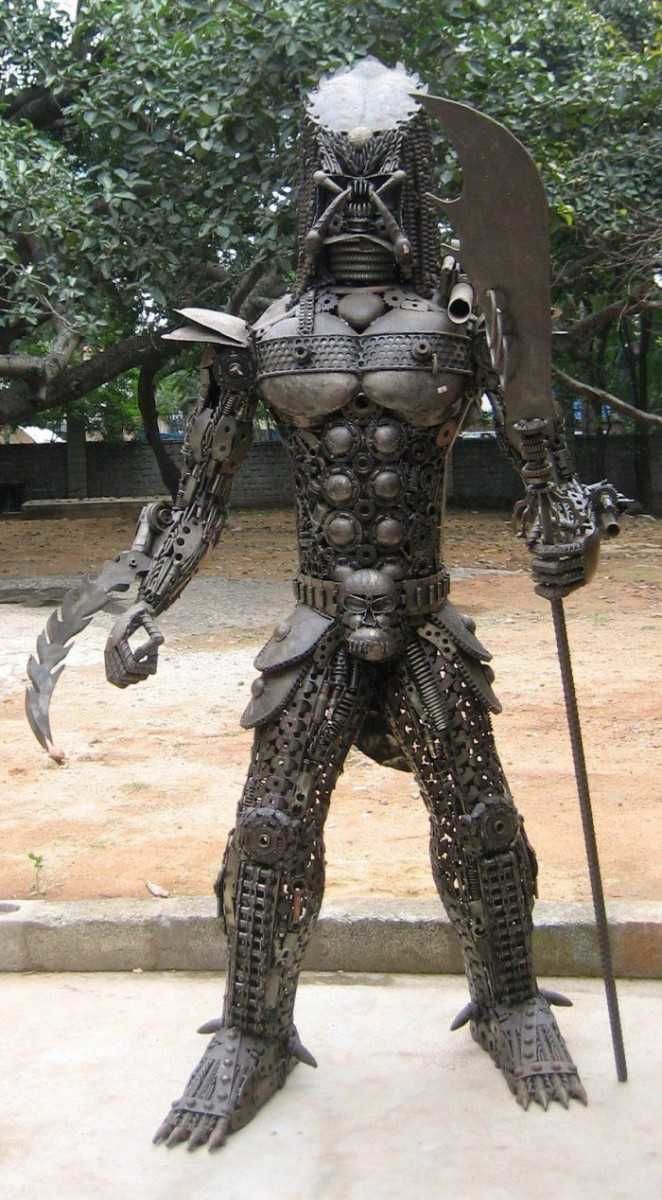
Funny metal crafts with their own hands - this can be seen in various thematic videos, as made by different technologies. For example, for a toy owl you need to use welding, and candelabras on the gate need to apply skills on hot forging.
In the conditions of the house will be able to resort to further varieties of work:
- art welding. A special method by which you can create things out of metal by gas welding. When the surface is heated, you get a beige effect;
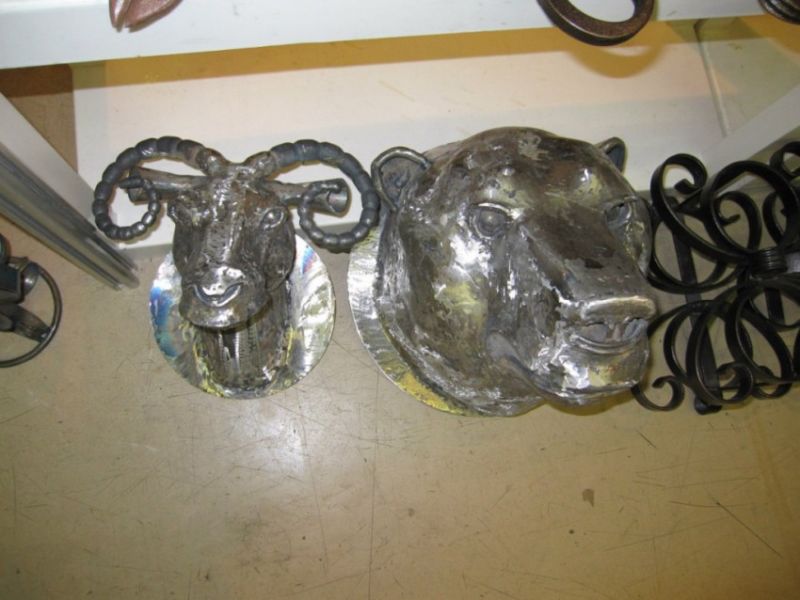
- Hot forging. A special environment is created where high temperature affects the metal, softening it and making it flexible, allowing the object to be shaped into different configurations. This process is very difficult, it is advisable to resort only to masters of their craft. With the help of hot welding come out the most, strikingly unusual products;
- Cold forging. Happens due to the effect on the metal structure - the procedure of bending and pressing. As required, the individual elements of the object are combined by welding. This methodology is used to form both small and large items;
- Casting - a frequently used methodology based on the formation of objects poured into pre-prepared molds. Considering that this method is rudimentary, getting a clear relief will not come out ideally. It results in a rough surface;
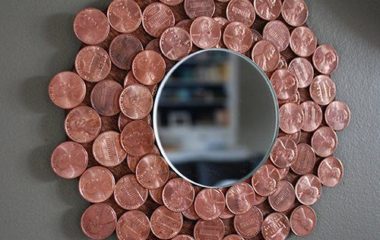
- embossing is a non-standard method of drawing an image by means of mechanical influence. In this method, an object with a convex texture is placed between the tool and the surface, on which the desired shape is created. It is used to decorate coins, tableware, and jewelry;
- filigree is a jewelry method that allows you to create patterns from wires and attach them to surfaces.

Having learned to distinguish between the methods of manufacture, looking in the future on the sites of photos of metal crafts, it will be possible to correctly identify the inherent technology.
Safety precautions
Before you start a creative activity, you should familiarize yourself with safety tips. Of course, if you work only with a hammer, it will be unnecessary, but when making products from sheets of metal, there is a possibility of severely injured.

To prevent negative consequences for the person - it is mandatory to use protective goggles and gloves.
When it comes to welding work, you should wear more heavy-duty clothing in these procedures. In addition to special gloves, you should wear a protective mask with a shield and a protective suit.
When working with the product it is necessary to ventilate the room more often. This is especially important to do when applied with lacquers or paints.


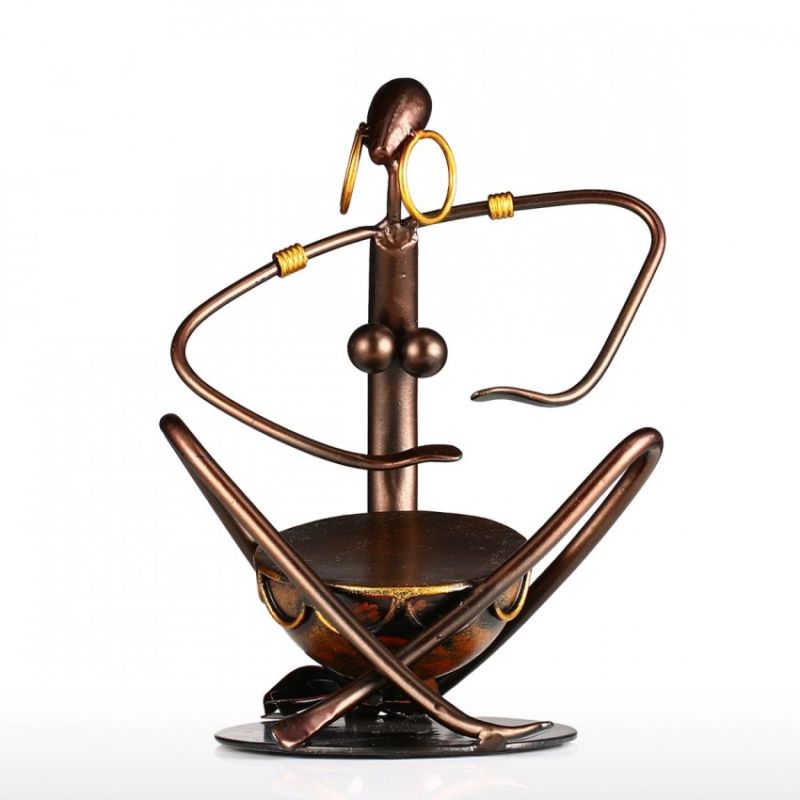
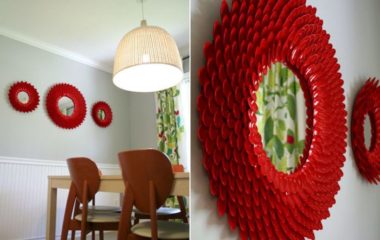
Decorative metal crafts
In various newspapers, magazines and on the Internet you can find a large number of metalwork schemes. In fact, to create these things, you do not need to have a deep specialized knowledge.
Even when a man does not know how to handle a tool - he will be able to make the simplest objects. Here are some of them:
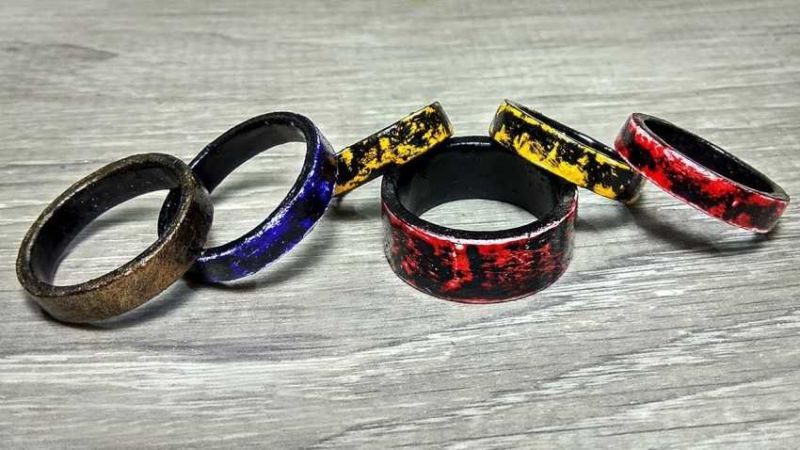
- a box, a ring;
- a belt, earrings;
- a wrist bracelet;
- small vases;
- various accessories.
To succeed in this endeavor, a person will be required to be patient and creative. In this case, even the crafts from scraps of metal, connected by welding does not seem difficult to implement.
Box
This handicraft will not only decorate the room, but also will be useful in everyday life. The advice is to start with it. You will need such a set of tools:
- ruler;
- scissors;
- sandpaper;
- pen or pencil;
- a hard surface that can be used as a working table;
- A sheet of paper for drawing;
- A tin can.
Instructions:
- First, the old paint is scraped off the can. Sandpaper is helpful for this. It is best to do this procedure when the can is closed, otherwise there is a high probability of distortion of the material, and this is very undesirable.
- Then it is necessary to cut the can to remove the bottom, and the upper section is cut lengthwise.
- Working with an emery cloth, all the irregularities and sharp edges of the cuts are smoothed out. This will give the product a neater look and help prevent cuts.
- At this stage, you can apply the pattern. A wide range of choices is provided here. You can apply any accessories and draw a picture of your preference. At the end you need to assemble the box according to the drawing made and choose a suitable place for it.
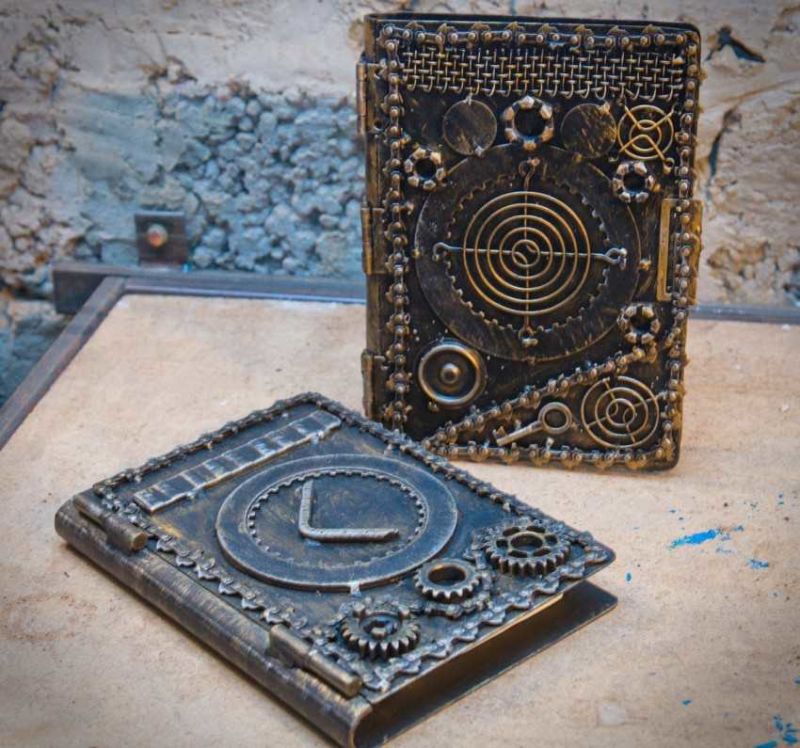
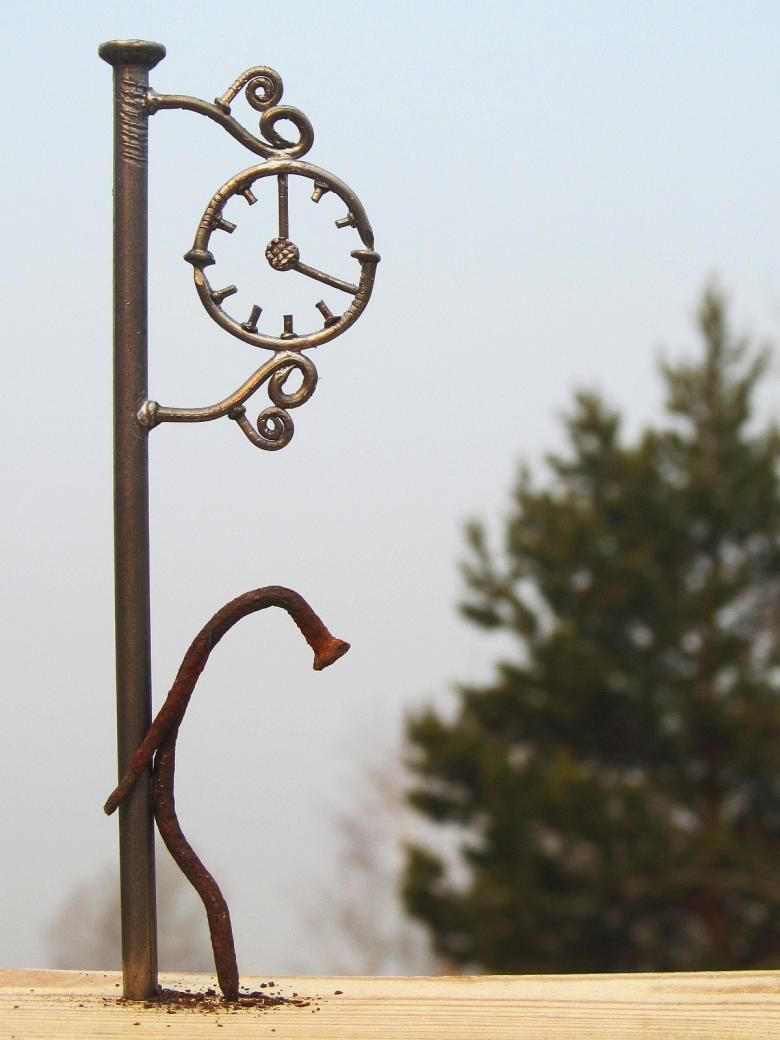
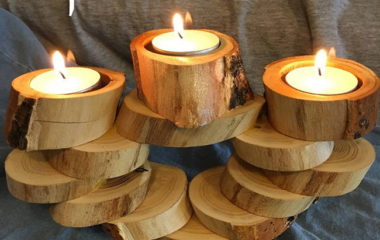
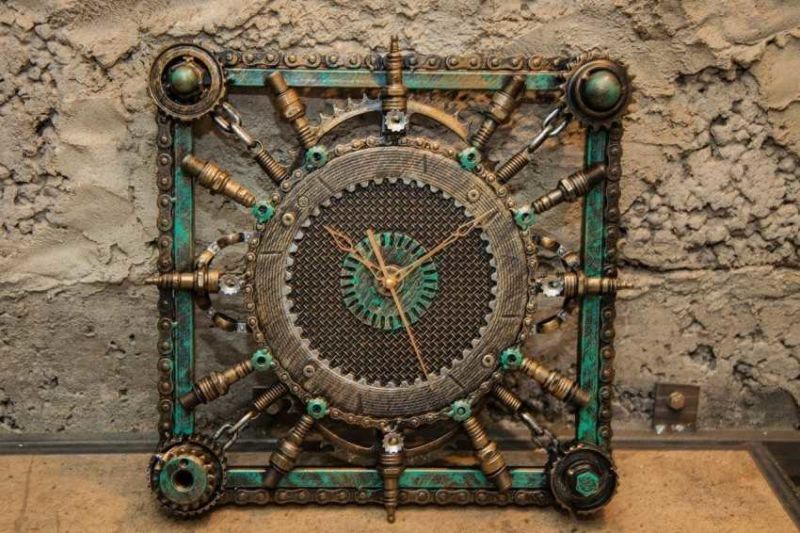
Clock
You can make a table clock yourself by assembling it from washers. Such a clock is perfect for a bachelor's or boy's room.
As materials you need to prepare: metal washers of different diameters, masking tape, super glue, a battery, a thermal gun with glue sticks, a black marker.
Step-by-step actions should be performed in this sequence:
- Strips of painter's tape need to overlap between each other and put on the table with the adhesive side up.
- The tapes on the table need to be secured with two more strips of tape, applying them to the edges crosswise.
- On the prepared adhesive cloth you need to put the selected washers for the product. Place them according to the pattern or to your liking.
- After laying out the desired shape, you need to dab them with super glue or other adhesive for metals.
- After the glue dries, apply a second time and let it dry completely.
- Remove the tape from the plane of the washers, and if necessary, clean the surface of the washers from excess glue.
- Take the clock mechanism with hands and fasten it to the resulting dial, bringing the mechanism on the back side and the hands on the front side.
- We need a stand for the clock. To do this, take 2 wide popsicle sticks and paint them black with a marker.
- When the sticks are dry, they are crossed and glued to the back side of the clock with hot glue.

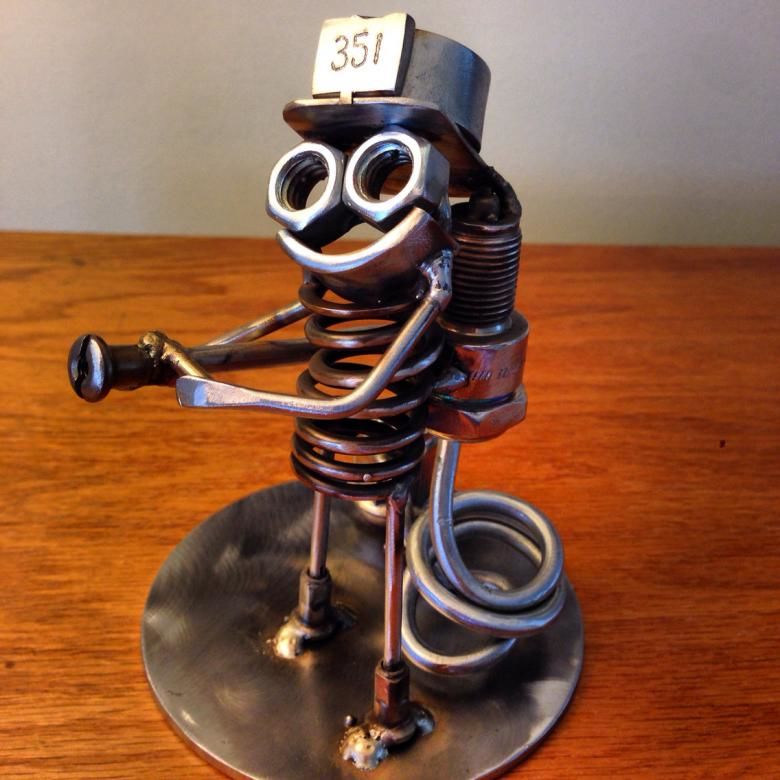
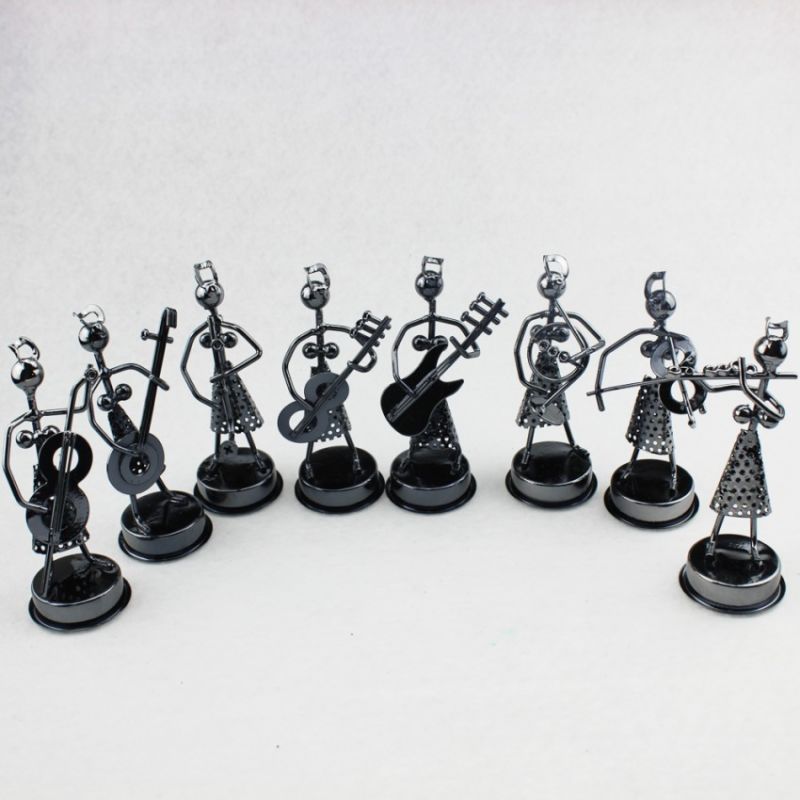
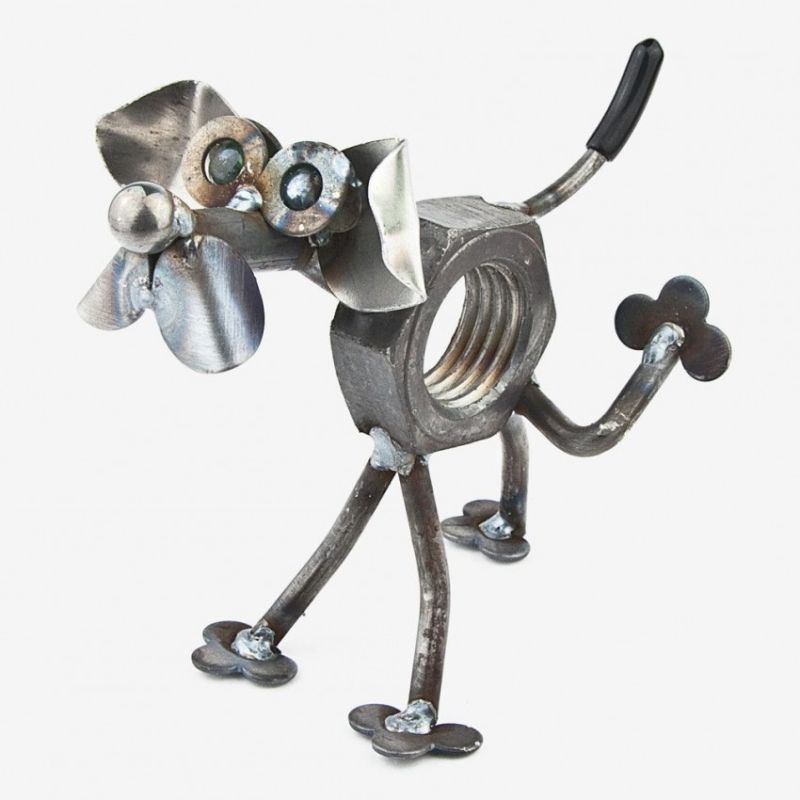
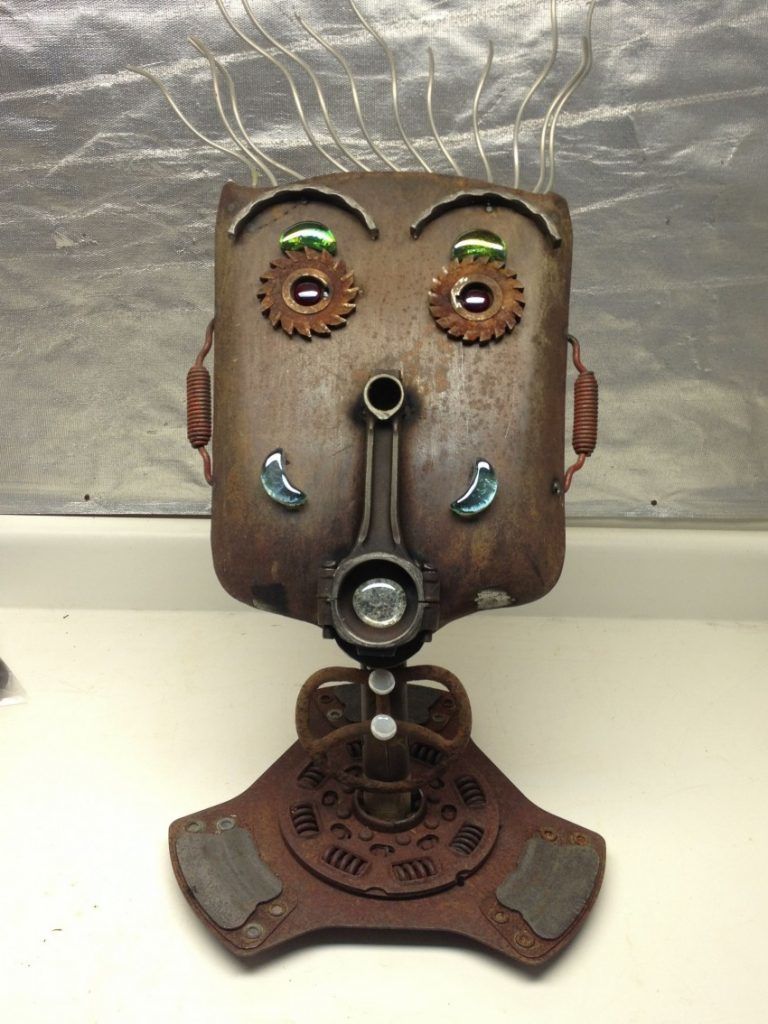
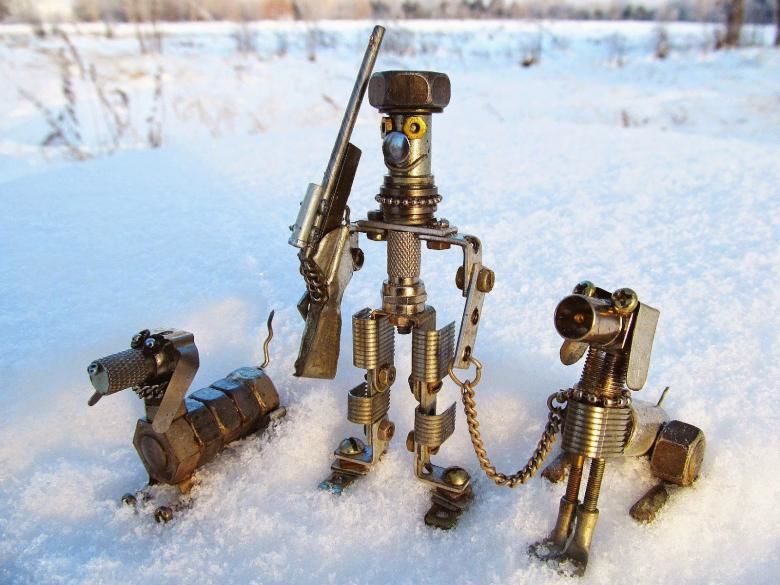
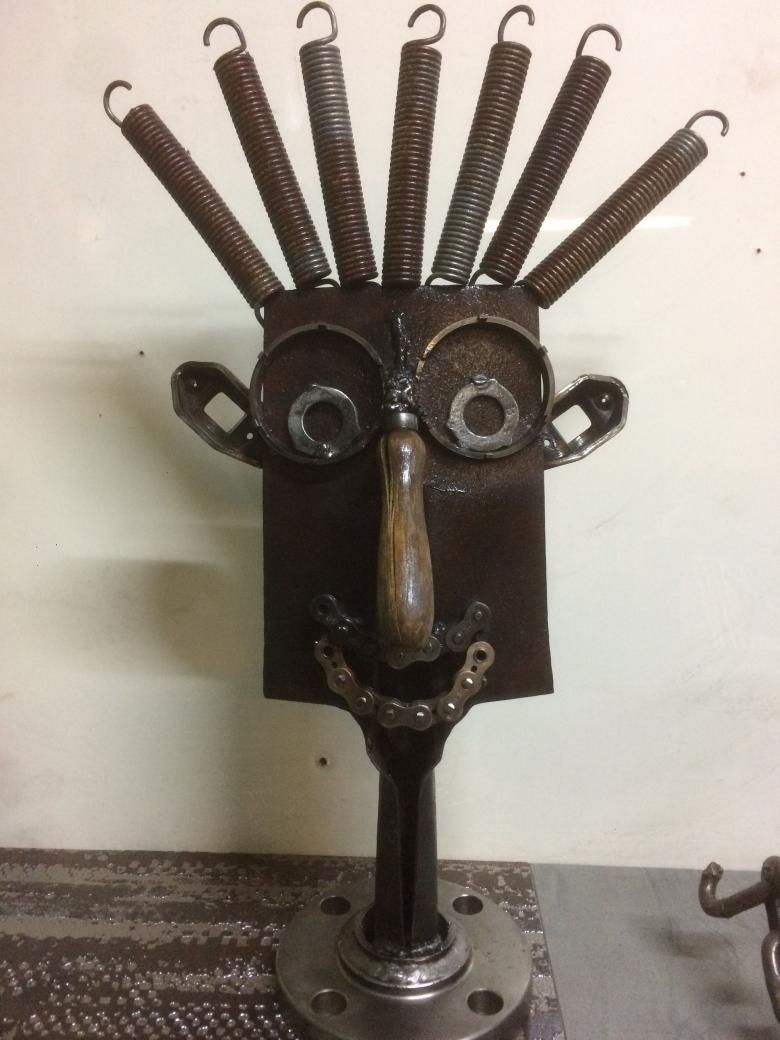
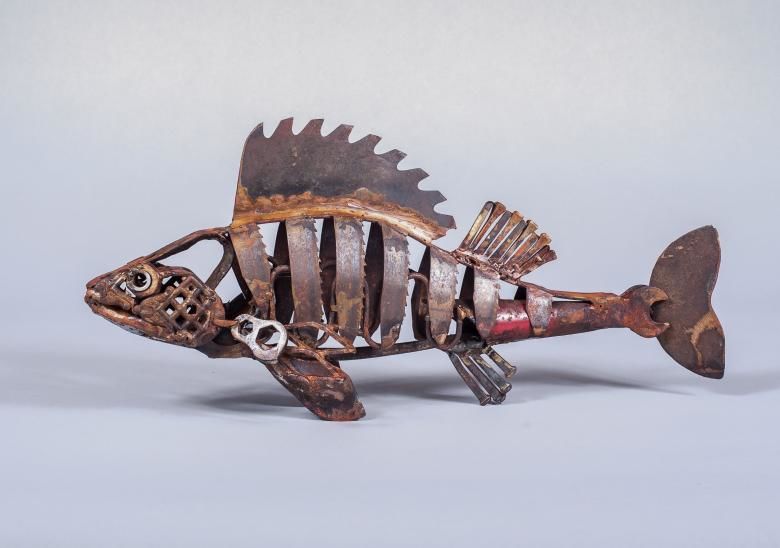
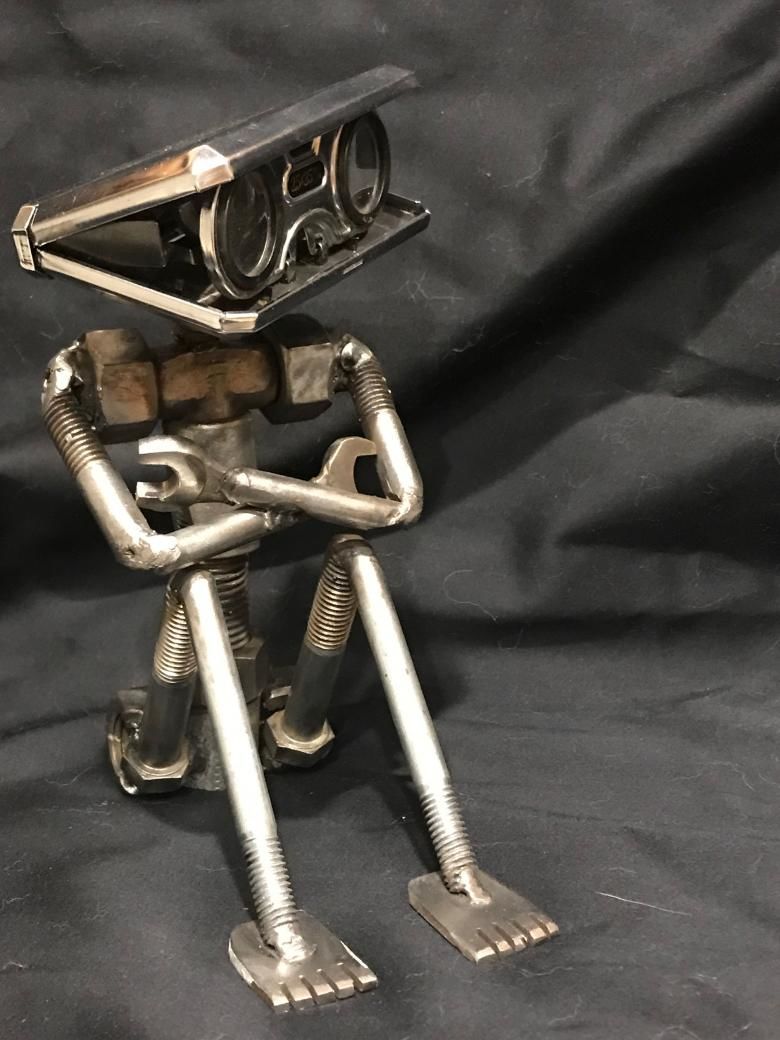
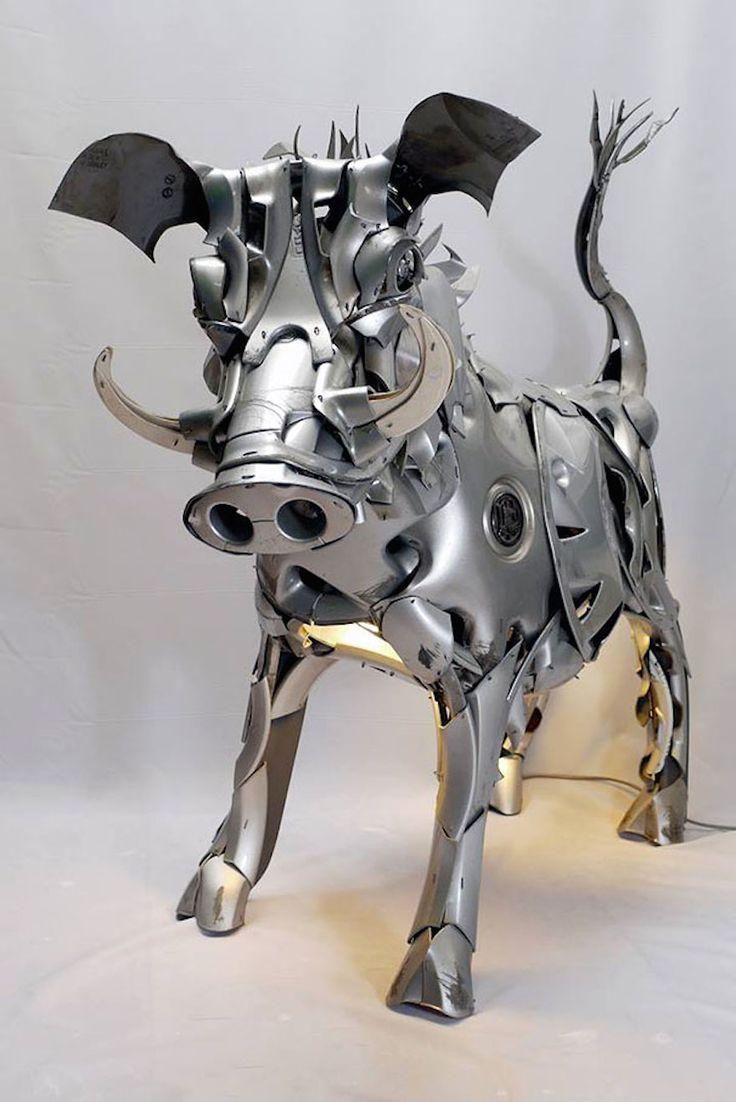
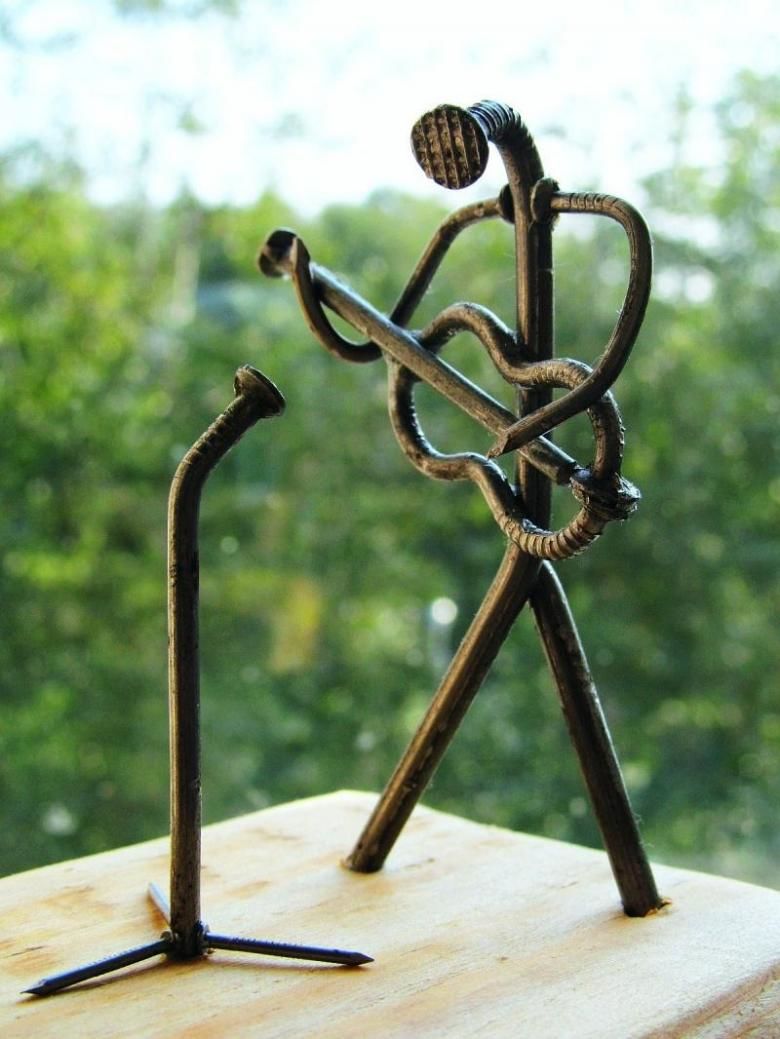
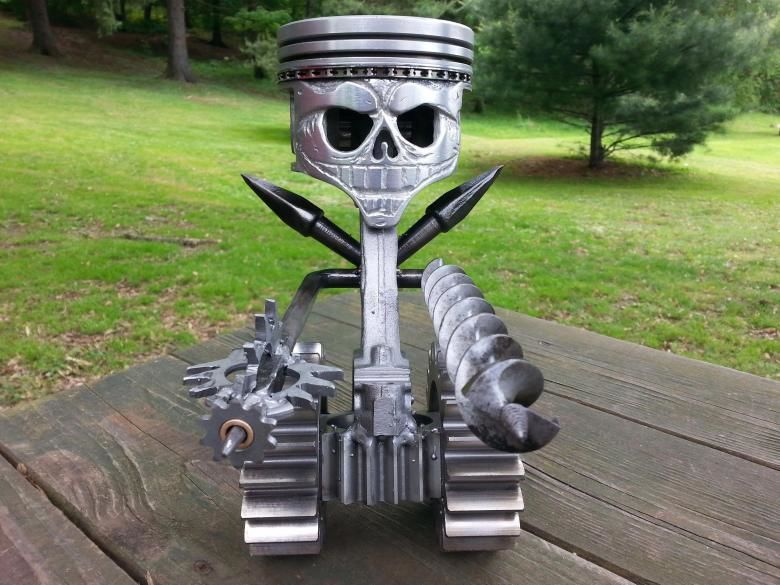
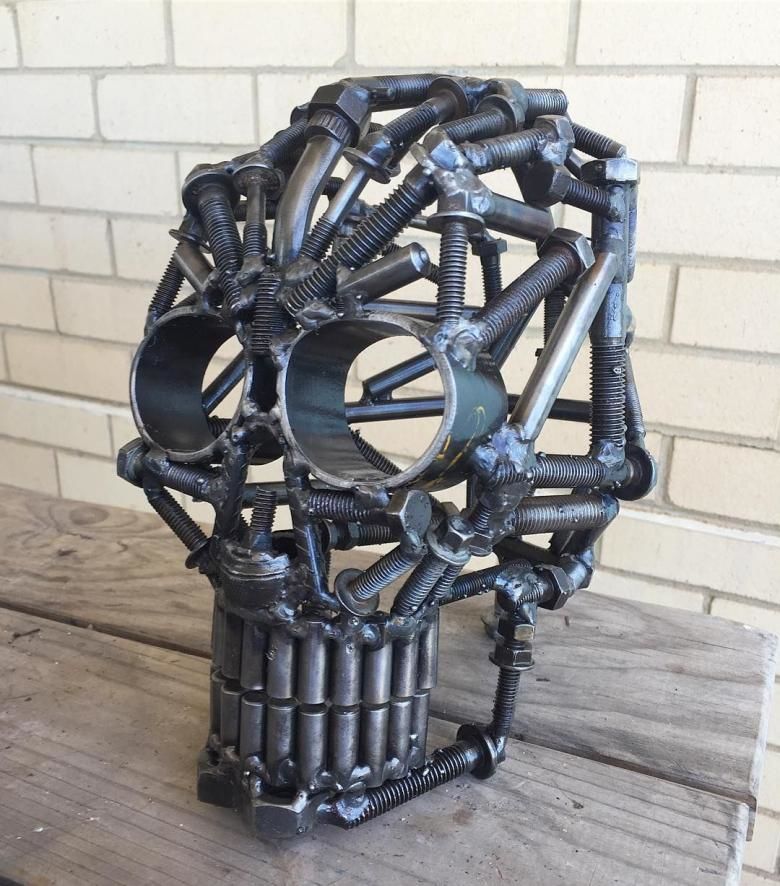
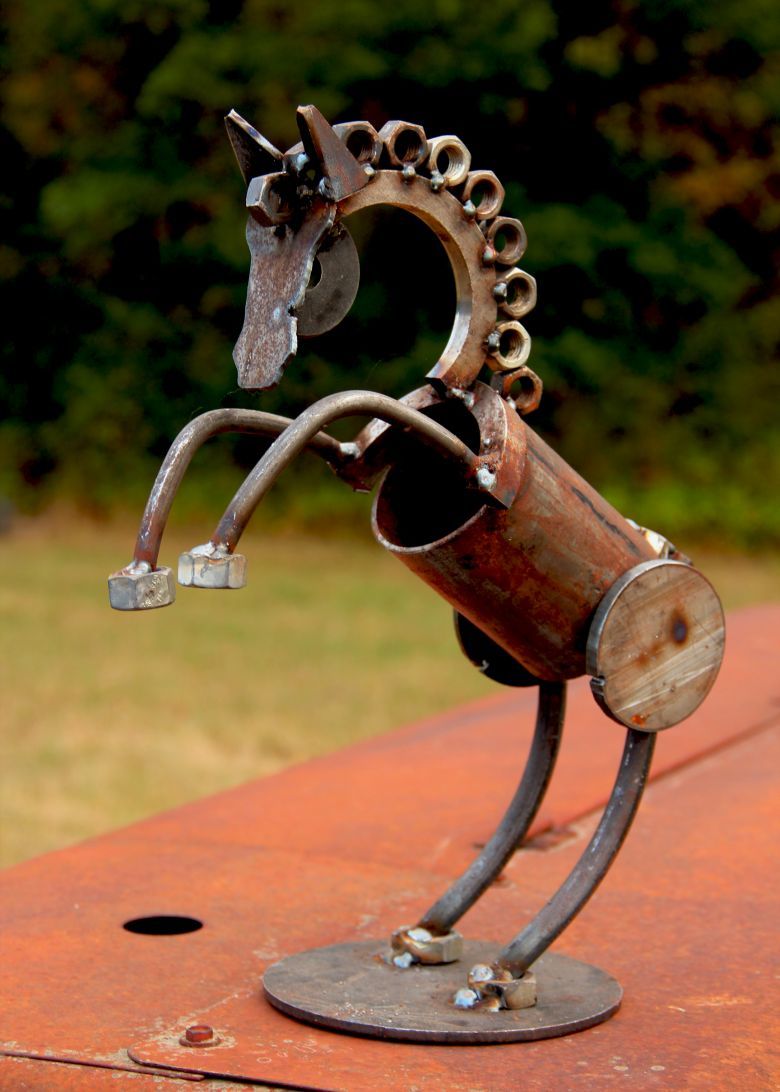
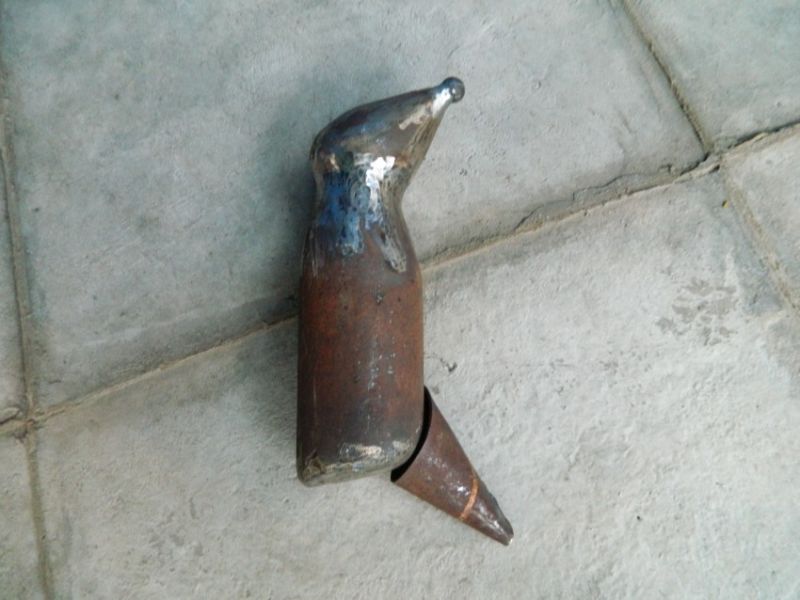
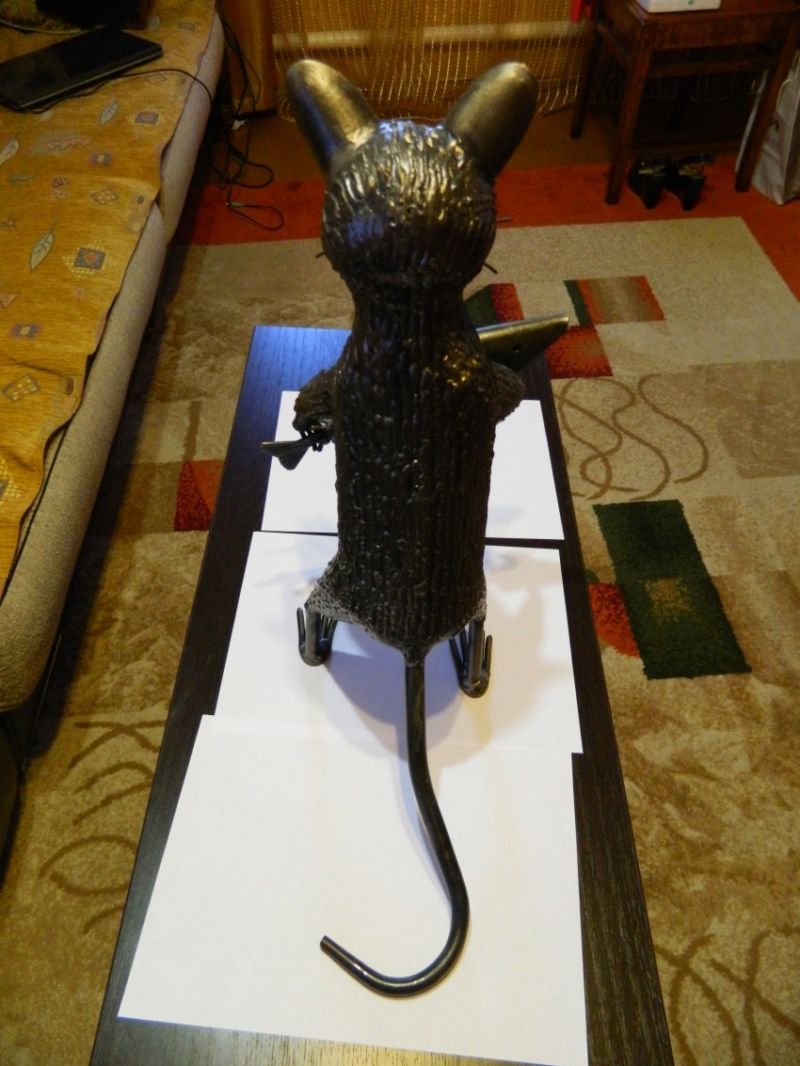
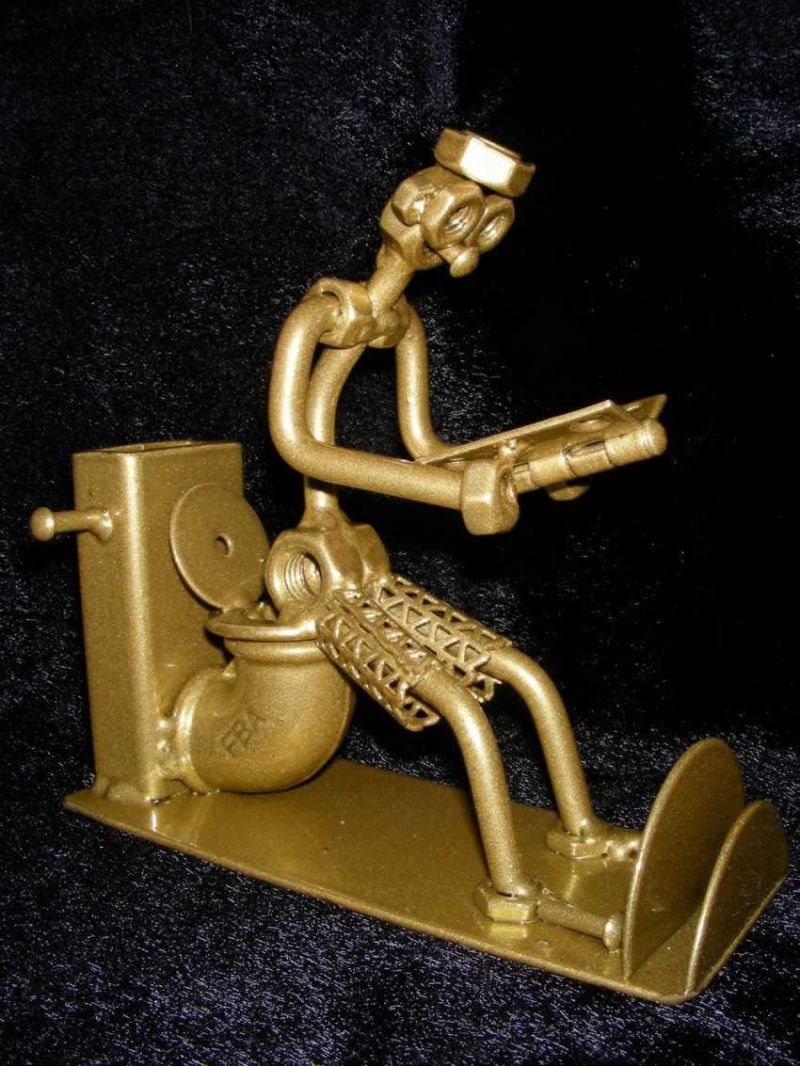
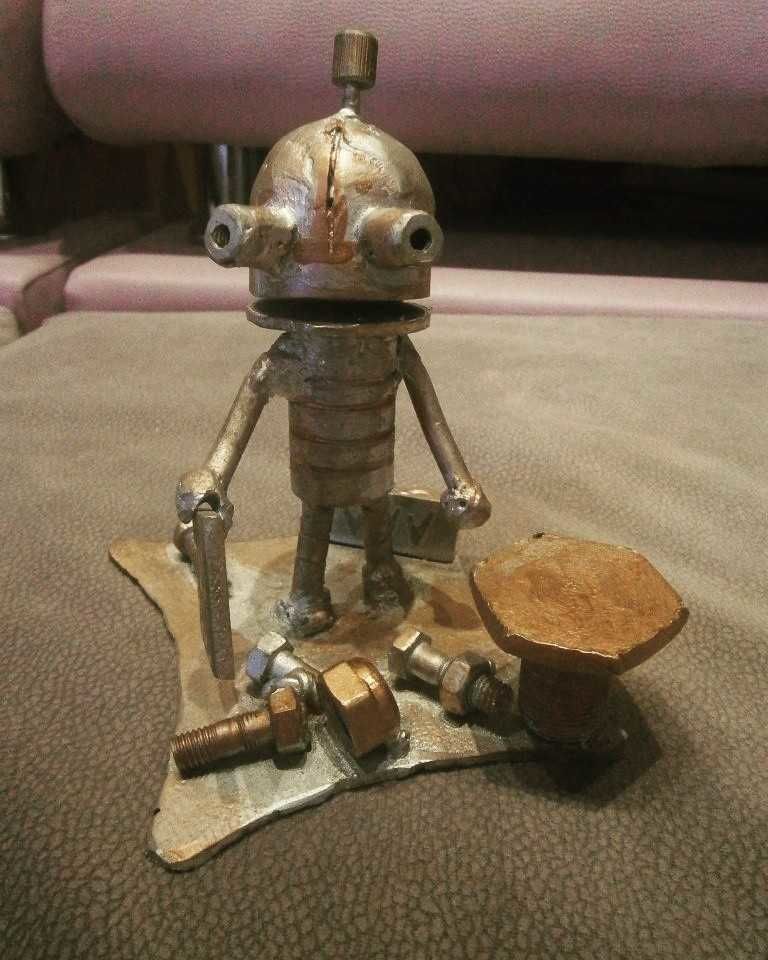
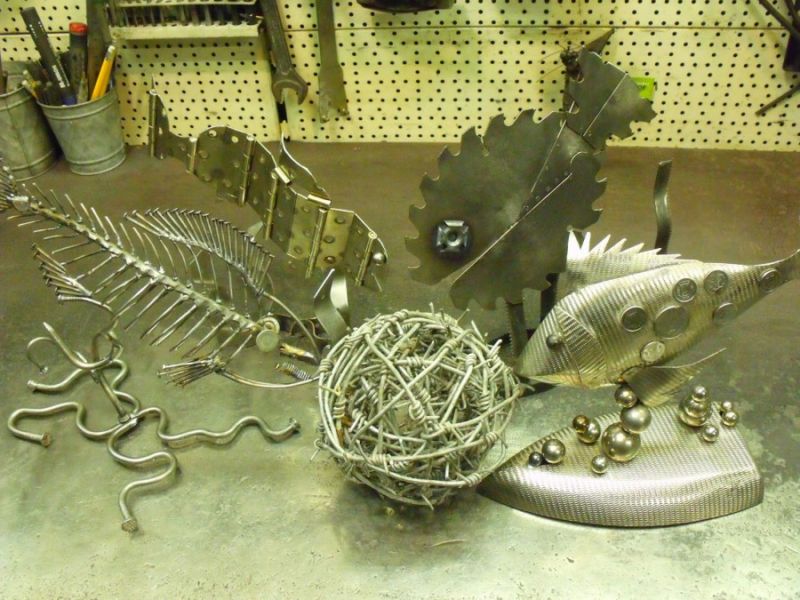
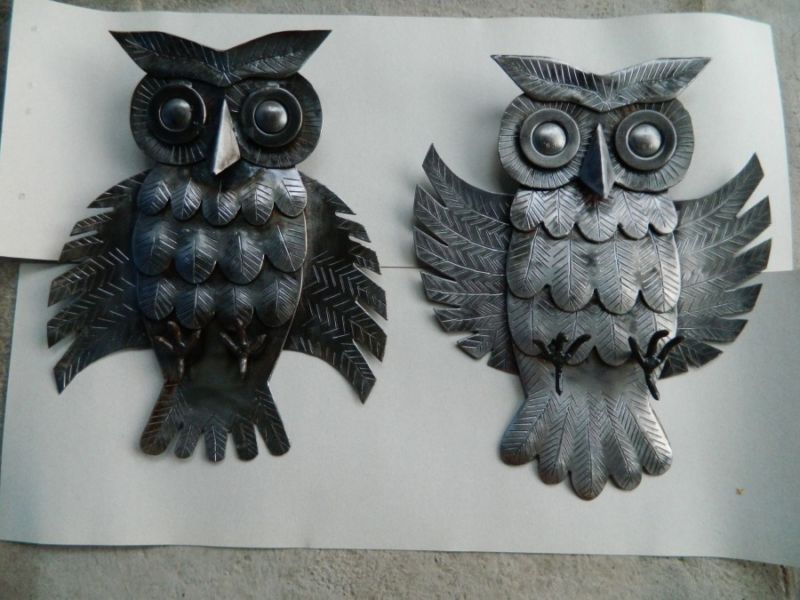
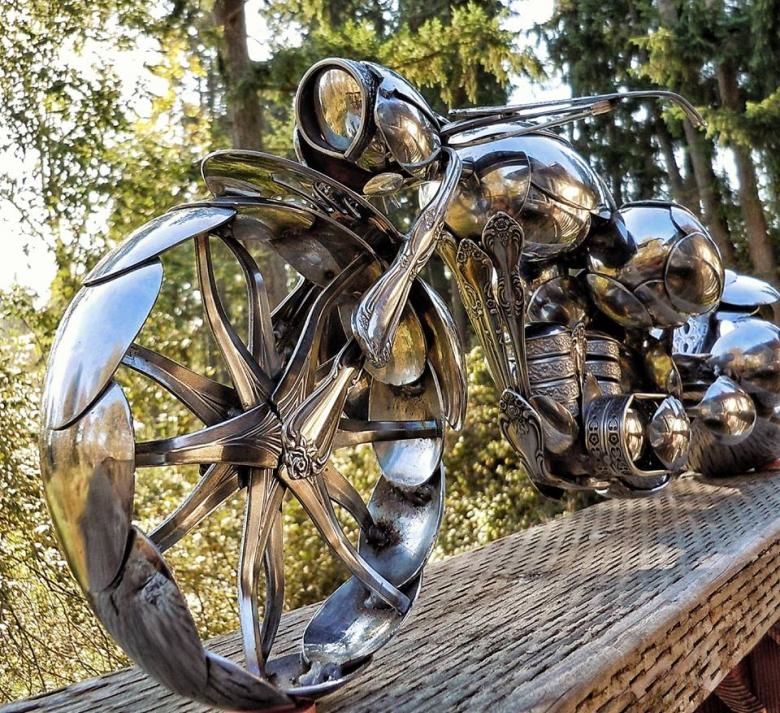
Figurines
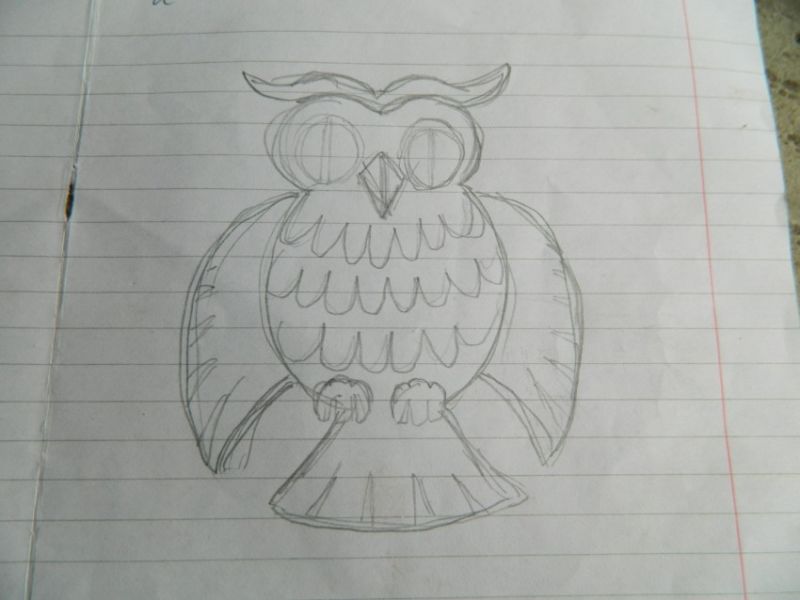
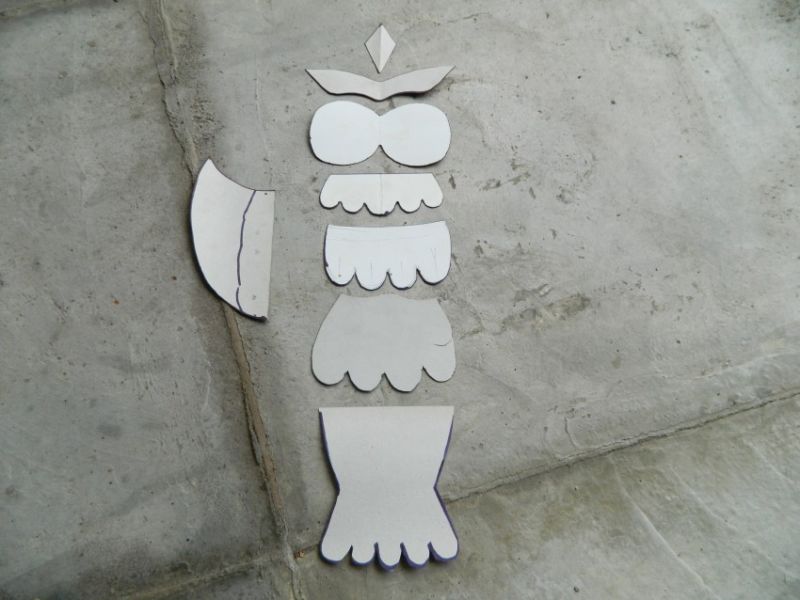
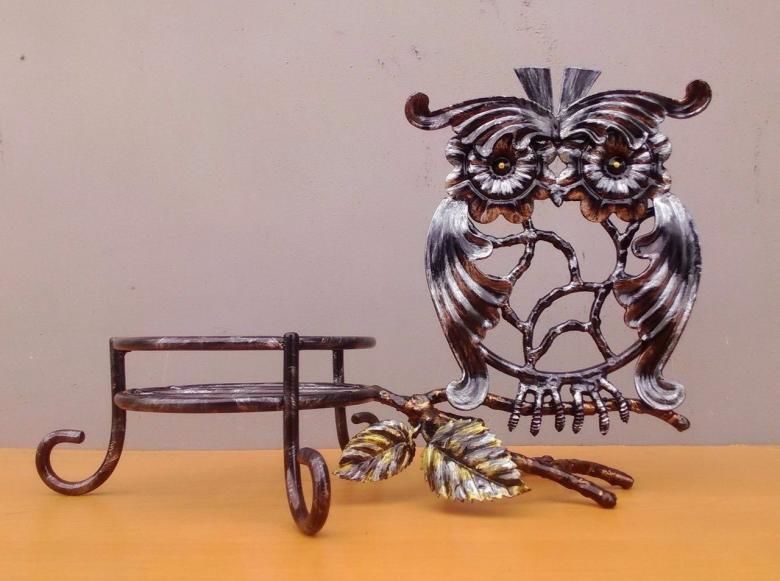
If there is a skill to handle a welding device, then you can make a metal owl. It refers to welding handicrafts. First, a schematic drawing of the owl is made on a piece of paper, then transferred to cardboard.
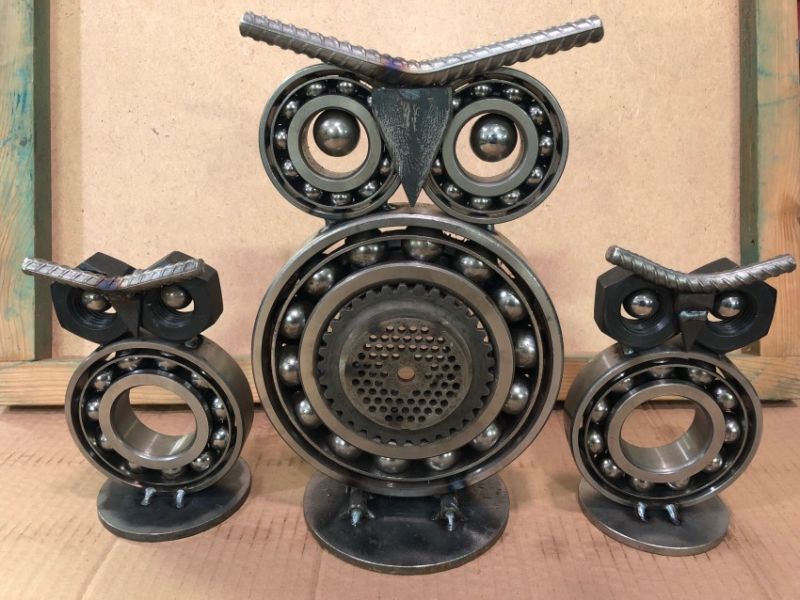
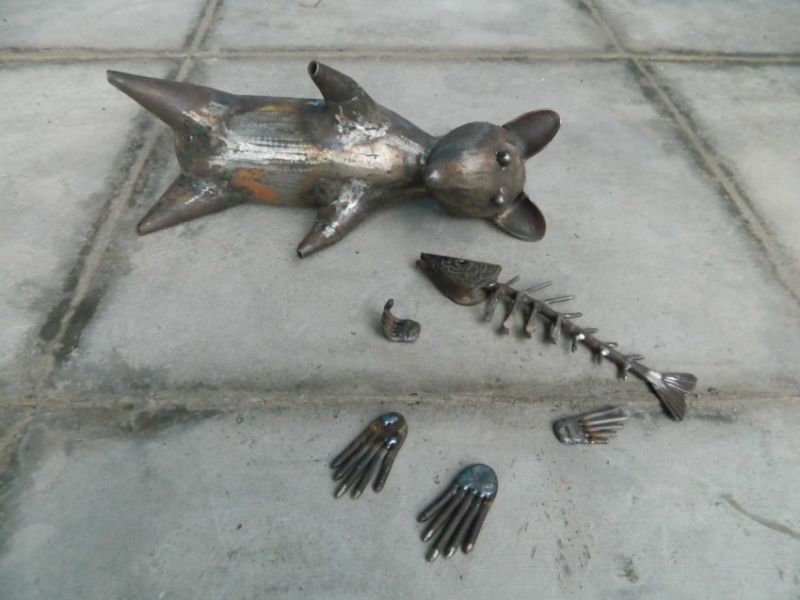
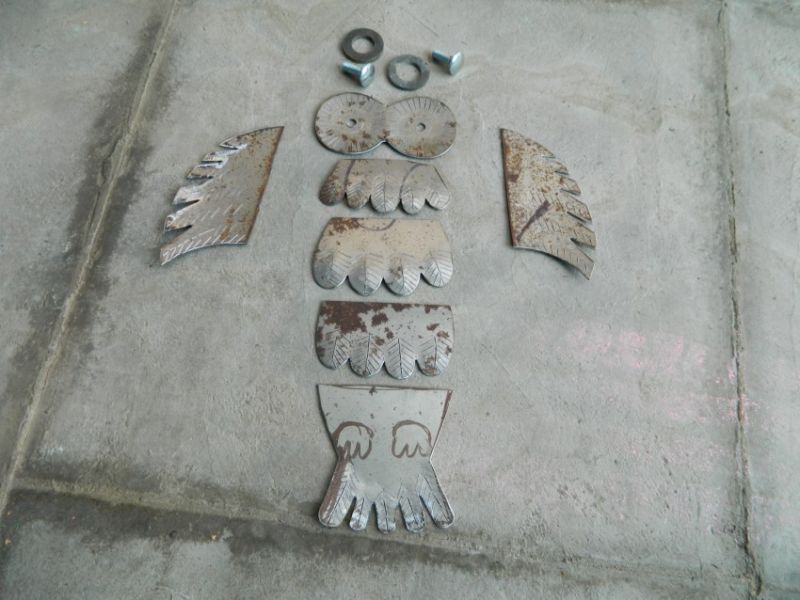
Now you will need a lathe and thin sheet metal. All parts of the bird - eyes, torso, wings and tail feathers, are cut from the iron base with a bolt cutter:
- To form the eyes, it will be necessary to drill holes in the part where the bolts will be inserted.
- Notches are made along the plane of the torso, creating the appearance of owl feathers. A chisel will come in handy here.
- For the beak, a piece of bent metal will do.
- For the formation of paws are suitable different rods, connected by welding.
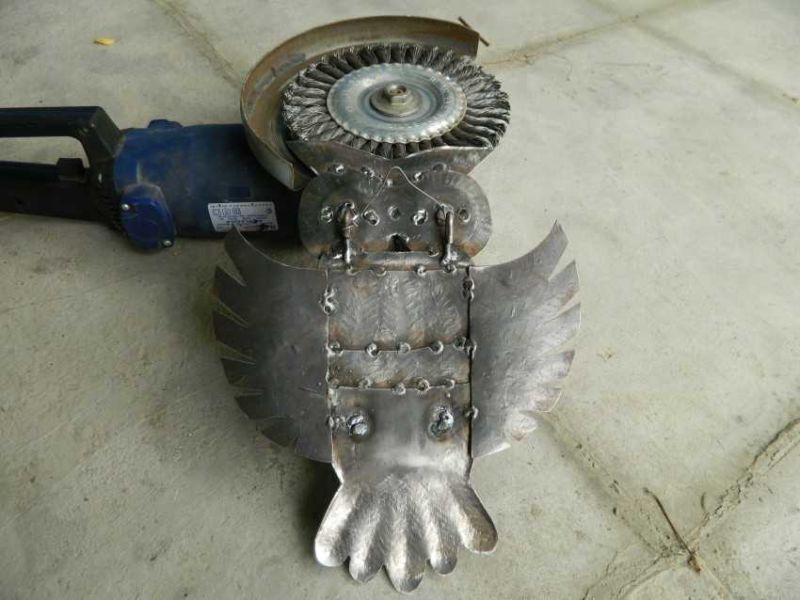
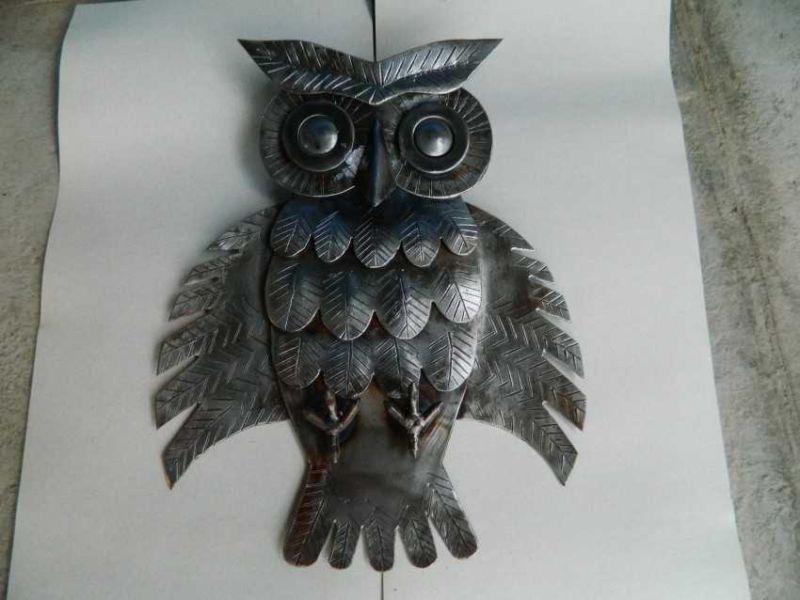
After creating all the elements of the owl, you need to connect them by welding. It remains to paint the owl and apply a special varnish.
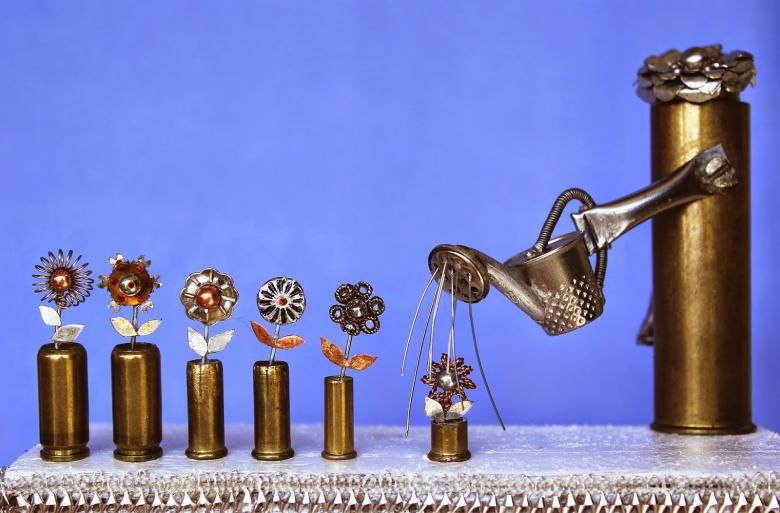
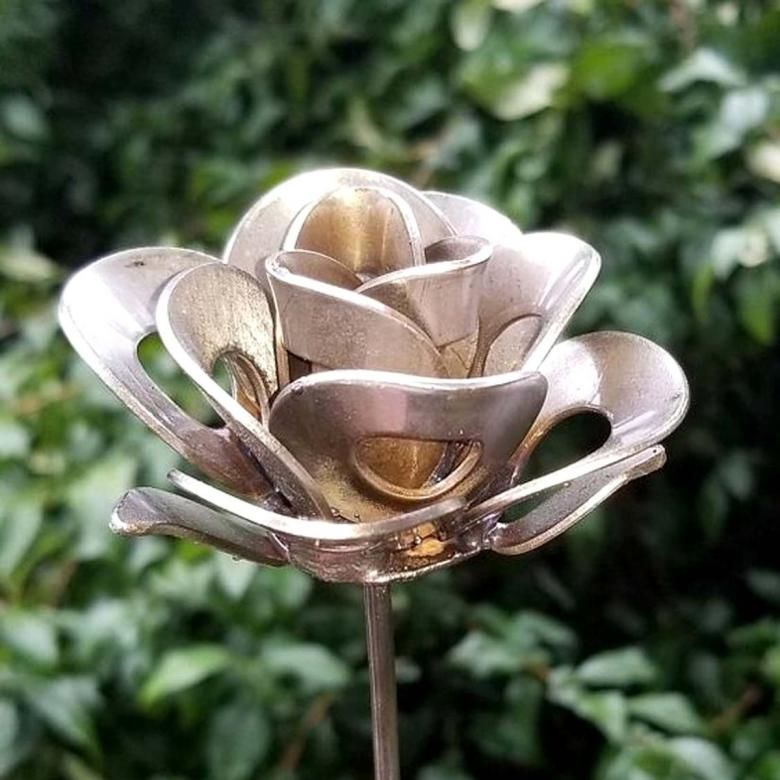
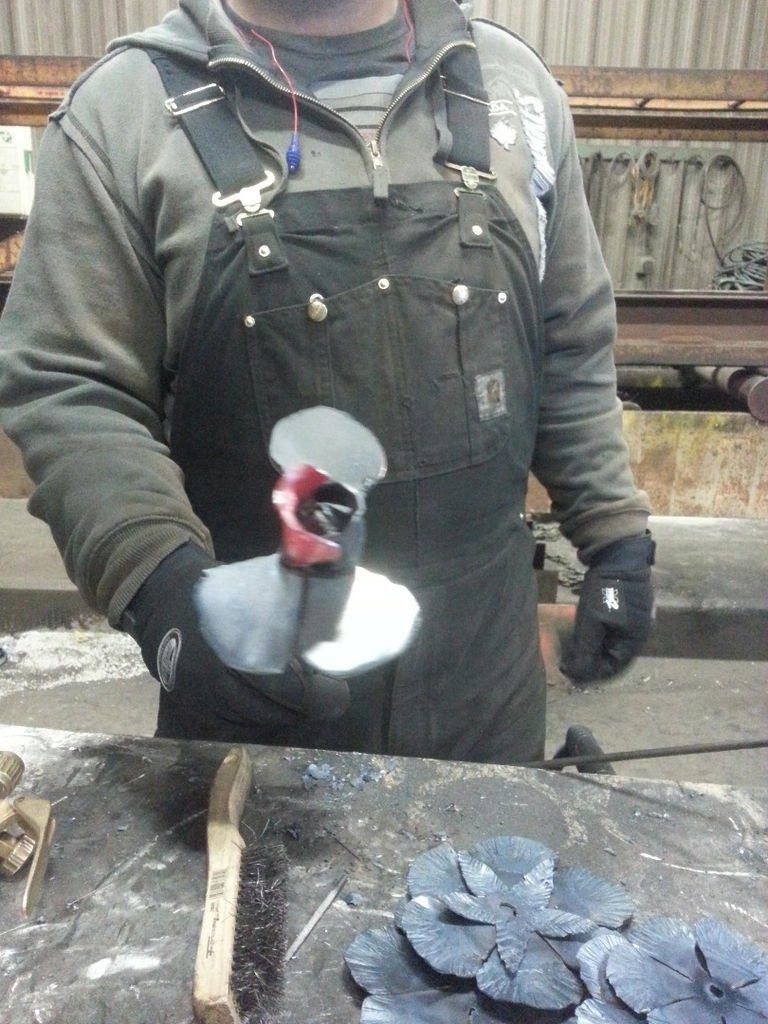
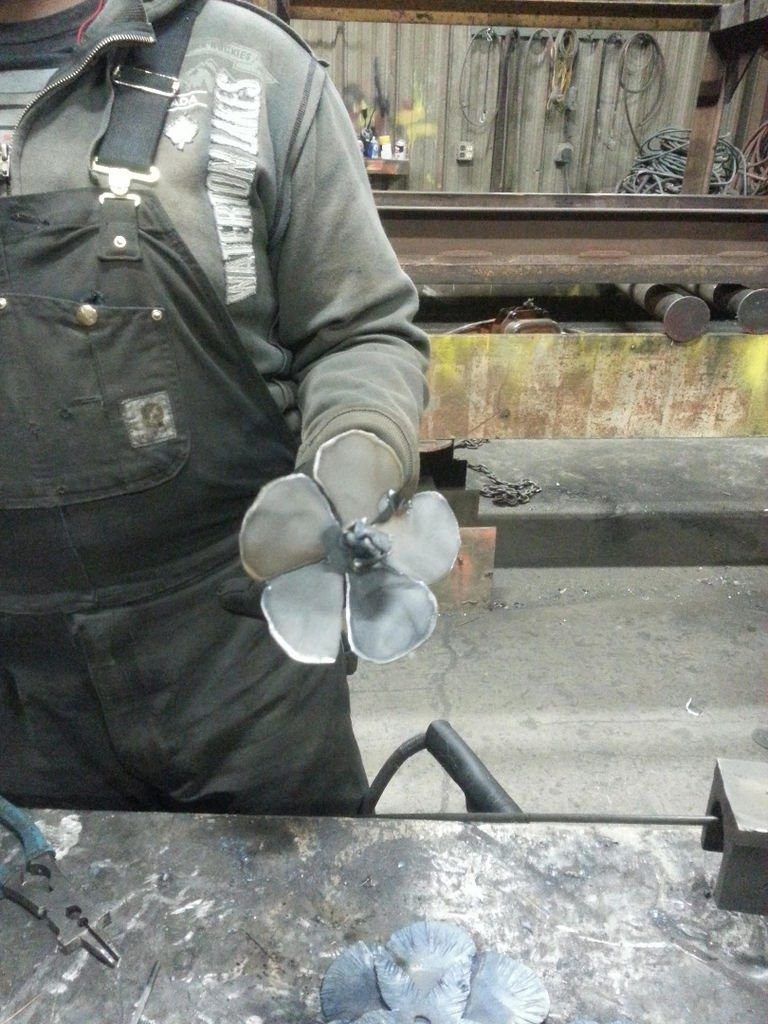
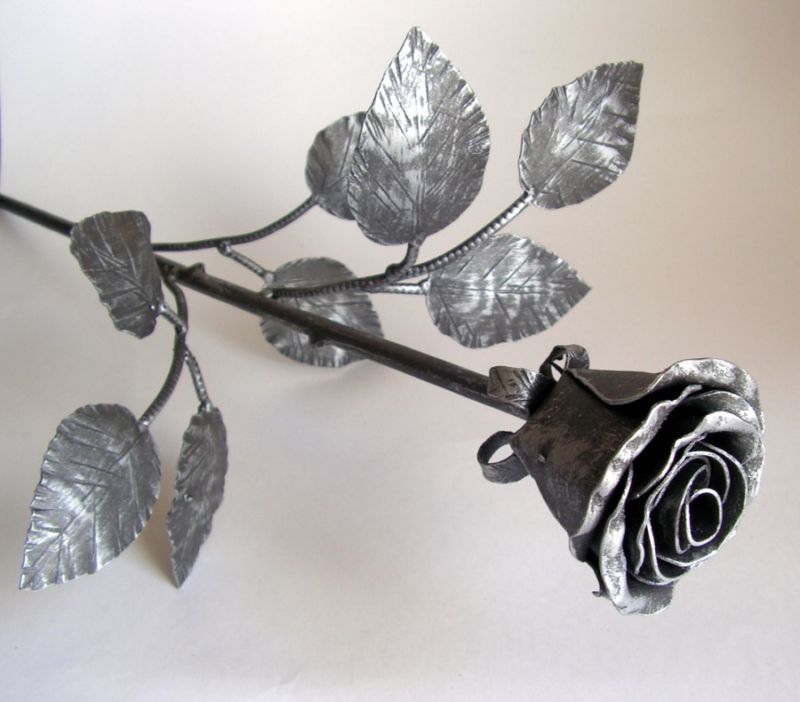
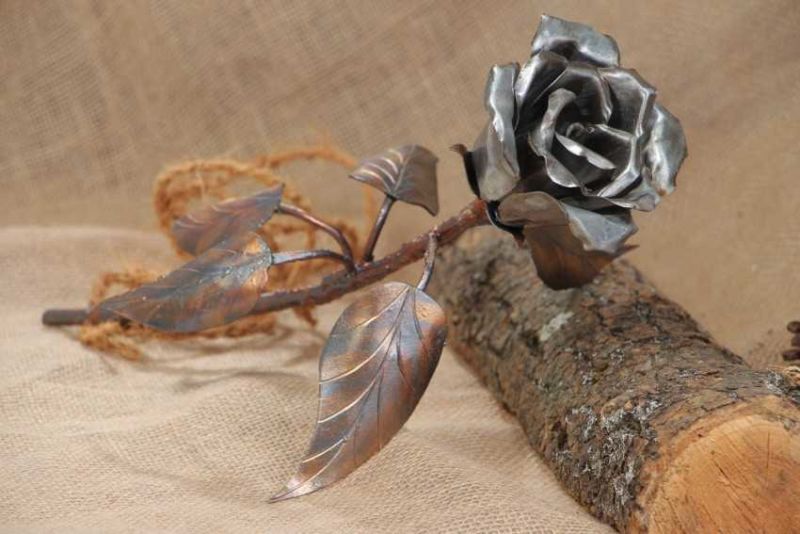
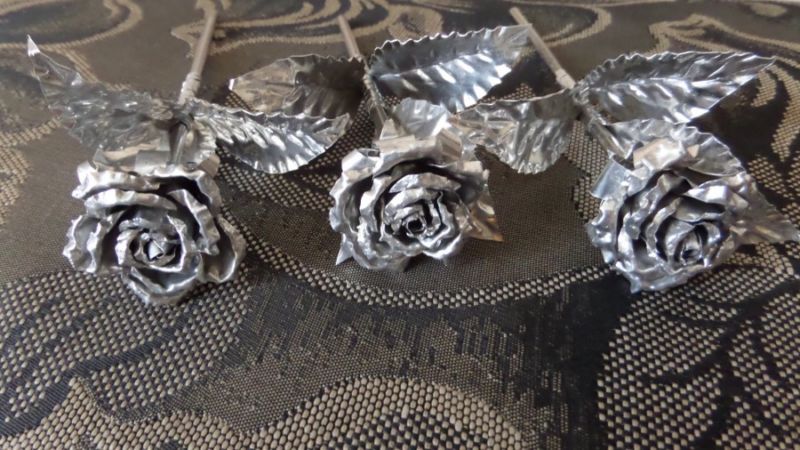
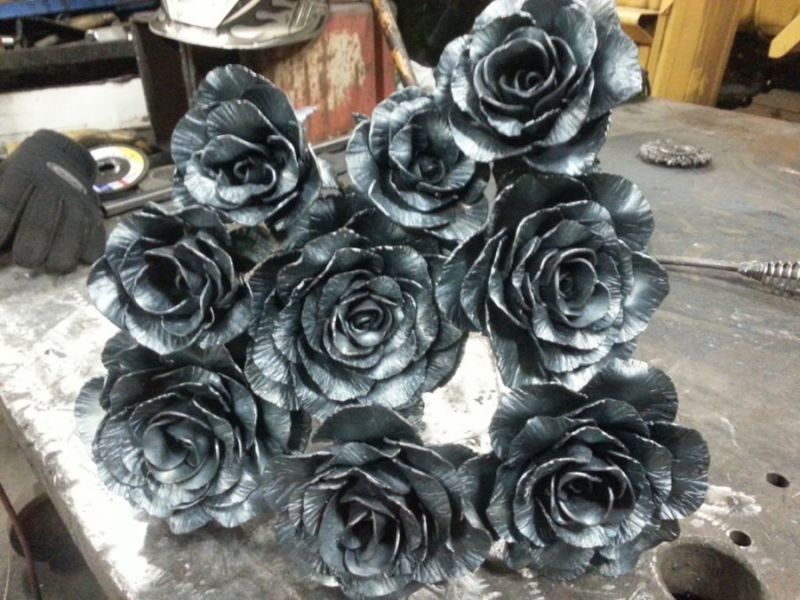
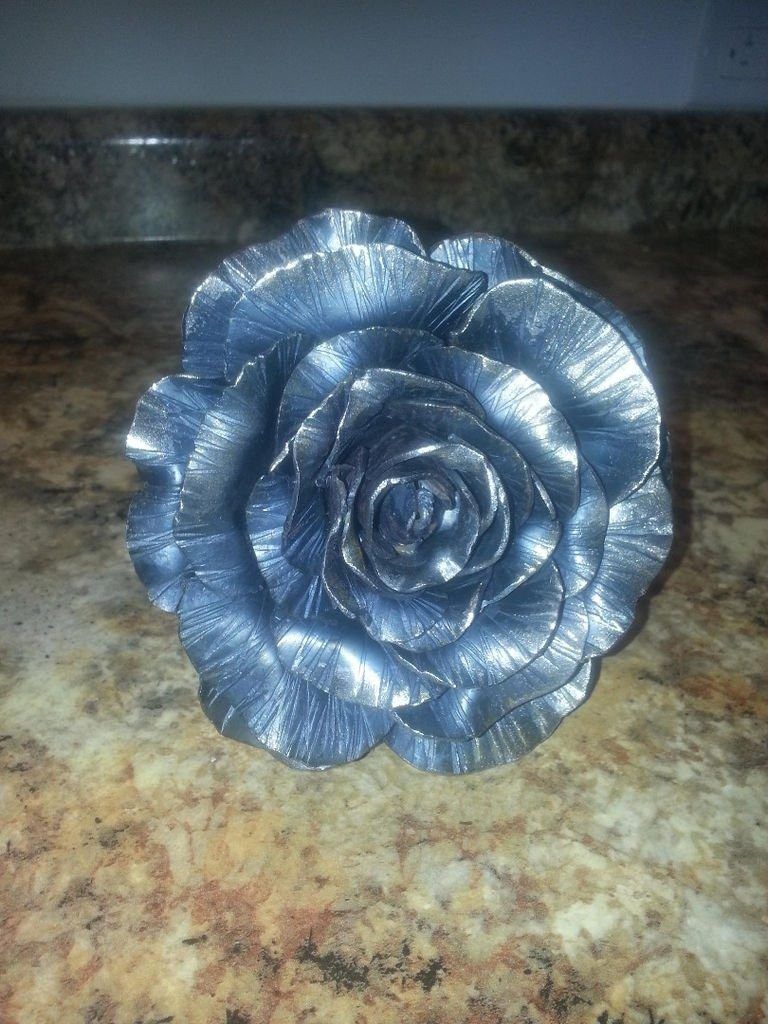
Flowers
We provide information on how to make a rose out of metal. It will require the following actions:
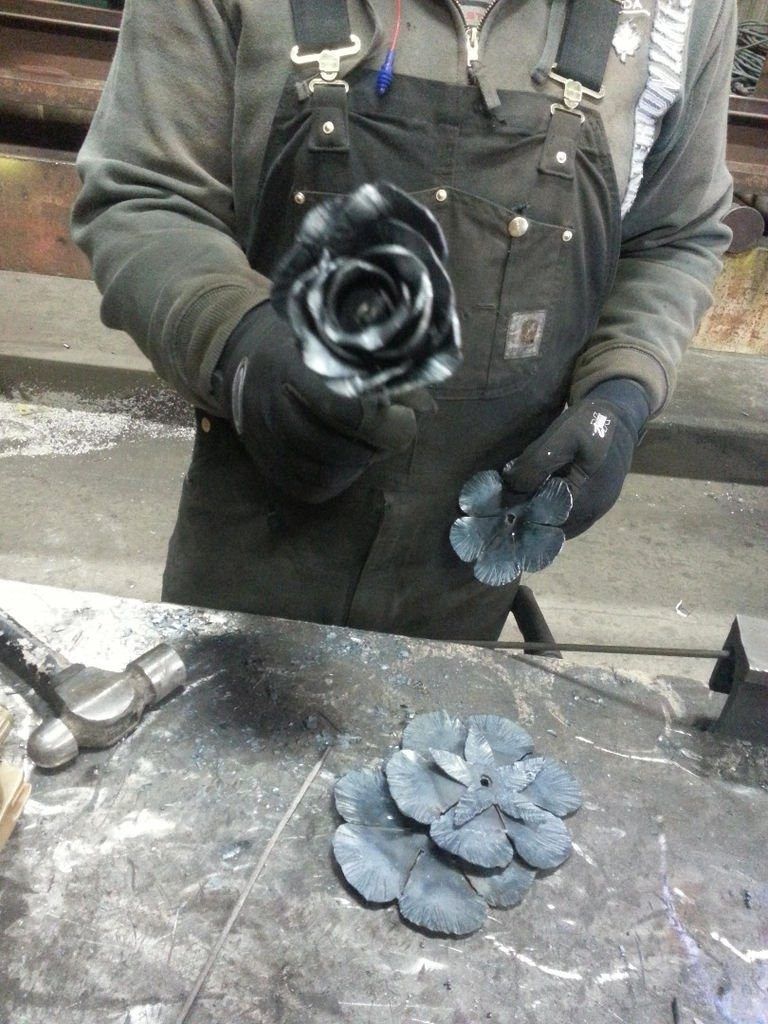
- With special scissors, the petals and a few leaves are cut out of a sheet of metal. Petals are cut from small to large, from 15 mm to 80 mm. About 30 petals should be cut, this ensures that the bud will come out compacted;
- Triangles are cut from the resulting pieces of metal, they will play the role of spikes. Their length is not more than 10 mm;
- From the steel wire is made billet of the stem. To even the rod became similar to the curved stem of the rose, you need a hammer to bend it slightly;
- The bud is arranged. The initial two small petals clamped in a vice and bent in half. Then 8 petals should be inserted in an arc near the center of the bud, here be sure to weld a separate part, and then stripped;
- All subsequent petals are also inserted along an arc, but by unscrewing the top of the petal. This is done with a hammer. These petals are also welded and deburred;
- The spikes are welded to the prepared stem and peeled with an angle grinder;
- Rose leaves. Will need to clamp and unclamp the stem in a vise for veins. Then the edges are bent with pliers. By welding, the leaves are attached to the stem and the seams are deburred;
- The rosebud is welded to the rod or stem, and the joints are carefully deburred. The entire rose is then coated with paint designed for metal.


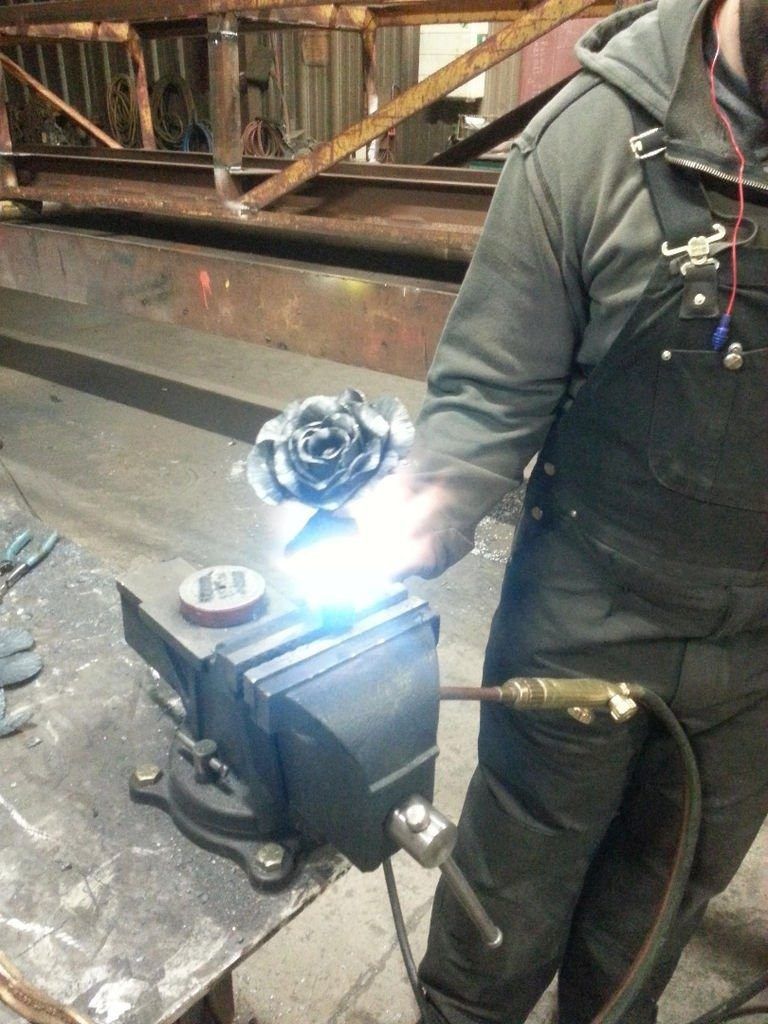
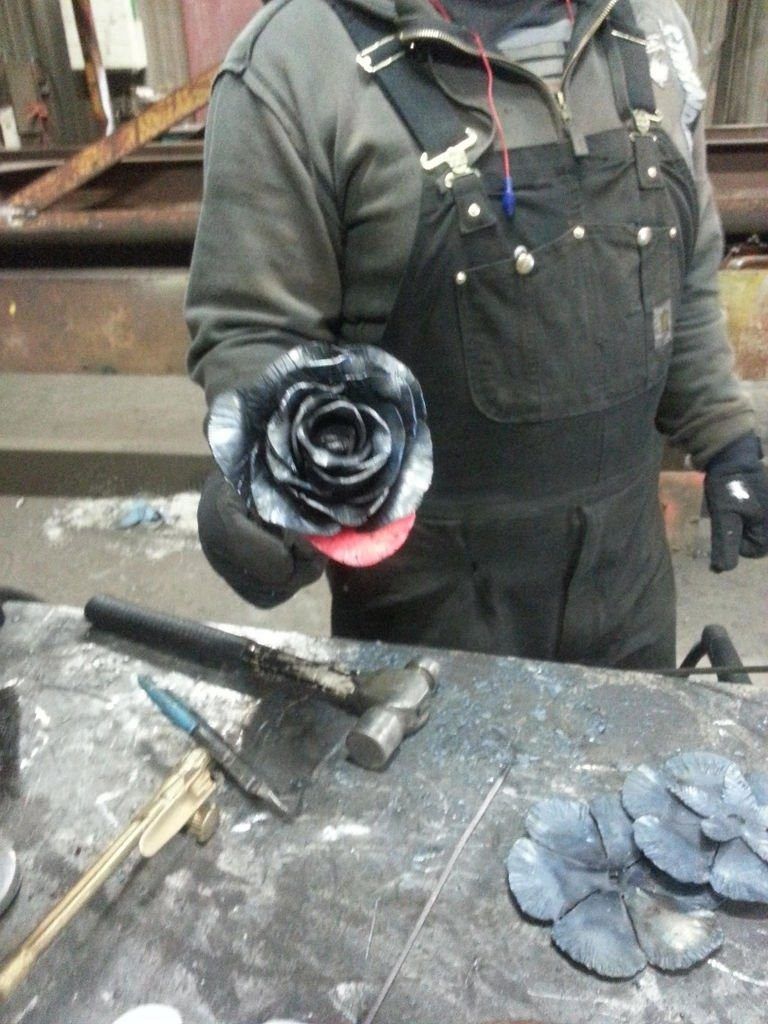
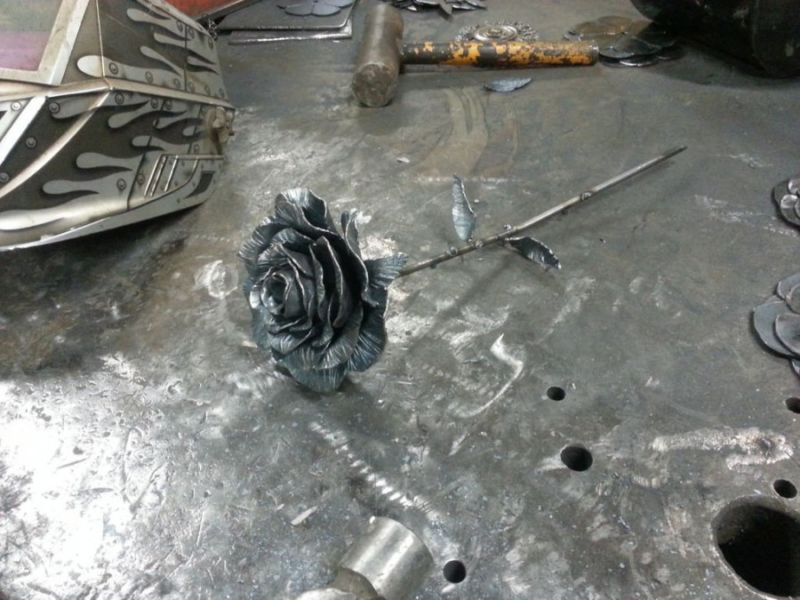
A wonderful flower that combines the beauty and rigidity of metal is completely ready.

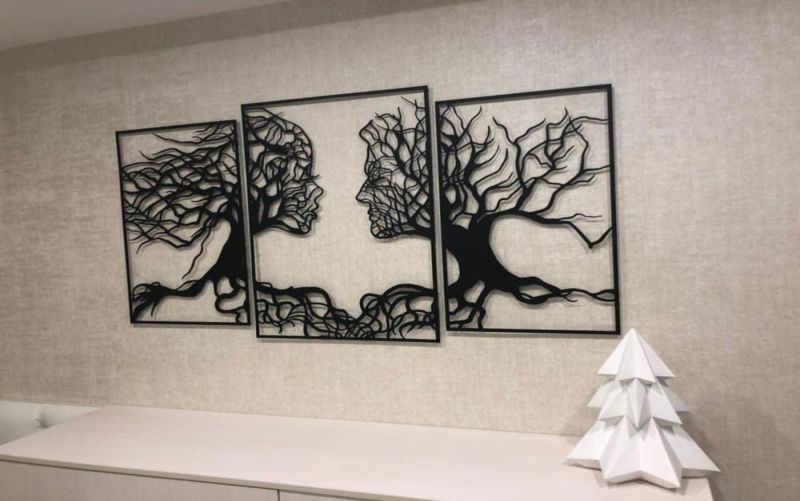
The panel
This is one of the most difficult techniques to create a panel on the wall. To create it, you will need forging skills, if you do not have them, then you can resort to electric welding.
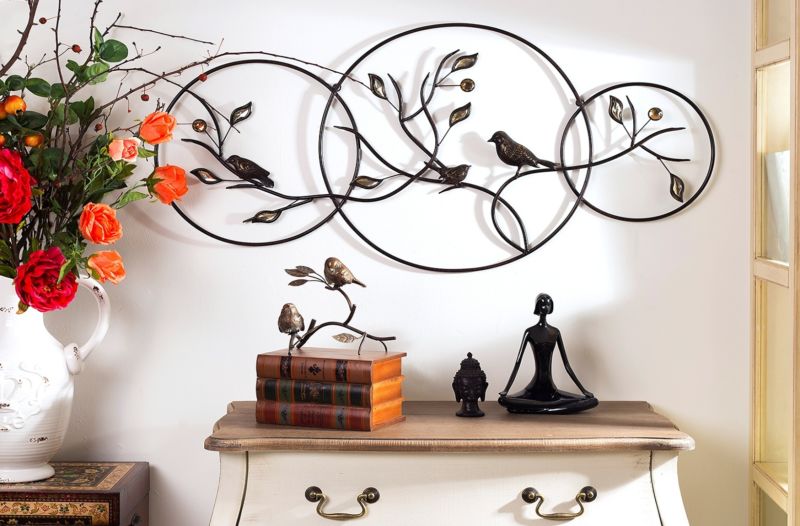
This is done by taking a galvanized sheet and using a rod under voltage is applied in the form of a pattern, selected in advance ornament. In the formation of such a panel to follow the rules:
- the plate must necessarily be grounded;
- the performance of the element of décor should take place in a workmanlike manner;
- It is not allowed to change the brand of rods during the formation of a pattern, because the depth of the pattern will vary and the ornament will lose its beautiful appearance.
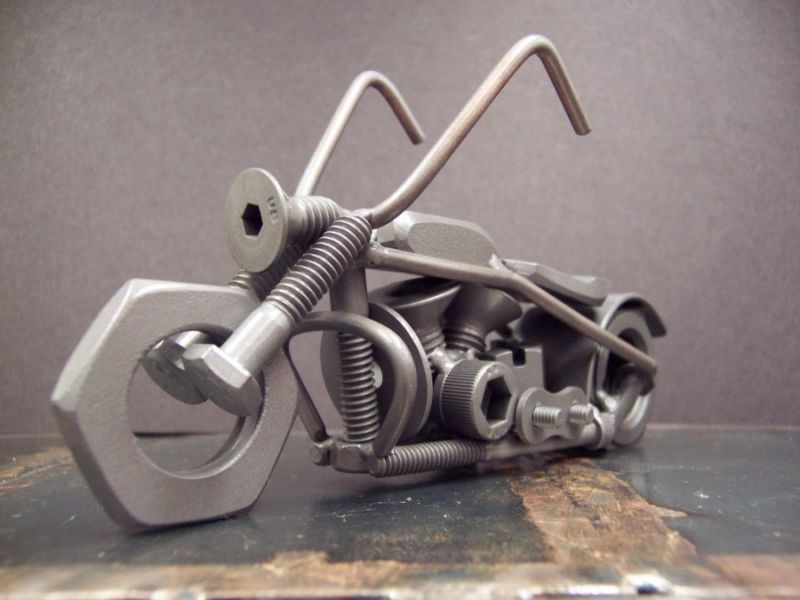
Useful crafts
Used metal objects are likely to be found in every garage or cottage. Reprocessing metal to make iron crafts is becoming a promising way to reduce the cost of a useful item for the home.
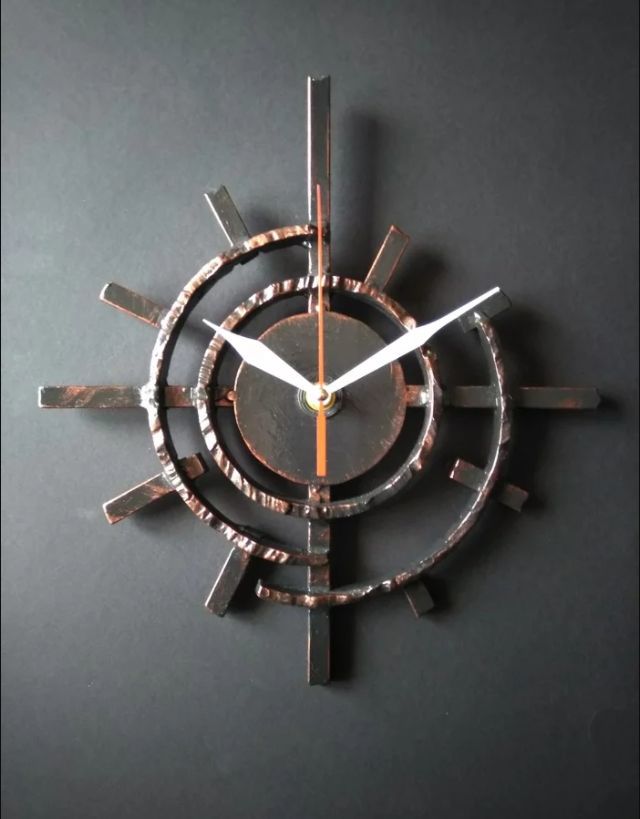
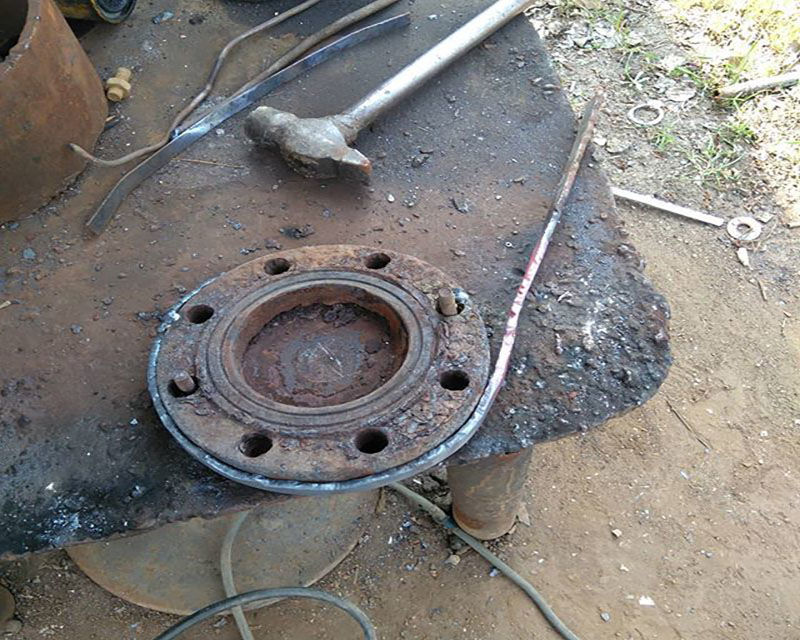
Stand
Let's look at how to make a product from thin sheet metal, namely, a coaster for hot food in the kitchen. For the body, elements from a sheet of metal are cut off:
- 1 piece 640x20x2 mm is cut out.
- Arcs are made - 4 pieces, size 500x20x2.
- 1 ring with the size of 300x20x2 is cut out.
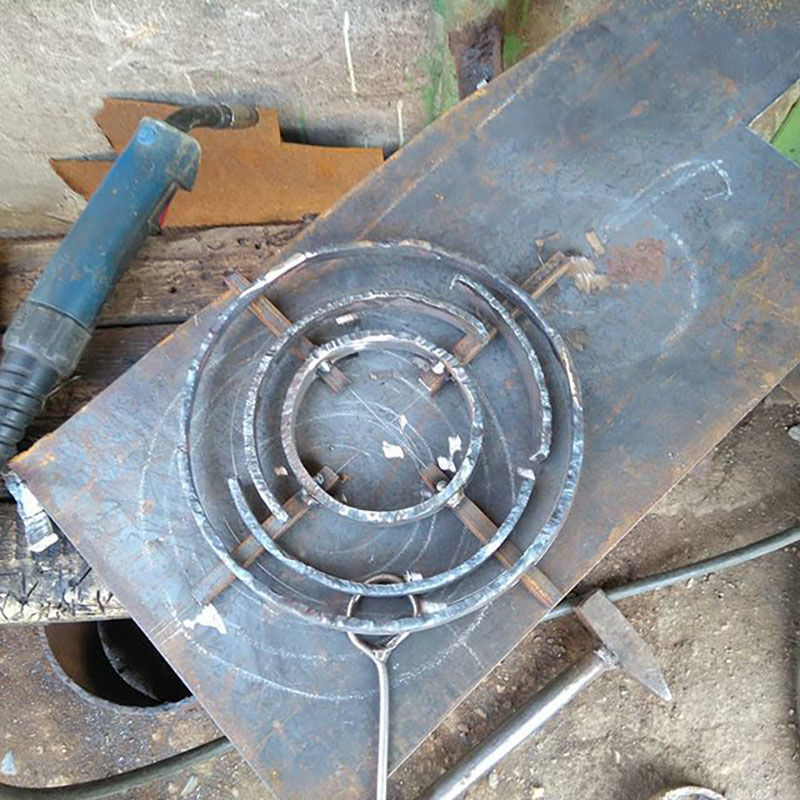
- Cut 8 clamps - 50x20x2.
First the square body is bent, the ring is inserted into it, then the arcs covering the triangle and fastened to the structure with clamps.

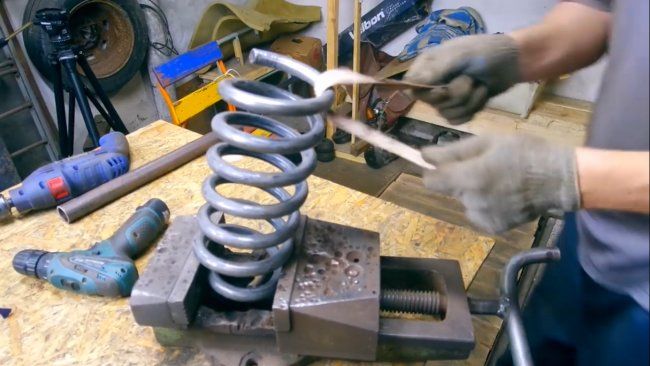
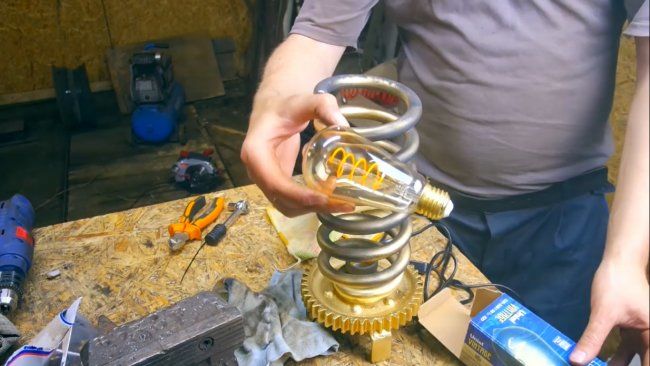
Lamp
Making different self-made metal crafts with their own hands, the owner will be able to save on the purchase of useful household products. It will also allow you to make a unique design of the device, showing your imagination and craftsmanship skills.
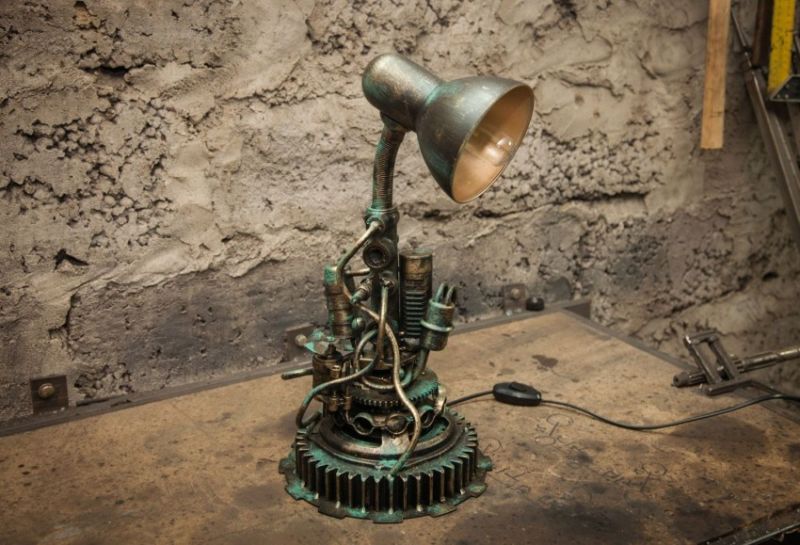
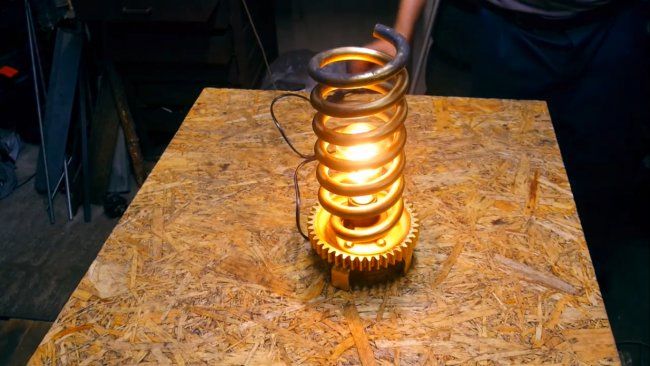
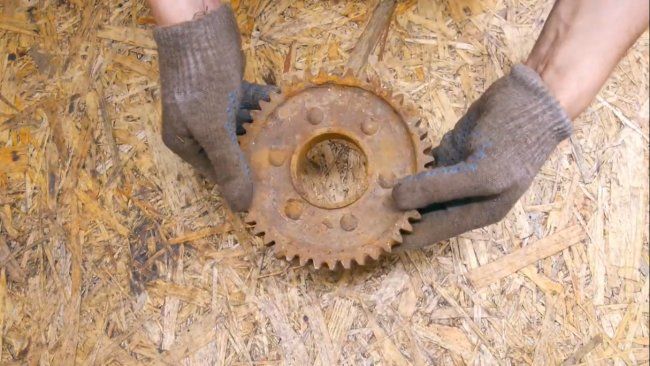
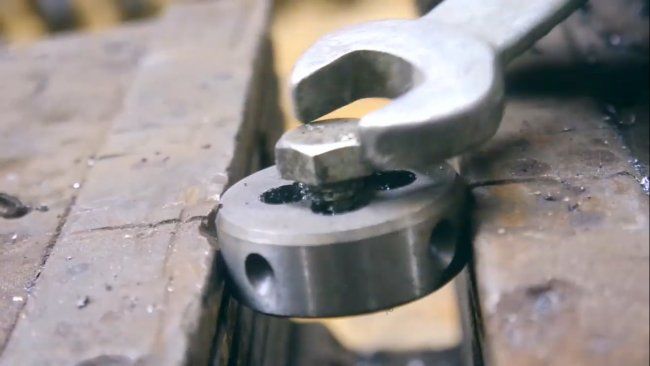
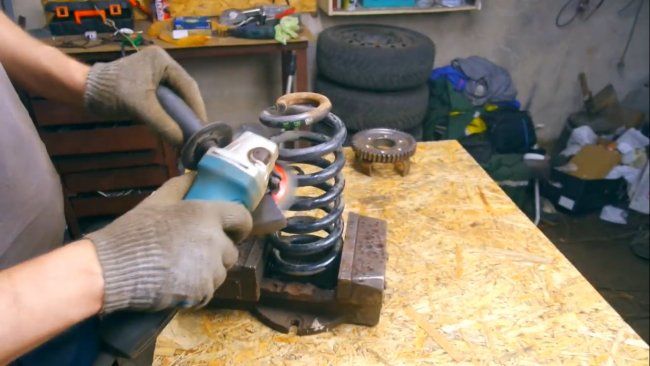
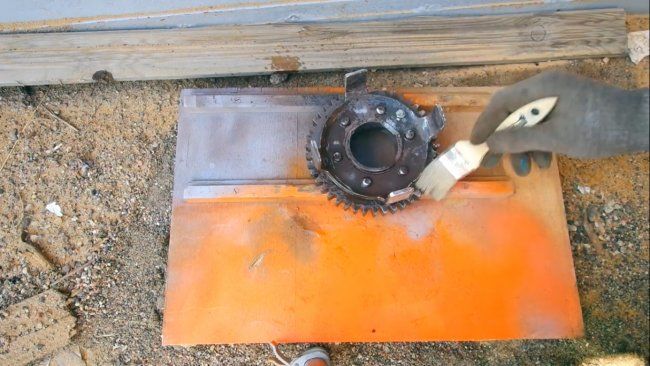
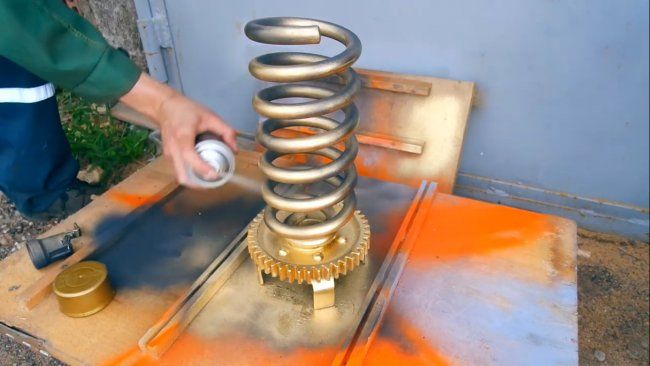
An unusual light fixture can be made from a scrap of a large spring and a gear with bent plates on the edges.
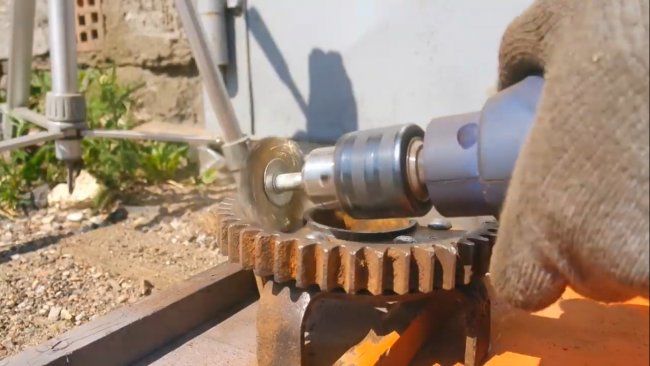
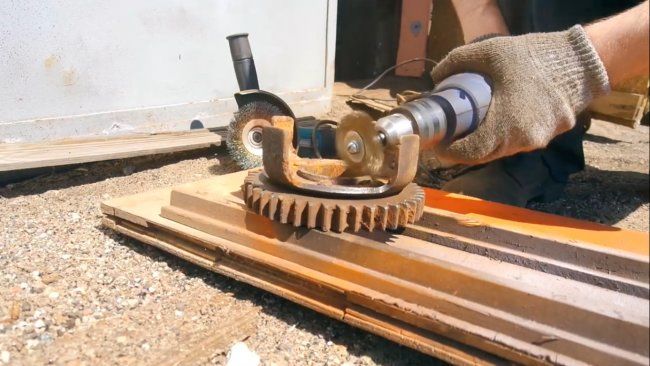
To get rid of the corrosion on the metal, you will need a grinder, grinder, angle grinder and an electric drill. It is best to clean parts in a sandblaster, but if you do not have one, then a grinder is in order:
- The grinder is used to grind the parts in accordance with the safety regulations. In hard-to-reach places help sandpaper.
- With a grinder and a cutting wheel, you need to make a recess of any shape.
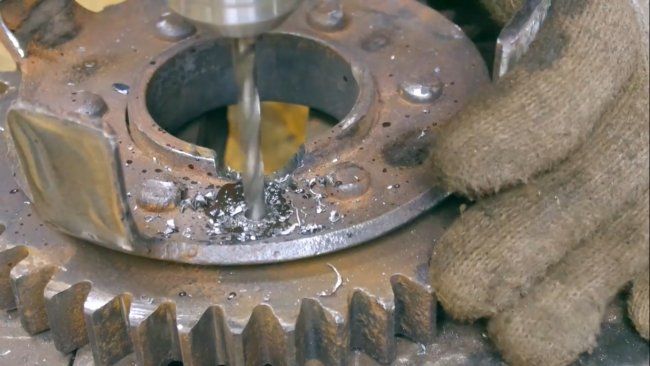
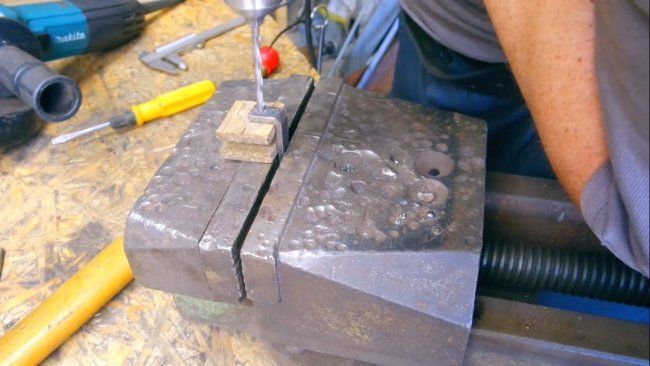
- Drill a hole, a drill diameter of 5 mm. First take and drill with a drill of 3 mm, and then 5 mm.
- In the resulting hole should be threaded to m6.
- Applying a rust converter will remove all traces of corrosion.
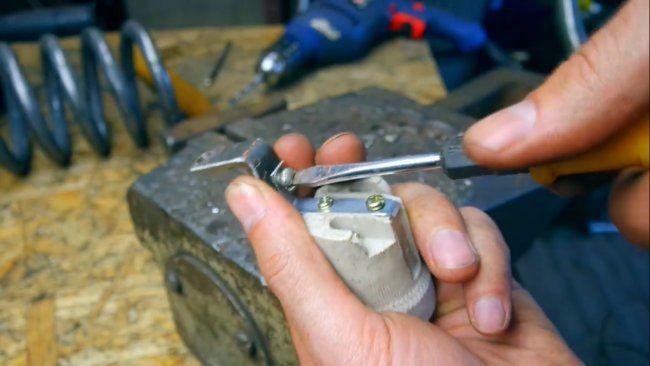
- The E-27 cartridge needs some work. You will need to unscrew the holder and move it to the other side.
- The second bracket is made from a small piece of profile pipe.
- On one side a hole is drilled and m5 threads are cut, and on the reverse side you need to cut to size and make a hole with a 7 mm drill bit.
- The resulting part is combined with a chuck.
- Next, welding. When welding, tacking is done, the spring is set perpendicular to the gear and welded with an electrode.
- Degrease the resulting part with solvent.
- Acrylic, black primer is applied. Then the gold color paint is applied.

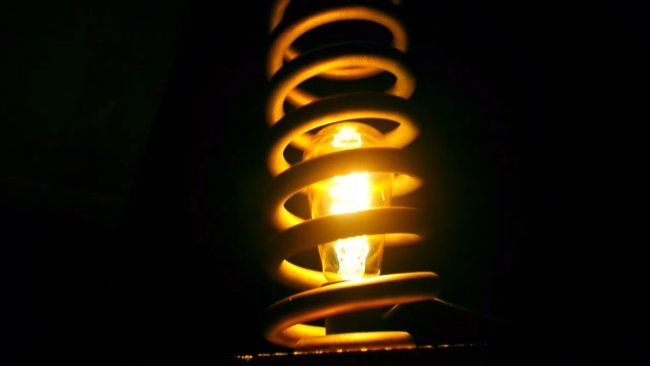
Done electrical part. To do this, you can buy a wire with a switch, which is connected to the socket and mounted on the lamp.
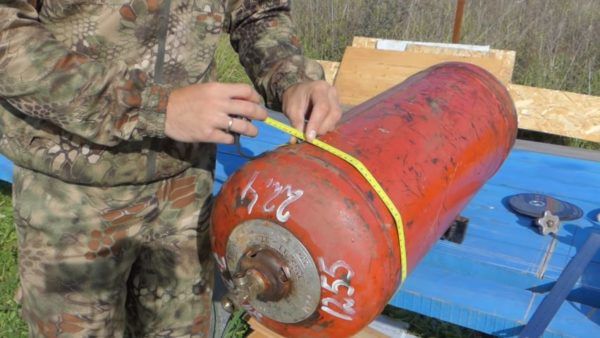
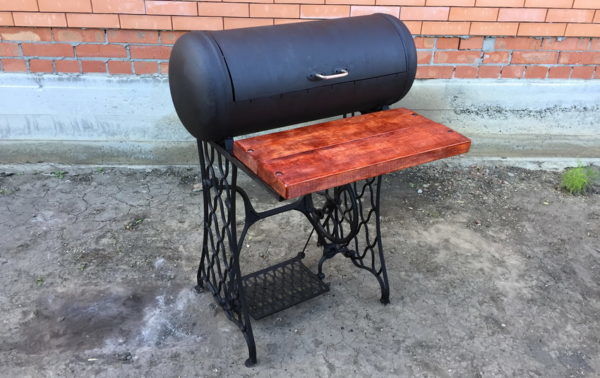
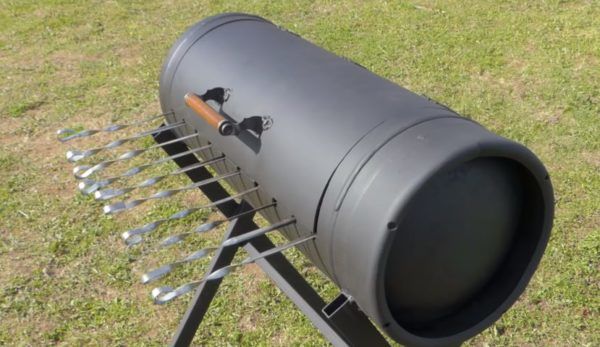
Brazier .
Going on vacation, many people plan to make a kebab. Store versions are made of thin iron and burn out after a short time. It is best to make a small brazier out of a gas cylinder from Freon. The steps to make it are as follows:
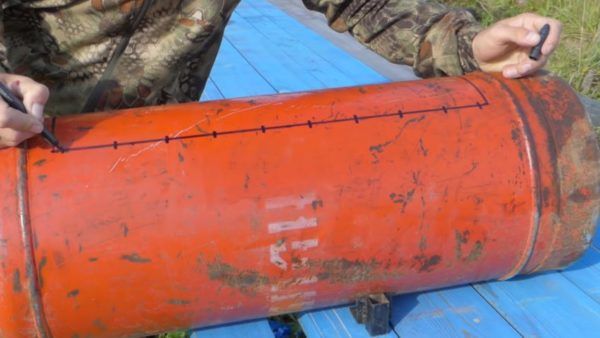
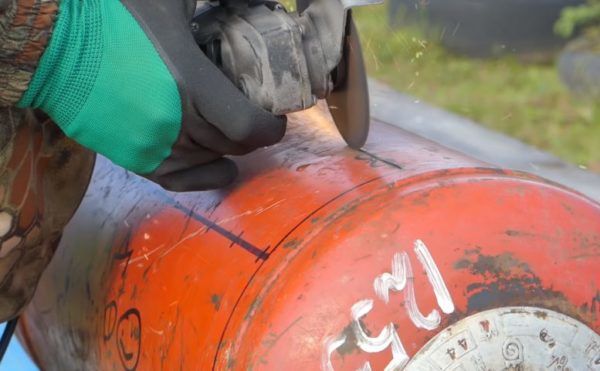
- String on the cylinder 12-15 liters, along the middle made a marking for sawing into two halves. The handles of the cylinder are cut with a grinder;
- Further a cutting of walls on a marked line is made, but not bringing to the end of the top and bottom. The faucet should be sawed off;
- while the two parts of the cylinder are held, two door canopies should be welded. This will help in the even positioning;
- then the lines are cut all the way through, and the cuts are deburred;
- all the paint is stripped off;
- the cut handles are welded to the halves;
- 4 legs made of rebar are attached to the brazier by welding;
- A hole is drilled in the lid with a shift to the side and a pipe for smoke exhaust is welded;
- Taking into account the size of the grill, a grate is sawed out, it can be taken from an old refrigerator;
- the top is covered with heat-resistant paint.
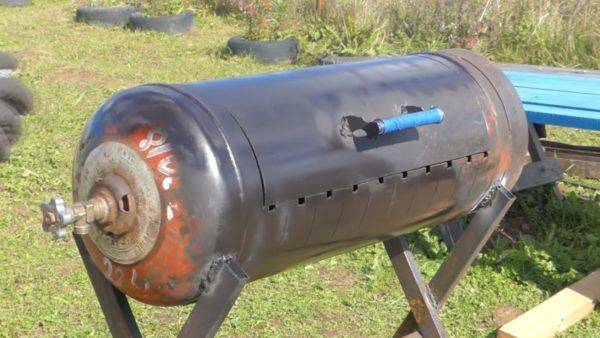

Due to its sharp legs, the charcoal grill is well embedded into the ground and does not lose its stability.
Suitable for the use of coals and wood on it. It is compact and fits in the trunk of any car.
You will be able to decide what iron product you will be able to make on the finances, as well as on the physical capabilities. Look for ideas on websites that post drawings and master classes on how to make useful crafts. Do not be afraid to dream and plan to implement the idea that hit you.
Photos of metal crafts for dacha, home and garden decor