How to draw a tree in pencil: easy illustrations and step-by-step master classes for children and beginners
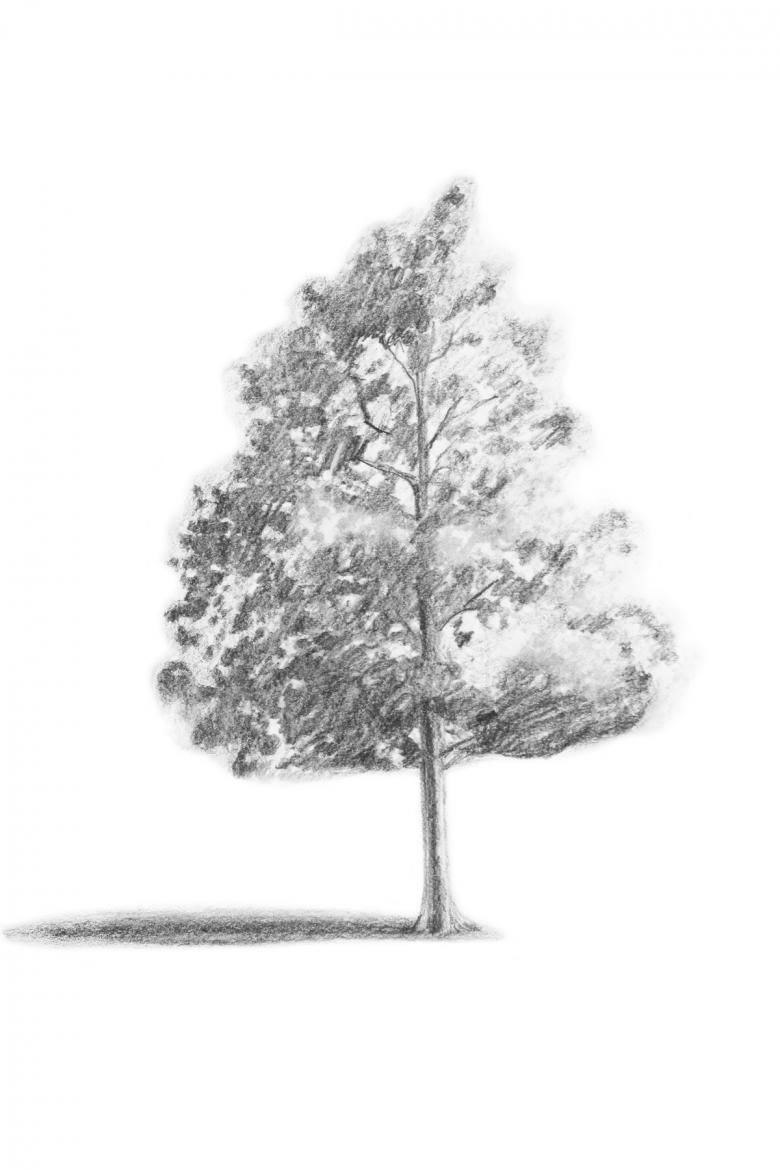
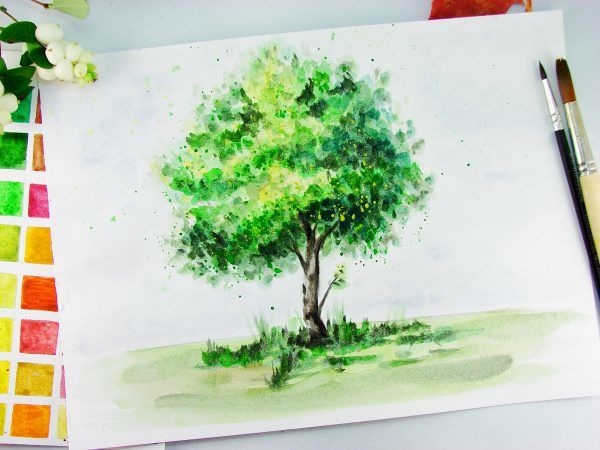
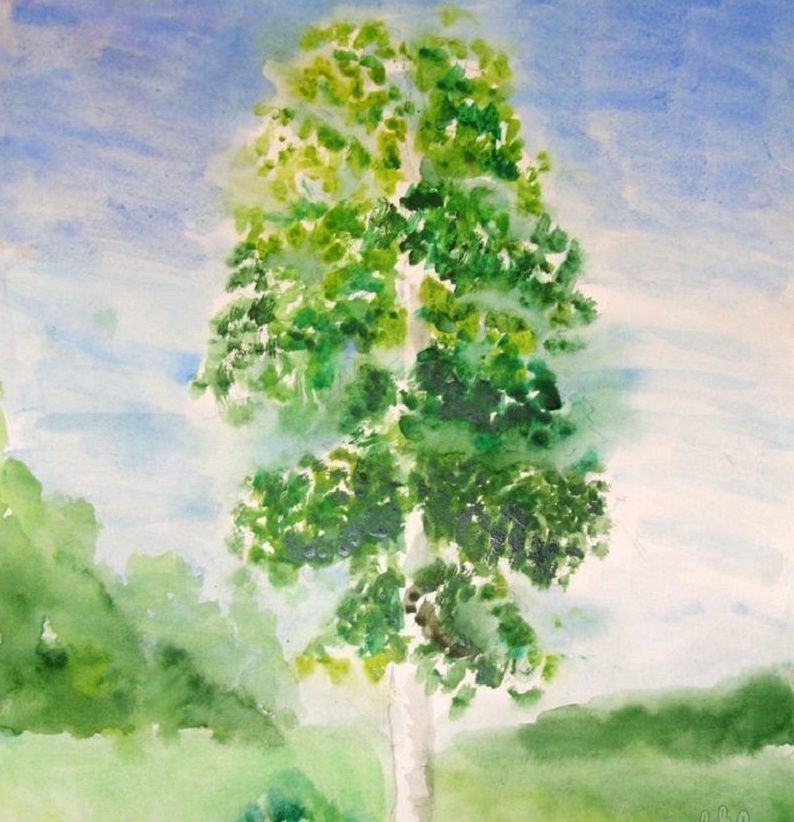
The ability to draw trees is one of the most important elements in creating a landscape. And just the image of a solitary tree looks very beautiful and graceful and can represent a complete picture.
At first glance it seems that drawing a tree is simple and does not require a certain effort, but everything is as it seems at first glance. After all, there are many kinds of trees and the technique of drawing them differs from each other.
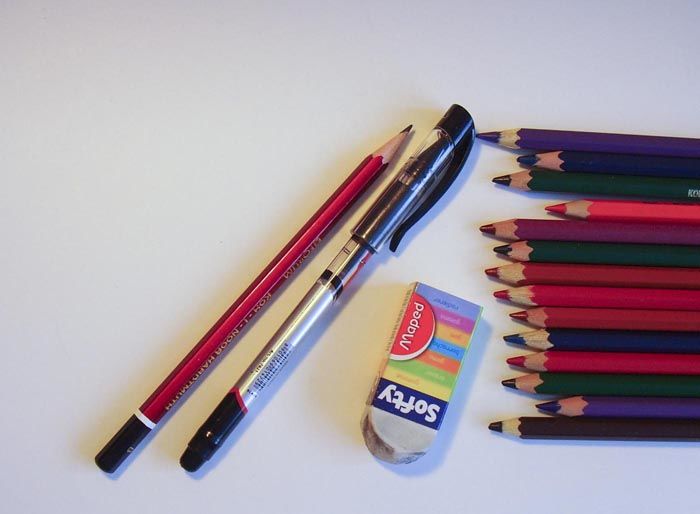
Drawing materials
- A sheet of A4 paper or a sheet of notebook paper.
- H and B pencils (hard and soft) so that you can make strokes of different pressure. It is desirable to have pencils of different degrees of softness and hardness.
- An eraser.
- A clerical knife or sharpener for sharpening pencils.

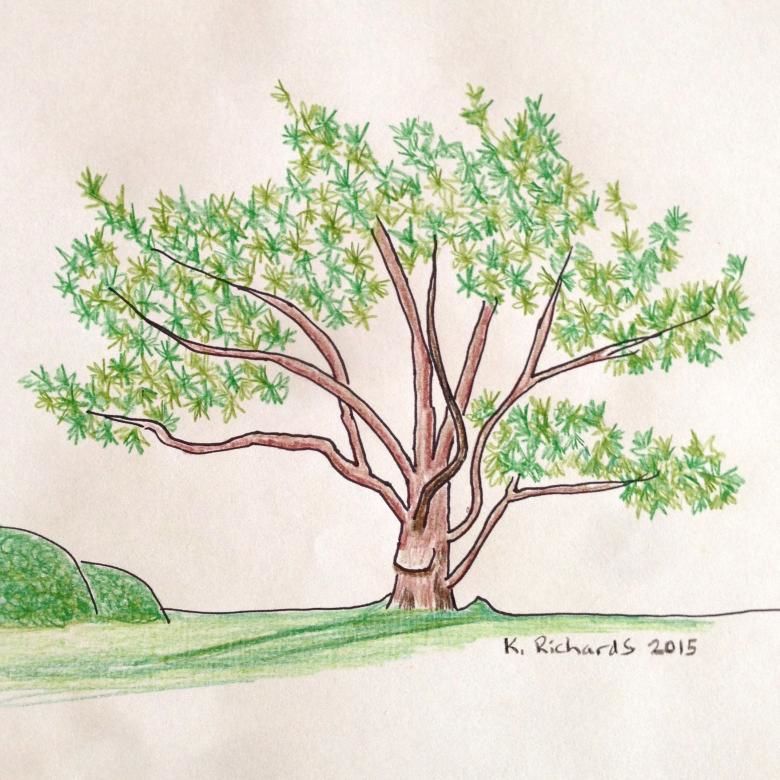
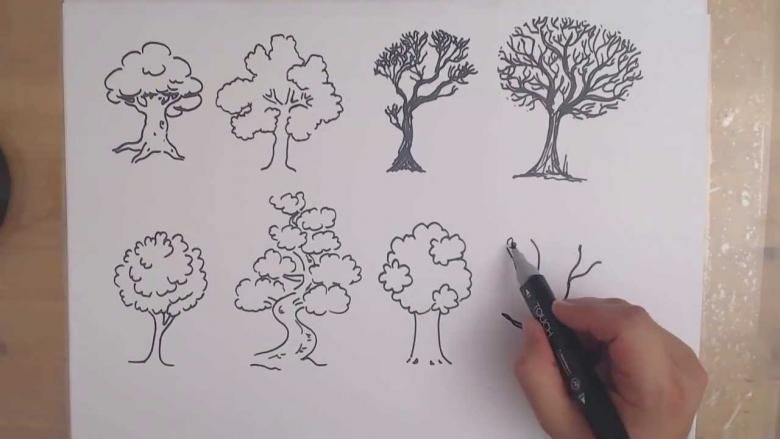
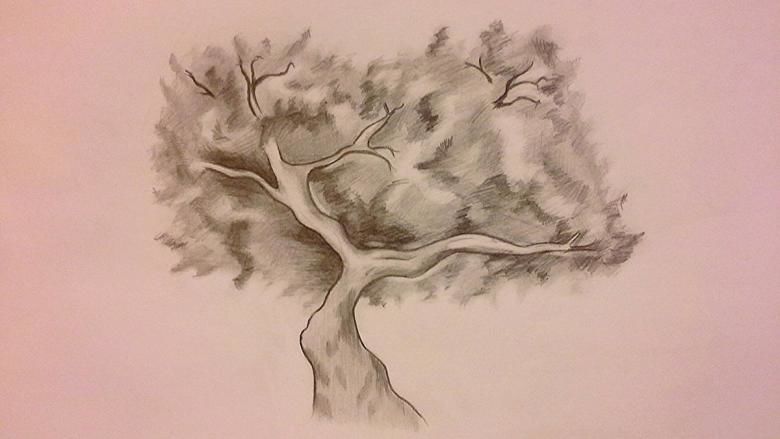
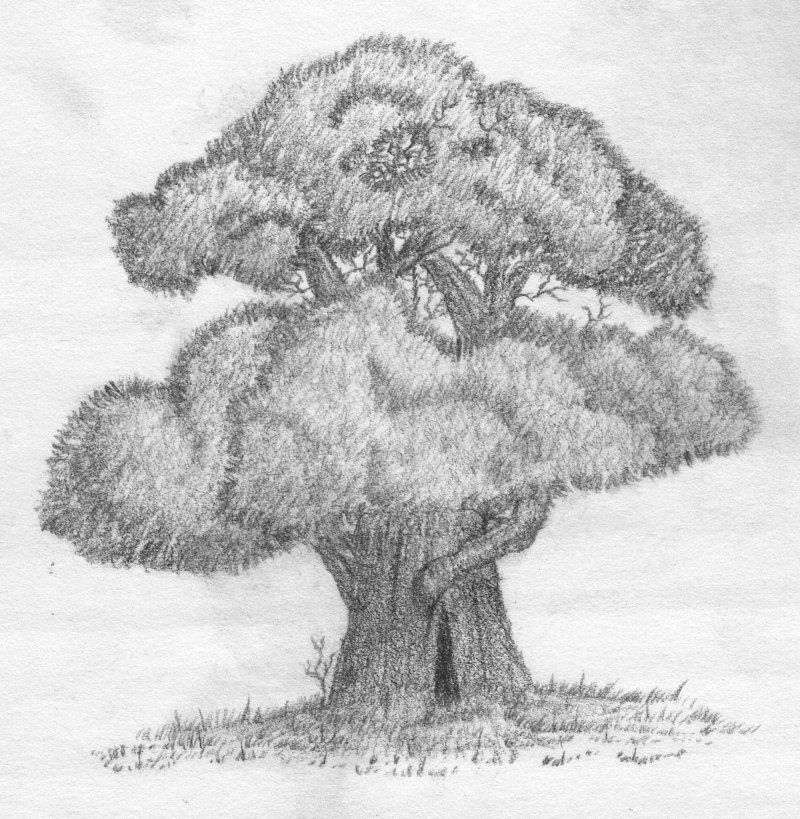
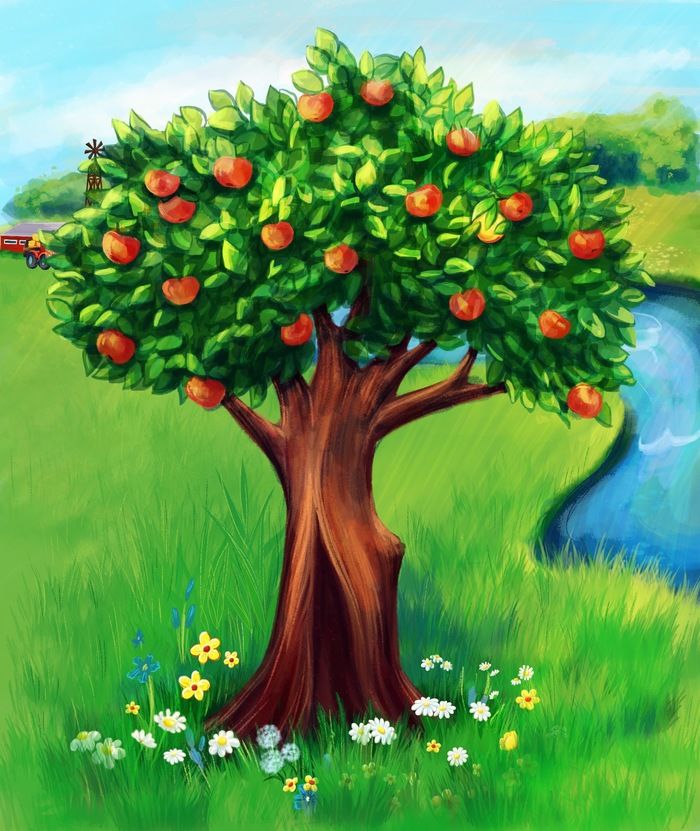
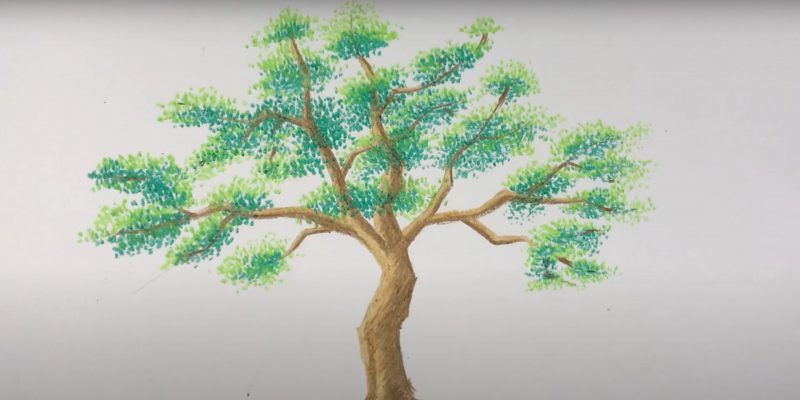
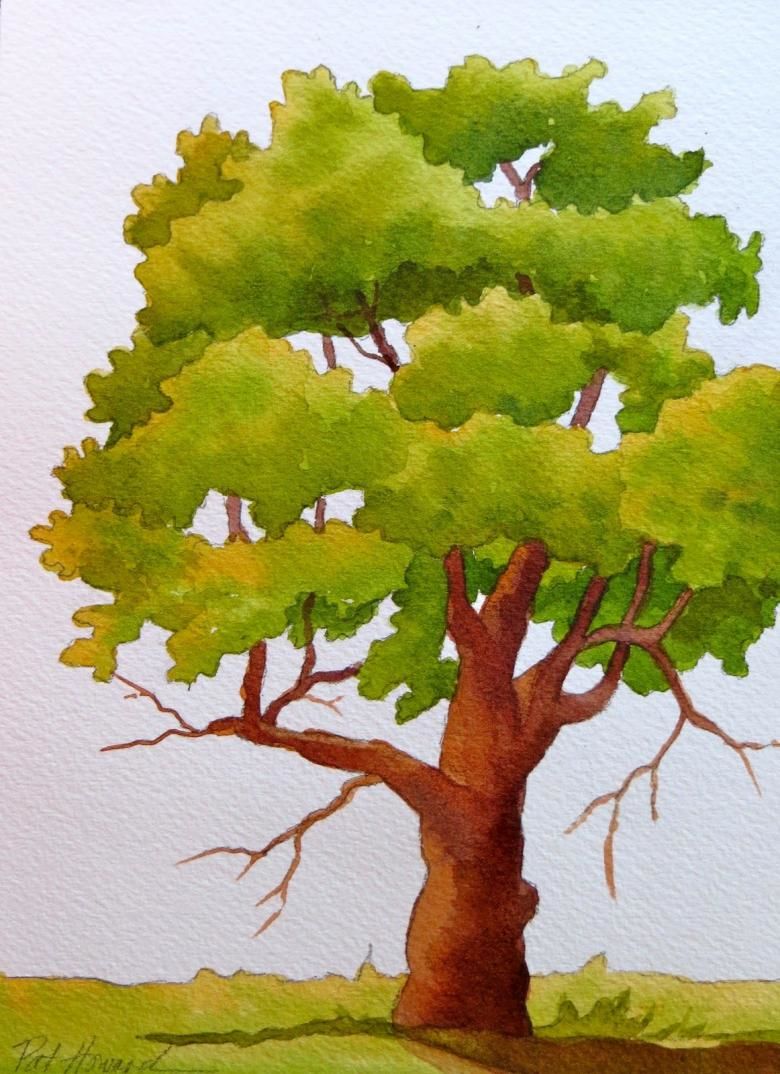
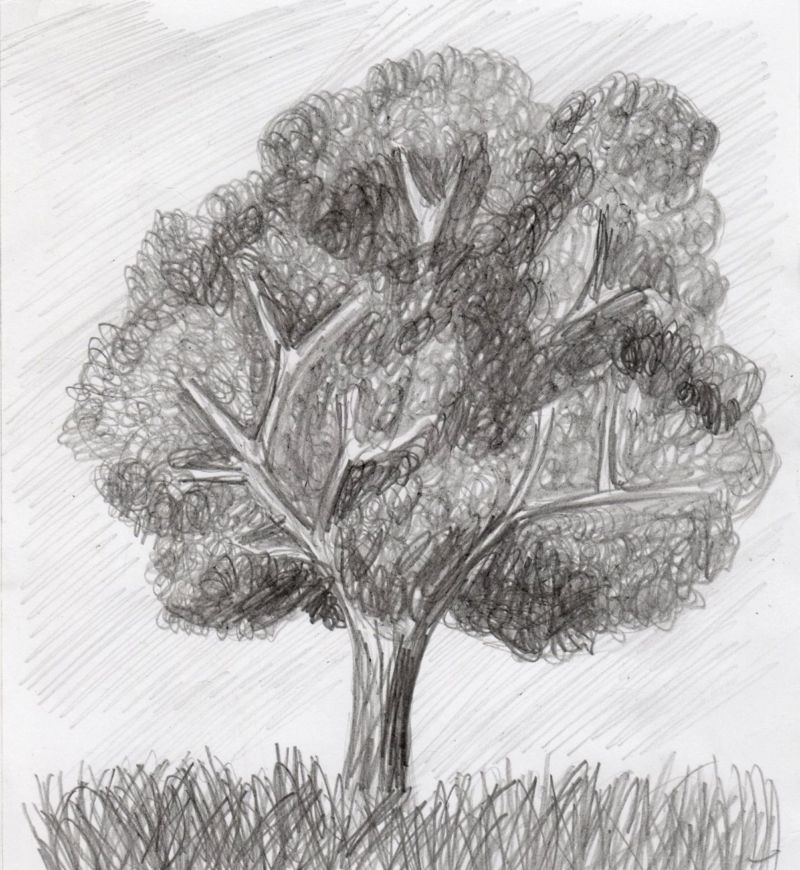
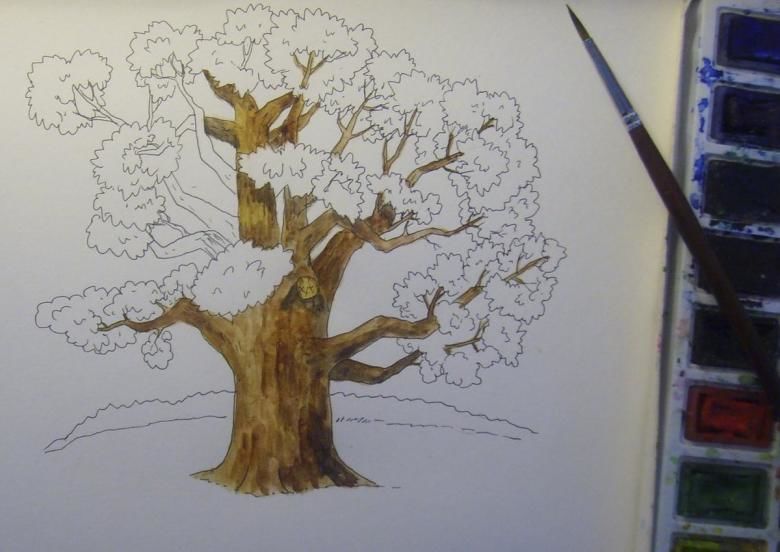
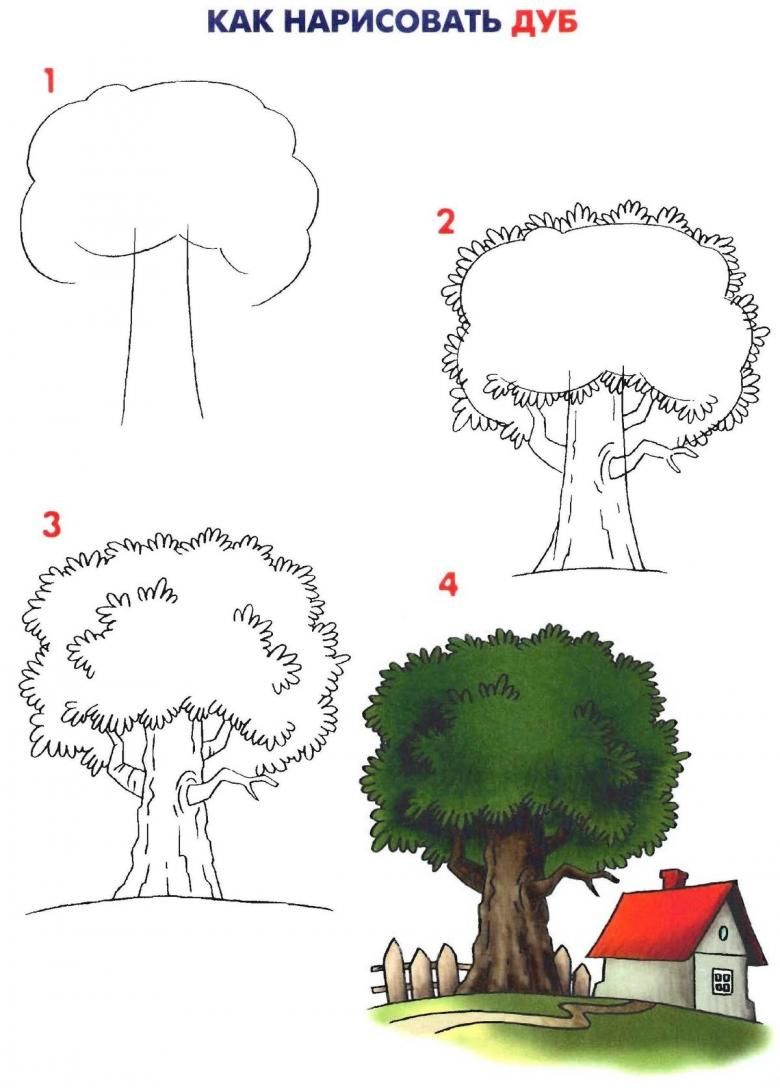
Drawing the oak tree in pencil steps
Let's figure out how to draw a tree step by step.
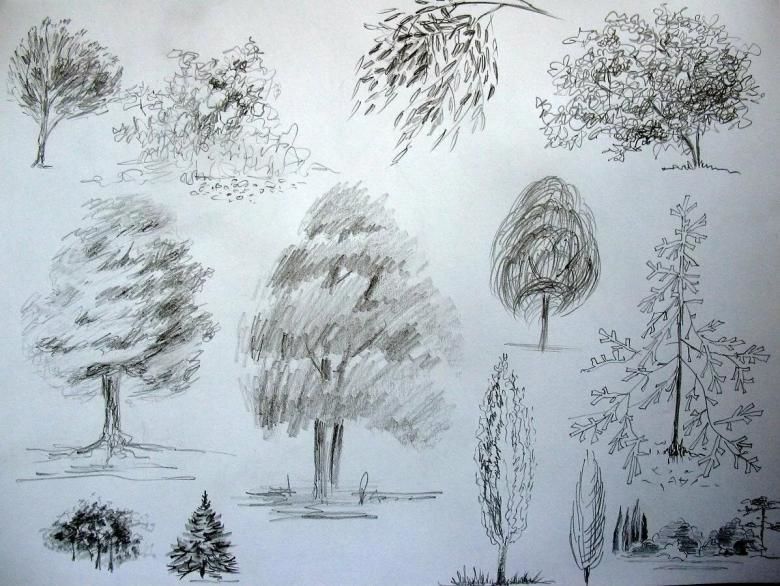
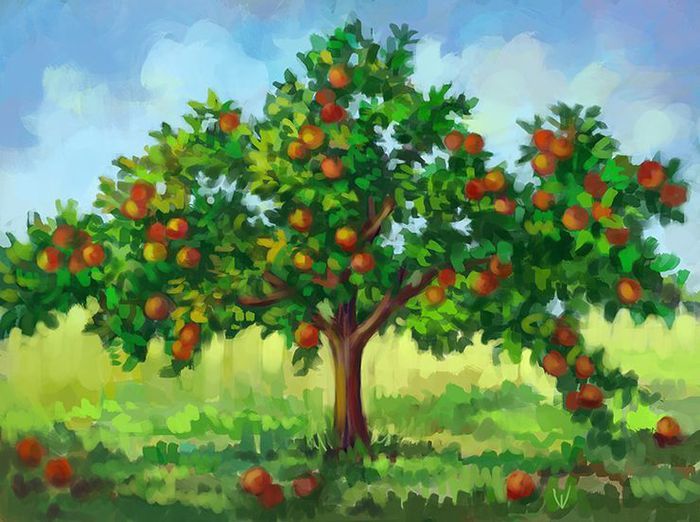
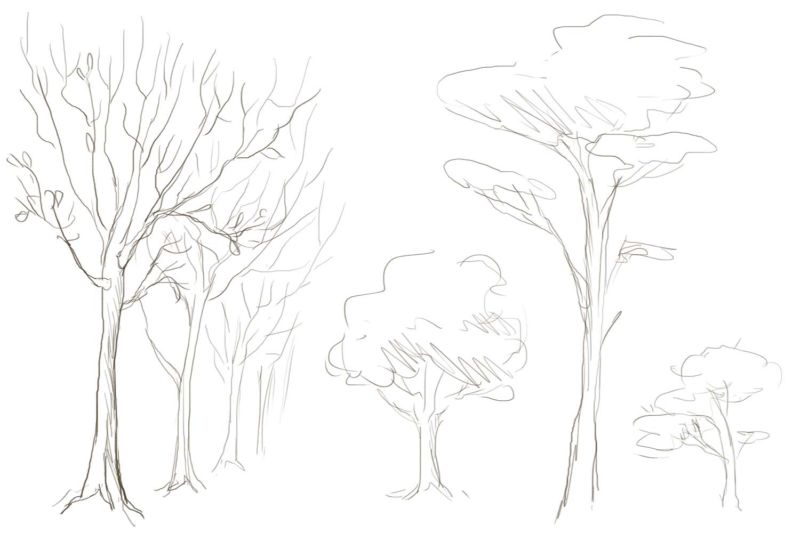
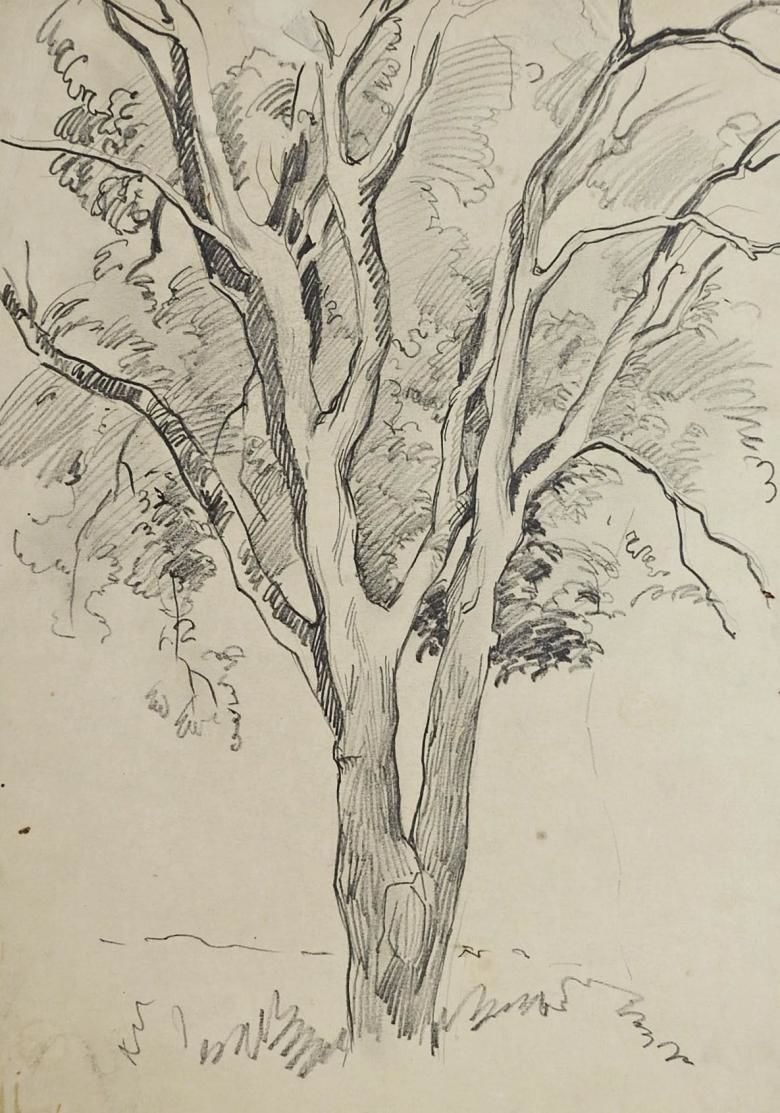
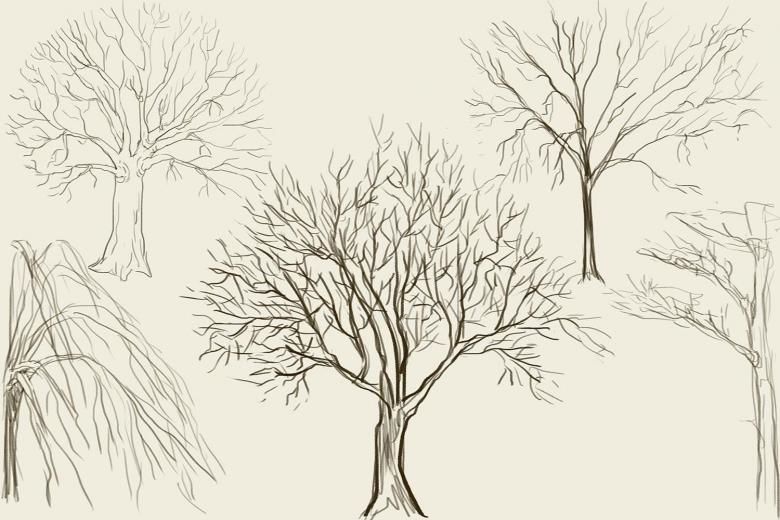
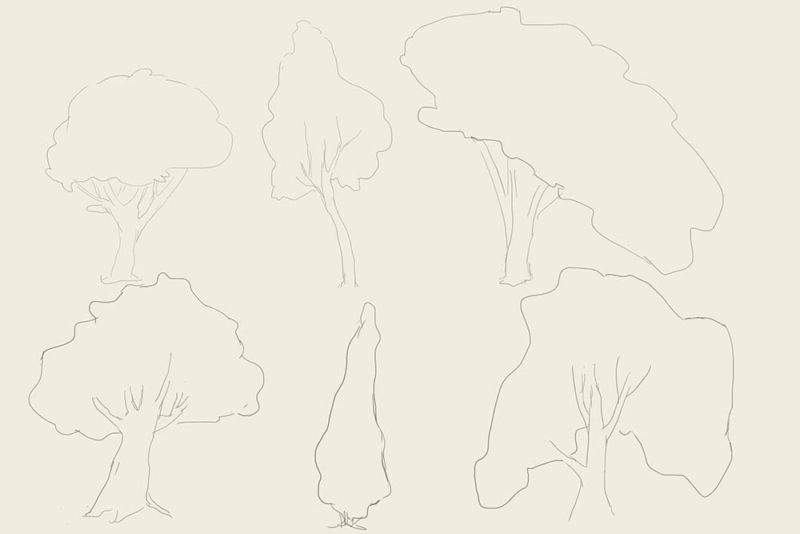
Throughout the drawing, it is better to be guided by a photo or sketch of the tree to catch its shape and features.
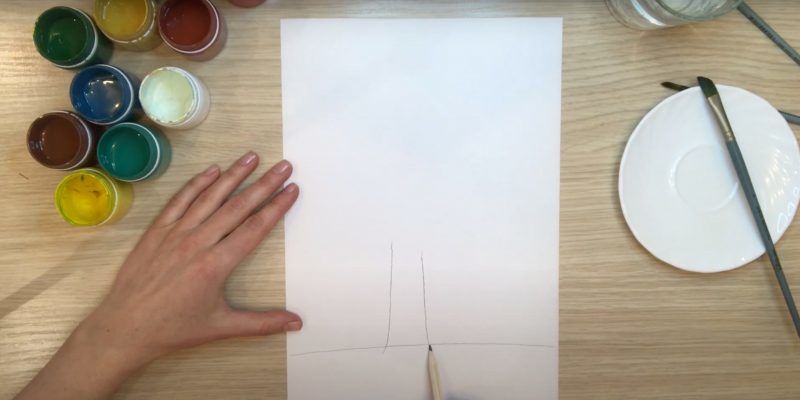
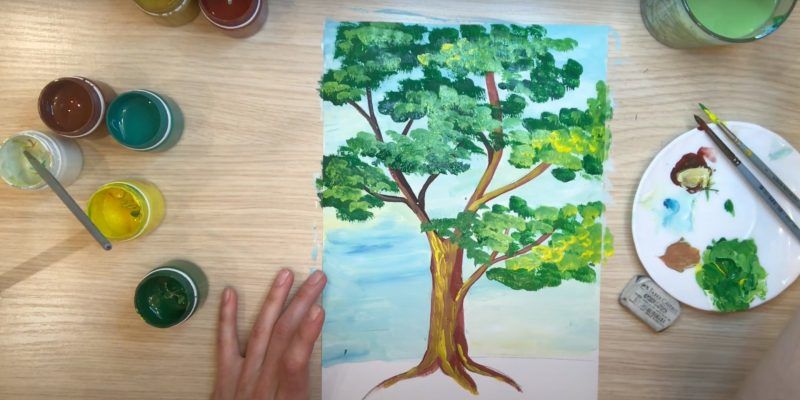
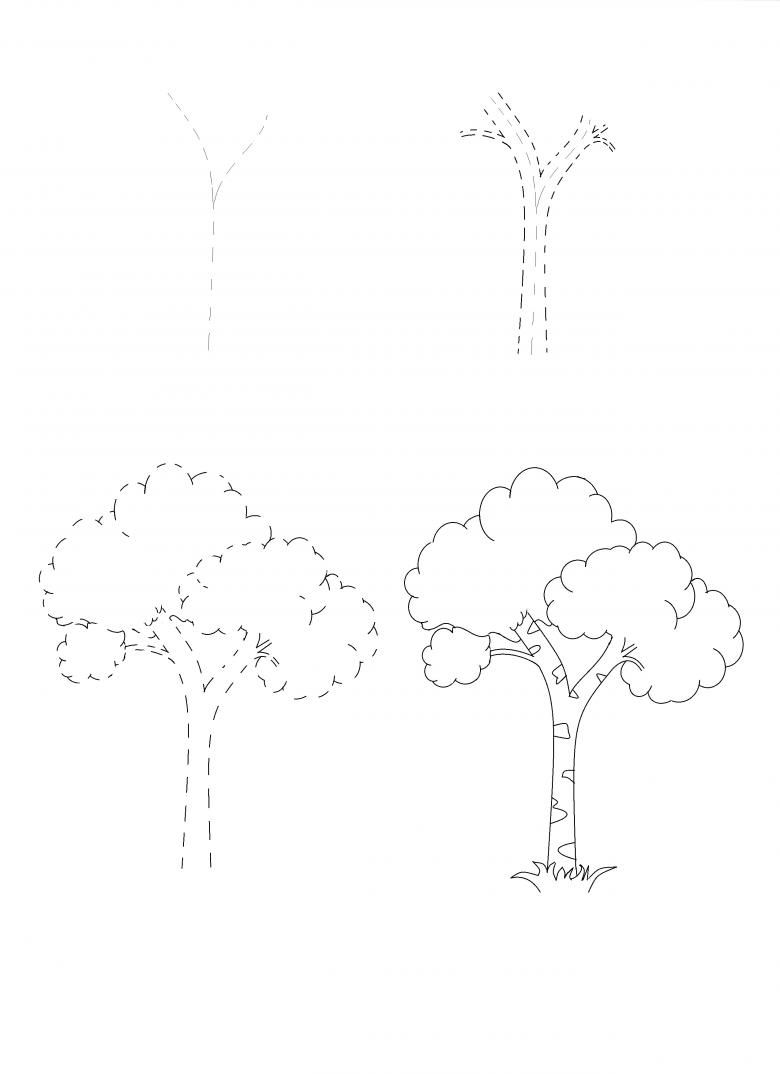
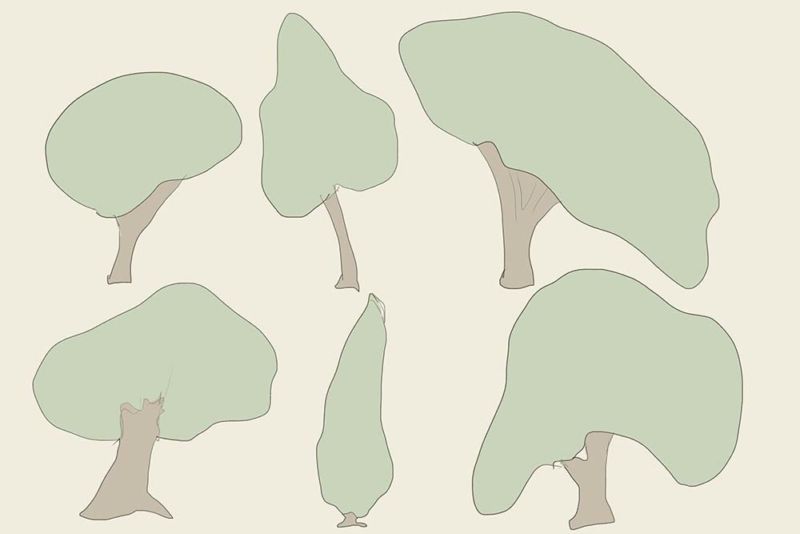
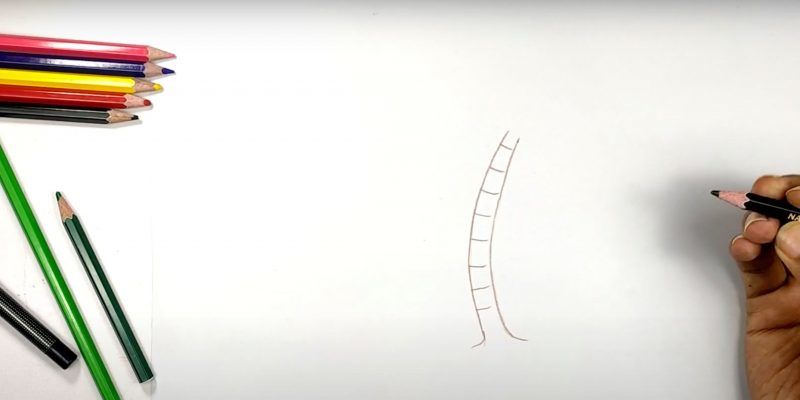
- First you need to depict the tree in general detail. Firstly, with a hard pencil not bright strokes need to draw the shape of the tree. Initially the crown of the tree is a ball.
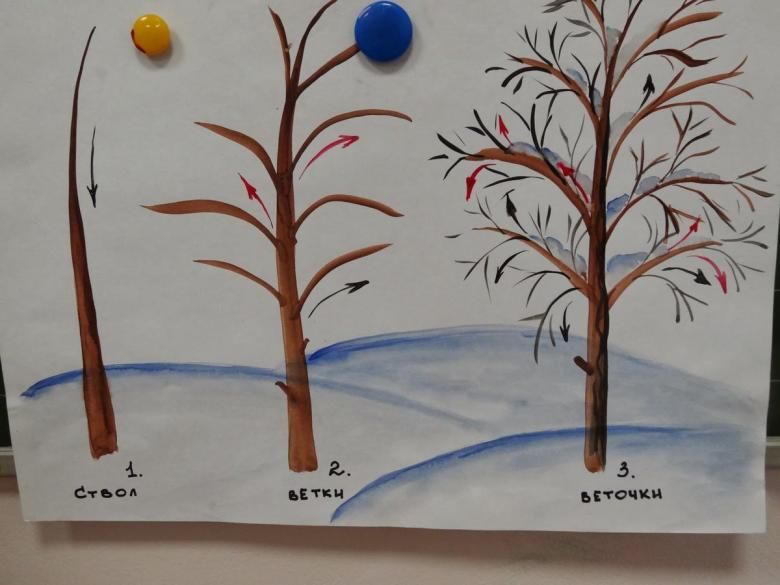
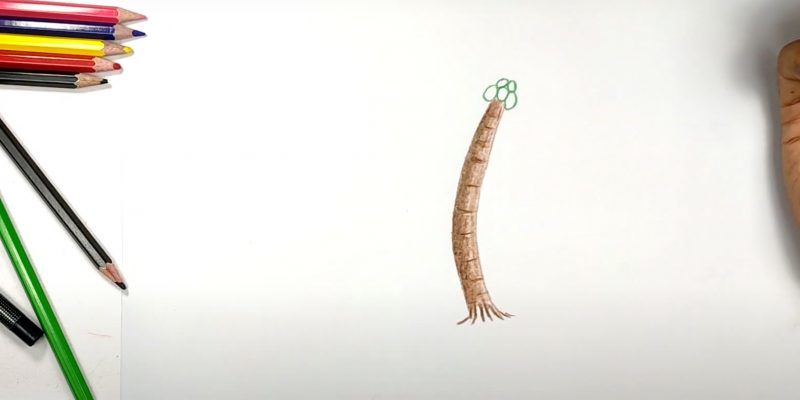
- The trunk of the tree is better to start drawing from the bottom of the wide edge to the narrower top. It is better to draw the bottom part with a soft pencil, so that it is more pronounced. The lower part extends downwards and narrows to the top, you can even draw small roots at the bottom with faint strokes.
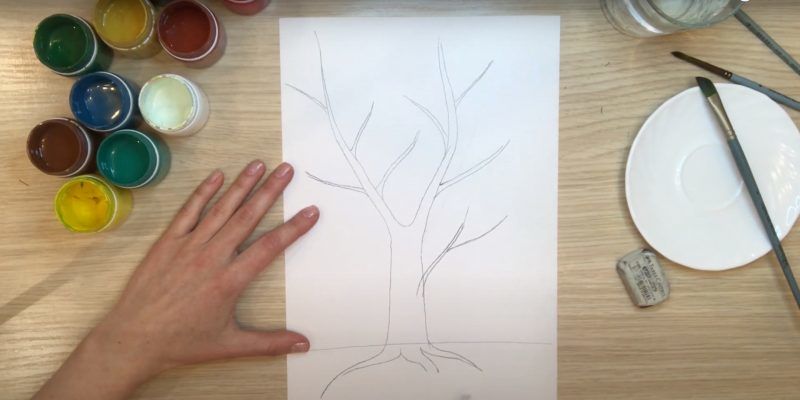
- At this stage it is necessary to draw the branches. Part that joins the main trunk of the tree, thicker and tapered to the edge of the branch. They are drawn with random jagged lines, you do not need to draw any flat figure, it will look unnatural. The branches are also drawn with a hard pencil with not a strong pressure.
- Gradually it is necessary to trace small details on each branch. Other small branches are drawn in the same way as the trunk and the big branches, from wide to narrow. They are drawn even more lightly with inconspicuous strokes.
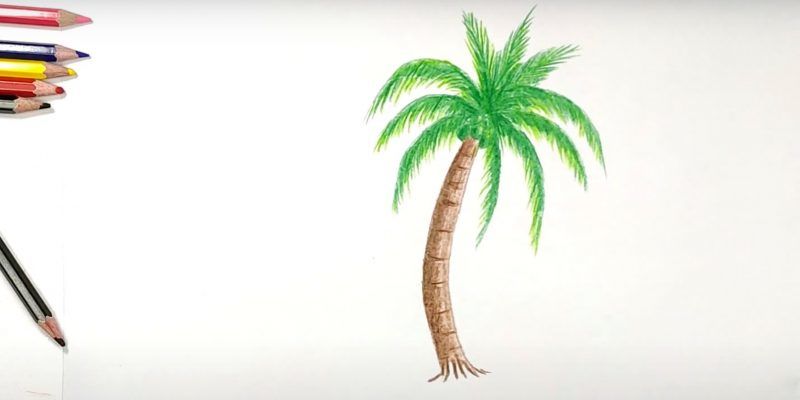
- Light, sharp strokes are needed to draw the crown of the tree. It is drawn with asymmetrical strokes as much as possible, there is no need to draw them, so that the crown looks natural.
- Next, inside the crown, you should draw the shadows on the crown with a hard pencil in different places, but do not need to draw them too often should remain empty places, which will be visible curves of the branches.
- A softer pencil and stronger pressure is used to trace the branches at the base of the trunk. Likewise, in those places where there are voids, leaves and branches are outlined with a stronger pencil pressure.
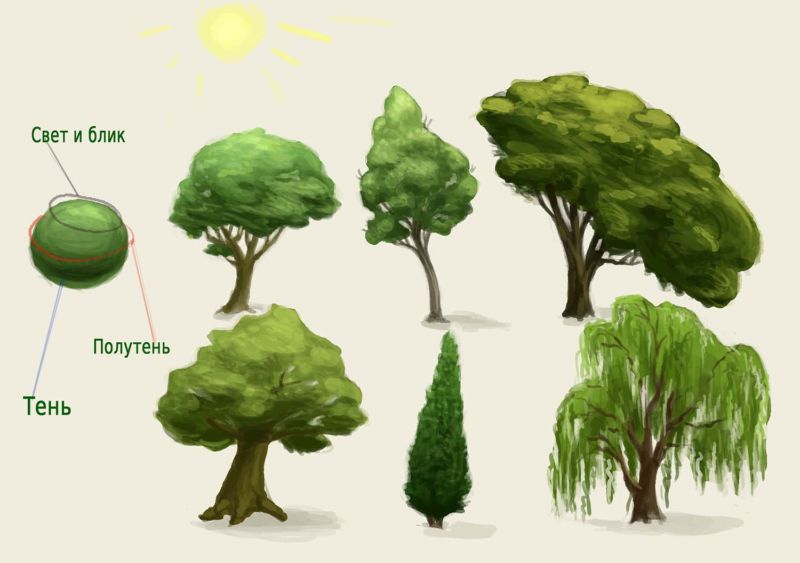
- At this step, you need to mark the places where light and shadows fall. First, you need to determine which side the light falls from. If it will be on the left side, then the right side of the tree, should be darkened, both on the crown and on the trunk. Using a standard hatch, you can mark the shadows on the tree.
- Using a 2B pencil (of a certain softness level), well sharpened, you need to create a three-dimensional texture on the trunk and on the branches. But you should not be too keen on shading, you should leave white gaps in the texture in some places.
- Using soft pencils, you need to darken the trunk even more, focusing on the position of the light beam. The white voids and the black darkening, made with soft pencils, should create the volume structure of the tree bark.
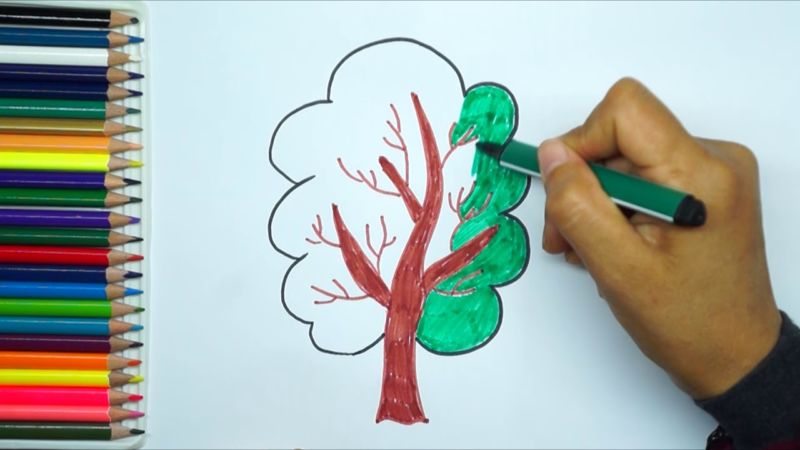
- Now it is necessary to work through the leaves of the oak tree. Using a hard pencil, the outlines are drawn, they should be schematic and look like underdrawn circles or half ovals. It is better to draw them fast sharp movements, it is not necessary to trace each specific leaf.
- The branch represents a single mini-tree, it has a crown, which is the same as the main tree to indicate the light and shade. Focusing on the main source of light, darken the shadow areas. Drawing the dark spots is better with a soft pencil.
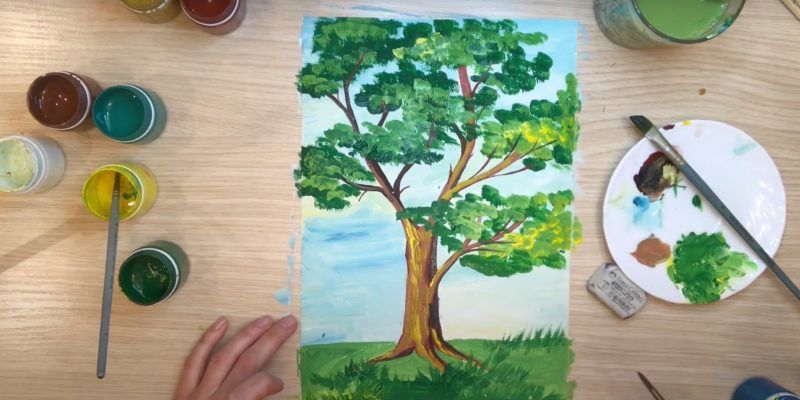
- In the final drawing of the tree with a pencil you need to shade all the places where light falls on the leaves. Light strokes with a hard pencil to go over all the bright spots, so that the tree is different color from the sky and the background.
- Light strokes can indicate the ground and clouds, the main thing that they do not distract attention. The main element in the drawing should be the oak tree.
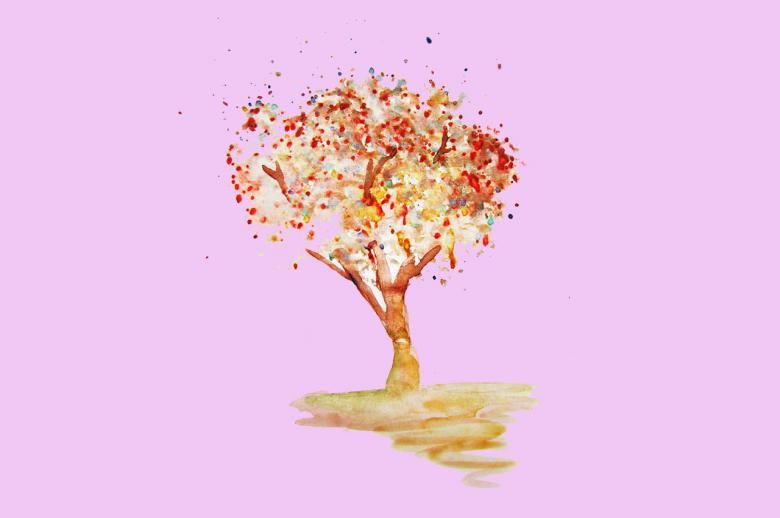
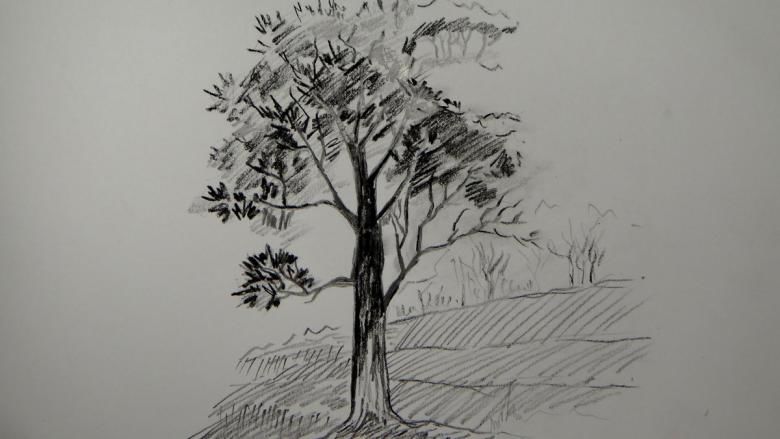
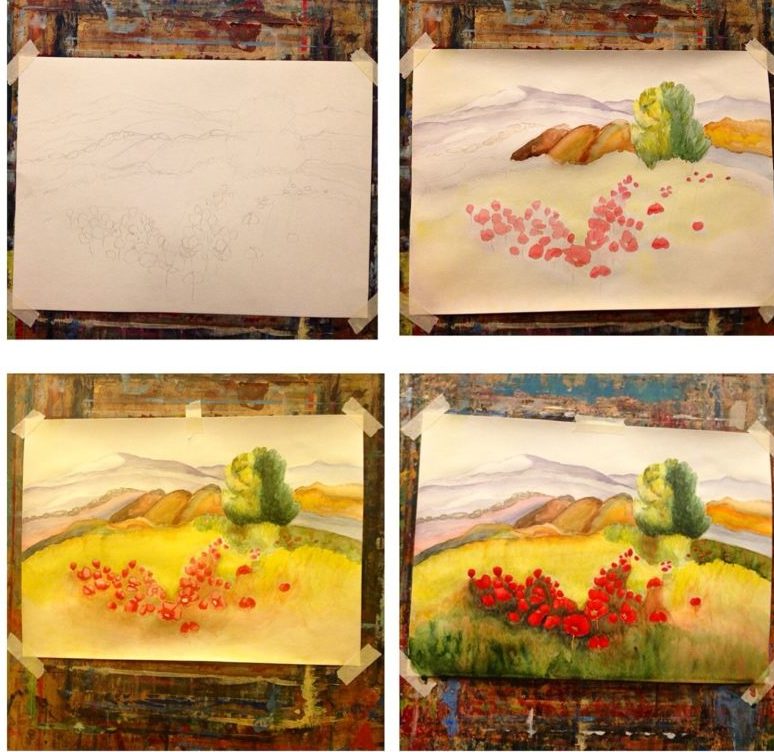
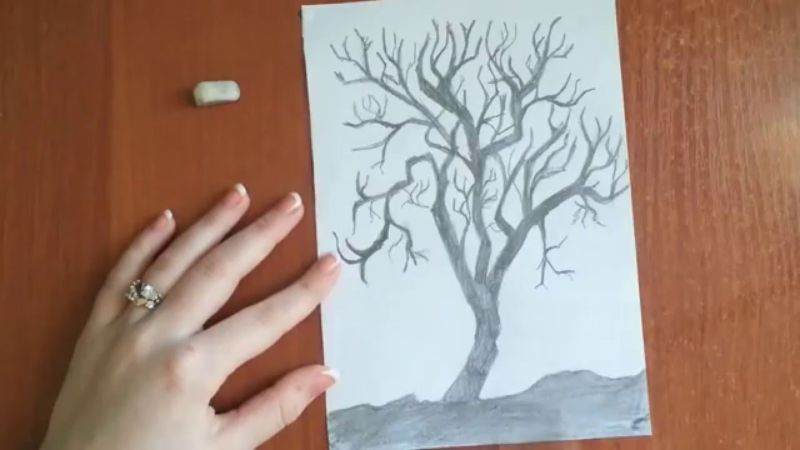
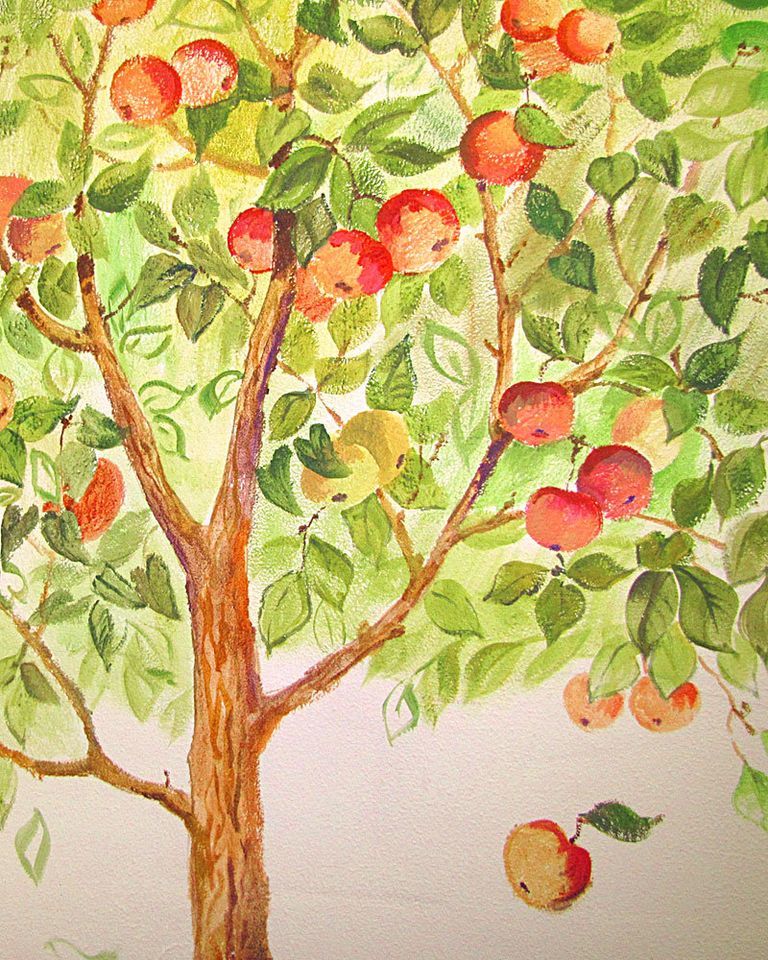
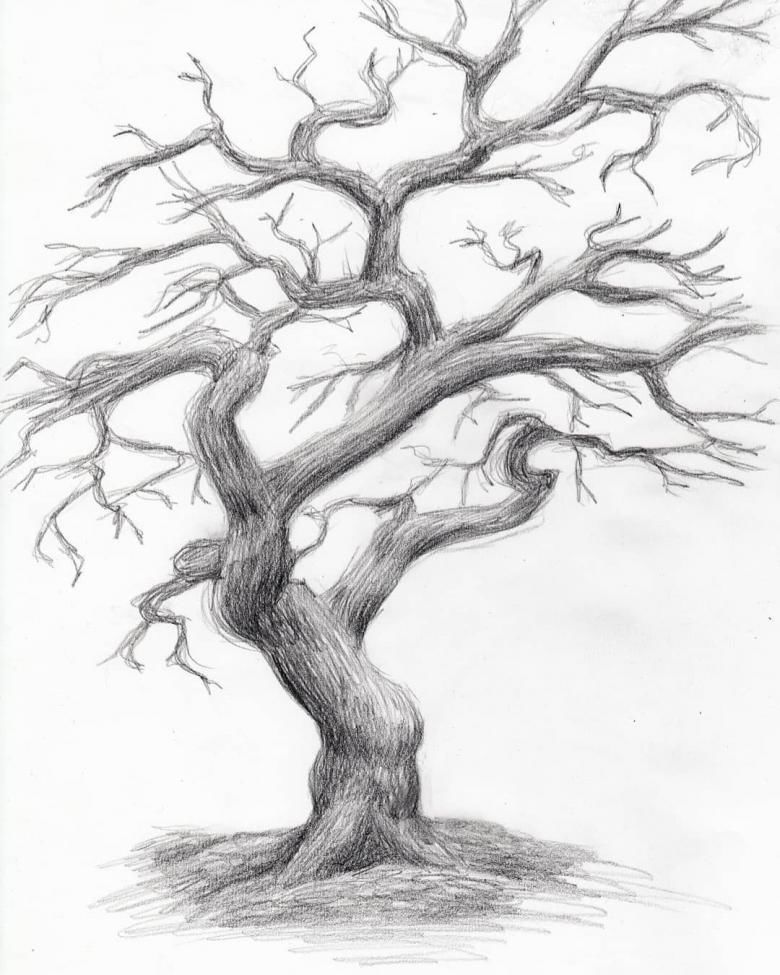
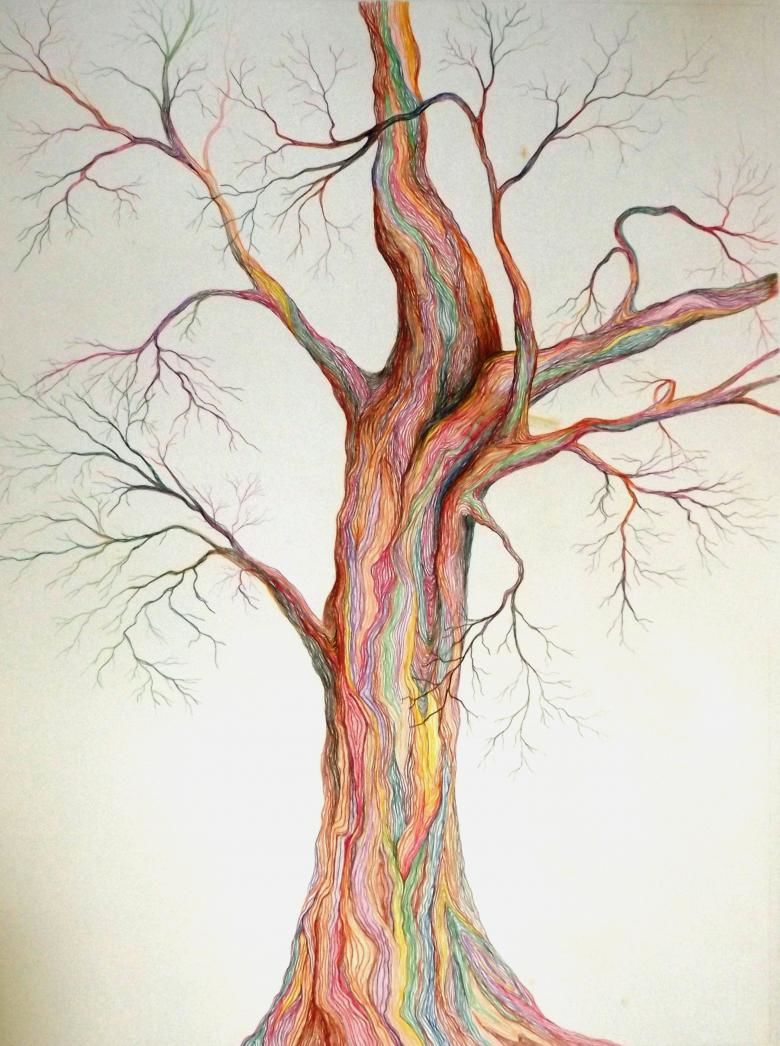
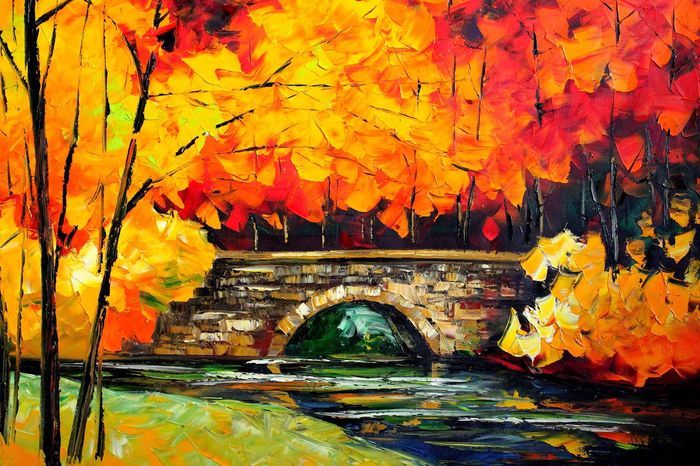
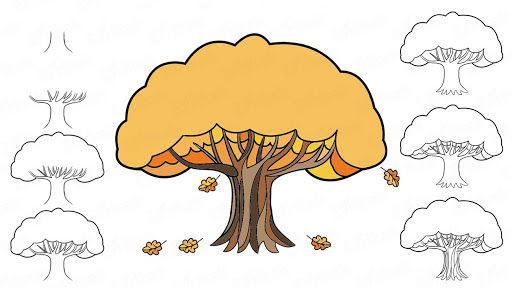
Drawing a sketch of an autumn tree
The autumn tree differs from the usual in that there are very few leaves. Therefore, it is very necessary to work in detail the contours of the branches and the structure of the bark of the tree.
Materials for the image of an autumn tree:
- Soft and hard pencils.
- A sheet of paper, you can take kraft beige or brown paper. This will look unusual, in addition, the tone of the paper corresponds to the coloring of autumn.
- Colored pencils or wax crayons.
- An eraser to erase unnecessary details.
Stages of drawing
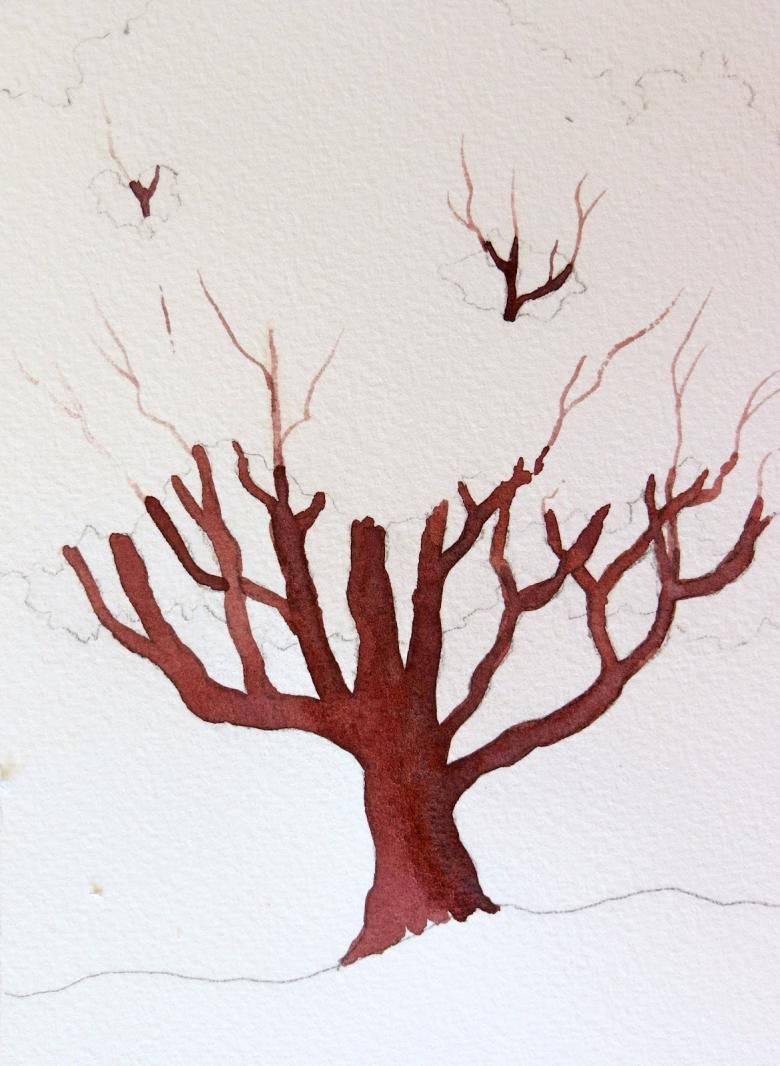
Start drawing using the same technique as the previous tree. A wider edge of the tree is drawn from the bottom of the ground - you can work out in more detail the place where the roots are, depict them with smooth lines. Then the trunk narrows to the top and branched:
- But the branches in the autumn tree are drawn in more detail. As there will be very few leaves, the emphasis is on the branches and trunk. Draw branches better curved jagged lines, do not try to make them the same or with the same gradation to reduce the size. In nature they can be quite diverse, so it is necessary to adhere to this in the drawing.
- Next, it is necessary to draw the small twigs in some places in great detail. It is better to do it with thin, barely visible lines.
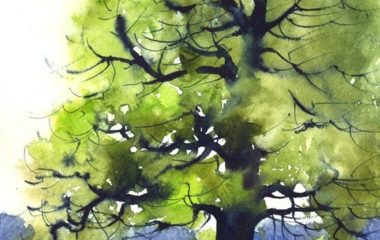
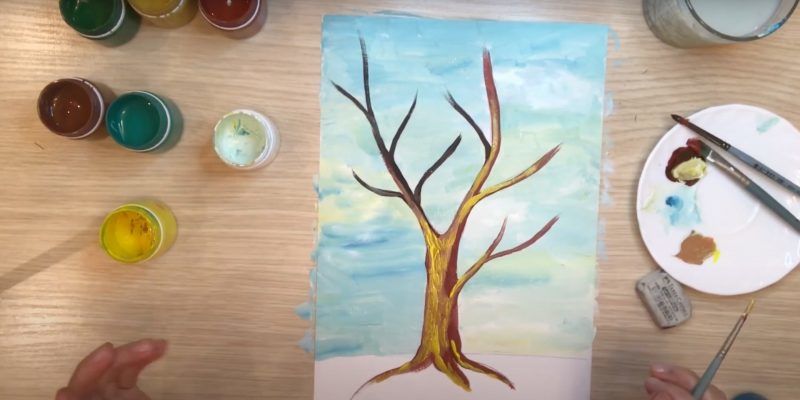
- Denote remaining foliage on the tree. The tree is better to draw in dark brown or reddish shades, terracotta and burgundy, to convey the atmosphere of autumn.
- Just like in the previous version, we indicate the light and shade. On the side where the light falls, the bark of the tree will be lighter, and on the opposite side the dark areas are marked. Also, shady places should be marked in those places where branches are in contact with the trunk, or are interspersed with each other.
- Smooth lines with a soft pencil are drawn on the bark of the tree. Leaves are drawn on the branches themselves and the leaves are clearly visible. They are marked oval with pointed edges, as they are in reality (the shape of the leaves depends on what specific tree you draw). Paint them better yellow and orange.
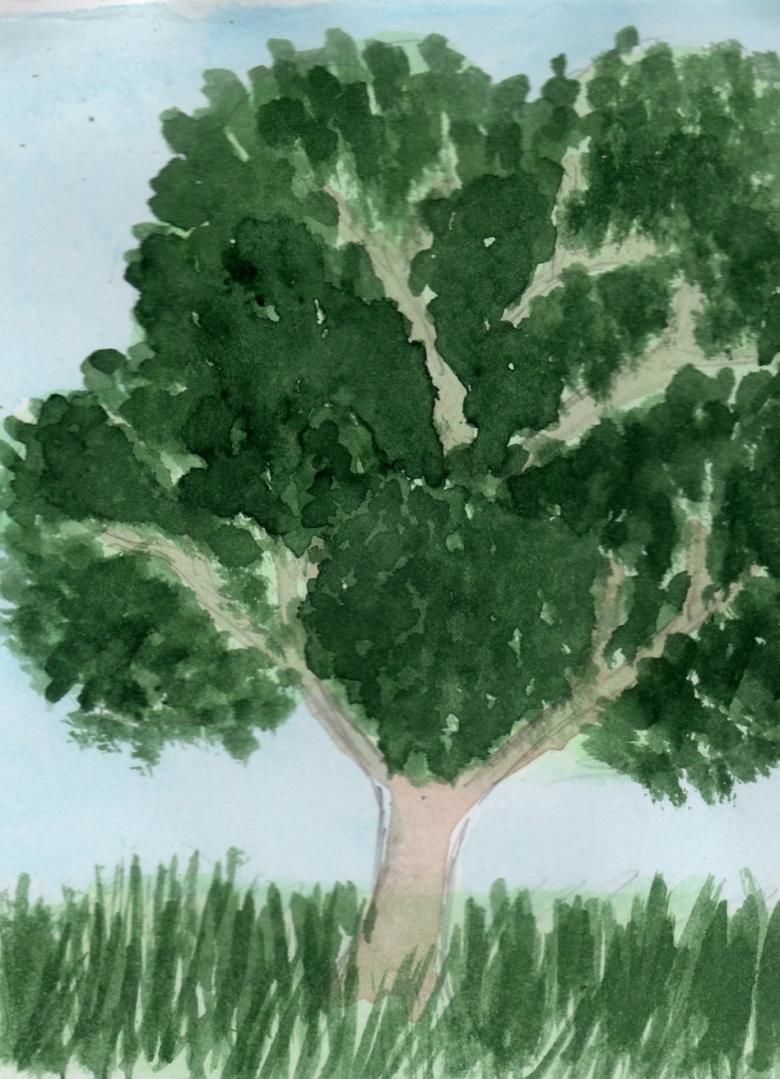
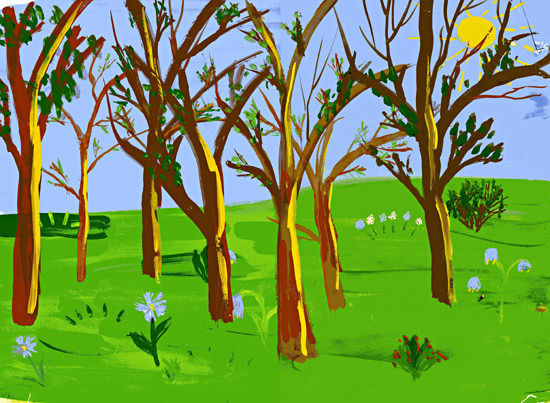
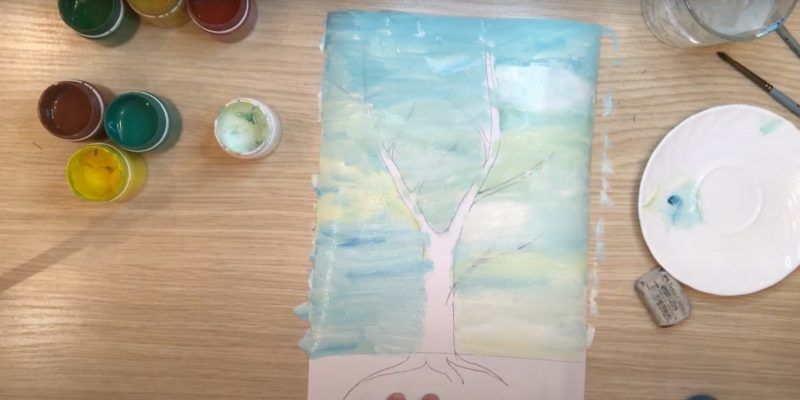
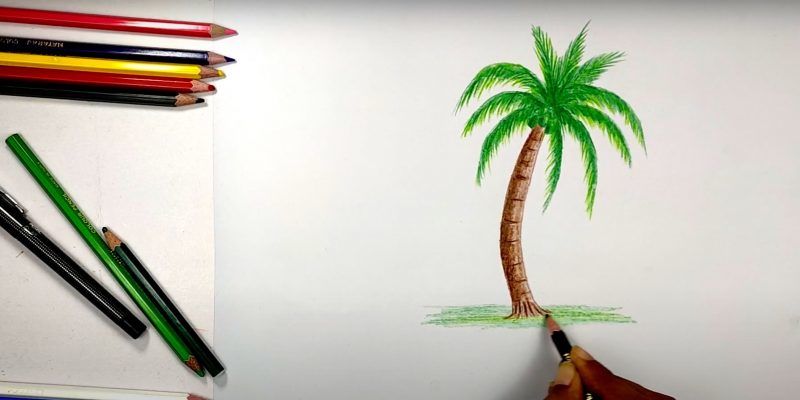
- Around the tree can create the environment. For example, below, where the ground is to draw the fallen leaves in orange and yellow, you can even use reddish shades. Behind the beautiful bright tree with small details drawn, you can paint a gray-blue background - the sky.
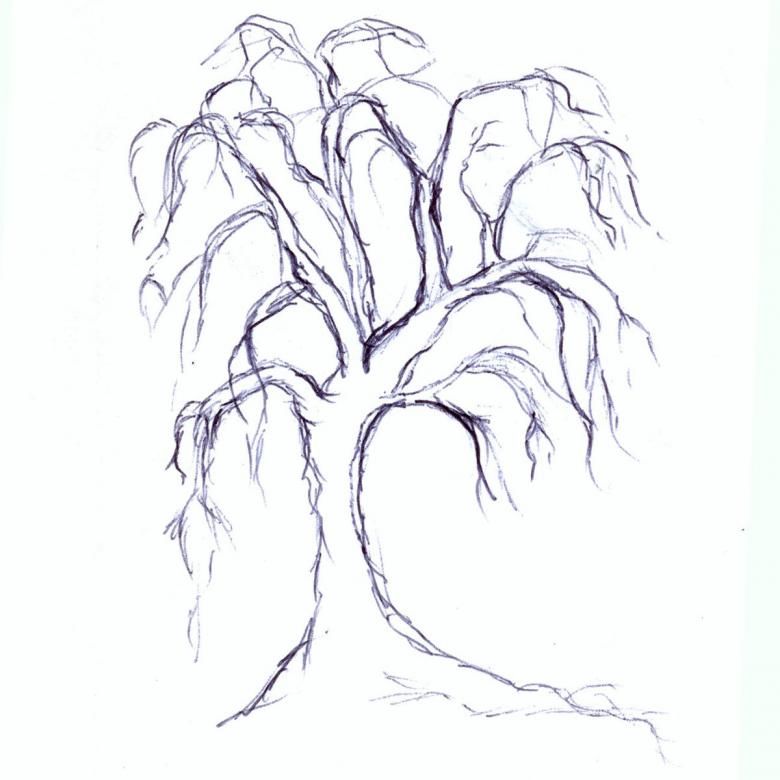
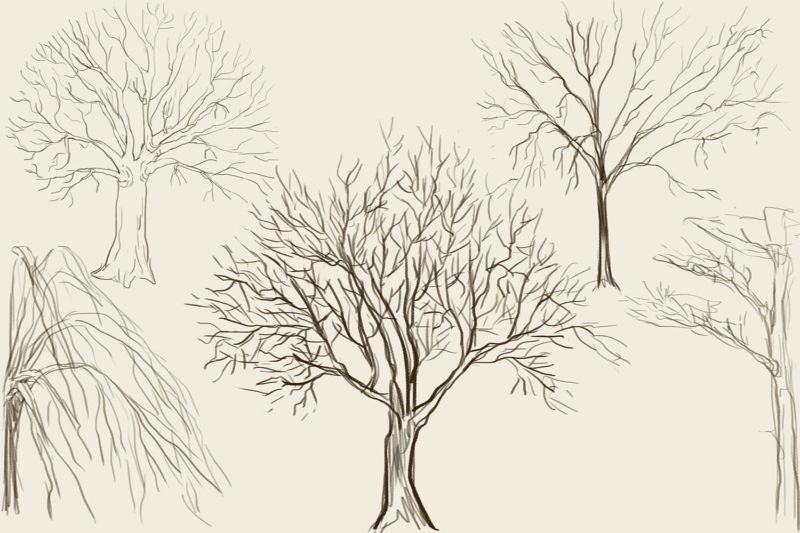
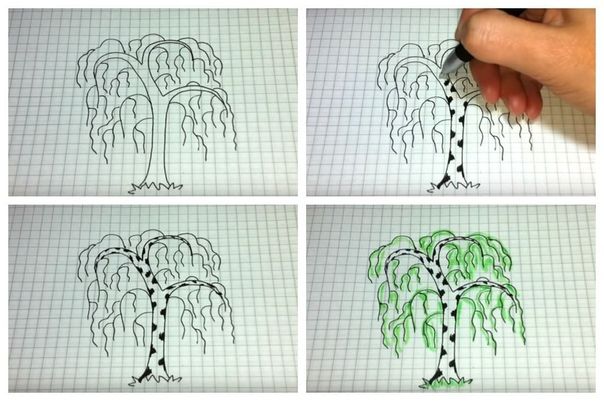
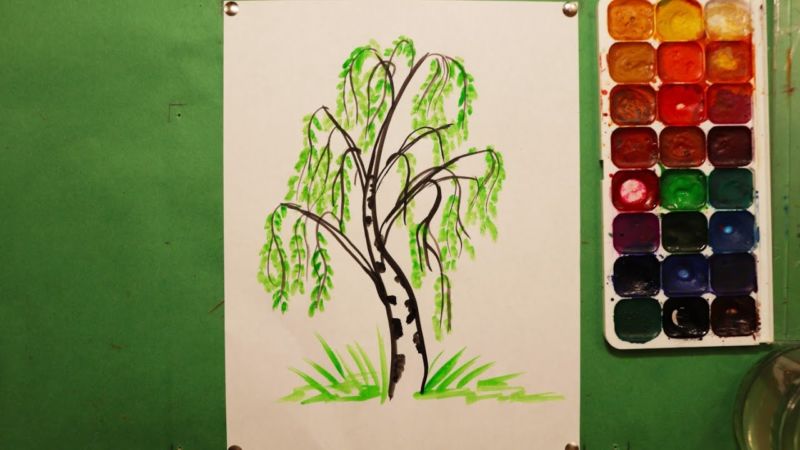
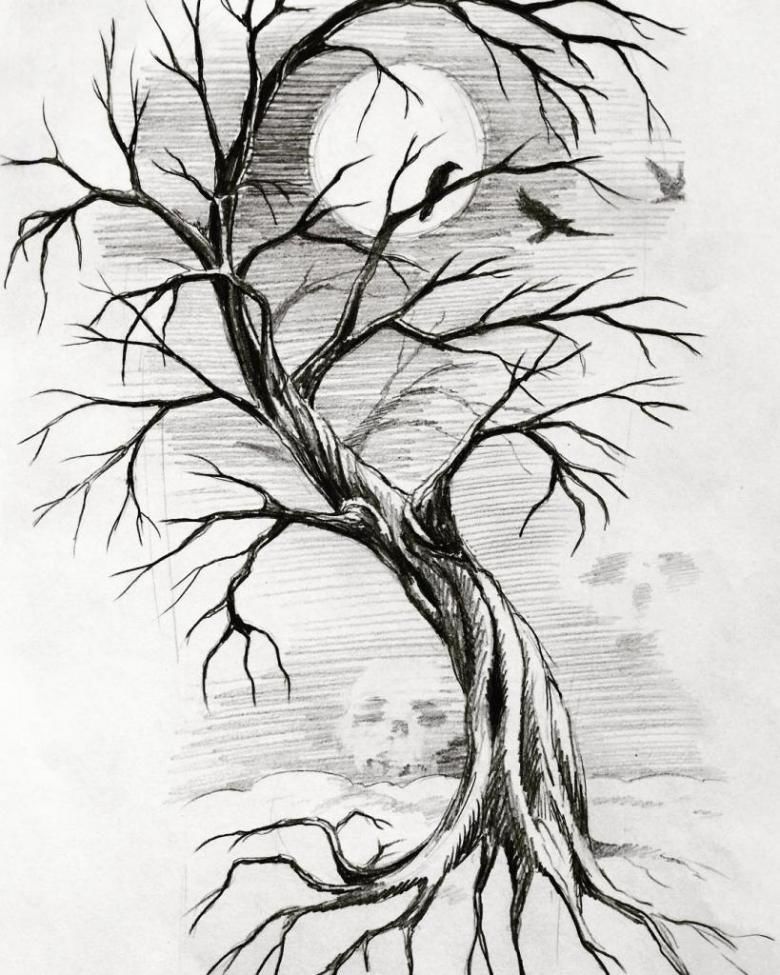
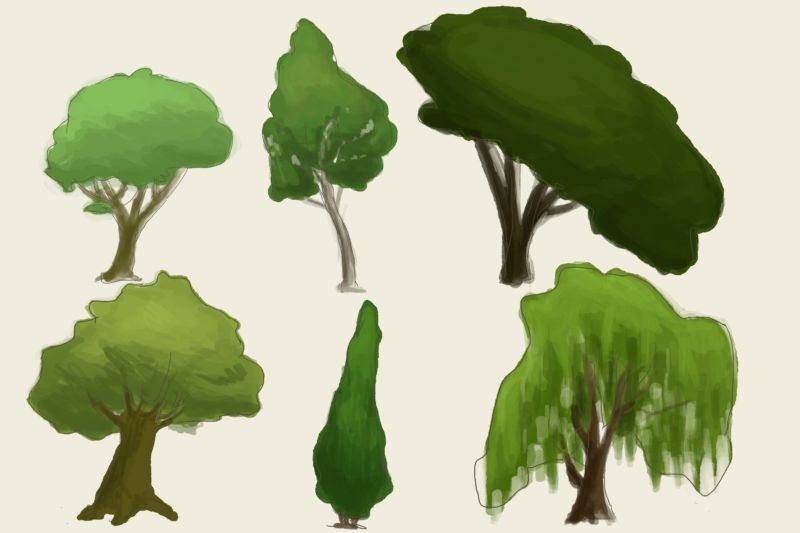
Drawing a weeping willow in pencil
- Building on the previous lessons, draw the trunk and the main branches of the willow. The outline of the tree looks like a fountain. It is drawn with a hard pencil not strong pressure.
- The branches are drawn from top to bottom in smooth arcing lines, turned in two opposite directions from the trunk.
- A softer pencil draws in more detail the main trunk of the tree and the branches close to the trunk. The branches that go down should be smooth and thin.
- The crown of the tree should be depicted in uneven clumps, similar to clouds, which come down smoothly. They are drawn schematically with very thin lines.
- Using a 2B soft pencil, the trunk and main branches of the tree are sketched more tightly with strong pressure.
- Initially the leaves can be depicted with lines that look like wavy ribbons going down. They should be located throughout the crown of the tree.
- The next step is to mark where the light falls. A soft pencil is used to highlight the dark places. Clumps of leaves are marked with dark harsh strokes. The shadows and light fragments should be in harmony with each other, so as not to create the effect of a dark spot, or there were no white voids. Next, you can draw elongated oval leaves, but in some places it is important not to overdo it, so that the image does not look fractional.
- Just as in the previous options under the painted tree you can mark the ground, beside you can depict the water, light shading to indicate the sky.

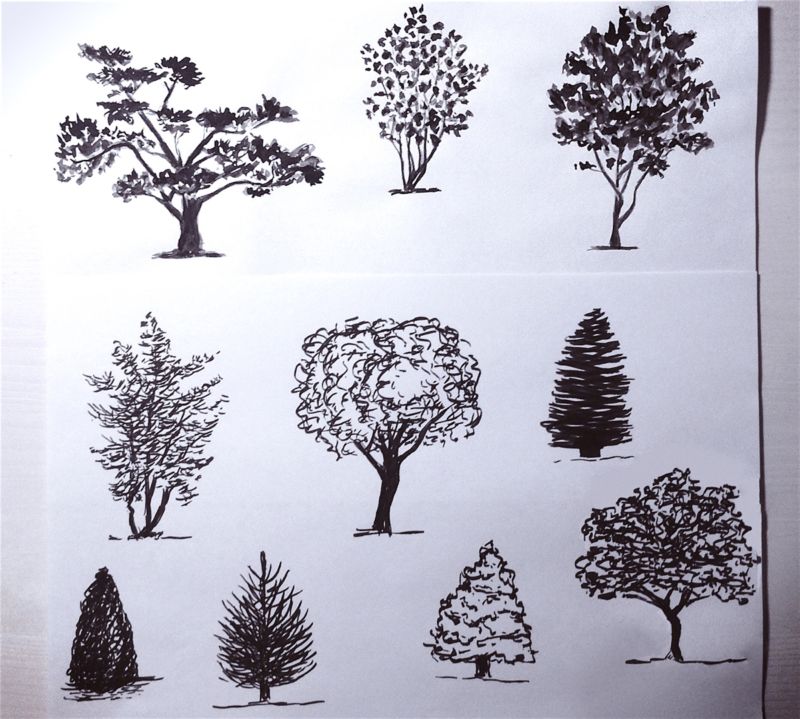
These lessons present several ways of drawing different trees. Focusing on the step-by-step execution of the work, you can successfully depict and other species of trees with the support of the image selected as a sample.
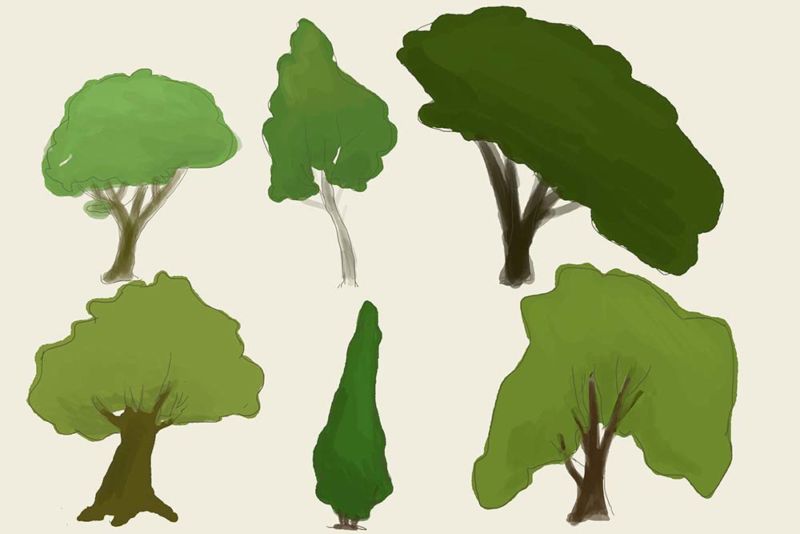
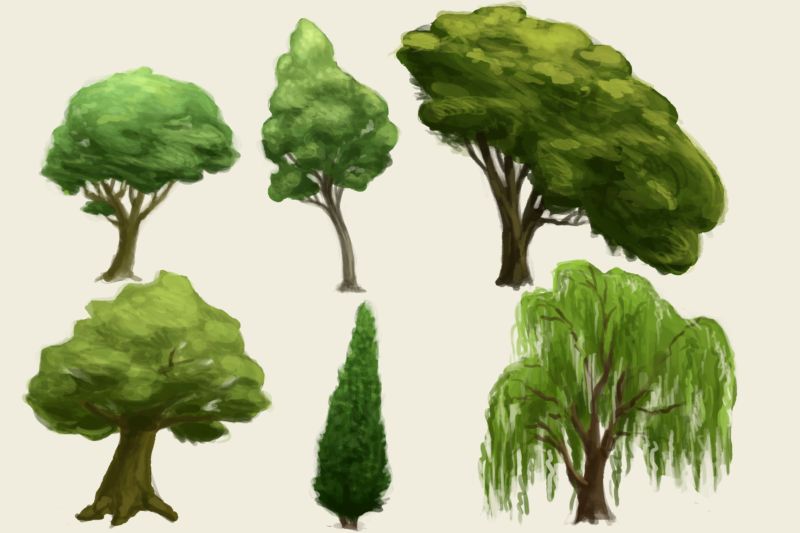
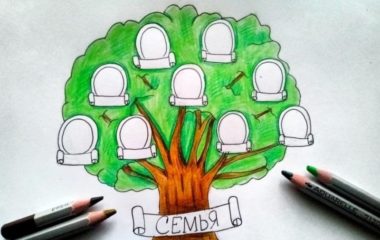
Pictures of painted trees