How to draw a car in pencil - easy masterclasses for drawing a light and sporty car
Every time a child grows up, he goes through a stage where he wants to draw a variety of machinery. Especially cars, which surround us constantly in everyday life. Children especially boys ask to buy toy cars.
They like to portray them in a variety of drawings and pictures. If they do not come out very beginning to ask adults for help. Not every adult can properly show and tell you how to draw a car easy and simple. You can look for a long time on the Internet to find an answer to this question.
There are a variety of drawing techniques, but they can't always be simple and explained in simple and accessible language that a child can understand. You can try to enroll in fine arts courses, but you don't always have time to go to them.
Let's try in this article to deal with all these issues and make life a little easier for parents and their children.
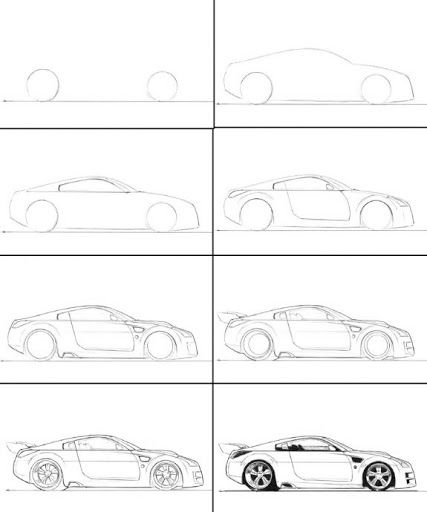
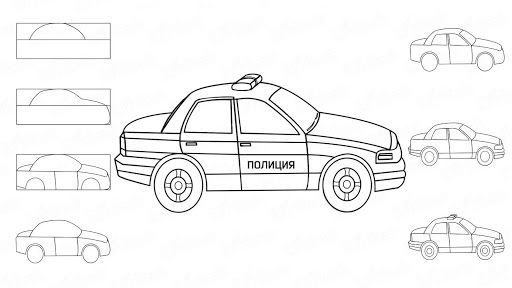
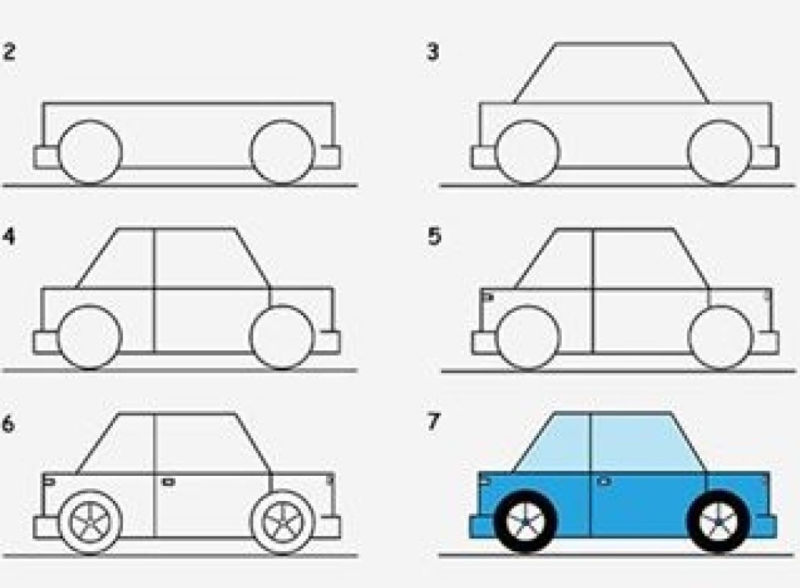
Passenger Car
For a child to initially draw a car can be quite difficult. Let's try to make drawings of cars strictly following the sequence of all steps. For this we need regular paper and felt-tip pens of different colors or colored pencils:
- At the initial stage, at the bottom of the sheet, placed horizontally, draw two circles at some distance from each other, located in the same plane. These will be the spikelets.
- Somewhat below the centers of the circles, connecting them from edge to edge, draw a horizontal line that will be the bottom of the machine.
- On the other side of each circle build small horizontal straight lines.
- Obtained lines connect the arc. This will be the cabin.
- Above the drawn arc build another one of a little less length. This will be the roof.
- At the front in the middle part of the drawn cabin with a small arc draw a headlight, which is located in front.
- Cab and roof divide in half with a vertical segment.
- Between the roof and the cab a horizontal straight line.
- On the body by means of a few segments depict the side doors of the car.
- Inside the wheels draw another small circle.
- Below the wheels draw a horizontal line, which will represent a road in our drawing.
You can paint the resulting car. Try to use colors typical for cars.
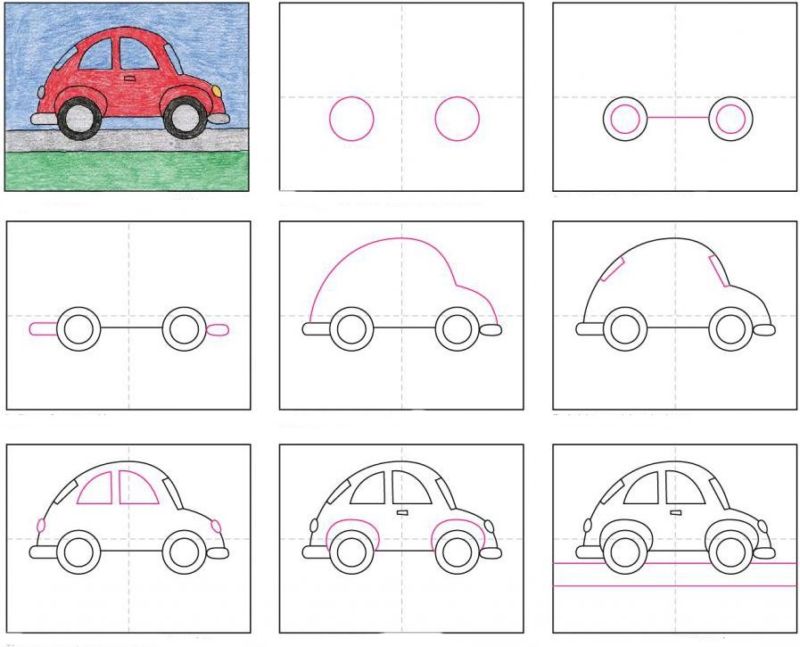
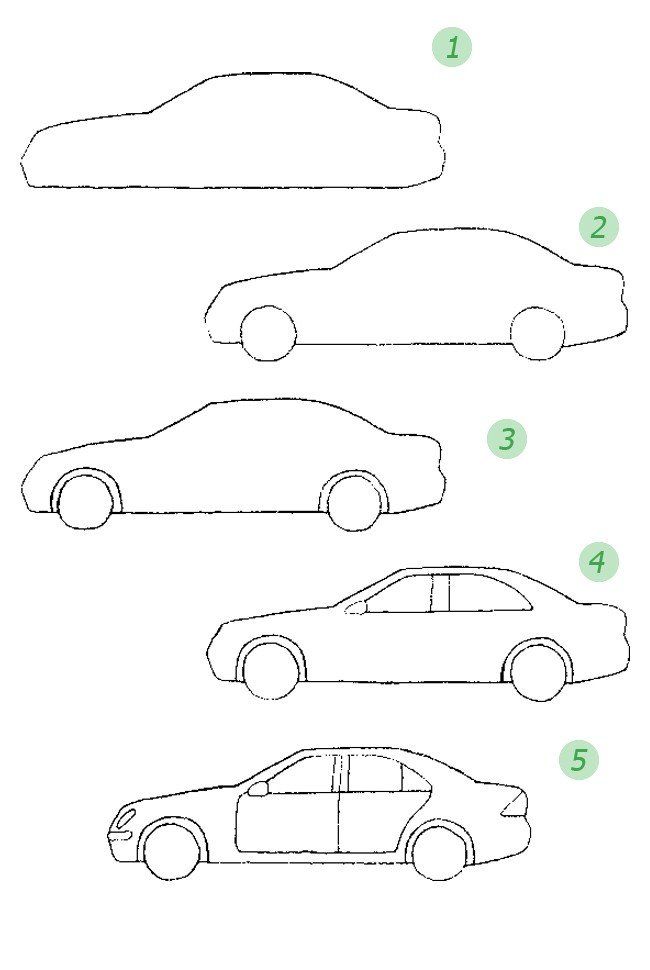
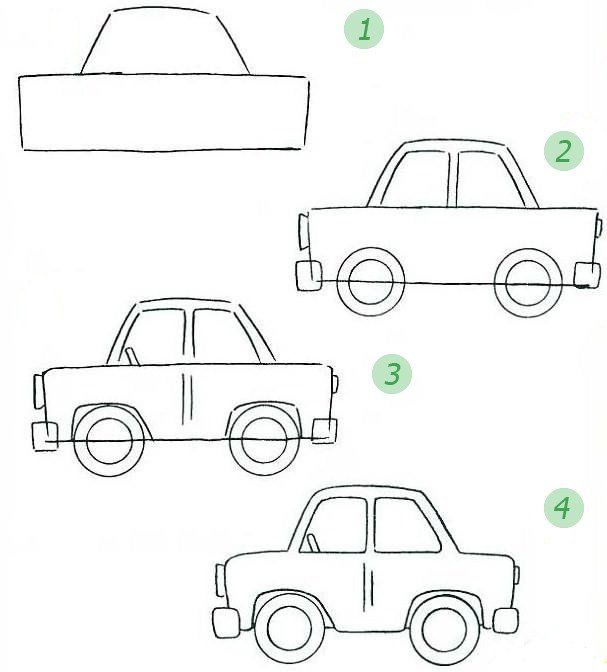
Passenger car second option
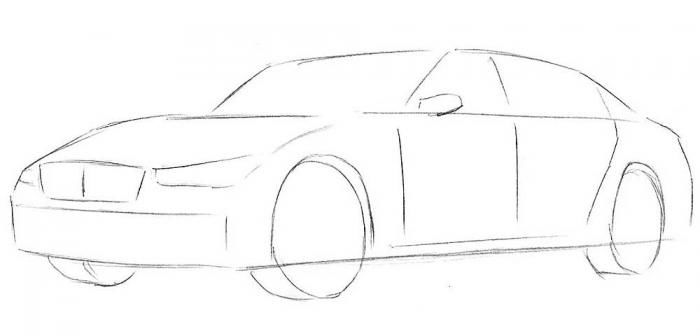
- First, let's draw two circles, as in the variant described above.
- Inside the circles we draw more circles of smaller diameter. These will be the wheels.
- From the outer side of the left wheel draw a small horizontal segment.
- From the end point of the segment, draw a vertical segment.
- The resulting segment will continue with a small segment to the right, inclined at a small angle to the horizontal plane.
- Let's continue the segment at a small angle to the right to the vertical.
- From the outer side of the right wheel, draw a small horizontal segment.
- Continue the horizontal segment with a small vertical line.
- From the end point of the segment, draw a small segment to the right inclined at a small angle to the horizontal plane.
- Let's draw a segment slanted to the left side.
- Connect the two segments drawn in steps six and ten with a horizontal segment. Thus we get the body.
- At the bottom of the body with small arcs show the bumpers.
- Between the wheels, draw a segment indicating the bottom of the car.
- Separate the resulting body with a vertical line. So we show the front and rear doors.
- On the doors with short strokes depict the handles.
The resulting car can be painted.
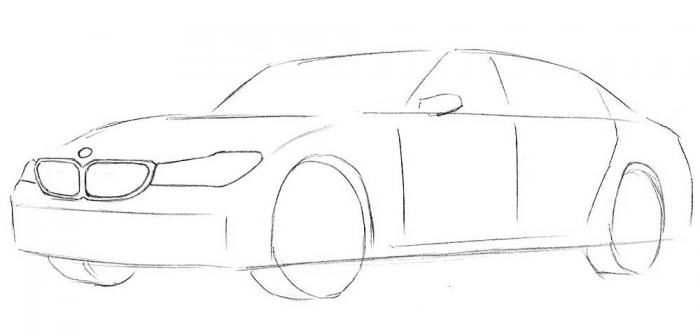
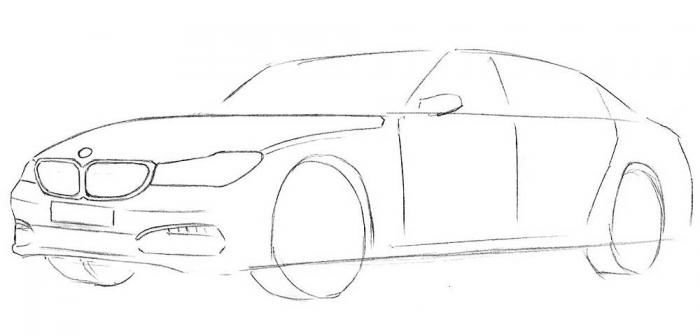
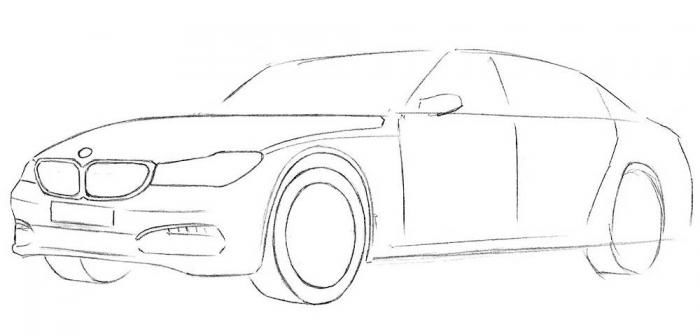
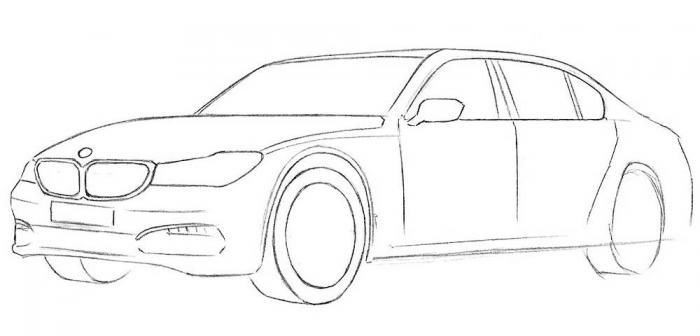
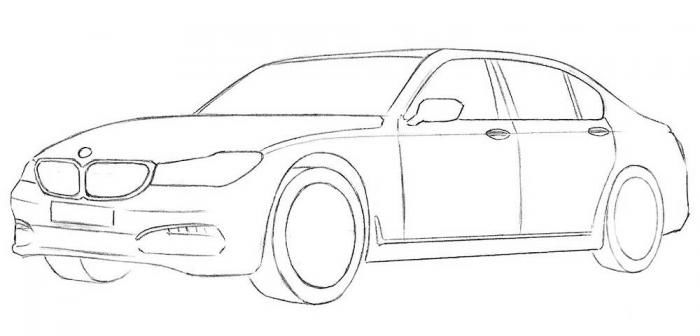
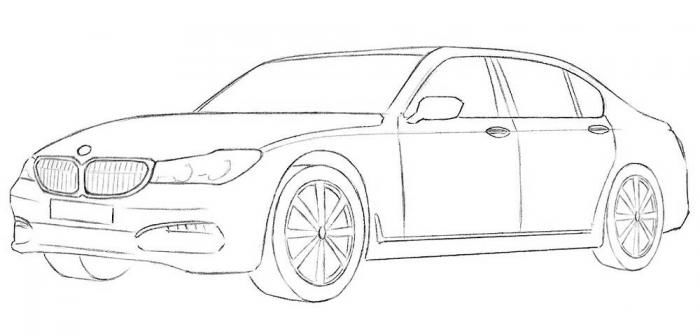
To draw a car, first of all, you should choose a model that you want to represent. If you want to draw a specific car, it is best to find a drawing of a car for sketching and try to divide the car into its component parts.
If it is a very complex drawing it is better to simplify it, leaving only the most characteristic features. All lines that were used as auxiliary in the final stages of drawing, when the need for them will disappear, should be removed.
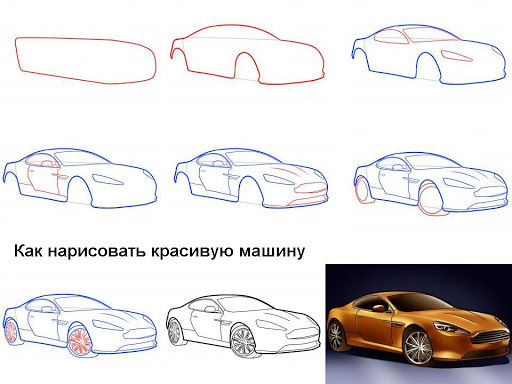
If there are difficulties with the image of straight lines better to build it with the help of strokes gradually joining the strokes.
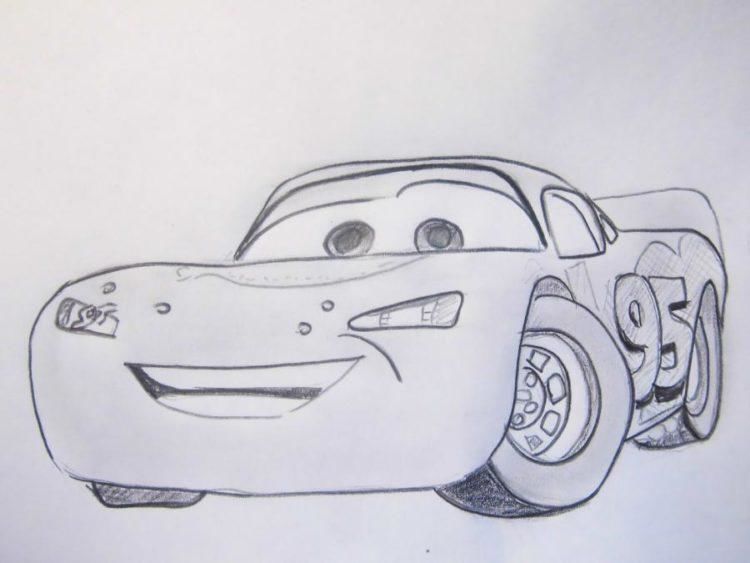
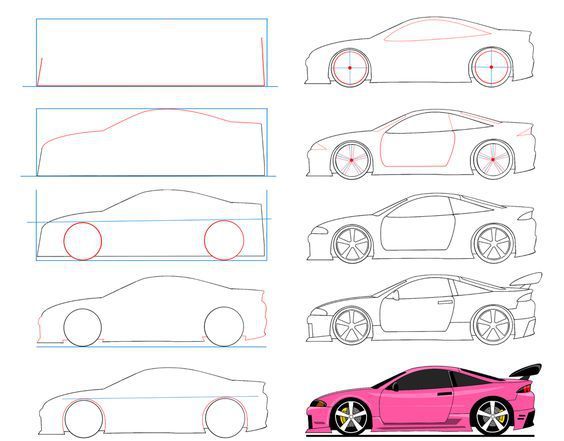
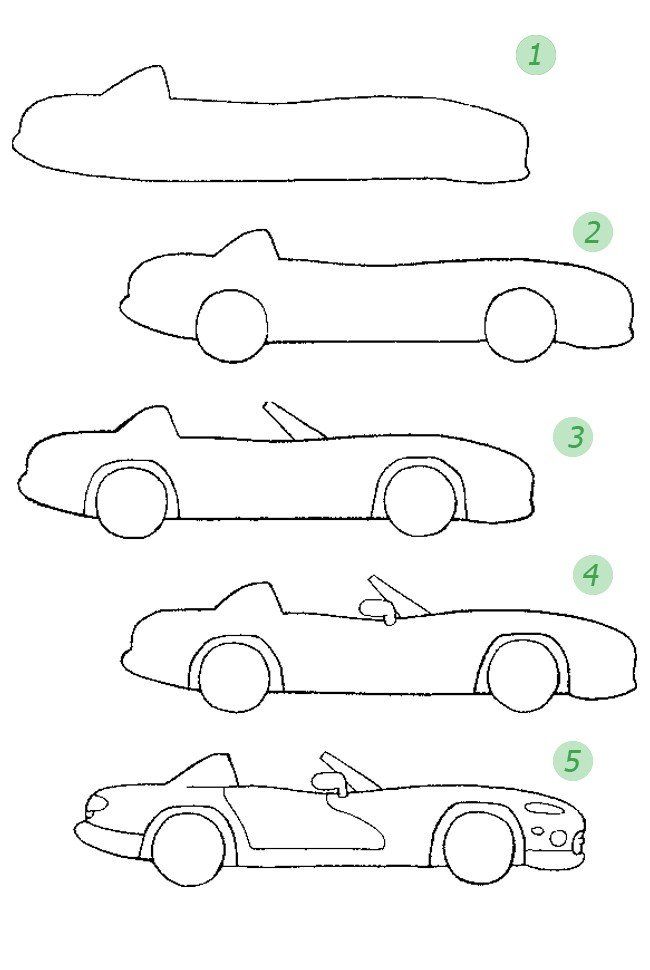
Sports car racing
There are quite a few racing cars in the world:
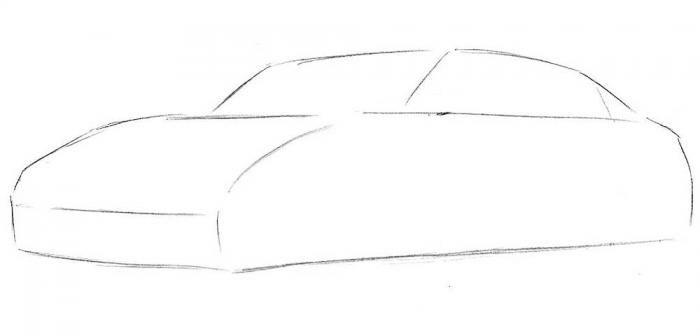
- At the beginning, let's draw a large rectangle with a small height at the bottom of the sheet. This will be the body.
- Above the rectangle on the left side indented from the edge of the line will be a sloping segment to the right.
- On the other hand, lead another segment of the same length as the previous one with a slope to the left.
- Connect these segments horizontal line. So we will get the roof.
- Using two circles of equal diameter depict the wheels. So that the centers of circles are above the base of a large rectangle.
- Using two arcs above the wheels, depict the wings on the body.
- In the front left part of the large rectangle with several lines of arcs depict a streamlined hood characteristic of racing cars.
- On the right side of the rectangle depict the trunk of the car. It will be less streamlined than the hood.
- Draw the front headlights and grille on the hood.
- Draw the windshield and rear window of the car.
- Add front and rear bumper.
- Remove unnecessary auxiliary lines.
- Add more details to the resulting drawing of the doors, side mirrors, front and rear headlights.
- In the final step, finish drawing the handles for the doors, wheel rims.
Ready drawn racing car ready and you can paint it as you wish.
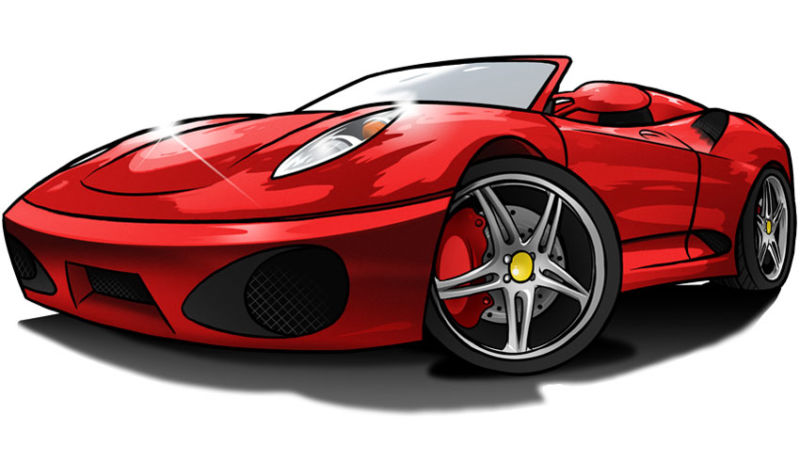
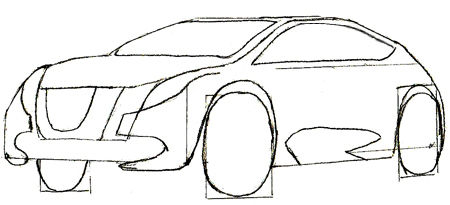
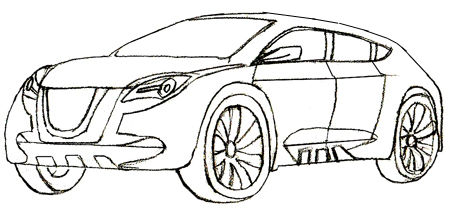
All of the above options draw car pencil offer to depict cars in a simplified version of the side view. If you want to try more complicated options, let's look at them.
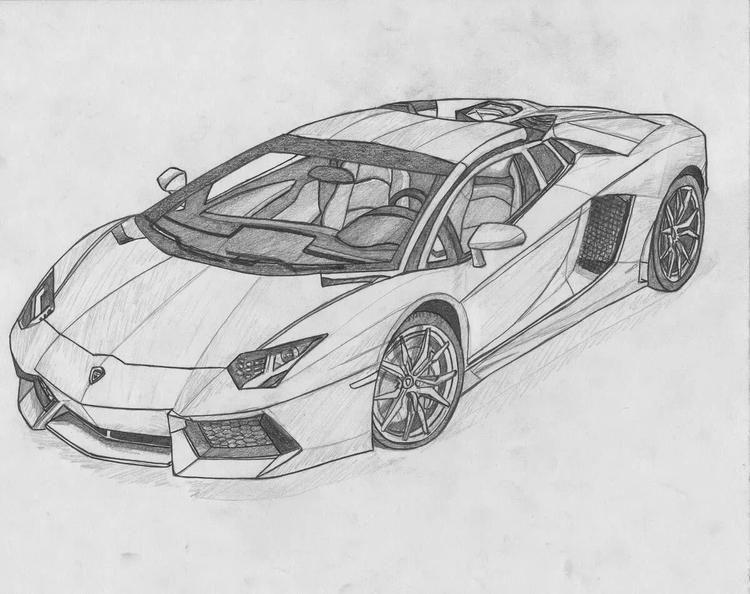
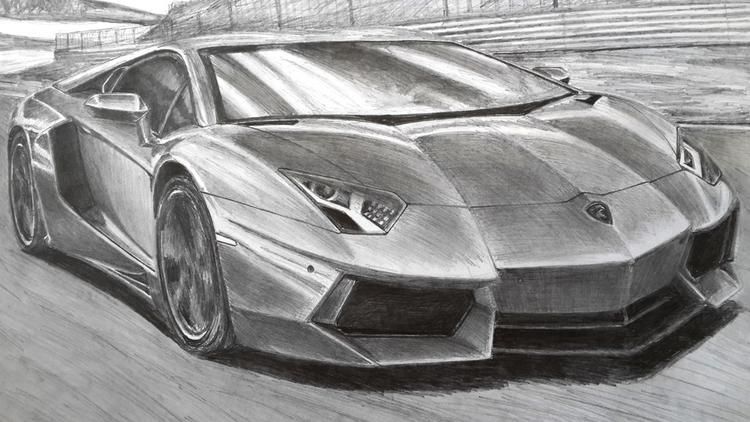
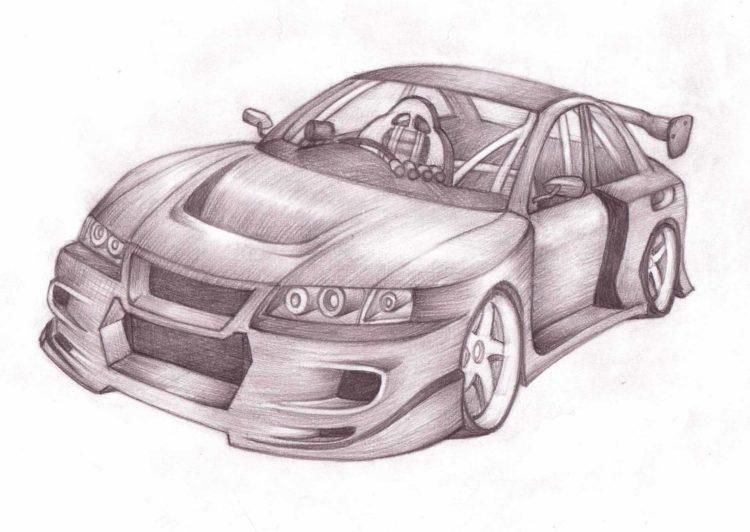
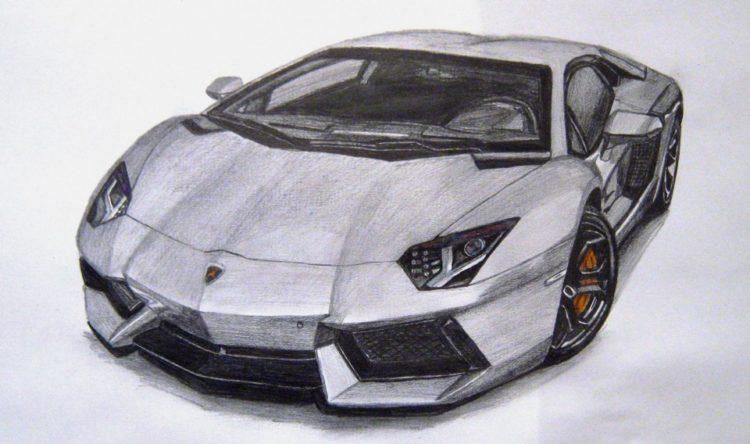
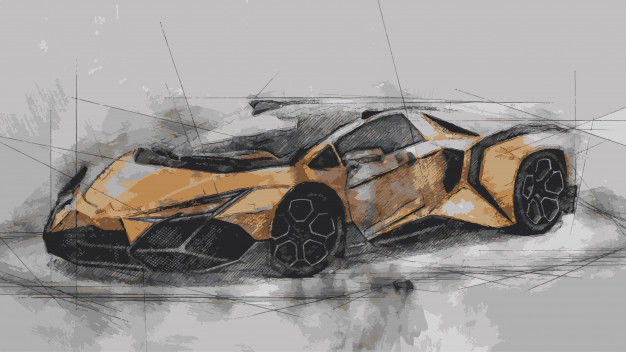
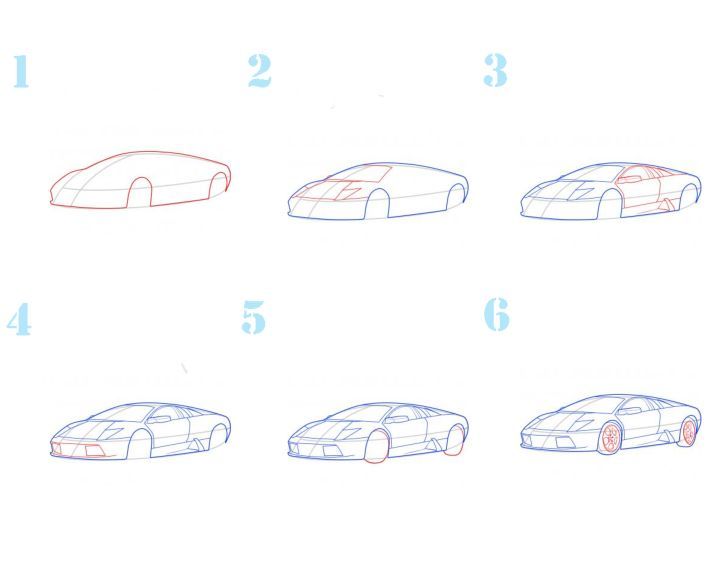
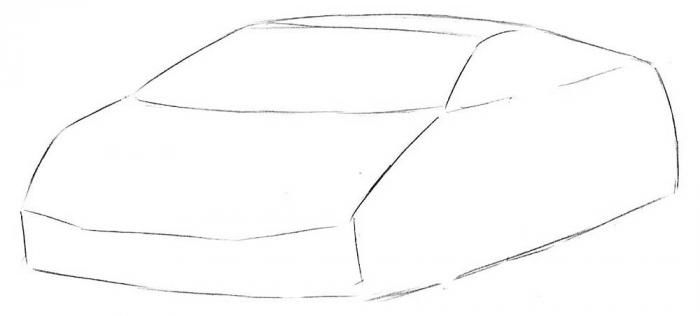
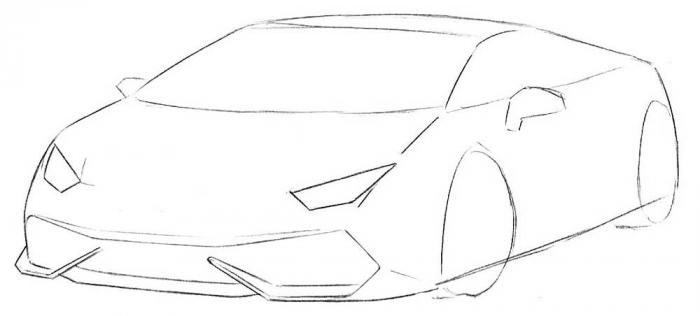
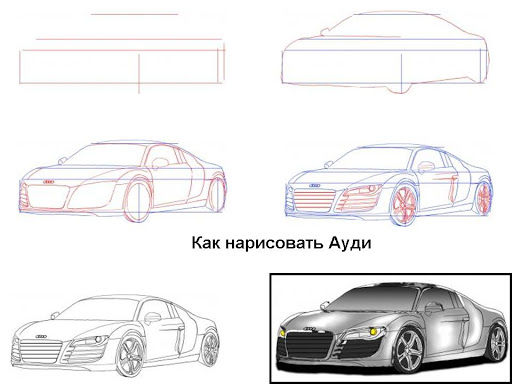
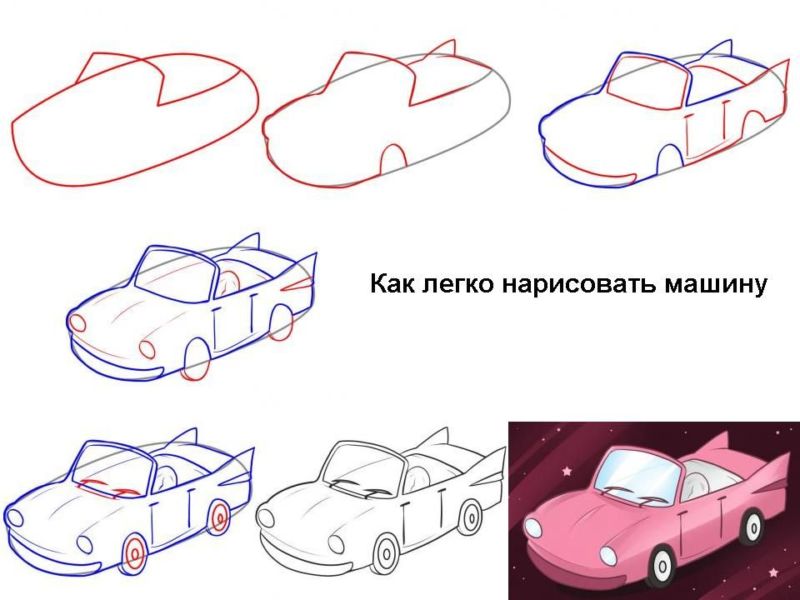
Volumetric model of a race car using Lamborghini as an example
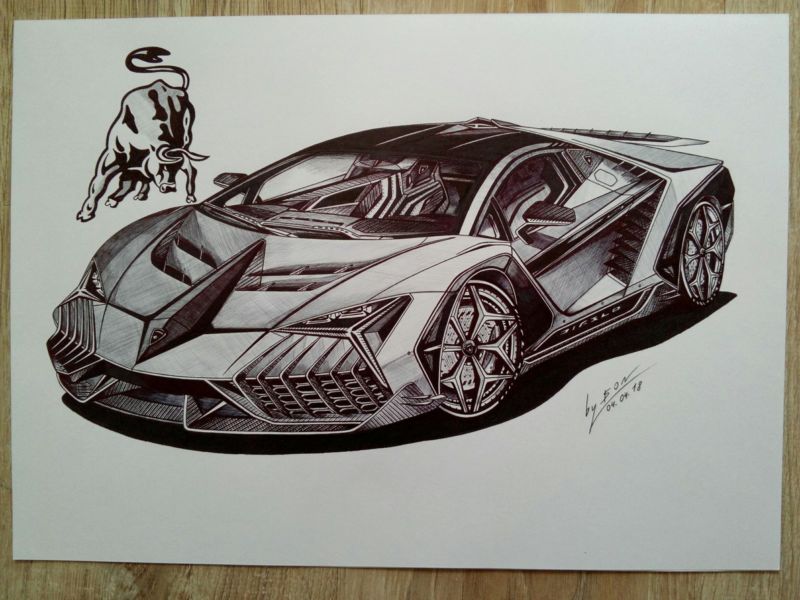
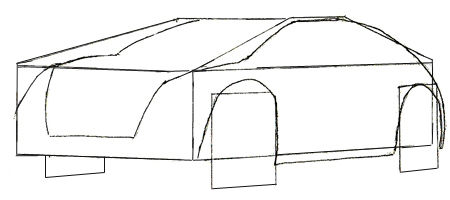
This option suits more experienced artists because of the impossibility of drawing simple geometric shapes:
- With thin lines in the first steps we need to depict the silhouette of the car. At the bottom of the sheet, on the left side, let's put a point, from which we will start drawing the silhouette.
- From this point draw a small line to the right, sloping to the bottom of the sheet.
- Continue the straight line in a horizontal position.
- From the straight line draw a segment to the right at an angle to the top of the sheet. This will be the bottom of the front bumper.
- From the segment build a longer straight line to the right side at an upward angle. This is the bottom part on the right side.
- Next we will draw an arc in vertical position. Thus we will get the silhouette of the rear visible part of the body.
- In the next step we draw a segment to the left at a downward slope. This will be the boundary of the doors.
- From the segment we draw a big arc in a horizontal position. This will be the top of the hood.
- Next we draw two segments with a downward slope. This will be the silhouette of the left wing.
- From the large arc, obtained in step eight, draw a straight line upwards with a slope. Which will be the silhouette of the right side of the roof.
- Next draw a big horizontal arc. The top of the roof.
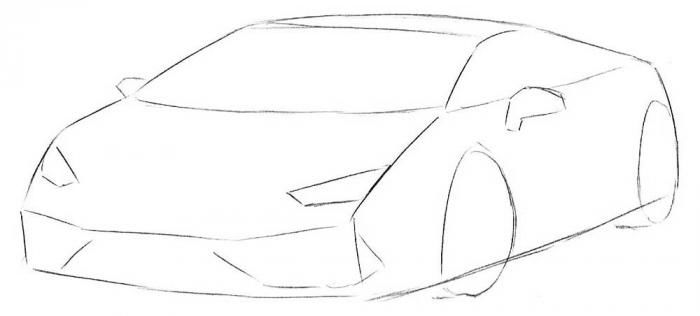
- To the silhouette obtained add two ovals indicating the wheels of the future car.
- At the bottom of the silhouette of the hood add, with a few straight lines, the headlights.
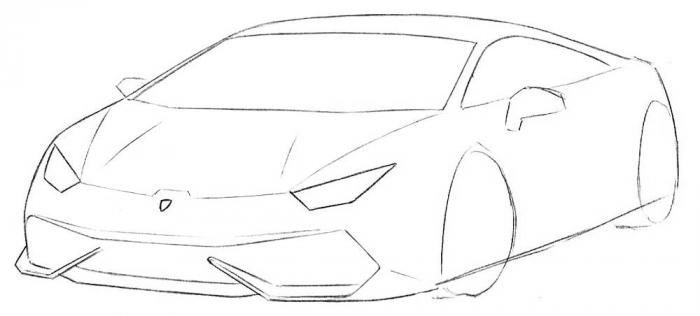
- On the doors we add rear-view mirrors.
- At the next stage to the existing silhouette add a front bumper, typical for cars of this model.
- On the existing bumper add radiator grille.
- More detailed silhouette of the hood.
- On the bottom of the hood add characteristic Lamborghini logo.
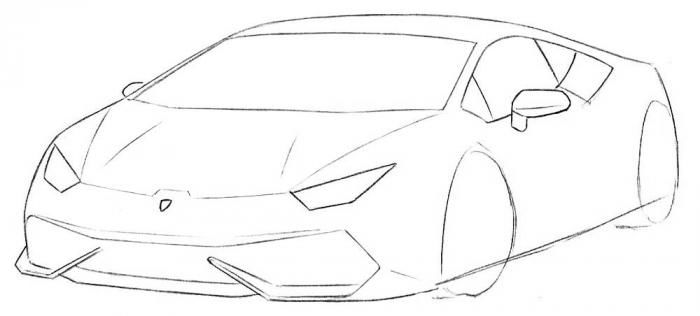
- On top of that we add the roof, remembering that all sport cars have low silhouette.
- And in the last stages we add the side doors and side windows. Not forgetting to depict the doors a little narrow.
- We add handles to the finished doors.
- Draw the air intake near the rear wheel.
- Using arcs draw wheel arches.
- And finally we draw wheel rims.
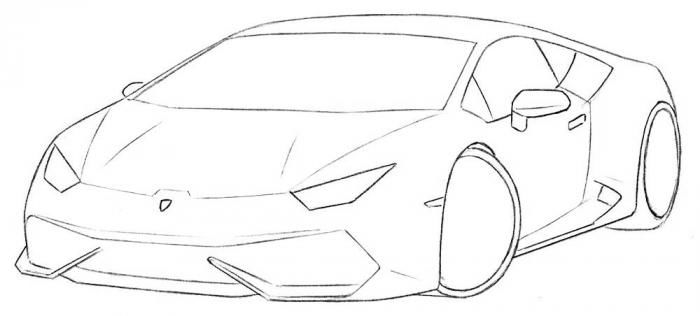
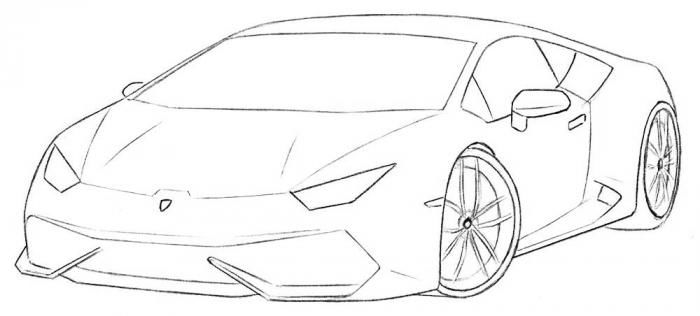

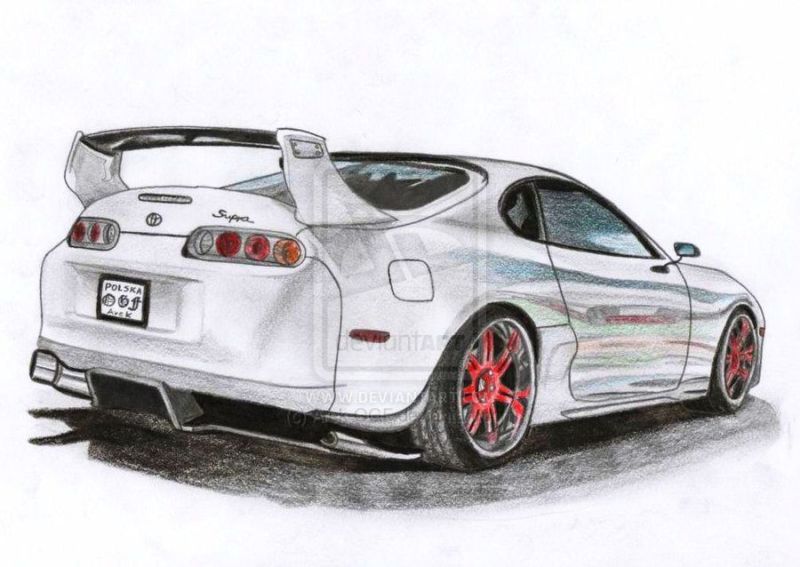
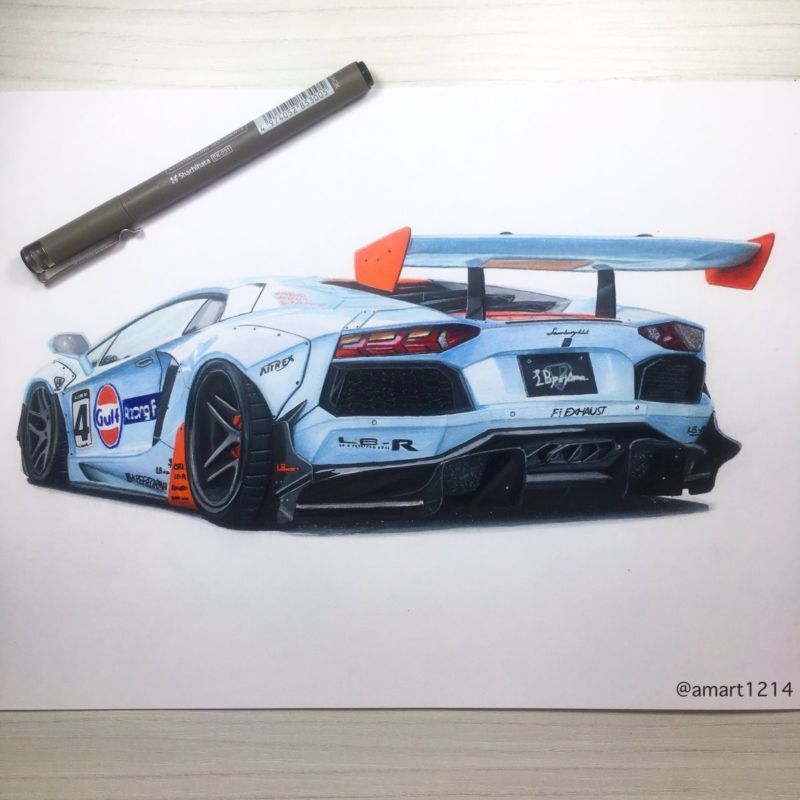
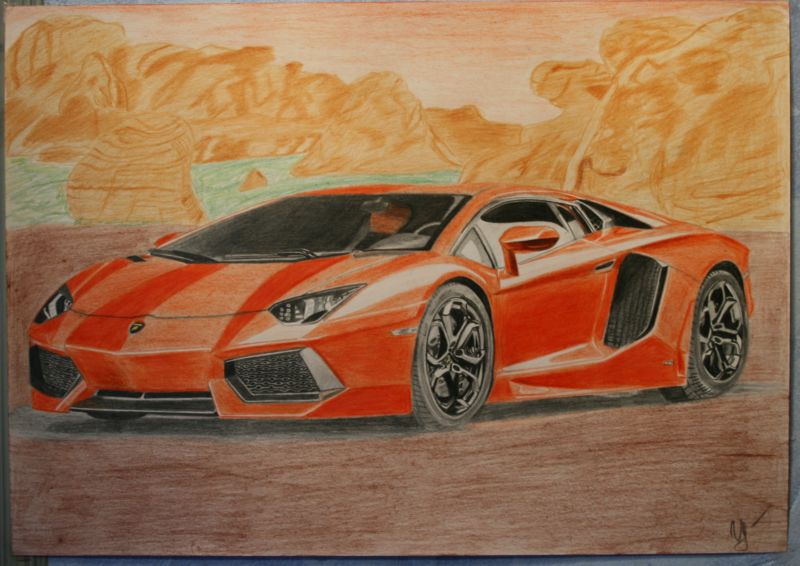
Our Lamborghini is ready, now we are going to paint it in colors you like. The last option we answered the question how to draw a cool car.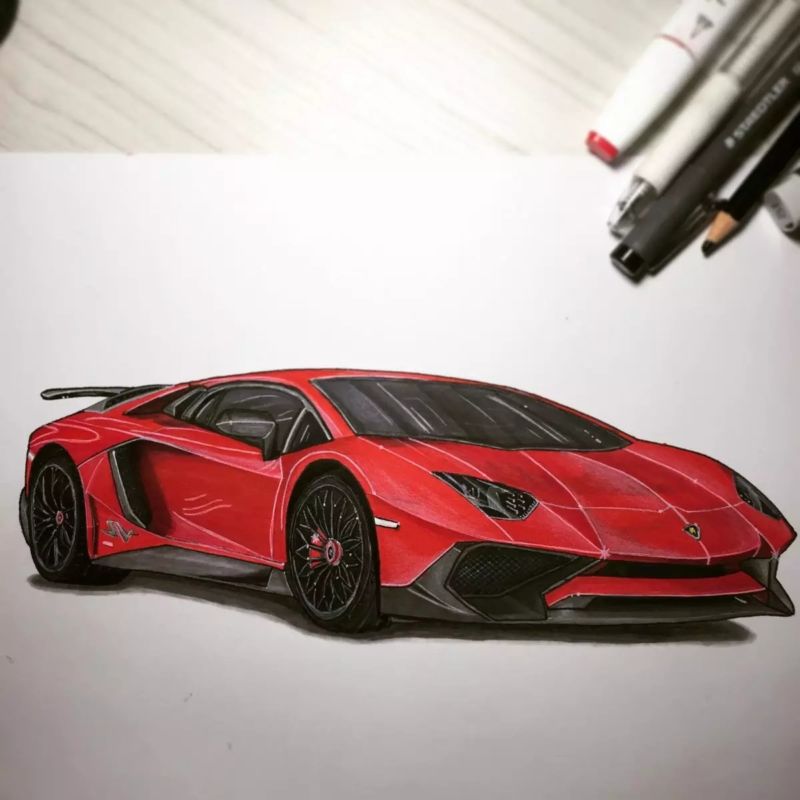
Thus, a careful study of all of these options, you can easily learn to draw a variety of cars. And sometimes you can even show a child how to depict models you like.
It is best to move sequentially from simpler drawings to more complex. As not always more complicated ones can turn out at the first time.
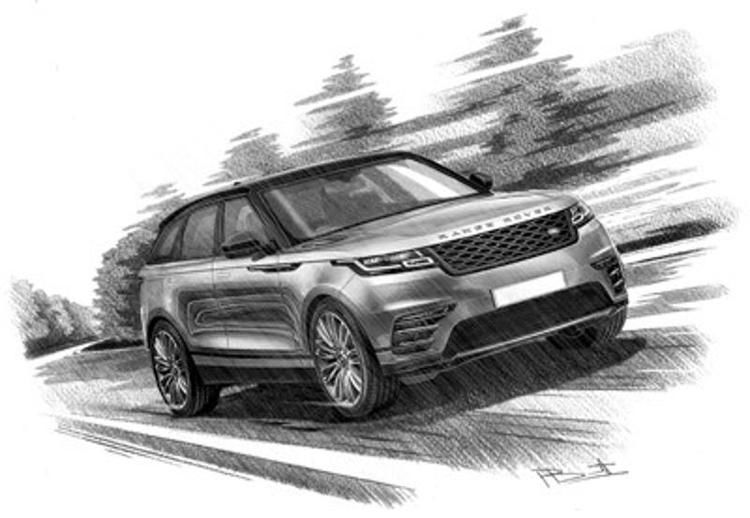
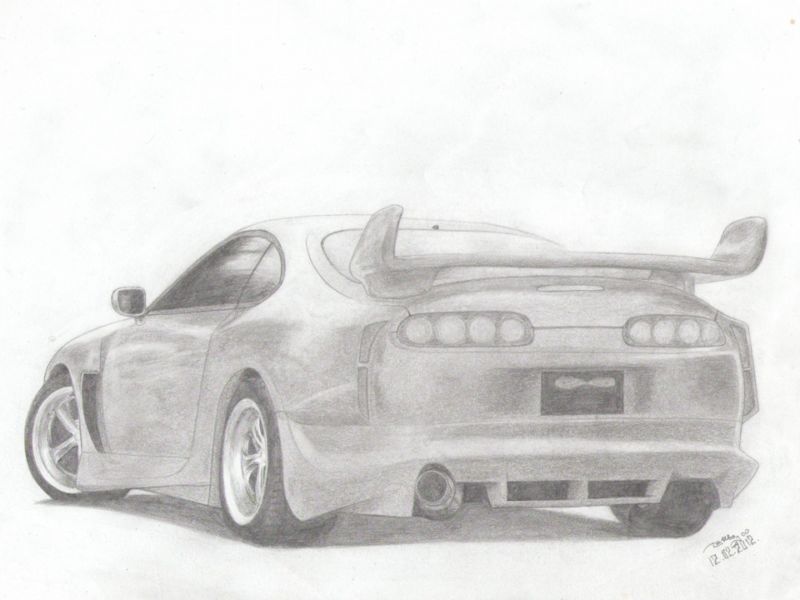
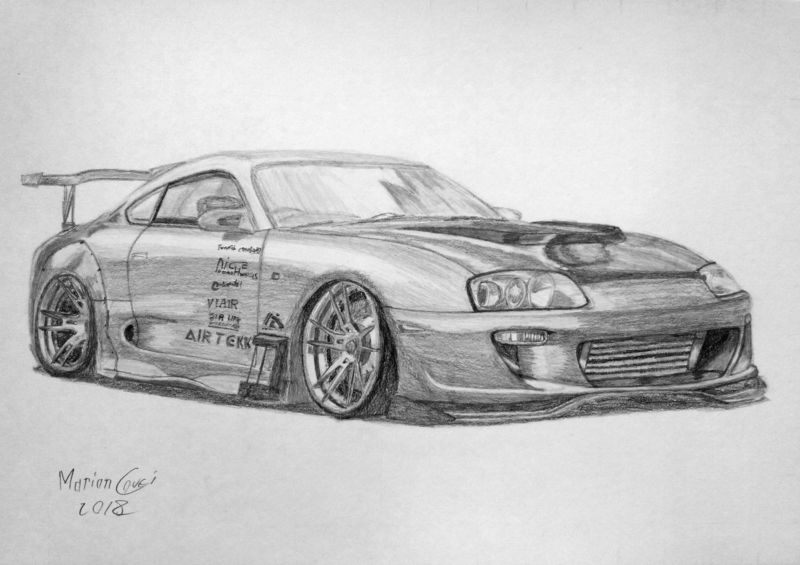
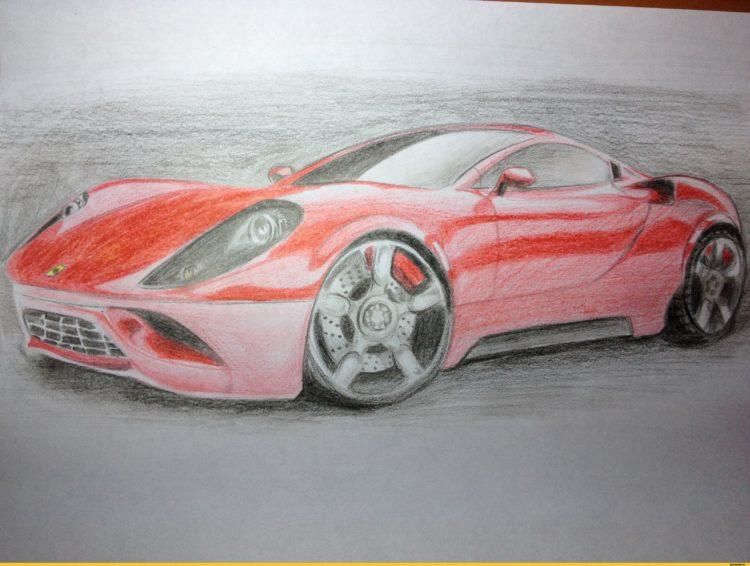
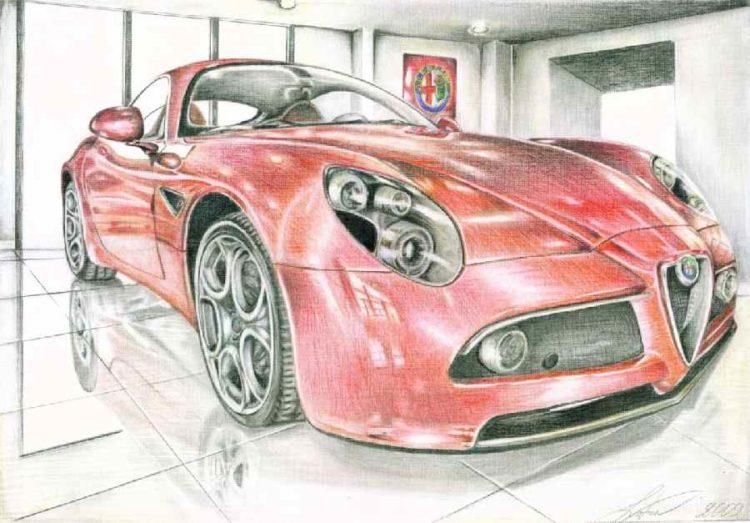
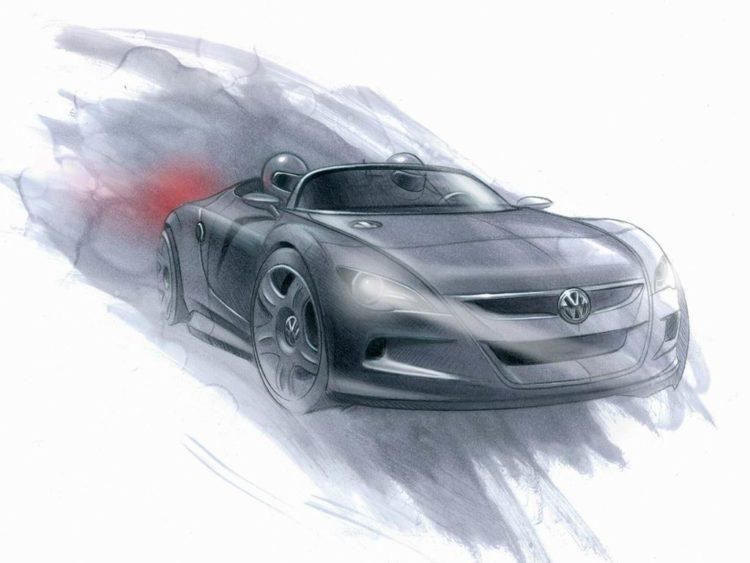
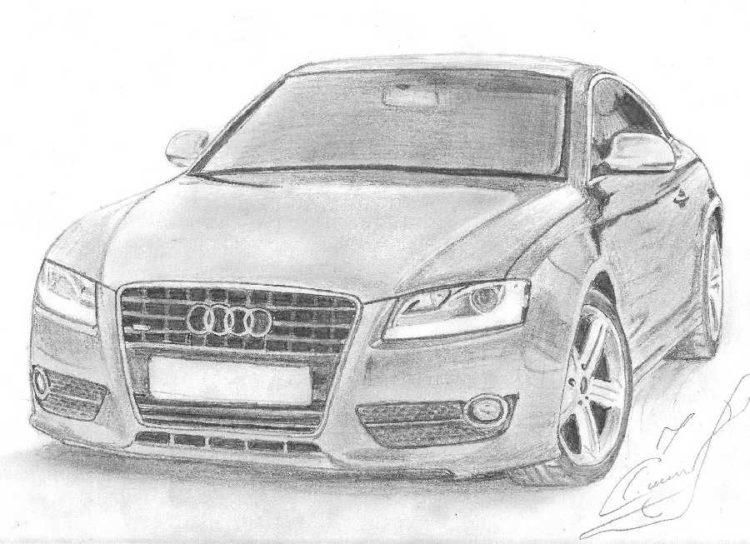
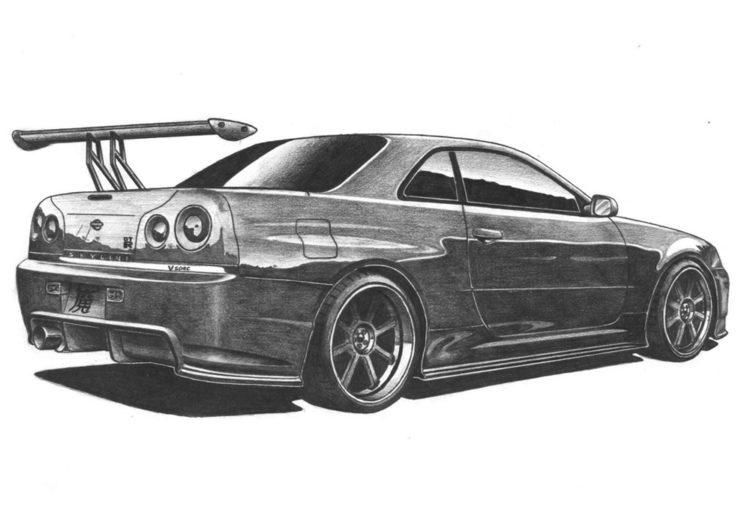
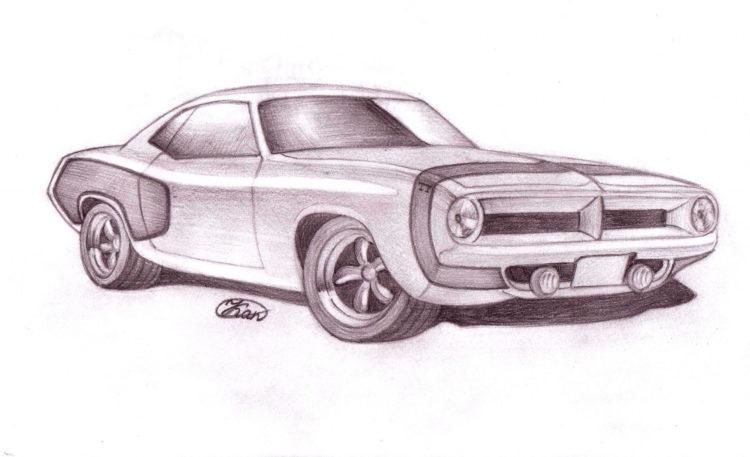
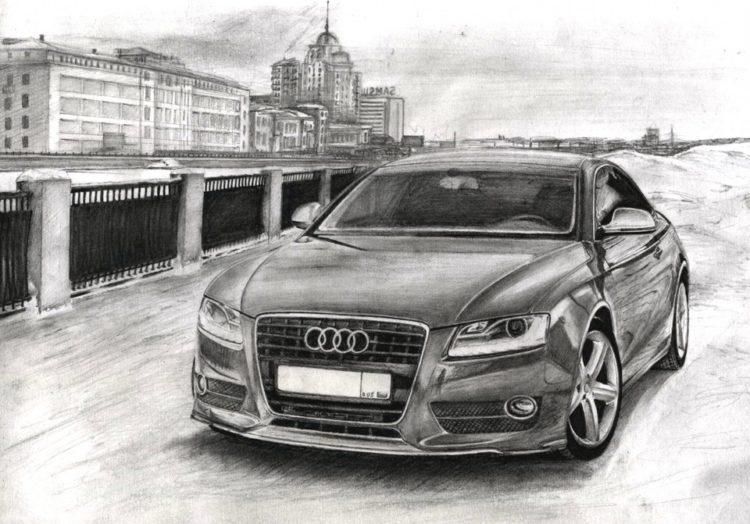
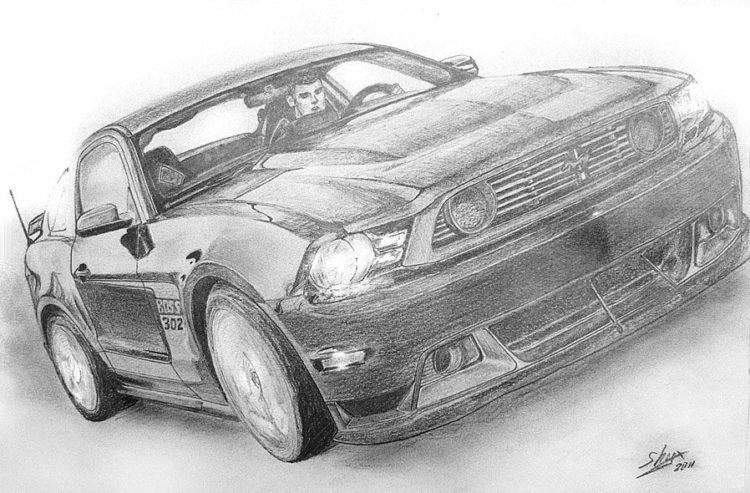
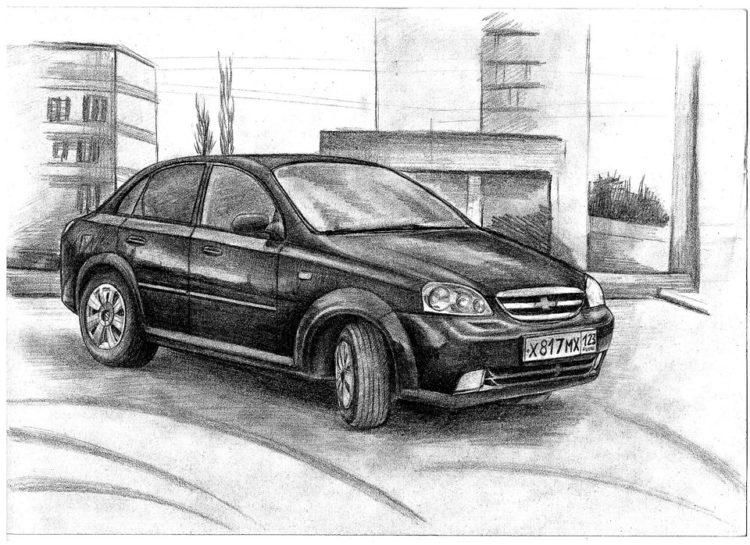
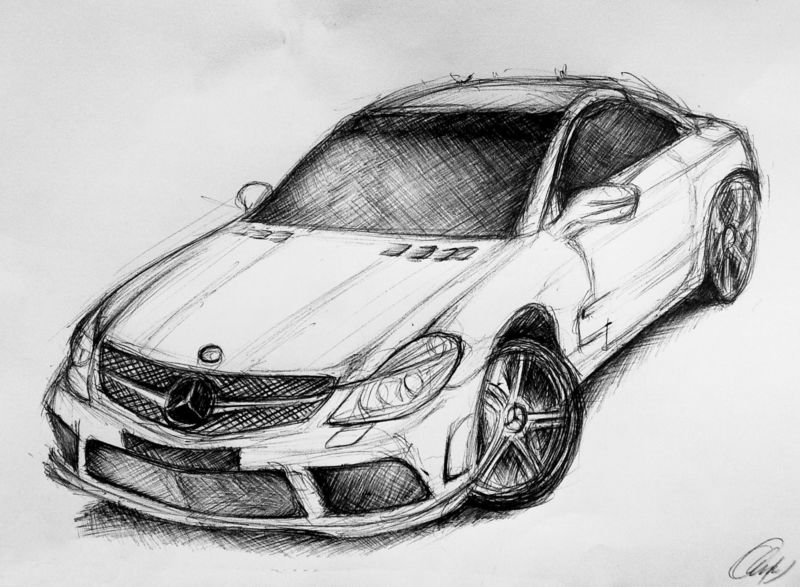
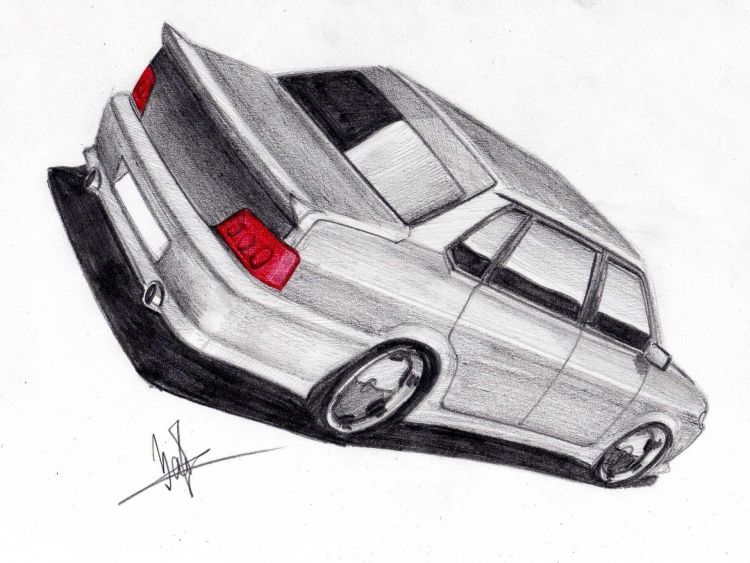
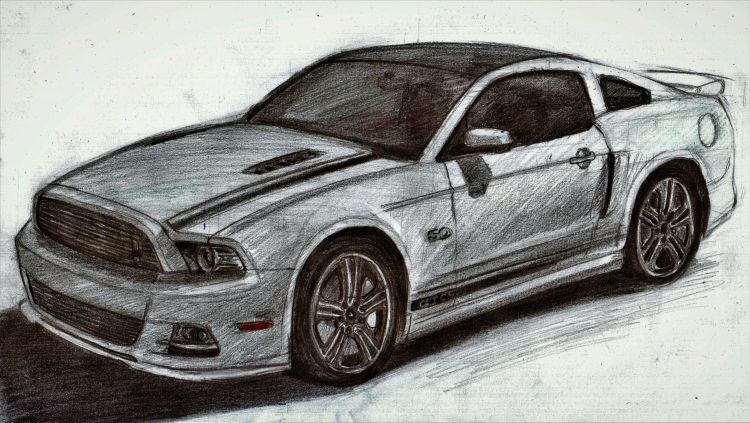
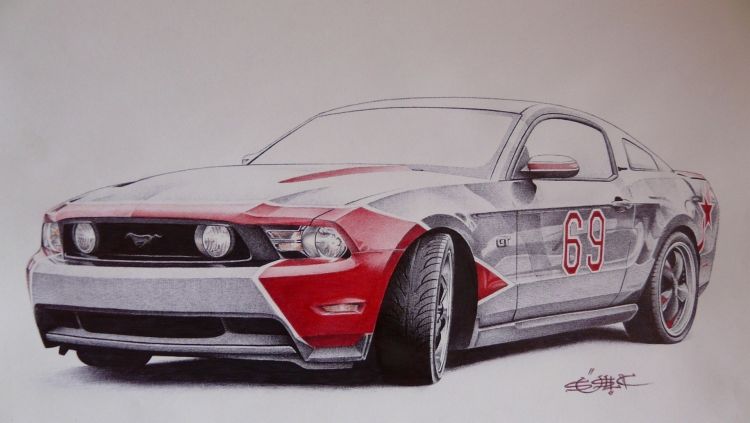
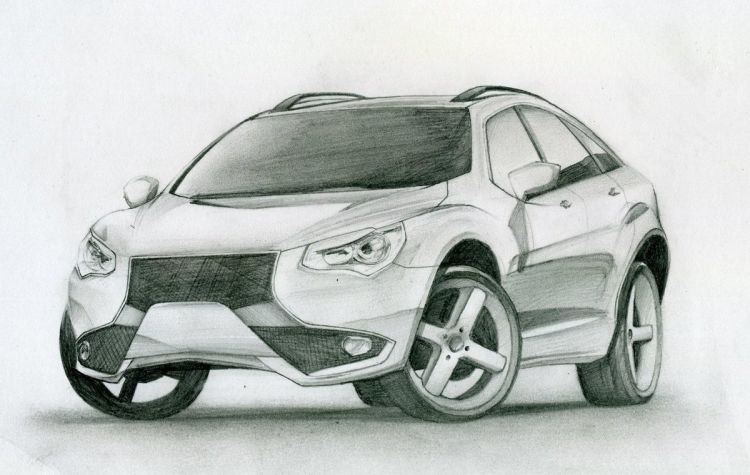
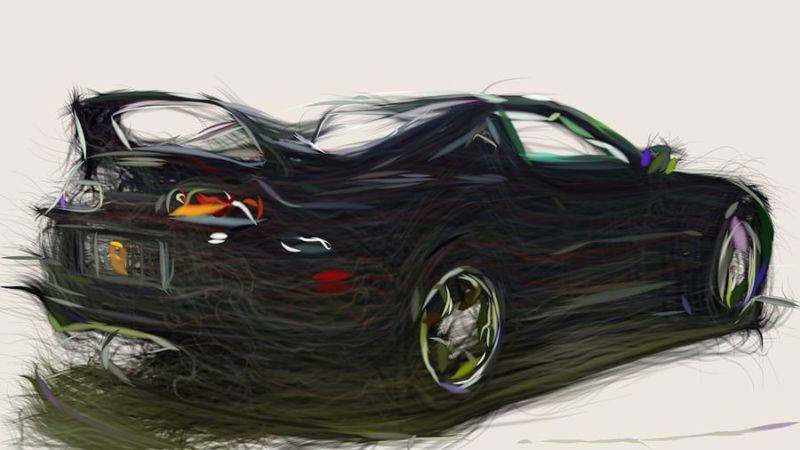
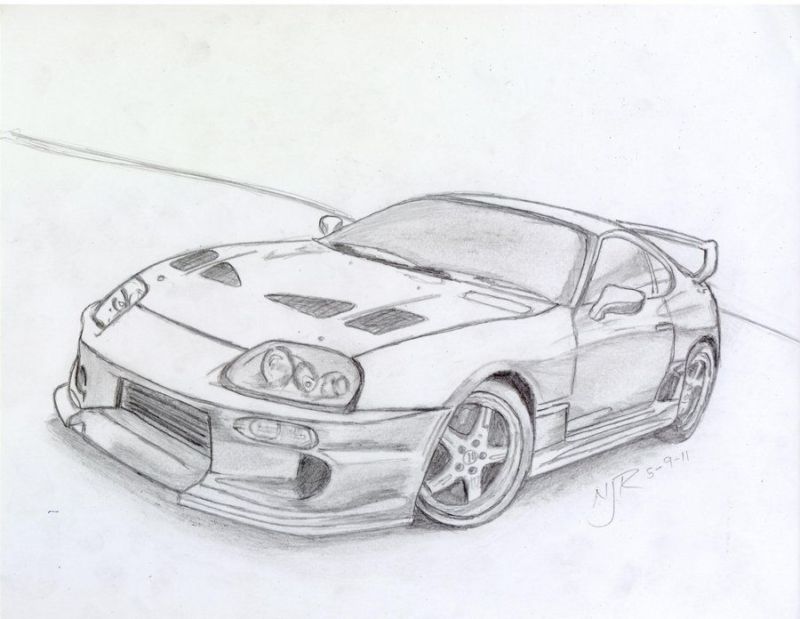
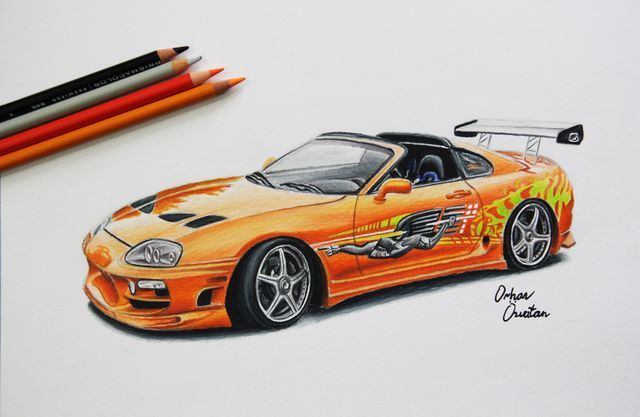
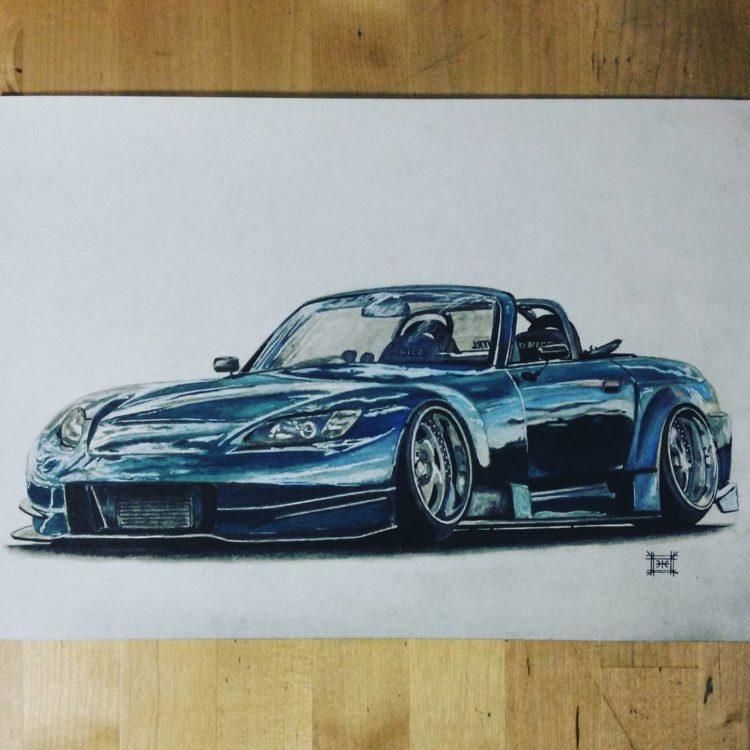
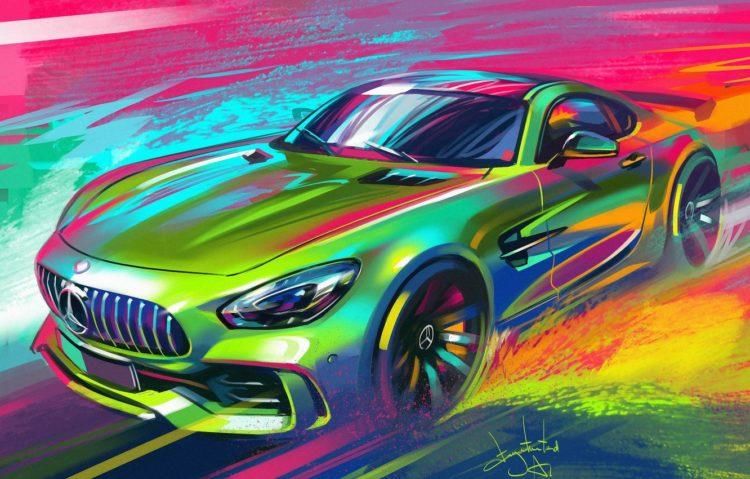
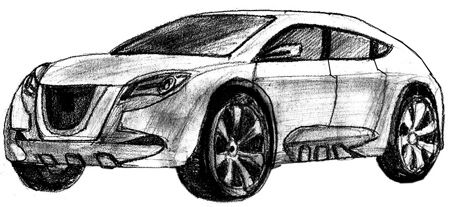
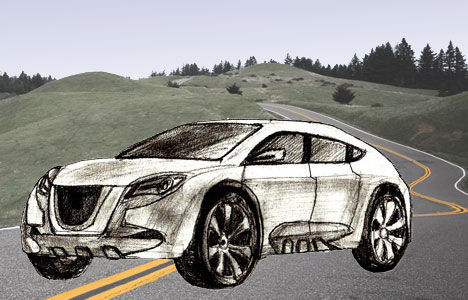
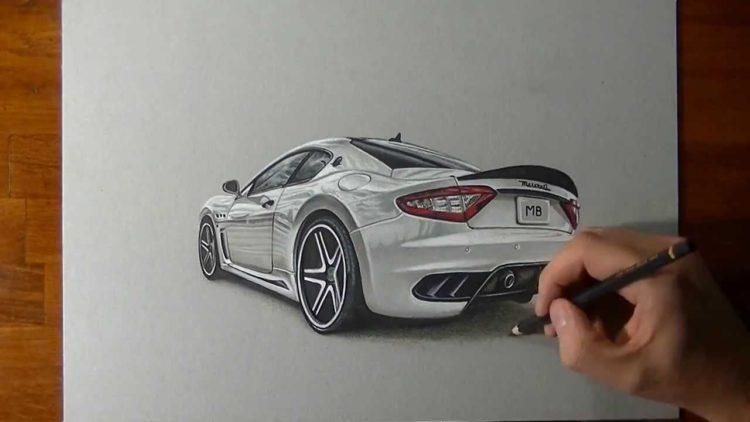
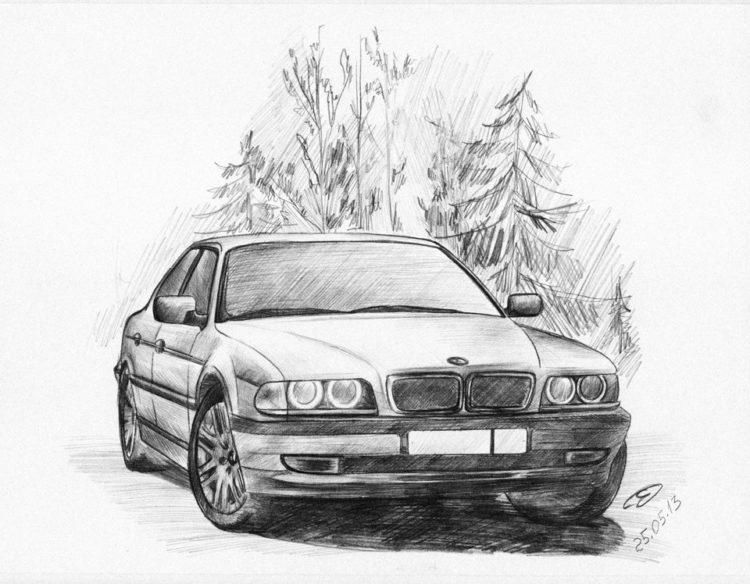
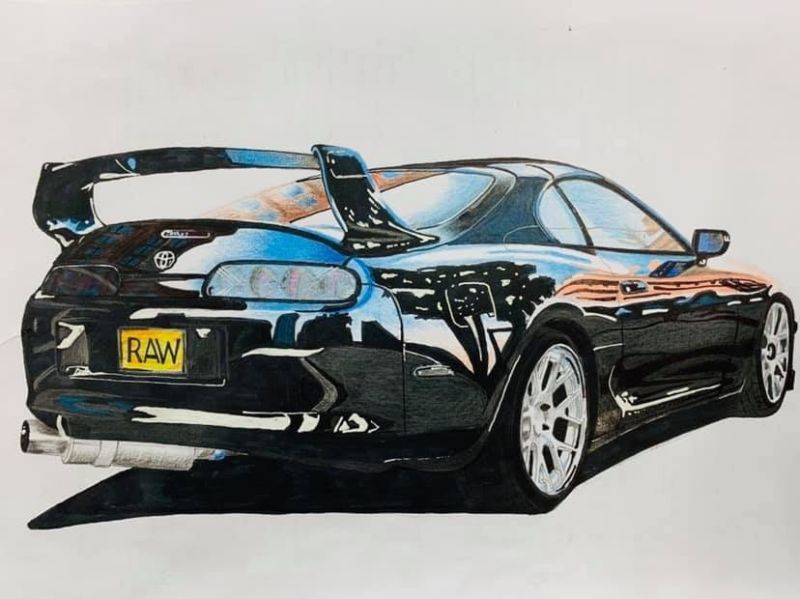
A picture of a car drawn in pencil