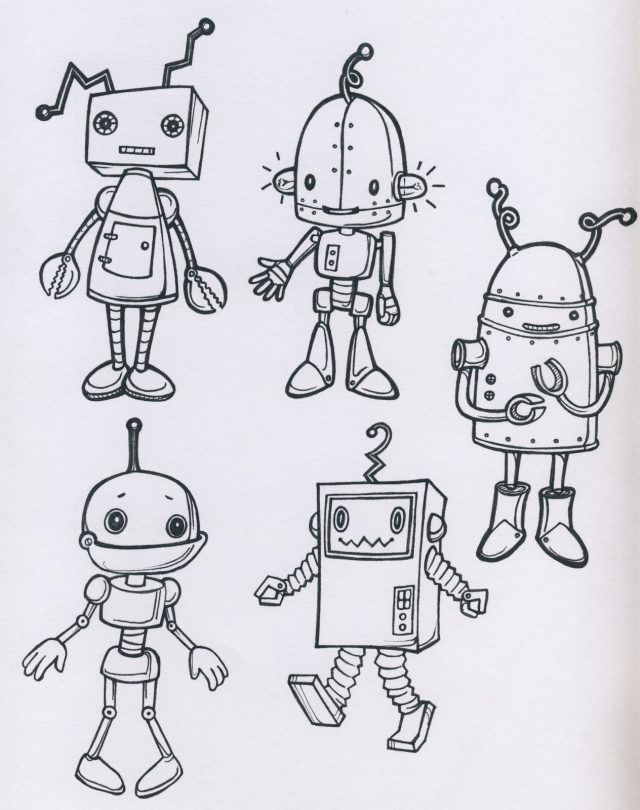
How to draw a robot step by step in pencil - basic drawing tips for children and beginners
Such a miracle of technology as a robot has become quite popular in modern art. It is a symbol of the near future. Robots can be found both in children's cartoons and in serious motion pictures.
However, many people are impressed by the fact that such a complex and ergonomic organization of its appearance invented by man. And yet how to draw a robot on your own with a pencil, if you do not have the skill?
A bit about materials
Even among simple graphite pencils there are differences. The qualities of the material are judged by special markings on its tip. So, the letters H and B stand for "hard" and "soft" respectively. H pencils are very light and B pencils are dark.
The number next to the letter shows the degree of tone depth. In this case, the solid-soft HB pencils are the golden mean. They are ideal for sketching, while the others can be used to create tone (light, half-light and shadow).
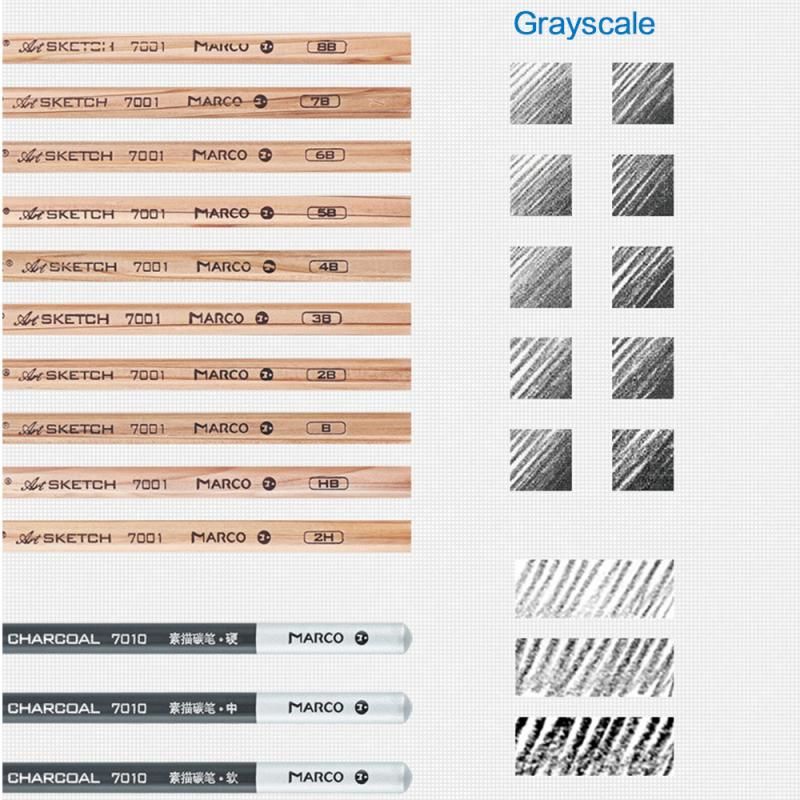
Erasers also come in different forms. The classic ones, sold at any stationery store, will help get rid of unwanted lines cleanly.
There is a milder tool that does not completely remove graphite from paper - nag. It has plastic properties and is sure to please children.
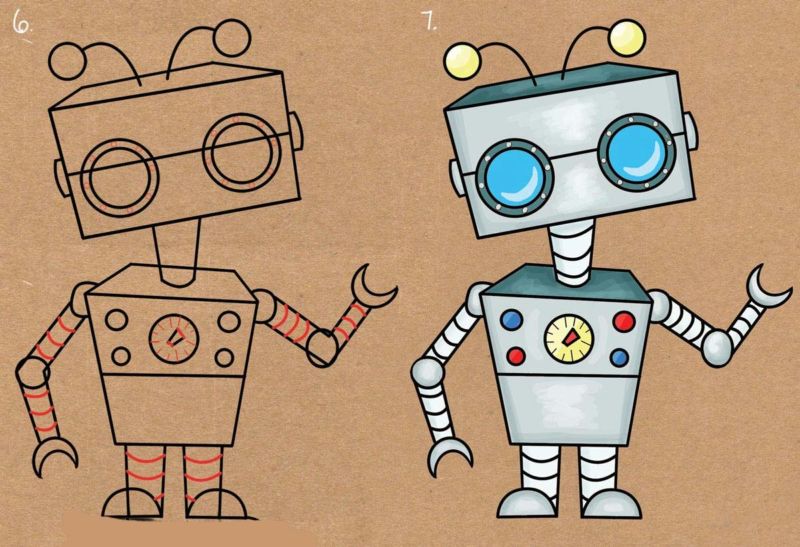
How to draw a robot step by step?
Such drawings are subject to several laws, which you need to know before you start creating:
- First, the object is arranged in the space of the sheet. The robot must be placed in the very middle, so that it does not feel as if it "falls out" or "flies out" of it.
- The axis of symmetry runs along the entire robot, just like any other body. It is a conventional thread on which its parts are strung. His limbs are drawn on the same principle.
- The composition of this complex figure can be represented in the form of geometric figures, which can be depicted without much difficulty.
This will help the child to draw the robot step by step without the help of outsiders.

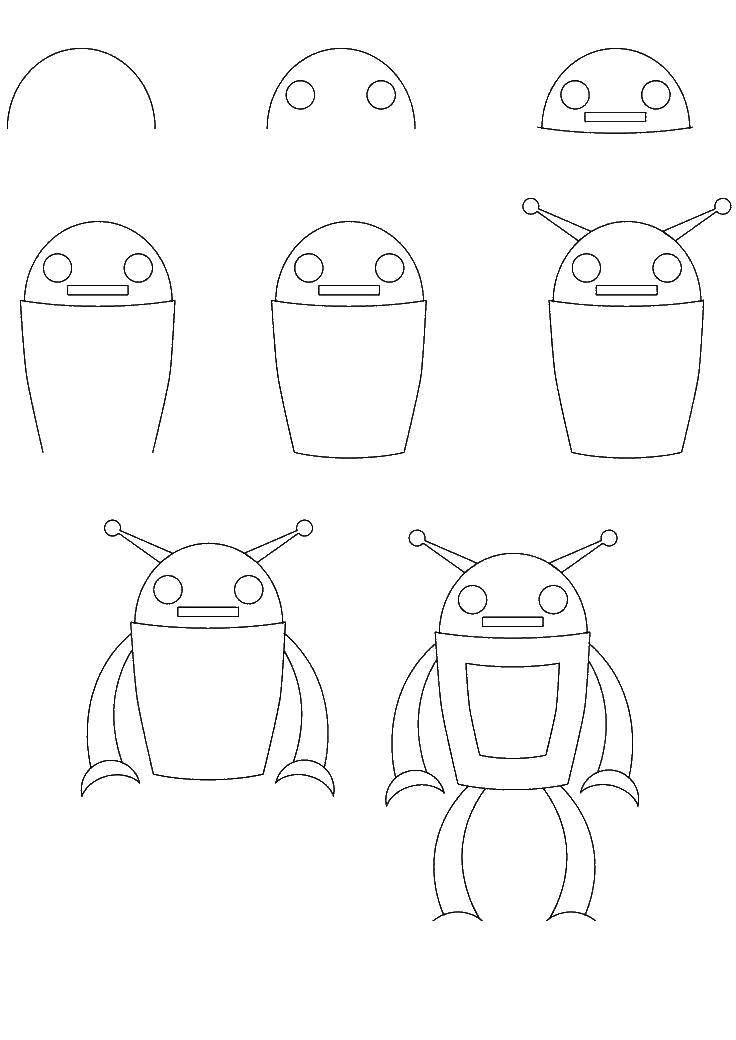
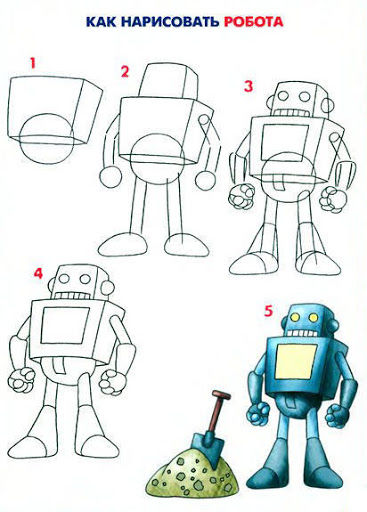
Classic robot
- First, it is necessary to find a place in the sheet where the object will be depicted. It can be circled, the size of which will determine the size of the machine.
- At this circle it is necessary to draw an axis of symmetry - a line relative to which adjacent parts of the drawing will be the same.
- In the middle of this line a large rectangle is drawn - the torso of the robot. It is about one-third the length of the entire axis.
- From this rectangle upwards a small square is drawn. It is the neck of the miracle of technology. On it will be located a large rectangle, equal to half of the torso. It represents the head.
- Two narrow rectangles of the same length will depart from the upper and lower parts of the torso. These are the future limbs of the invention. They can be bent at the joints: to do this, find their middle and draw the outermost segment at a different angle.
- Now that there is a robot blank, you can detail it. At this stage, you can give free rein to your imagination and draw the boldest elements. The antennas on the head are signal catchers. The eyes must be lenses for better light capturing, and the mouth strip is the indicators showing the state of the device. The torso needs a door that can be opened: for easy replacement of components in case of breakage. Wires and tubes that serve as vessels for electric current can depart from it to the limbs. The robot's arms end in convenient flat "claws" capable of gripping anything. The legs may end not only with feet, but also with wheels, or even caterpillars: it all depends on the conditions of use.
The result is a full-fledged machine, ready to serve the benefit of the inventor. This approach to imaging helps not only to develop the child's imagination, but also to interest them in the exact sciences. It is a great option to spend your leisure time cognitively.
Karen the Robot from the "SpongeBob SquarePants" cartoon
Karen is Plankton's favorite wife from the "Sponge Bob Square Pants" cartoon. Many people remember her as a simple wall screen, but she has another appearance: a machine capable of movement. This type is simple in its execution and is suitable for step-by-step drawing by children:
- As before, before starting to create, it is necessary to determine the location of the wonder of the technique in the sheet. In this case, it is better to fix it not with a circle, but with an oval stretched upwards.
- At the oval, a line of symmetry is drawn, divided into four equal parts: the uppermost will be equal to the size of the head, the two below - the torso, and the lowest segment - the base.
- The upper part is depicted rectangle, the length of which is slightly longer than the width. To give it volume, you need to draw lines with a slight slope upwards from the right side of the head. They are connected parallel to the side edge of the original rectangle. In the center you need to draw a face, which will be a big screen. To do this, you need to make a small indentation from the borders of the head rectangle. In the middle of the screen, a horizontal line is drawn - an imitation of a graph of sound waves oscillation. If it is straight, then Karen is silent; if not, then she speaks.
- The torso is represented by a stick, two parts long of the symmetry axis. The arms, two flexible segmented tubes of the same thickness, are attached to the torso with a slight indentation from the head.
- The base of Karen is a three-dimensional parallelogram with four wheels. As in this case it is drawn from the side, two side wheels are depicted: one near and one far to the viewer. They are attached to the side.
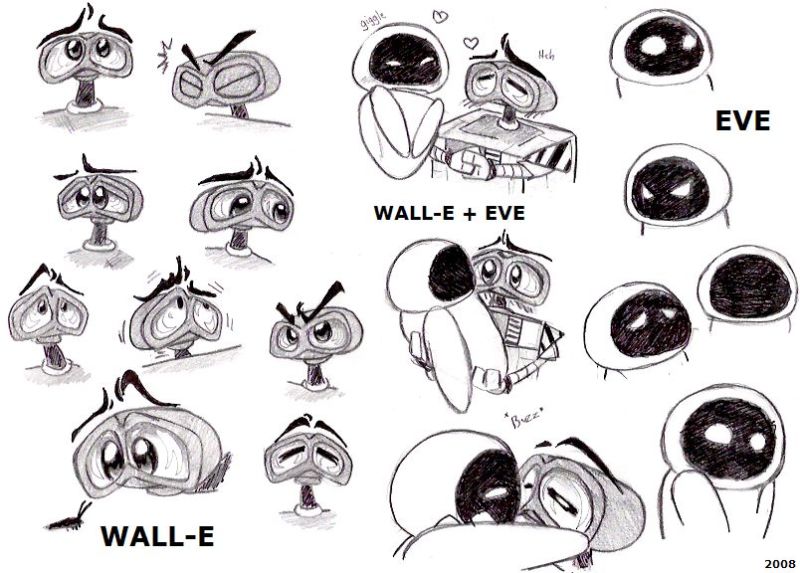
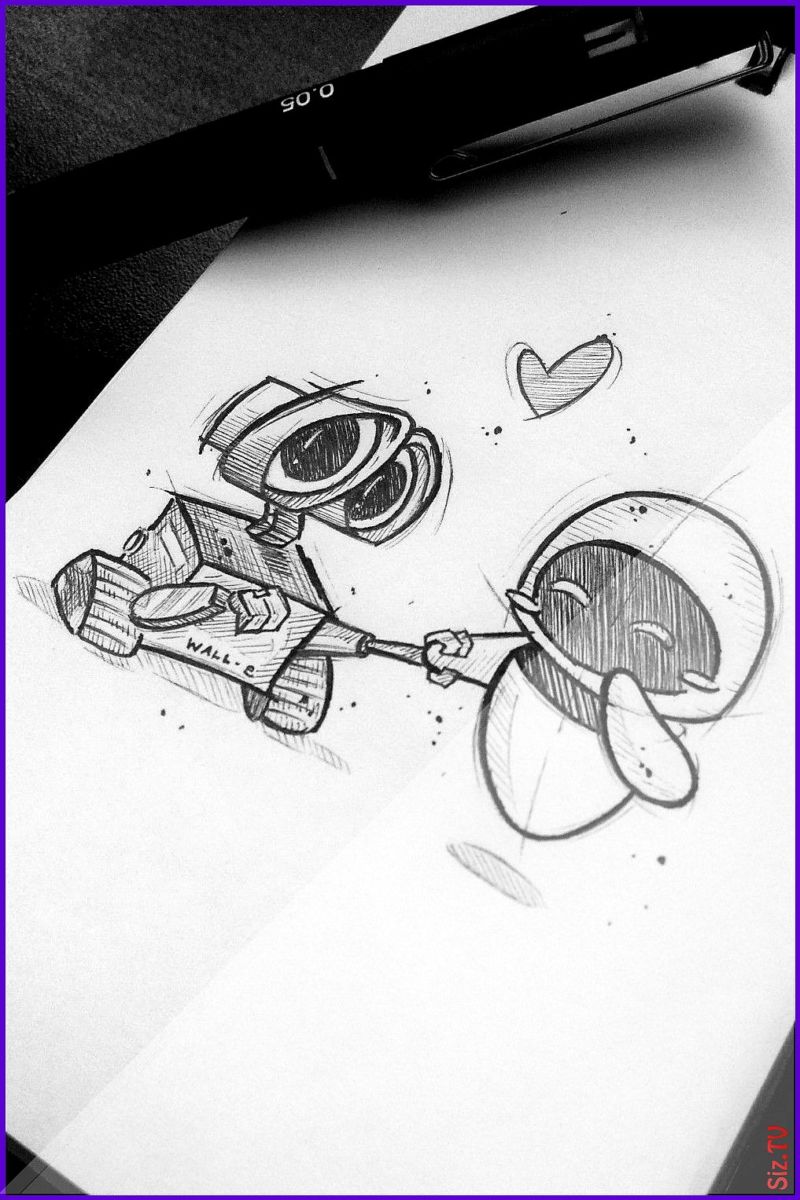
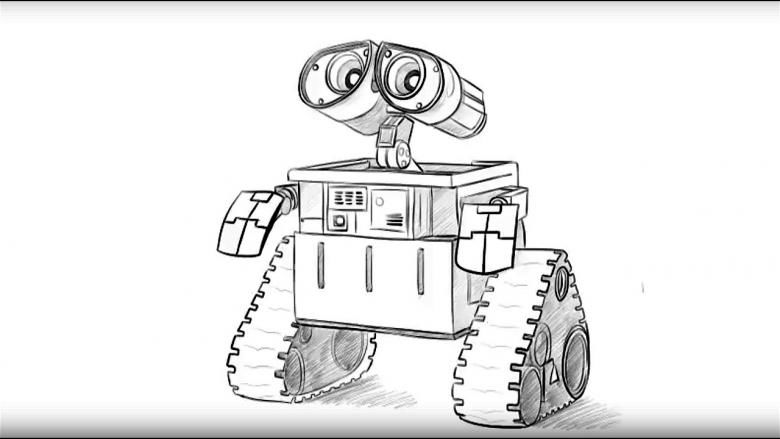
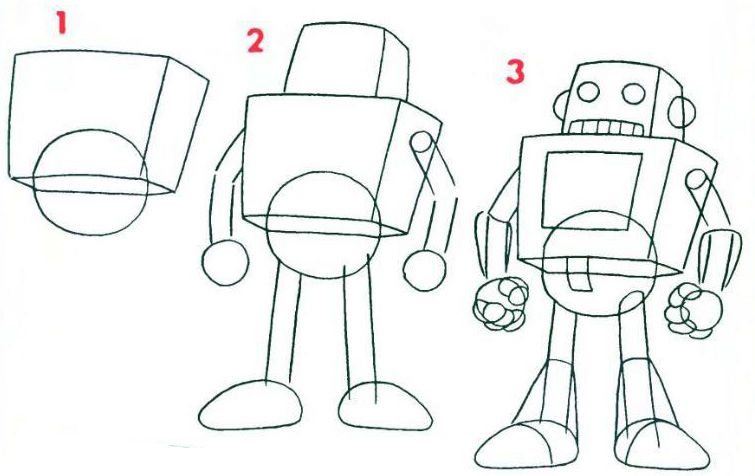
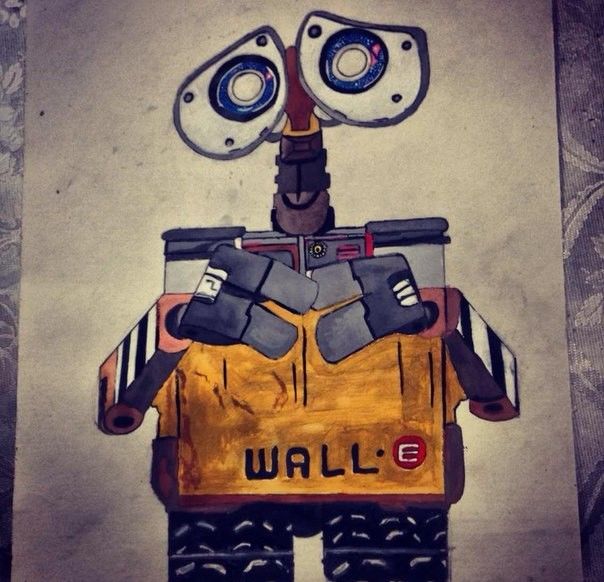
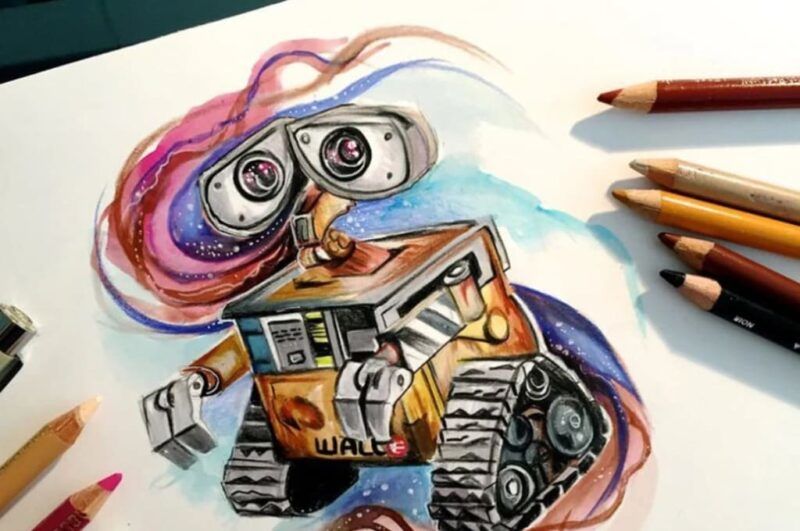
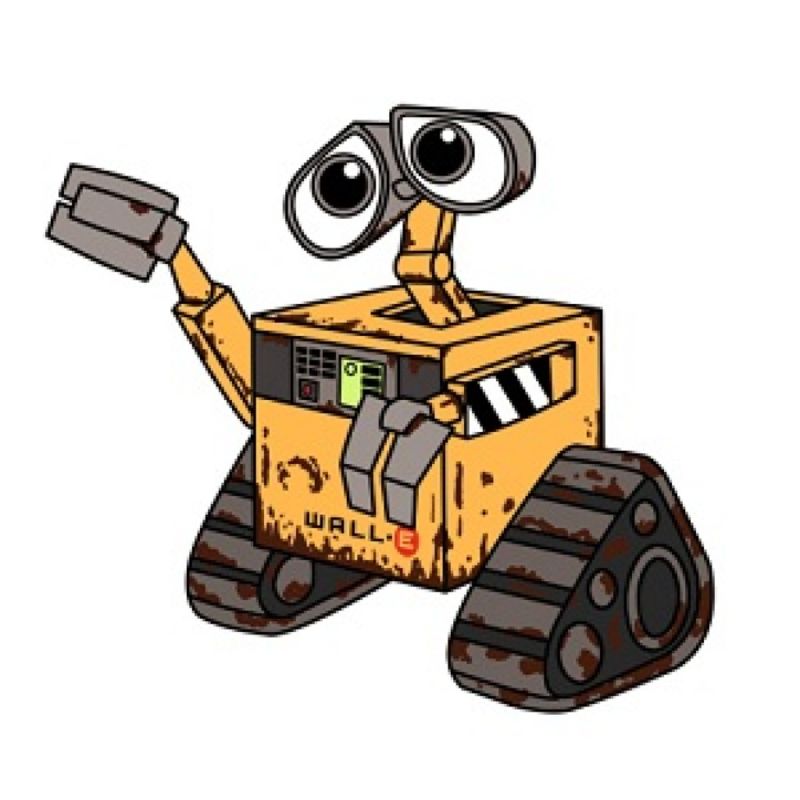
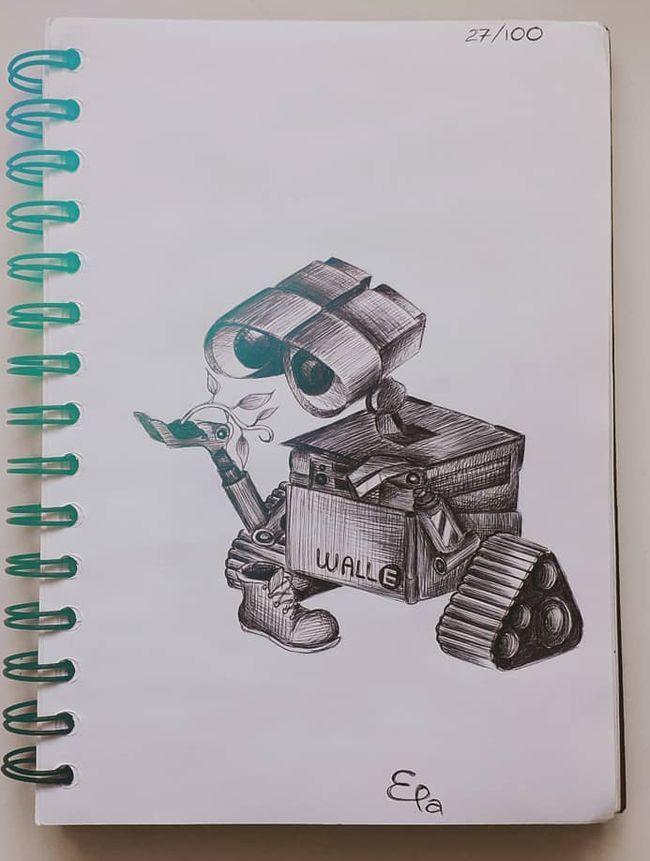
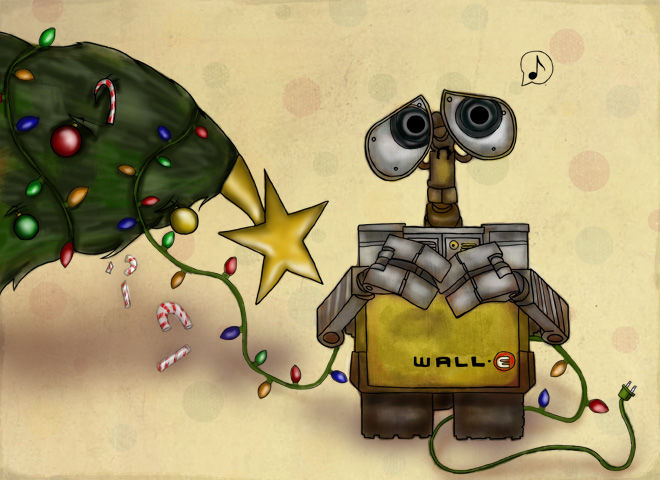
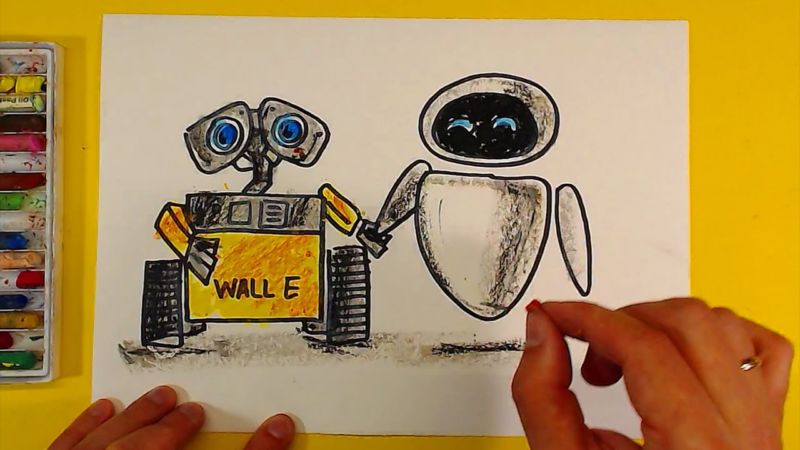
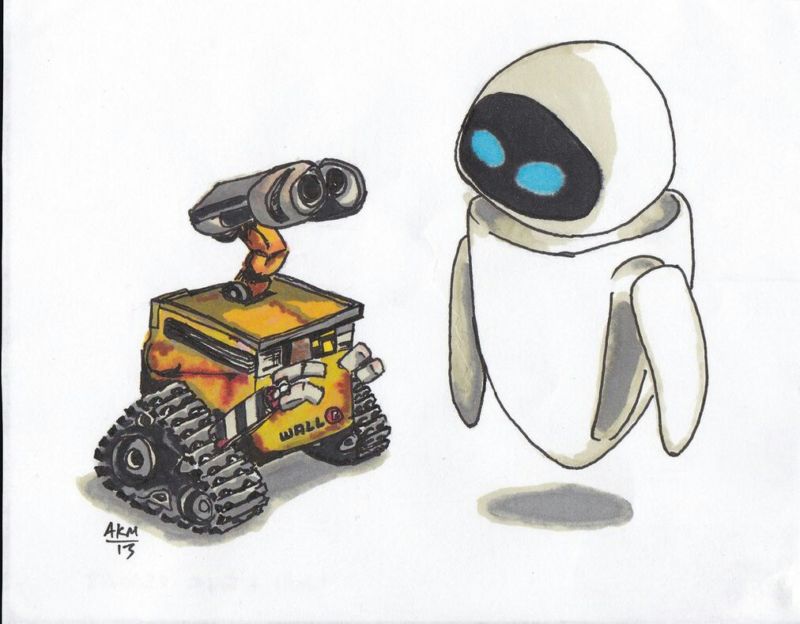
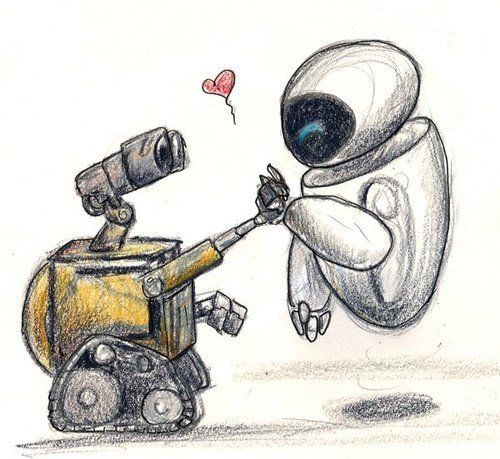
Robot WALL-E.
Worst-selling cartoon character of the same name, sunk into the soul of millions of viewers. Today he is one of the most recognizable characters in the world. His unusual appearance is interesting to portray:
- Before starting work, a place in the sheet is sought for the object. It can be marked with a circle.
- At the circle a line of symmetry is drawn. It must be divided in half.
- The lower segment will be the torso. For this purpose, it must be depicted in the form of a box. At the top are the gauges and indicators, an essential part of any technique. At the bottom there is the characteristic inscription "WALL-E," indicating the model of this invention.
- At the bottom of the box there are tracks, thanks to which the robot moves. On the side of the visible face of the three-dimensional cube is drawn a triangle with wide sides - one of the two limbs. Second, you can mark the flattened oval, as it is not visible.
- From the middle of the upper face departs trumpet length of half the torso. This is the neck. There are three-dimensional drops on it, an imitation of the eyes. There are also lenses that capture light.
- On the side of the visible edge of the box is an upper limb, represented by a retractable tube that ends in flat pincers.
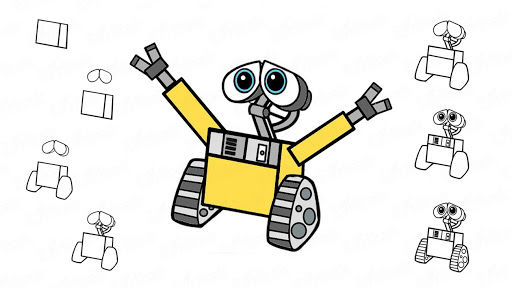
With these uncomplicated steps, any beginner can do this drawing. The main thing is imagination, which will always tell you what is better to add.
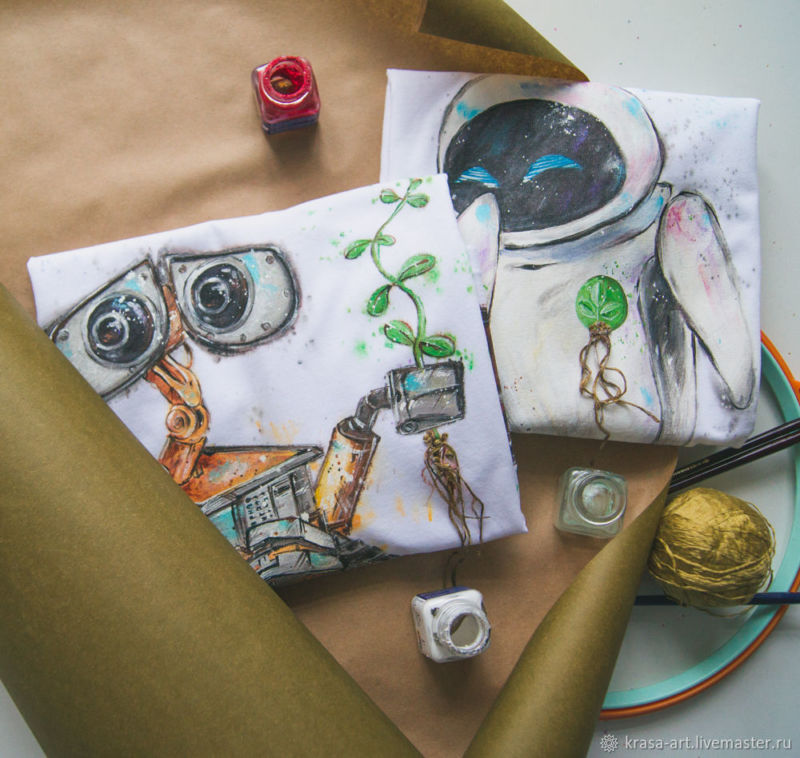
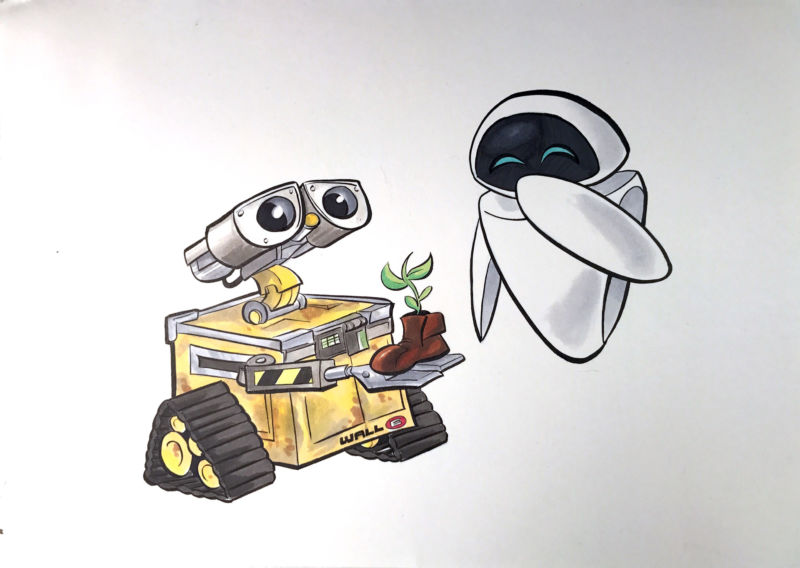
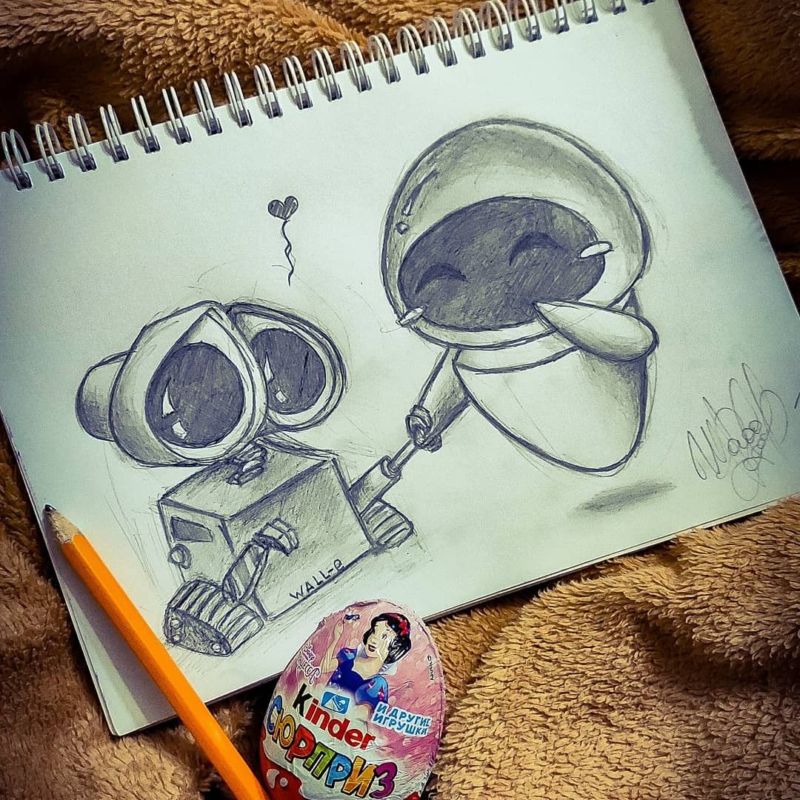
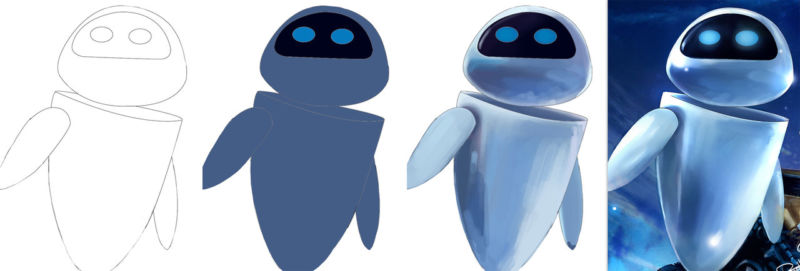
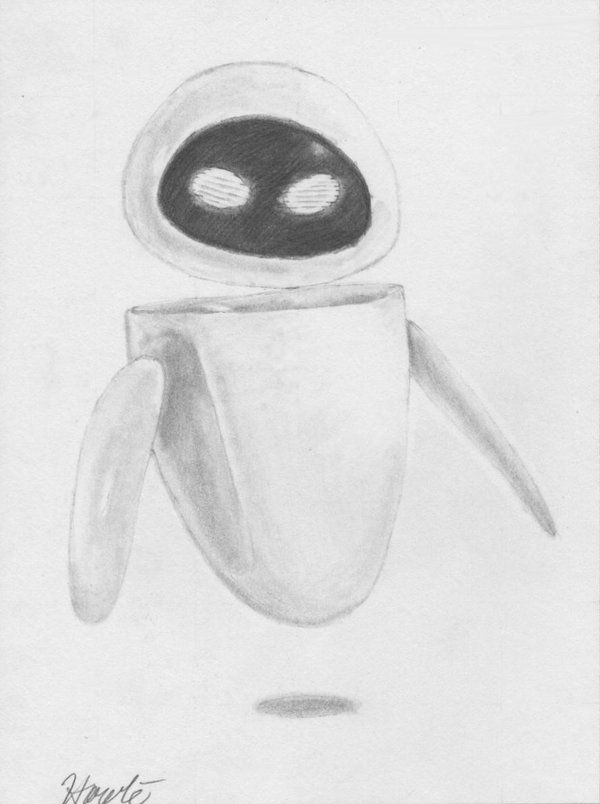
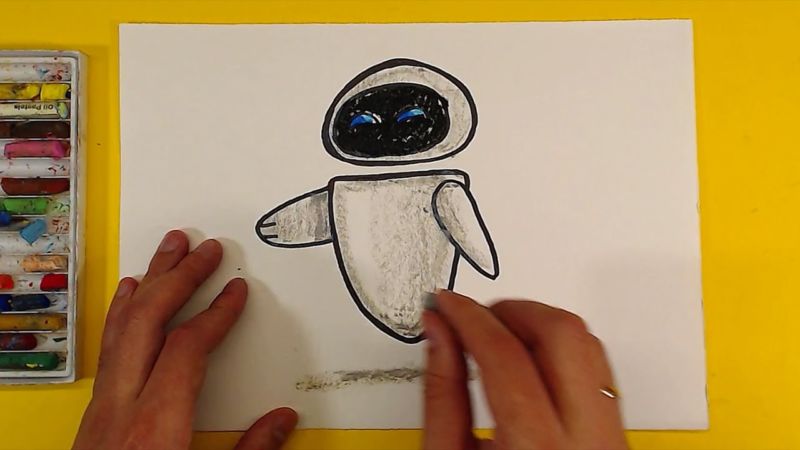
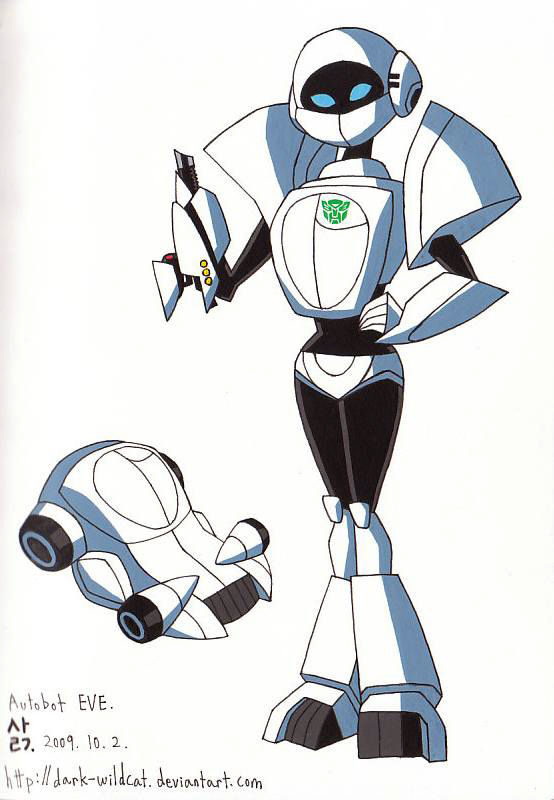
Robot Eve
Another character from the WALL-E cartoon. Eva is a symbol of the progressive technical future. She represents elegance and laconic design. Her image is simple enough in execution, so it is also suitable for children's creativity:
- Before starting work, it is necessary to determine the place of Eva in the sheet. To do this, it can be marked with an oval, stretching up and down.
- Along the oval, a line of symmetry is drawn. It should be divided into three equal parts: the upper will be the head, and the two lower - the torso.
- For the image of the head, you need to draw an oval and shift its roundings to the bottom. From the borders you need to indent a little space and draw the same shape - it will be a screen for expressing facial expressions. It has two large spots - Eve's eyes.
- The torso is drawn as half of a narrow oval in section. To do this, you need to draw a narrow arch pointing rounded down, and on the opposite side to depict an oval.
- On the sides of the body are the upper limbs, which float in the air. Their length is slightly shorter than the torso. They are depicted as dolphin fins - all the same ovals, only narrower towards the end.
So in a few minutes you can get a drawing of a modern robot. What is important, the actions of such step-by-step instructions, like the previous ones, children are able to do on their own!
It turns out that in order to draw beautifully, you do not need to be an artist. It's enough just to know the algorithm of actions. Taking apart every detail of the composite drawing can achieve unprecedented results in the fine arts.
It only remains to stock up on patience and imagination - compulsory companions of any creator. And then every task will seem like a trifle.
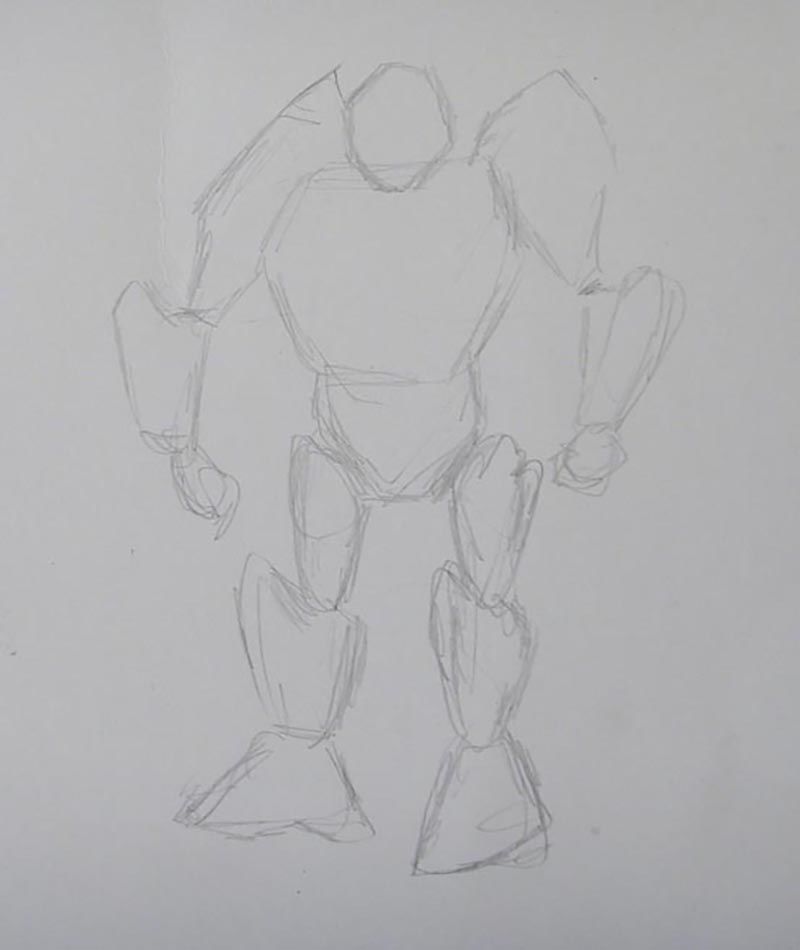

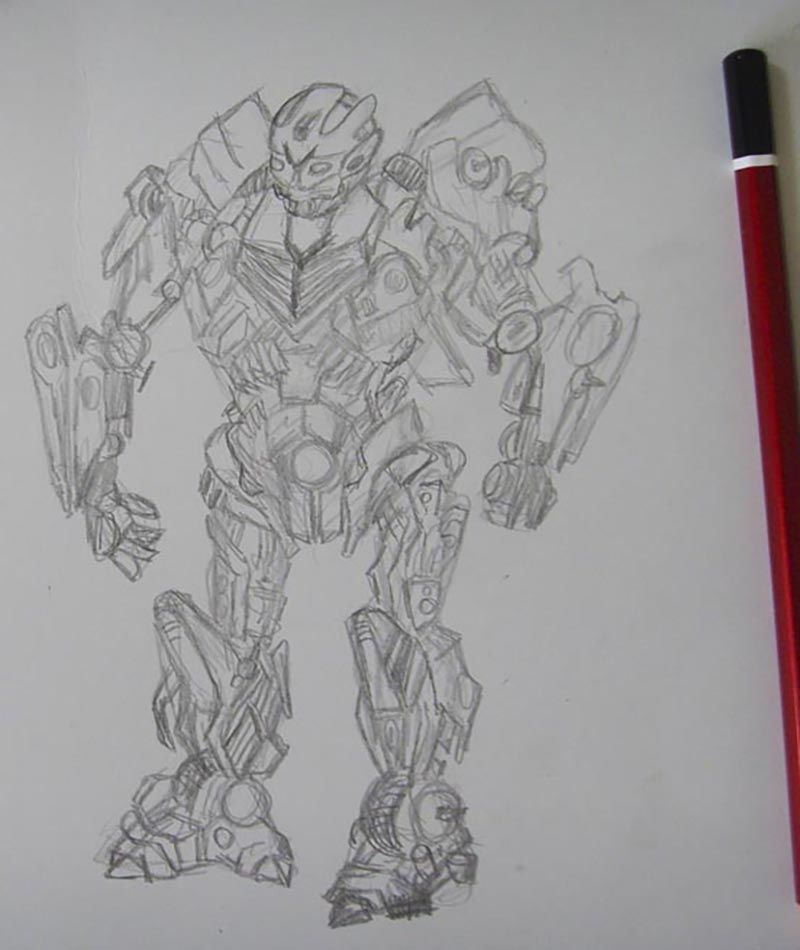
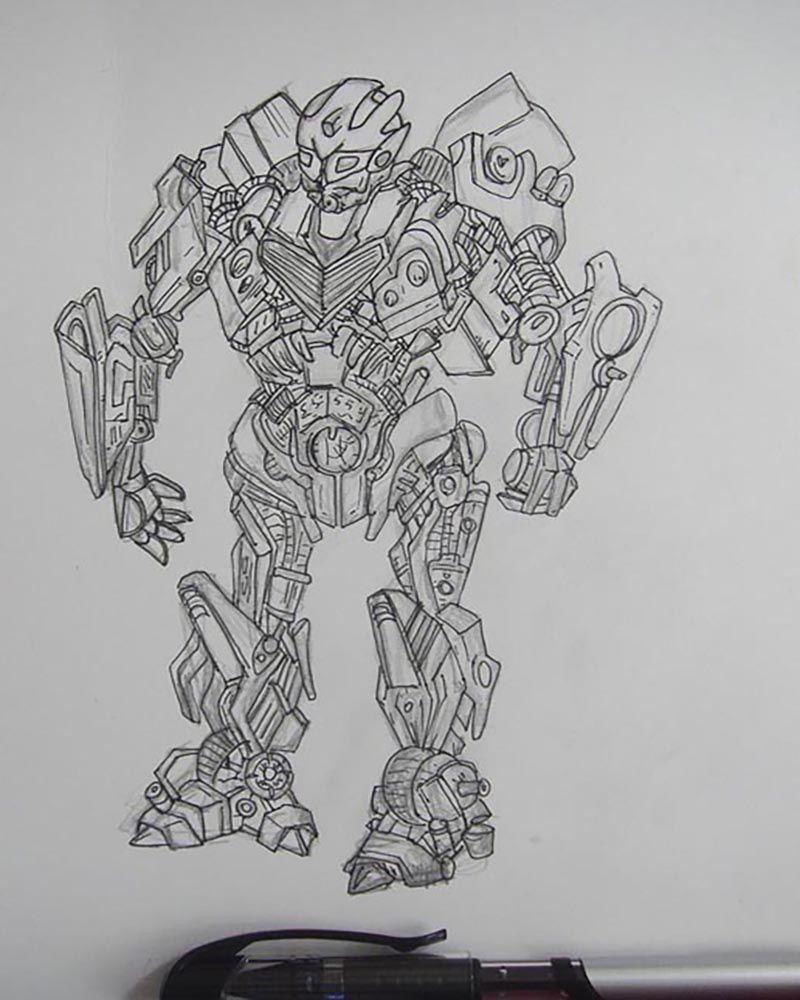
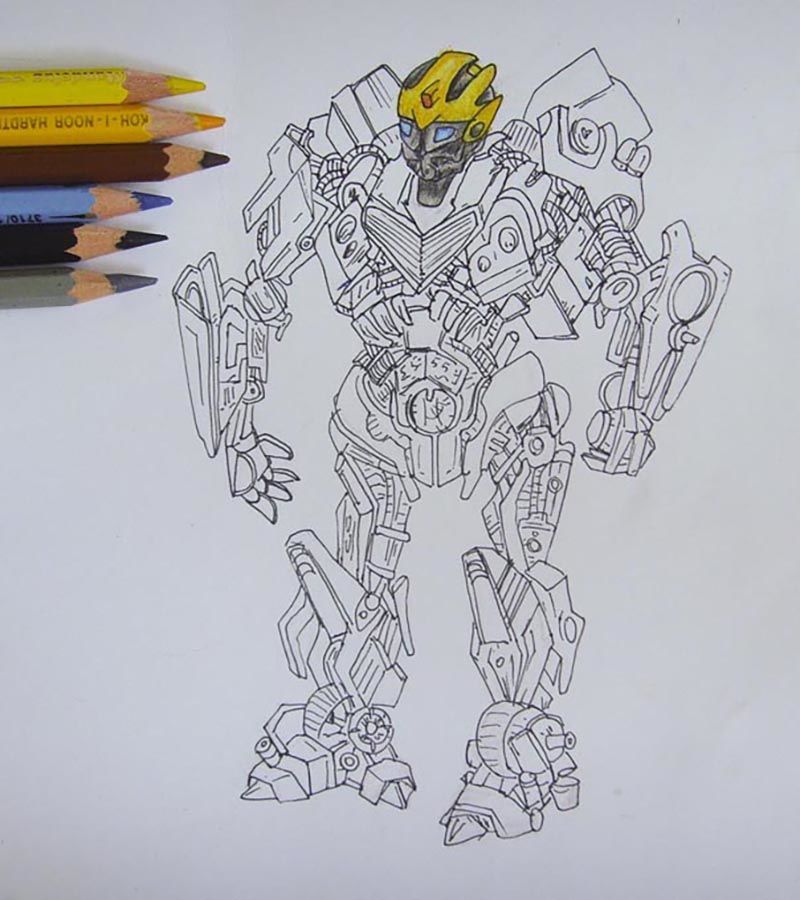
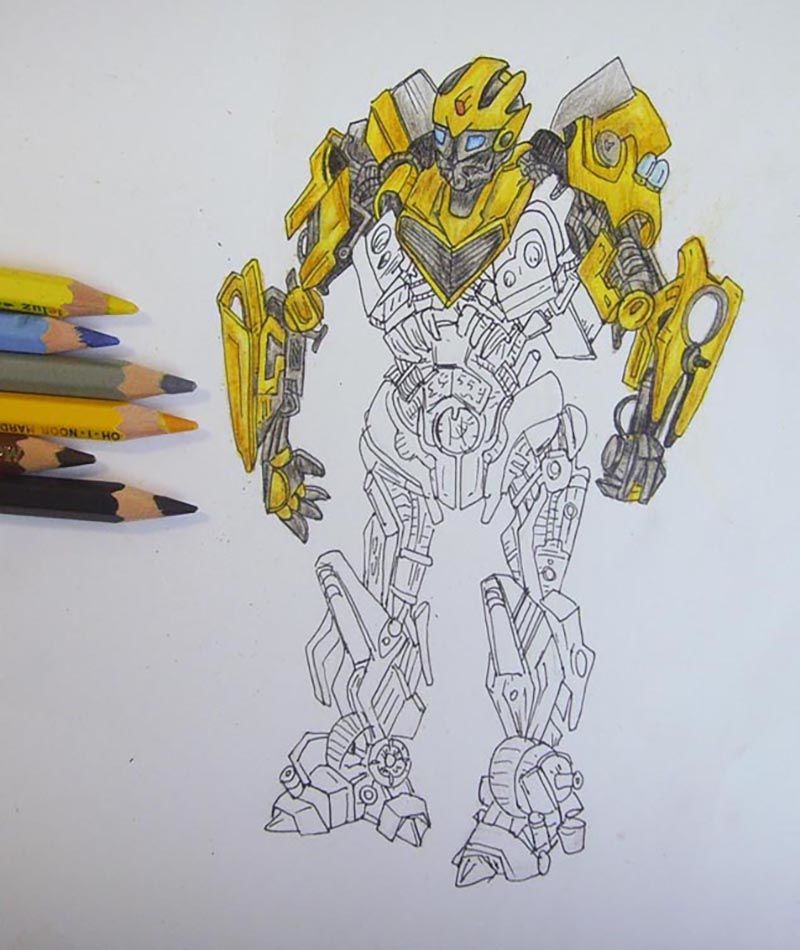
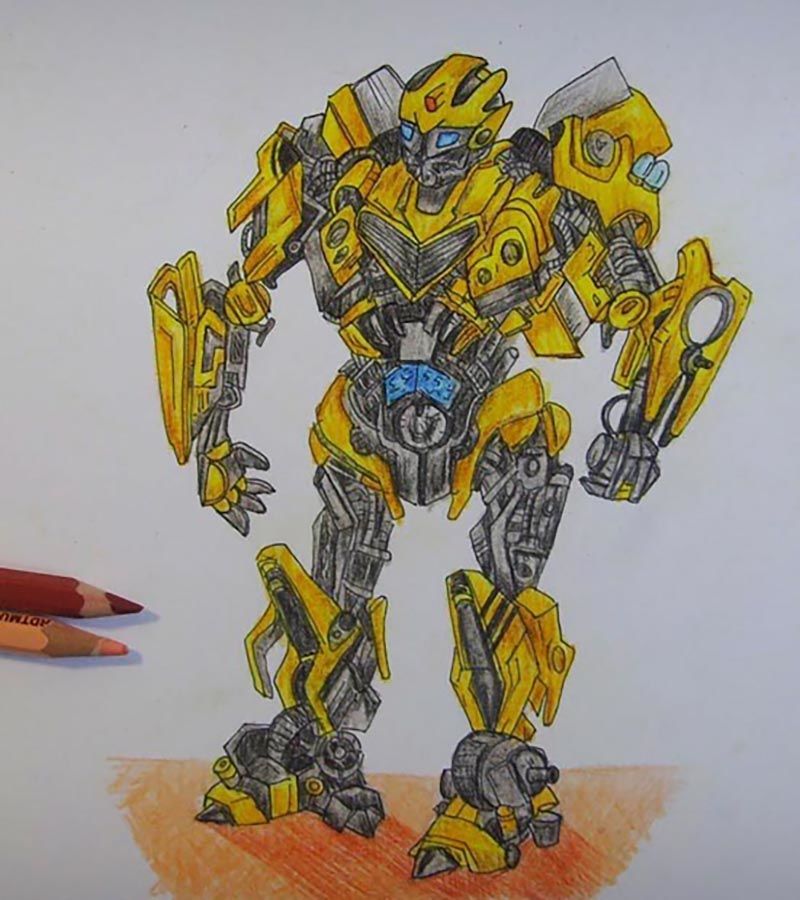
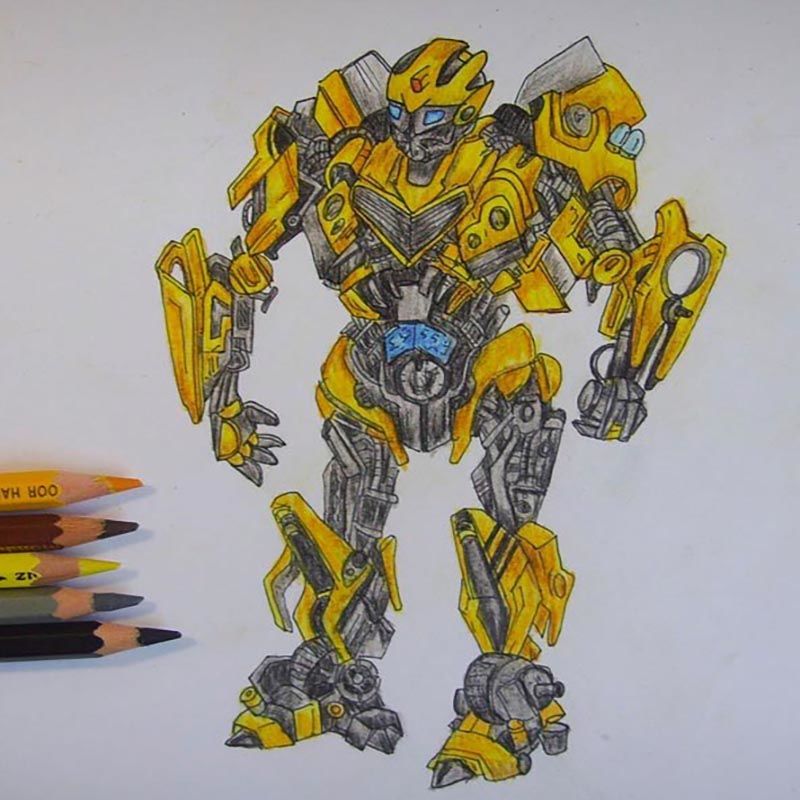
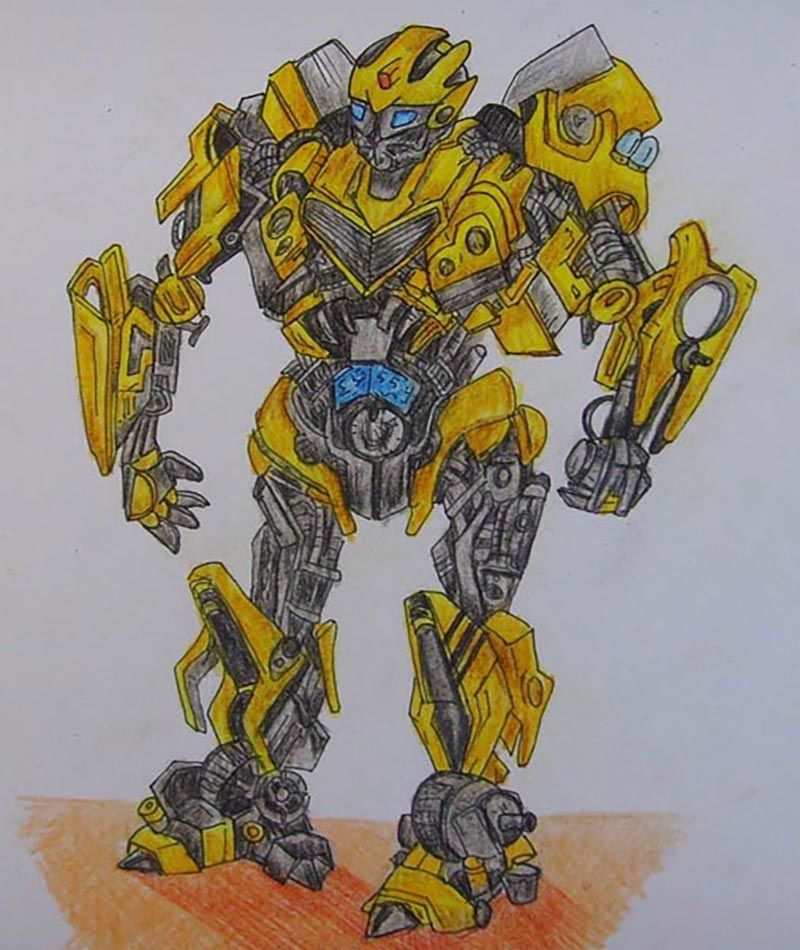
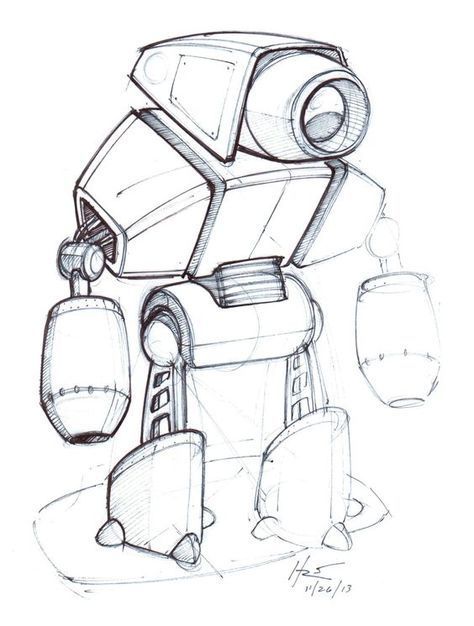
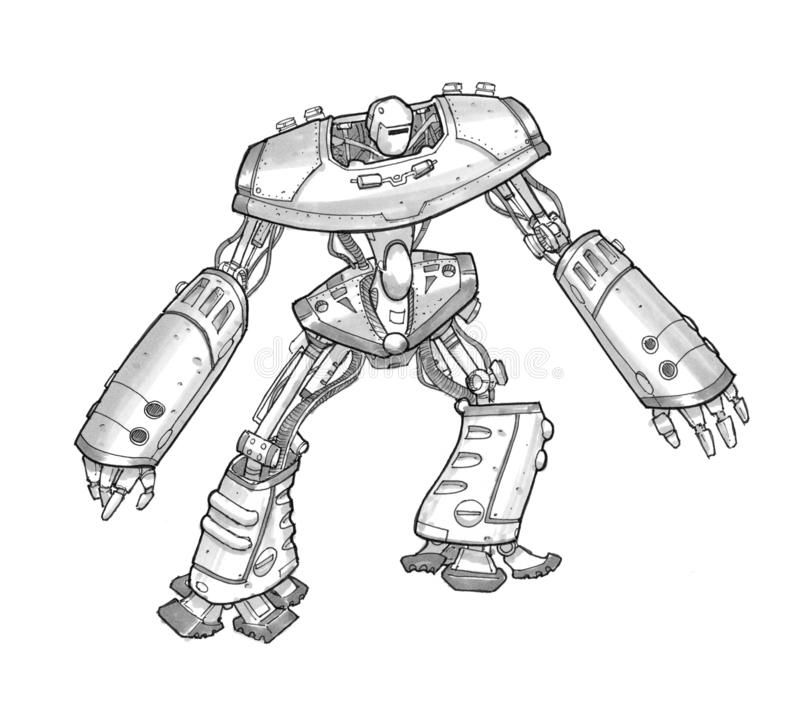
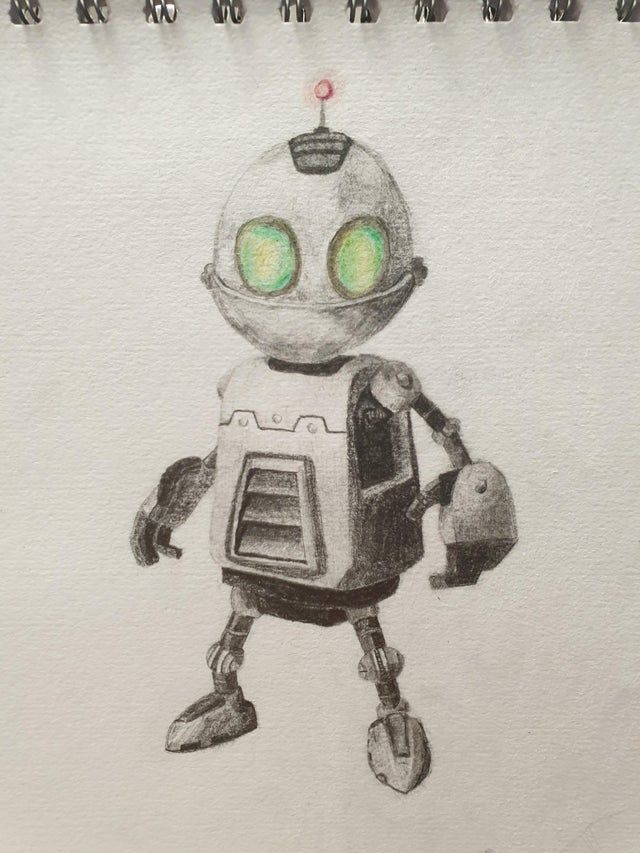
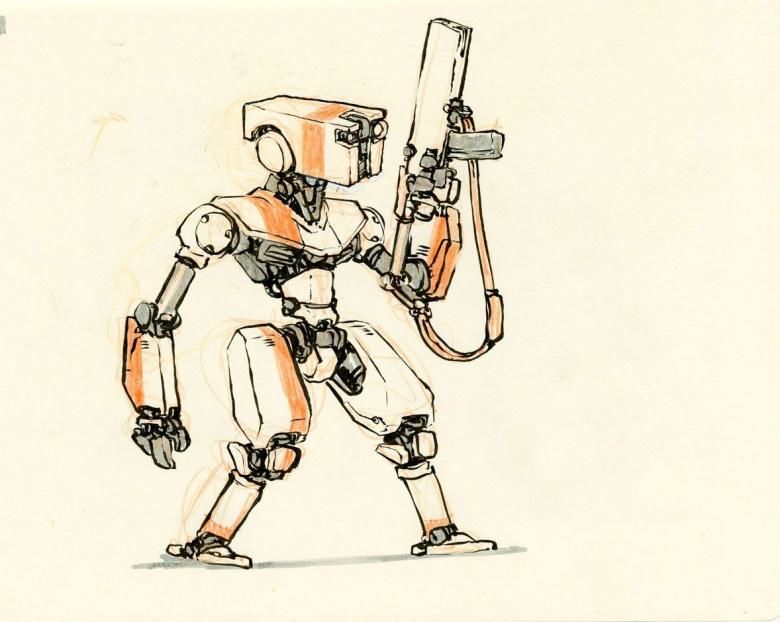
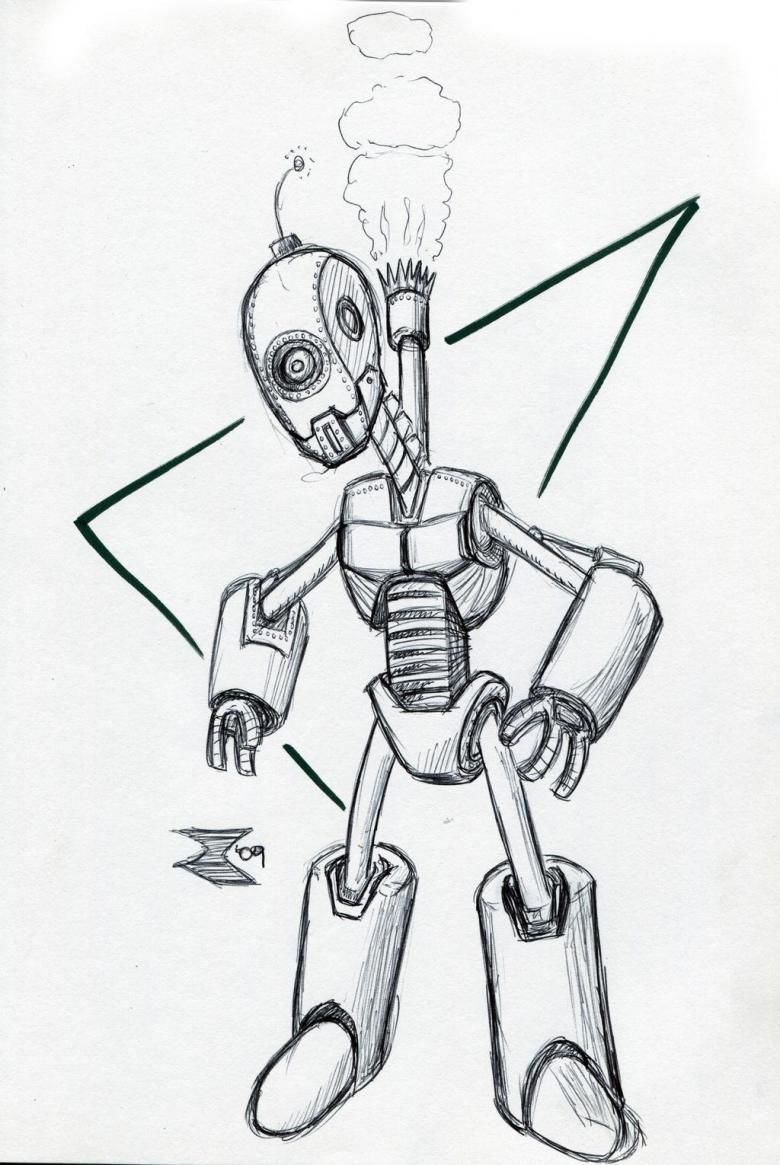
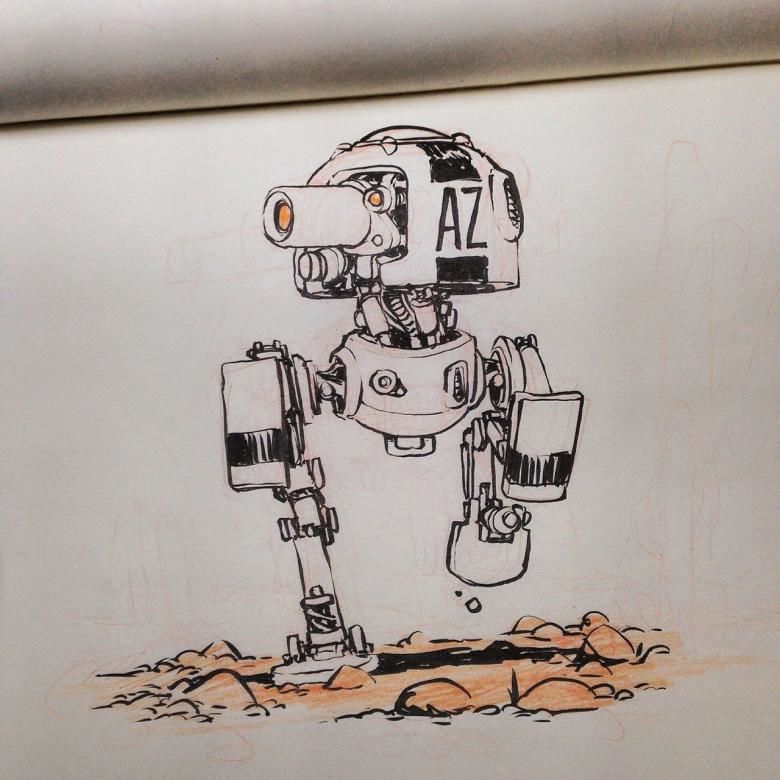
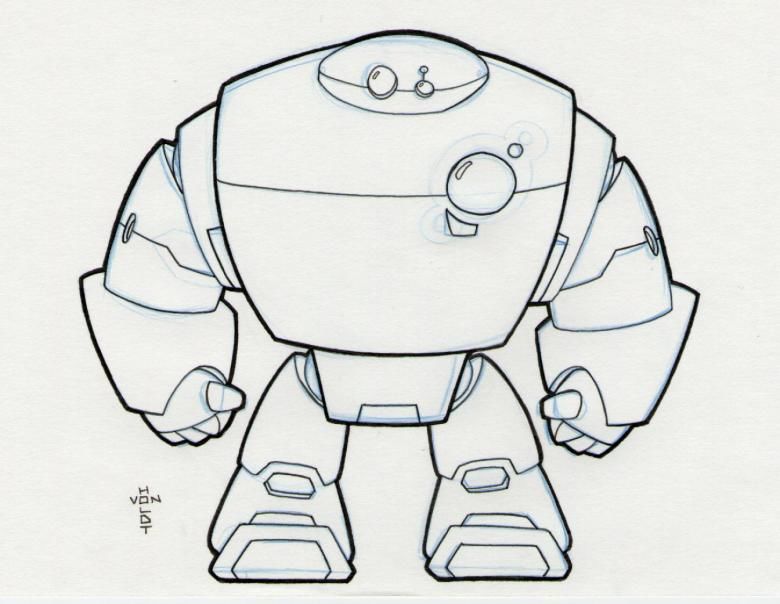
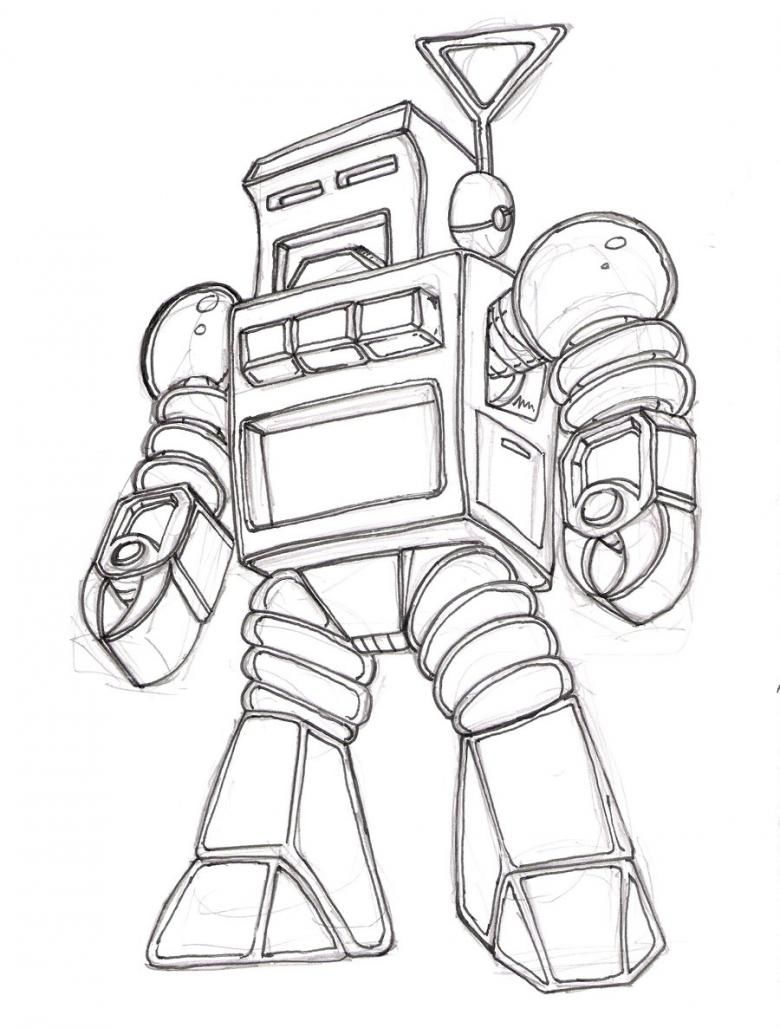
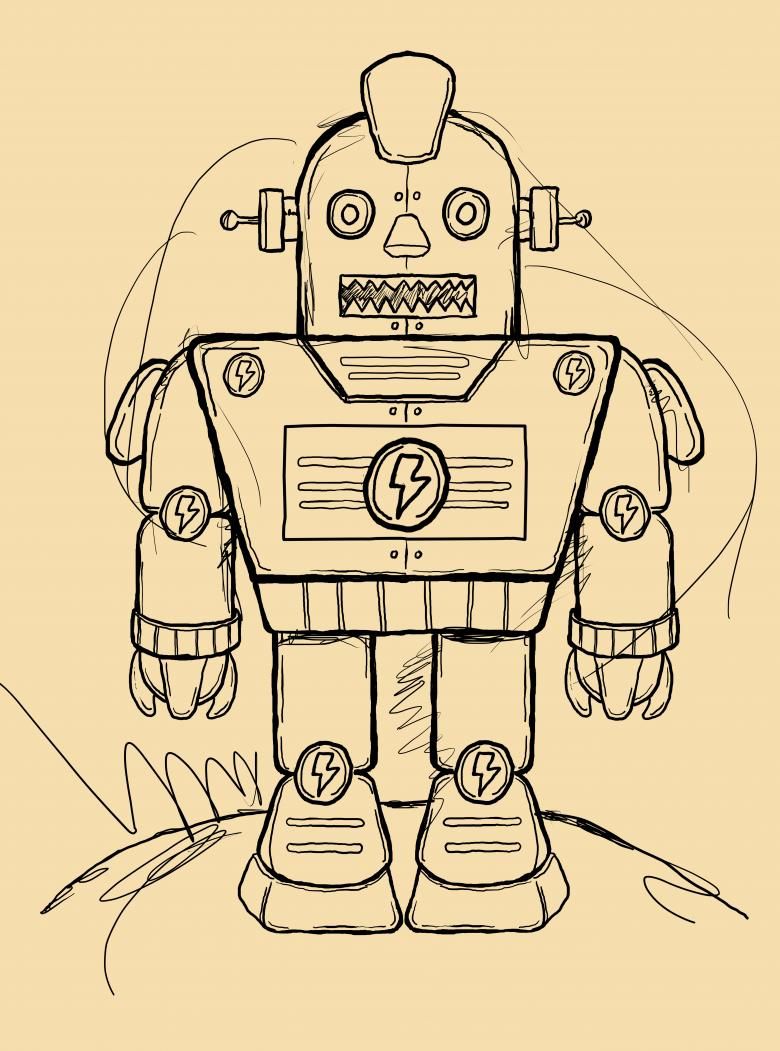
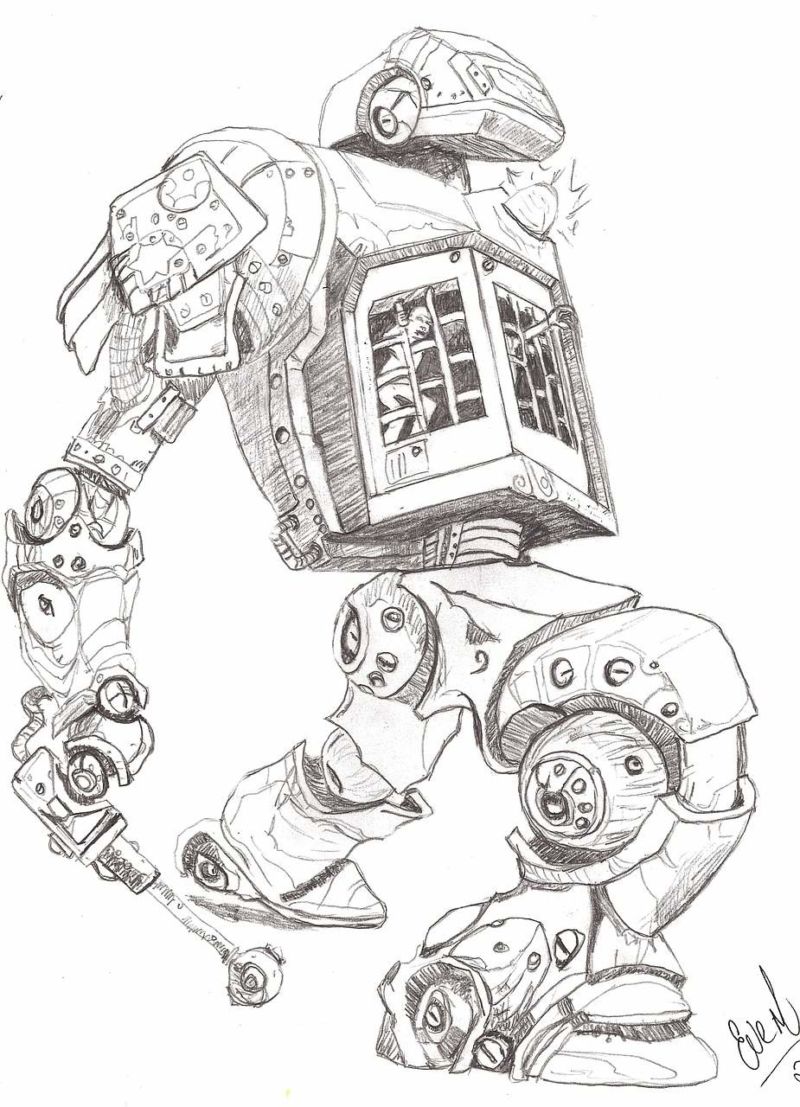
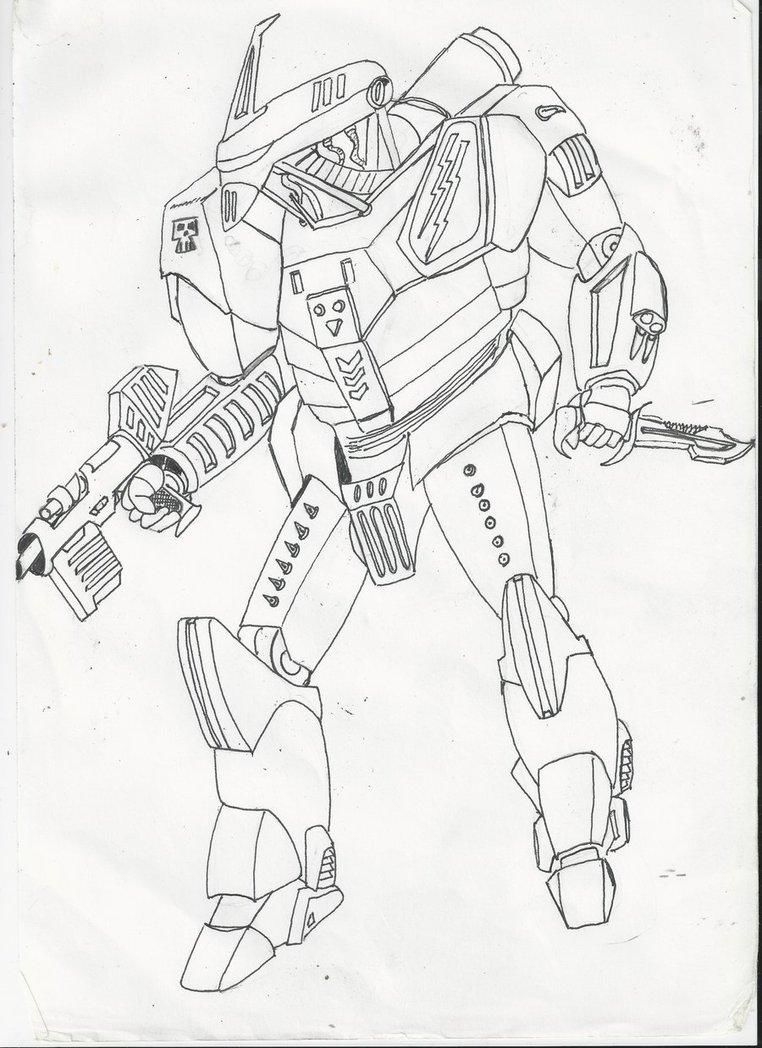
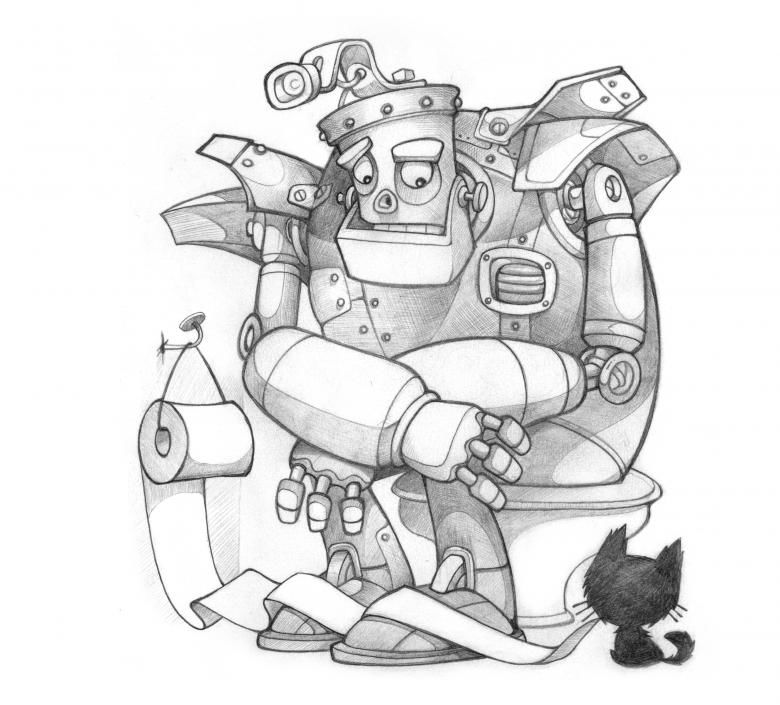
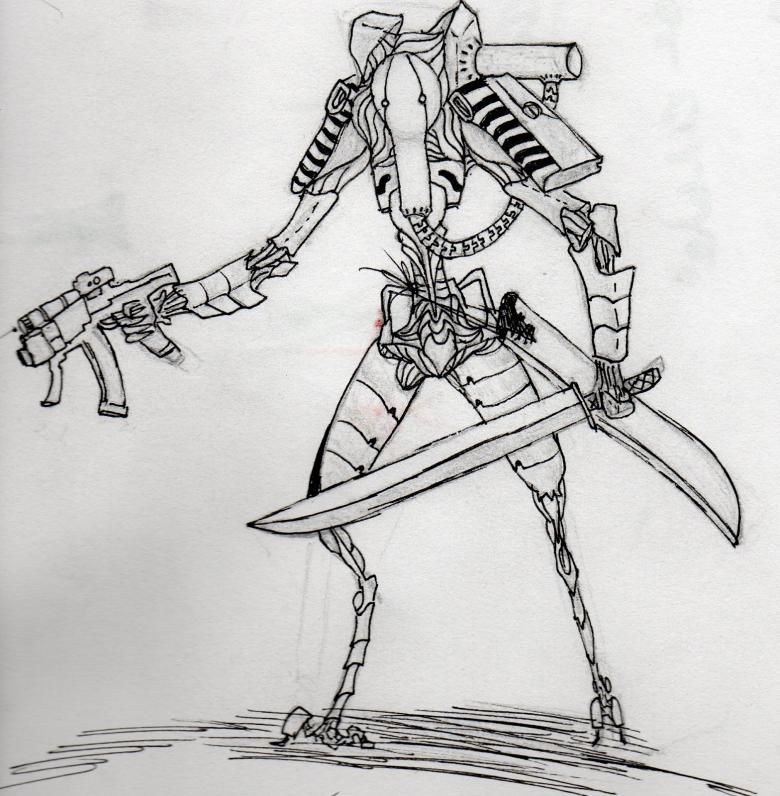
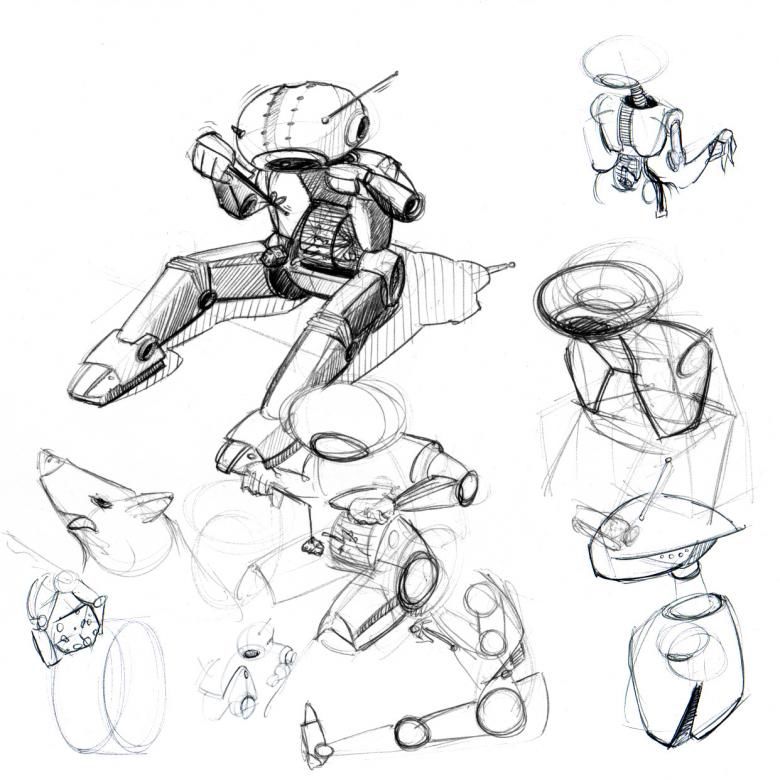
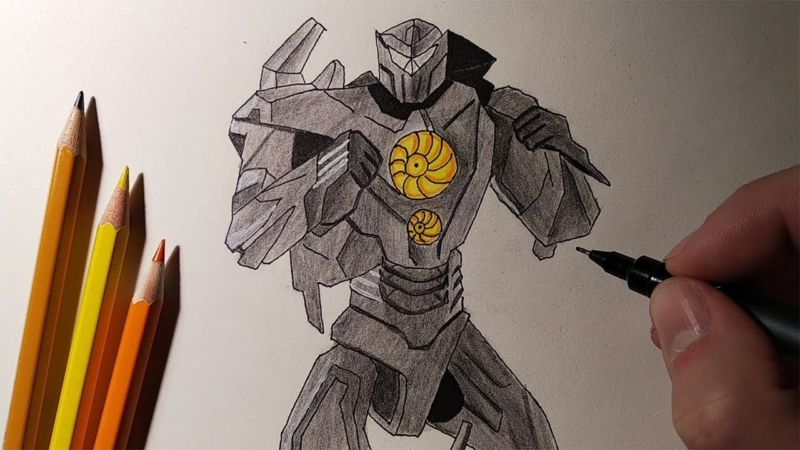
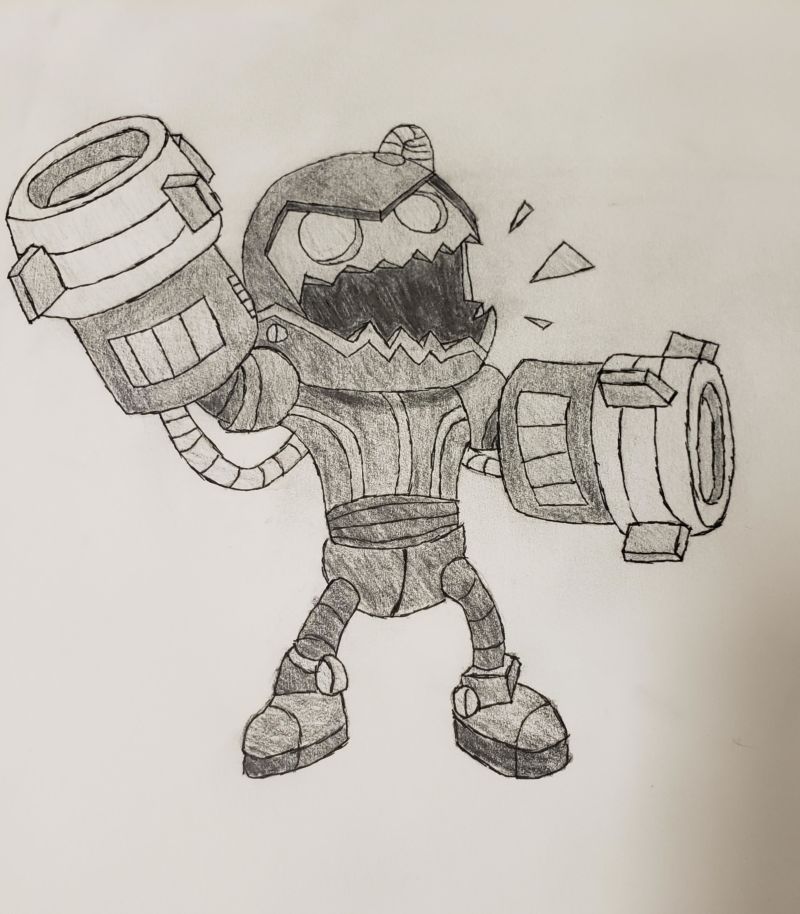
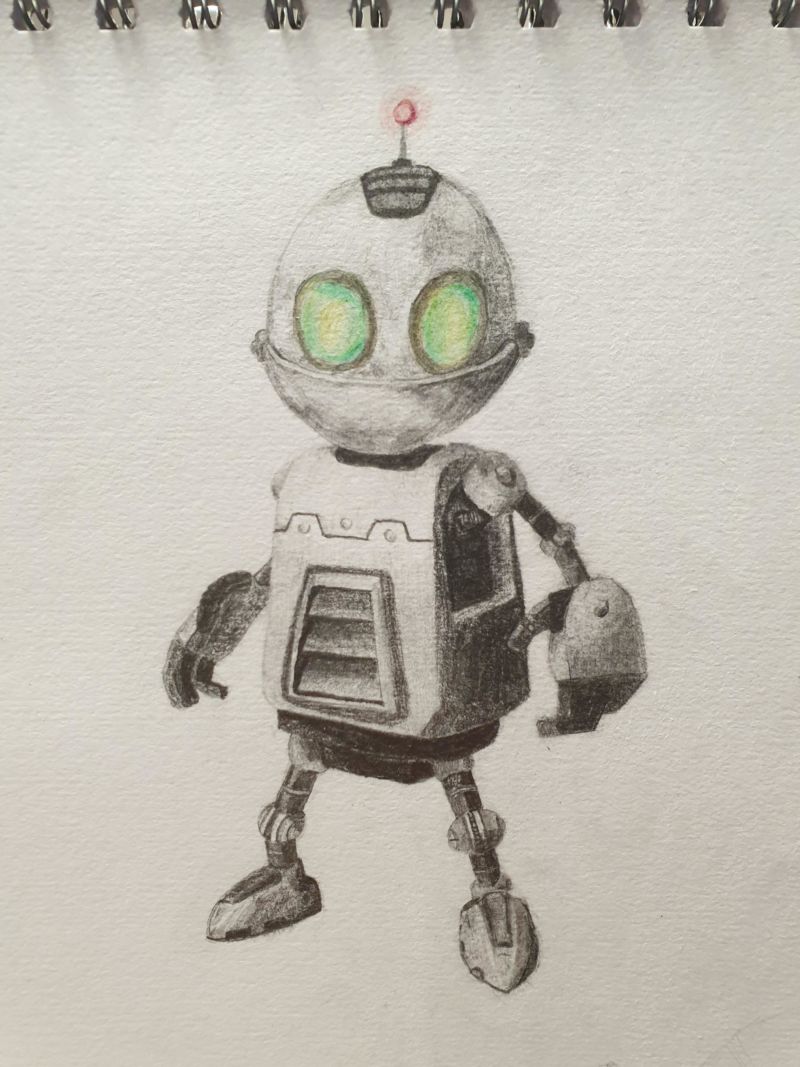
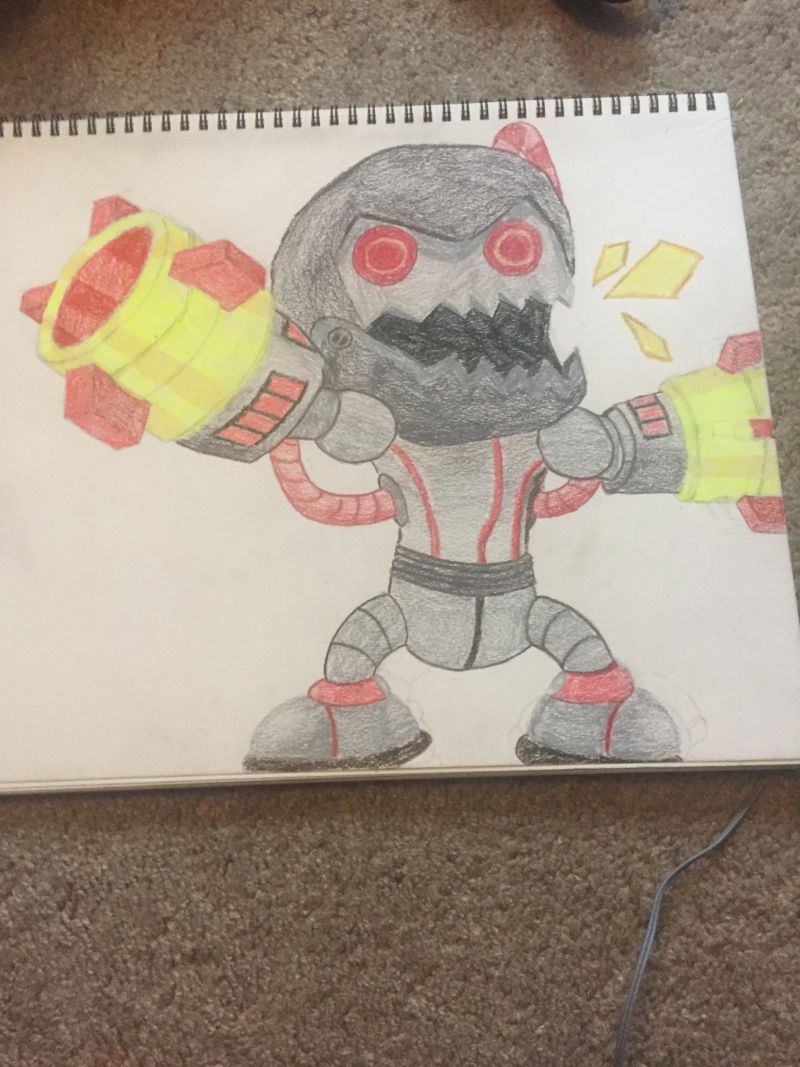
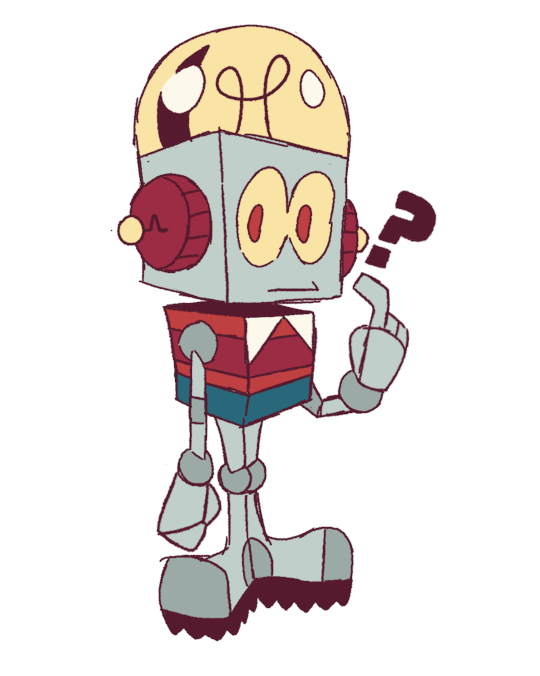
Photo of a pencil drawing of a robot