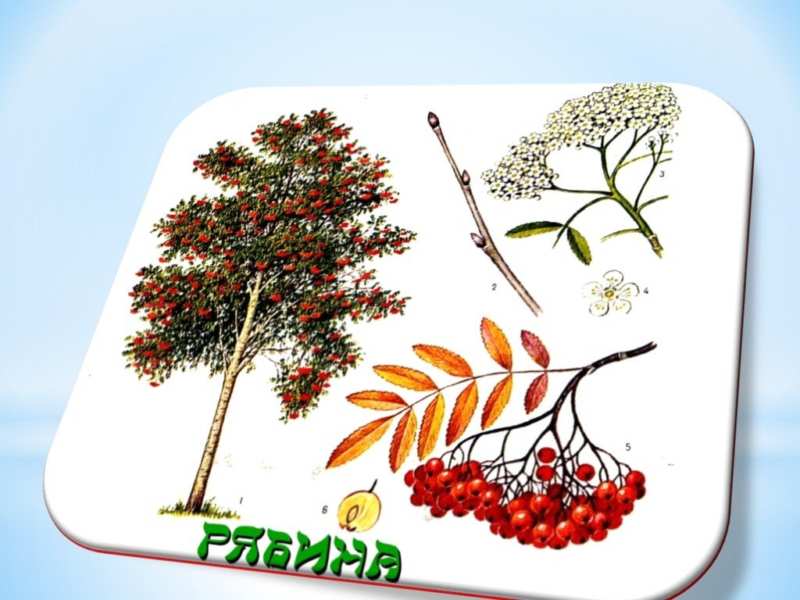
How to draw a rowan tree - easy step-by-step master classes with pencils and paints
The rowan tree is a picturesque tree that is beautiful both in winter and summer, spring and fall. Many writers, poets, musicians, and artists have been inspired by rowan bunches and lacy leaves. Created songs, poems, stories, and paintings.
Drawing individual parts of the rowan tree
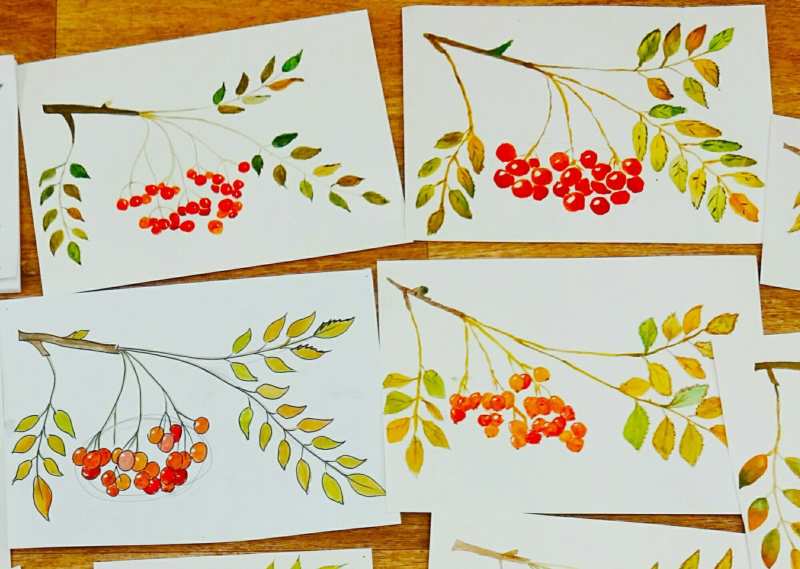
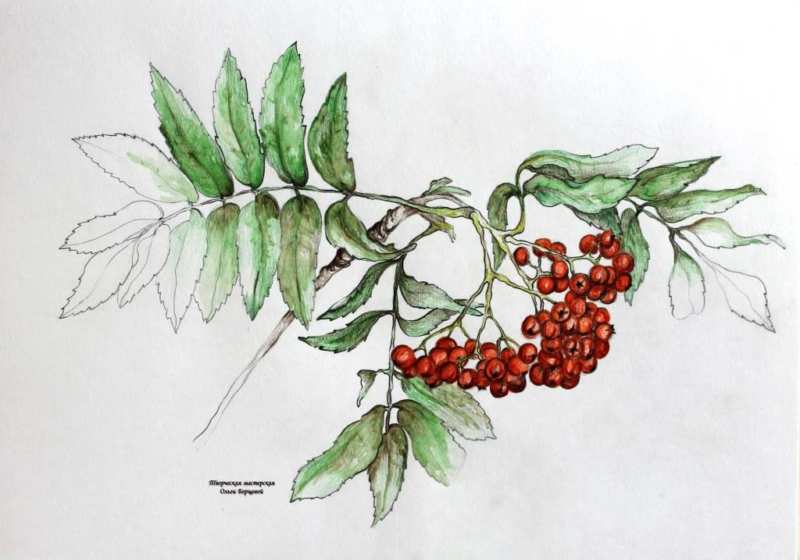
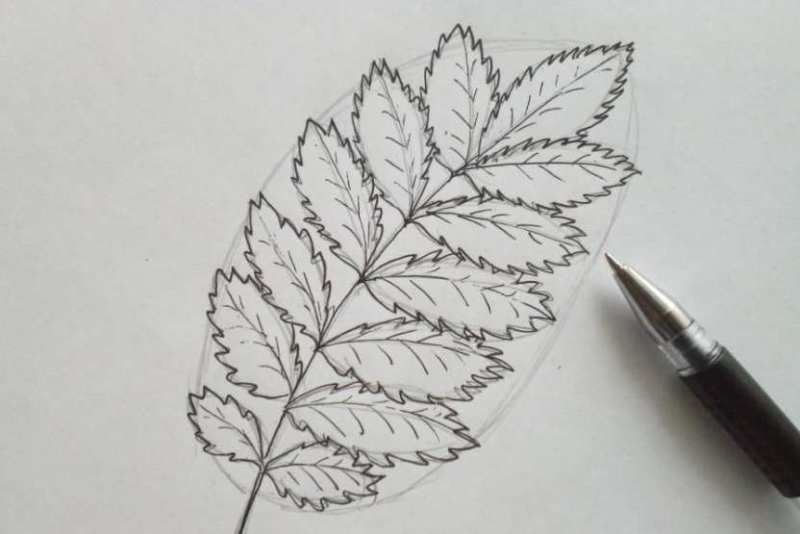
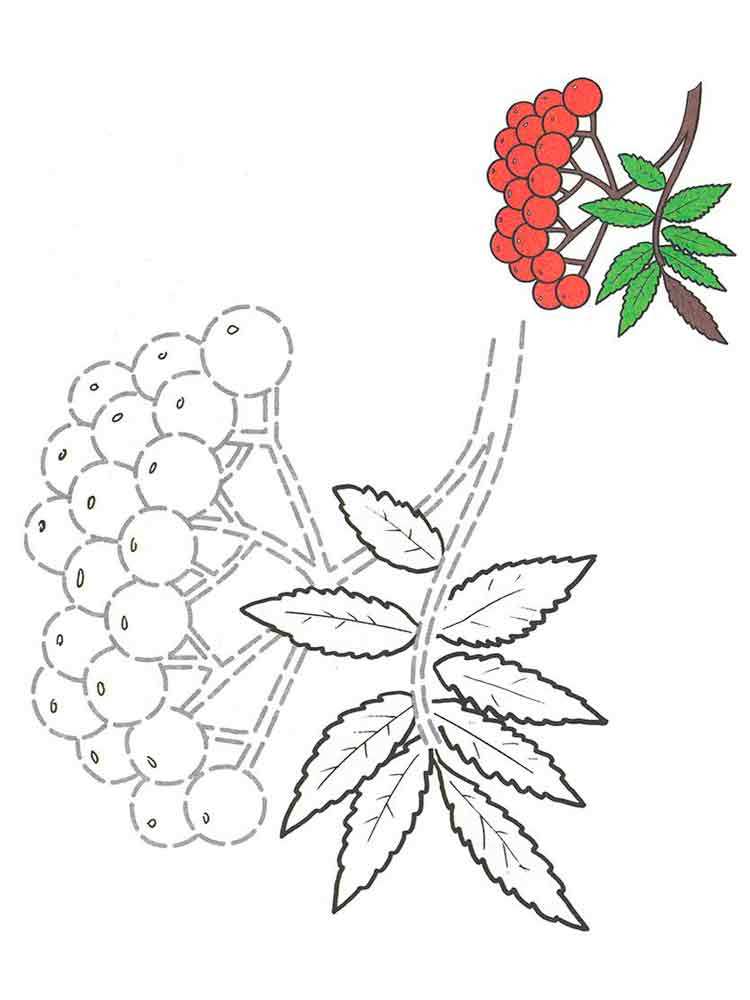
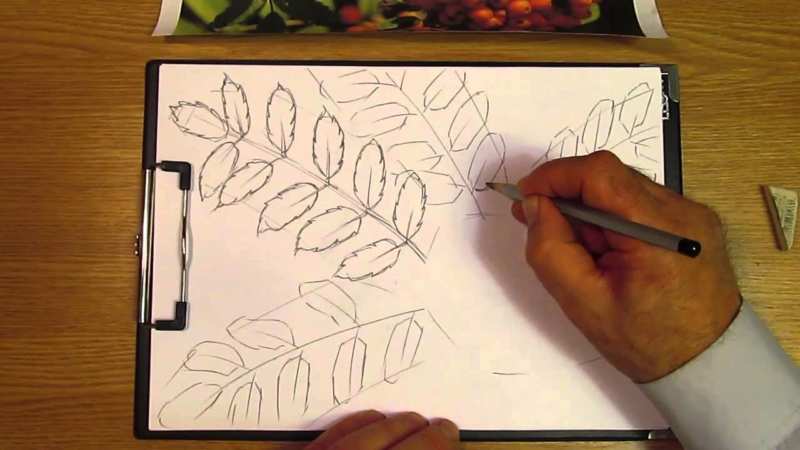
Leaf of a rowan tree step by step
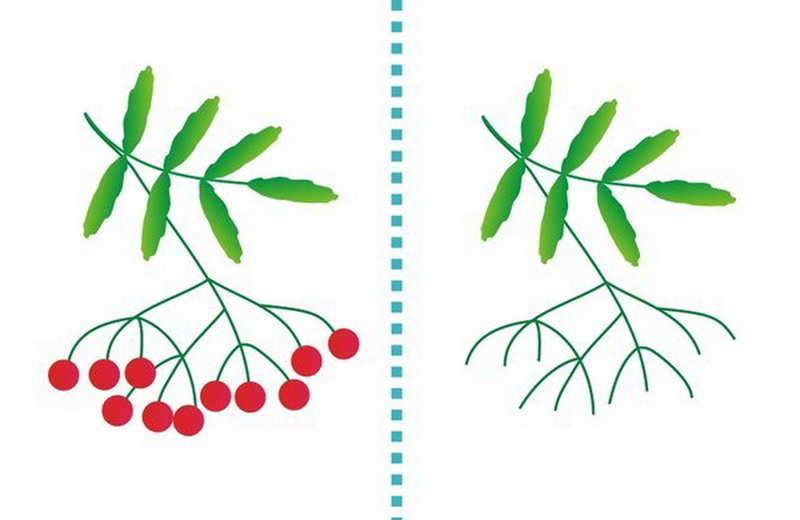
To better draw a rowan, first practice drawing each element separately: the leaves, the bunch of rowan:
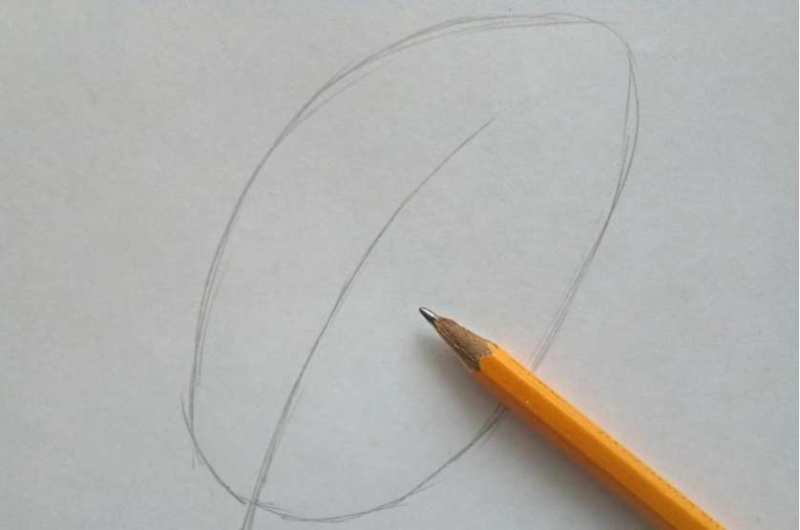
- In the middle of the leaf, draw a large oval. Tilting it to the right side. Through the middle of the oval to draw a centerline, which will be adjacent to the leaves.
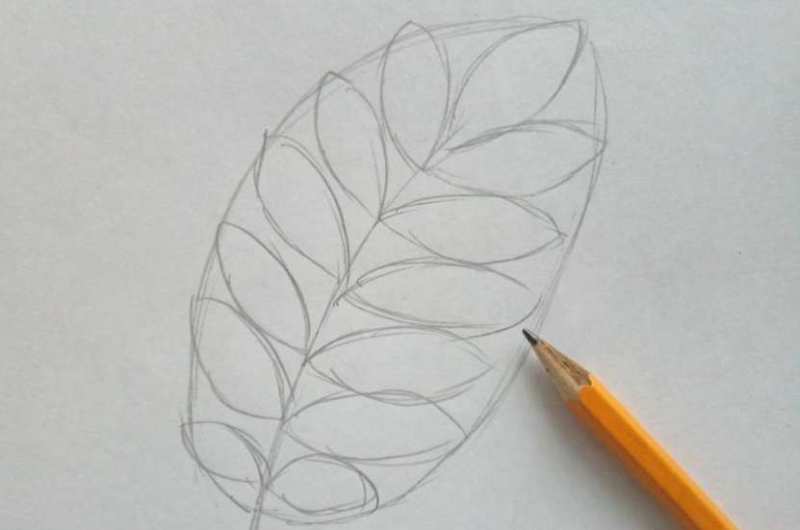
- On both sides of the centerline depict small leaves. They are similar in shape to an oval, with pointed ends.
- Inside the leaves add veins, to depict the outline of the leaves teeth.
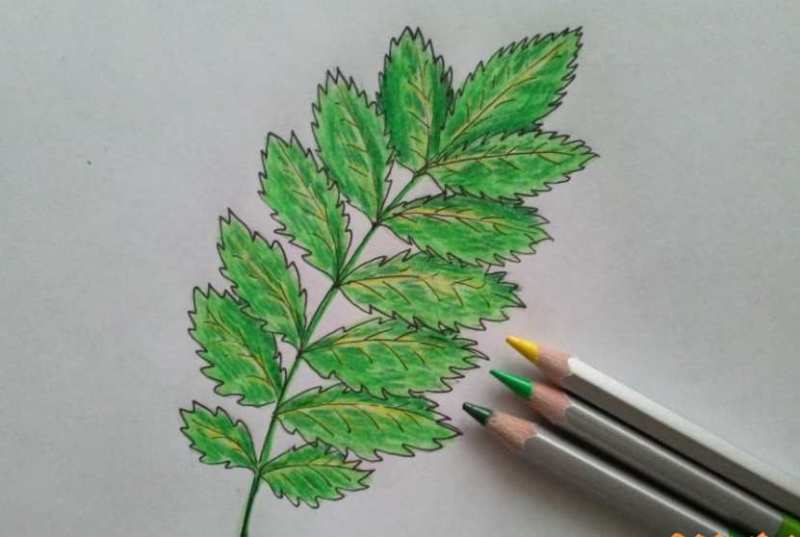
- Take yellow, green, yellow-green colors and paint inside the leaves with soft transitions.
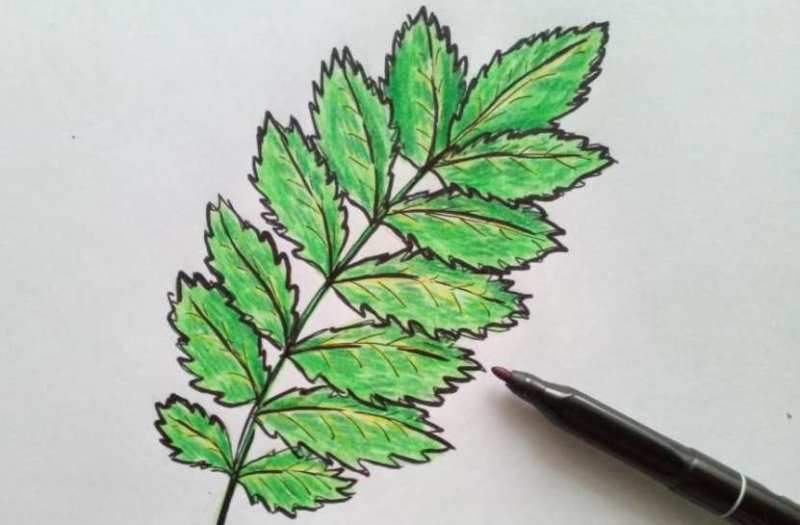
- Highlight leaf outlines with a black marker or pencil.
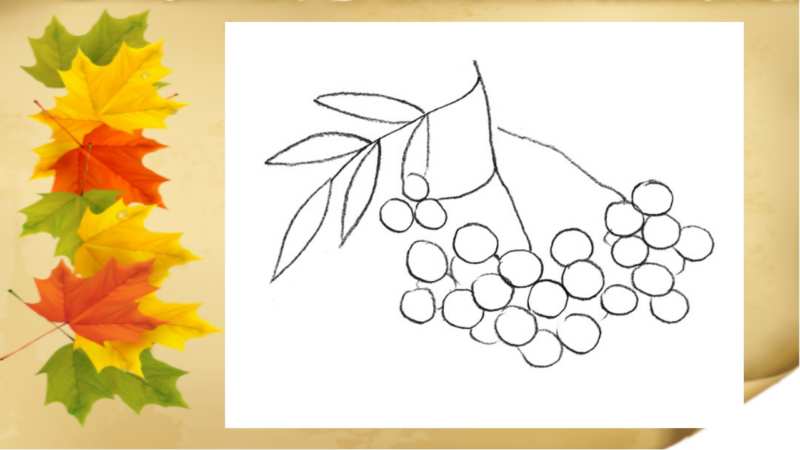
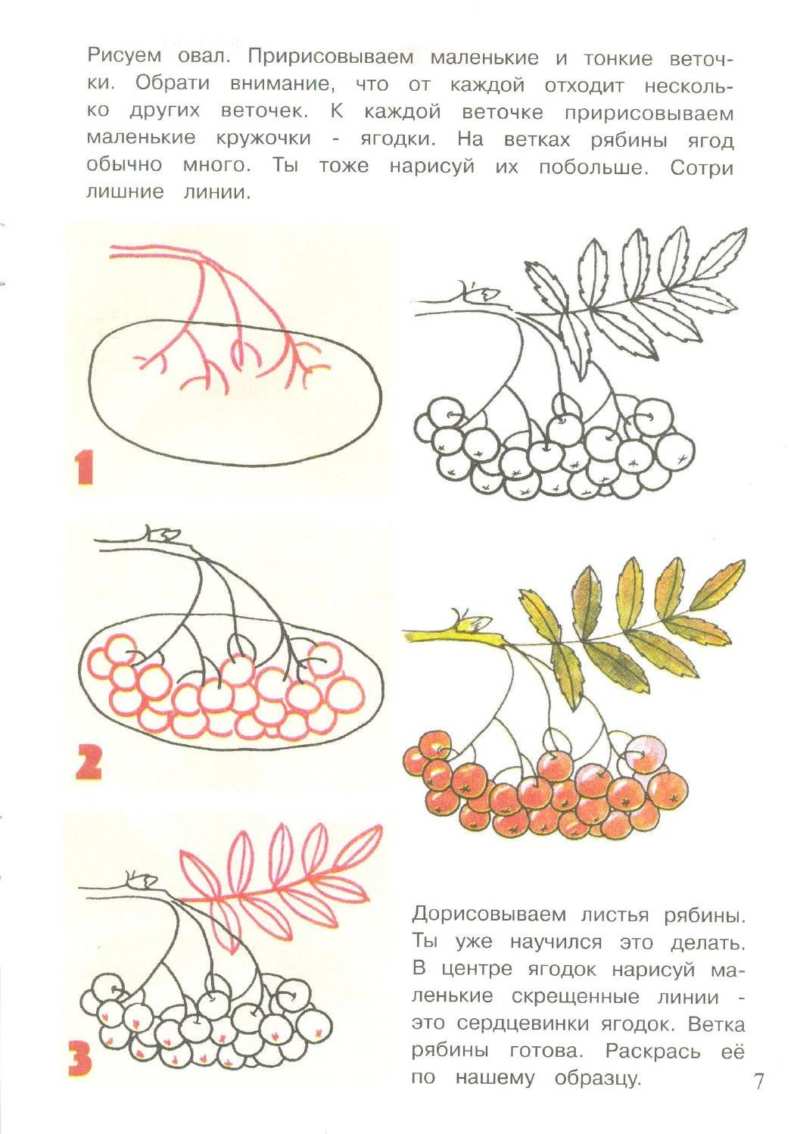
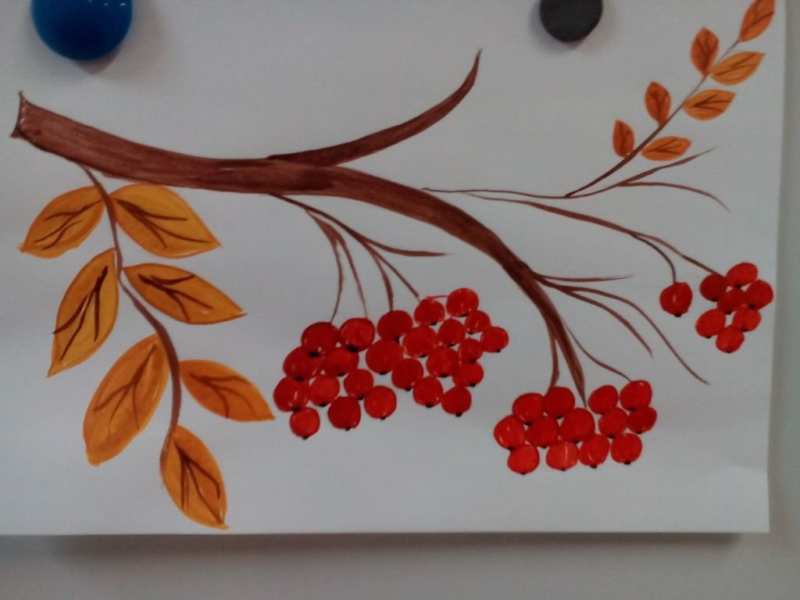
Rowan branch step by step
- Picture a line, from it to the left and right to draw twigs. From them still branching in different directions. Make the thickness of the branches and their branches.
- Draw berries of different sizes on the edges of the branches. They should be placed haphazardly on the leaf, but certainly close to each other. The number of berries on the branch is possible in variety.
- At the tip of each berry to draw a cross. This space is left of the rowan flower.
- Take red, orange, burgundy colors for the berries and paint them. Those berries that are depicted on the bottom, they will be darker. The berries at the top are lighter, orange, orange-red.
- Brown to draw the branches.
- Take a black marker or pencil and outline.
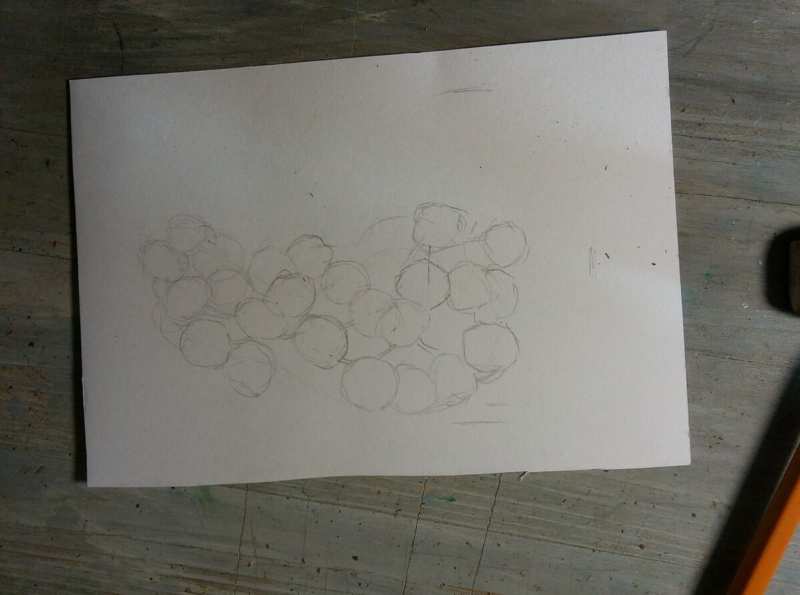
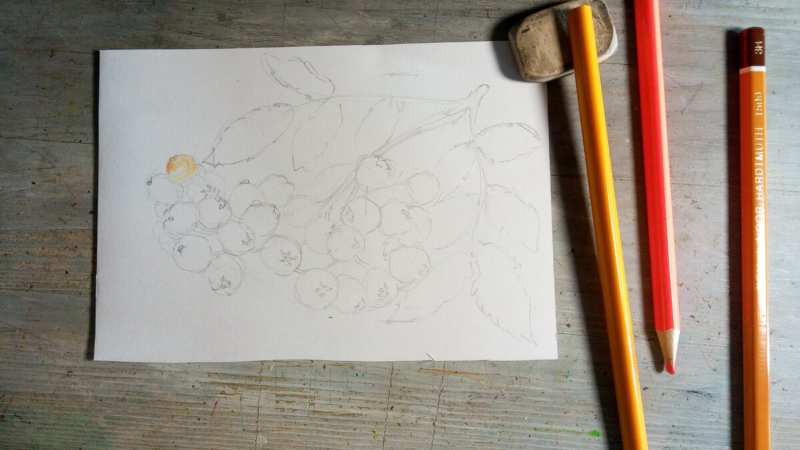
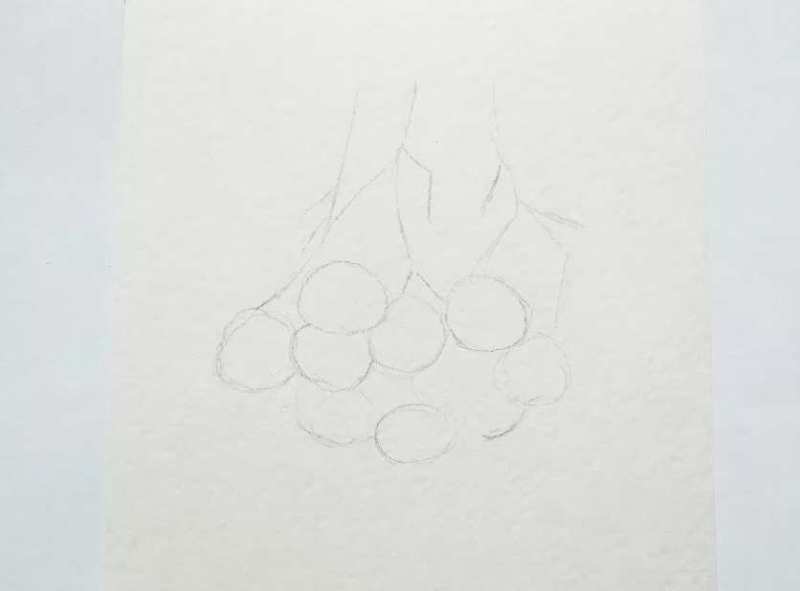
Rowan with a pencil
Step by step instructions:
- On a sheet of paper below the middle, draw several identical circles in a semi-circle.
- Then draw another row, slightly beyond the first row.
- At the top of the second add another row, somewhere it will, unite with the first.
- At the very top add a couple of berries. At the bottom of berries to draw crosses.
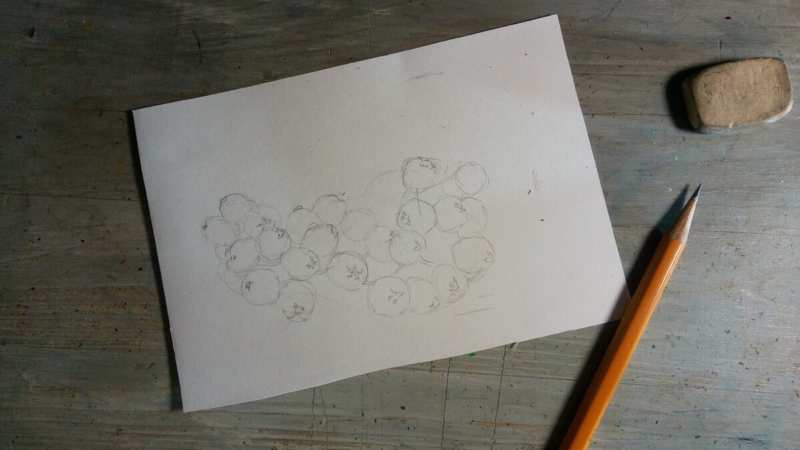
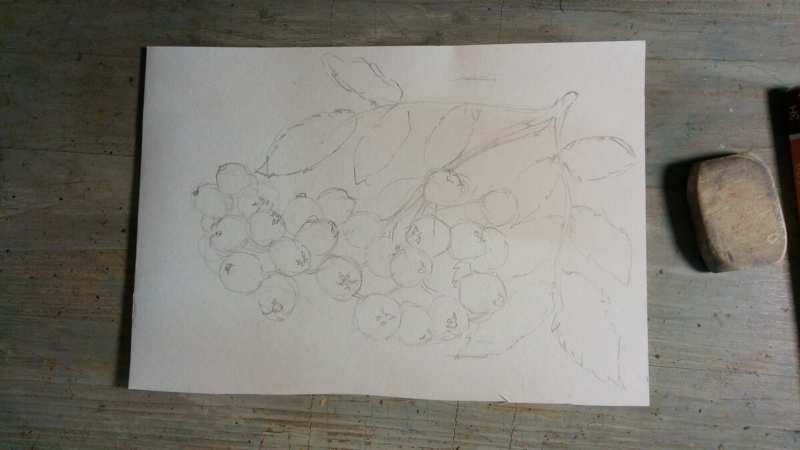
- Now draw a twig with three branches. They in turn are divided into two more.
- Draw the main branch, it will be a little thicker than the others.
- Image leaf, draw its center stick and in pairs to outline the smaller leaves.
- Add veins.
Rowan in a quarter of a minute.
Drawing stages:
- At the bottom of the leaf, make an undulating line horizontally. It will be the base.
- On this line and up it place the berries. They can overlap each other.
- Above the berries to draw twigs that connect the berries with the main branch.
- Picture the main branch.
- Mark the leaves, place them opposite each other. At the end of a single leaf.
- Place crosses at the bottom of the berries.
- Remove unnecessary lines with eraser.
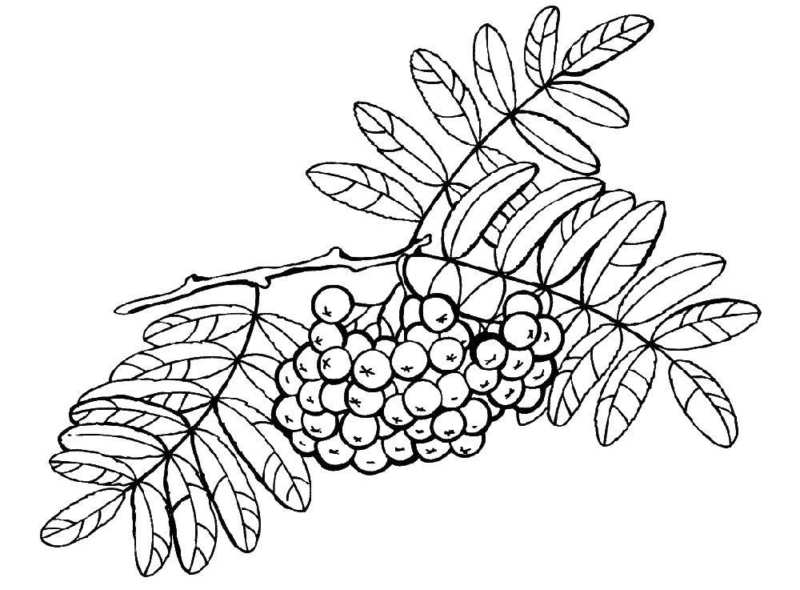
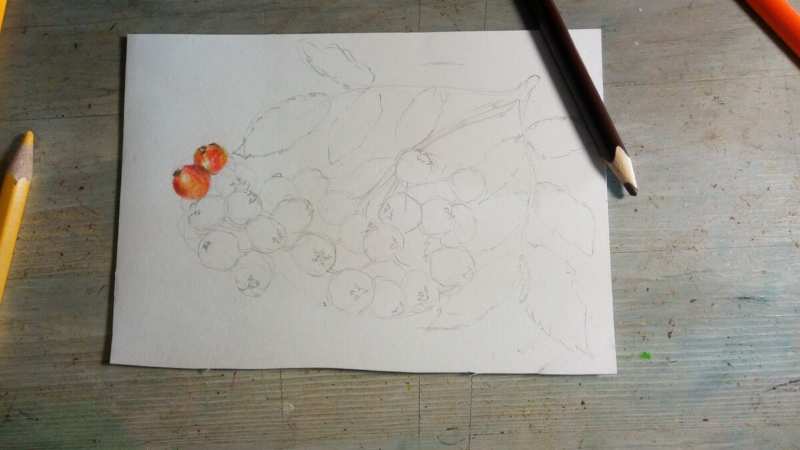
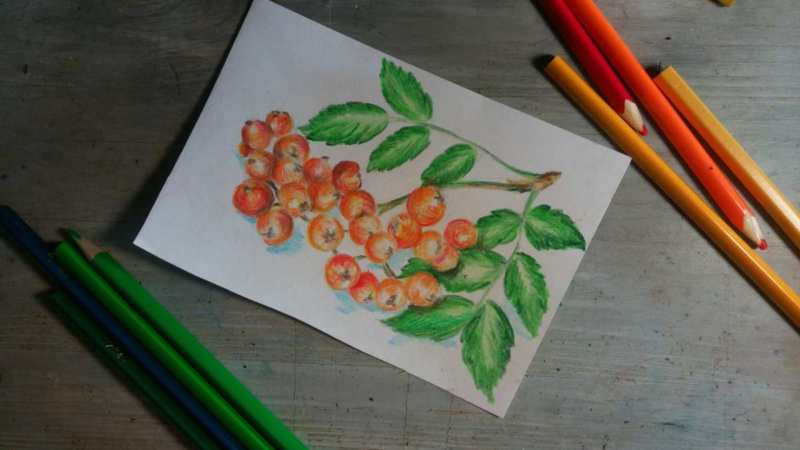
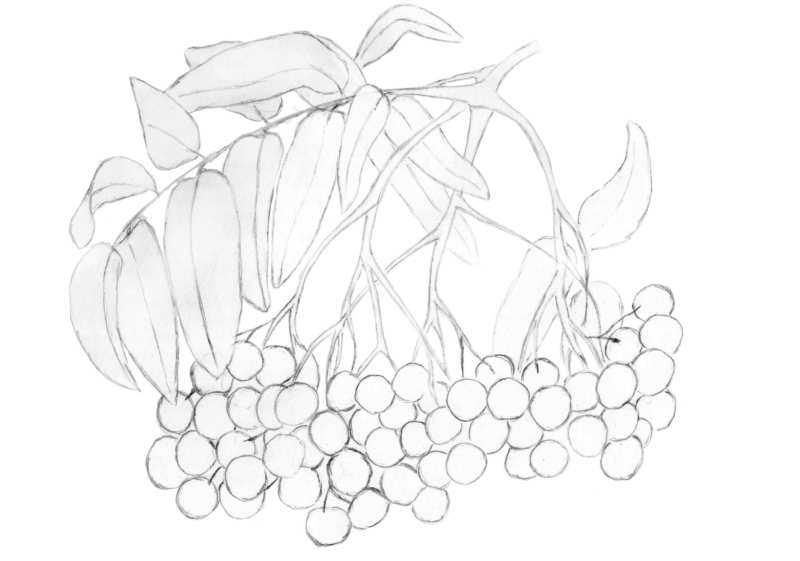
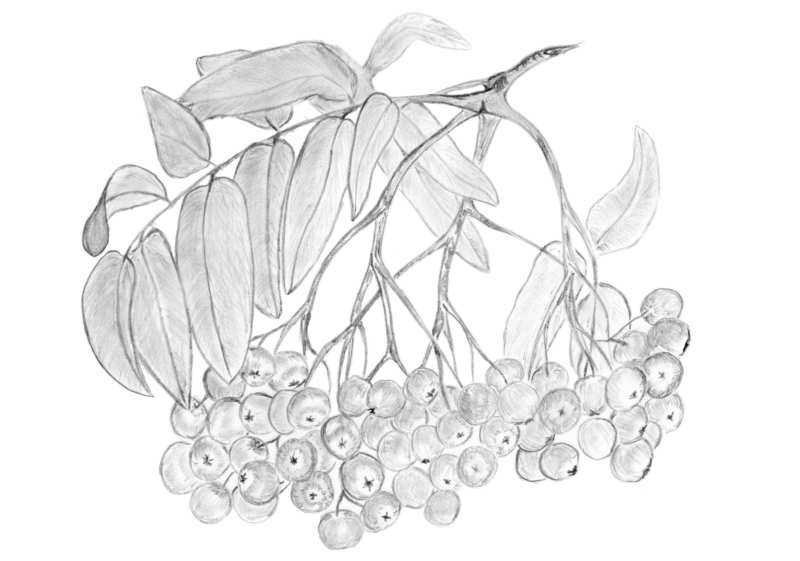
Drawing a branch of mountain ash with a pencil with shading
Tools:
- a simple pencil;
- paper;
- eraser
Work steps:
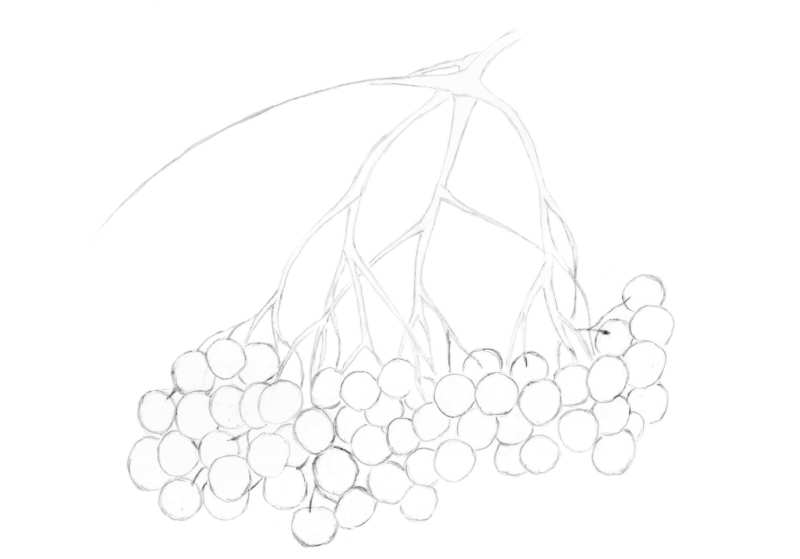
- Outline the central branch and secondary branches, outline the oval where the bunch will be located.
- Draw whole berries in the foreground.
- After making those behind them, forming a bunch.
- Draw branches, the main branch.
- Picture one or two branches with leaves.
- The edges of the leaves have teeth, they are drawn over the painted leaves.
- Draw veins on leaves.
- Determine which side is light. Those berries that are in the light shade lightly, those in the shade make darker.
- Also shade the leaves. From the edge of the leaf to the middle.
- Darken branch, here and there to leave light spots.


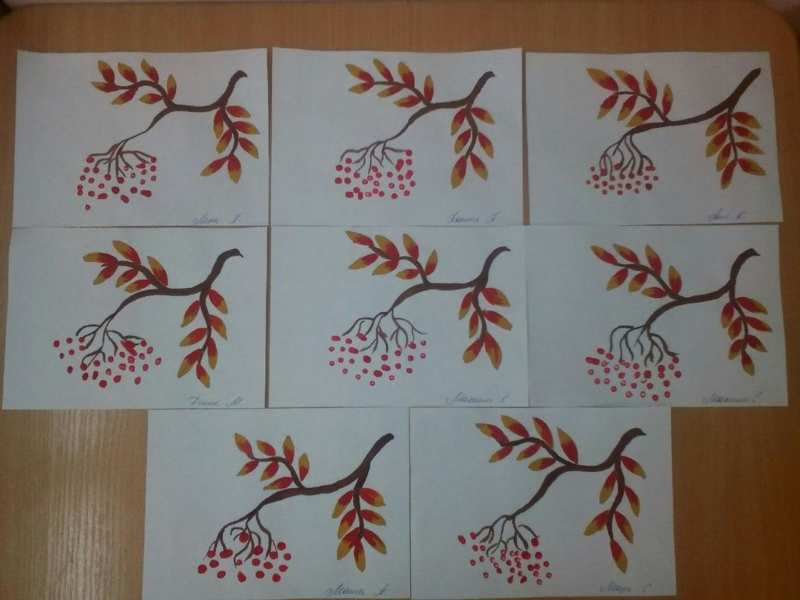
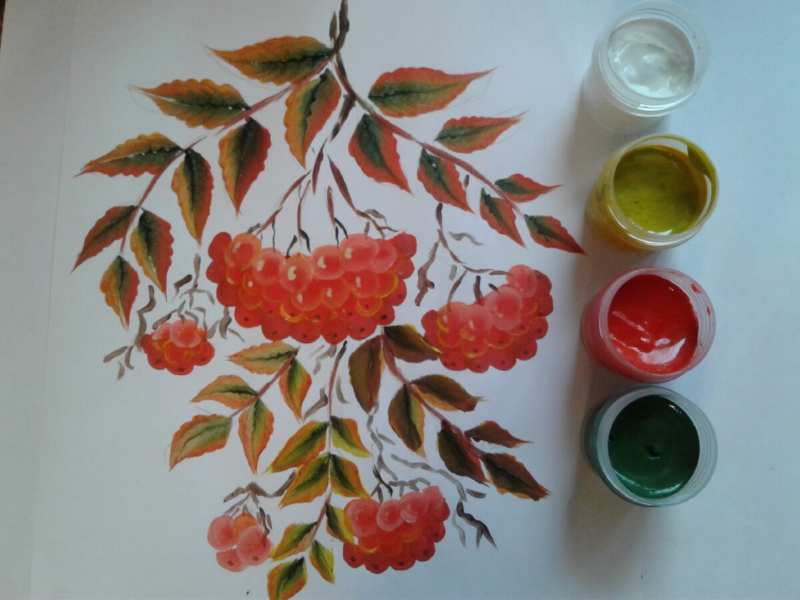
An unconventional way to draw a branch of mountain ash
Materials required:
- sketchbook page;
- gouache;
- a jar of water;
- a cotton swab;
- Thin and thick brush;
- napkin.
It is well suited for young children who are not very good at drawing.

Step by step instructions:
- Draw a twig in brown with a thin brush.
- Take a thick brush to dip completely first in yellow, then the tip in green. Apply the entire pile, make a leaf on one side of the twig, then the other. You can combine colors with others, choosing a beautiful color scheme.
- Take one stick, dip it in red paint. The other in orange. Dip sticks to make berries. Alternating colors.
- Draw black dots.
- If the sheet is empty, you can add more leaves.
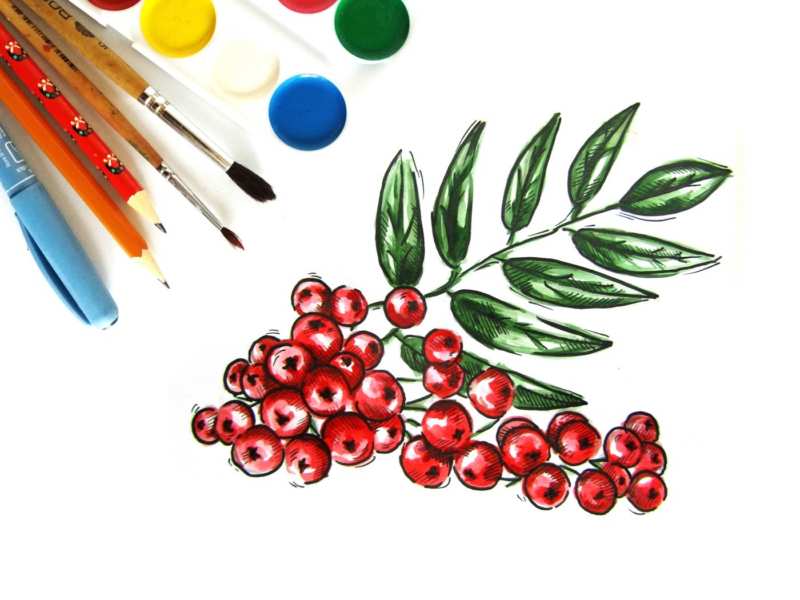
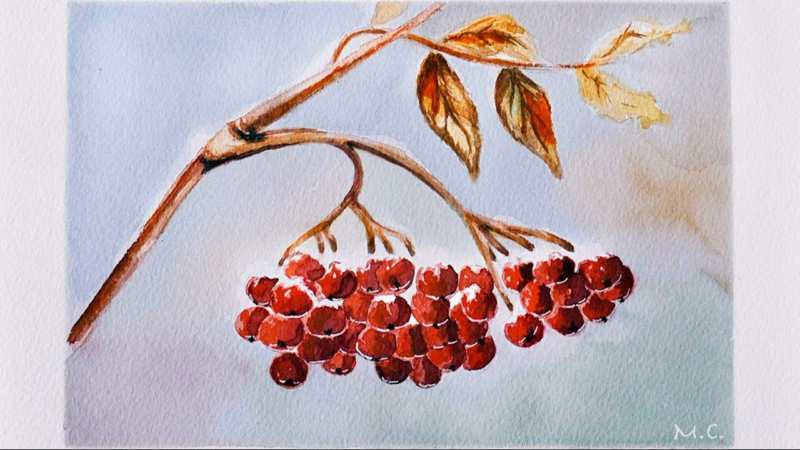
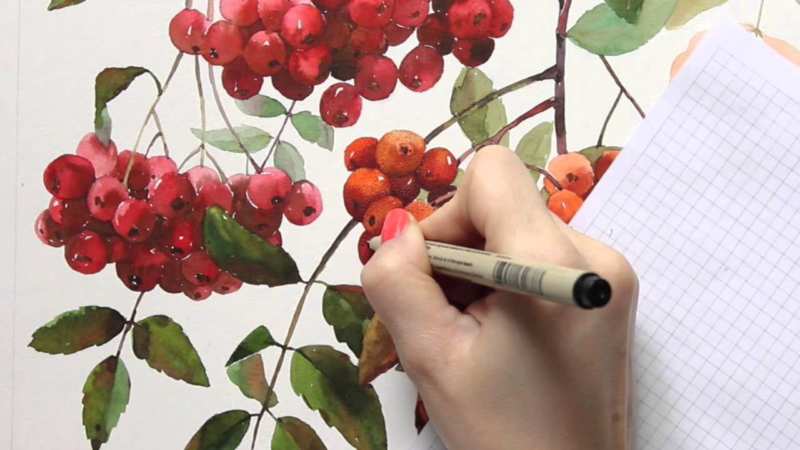
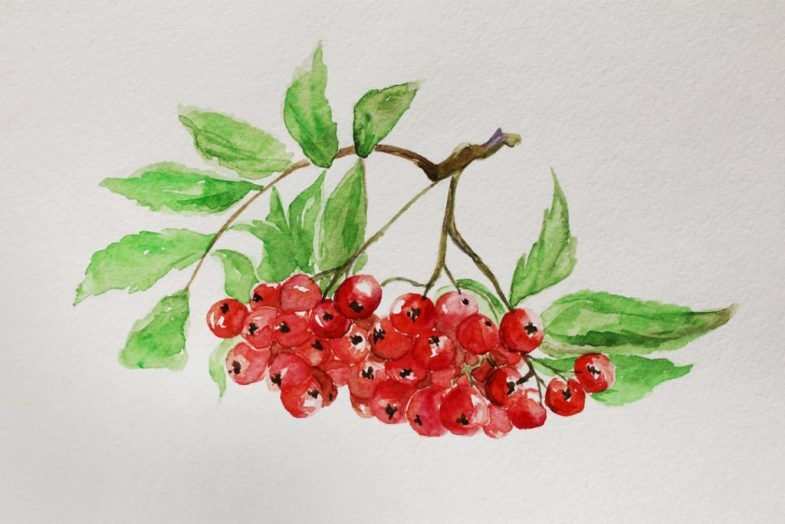
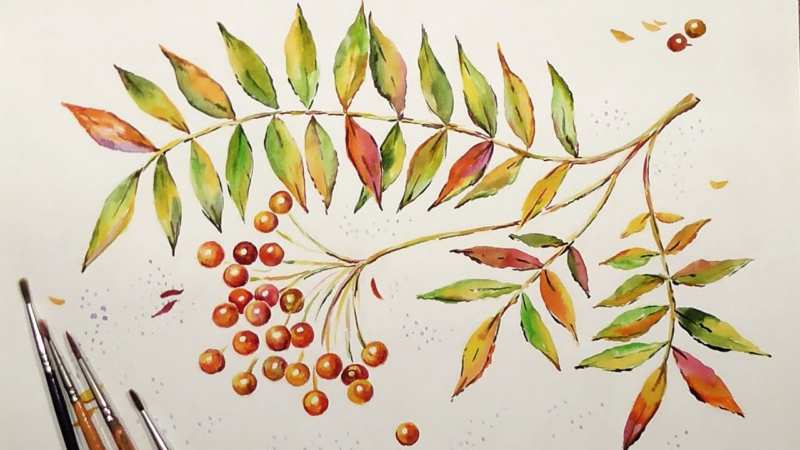
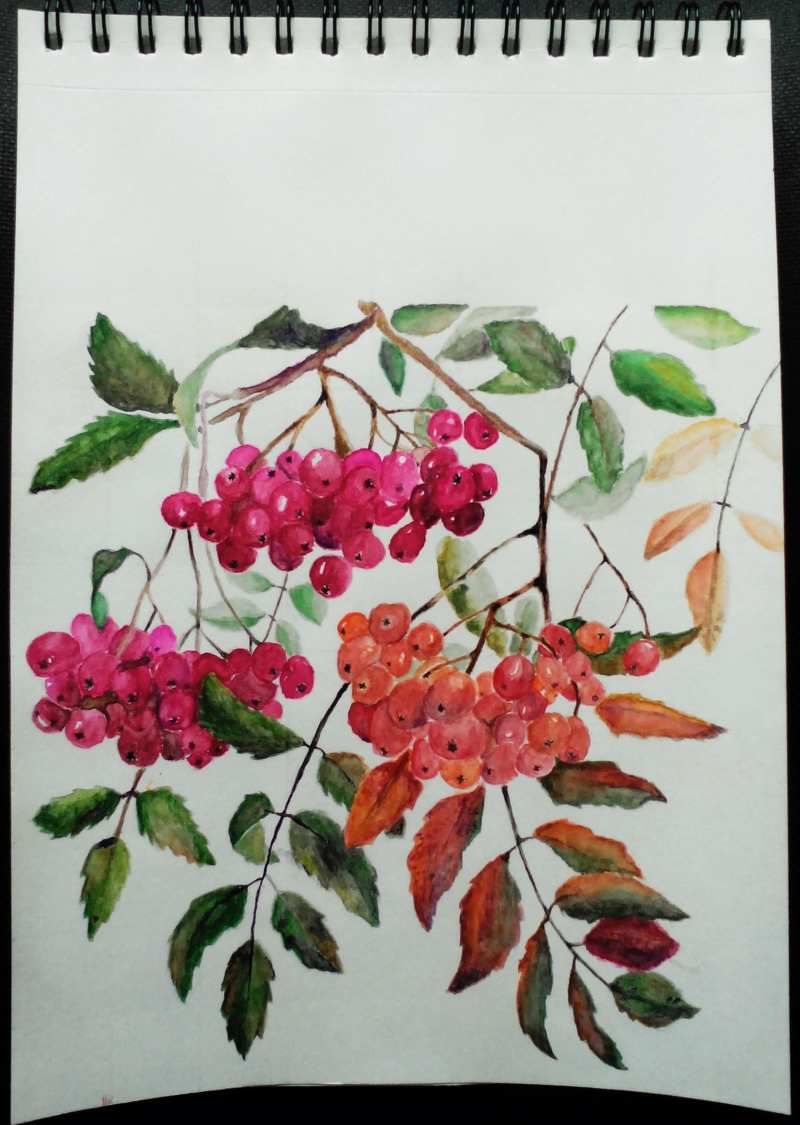
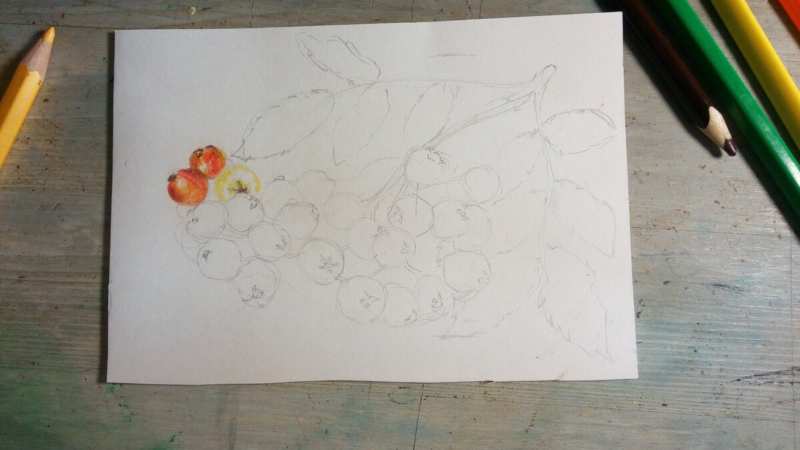
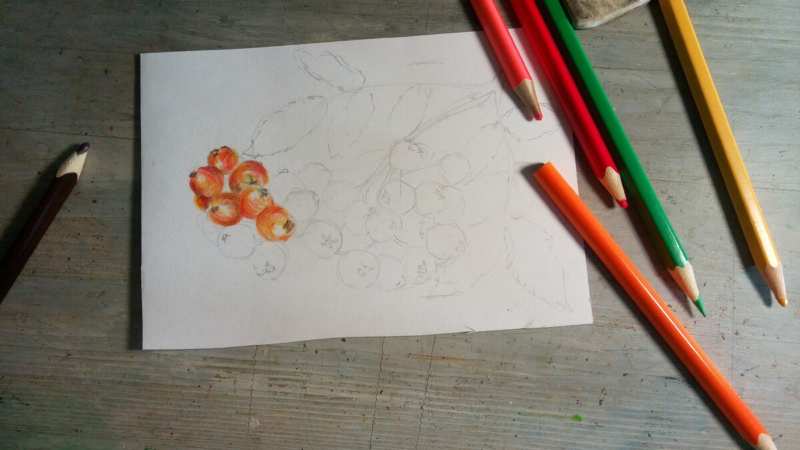
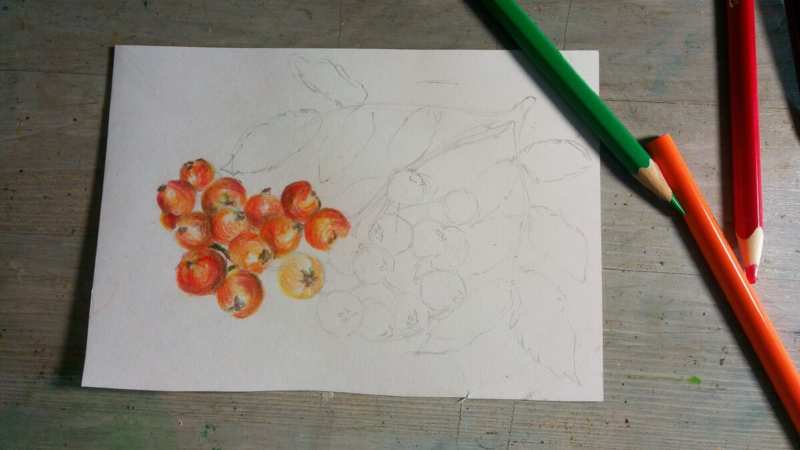
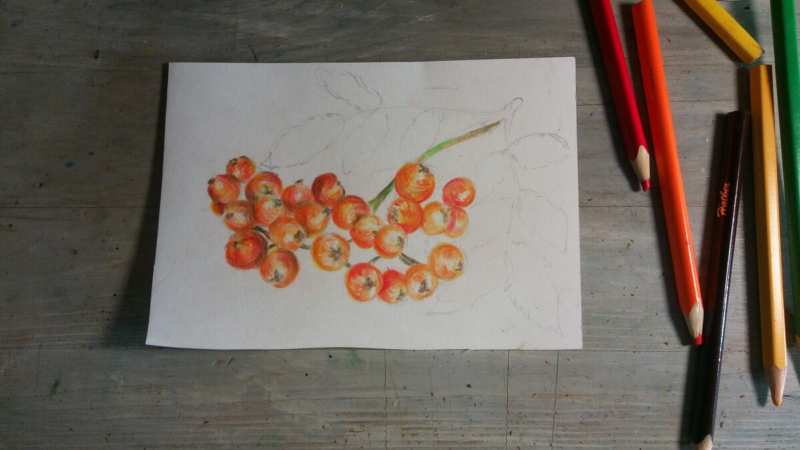
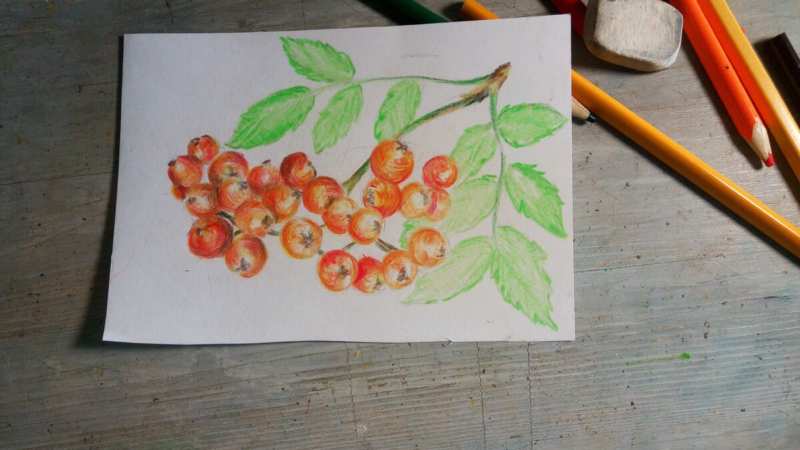
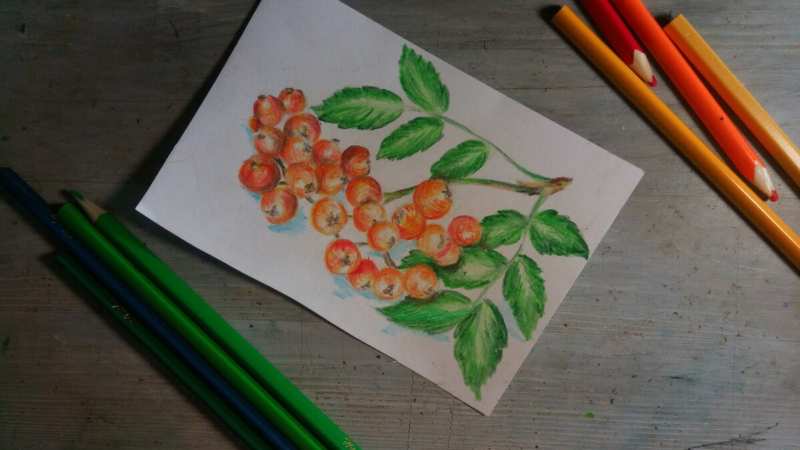
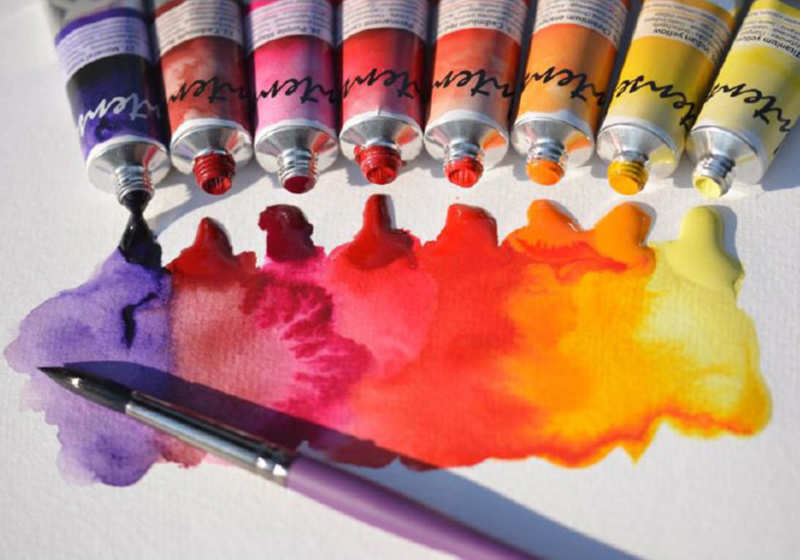
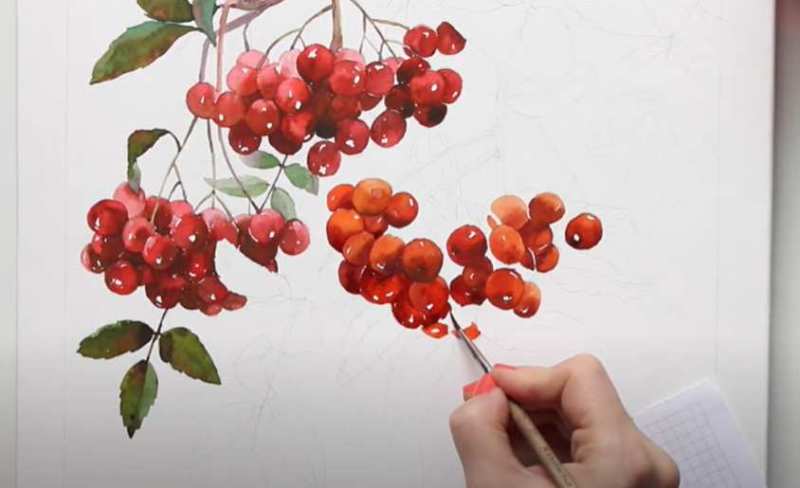
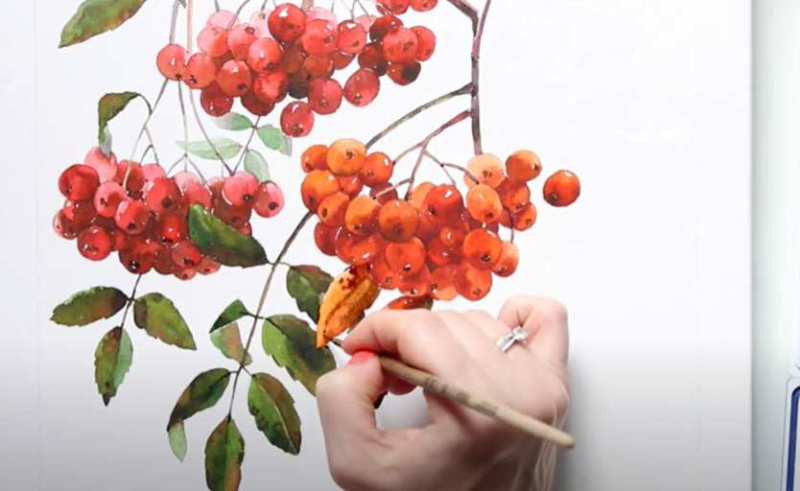
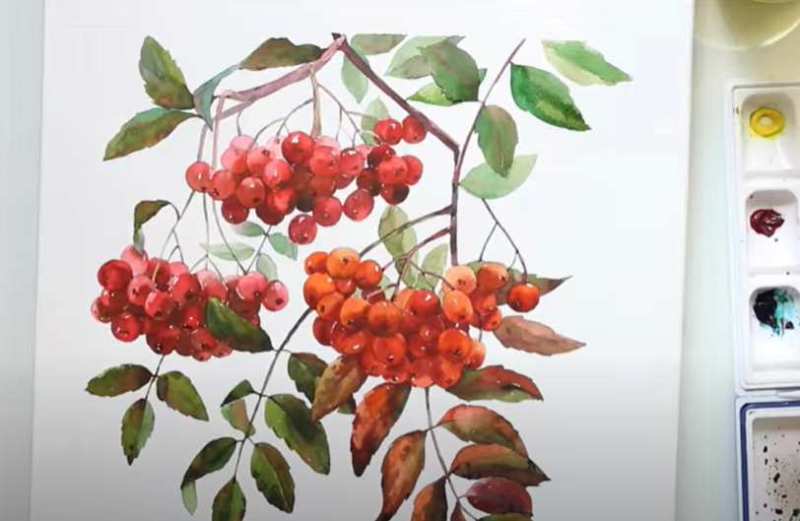
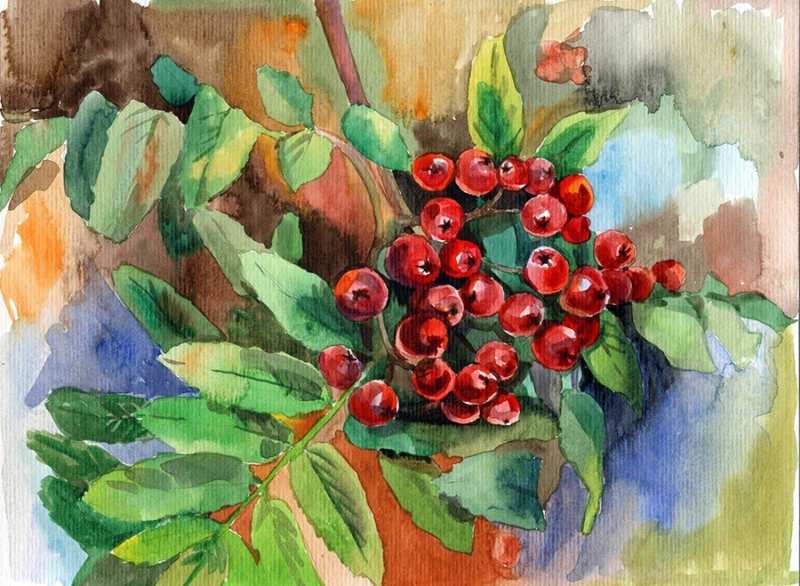
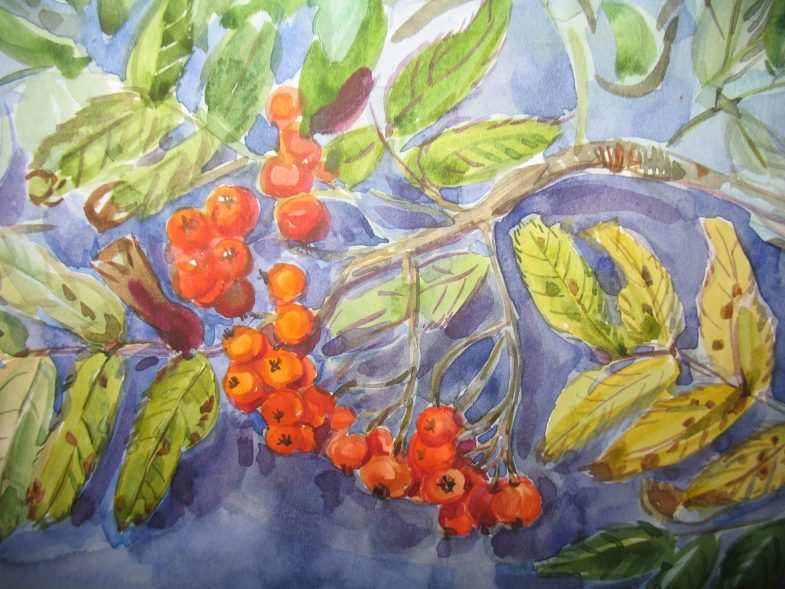
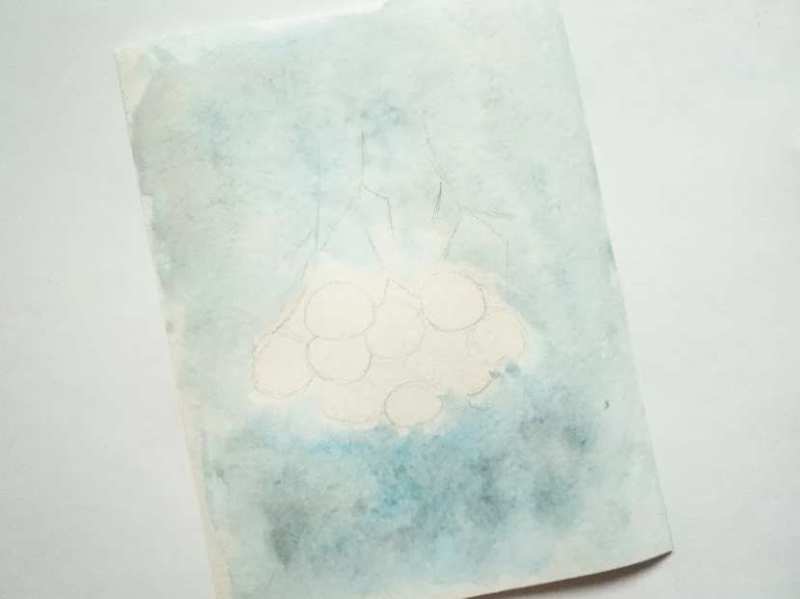
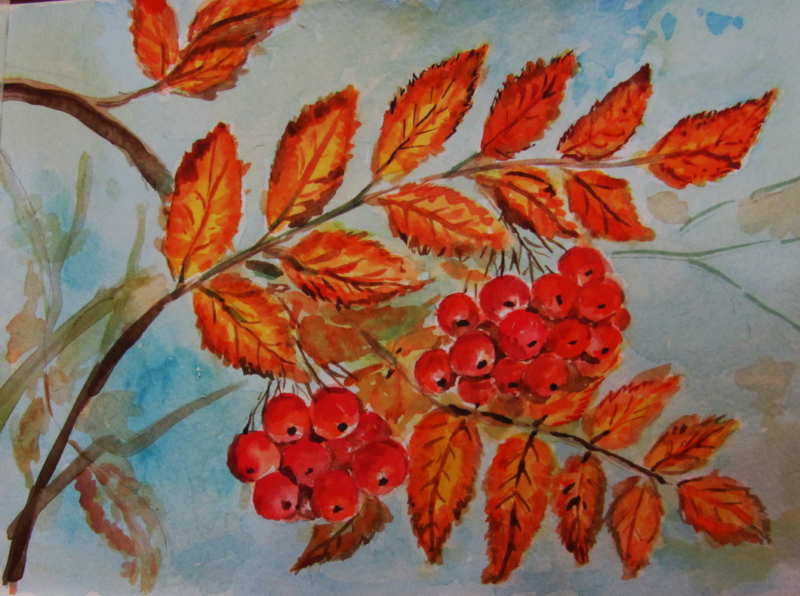
Rowan watercolor
Materials:
- drawing paper;
- a simple pencil, eraser;
- synthetic brush flat and round No3;
- palette for mixing colors;
- water;
- watercolors.
Work steps:
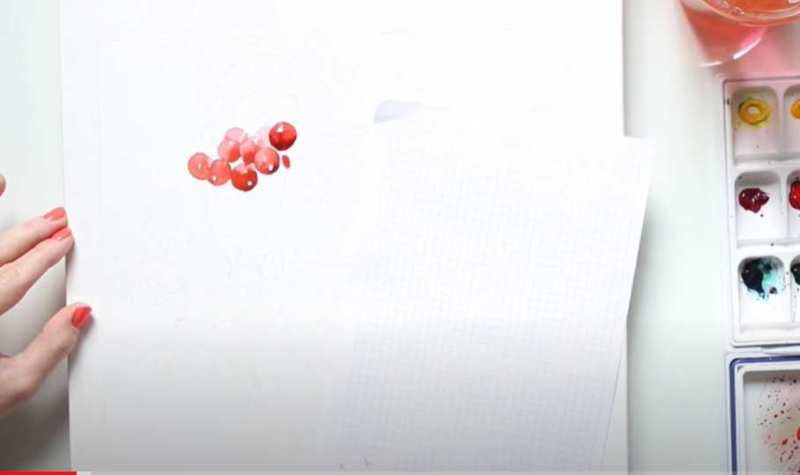
- Make a sketch of a rowan tree. In the center of the leaf, mark the berries. Above, draw a large sprig and some small branches. Add three branches with leaves. Use eraser to lighten pencil drawing.
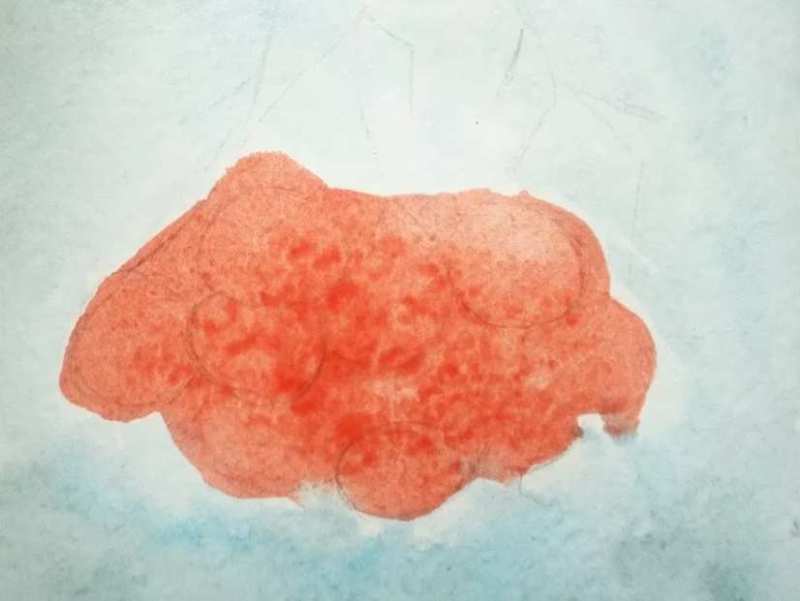
- Apply red ochre to base color of berries.
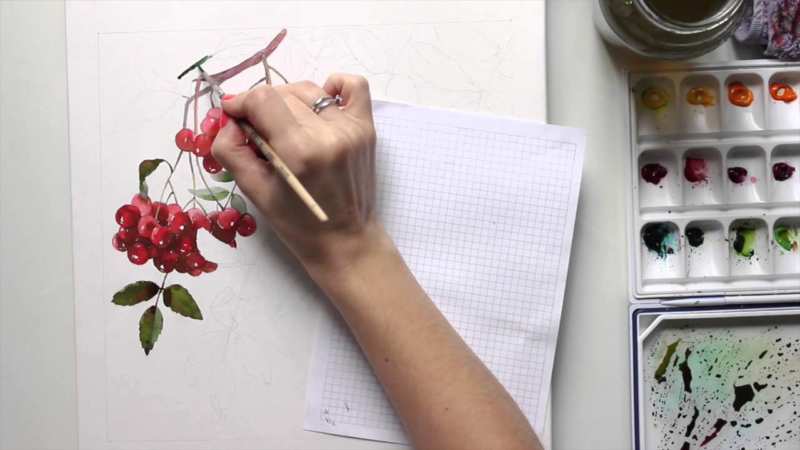
- Brown to paint thin branches and some veins on the leaves.
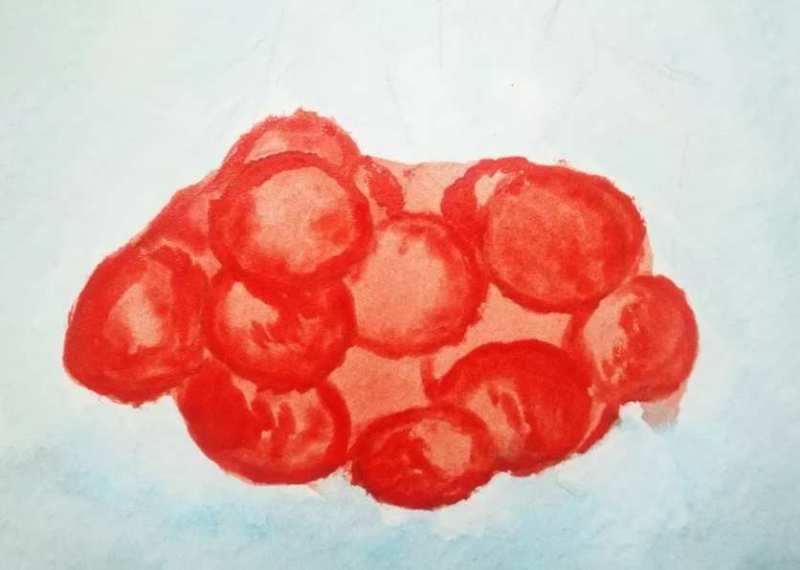
- Berries, which are closer to us to portray cadmium red. Then darken the berries inside the bunch. Mix burgundy with red-brown and paint the dark places in the bunch.
- Leave the top berries light. Add a mixture of scarlet and cadmium red to the middle and bottom.
- For the leaves, you will need light green, olive, and white-red shades of color. Cover the leaves first with green colors with lots of water, then pour in red and ochre colors.
- When the leaves have a basic color, make the twigs brighter, more saturated. On the top berries, leave light spots for highlights, and work the rest through with cadmium red. On the edge of each berry, draw small crosses or dots in black with ochre.
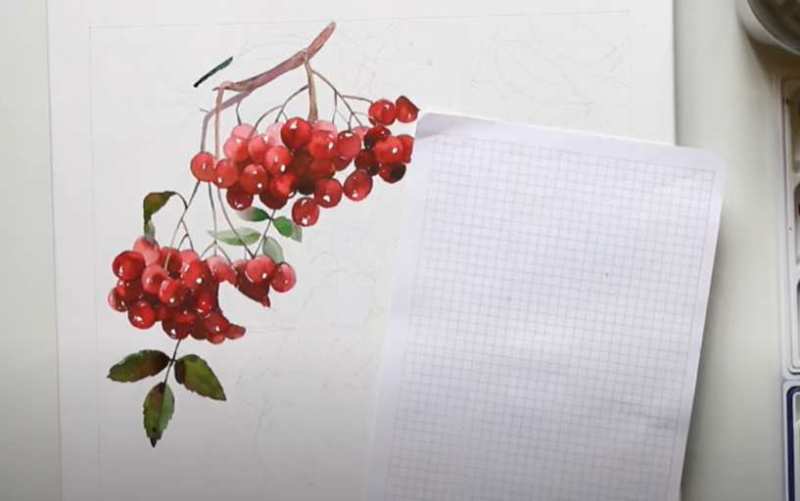
- Leaves to make more saturated, taking on the palette color of leaves. And go over it again. The tip of the brush to outline the thin veins.
- In the background, you can make the leaves and bunches in lighter shades. Adding more water.


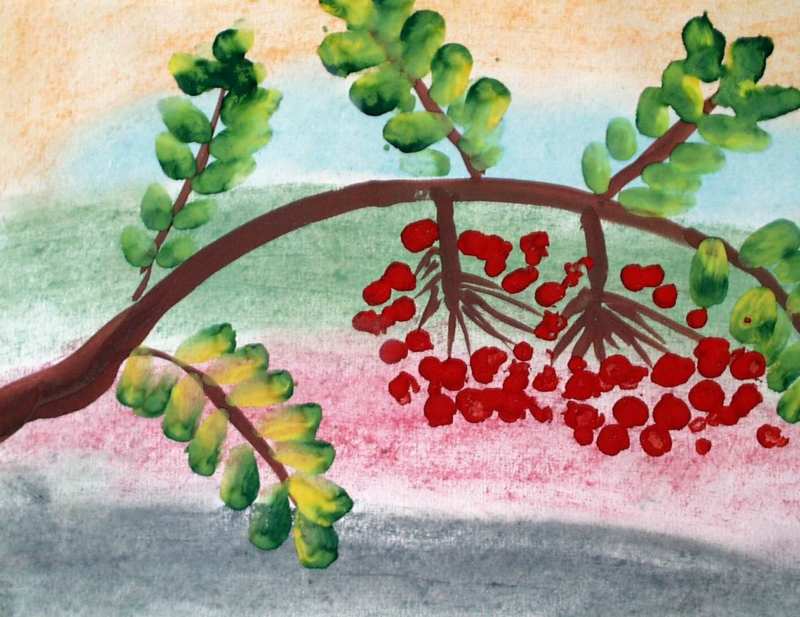
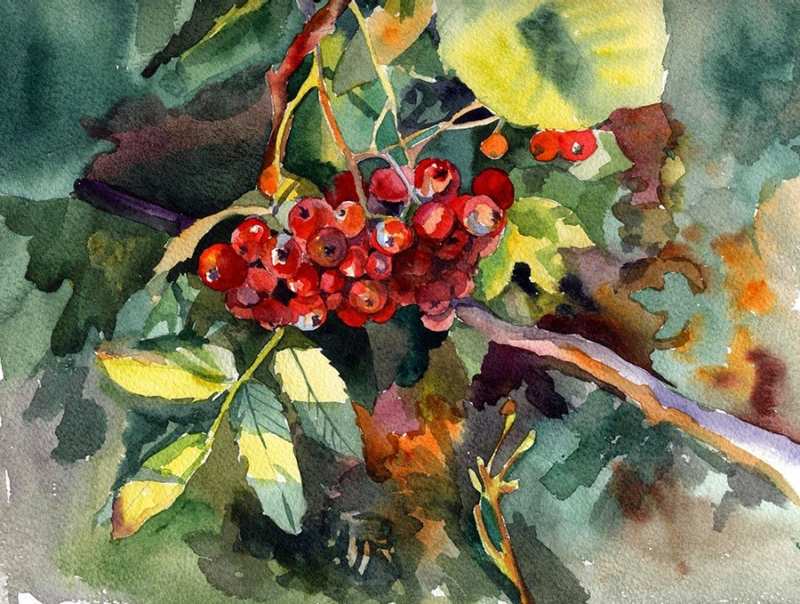
Rowan on a tinted background
To work you will need:
- a sheet of paper;
- Watercolor, gouache;
- glass for water;
- a thin brush and a medium brush;
- sponge
Work Stages:
- First, tint a sheet of paper. To do this, you need watercolor, a sponge and water.
- Soak the sponge in water, squeeze out the excess water. Soak the sponge in the desired color and cover the paper evenly. You can add a few shades, making smooth transitions.
- Wait until it dries.
- Using a thin brush, from the bottom edge of the leaf to the top, draw branches in brown. And the same tone to draw small twigs.
- Green color to make the base, they will be adjacent to the small leaves.
- Draw the berries with fingers. Finger dip in red paint and make a trace of the finger in the place where you marked clusters.
- In addition to red, you can take an orange color and draw the berries in the same way, next to the red ones. Form a bunch of rowan berries.
- Where outlined the base of the leaves. Take a medium brush dipped in yellow paint, then the tip in red and draw small leaves against each other. To make the leaves more picturesque, you can take a variety of shades of yellow, brown, green, and red.
- Draw the veins with a dark green tone.
- In the berries with a thin brush add black points.
- The volume in berries can be shown by drawing a bard color shade from below.
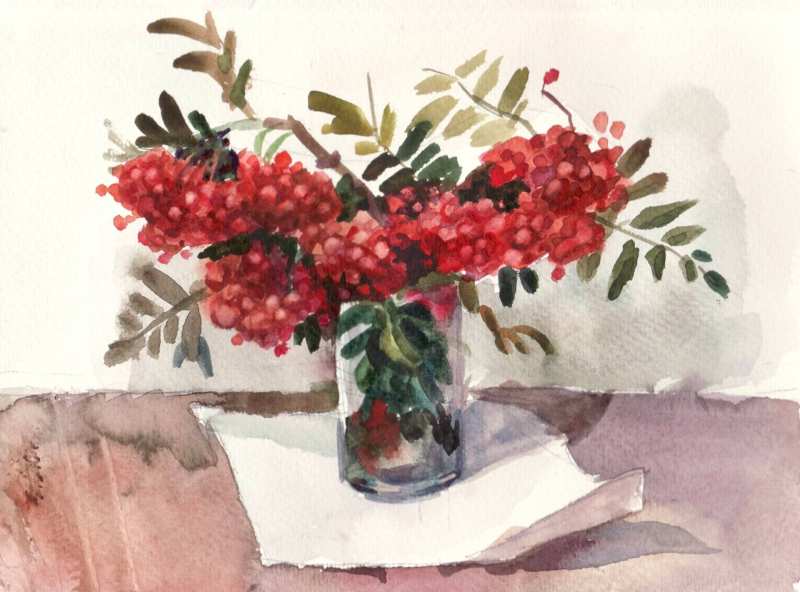
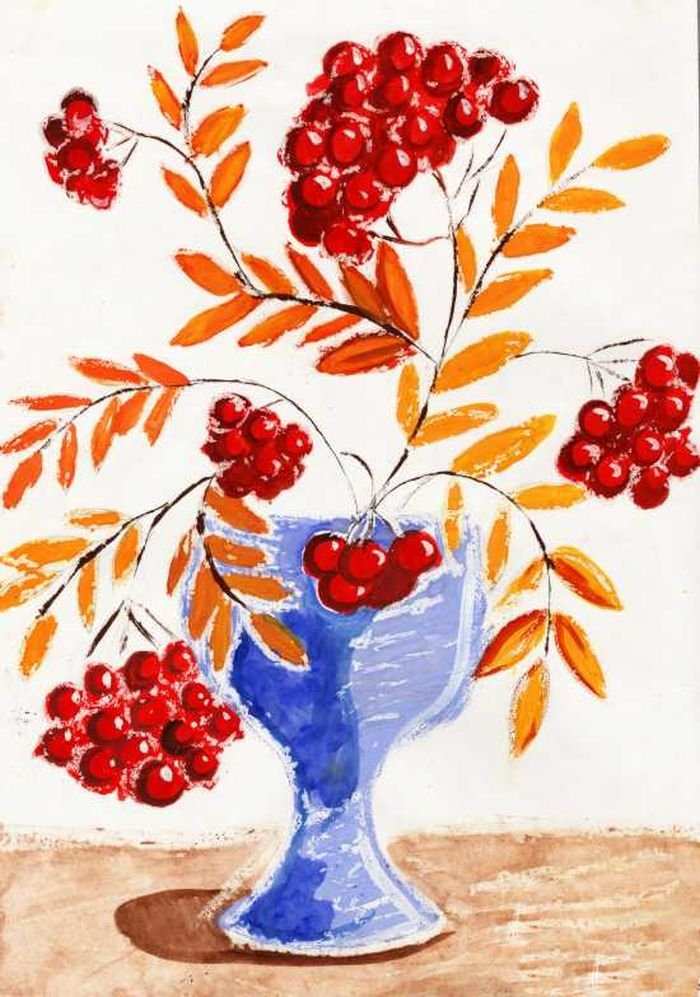
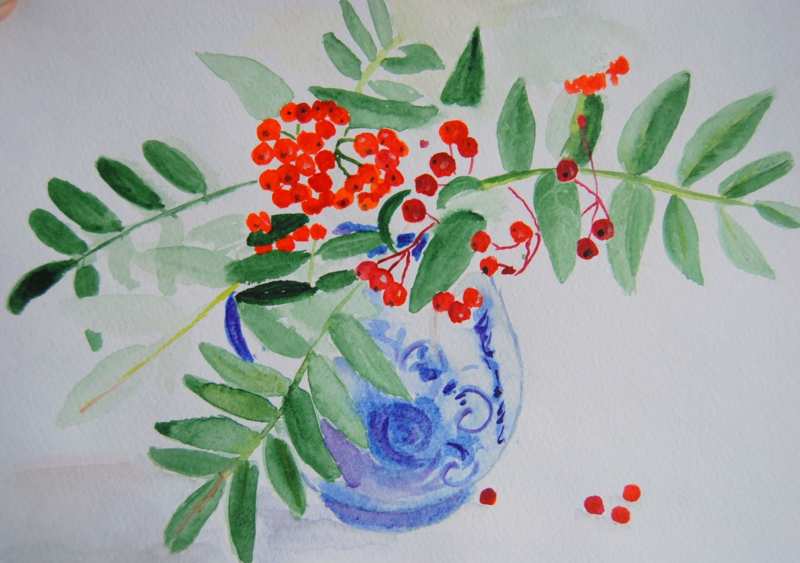
Still Life with Rowan
Materials:
- paper;
- pencil;
- paints;
- brushes;
- jar of water
You can depict a rowan tree in a vase in the following order:
- On a sheet of paper draw a vase with a simple pencil. Place it so that there is space for leaves and rowanberries. Mark the top and bottom of the vase and draw it in any size and silhouette. Draw it in any color.
- The branches of the rowan tree are thin and bend downwards a little, under the weight of the berries. Use brown paint to outline branches coming from the vase.
- Add leaves to the branch. On each leaf of the rowan tree are pairs of small leaves, oval in shape. Use a flat brush to apply them to the paper, lifting them gently. You can use several colors, such as yellow-green, yellow-red, red-brown, etc.
- With the tip of a thin brush, use brown to create petioles.
- To them add red berries, which are located close to each other, partially cover each other. Those that are below make darker, using burgundy color. The main color of orange-red berries.
- As soon as the entire paint has dried, add black dots in the rowanberries.
- And paint over the highlights with white paint.
- If there is a lot of empty space left, you can paint a few more branches with rowanberries.
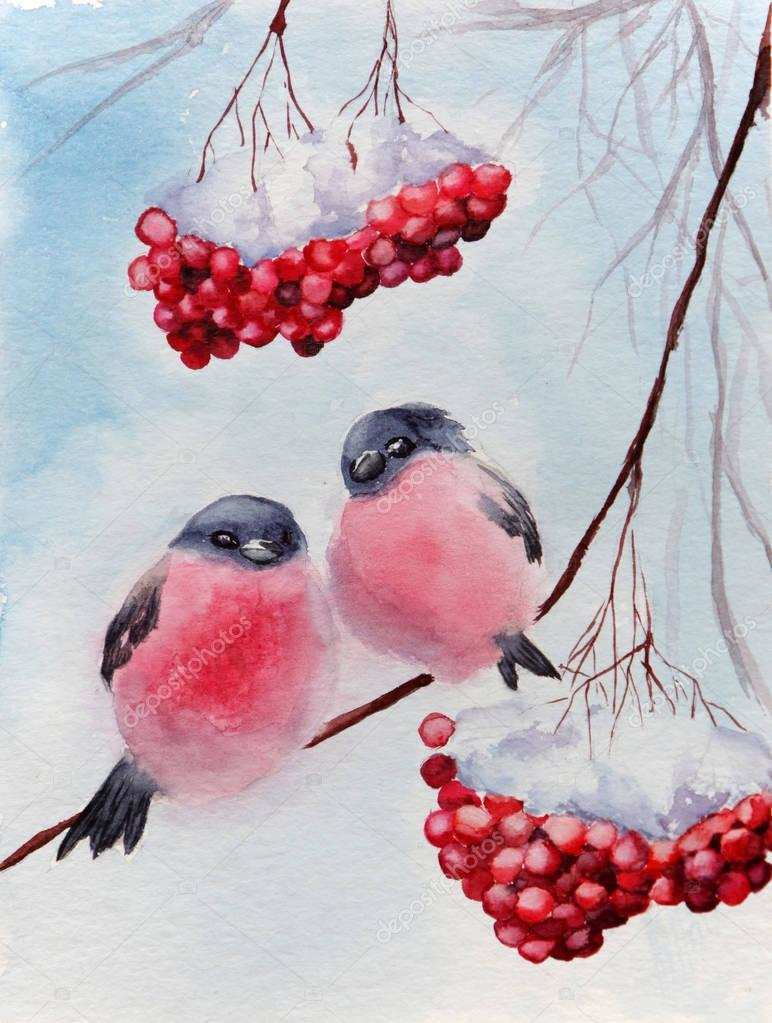
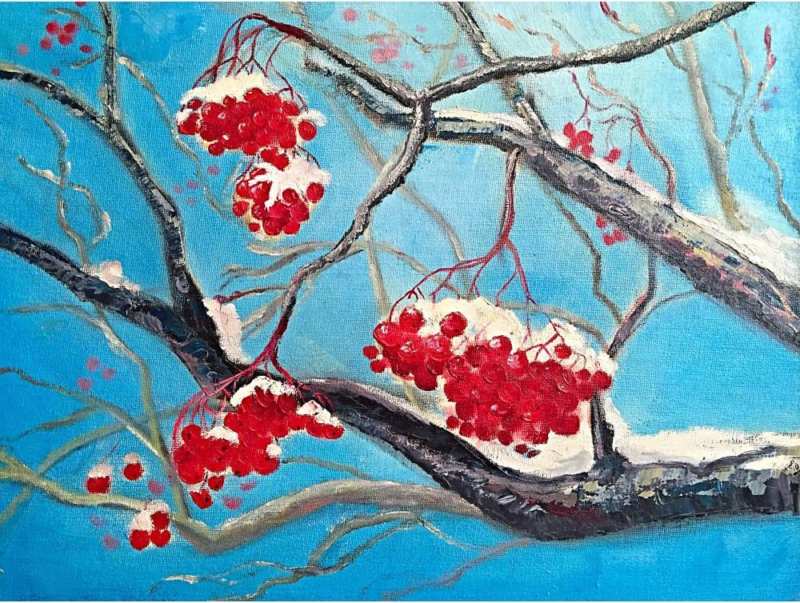
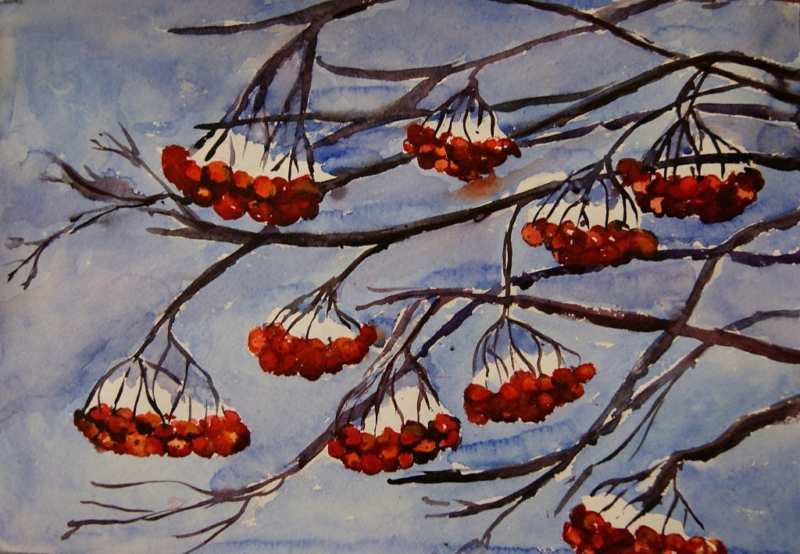
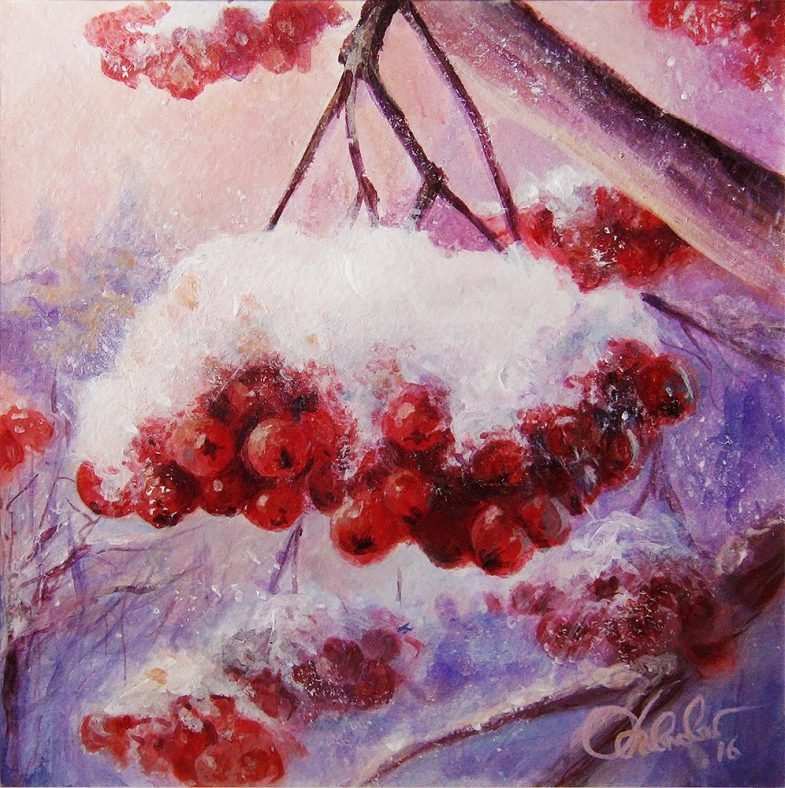
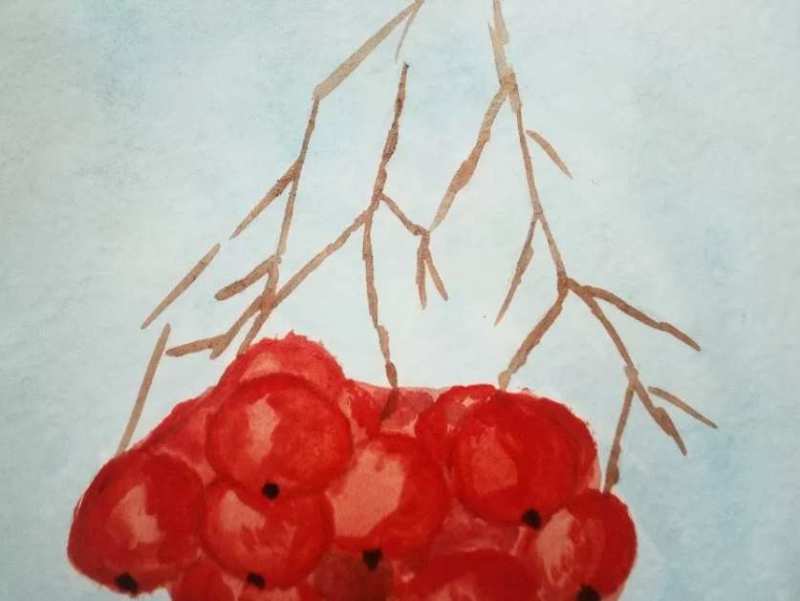
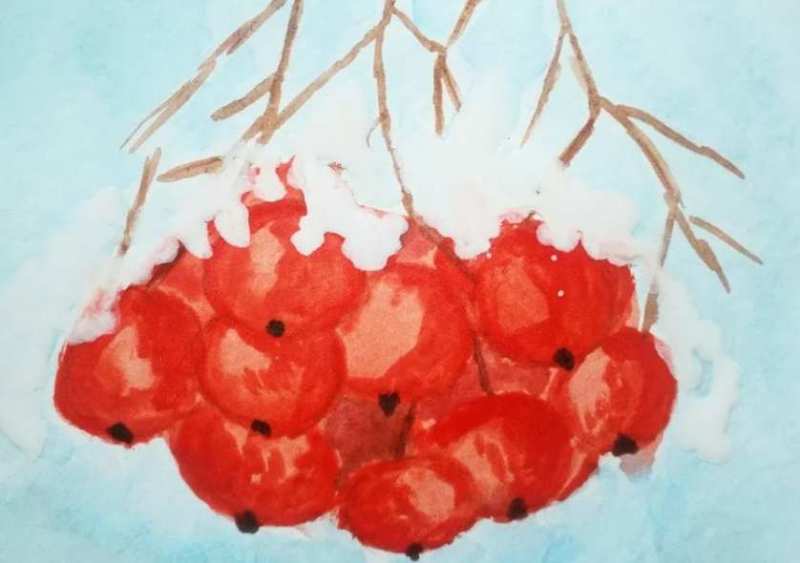
Winter Rowan
To depict a rowan bush, you need to do the following:
- With a simple pencil, draw the trunks and large branches.
- Then, on the large branches, finish drawing the small ones.
- Mark the massive bunches of rowan trees, which look so because snow lies on them.
- Paint the background with blue tint, thereby showing the sky.
- Draw the trunks and large branches in dark brown.
- The berries are shown in red or orange-red.
- Show snow on the tops in white.

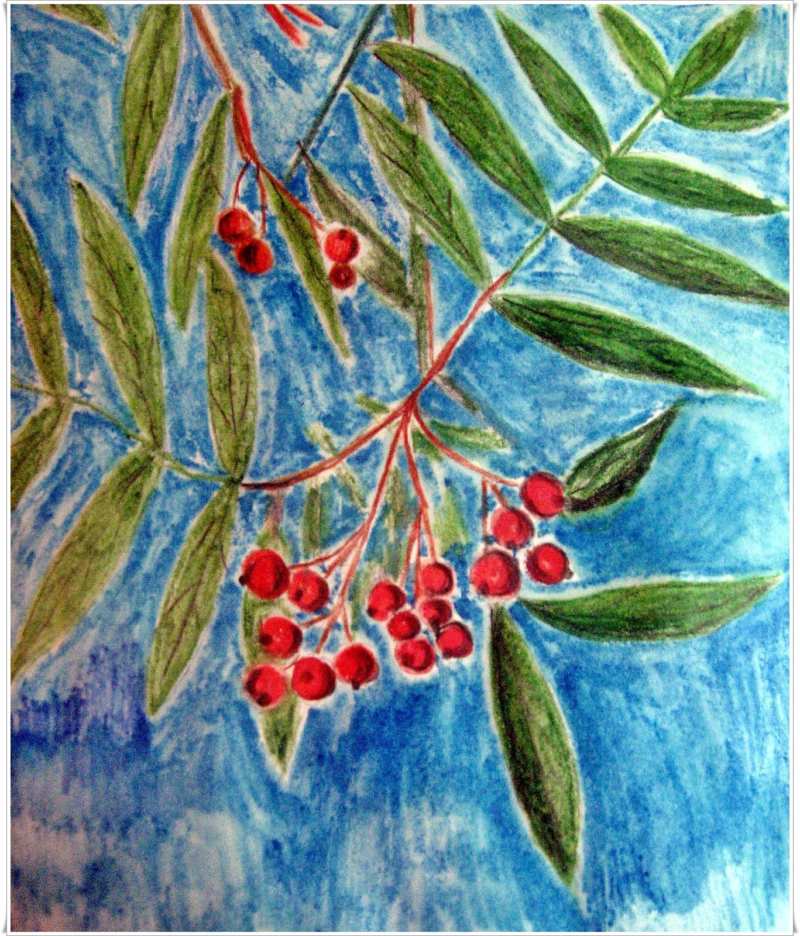
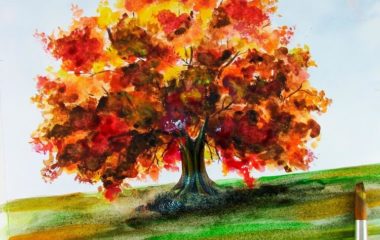
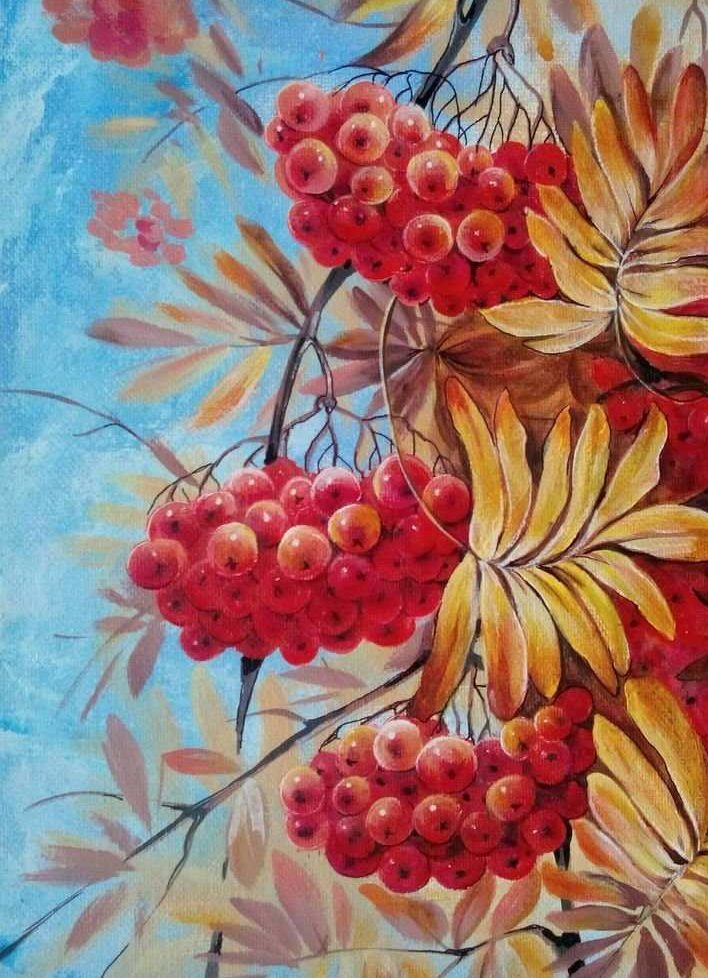
Rowan Tree in Autumn
Stages of drawing:
- In the middle of the leaf depict the trunk, large branches.
- After outline the leaves around the branches oval lines.
- Detail twigs, add small branches to the large.
- Beautifully create a crown of leaves from the oval outlines. Erase unnecessary lines with an eraser.
- Schematically portray bunches of berries. Draw a few leaves with small twigs.
- To outline the relief of the bark.
- Draw trunk and branches in dark brown, berries in orange-red.
- To depict the leaves and grass at the base of the tree in light orange, red-yellow.
- Highlight some of the leaves.
- Draw around with a black marker or pencil.
This rowan tree can be made with paints, felt-tip pens, colored pencils or combine one with the other.

Draw, be inspired by the beauty of this beautiful enigmatic tree live. And if there is no possibility, then by pictures and photos.
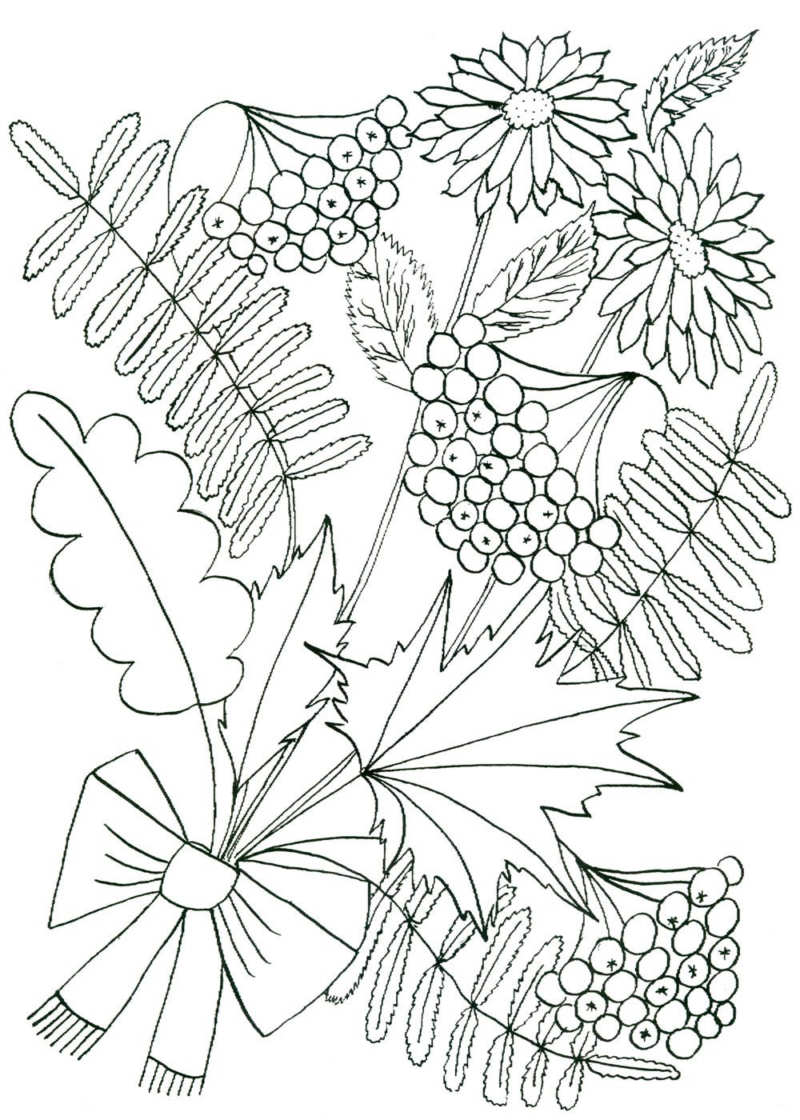
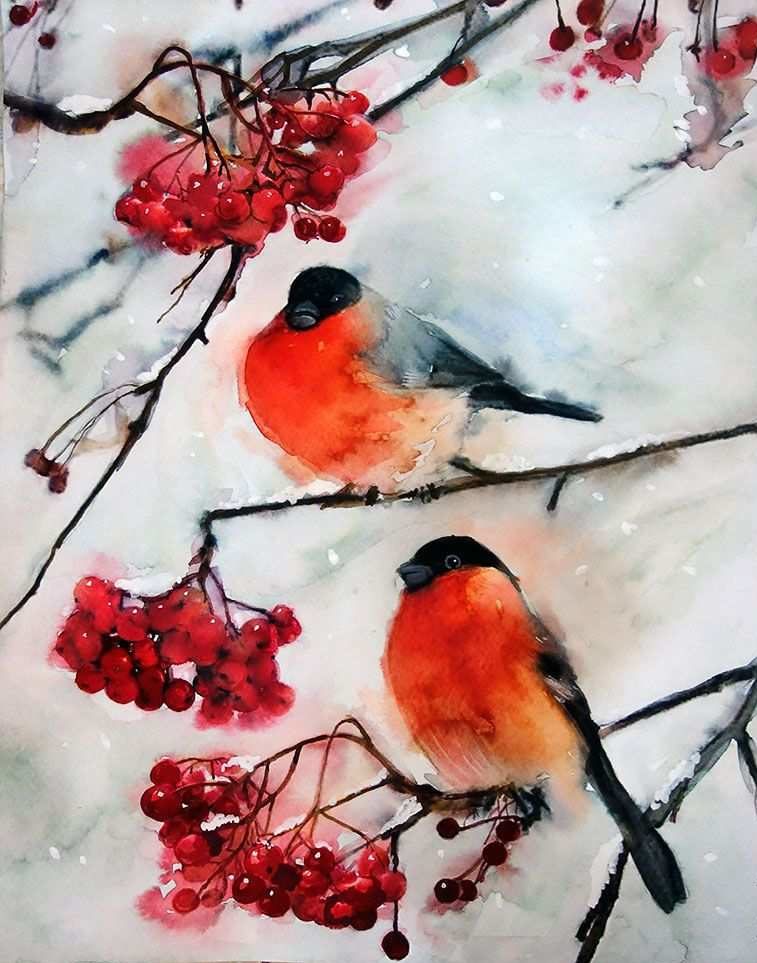
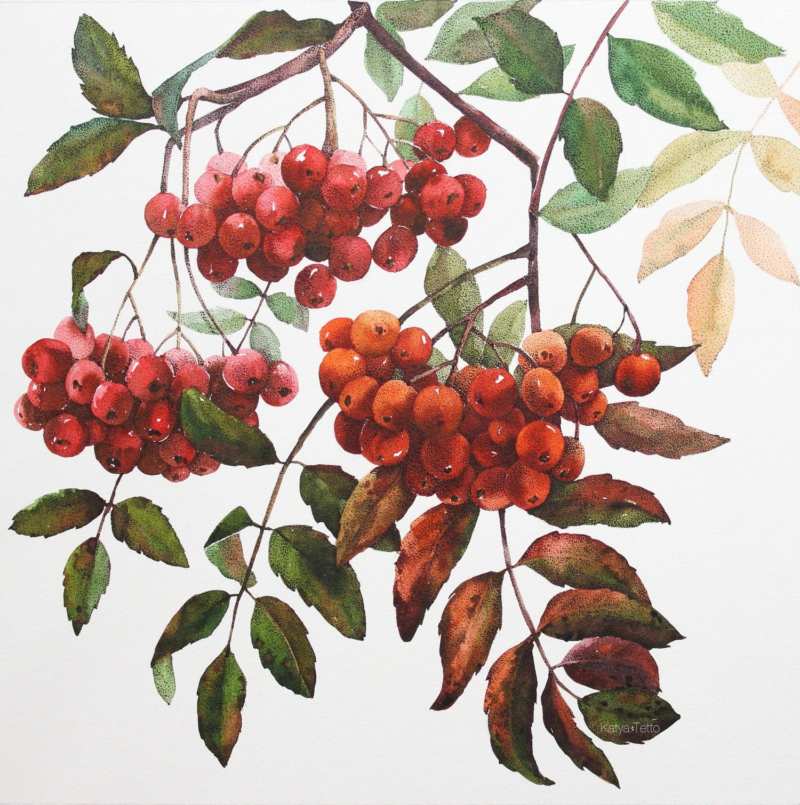
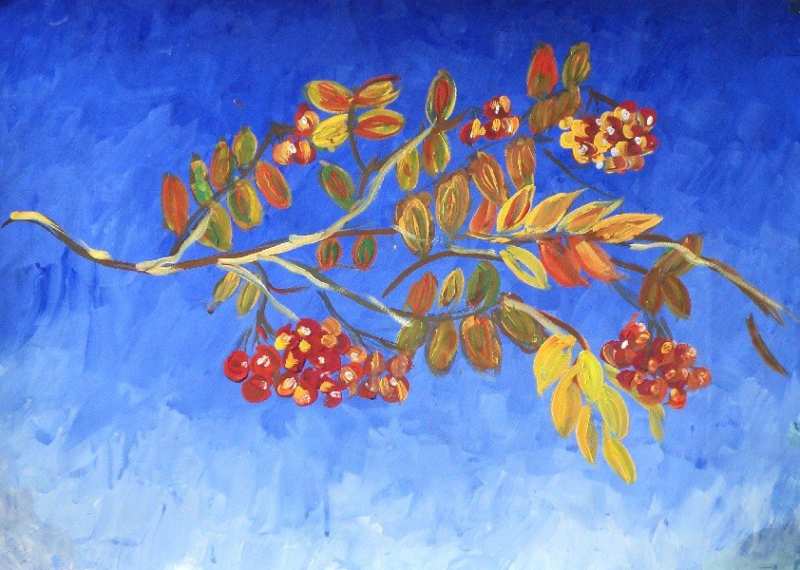
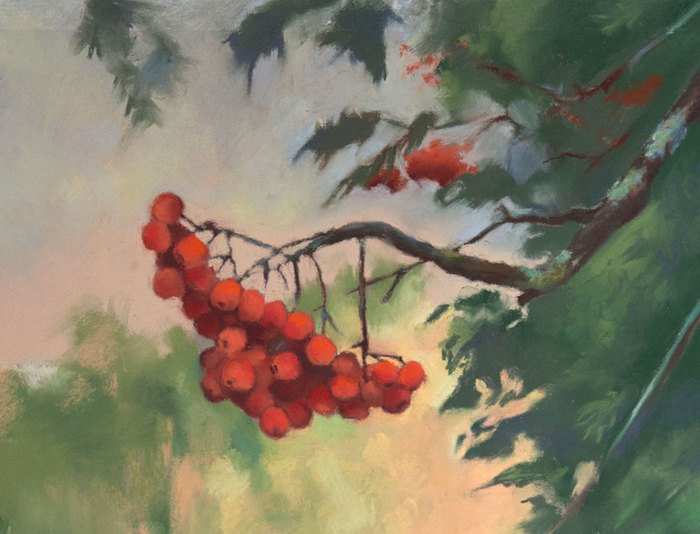
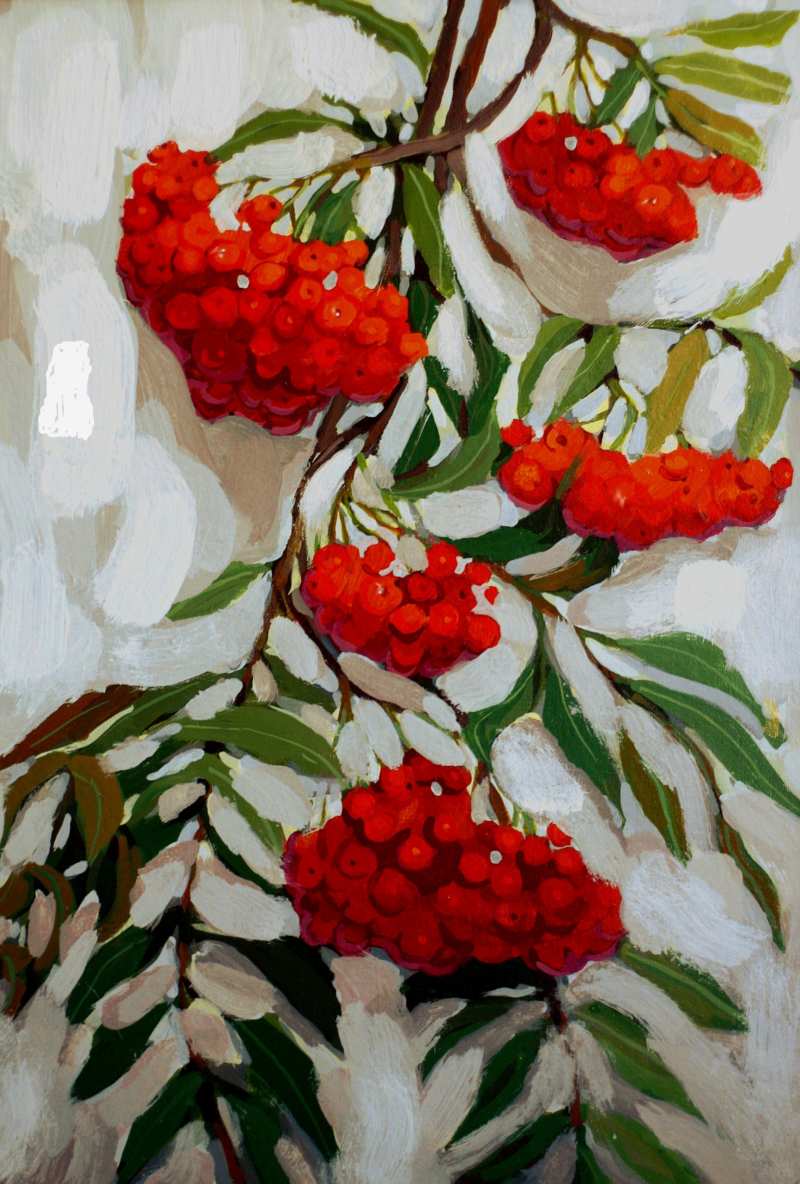
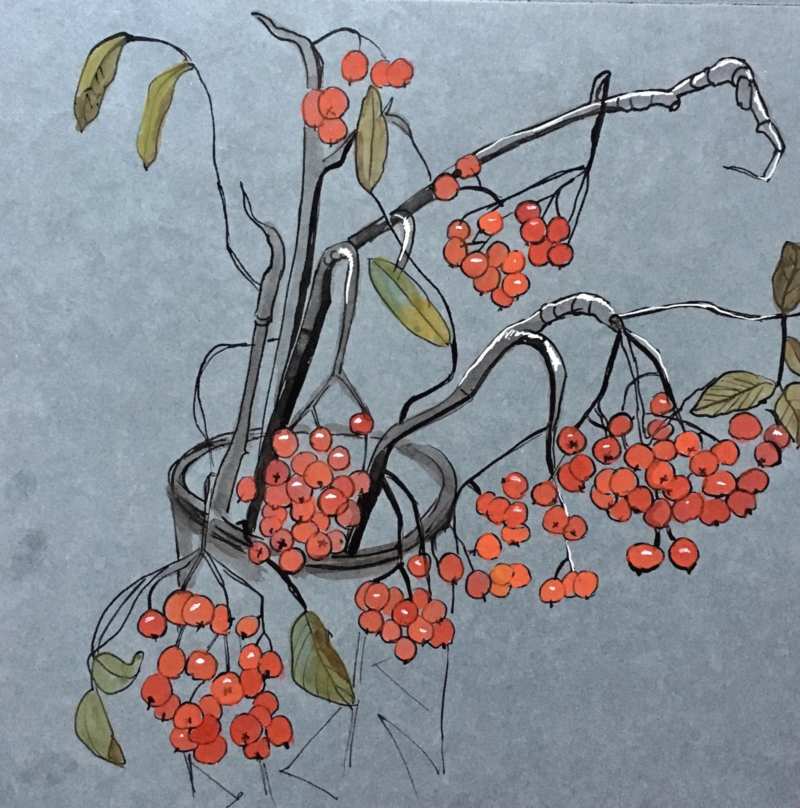
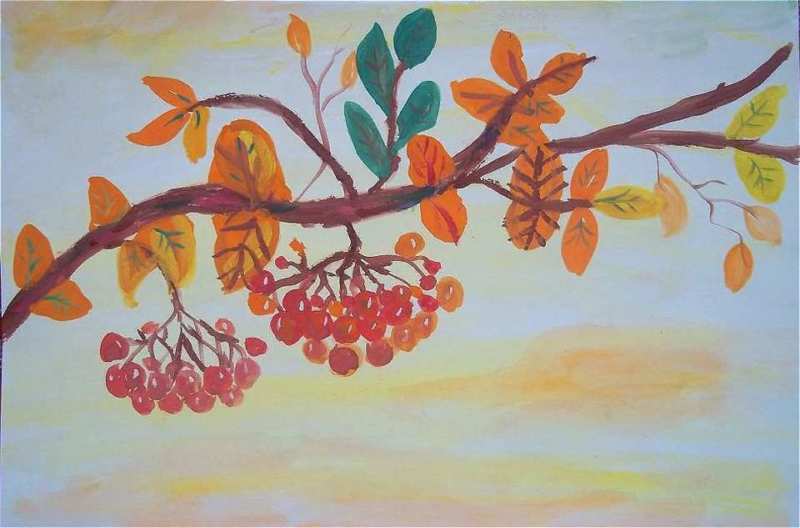
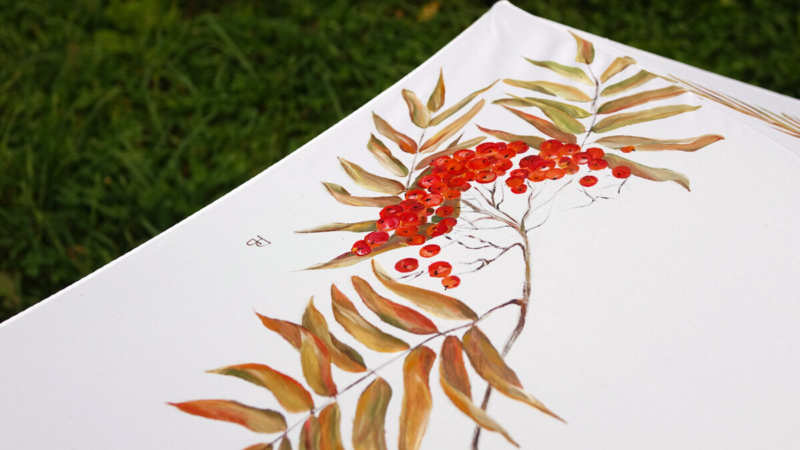
Pictures for drawing rowan trees with pencils and paints