How to make a headdress with your own hands - pattern, master classes from cardboard and new photo ideas
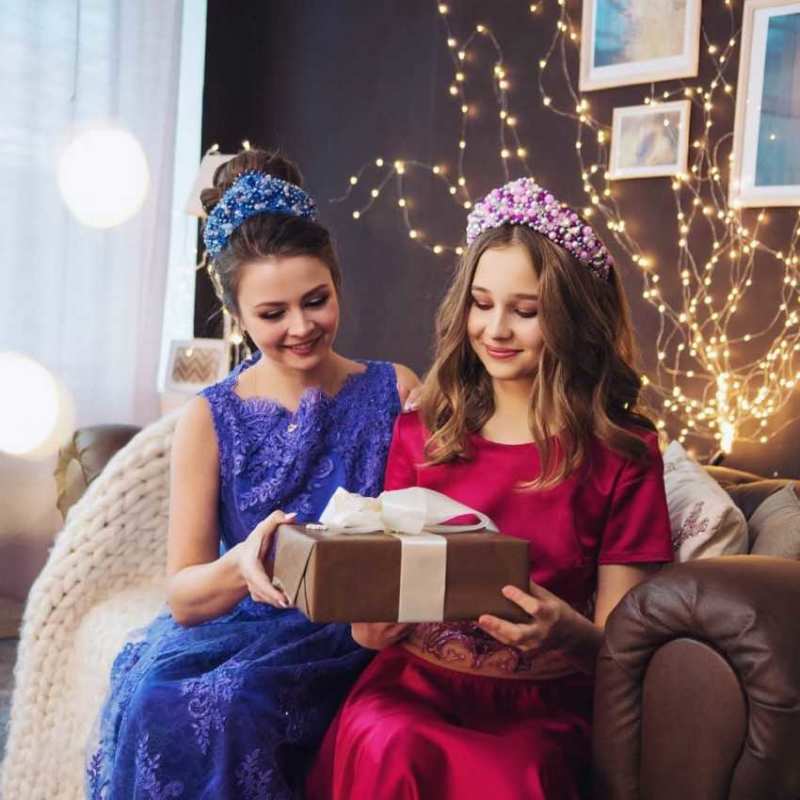
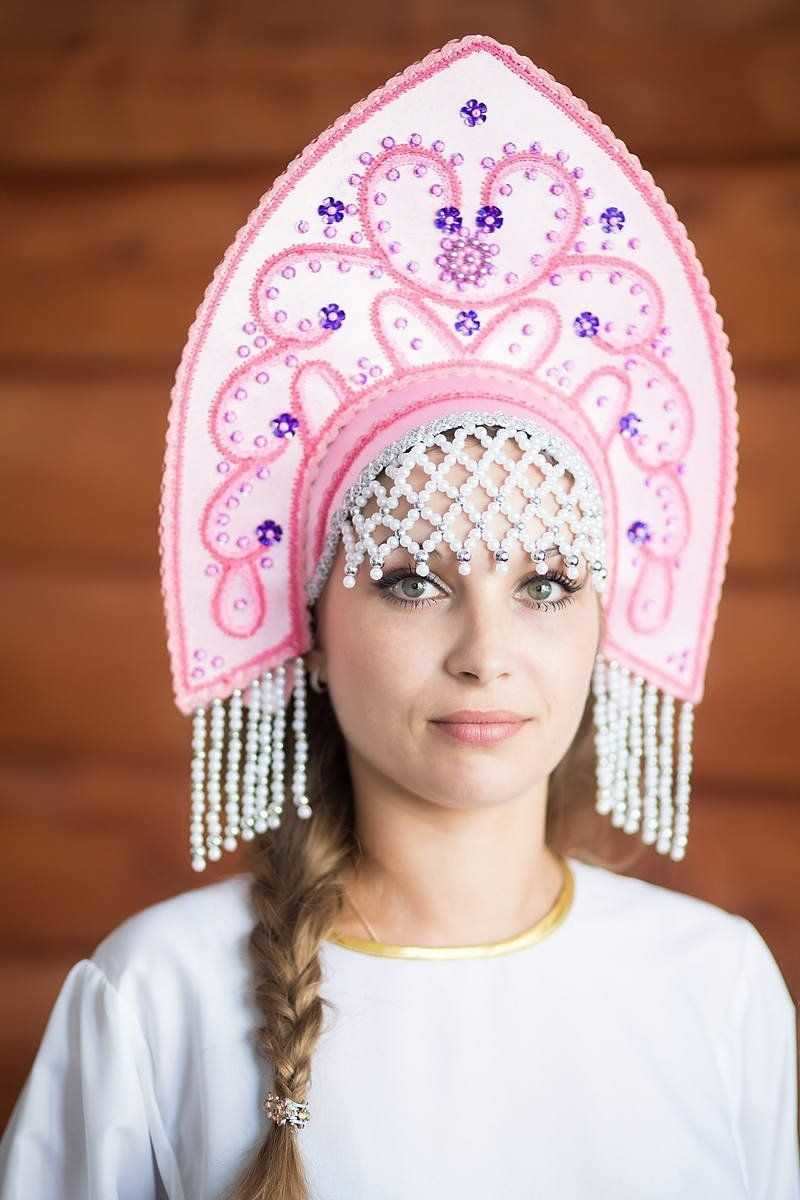
Since ancient times, the kokoshnik has been considered the most beautiful and outstanding headdress for the holidays. It was often an integral part of the festive costumes of Russian beauties in ancient times.
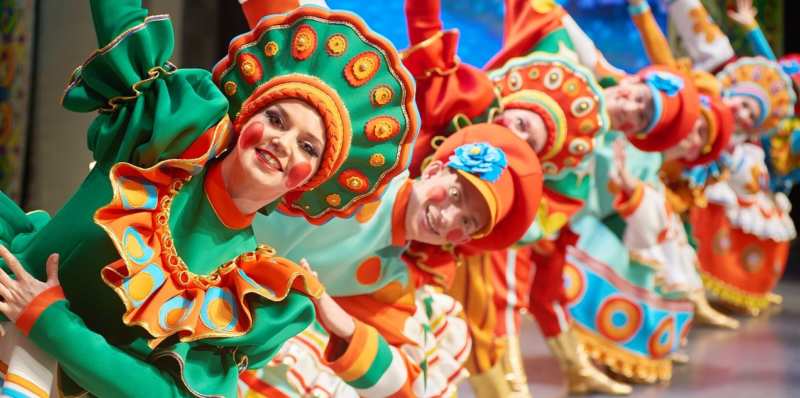
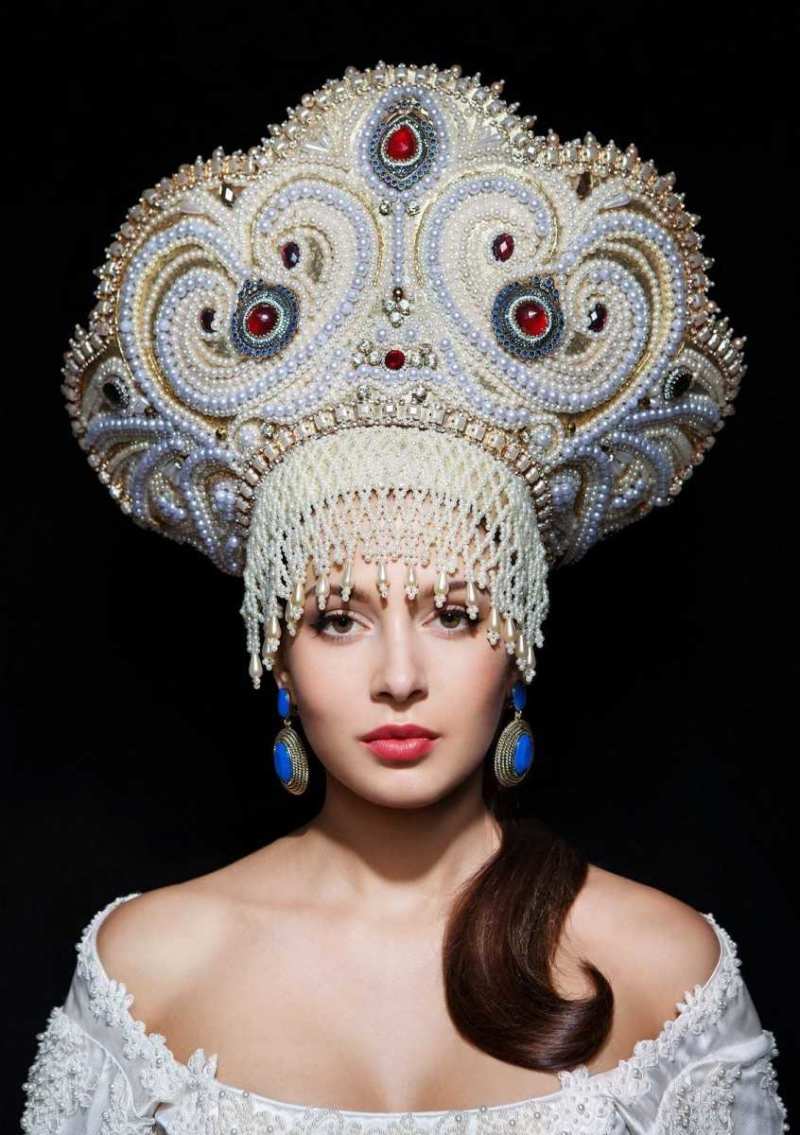
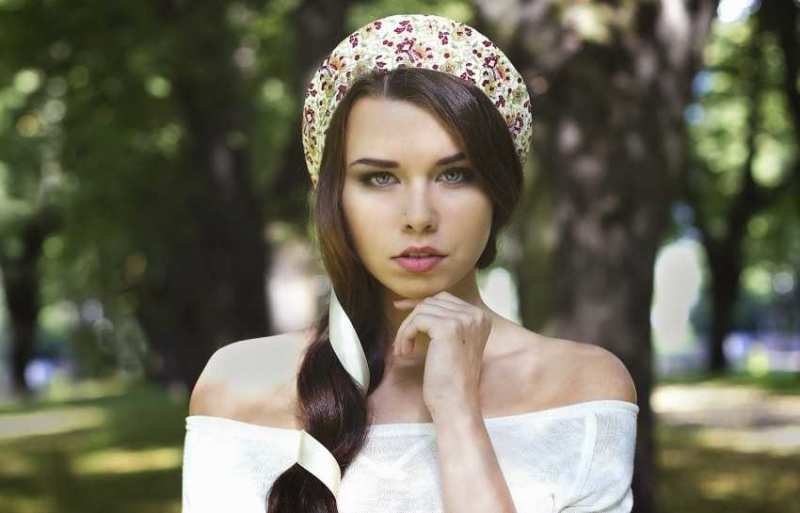
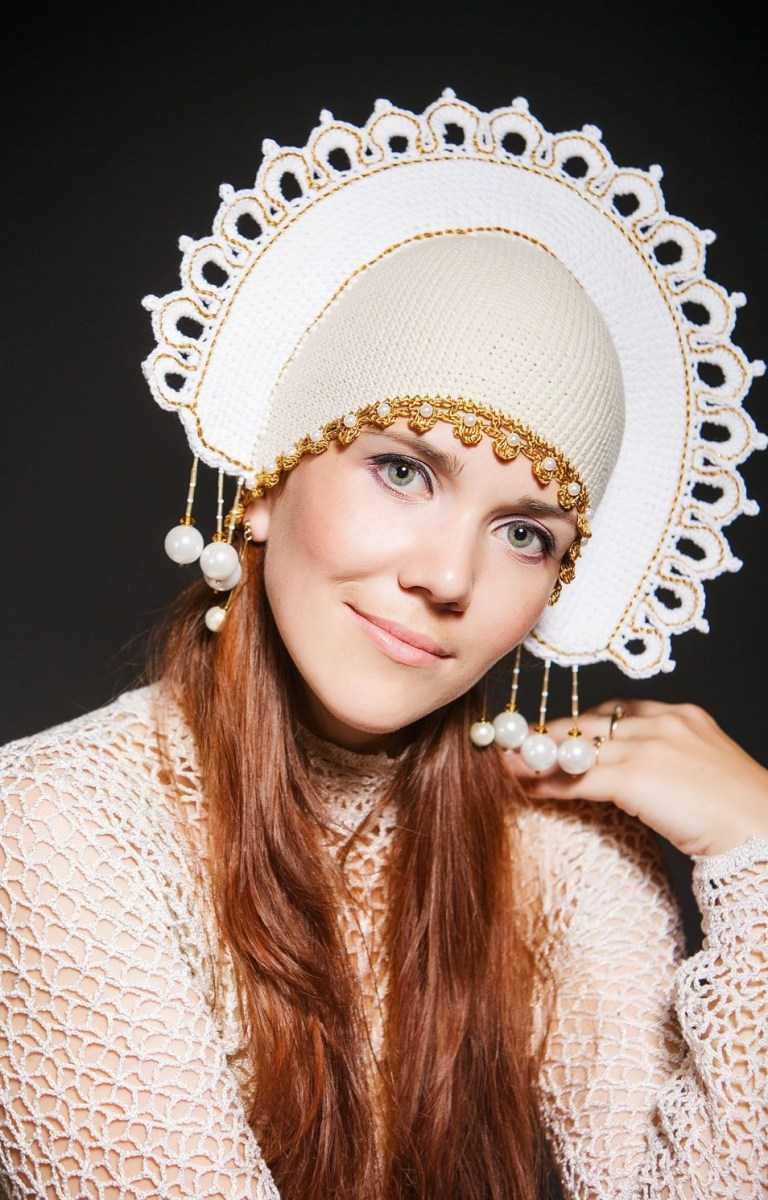
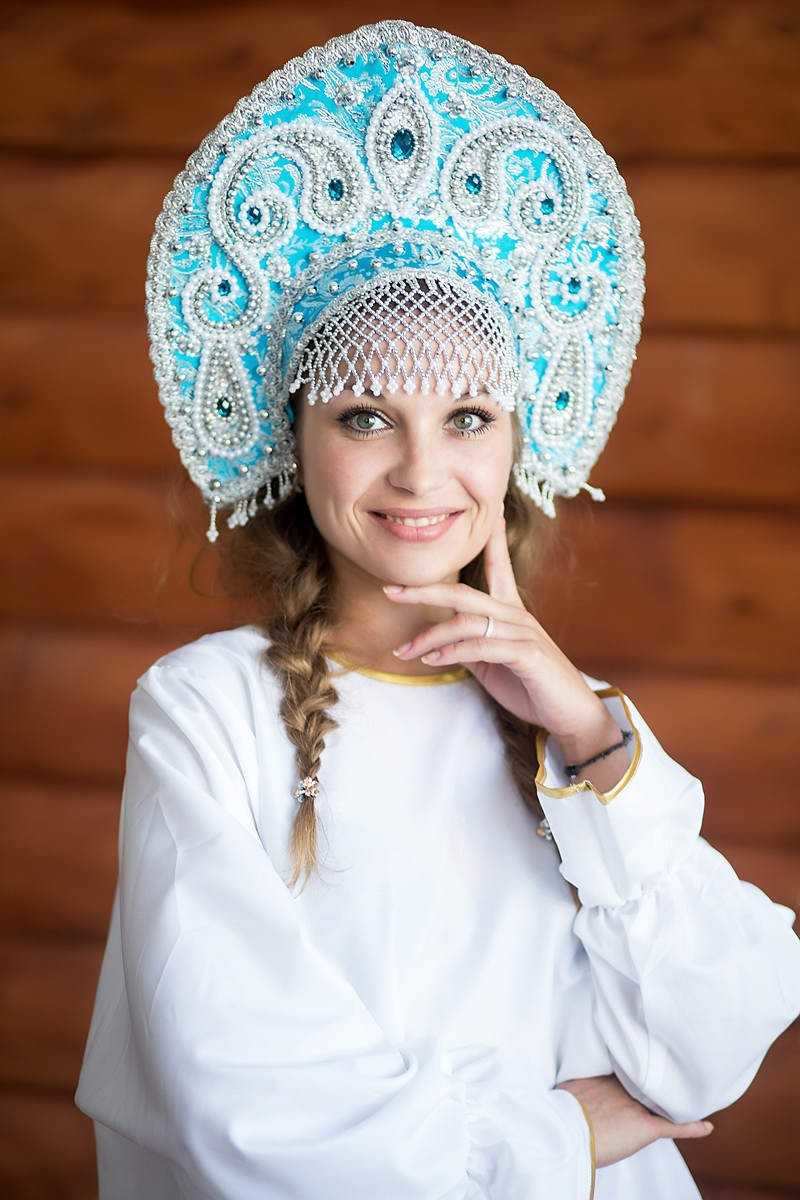
Even the image of a native Russian beauty is difficult to imagine without a beautiful kokoshnik embroidered with pearls, beads, ribbons and other decorations, from which you can often see a long blond braid. The kokoshnik gracefully emphasized the facial features of any noble woman and gave her a noble look.

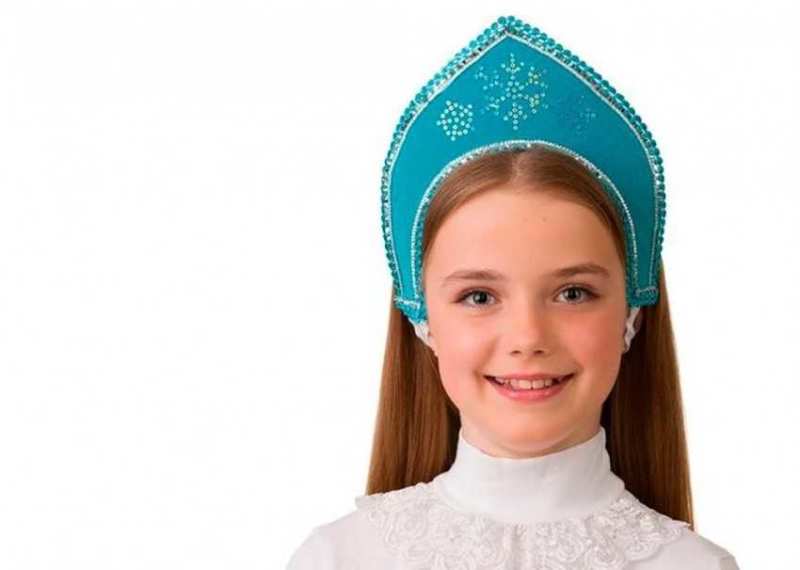
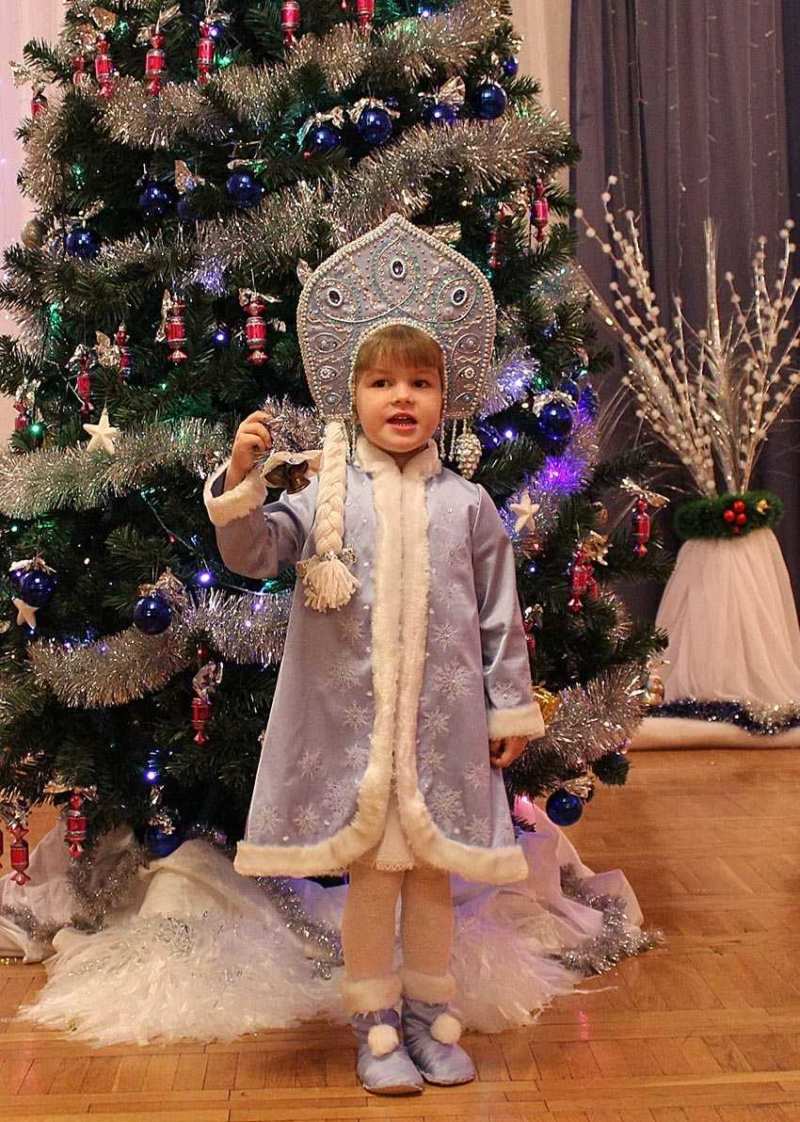
Nowadays, the headdress is associated primarily with the snow maiden's outfit, which is especially relevant at children's matinees during the Christmas and New Year holidays. In order to make a beautiful and high-quality kokoshnik with their own hands, to begin with, it is important to know what parts it consists of.
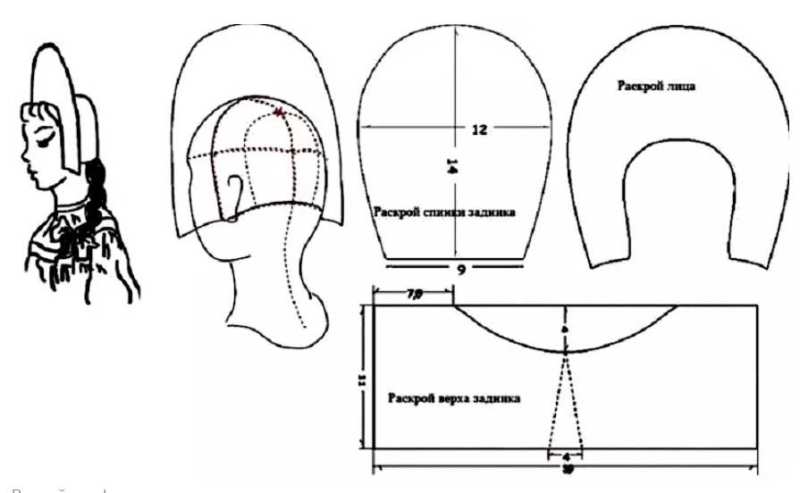
What does a kokoshnik consist of?
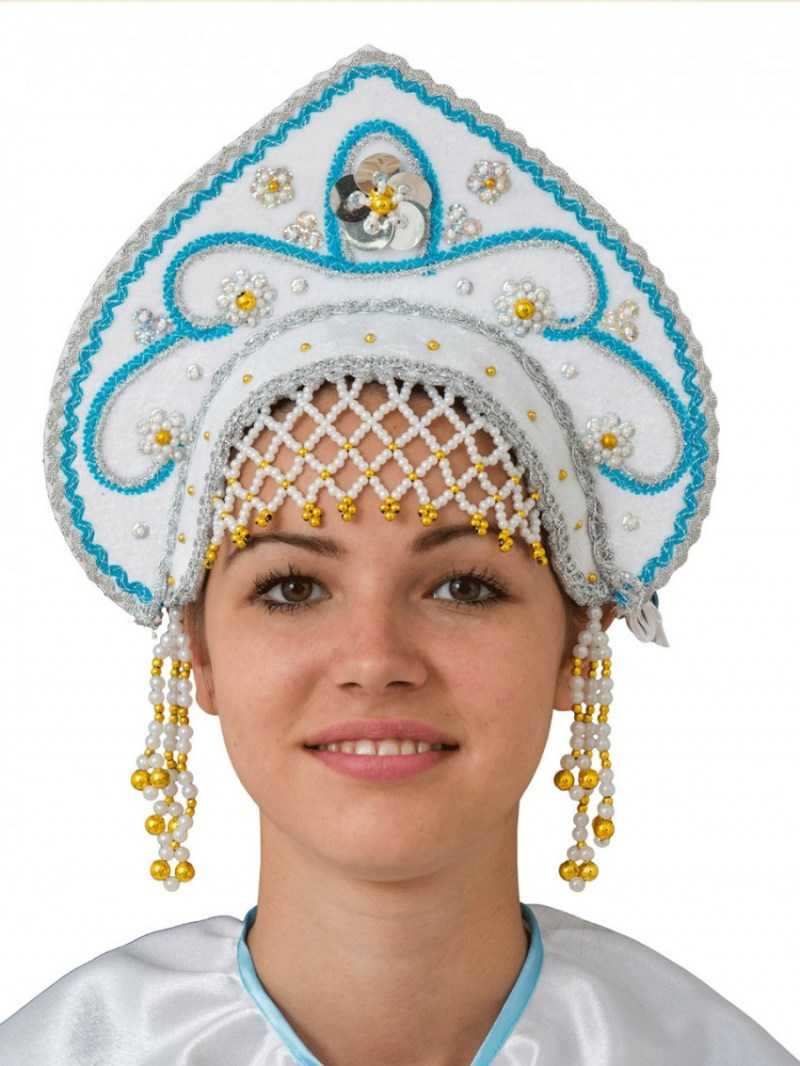
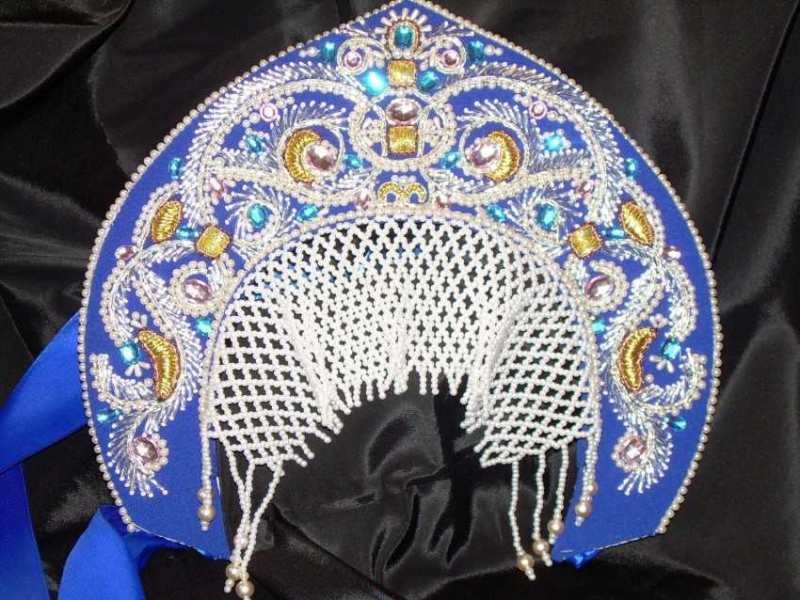
The basis of this headdress has 3 components: a comb, the form of which is most often a crescent, but can also take the form of a crown, a rounded shield or a cylindrical shape.
The comb is attached to the strong rim, thanks to which the headdress is stable on the head. There are also additional decorations, such as netting with a scattering of beads and beads, which covers the forehead and completes the appearance of kokoshnik.
How to make a headdress out of fabric?
The key to making a proper fabric kokoshnik is to correctly measure the head of the person for whom it will be intended. It is necessary to measure the circumference of the head and determine the height of the headband to make sure it is securely fastened to the head.
For the basis of a fabric headdress you should take a thick cardboard, some elastic bands to fasten it and different beads, ribbons, decorations according to the theme of the costume.
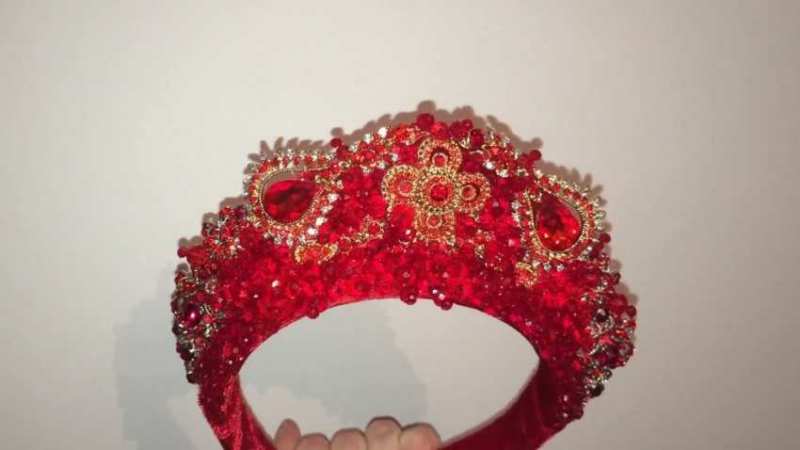
If it is the image of the snow maiden for a New Year's party - give preference to a gentle blue or snow white color, if the image of the Russian beauty at a theme party, masquerade or school play - take a red shade.
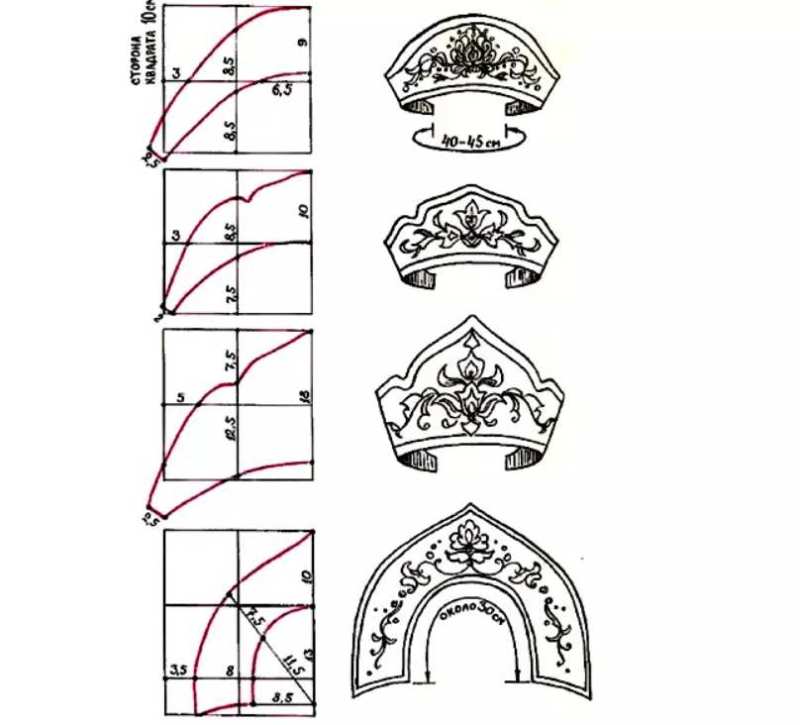
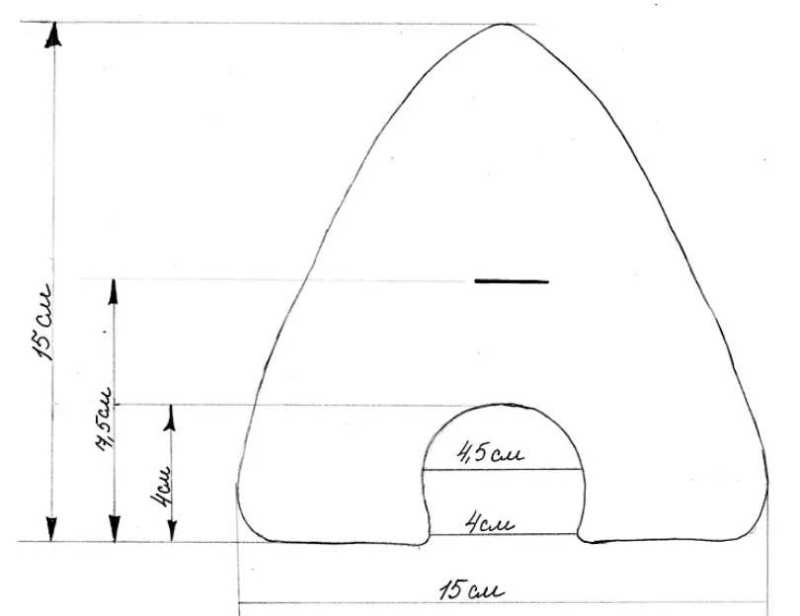
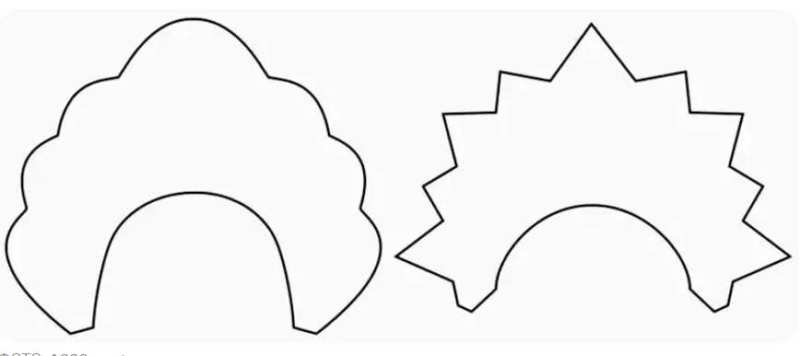
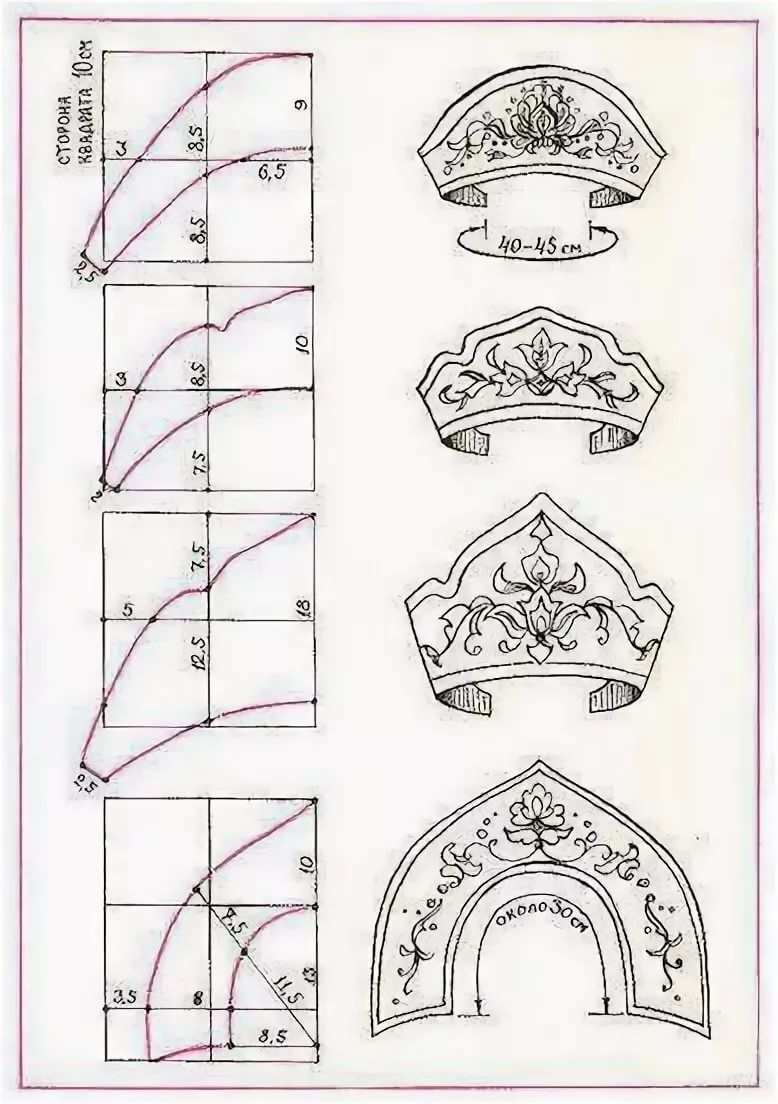
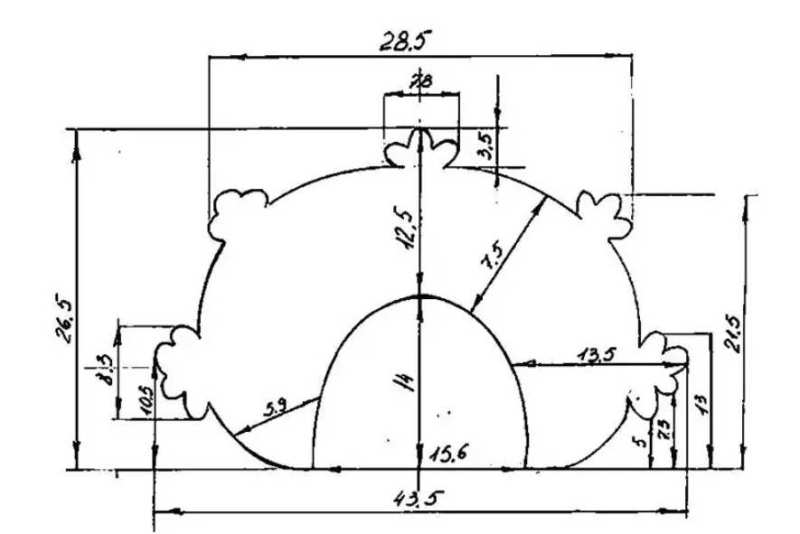
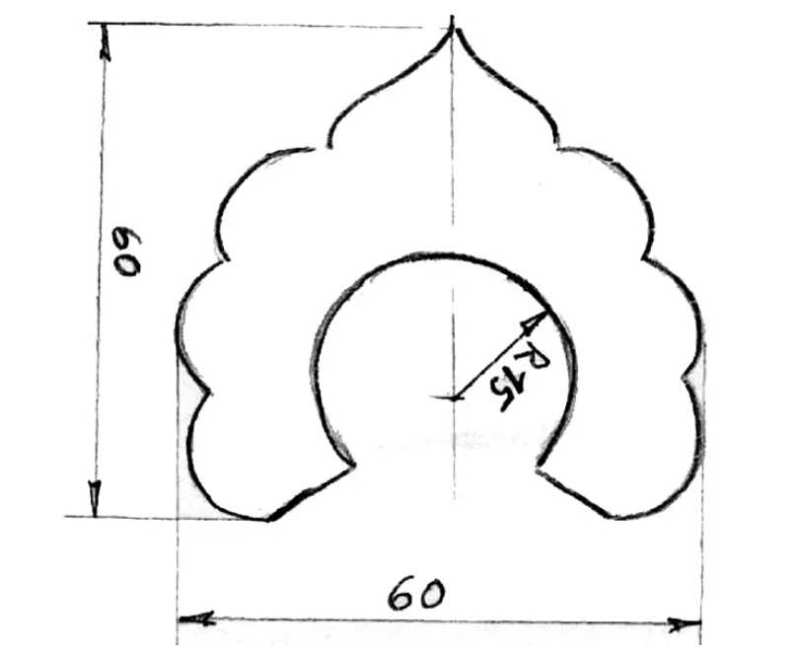
You can find all kinds of kokoshnik stencils on the Internet or in this article, but you can also try to make your own unique shape, taking into account the measurements.
Having prepared all the necessary tools, step by step the product of the kokoshnik.
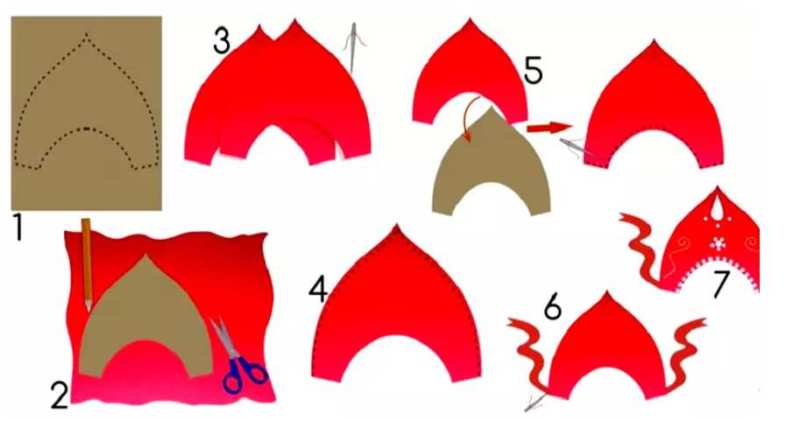
Step by step master class:
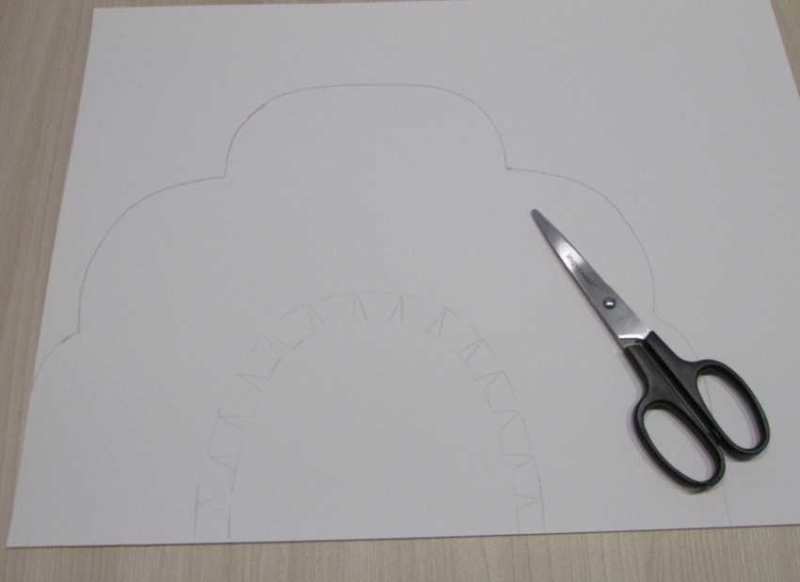
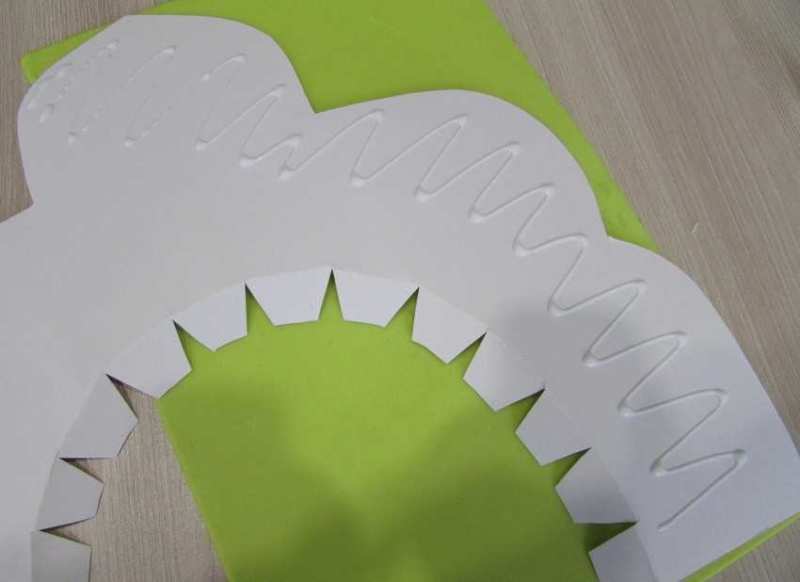
- First, a stencil is cut from a sheet of plain paper, which is attached to the main sheet of cardboard. The stencil from the plain paper is transferred to cardboard, then to the fabric and two blanks of the headdress base are cut out, but you should still take into account a few centimeters for the seams.
- Blanks are sewn together, then turn out the front side to put inside the cut out cardboard shape. Everything is fixed with a blind stitch.
- From the same dense cardboard you cut out a headband to hold a crest of a headband tightly. The headband is embroidered with the same fabric and sewed to the comb at an angle of 90 degrees.
- For excellent fixation of the kokoshnik on the head, a strong ribbon or elastic band is sewn to the resulting construction, which is tied at the chin with a knot.
- The resulting product should be decorated or embroidered with a scattering of beads and other ornaments. Sew the decorations before putting the cardboard base inside. You can also embroider the ribbon with different beads and think about how to tie it beautifully to make the image even more beautiful.
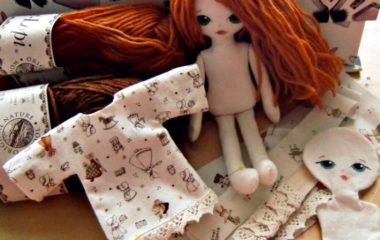
If you follow all the steps, you have a beautiful and high-quality kokoshnik, which is firmly fixed on the head. Such a headdress is versatile and can be sewn to anyone: women, girls, girls and even their dolls.
Kokoshnik by hand from cardboard for the New Year's Eve party
If sewing a kokoshnik from fabric is not possible for everyone, for example a little girl, because the use of needle and thread requires certain safety techniques, then a cardboard kokoshnik can be made by every child, using the usual tools for the product, with which he is already familiar from art classes at school.
To make a cardboard kokoshnik, the following tools will be needed.
Necessary materials:
- thick sheets of cardboard (colored or all-white, so that the surface can be drawn on)
- Sheets of foil (food foil or even from chocolates will do);
- silver braid, lace ribbon or any other decorative ribbon to decorate the edges of the kokoshnik
- An elastic band or sturdy satin ribbon to hold the headpiece in place on the chin;
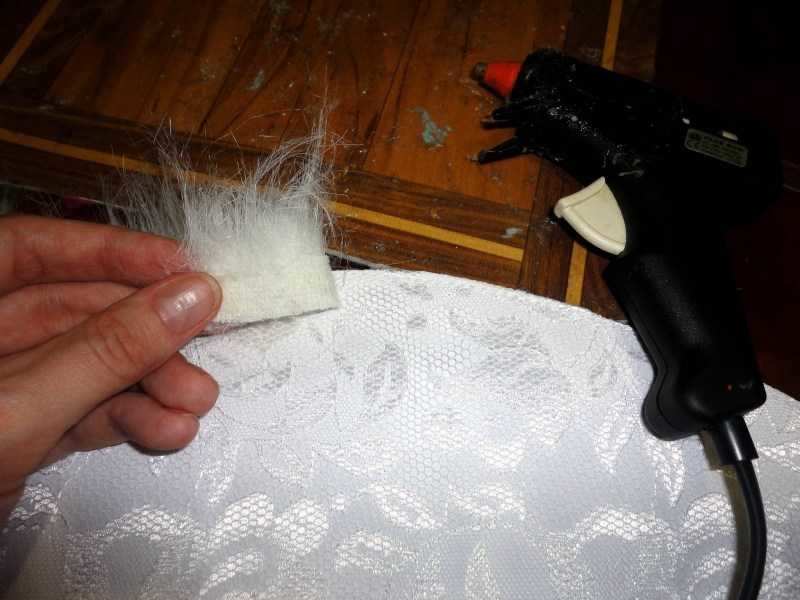
- PVA glue or a hot glue gun;
- sharp scissors or a utility knife;
- a simple pencil;
- Various decorations: beads or beads.
Armed with the necessary tools, you can get to work.
Sequence of steps:
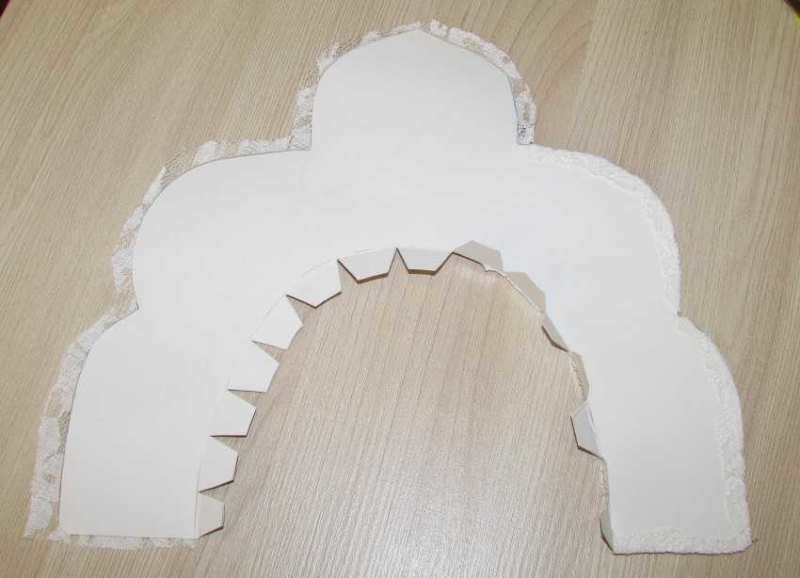
- According to a predetermined stencil of heavy cardboard cut out 2 plates of the comb of a headband, on which the foil is glued to the base with PVA glue or hot glue. Its edges are bent to the back of each cardboard plate.
- Two cardboard templates covered with foil, the inner side is fastened to each other with glue.
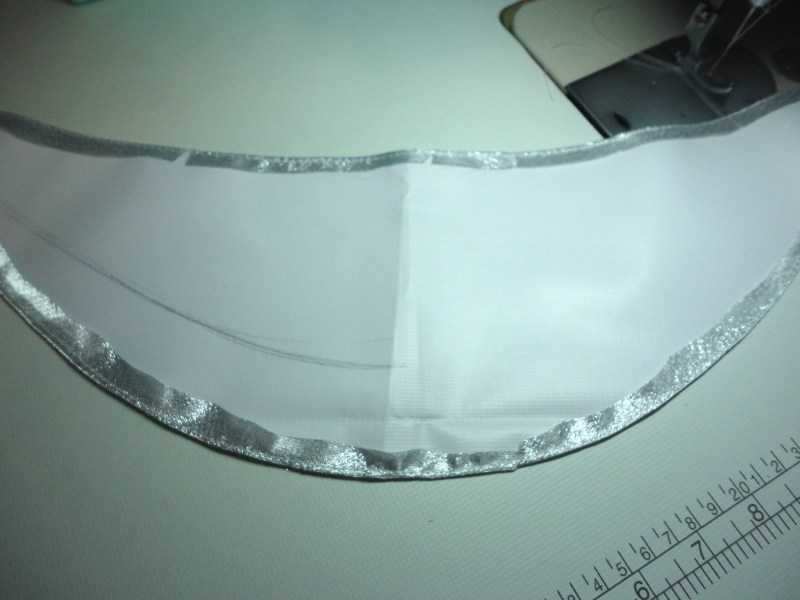
- Using a decorative braid or wide ribbon all the edges of the kokoshnik are trimmed. When trimming the outer corners you also need to attach a rubber band or ribbon at the bottom of the headdress, which will be tied on the chin and thus ensure a firm fixation of the product on the head.
- On the resulting main part of the headdresses you can glue beads, rhinestones, bows, snowflakes, pebbles and other decorations with a pistol glue or PVA glue. You can think in advance about their beautiful arrangement and recreate on the front side of the scallop some specific composition under the New Year's theme.

Thus, we have an excellent headdress for the New Year's Eve matinee. It will be an indispensable detail to the rest of the snow maiden's costume, which most often consists of a fur coat and white winter boots.
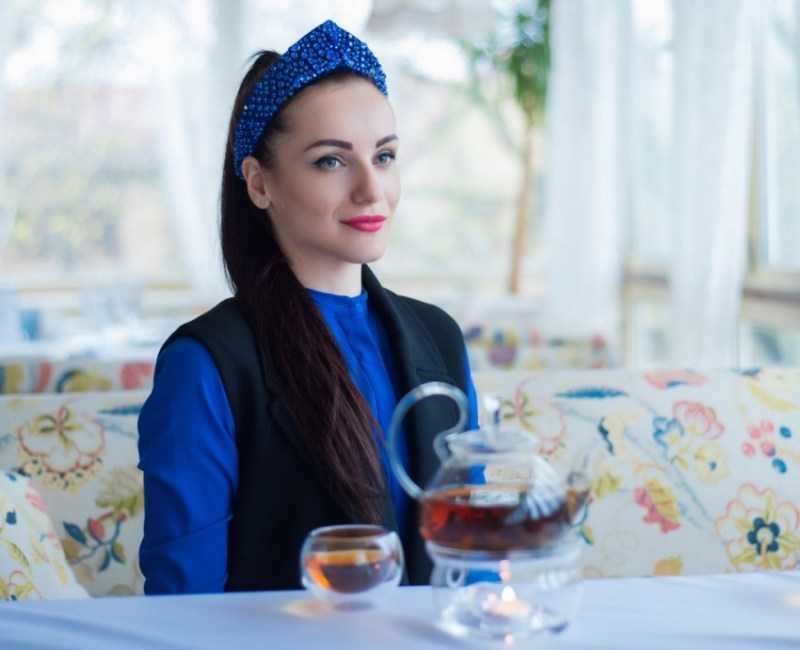
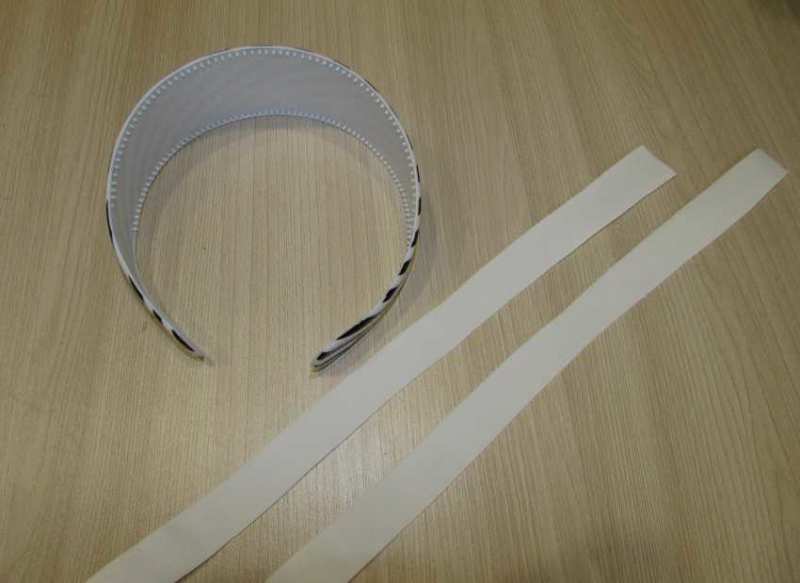
Kokoshnik with a headband in the basis of cardboard and satin
The basis of this kind of kokoshnik is a regular headband, on which the entire future construction will be attached. It is important that the rim itself is strong and quite wide.
In order for the comb to hold tightly, it is important to attach it correctly to the headband, placing it in the front, in the center or behind the comb.

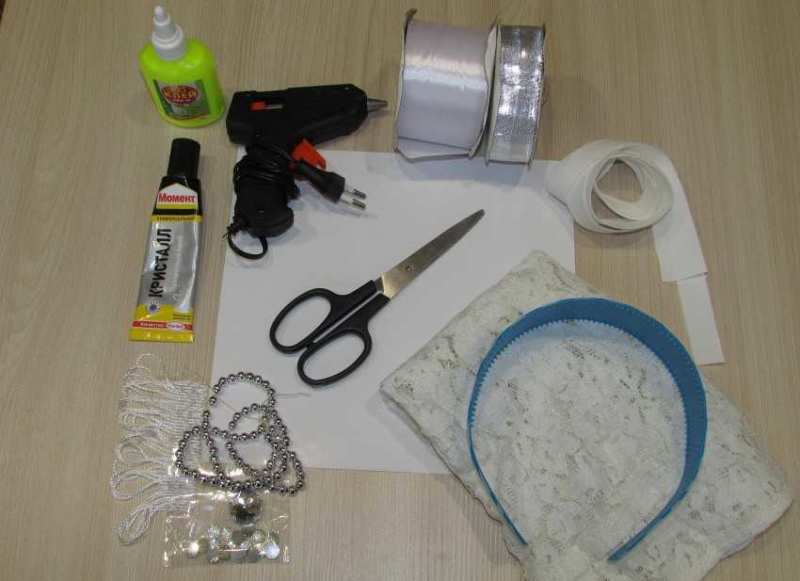
The tools needed are:
- A wide white rim;
- a sheet of thick cardboard;
- cloth;
- thread;
- glue gun;
- Various decorations and details: beads, beads, precious stones, ribbons.
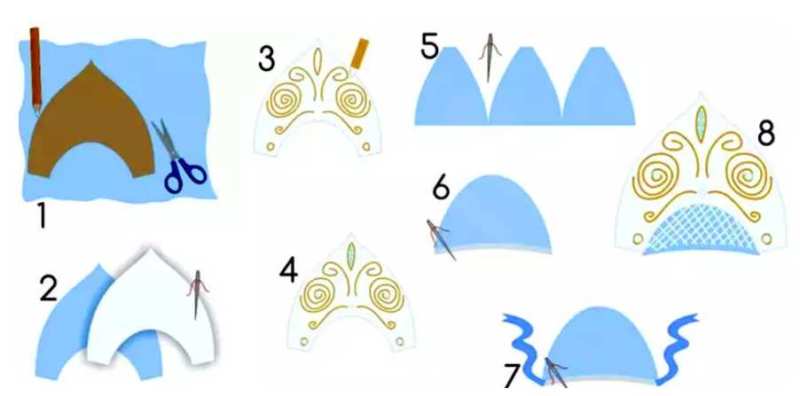
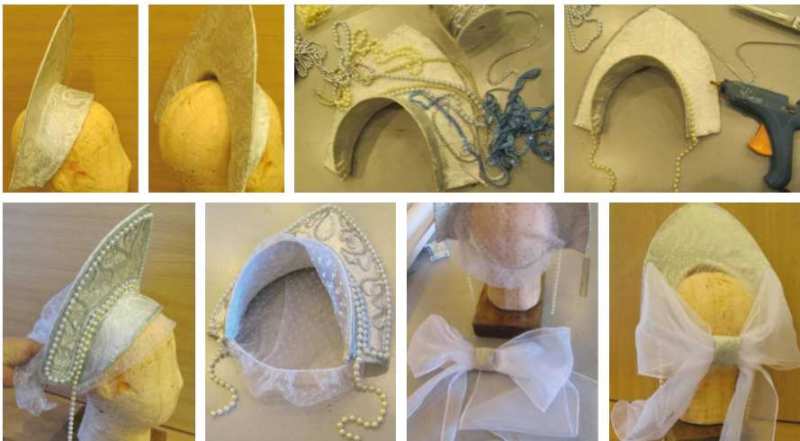
Plan of Action:
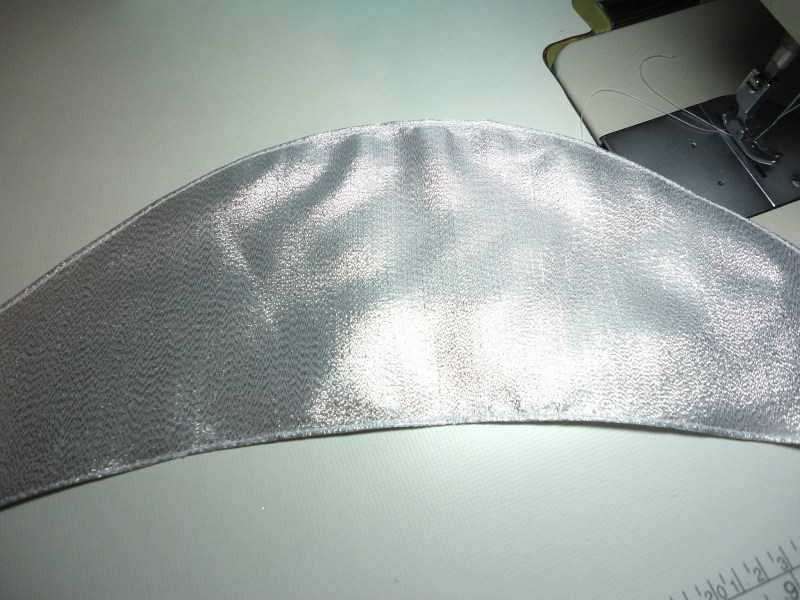
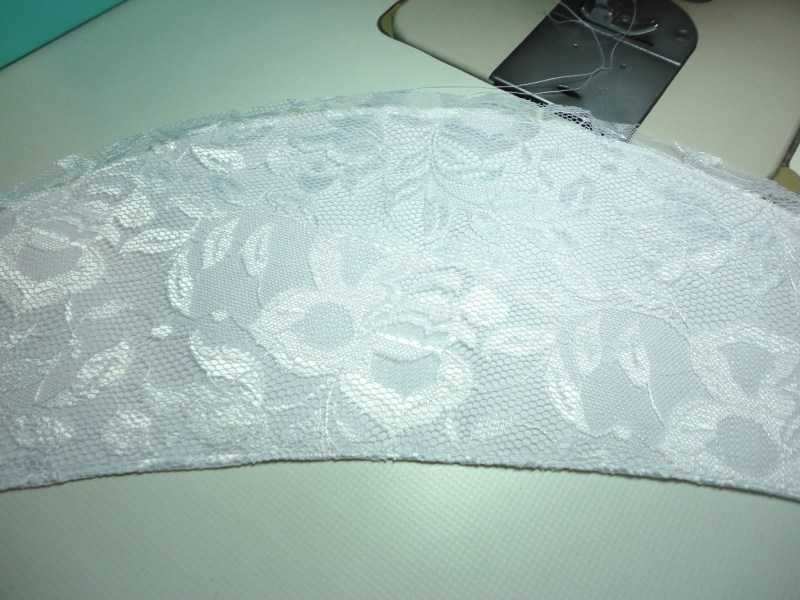
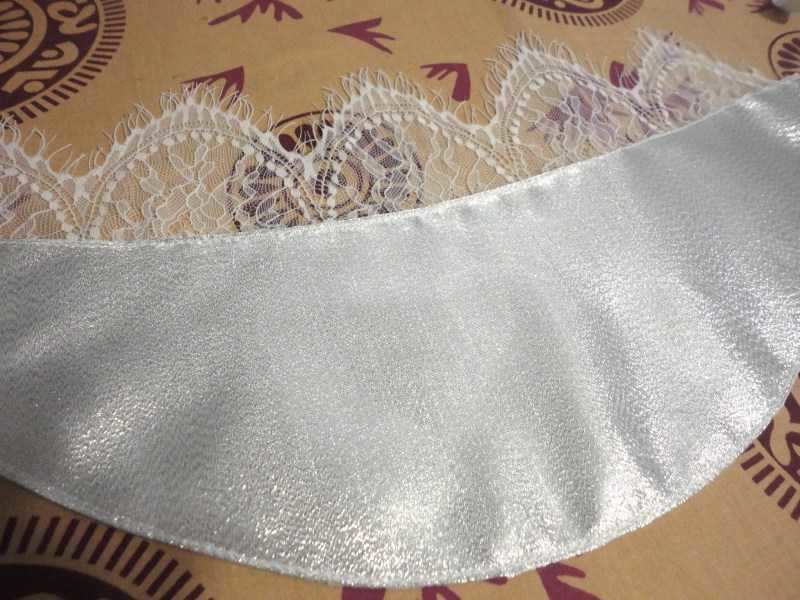
- To begin, as in all of the master classes discussed, you need to cut out the base of the comb from a thick sheet of cardboard;
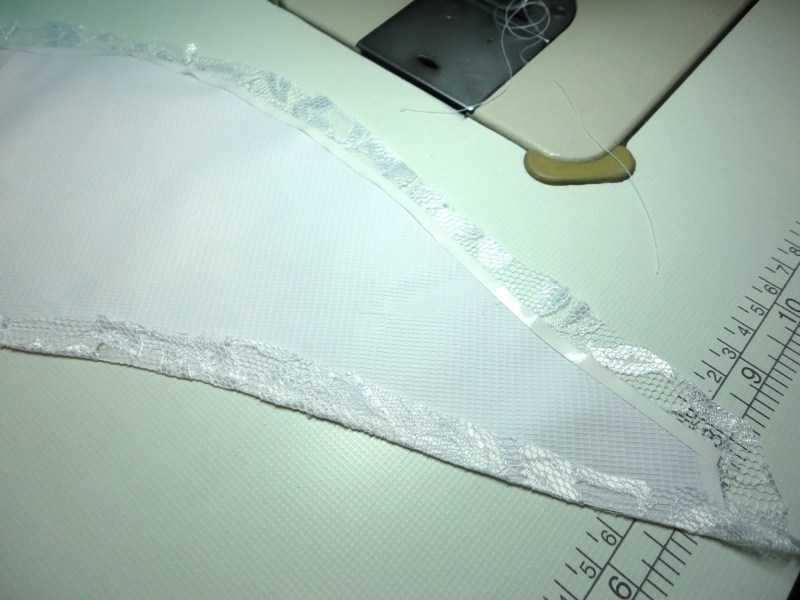
- The outer part of the cardboard is covered with satin fabric, with allowance for seams, and sewn by hand or with a sewing machine;
- On the outer part of the rim is placed a strip of thick cardboard for a more stable fixing of the resulting scallop. On top of the outer part of the strip of cardboard is also embroidered with fabric, which is then sewn with a scallop.
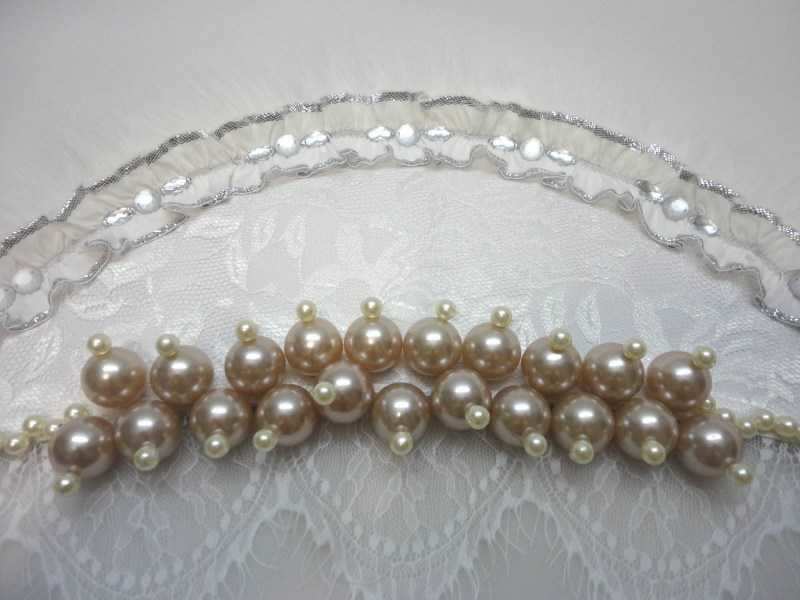
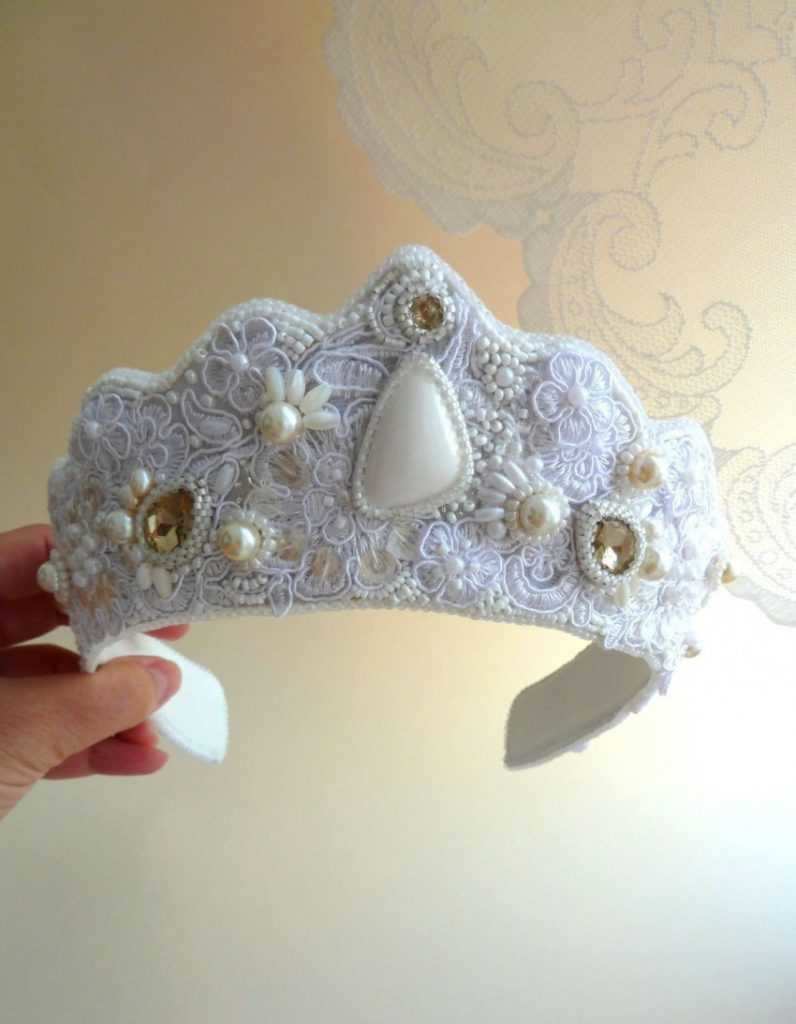
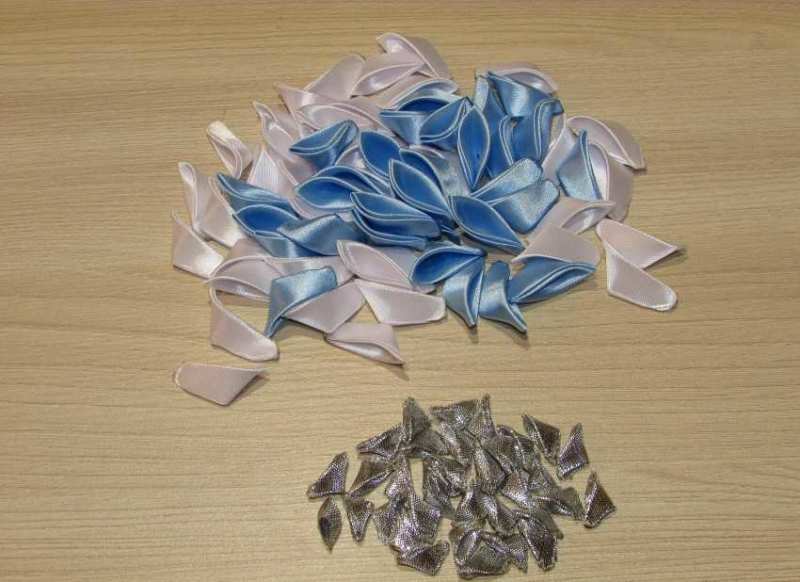
- The resulting product is decorated with pebbles, beads and pearls.
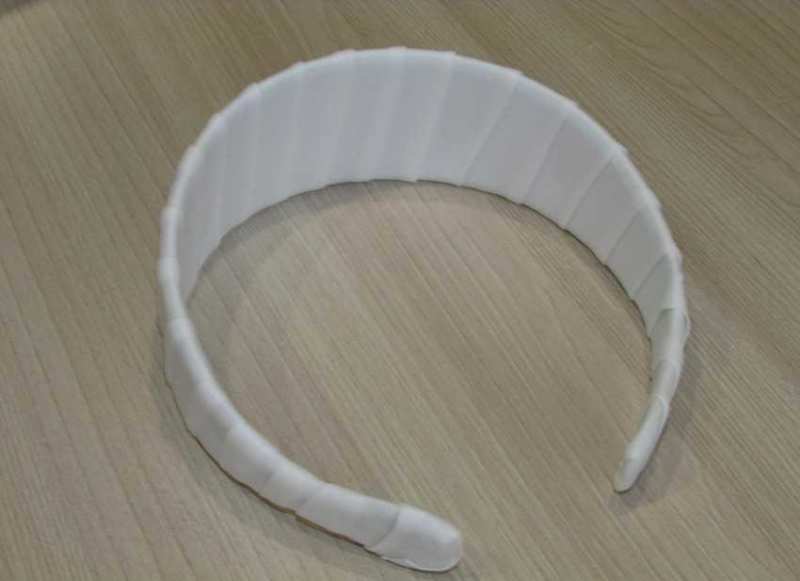
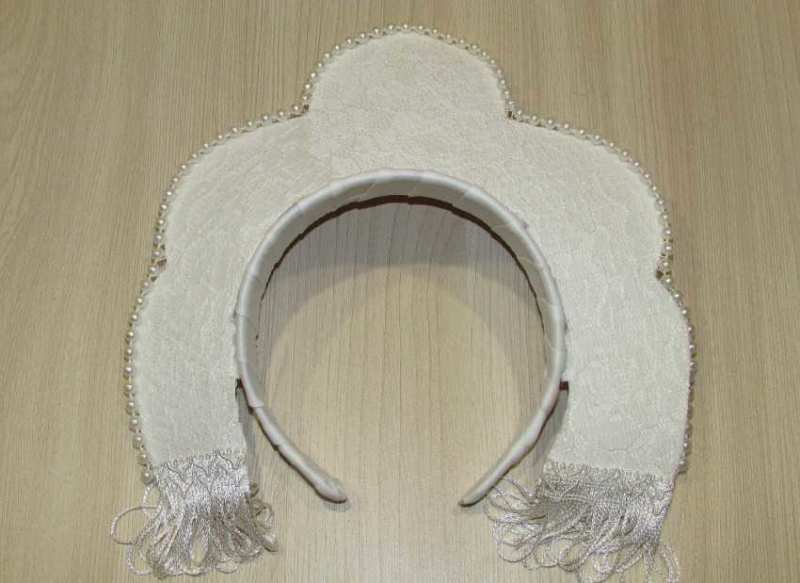
The peculiarity of the headband is that no fixing ribbon or elastic band is needed here. If initially a strong enough hoop was chosen, and the height of the headband was correctly calculated in relation to the head, the product will be very stable, that it can be used for masquerade and holiday costumes for very many years.
Coconut headpiece decorating ideas
The kind of decorations on the headdress depends on the theme of the holiday, for which it is made and the rest of the costume, because it is important that the headdress and clothes looked harmonious and matched each other.
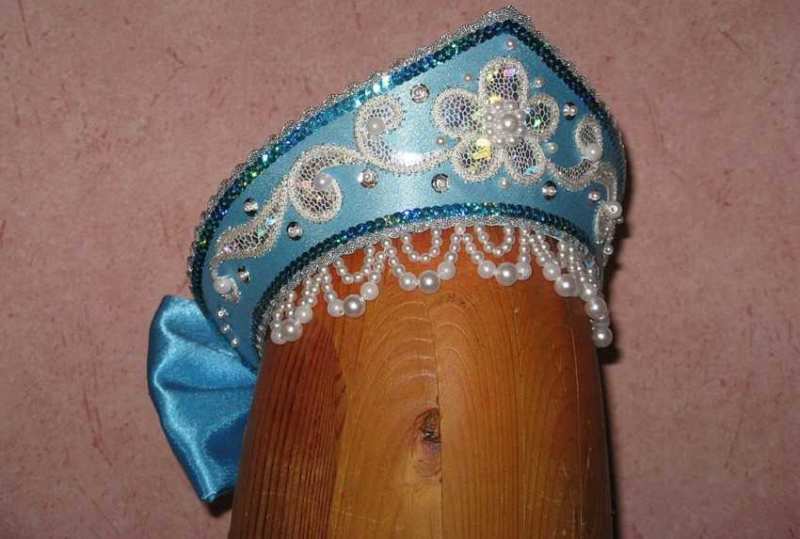
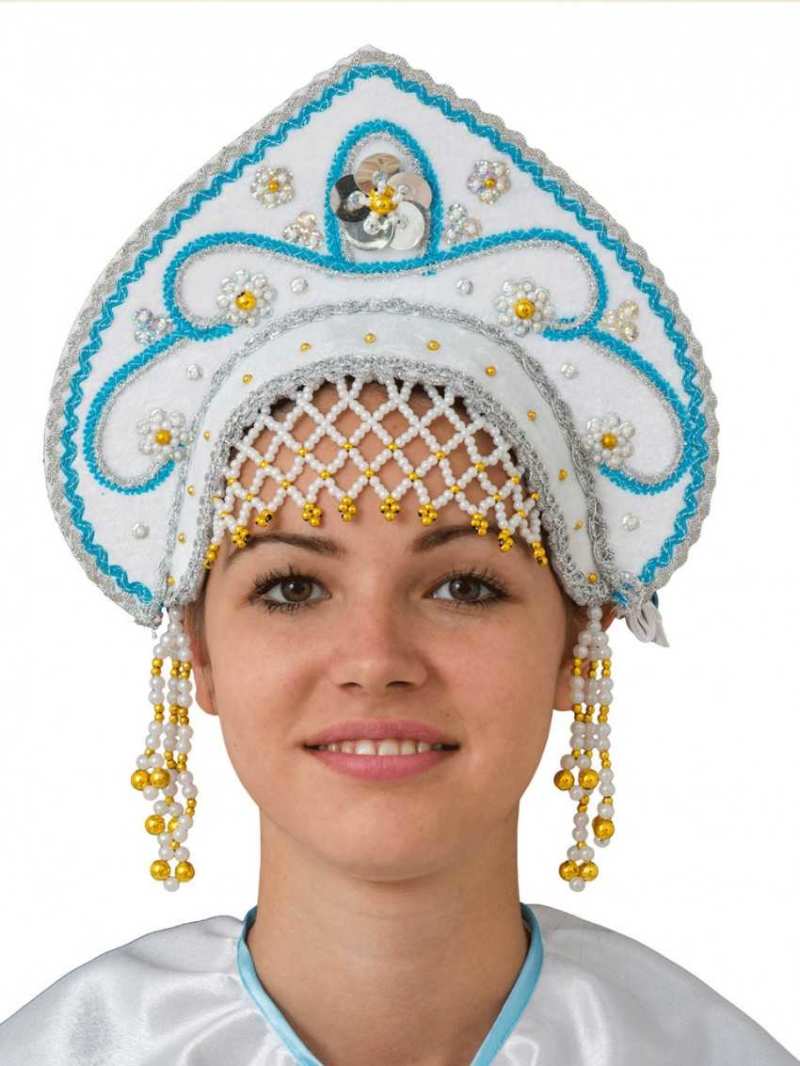
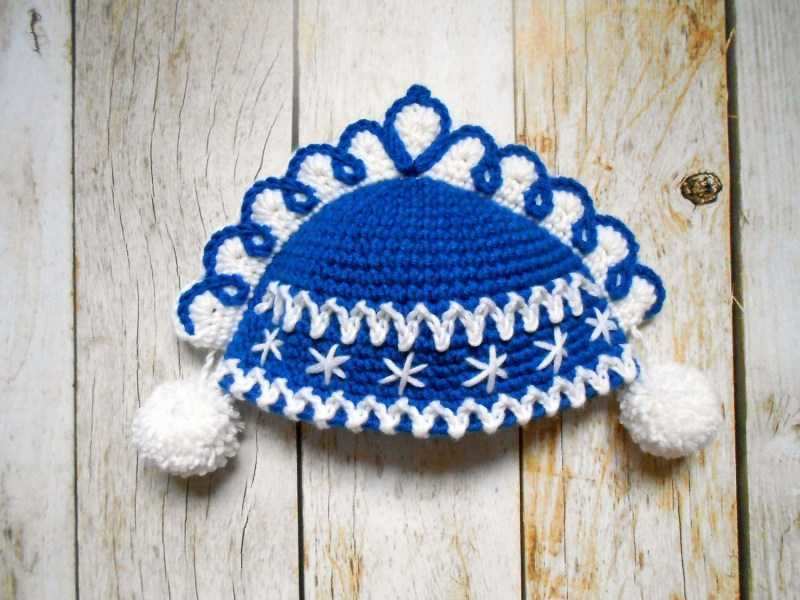
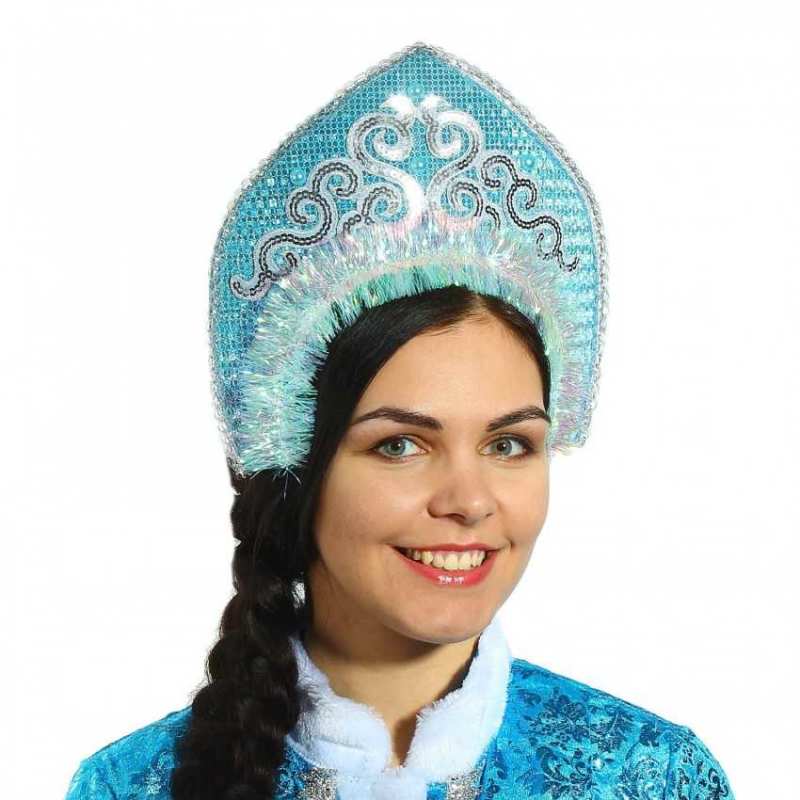
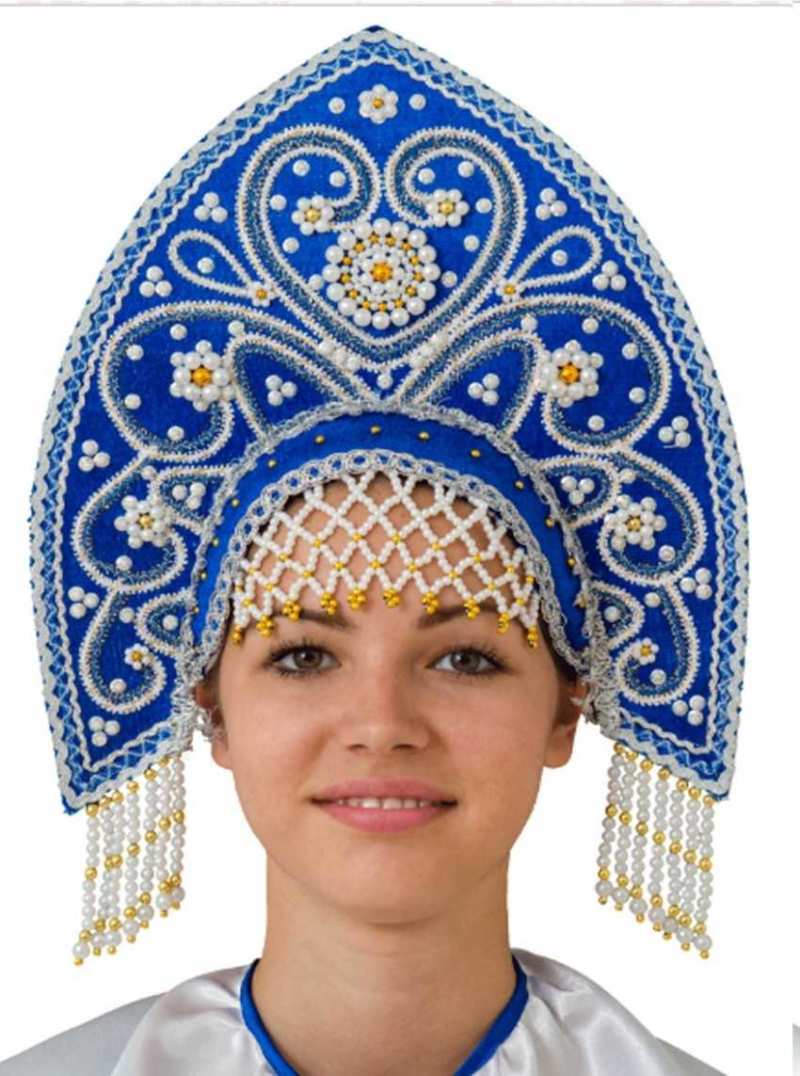
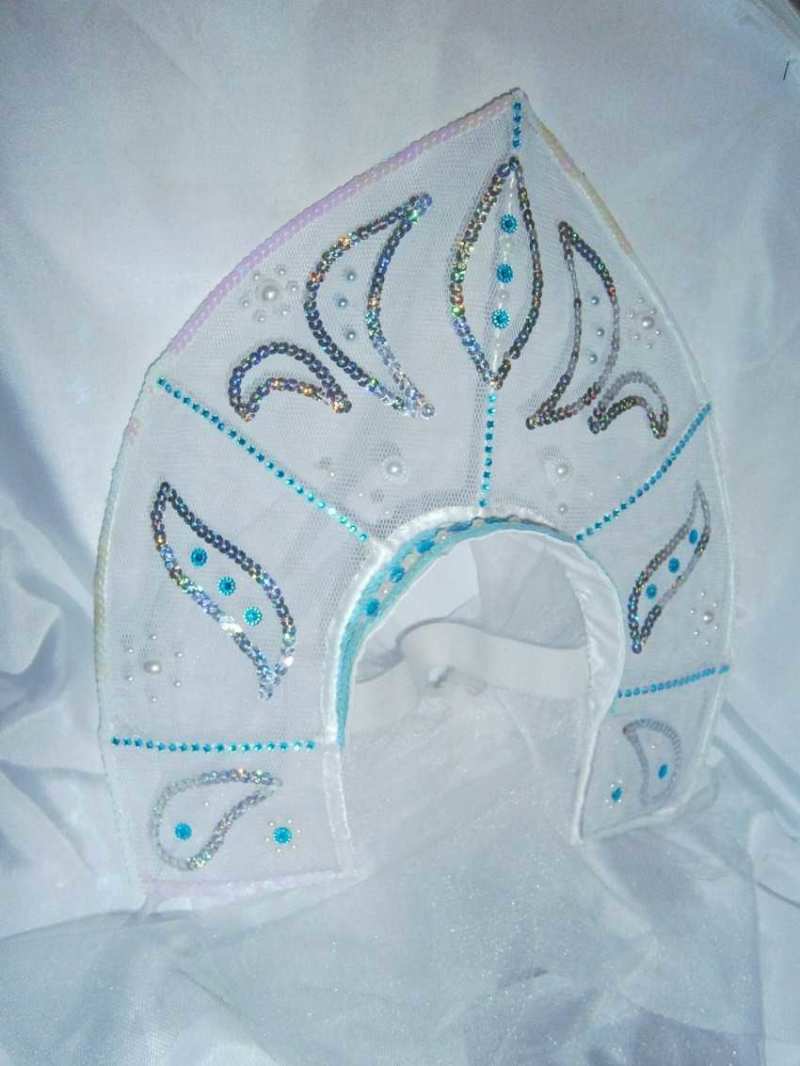
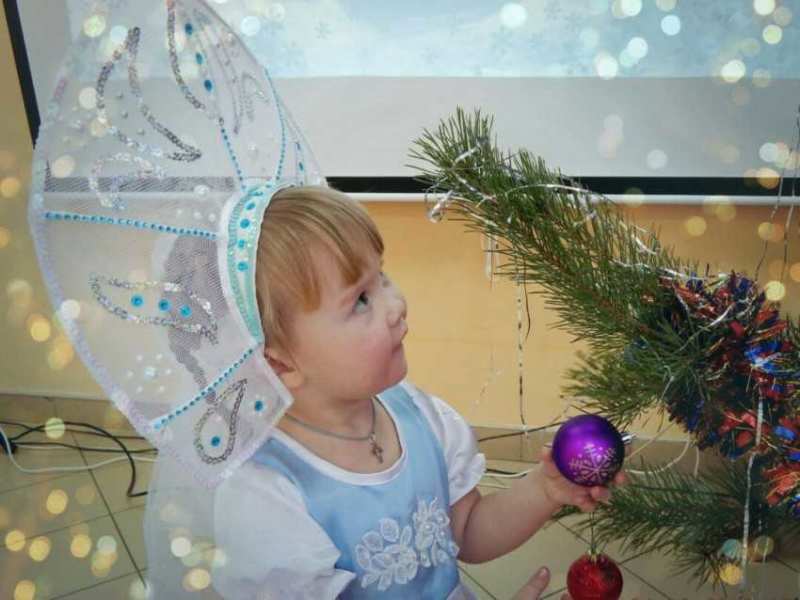
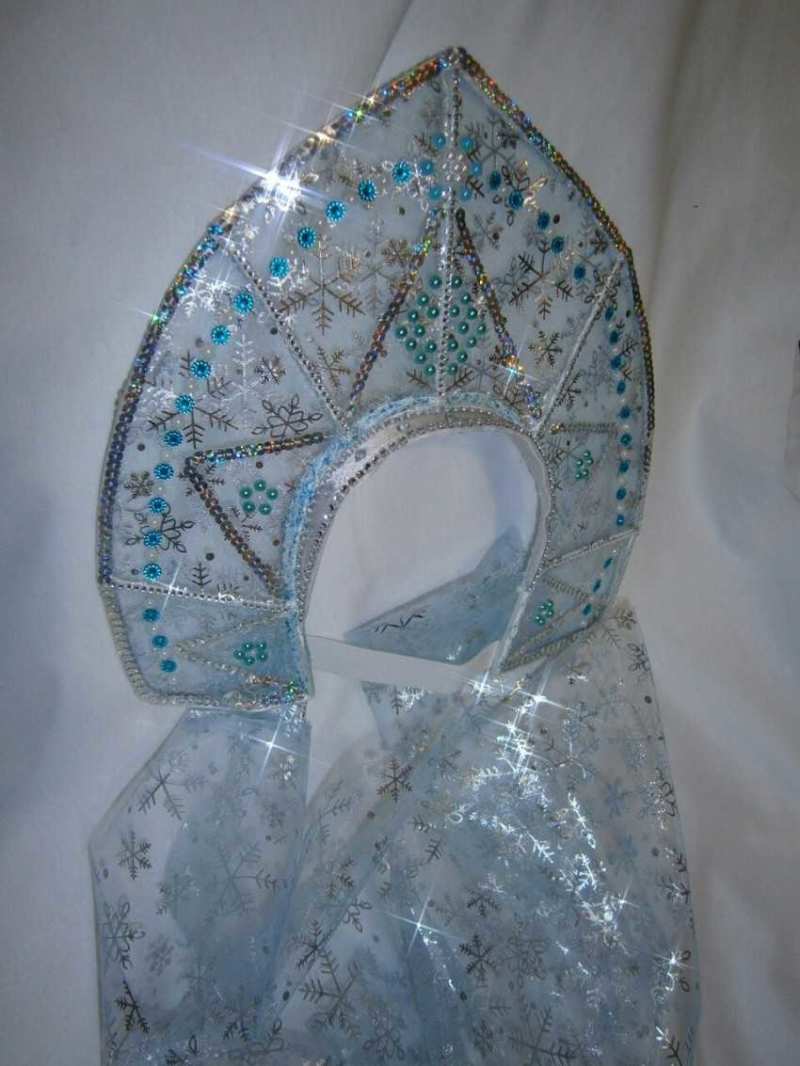
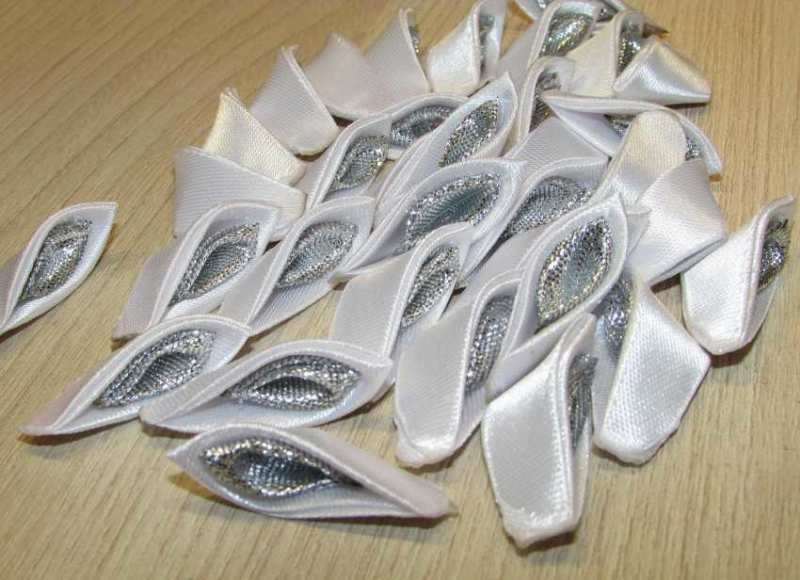
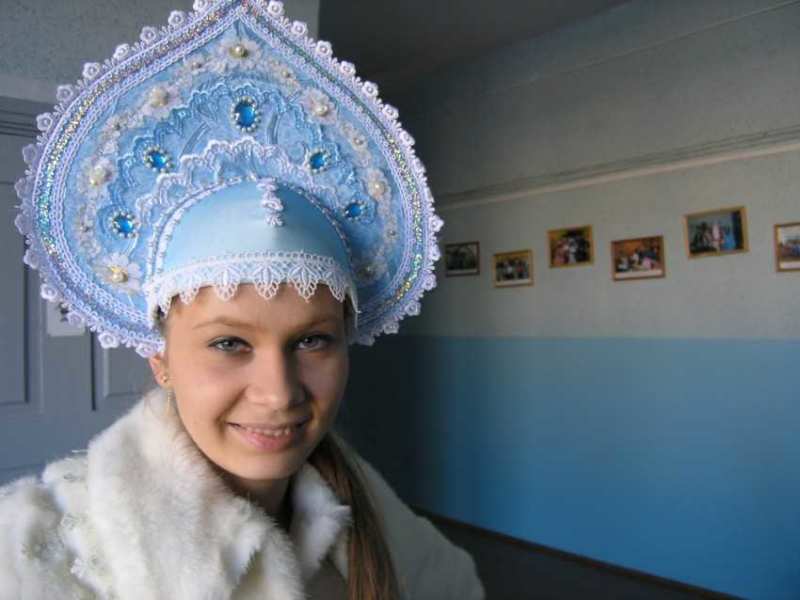
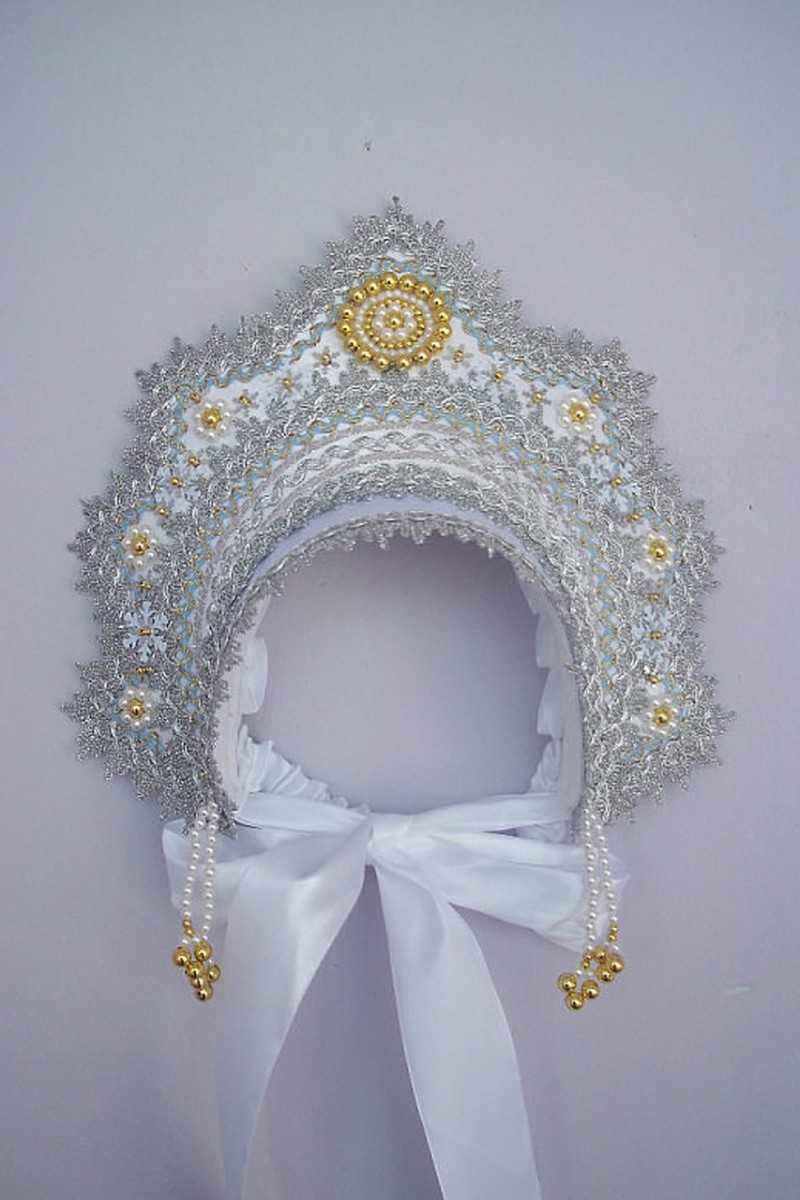
The snow maiden's headdress
This is the most common type of headdress. To give it a truly winter and fairy-tale look, you can use white and blue beads and cut out snowflakes, harmoniously placed on the surface.
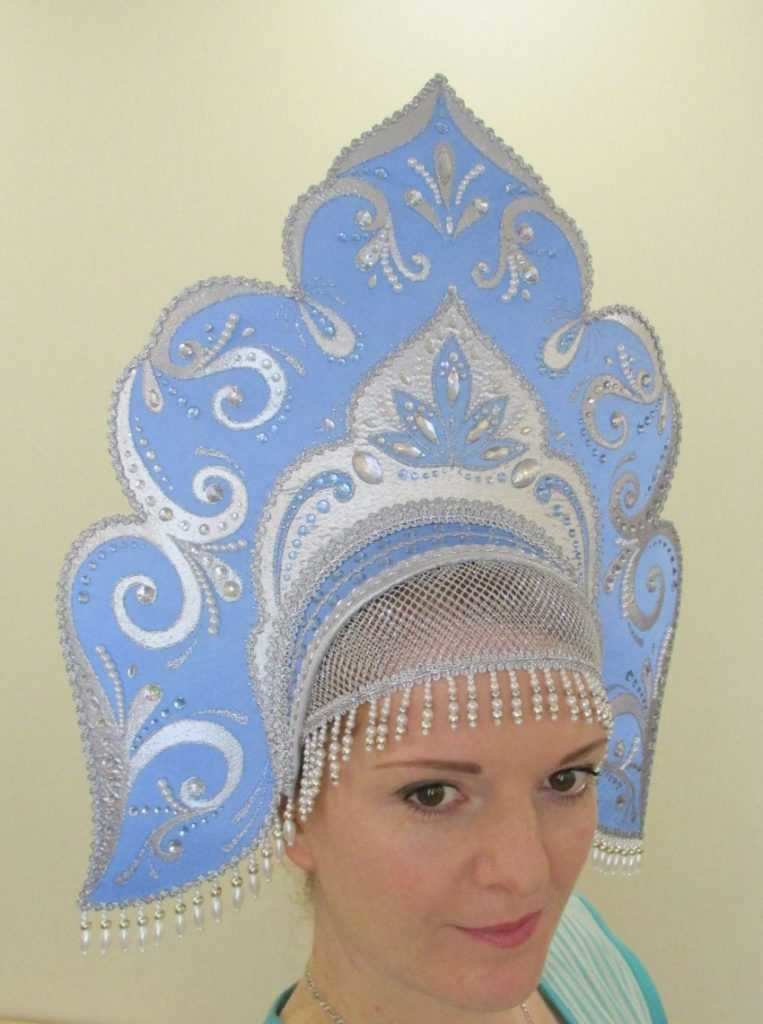
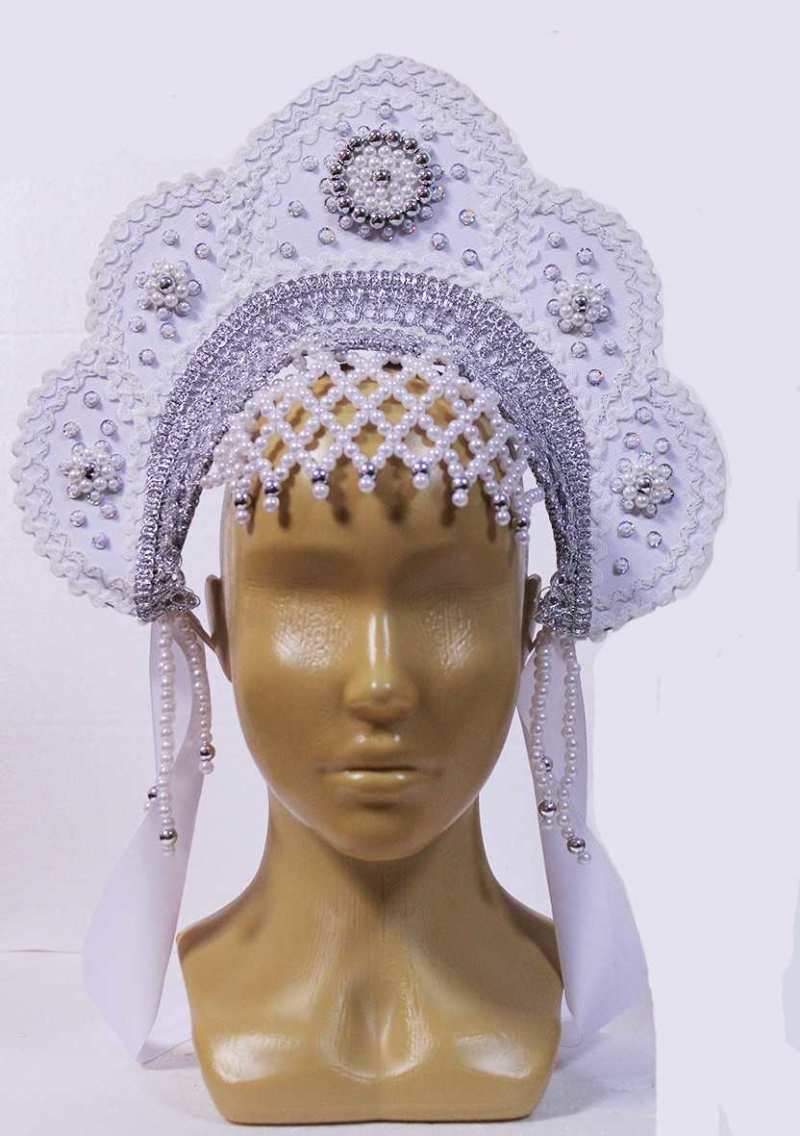
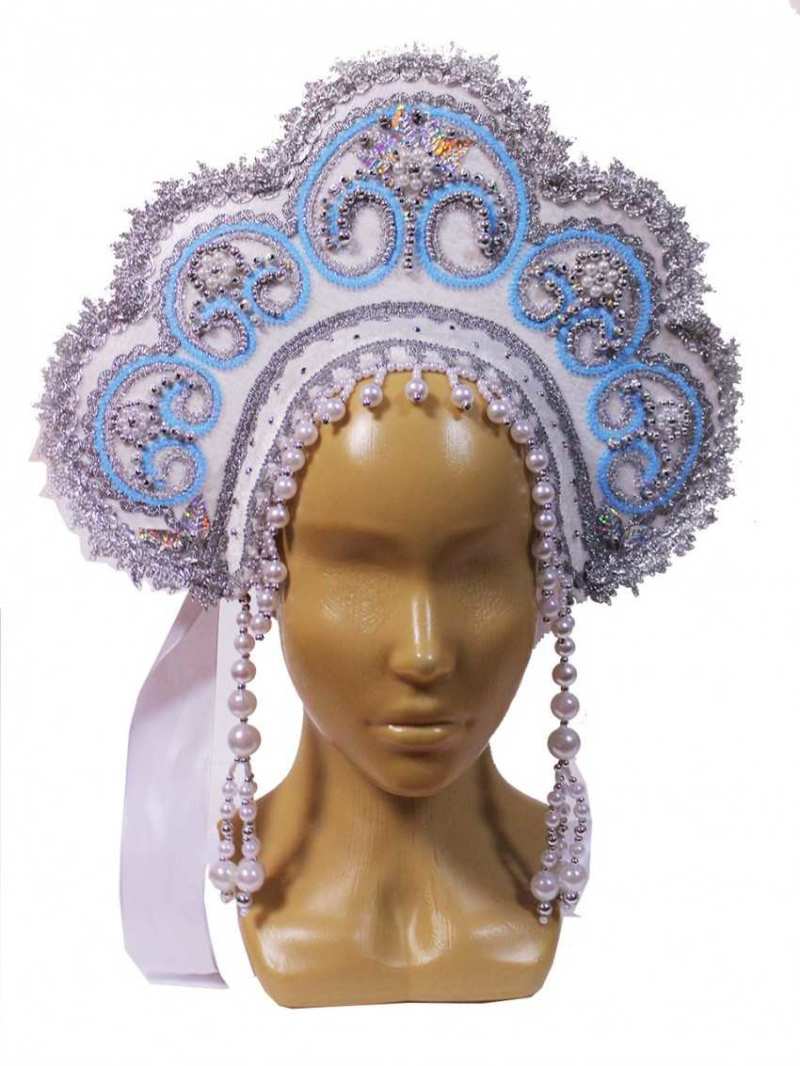
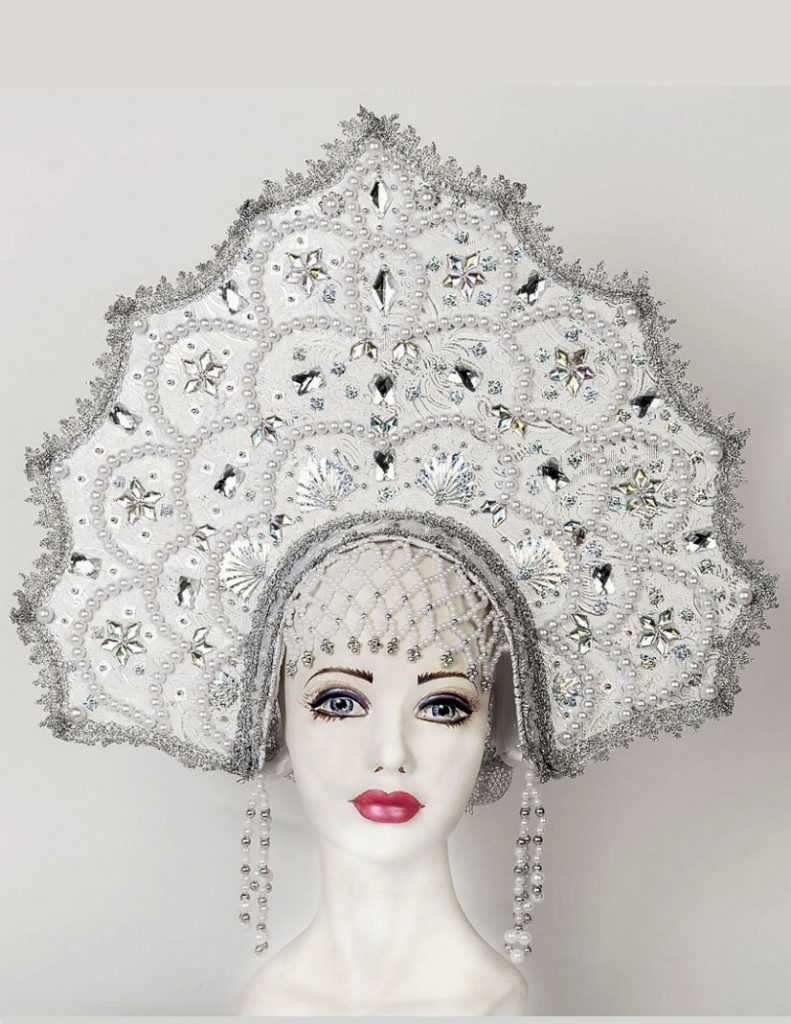
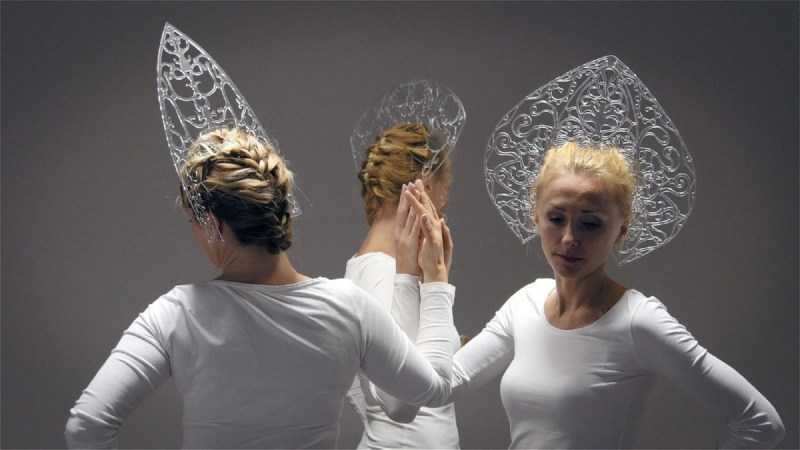
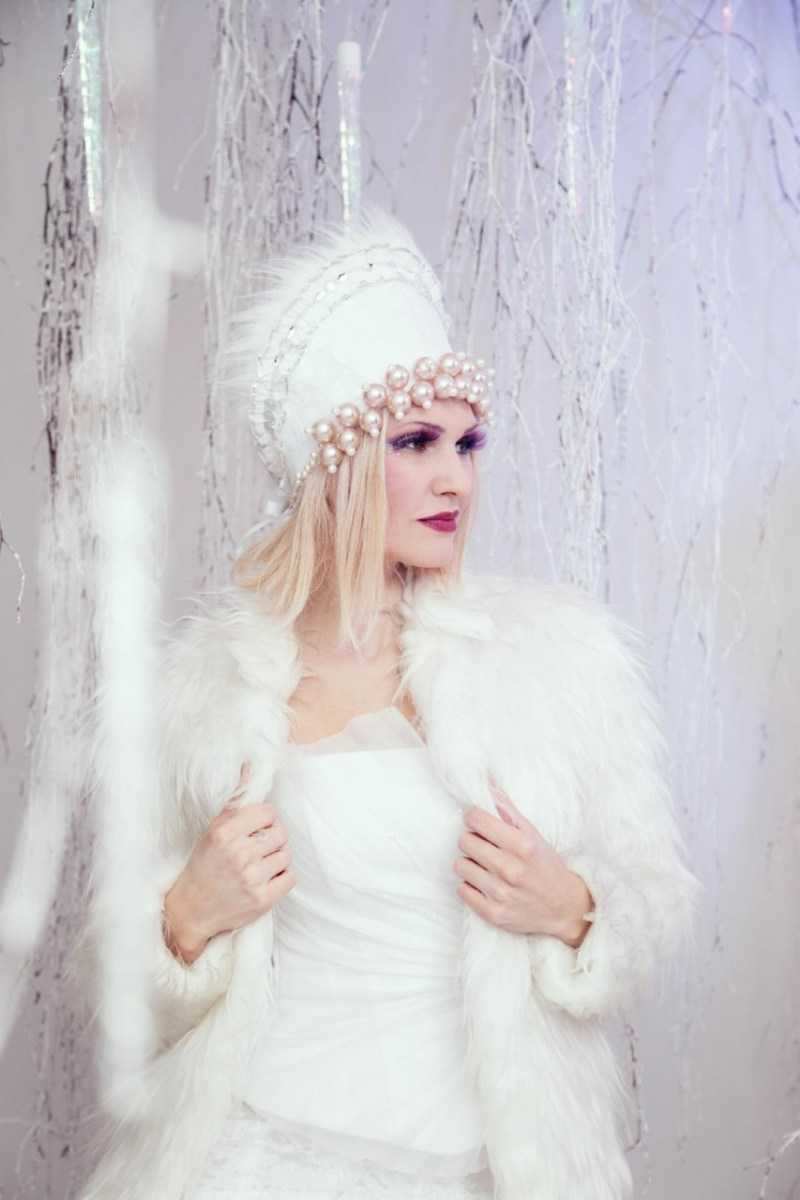
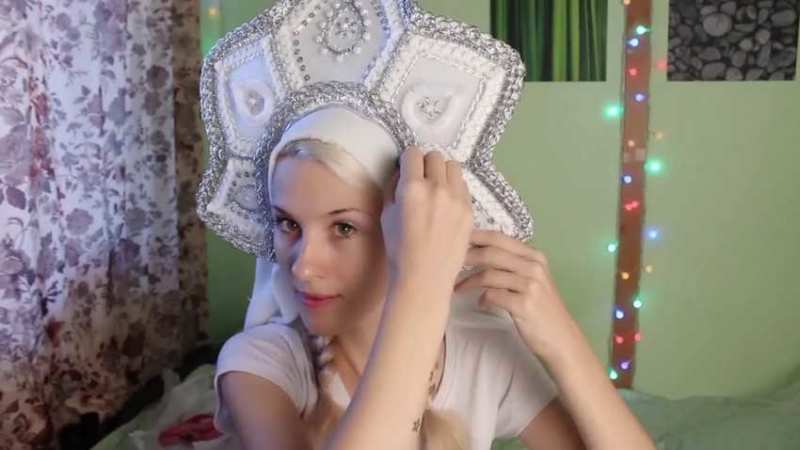
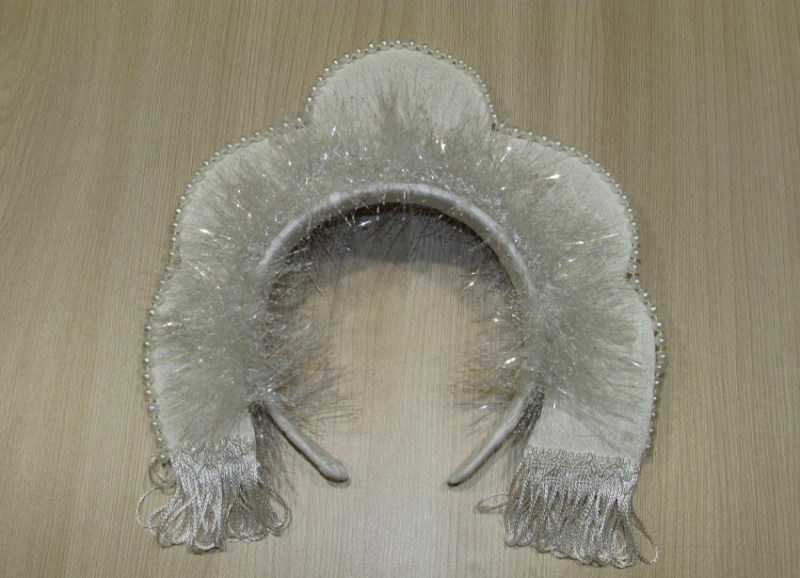
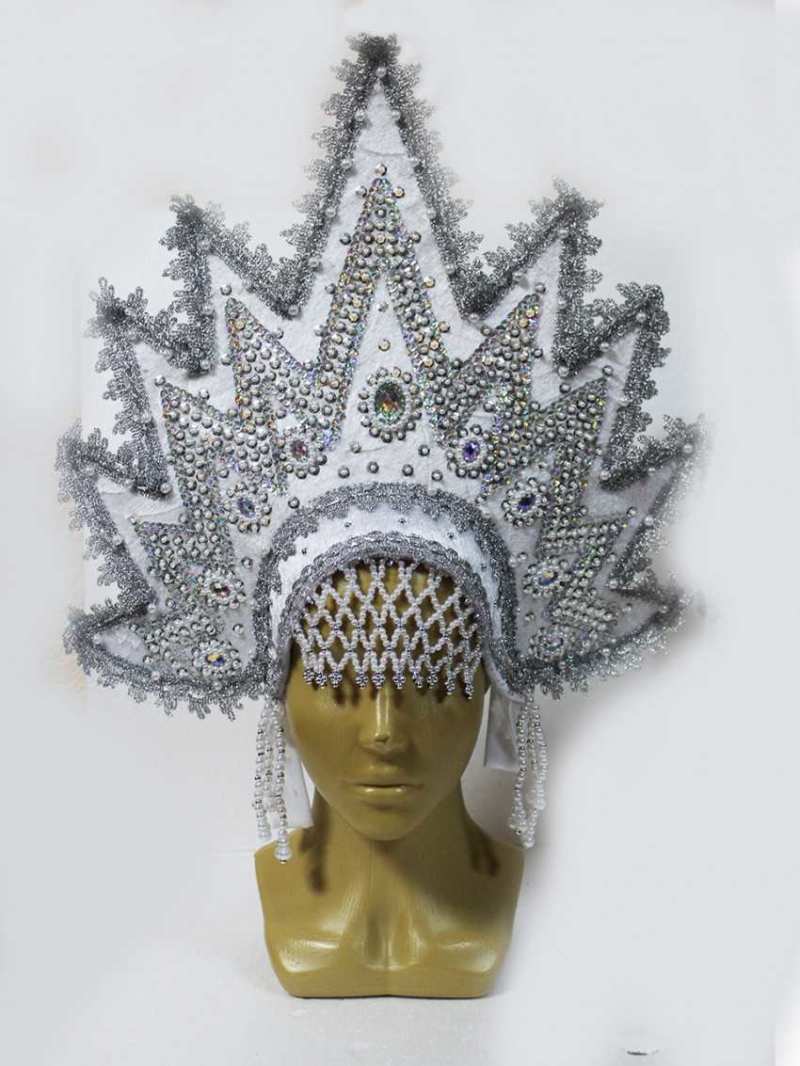
A snow queen's headdress
Such a kokoshnik should look already more majestic, so beads and snowflakes alone will not do here.
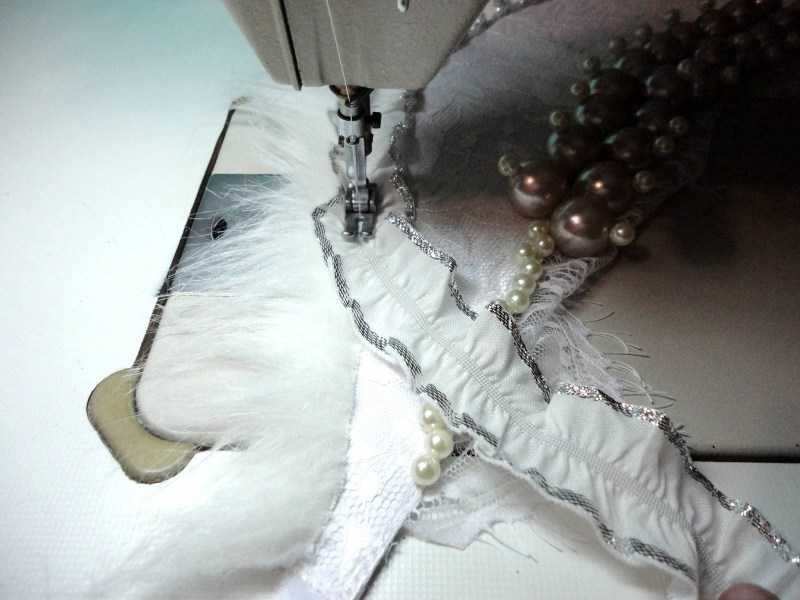
You can sew around the edges of the headdress with white feather, add beads with extra beads and fluff hanging from the bottom edges, and embroider the outer part of the headdress with elaborate patterns using a decorative silver braid, not forgetting to decorate the patterns with beads and a scattering of beads.
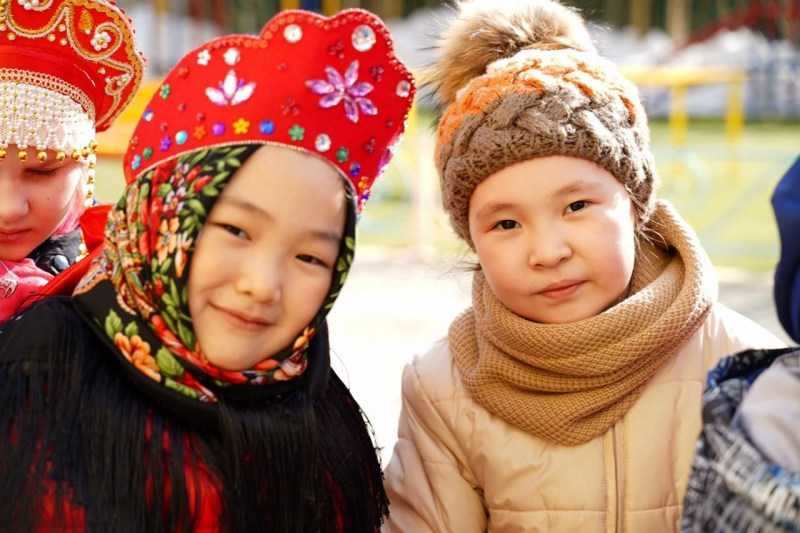
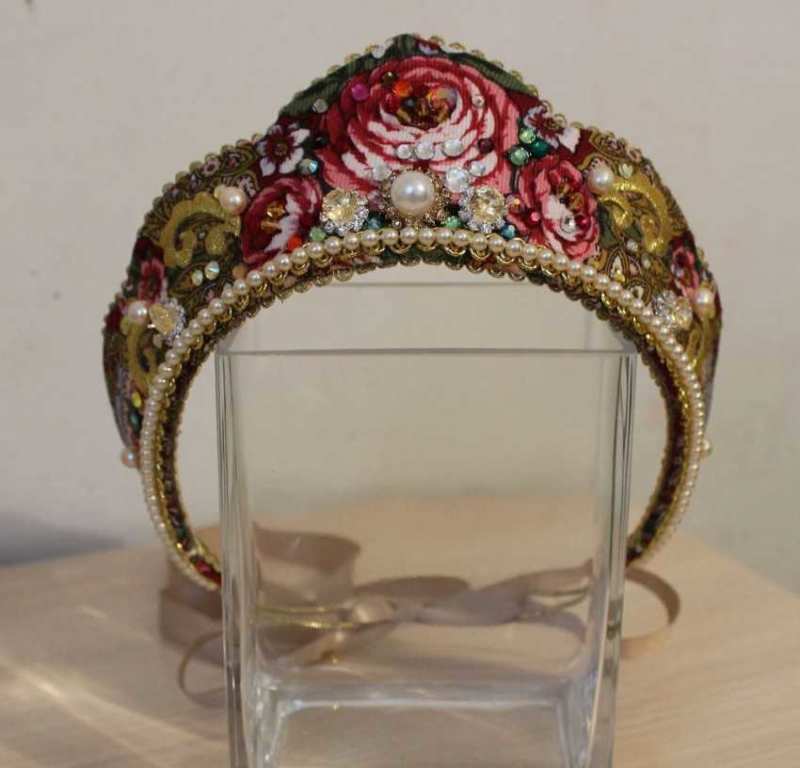
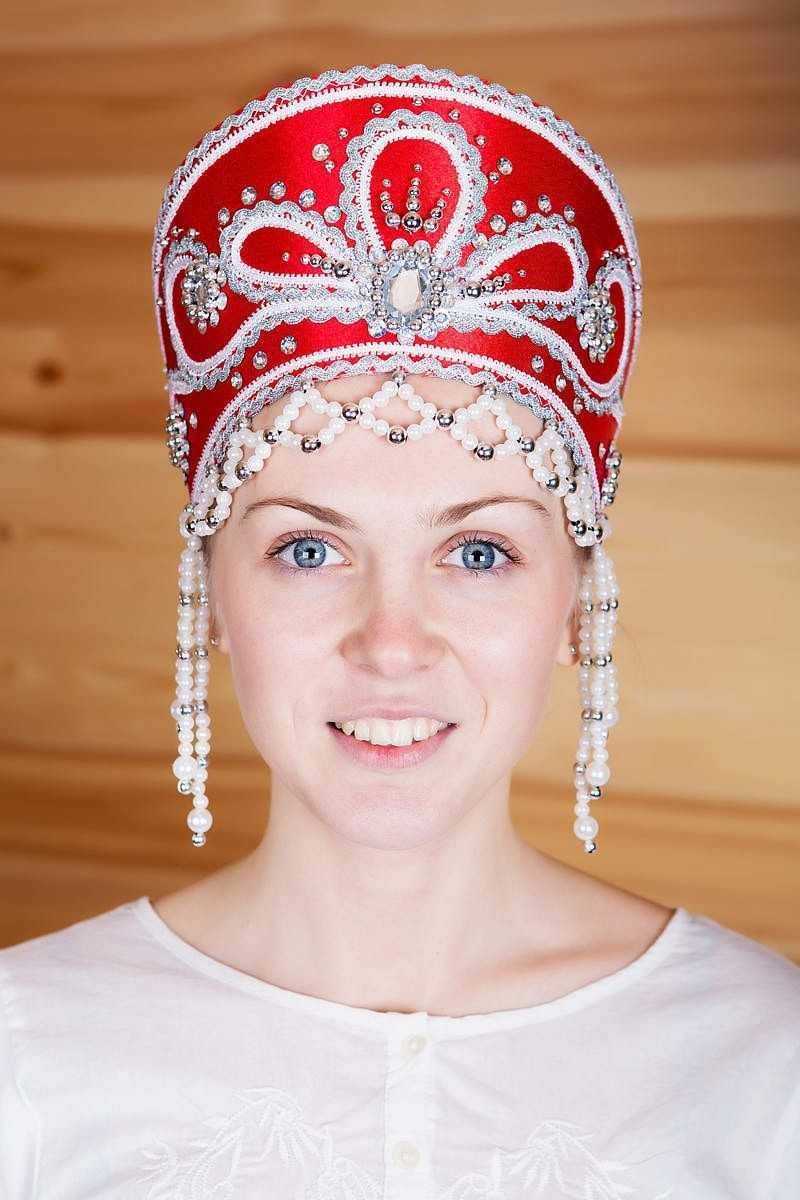
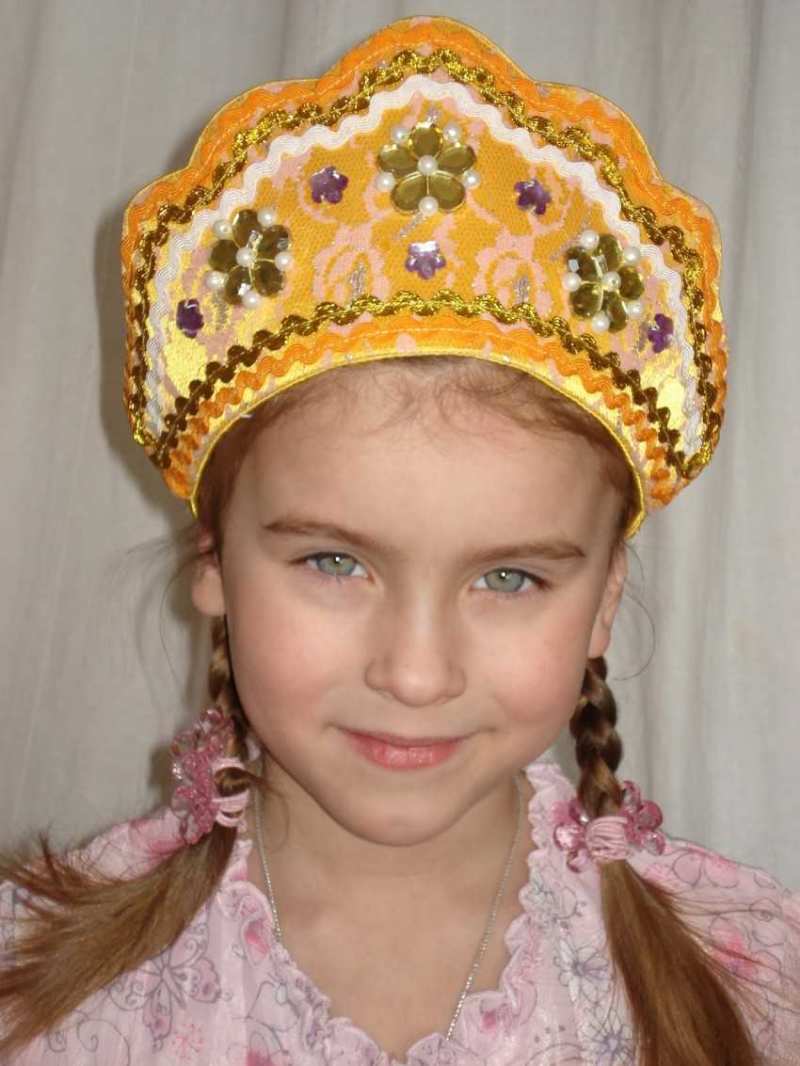
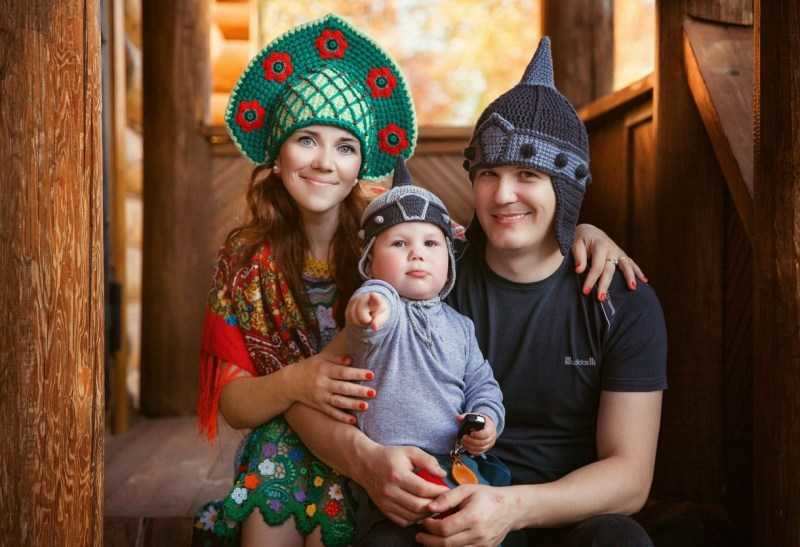
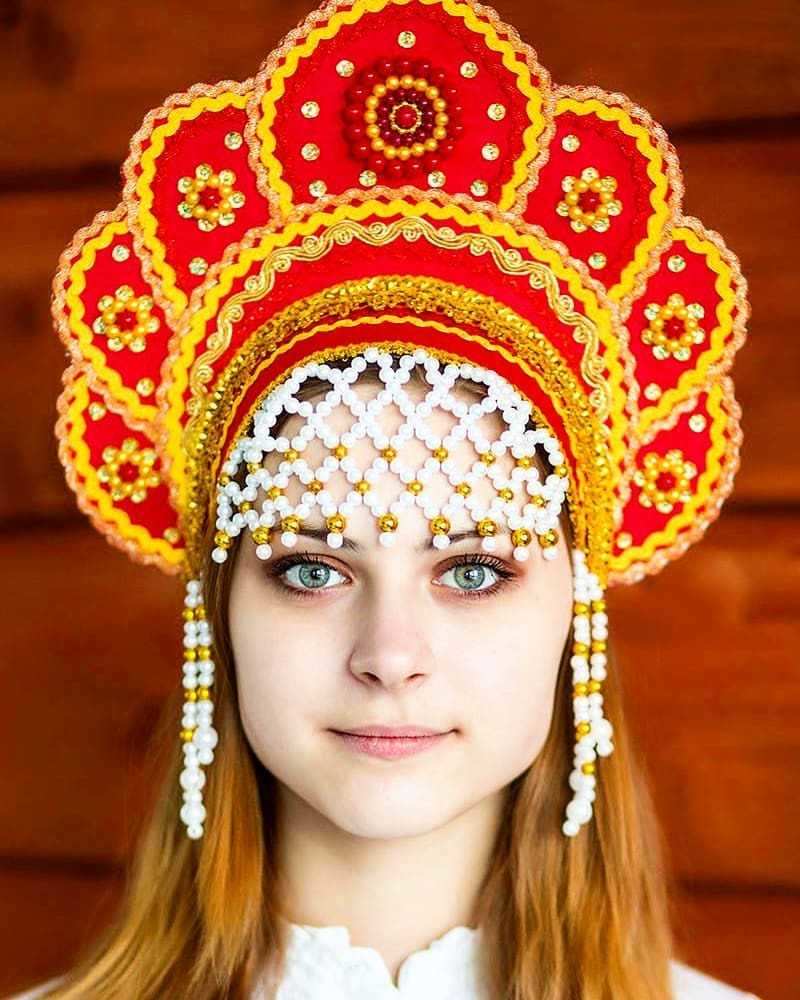
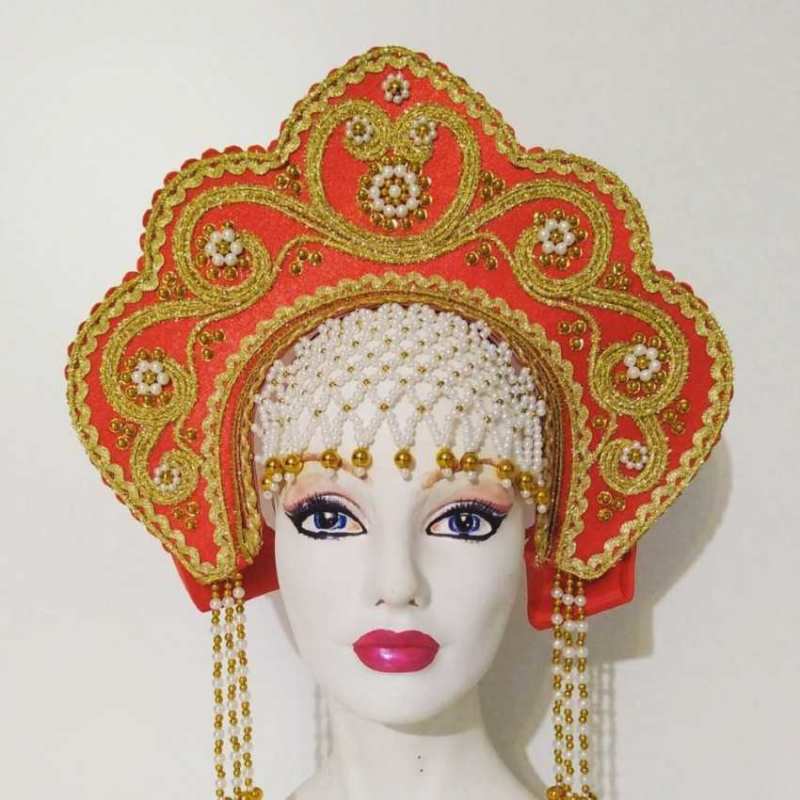
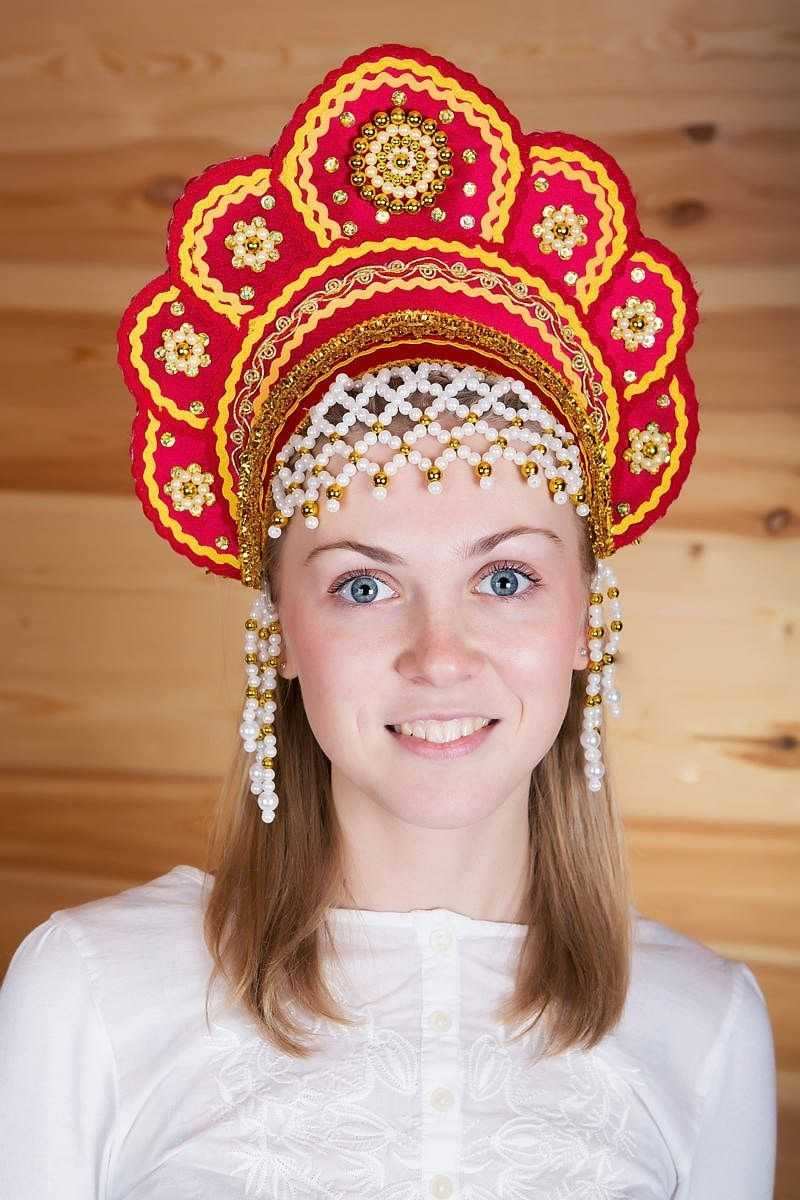
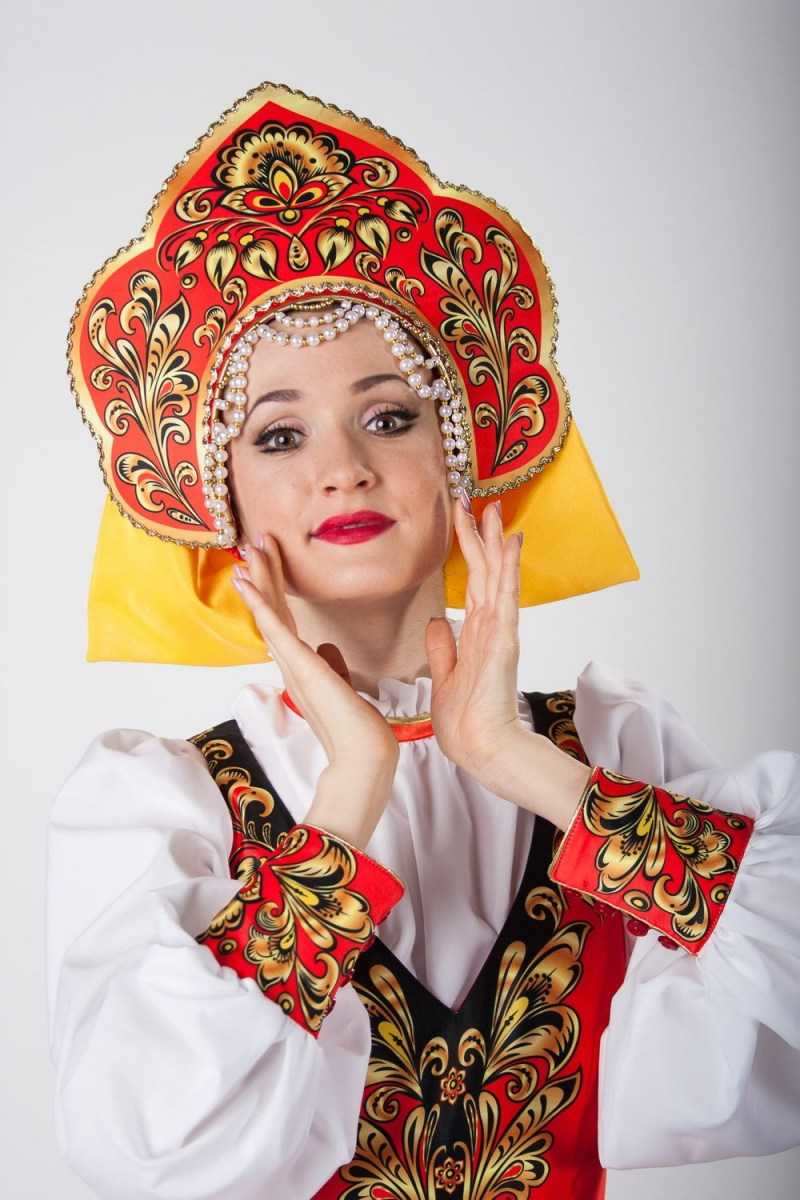
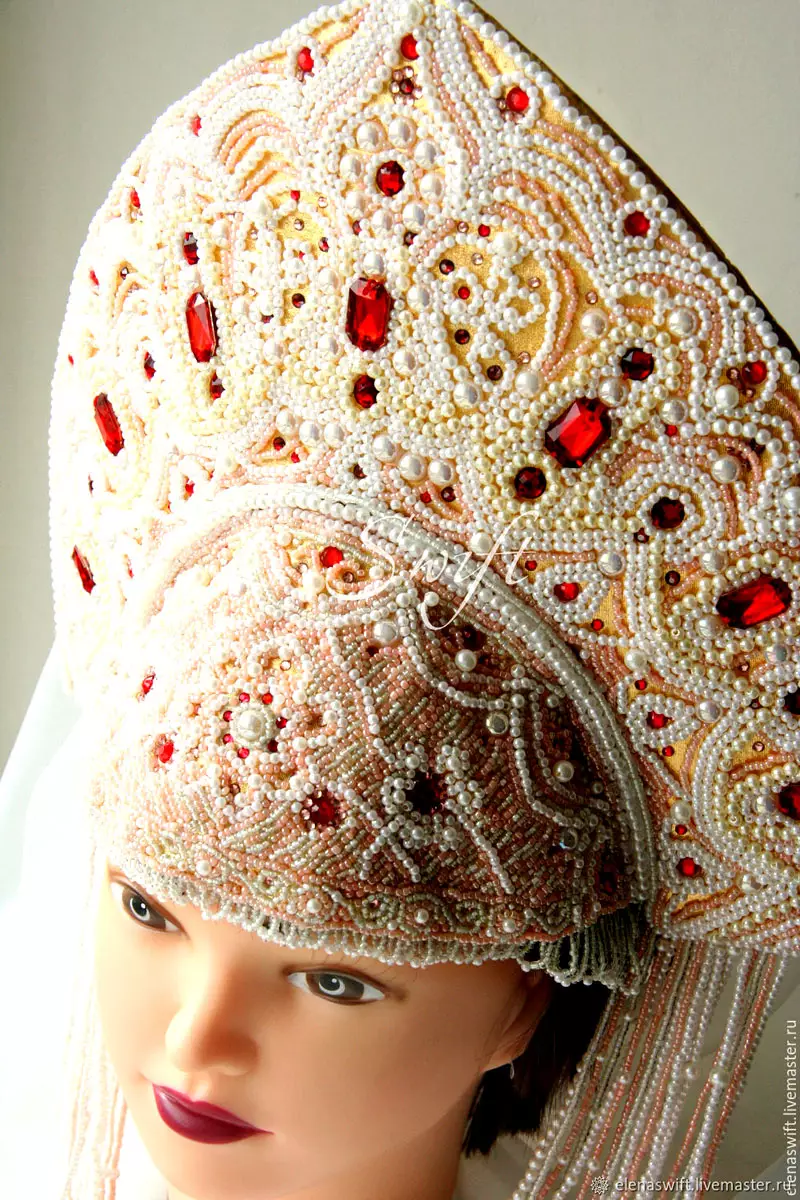
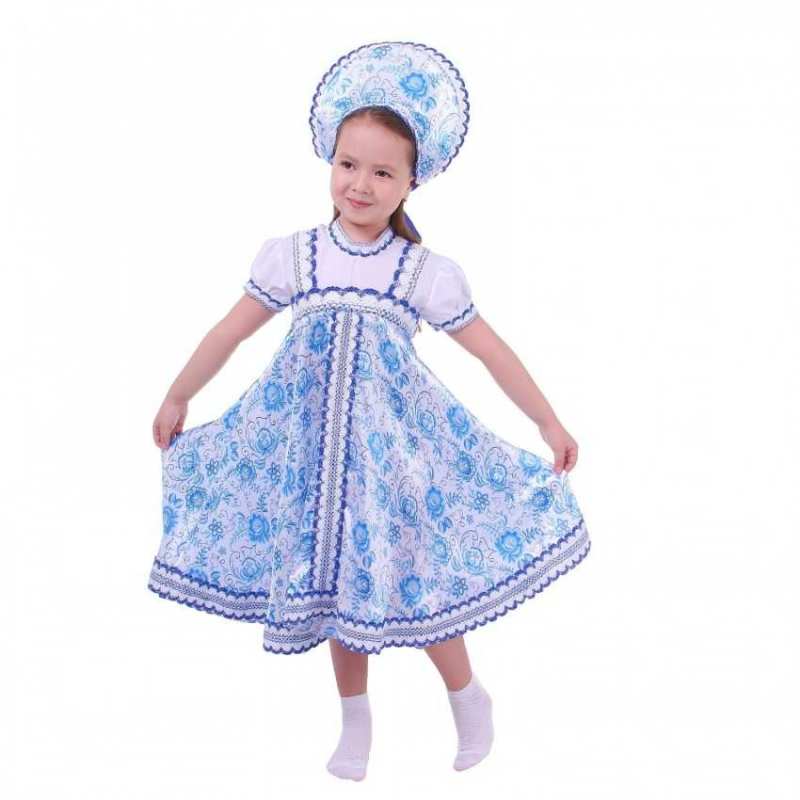
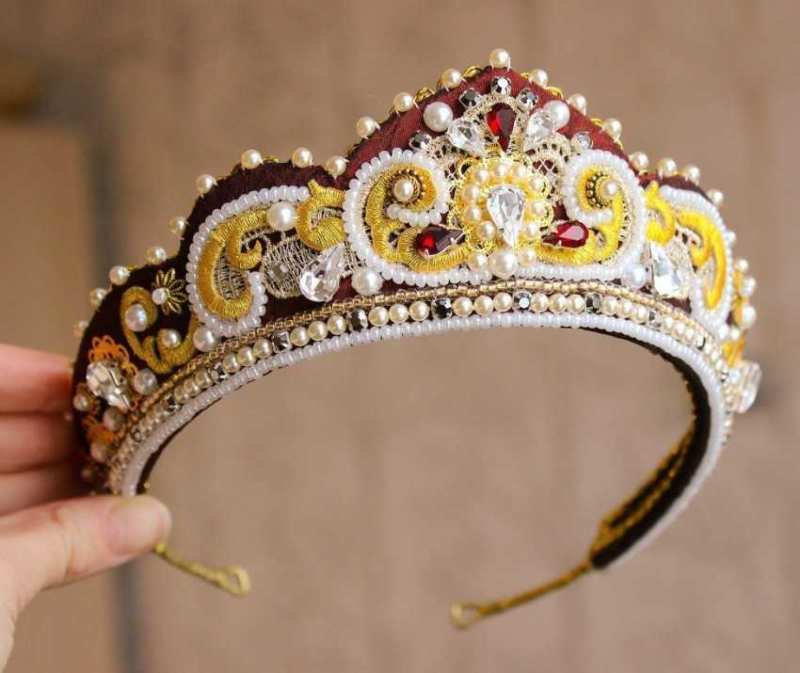
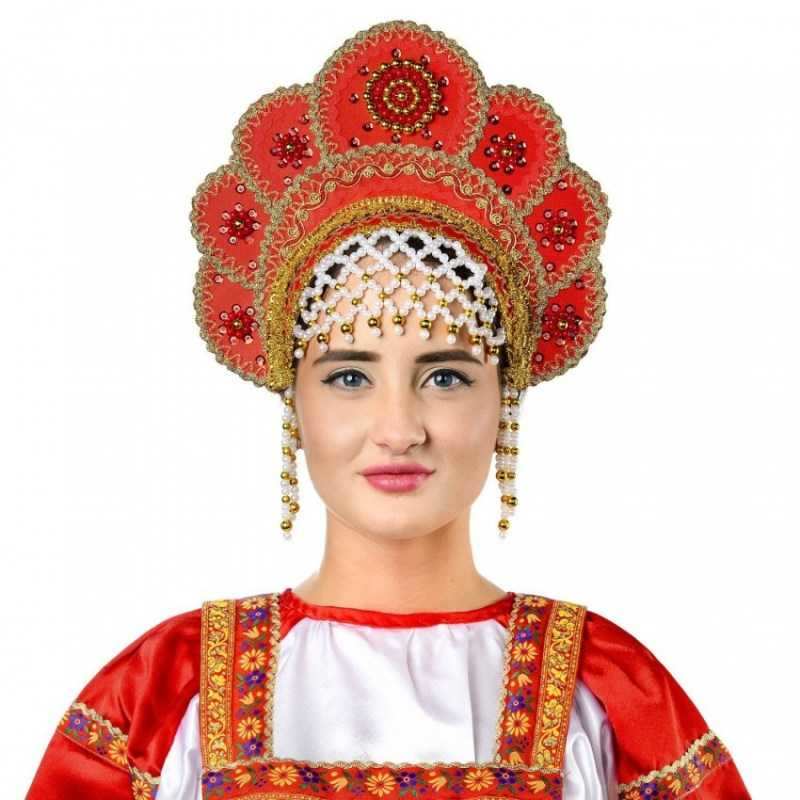
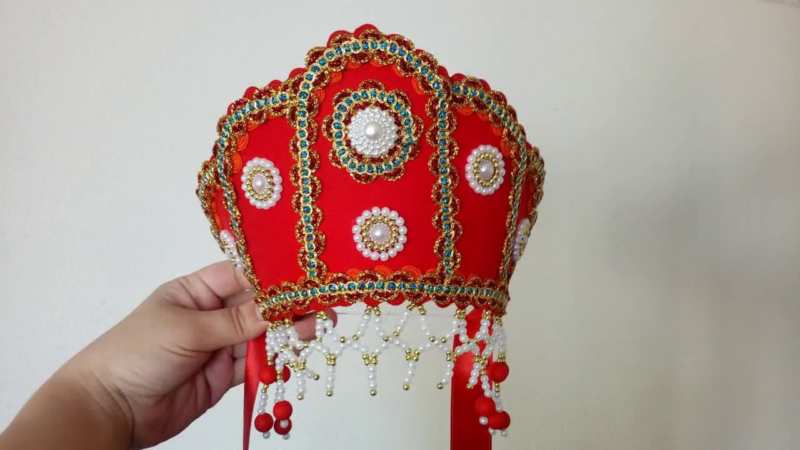
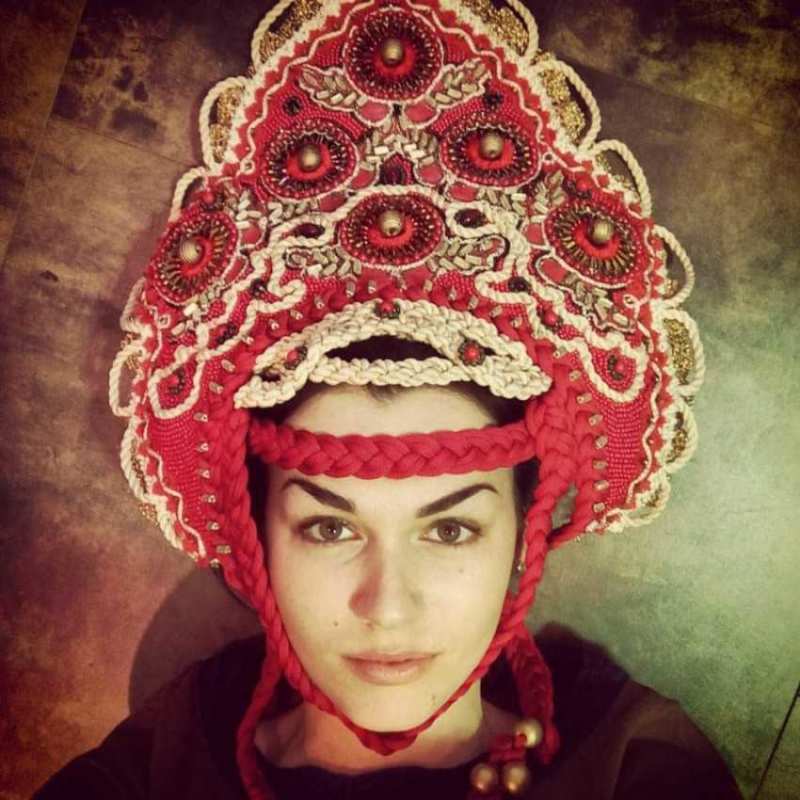
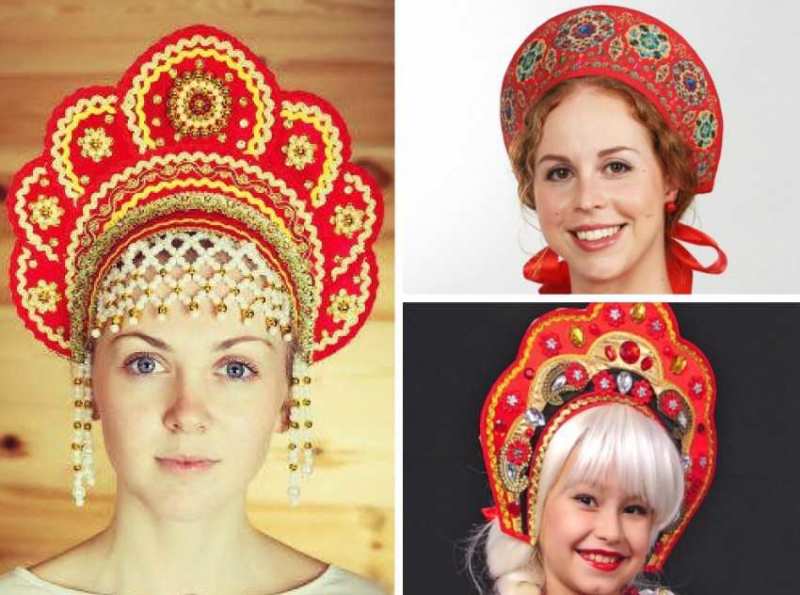
The kokoshnik of the Russian beauty
The kokoshnik of the original Russian beauty is characterized by bright hues, mostly red, yellow, and gold. The edges should be trimmed with golden ribbons, and inside arrange patterns from a scattering of numerous beads and beads. You can also add gold or silver sequins to add glitter.
Following all of these master classes you can create a really beautiful and appropriate product, which will be a great addition to the themed costume for the holidays.
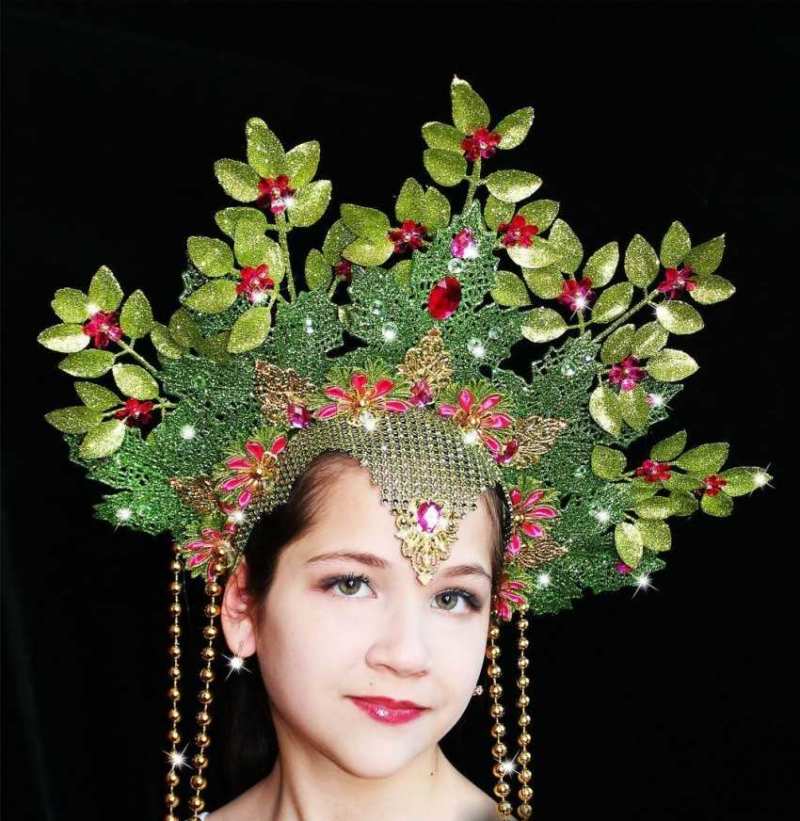
Photo ideas of Russian folk kokoshnik