How to make a box of cardboard with their own hands: schemes for work, examples of decoration, step by step instructions
In hardware stores and gift wrapping departments there are many beautiful boxes of different sizes and purposes. The boxes store small closet items, cosmetics, threads and household sundries.
Also with the help of boxes are beautifully presented gifts for holidays and anniversaries. But you do not have to buy boxes if you really need them - you can make them with your own hands from cardboard and heavy paper.
Rules for choosing cardboard
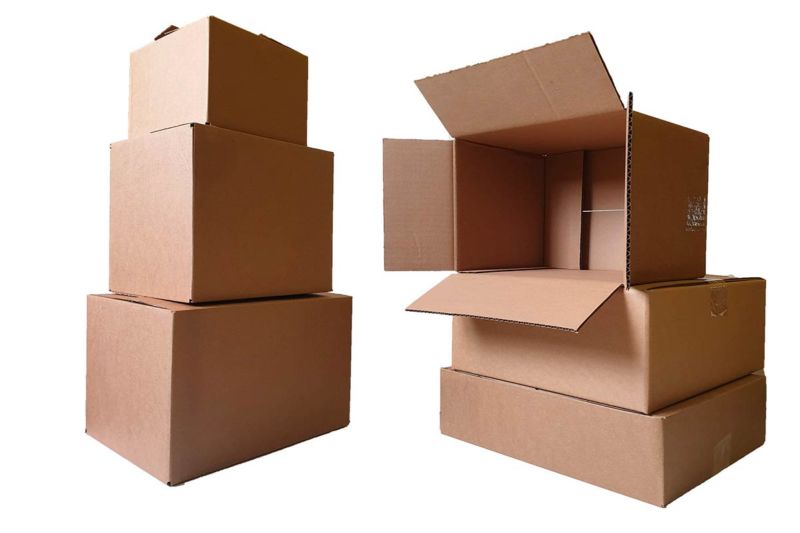
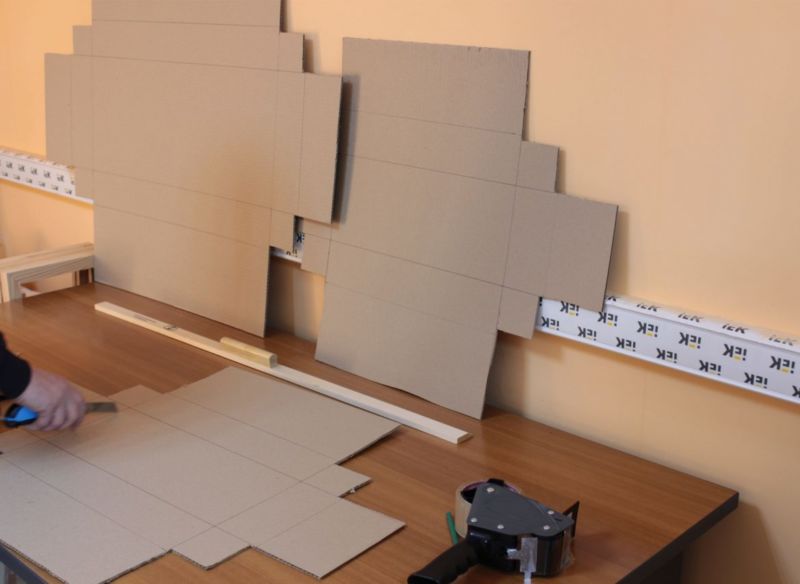
Of course you can buy a ready-made set of packing cardboard, but it is quite suitable for making crafts boxes and cardboard products used from the packaging of TVs, refrigerators, washing machines and other household appliances.
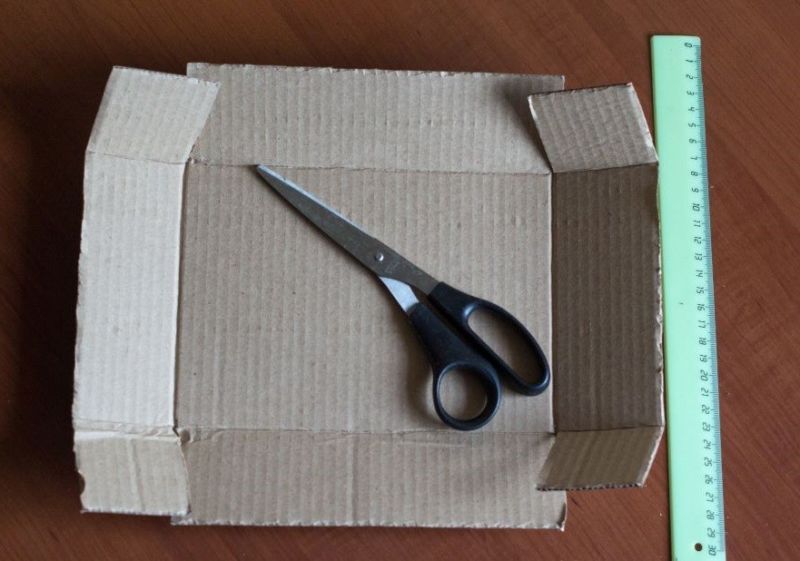
Tools and materials required
For making boxes at home you will need simple tools: a box cutter, tape (masking and double-sided), glue and scissors.
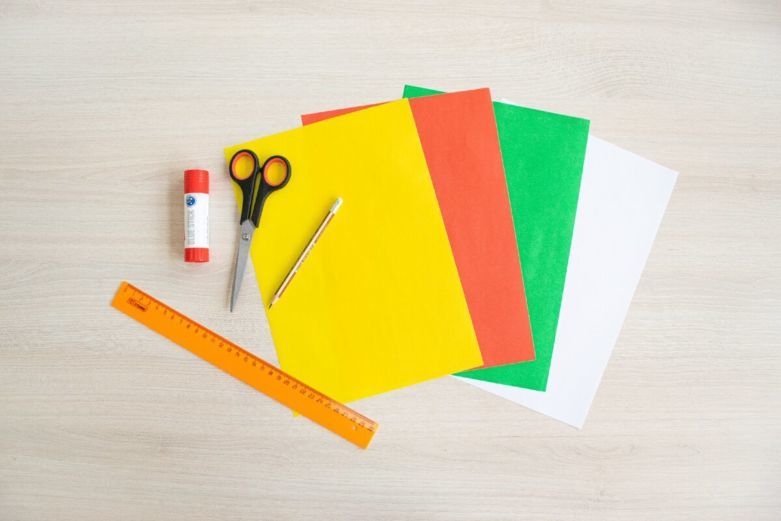
Material for work take in stores or use large used cardboard boxes. Depending on the function of a particular box is different and the density of the material - cardboard.
Making a box out of cardboard with your own hands: schemes and description
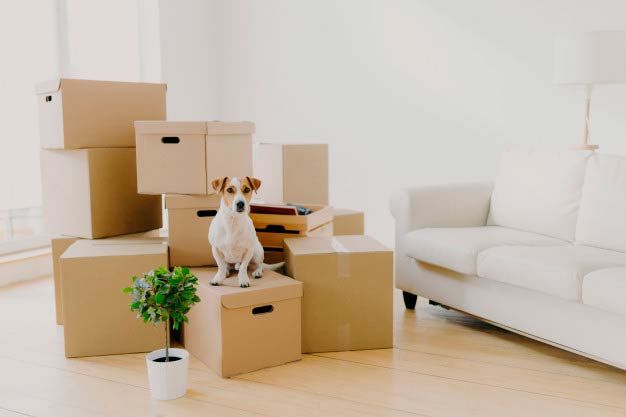
When moving to another place of residence, you need a lot of means of transportation, including easily broken things - dishes, lamps and chandeliers or all sorts of small things and documents that can easily get lost in the rush of gathering. Homemade boxes come to the rescue.
Also in large families there is the perennial problem of storing an army of socks - you can make cardboard storage sections for them.
If you know how to make their own hands gift wrapping from cardboard - there will be no urgent need to buy expensive boxes on the holidays.
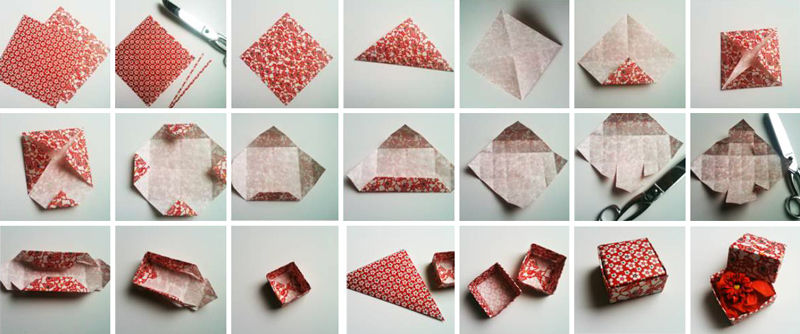
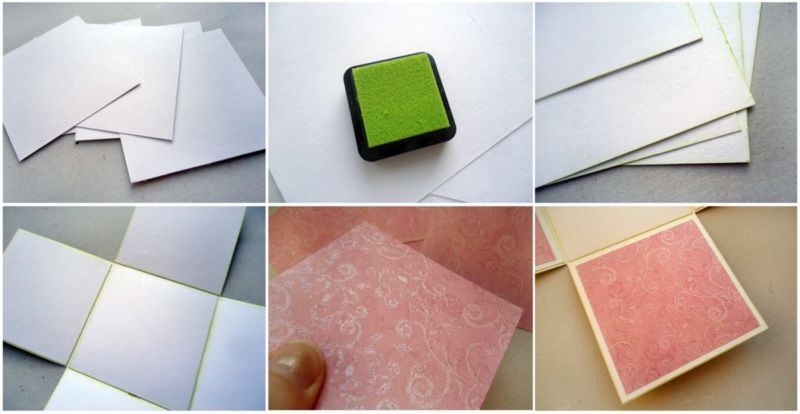
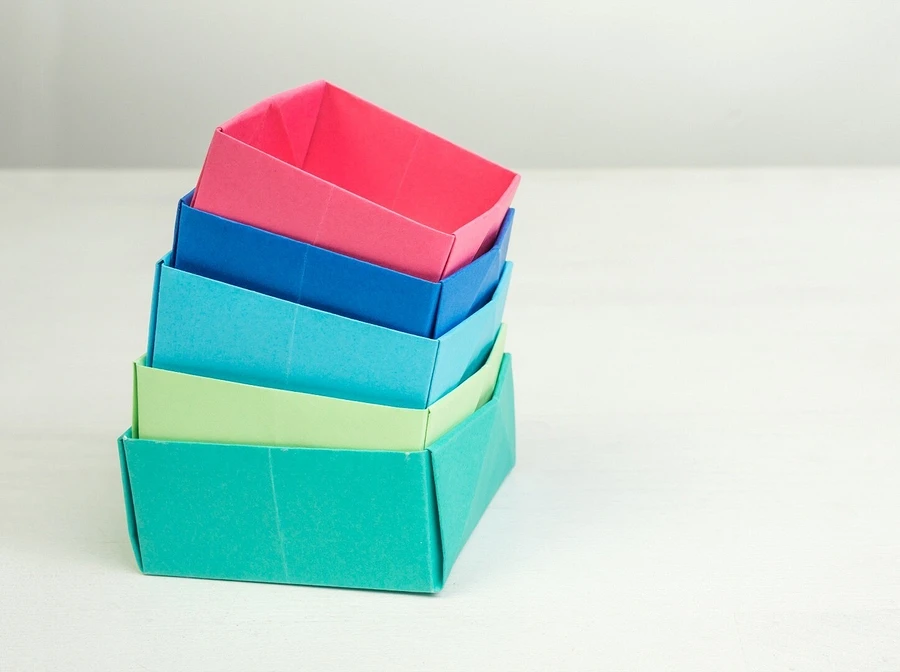
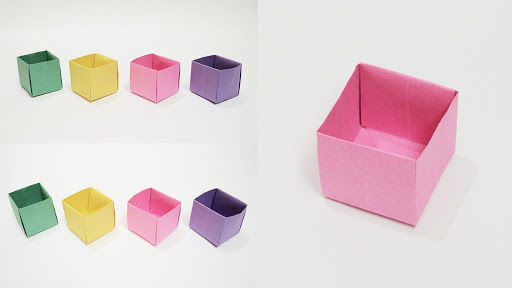
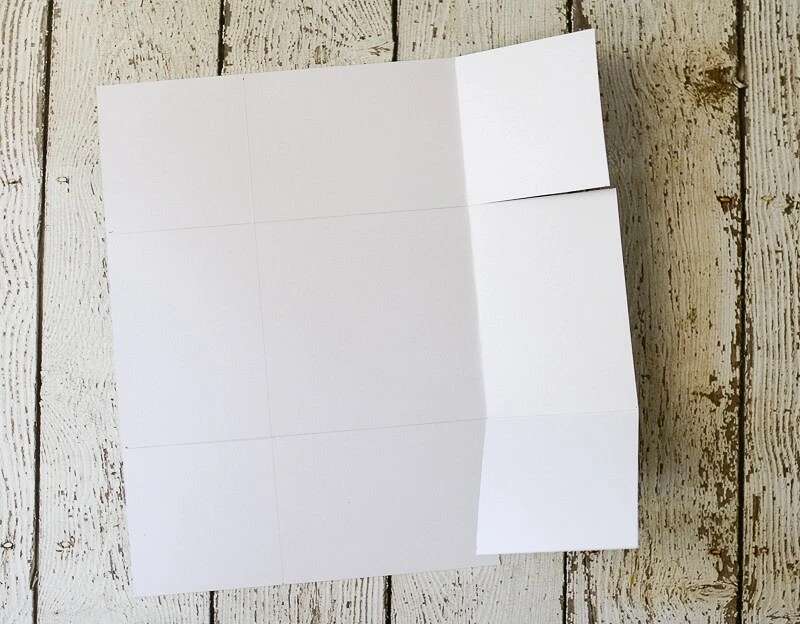
The classic origami box
To make this box for storing small things you will need thin cardboard and scissors. Glue in principle is not necessary: the thing is folded by the origami method. But if you want, you can additionally glue a backing on the bottom to give rigidity and increase the operating time.

The process of creation:
- An A4-sized cardboard sheet is folded at one corner and the excess strip is cut off, forming a square.
- Next, you need to fold a square several times horizontally, vertically and at all corners, so that the spread turned out snowflake with a single center.
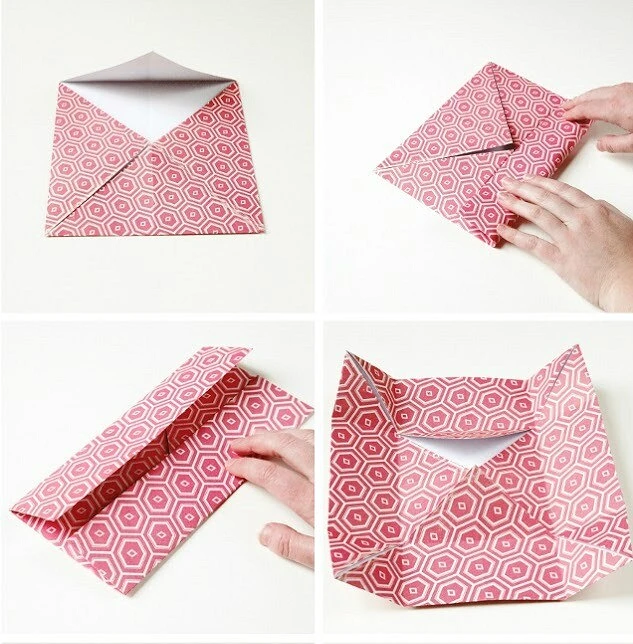
- To this center inflect all four corners on the principle of folding an envelope.
- Then on both sides to the center once again bend two rectangles.
- Rasravlyayut billet, leaving two rolled triangles opposite each other.
- Now you have to open the triangles upper corners to bend outside of the first line of bending.
- Then start forming the sides of boxes. To do this, lift the cardboard on the sides (where the folded triangles).
- And the unfolded triangles fold the product on both opposite sides to the second straight line of the fold, folding the corners of the folds on the right and left (as shown in the finished scheme);
- Fold it so that the inside was formed an envelope of four triangles. When making for the first time, it is better to refer to an illustrative example according to the principle: it is better to see once than hear a hundred times.
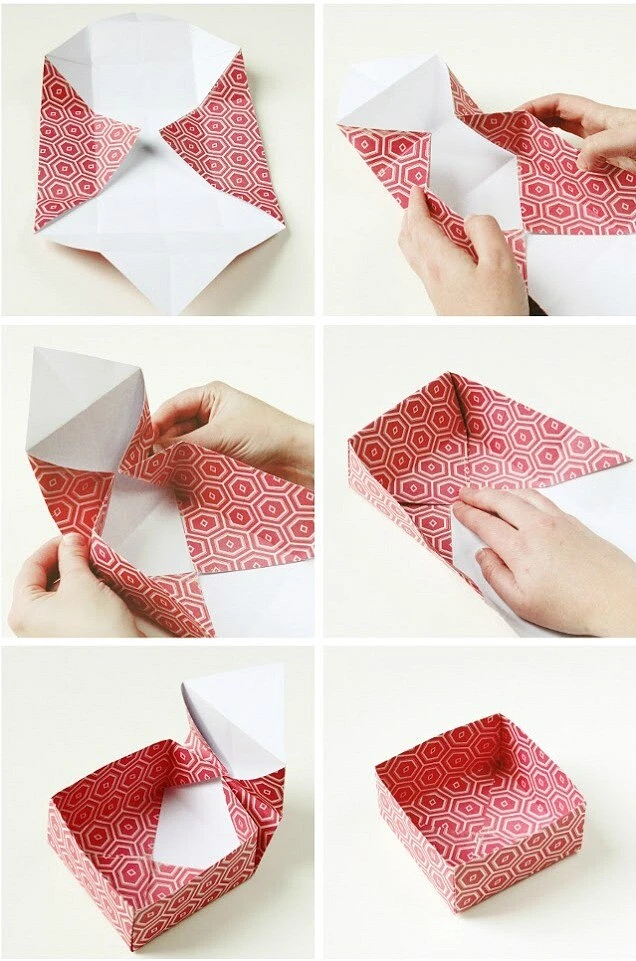
Origami box by itself will not fall apart without glue, but for additional protection you can glue triangles inside or put a backing of cardboard at the bottom. If desired, such a box makes a similar way to the lid, but a little larger.
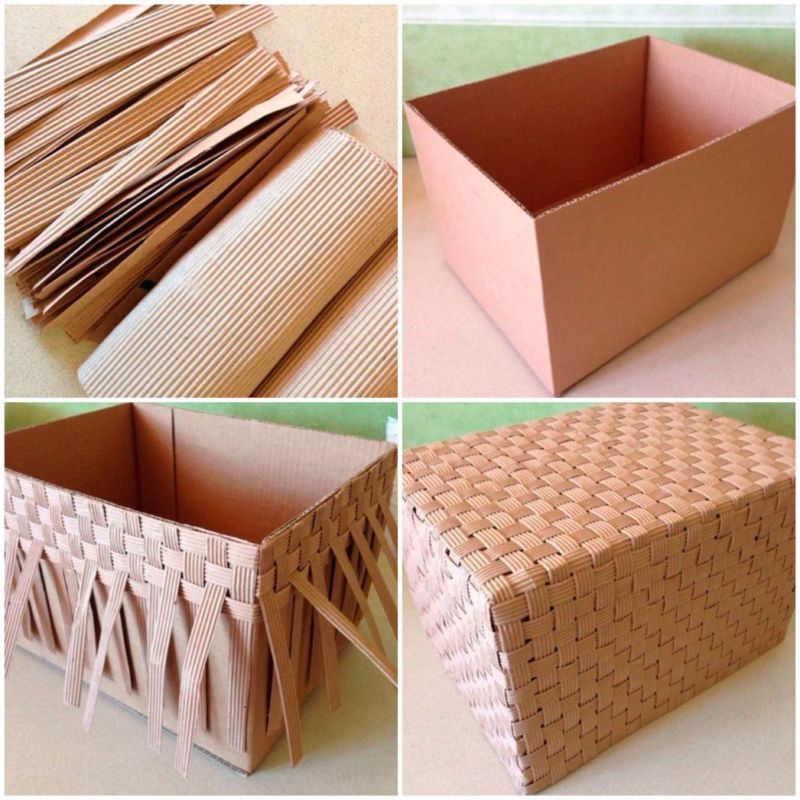
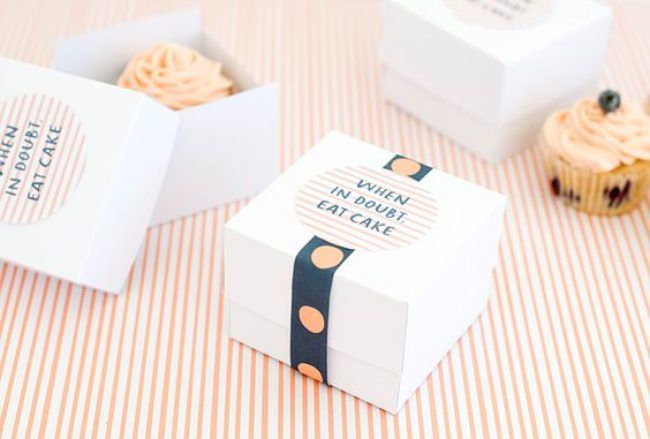
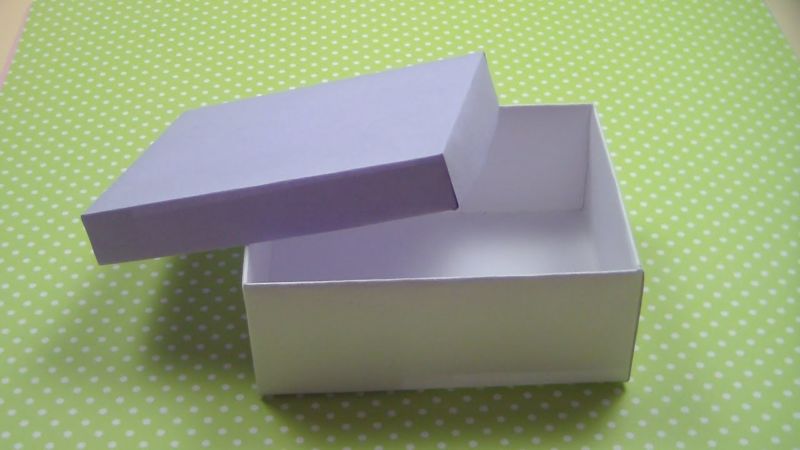
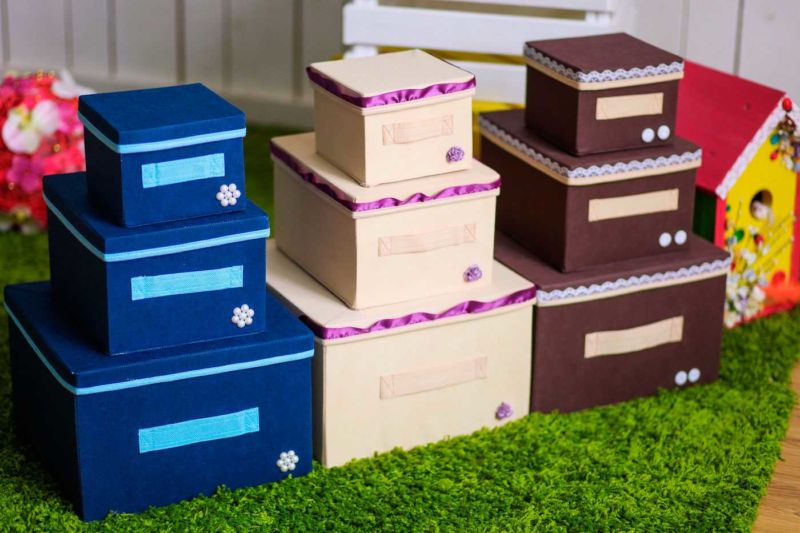
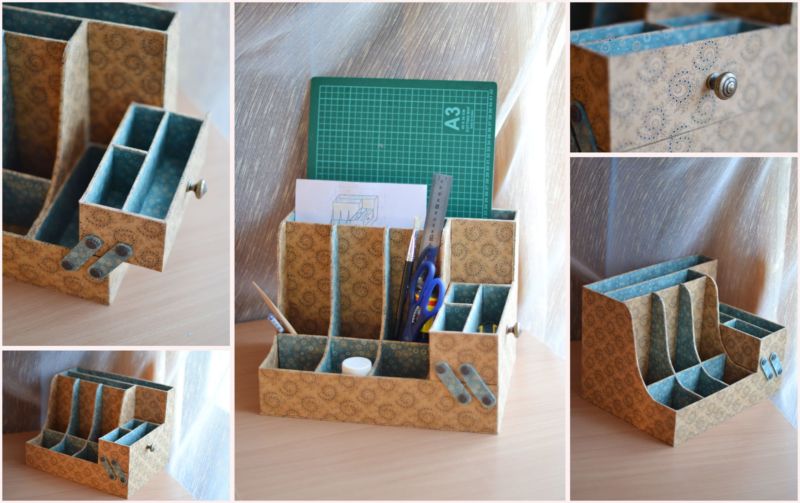
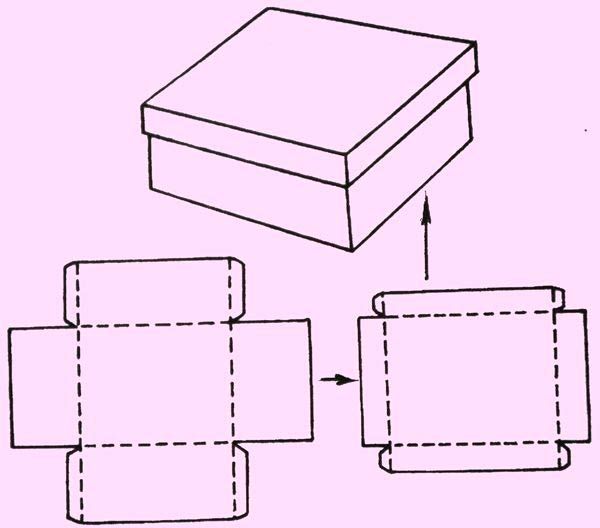
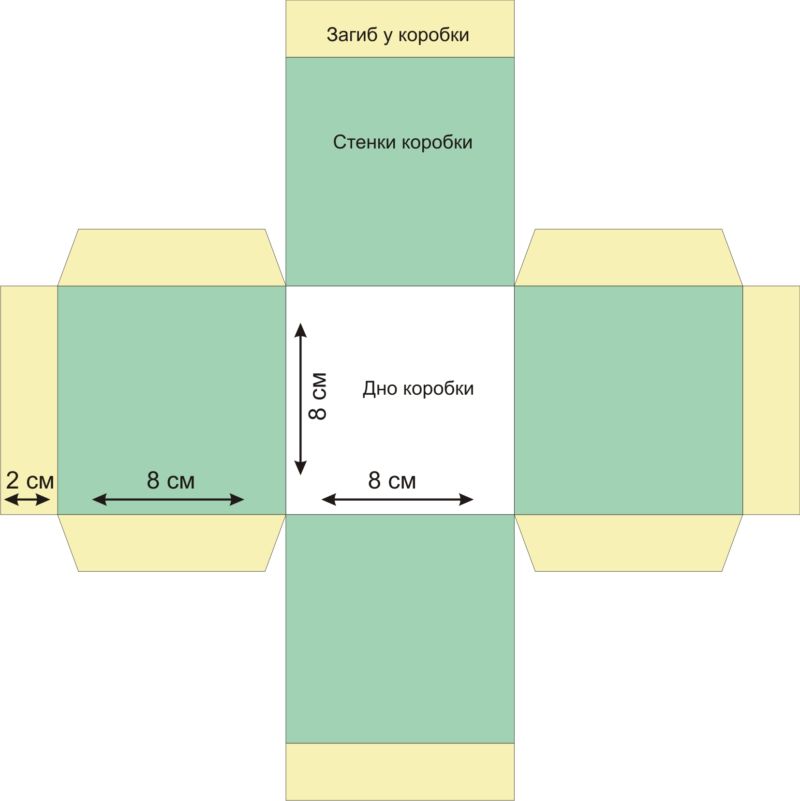
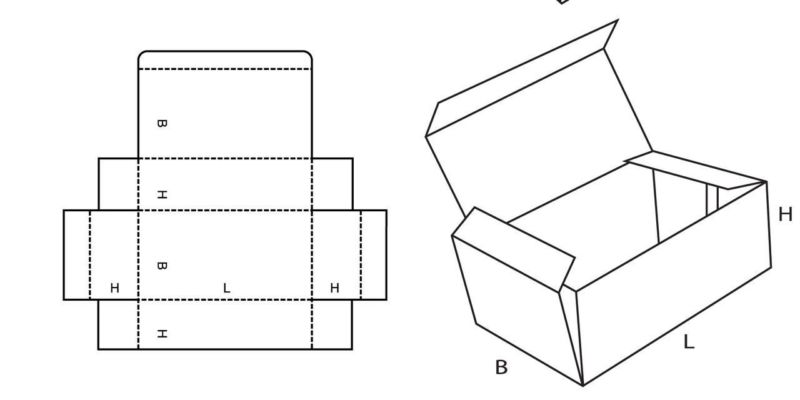
Storage box
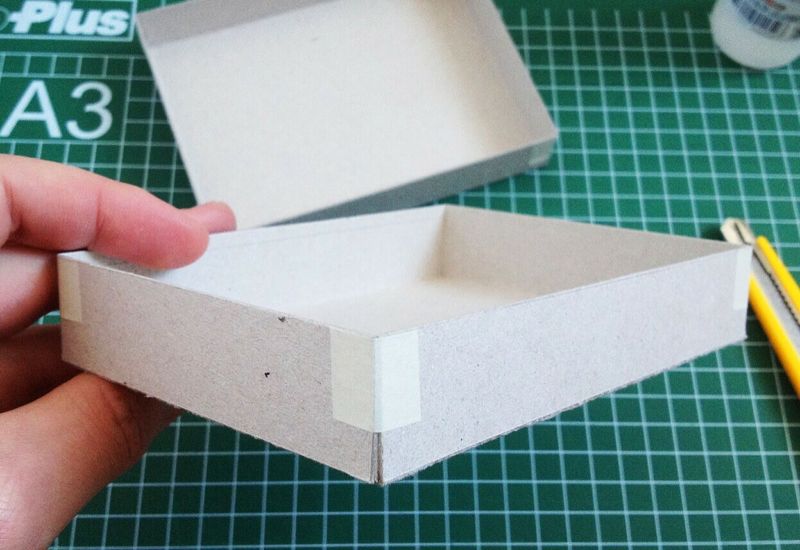
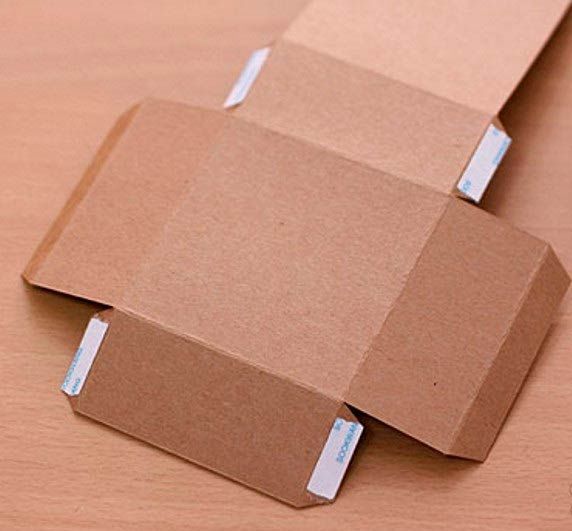
To make a rectangular box for storing things, you must first draw a scheme on a sheet or directly on cardboard, and then cut out according to the marked lines:
- To do this, determine the size of the box and the size of the sides and using a ruler and pencil make a drawing, not forgetting to leave ledges for the sides.
- You can connect the sides with each other on the principle of fixing with masking tape lifted up (this is the easiest way), but then you will have to decorate the package with beautiful paper, so that the fasteners are not visible.
- Or draw additional curved edges, which will be used to fasten the side elements of the box. These protrusions are smeared with glue or fastened to each other with double-sided adhesive tape.
- Next, you need to take care of the appearance of the box for storing sundries, and to do this, cover it with beautiful paper (colored, wrapping, old wallpaper, magazines or newspapers).
- Gluing is made not in a chaotic order, and also draw a template for the size of the cardboard box, but with enlarged edges for a beautiful decoration inside. The lid is made in a similar way, but with small rims and slightly larger in size.
There are a large number of templates on the Internet. They are printed out and enlarged if necessary.
If there is no access to the Internet, the template is made by yourself, but this requires skill and patience: the calculation of the height and length, as well as the straight lines on the ruler must be super accurate, otherwise the box will skew.
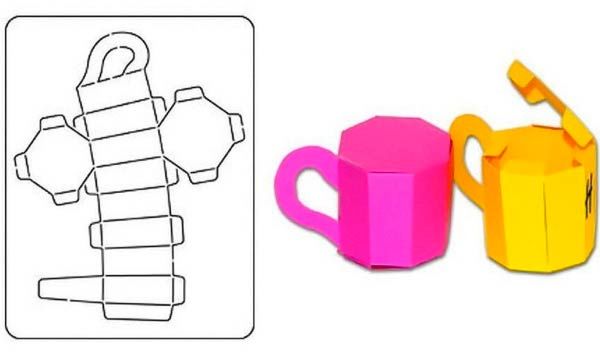

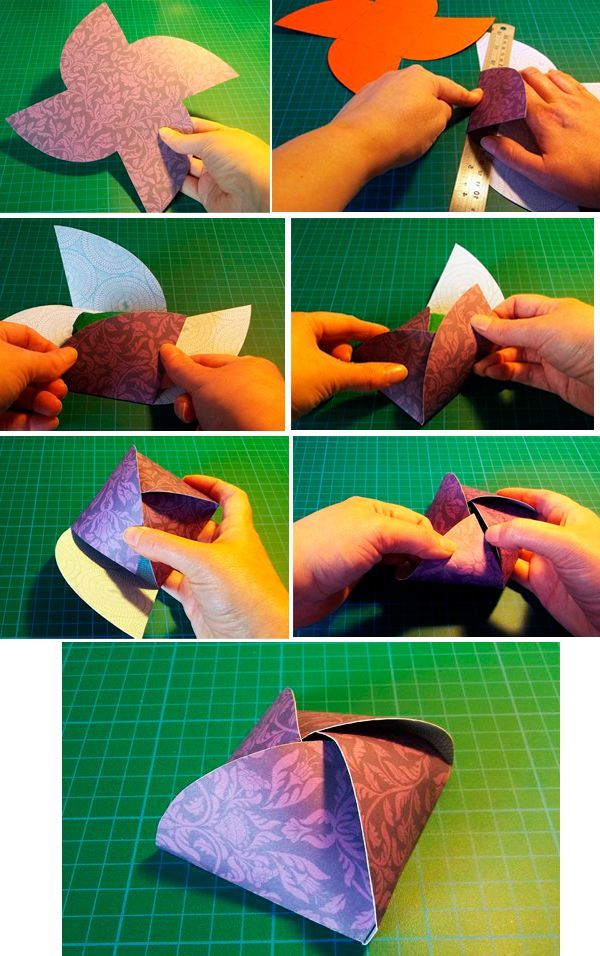
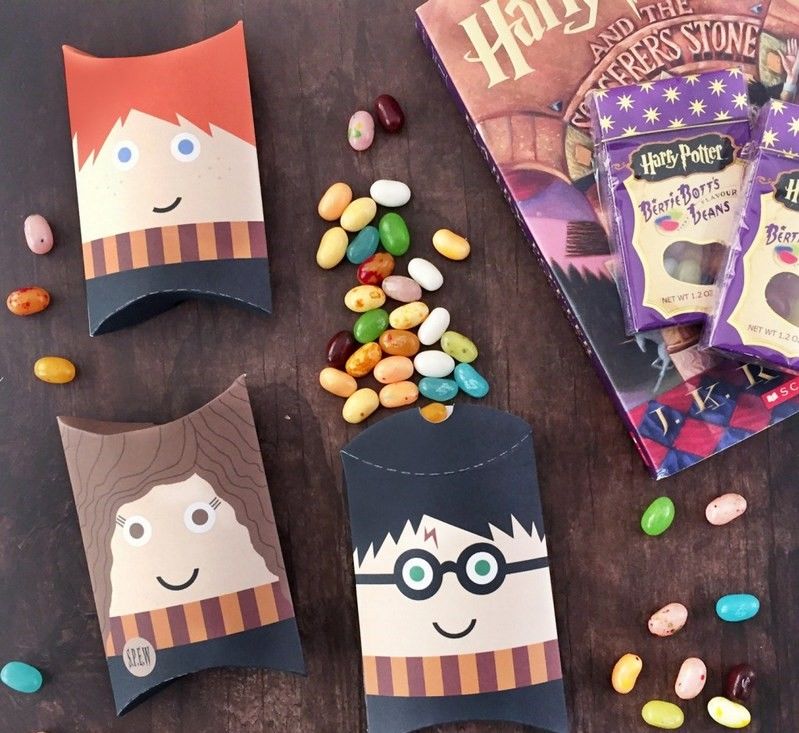
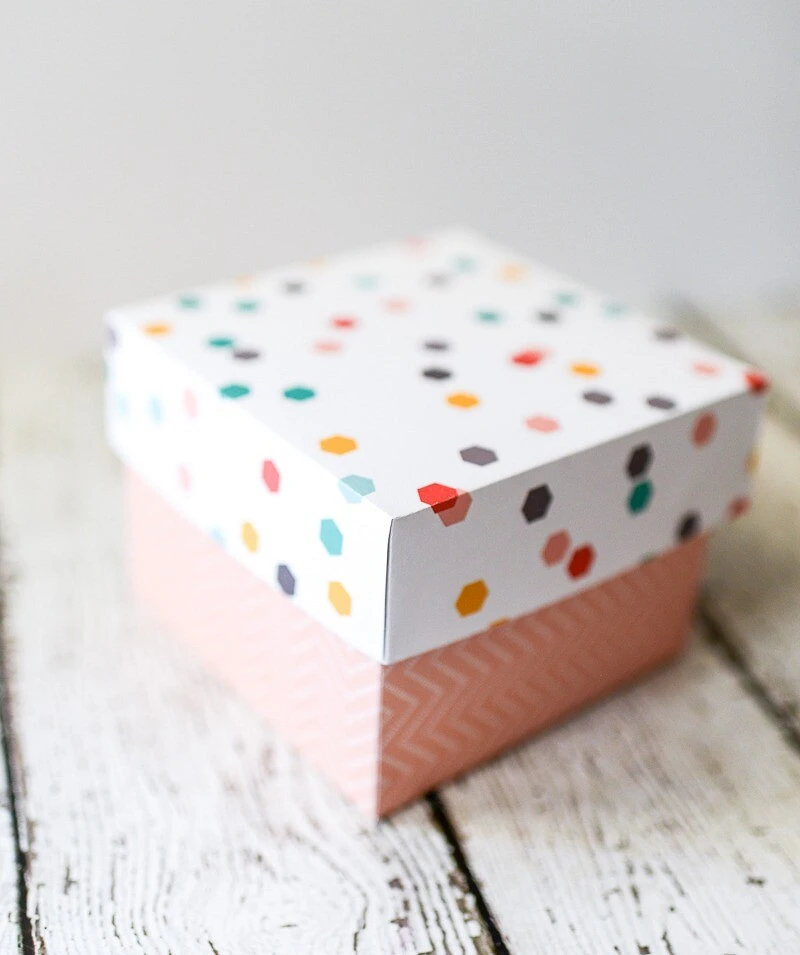
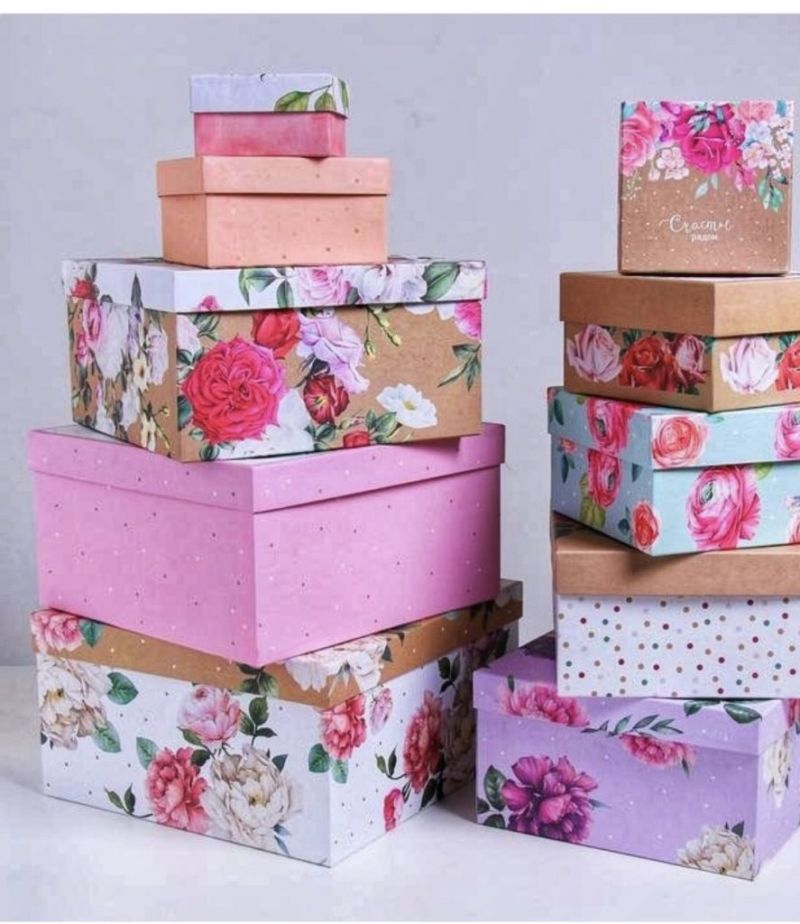
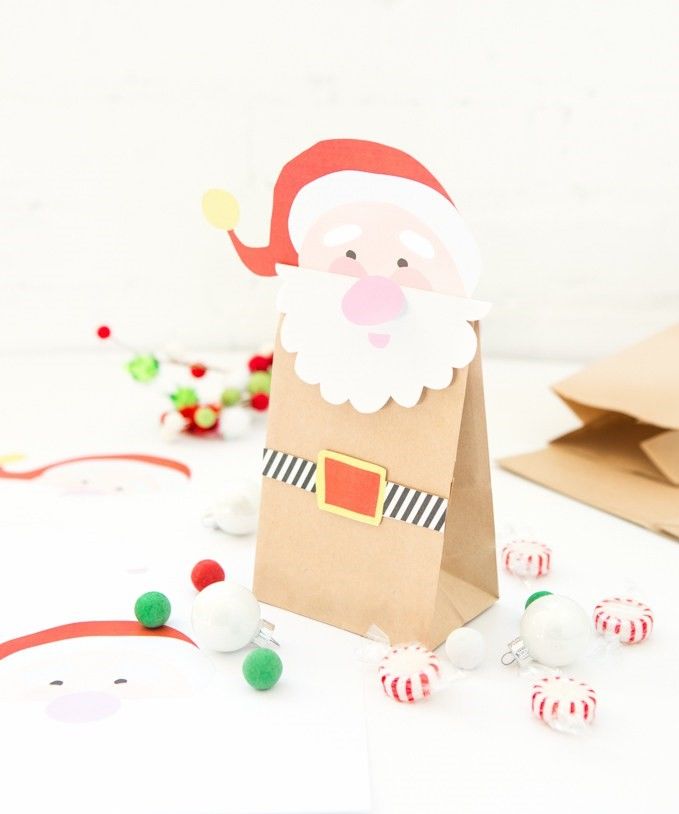
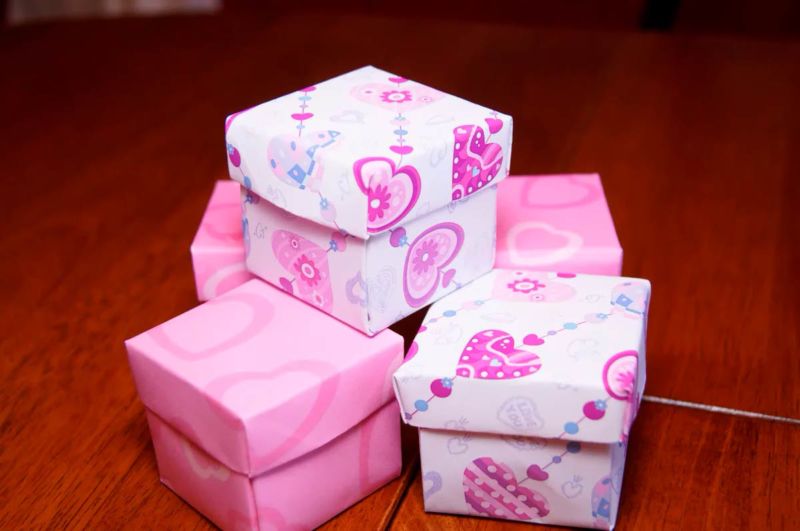
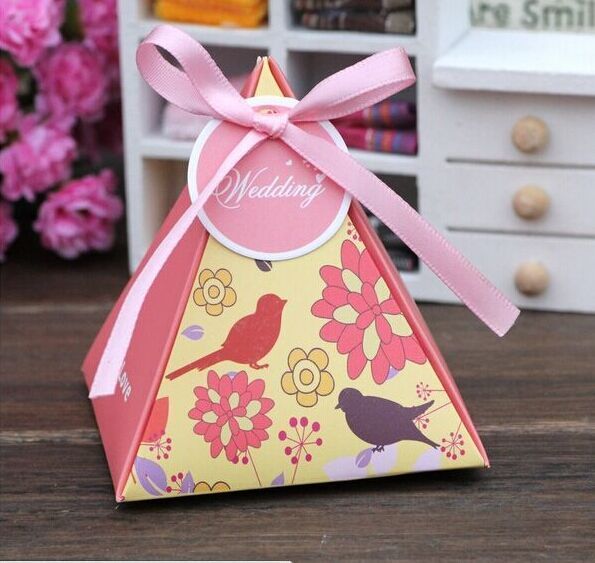
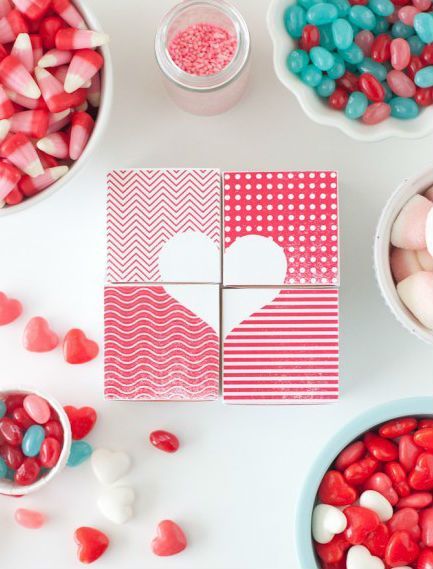
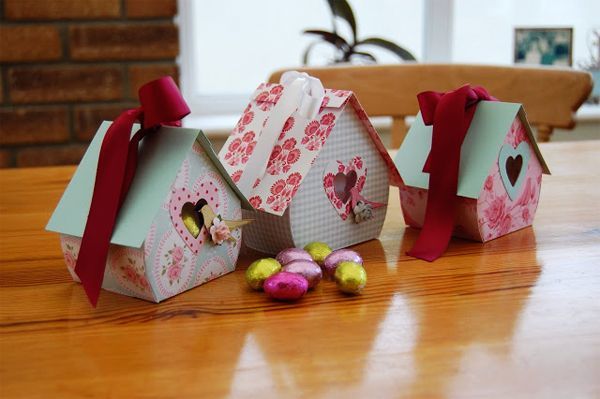
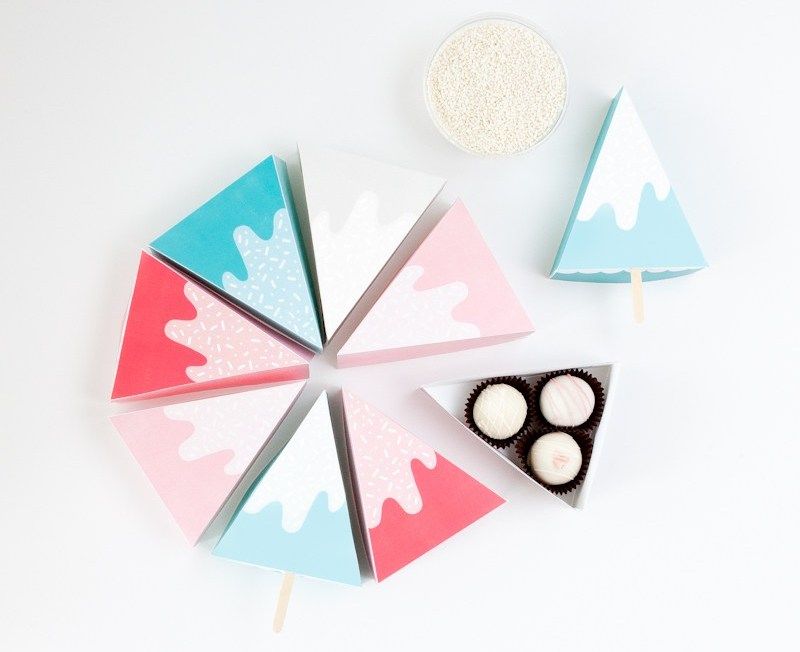
Gift
With the help of ready-made templates make thin or thick cardboard for the following models:
- heart;
- diamond;
- Origami box;
- polyhedron;
- candy.
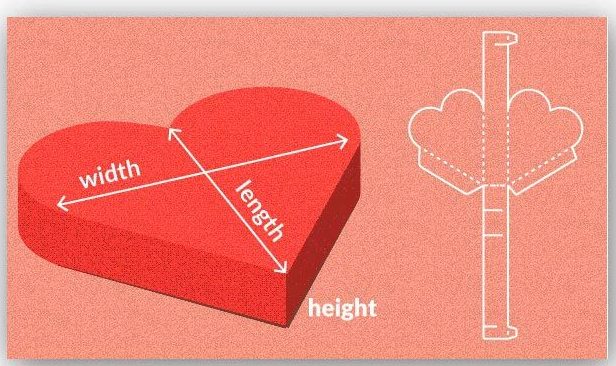
If you correctly transfer the drawing and make everything neatly, the gift boxes will be no worse than the store ones.
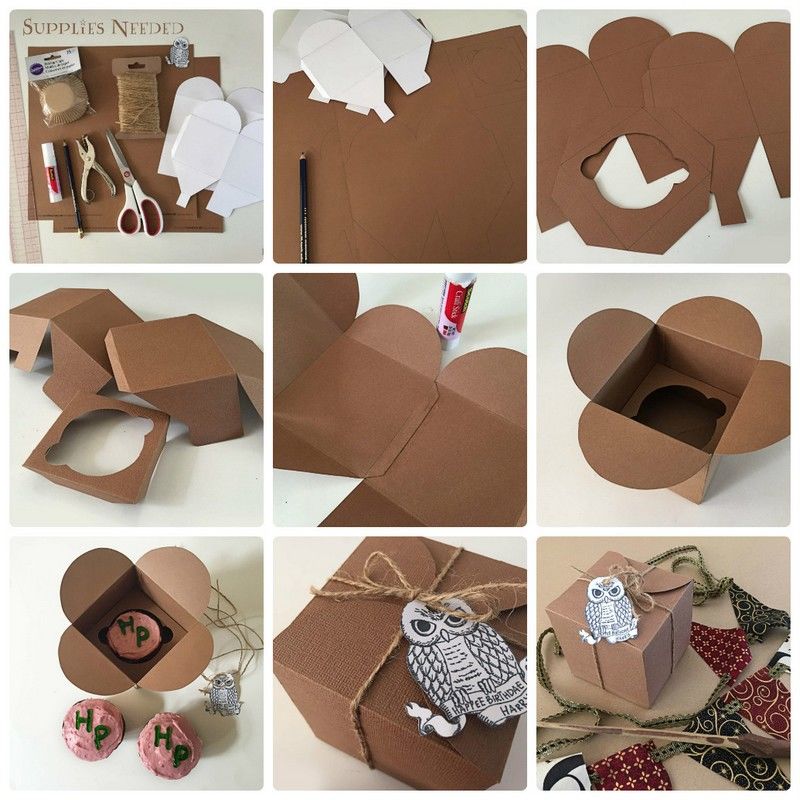
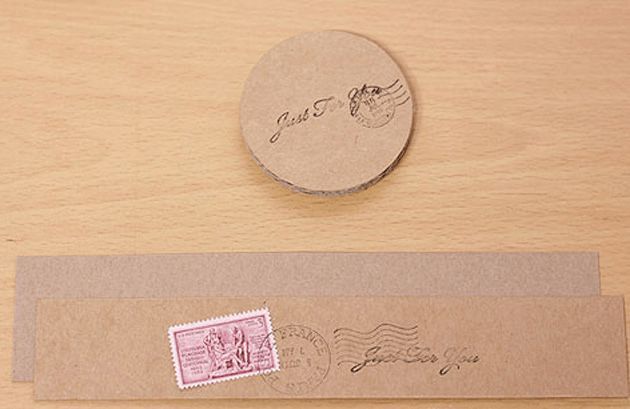
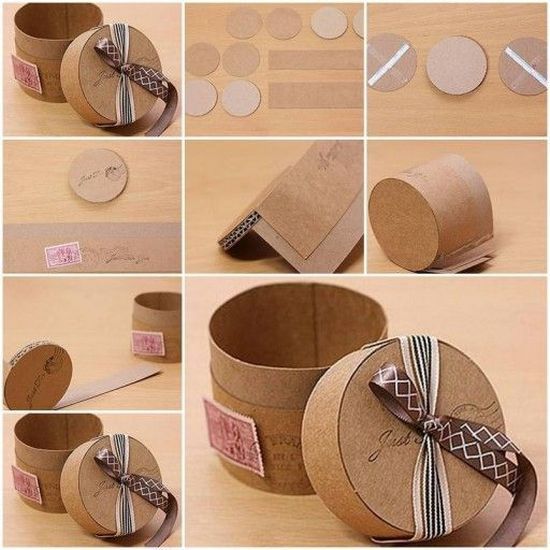
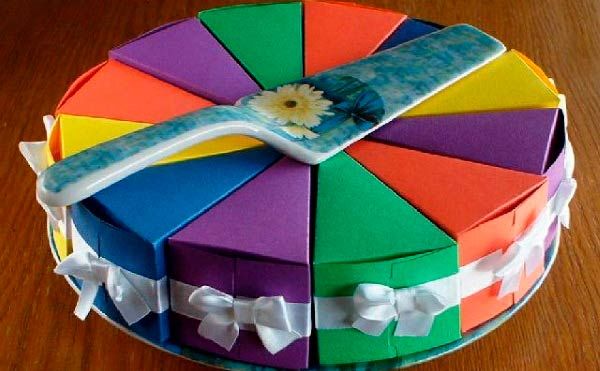
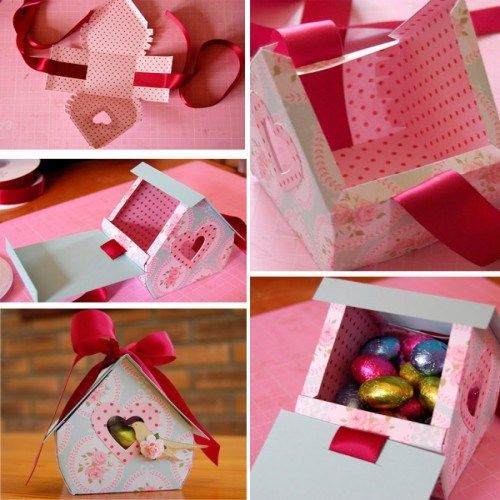
A round box for presents
To create an original round package, you will need:
- thick and thin cardboard;
- a plate to get an even circle or a template for the circle;
- PVA;
- scissors;
- cutter (model or stationery knife)
- cloth for wrapping (tapestry, jacquard, velvet, etc.)
- red satin ribbon.
Process Description:
- Using a flat plate of the desired diameter, mark out four circles on heavy cardboard (two slightly larger for the lid).
- Soft centimeter measure the length of the circumference in the girth and measure on a thinner piece of cardboard rectangle 2 centimeters more in length (to glue the edges overlapping);
- Two smaller circles are glued together (this will be the bottom of the box).
- Rectangular cardboard thinner wrap the circumference of the bottom, pre-spraying the edges with glue. Form a box and glued together the two edges of the rectangle.
- The lid is done in the same way, but its sides are much smaller.
- Now you need to drape the package with fabric.
- To do this, cut out on a template for four round and one rectangular flap.
- Leave a 1-2 cm reserve on the bottom side of the rectangle to tuck the fabric in, beautifully decorating the bend.
- Glue the rectangular fabric first, not forgetting the bottom edge.
- Then attach the circle on the glue from the outer side of the bottom of the box.
- The lid is decorated in the same way.
- If desired, the fabric surface is decorated with small elements.
- Around the box encircled with a red scarlet ribbon and tie a bow.
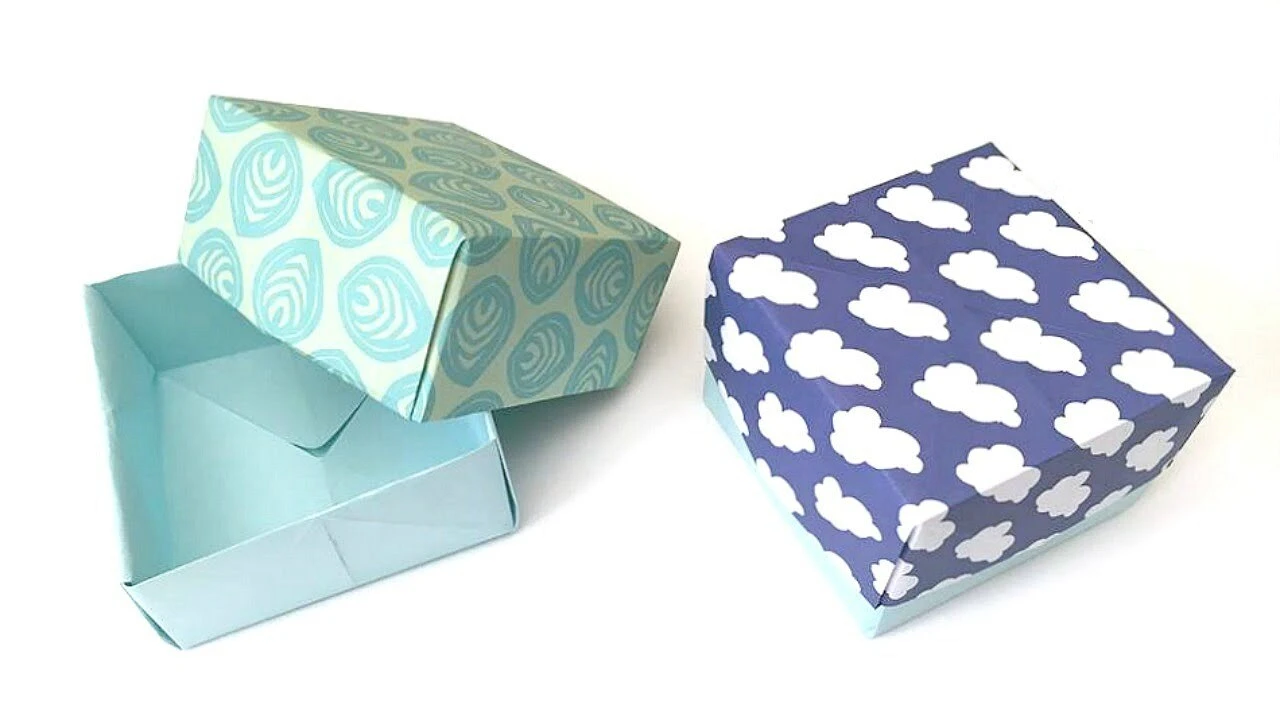
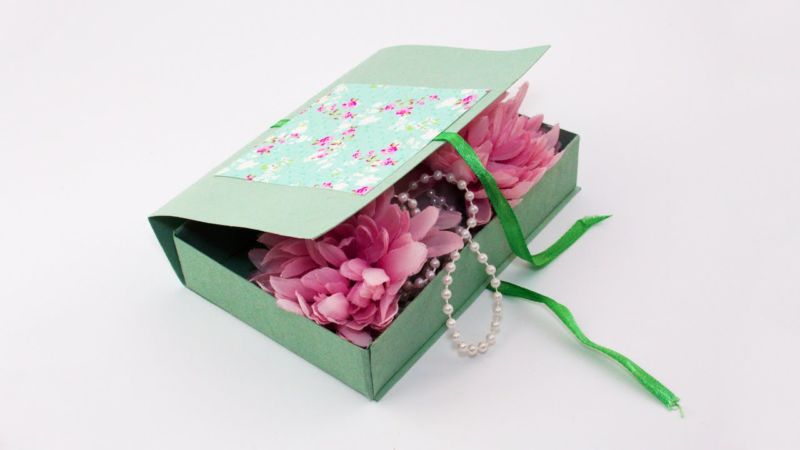
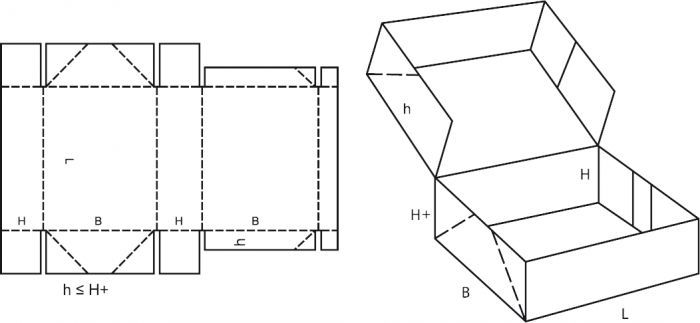
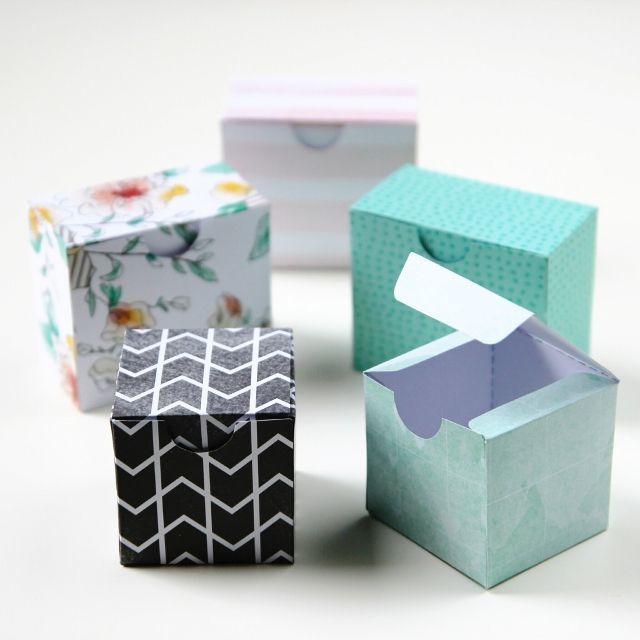
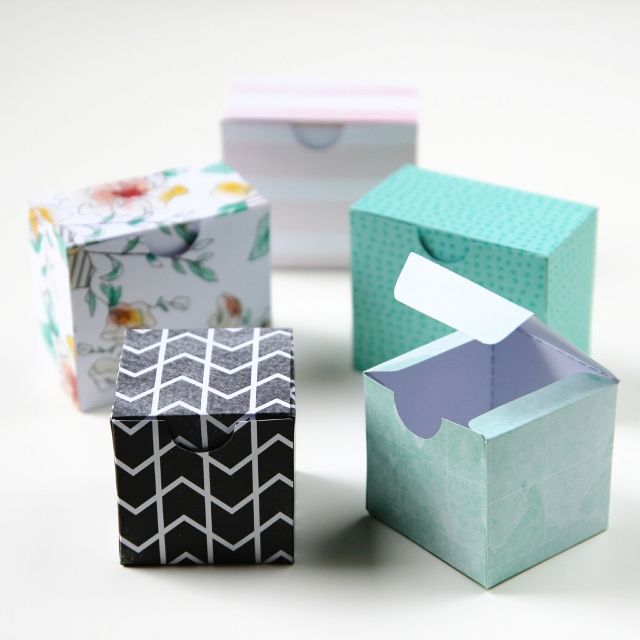
With a lid
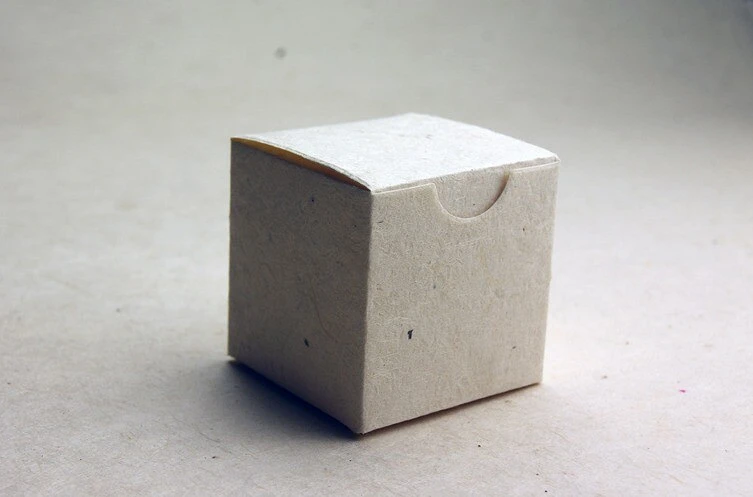
Boxes are made with a lid origami style, as described above. Only the lid should be a little bigger in size, so that it can close the package.
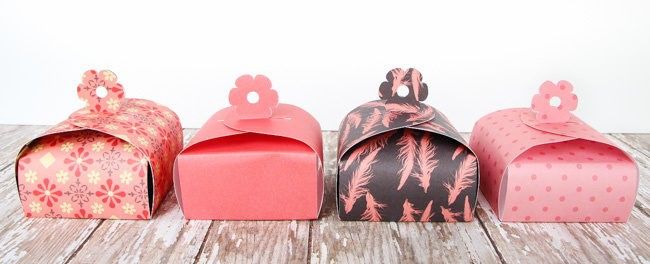
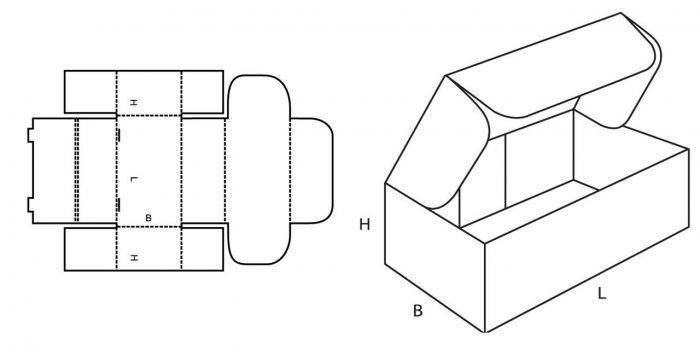
There are also models with lids that are extensions of the box.
Their pattern is four squares horizontally and two side squares vertically (at the second square, if you count from right to left). A total of six identical squares, two of which, extra, have bent edges on both sides.
For the work you will need:
- a ready-made scheme or it will be necessary to draw it;
- a fairly dense colored cardboard;
- backing mat;
- scissors;
- A knife with a thin blade (model or stationery);
- PVA or duct tape, adhesive on both sides.
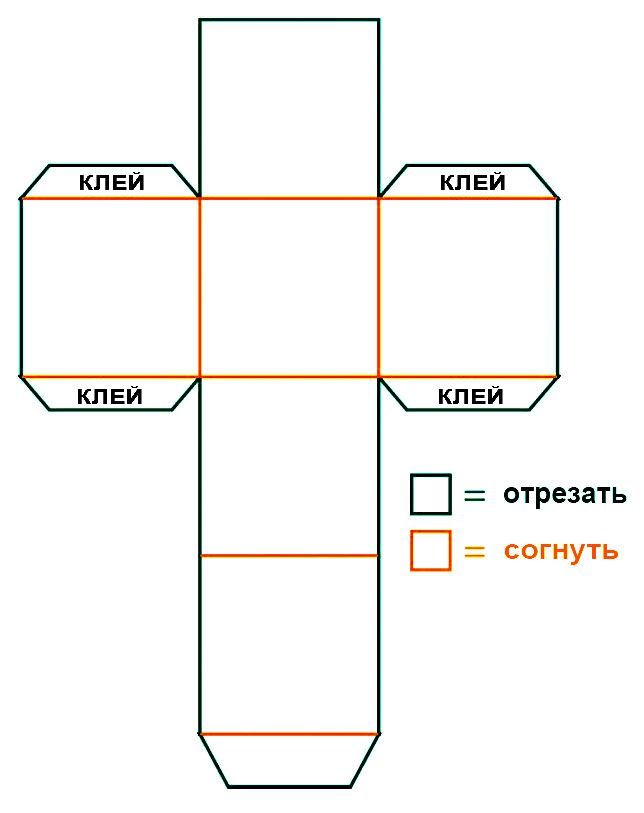
How to make:
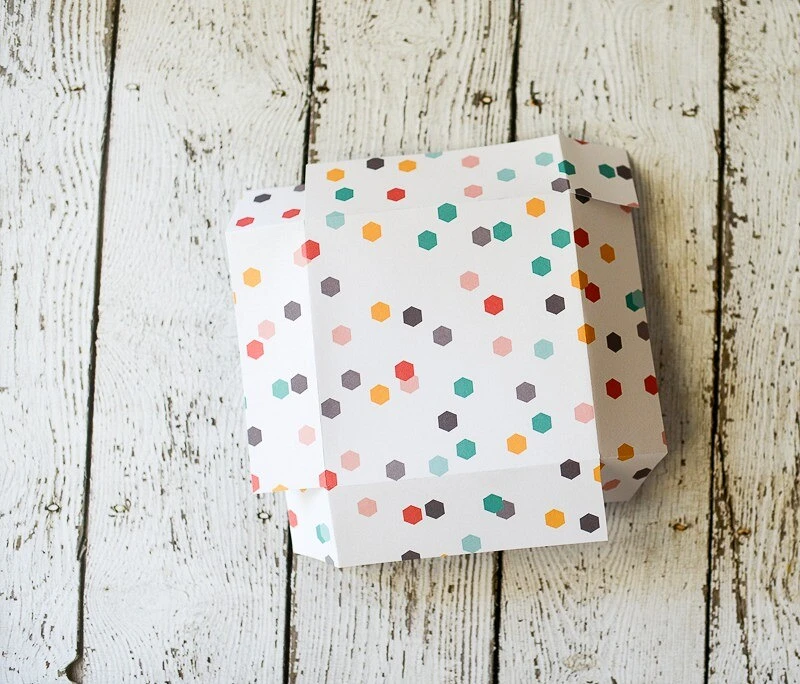
- If there is no diagram, the drawing must be drawn. To do this, draw on a ruler four squares with a side of 10 cm. The second square on the right (if you look at the sample directly) need to draw on top and bottom one more of the same square with the edges of the trapezoids, which in the process of work will be bent and glued inside to assemble the product.
- Also bent edge in front should be the cover, that is the first square on the left side. This will be a clasp.
- The drawn template is cut out and begin to assemble the box. If the cardboard is very tight, then you need to make small notches in the line of folds to better fold.
- The bent edges well blotched with glue and collect the box.
Decorating boxes
Storage boxes are glued packing paper, newspapers and magazines. It turns out very original.

They can also be painted and varnished - so they will last longer.
What to use for decorating:
- beads;
- sequins;
- beads;
- paper and ribbon flowers;
- Applications of colored paper in the form of butterflies, flowers, animals and people;
- beautiful fabric;
- various papers;
- lace;
- small decorative items for scrapbooking and other handicrafts;
- Satin ribbon bows, etc.
Decoupage of a box
The box of cardboard is painted with white acrylic paint. Wait for the product to dry. Choose beautiful decoupage cloths and cut elements from them.
Preliminarily place on the surface to look visually at the future result.
Begin to glue, smoothing with a brush with glue over the cut out tissue layer.
When all the elements are applied, touch up where the composition requires with acrylic paint (you can use glitter).
Leave to dry completely and cover with acrylic varnish for decoupage.
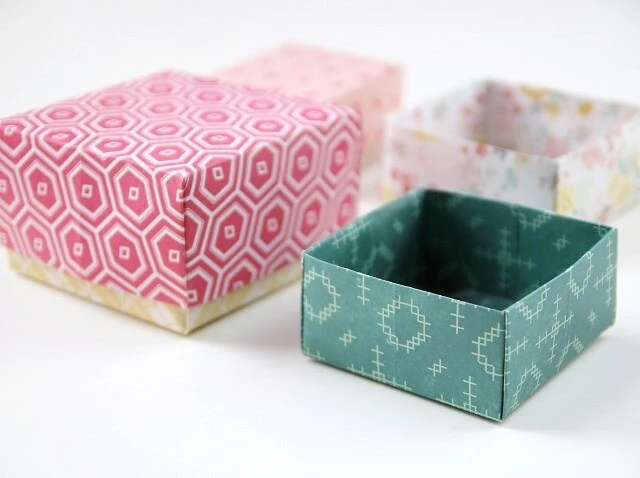
If there is a desire to do needlework and please your loved ones with original gift wrapping for the holidays, they make chic boxes of different sizes and colors. Decorate them to your taste and give them with a soul to your loved ones.

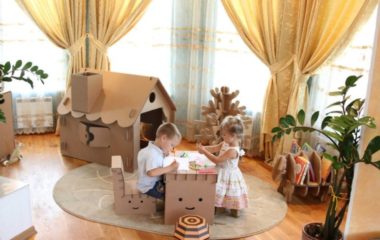
Photo ideas of homemade boxes from cardboard