Kusudama from paper - schemes, step by step instructions for beginners, photo ideas
Kusudama is origami in the form of a ball. Unlike ordinary modular origami is different in that the parts are not inserted into each other, and glued or sewn together. Individual modules are made, and then assemble into a ball. In recent years, the line between the two is erased.
Kusudama is from the words "kusuri" - medicine (another version is "kusu" - camphor) and "tama" - ball, that is, "medicine ball."
Why a "medicine ball"
In ancient Japan, pieces of camphor, dried herbs and petals of fragrant flowers were placed inside. It was believed that this cleanses the home from evil spirits, heals from ailments and infirmities. If a person was sick, they would hang such a ball at the head of his bed. Nowadays it is more often called a ball of happiness.

Meaning in Shintoism
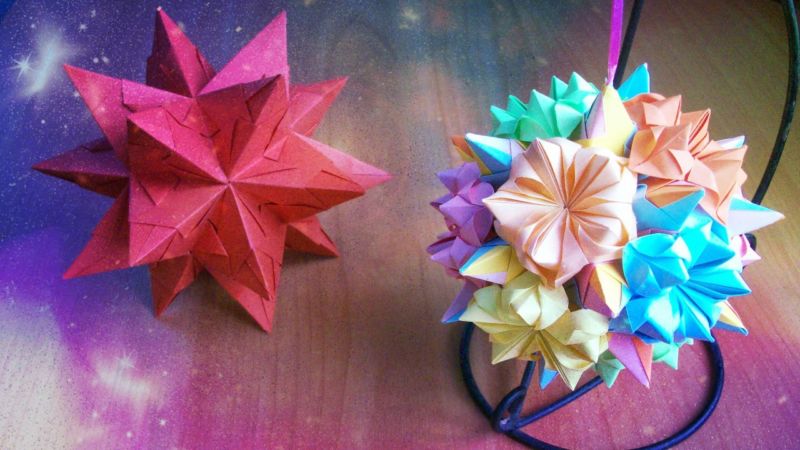
In the religious rites of ancient Japan, large balls assembled from red carnations symbolized the sun. They were placed in the four corners of a square and performed Shinto rituals. The protruding long staves decorated with flowers represented the sun's rays. They are still used to decorate temples in Japan on holidays.
Kusudama for beginners
Looking at a beautiful handicraft made of paper flowers, many would think that to make such a very difficult yourself, but it is not so. Any beginner can do it, even a child.
The main thing to understand the principle of folding a module of paper, to understand the scheme. Education starts with mastering the technique of folding simple flower modules. Working off skills, gradually proceed to more complex options.
What do I need to work
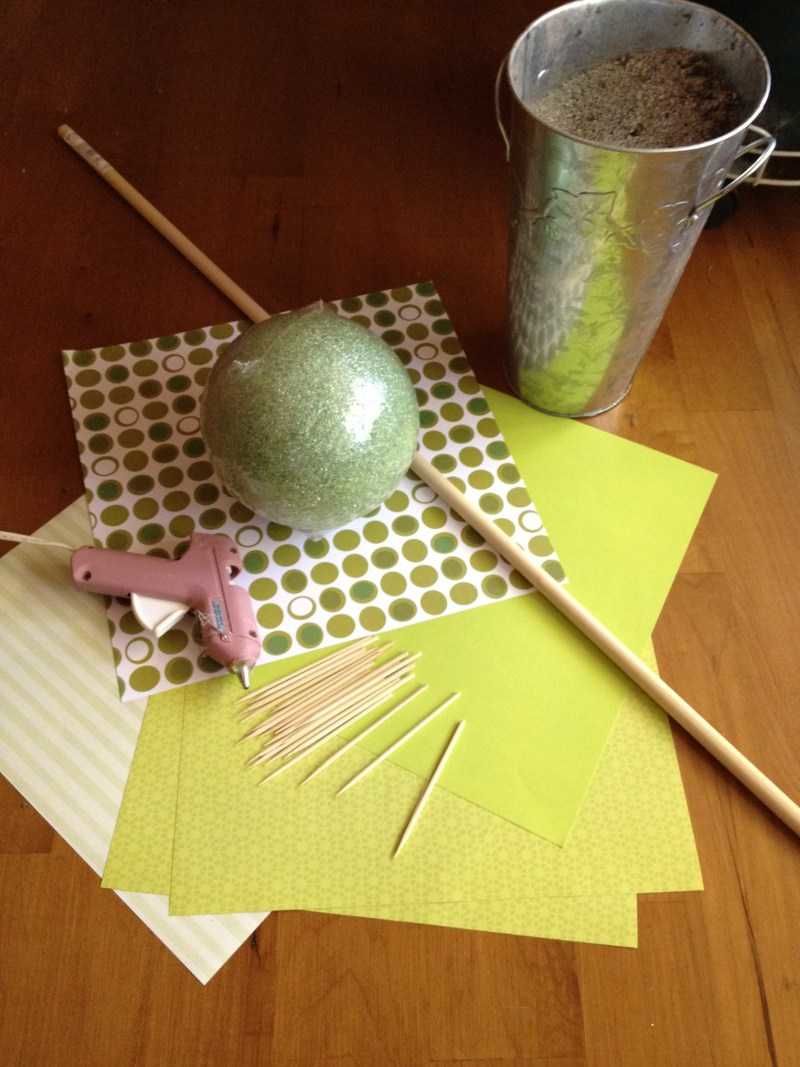
Before you start training, you need to prepare everything you need for needlework. Need a minimum set that does not require large material expenses.
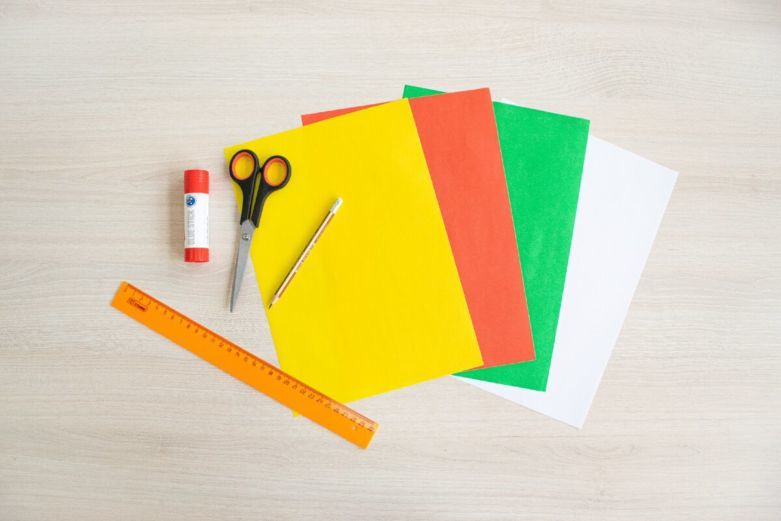
Materials
- Colored double-sided paper.
- Elements of decor - beads, buttons, ribbons, decorative cords.
Tools
- Scissors.
- Glue.
- Staples.
- Thread, needles.
In the process of learning can use colored paper from kits for children's art. Having mastered the technique of simple modules, you can go on a special, high-quality paper.
On a side note. For crafts, you can buy blocks of colored paper for notes (only without the glue strip) in the stationery department. It is shaped like a square, you won't have to spend time cutting paper.
Steps in the manufacturing process
For all types of modules, you can define an algorithm of four stages:
- Preparation of material and tools.
- Folding the required number of modules.
- Assembling and gluing the ball.
- Decorating with decorative elements.


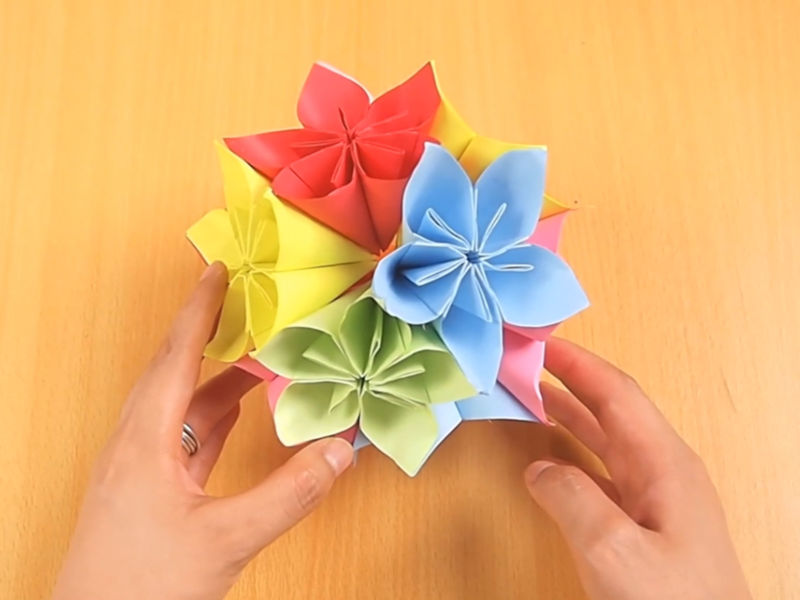
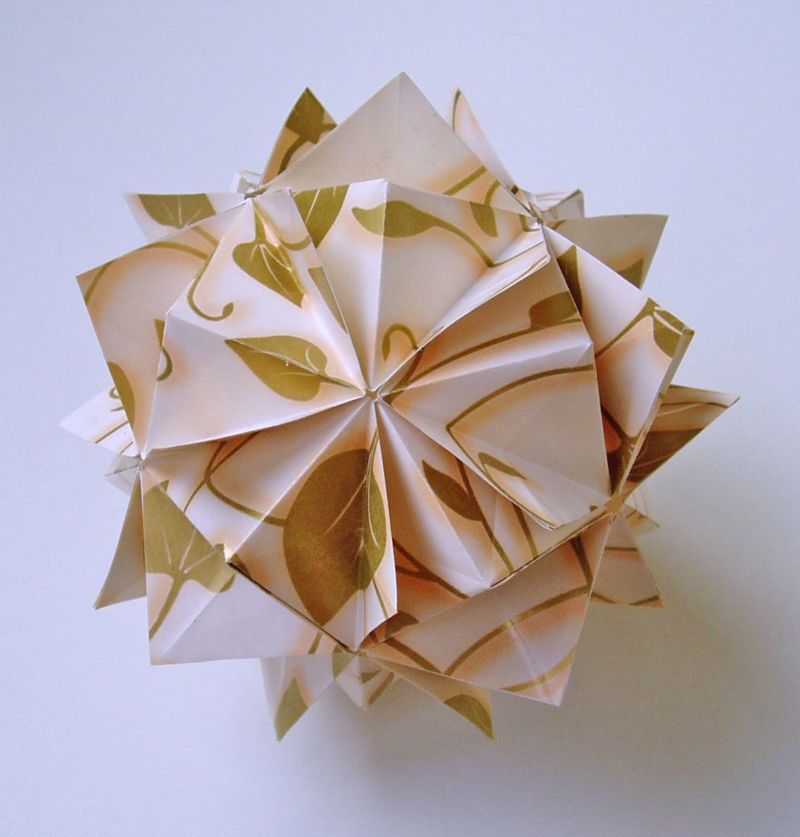
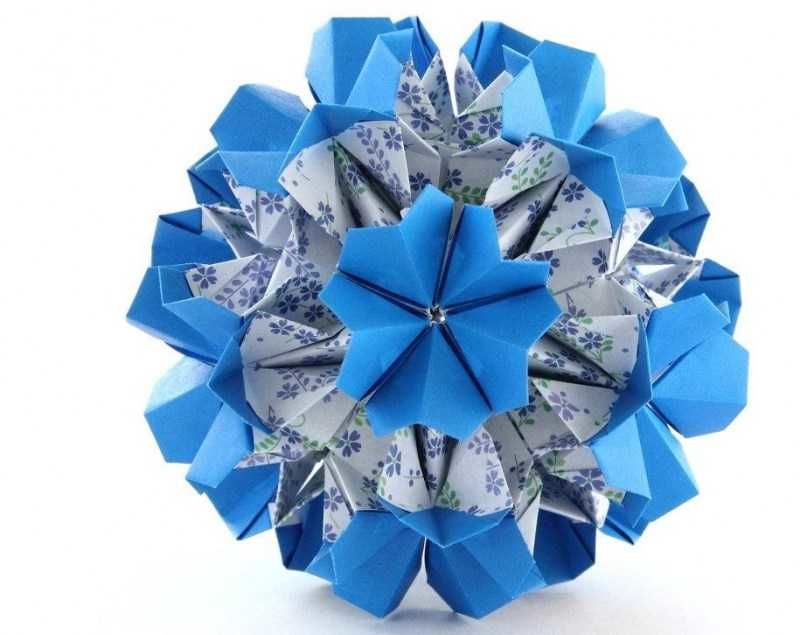
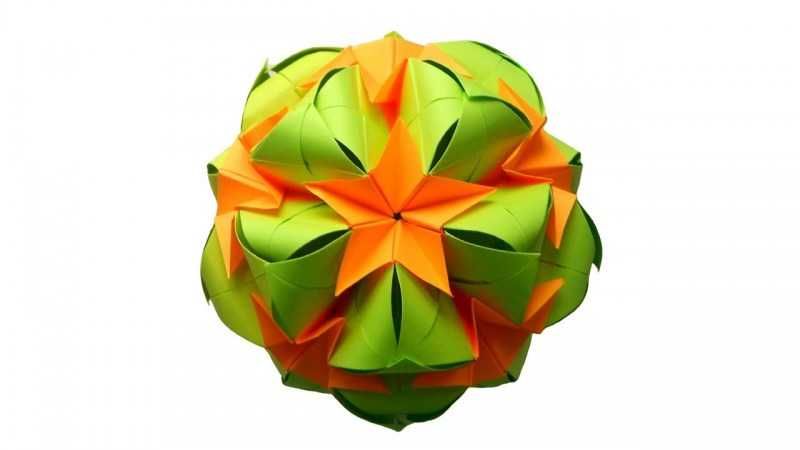
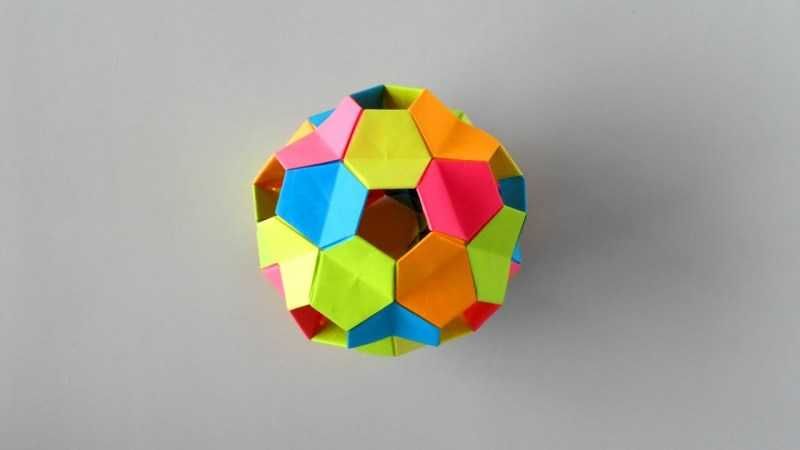
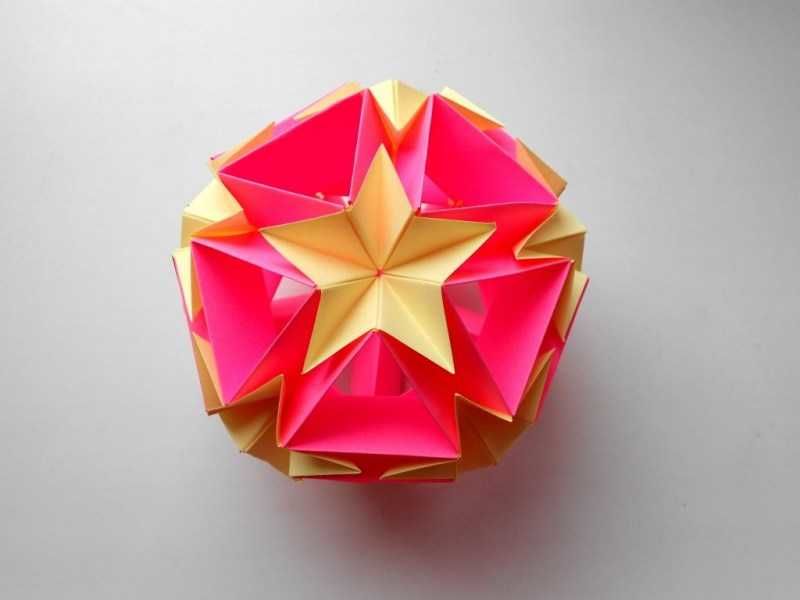
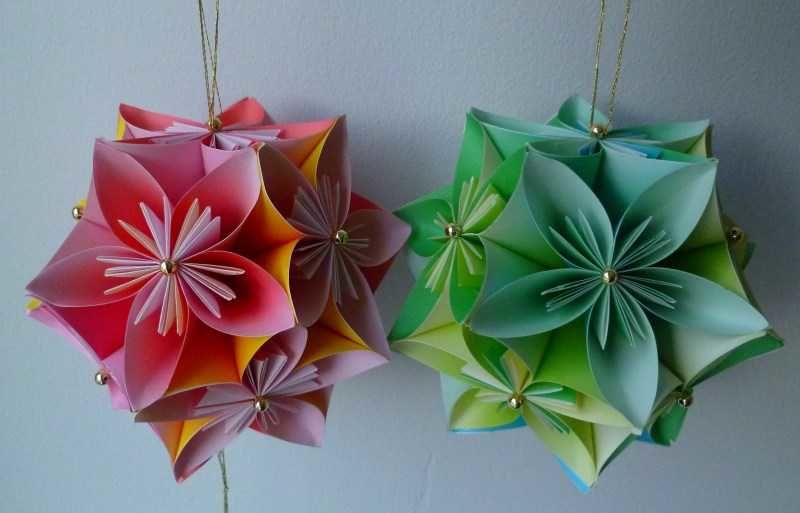
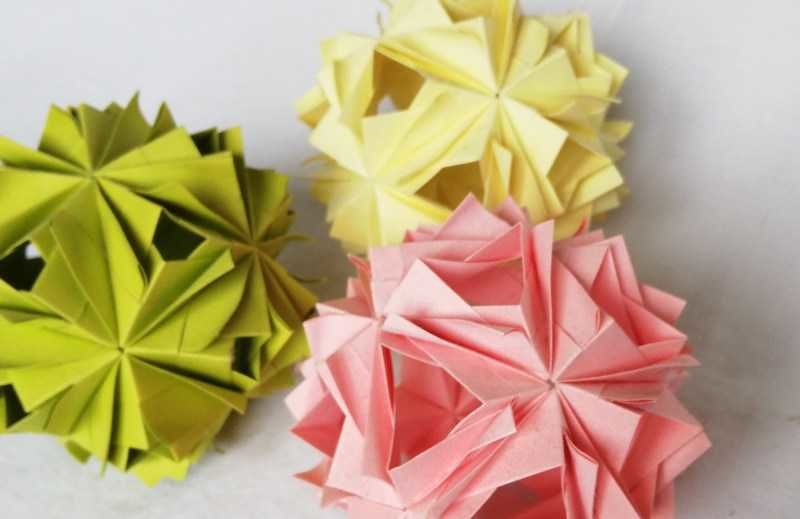
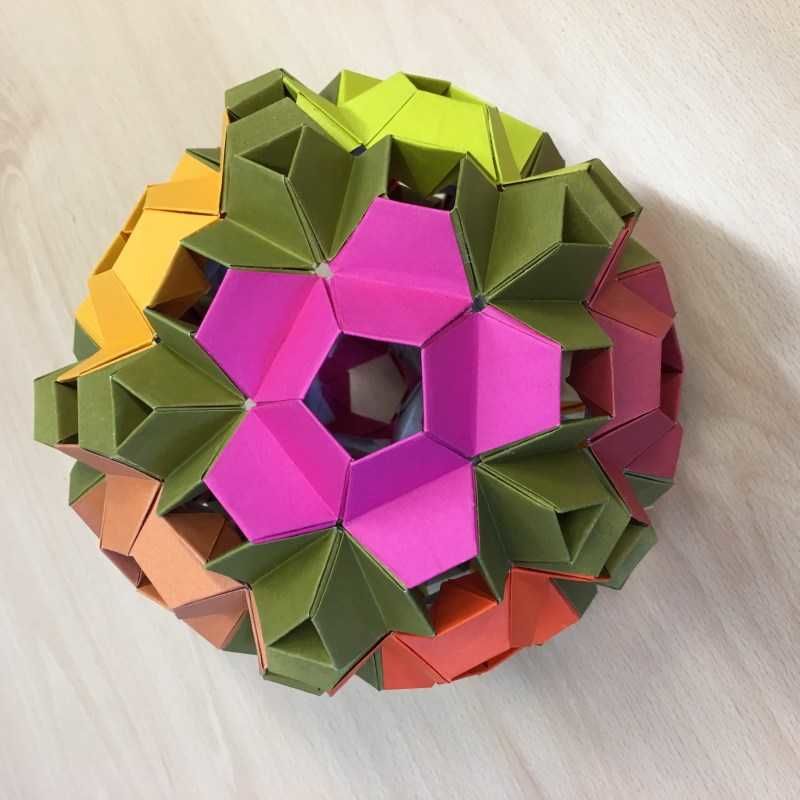
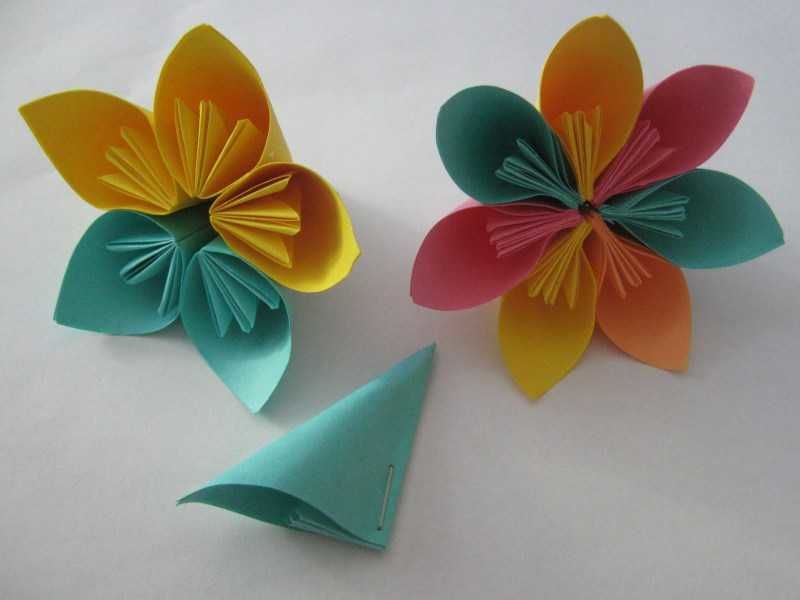
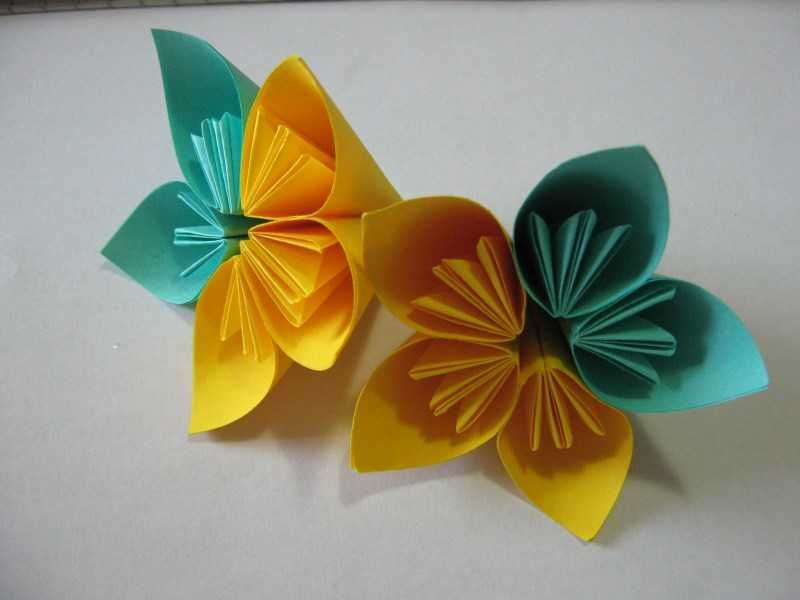
A simple flower ball
Modules of simple flowers (sometimes they are called bells) are beautiful and uncomplicated in execution, with them it is better to start training beginners.
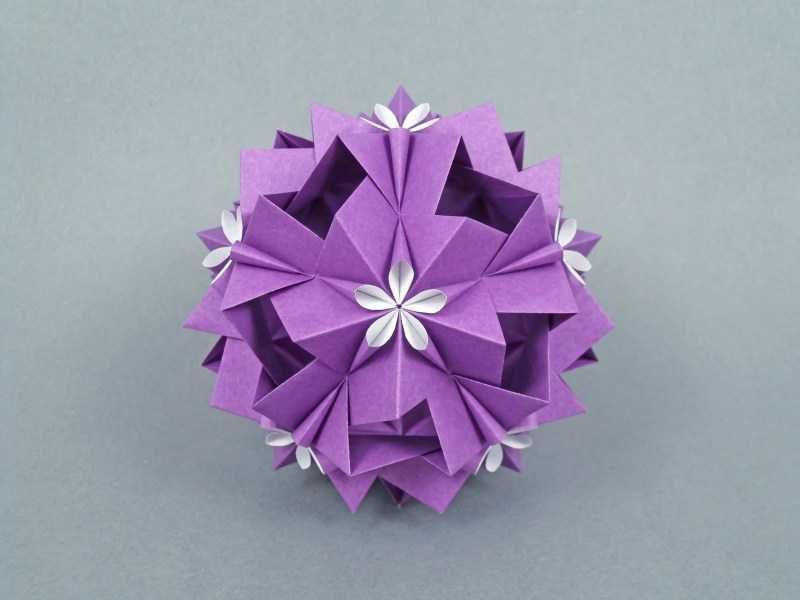
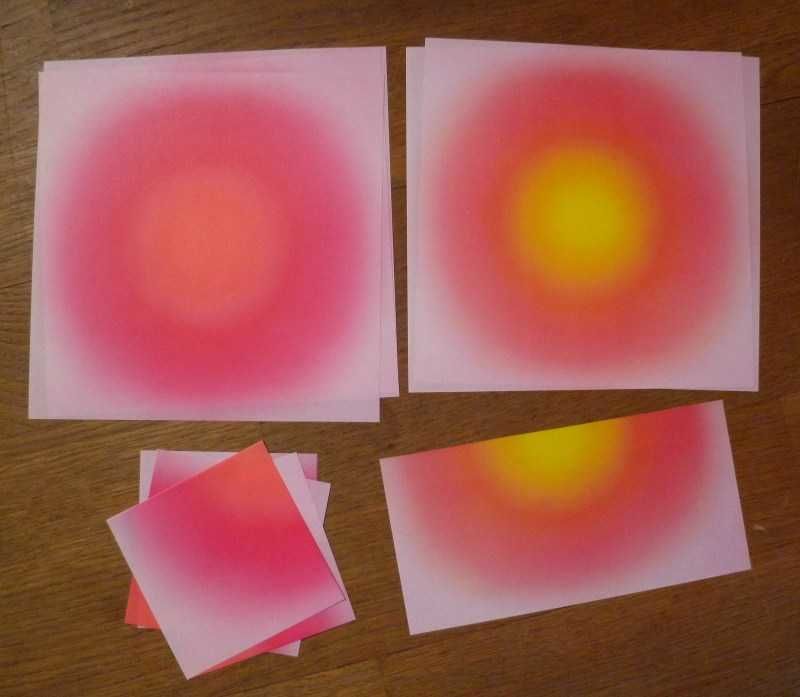
You will need 60 square pieces of colored paper 10x10 (you can take other sizes, it is important that they are squares), PVA glue or glue-pencil, whichever is more convenient.
Beautiful lace, beads for decoration.
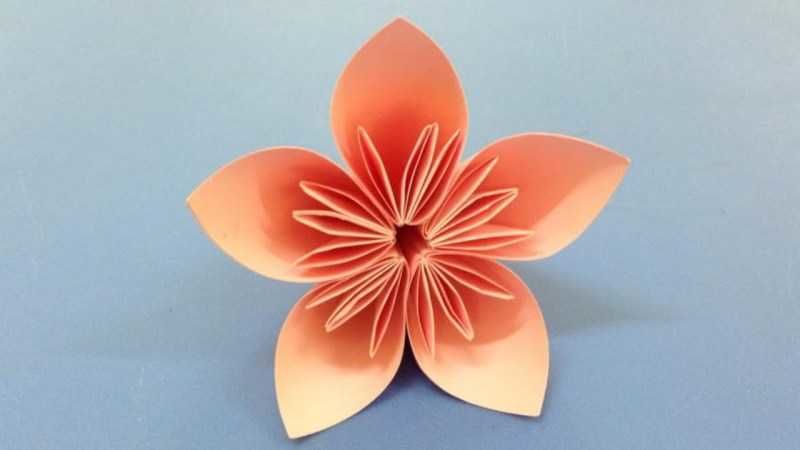
It is necessary to make 12 colors, each of which consists of 5 cone-shaped petals. You can take the paper of one color or pick up a combination of colors.
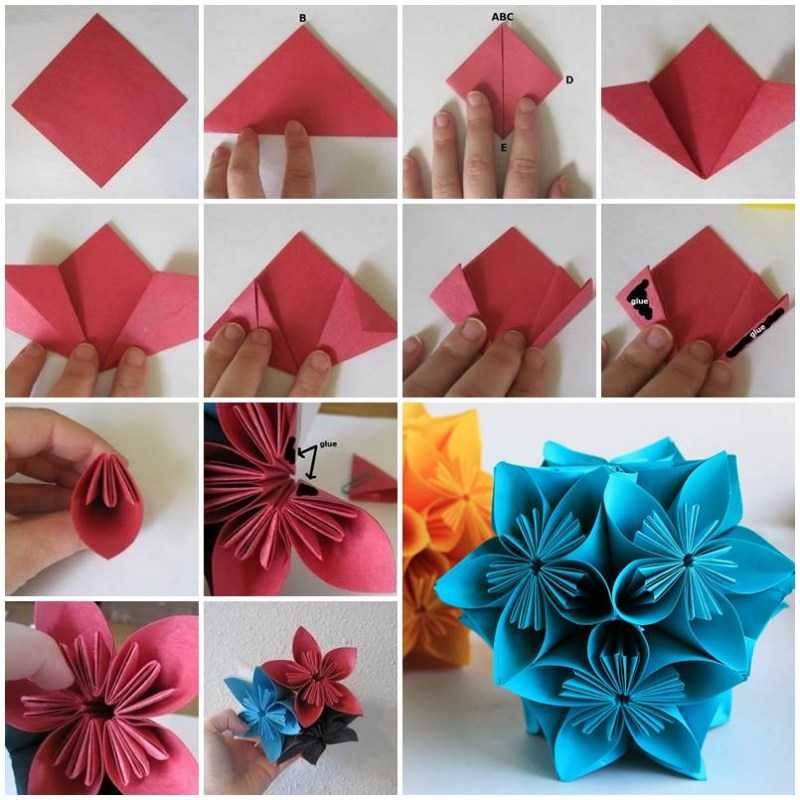
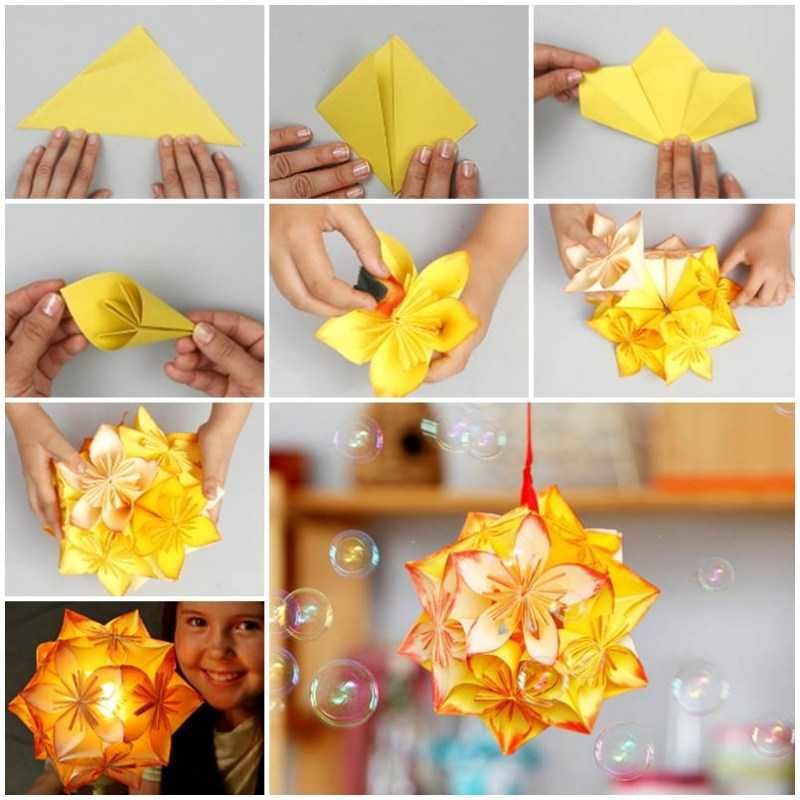
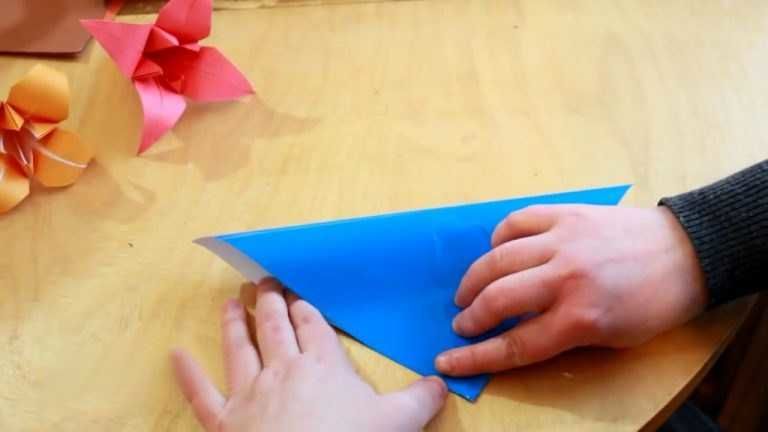
Scheme of assembly of a simple flower module
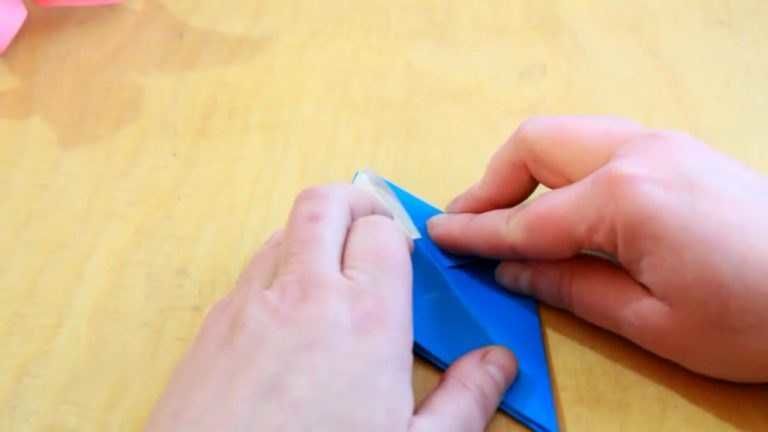
- Square leaf to bend diagonally. We get a triangle.
- Put a triangle so that the base was at the bottom. Lift the corners from the base to the top to form a diamond. Slightly press the fold lines.
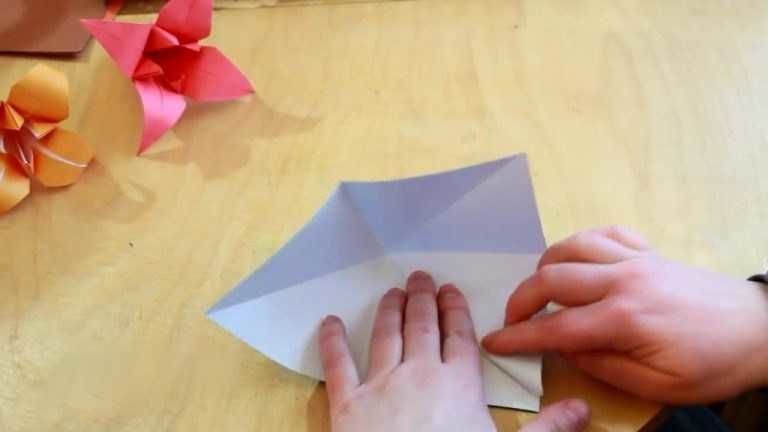
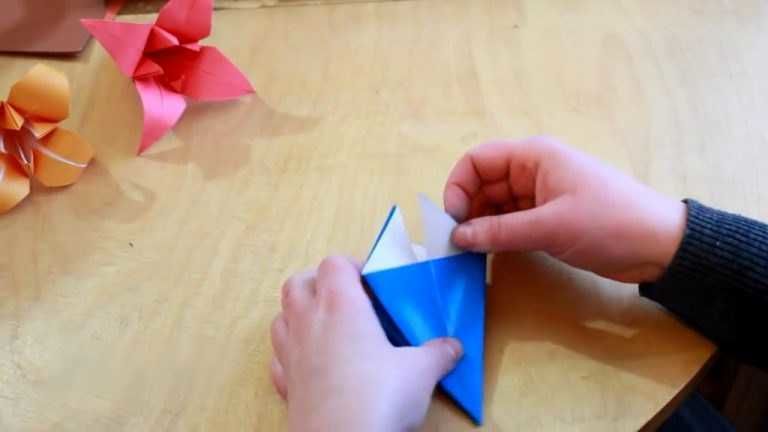
- Fold in half previously raised corners from the center to the sides.
- Arrange both bent sides, gently smooth out.
- Bend the protruding corners of unfolded sides, first the top, then the sides, so that they formed a straight line with the main figure and the resulting diamond.
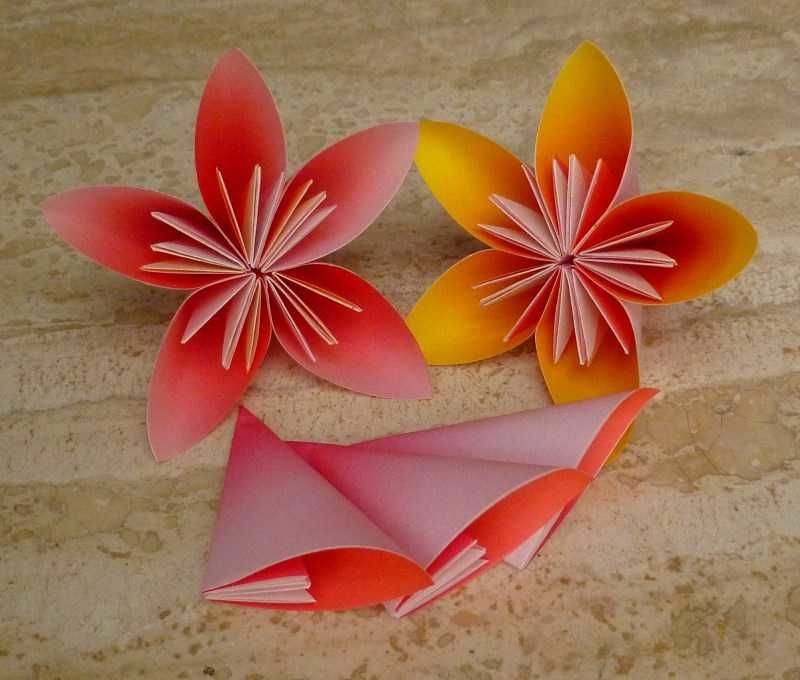
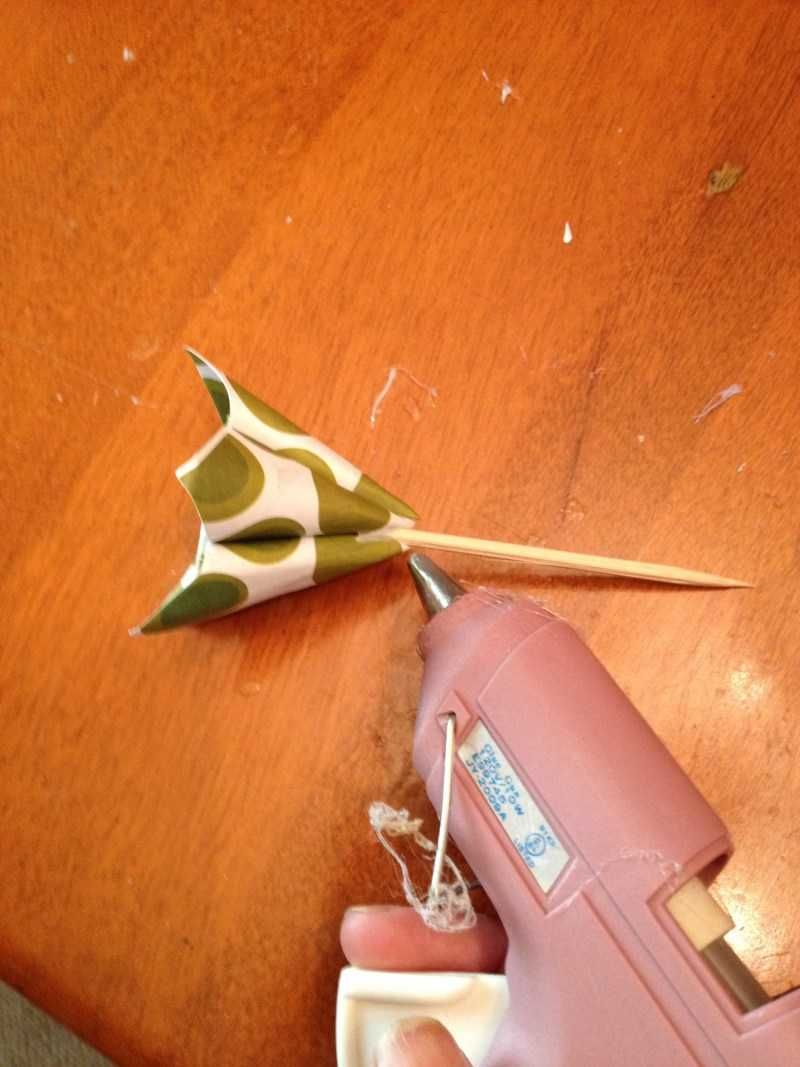
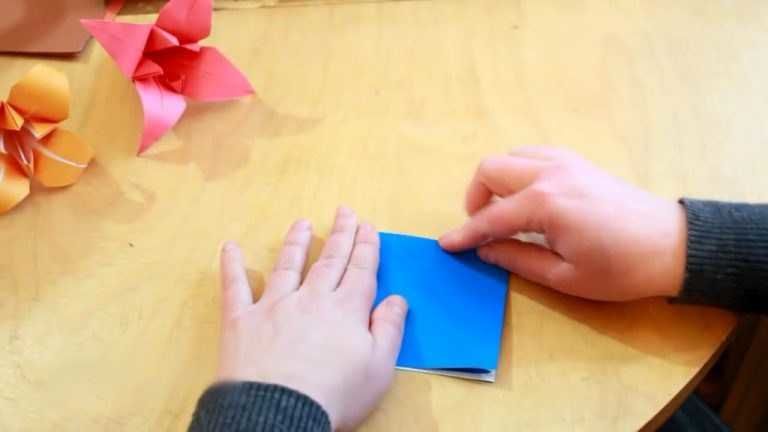
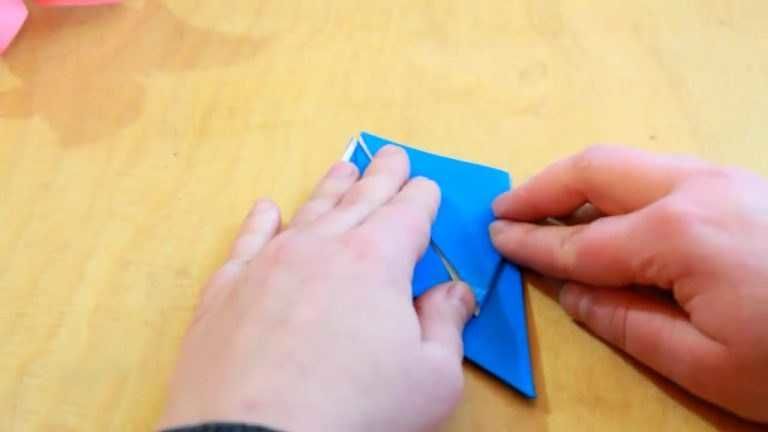
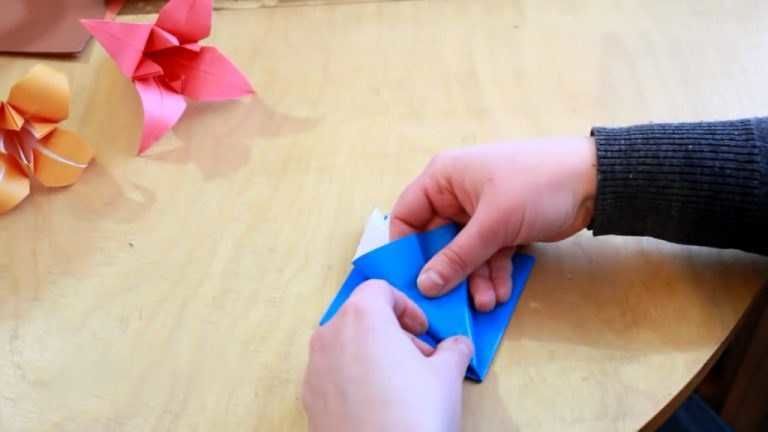
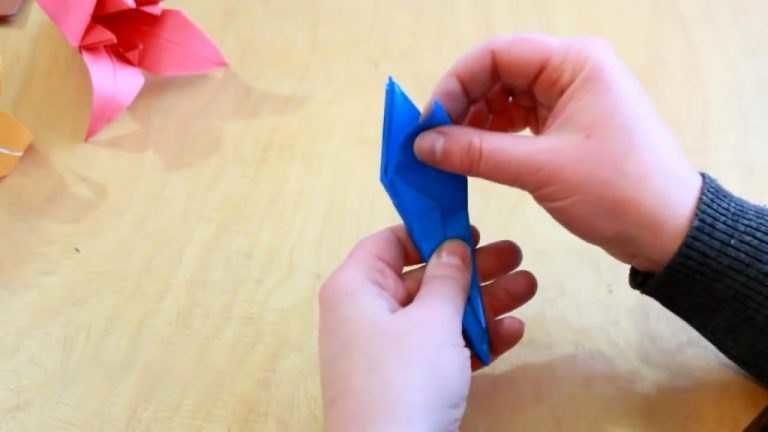
- Bend both sides to the center. The resulting triangles gently glue together along the contacting lines of bending. The result will have a petal in the shape of a cone.
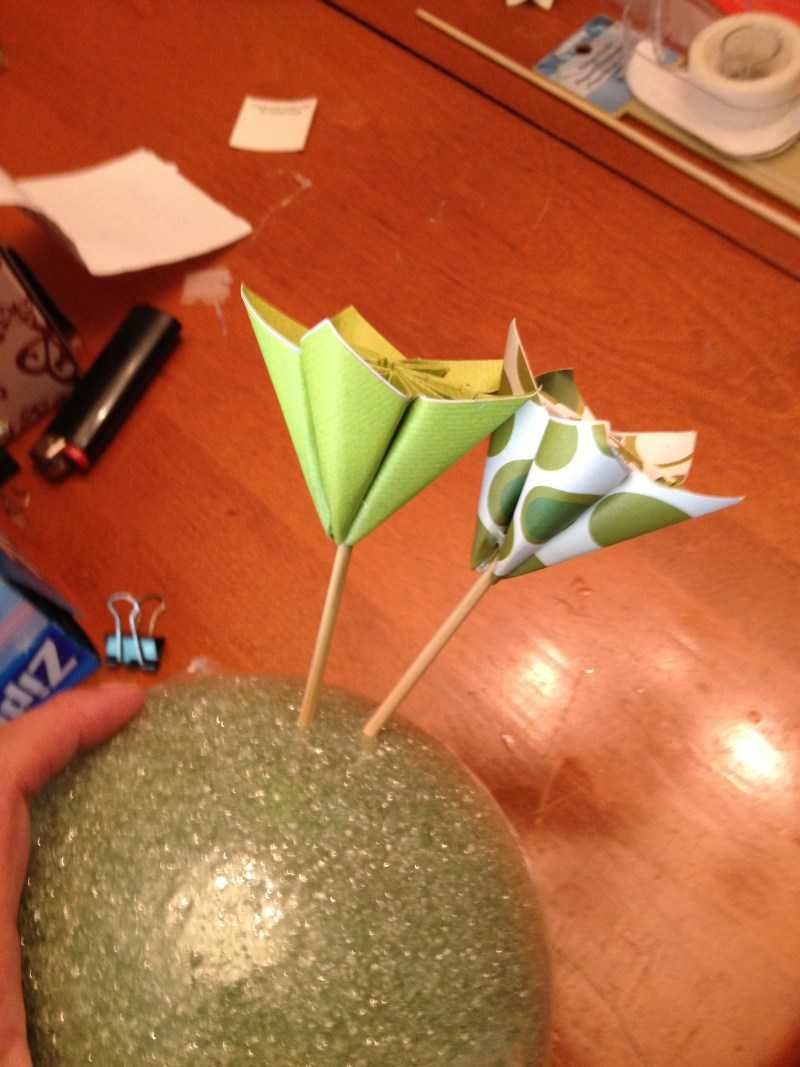
- Make 5 petals and glue them together. We get a flower pyramid.
After understanding the principle and mastering the basics of folding, you can use the scheme to collect any modules.
Scheme of assembling the ball
The general algorithm of assembly - first collect one hemisphere, then the second, and then glue them together.
For this model is prepared 12 modules - colors, glue and staples:
- On the back side, carefully apply glue along the center line of the petal, attach to the same line of the second flower. Press down and fix with a paper clip.
- In the same way, glue the third and fourth element.
- Fifth glue one side with the fourth and the other with the first module, thus closing the circle of 5 colors.
- The sixth glue the top. We get the first hemisphere.
- Similarly, glue the second hemisphere, not forgetting to fix the paper clips.
- Leave it to dry for a few minutes.
- Take a beautiful lace. At one end make a loop to hang it. Decorate the other end with beads or a tassel of colored thread.
- Along the center line of the upper and lower petals of one of the hemispheres, glue the string.
- After the glue dries, glue both hemispheres together. Secure with paper clips.
- Allow to dry completely, remove staples.
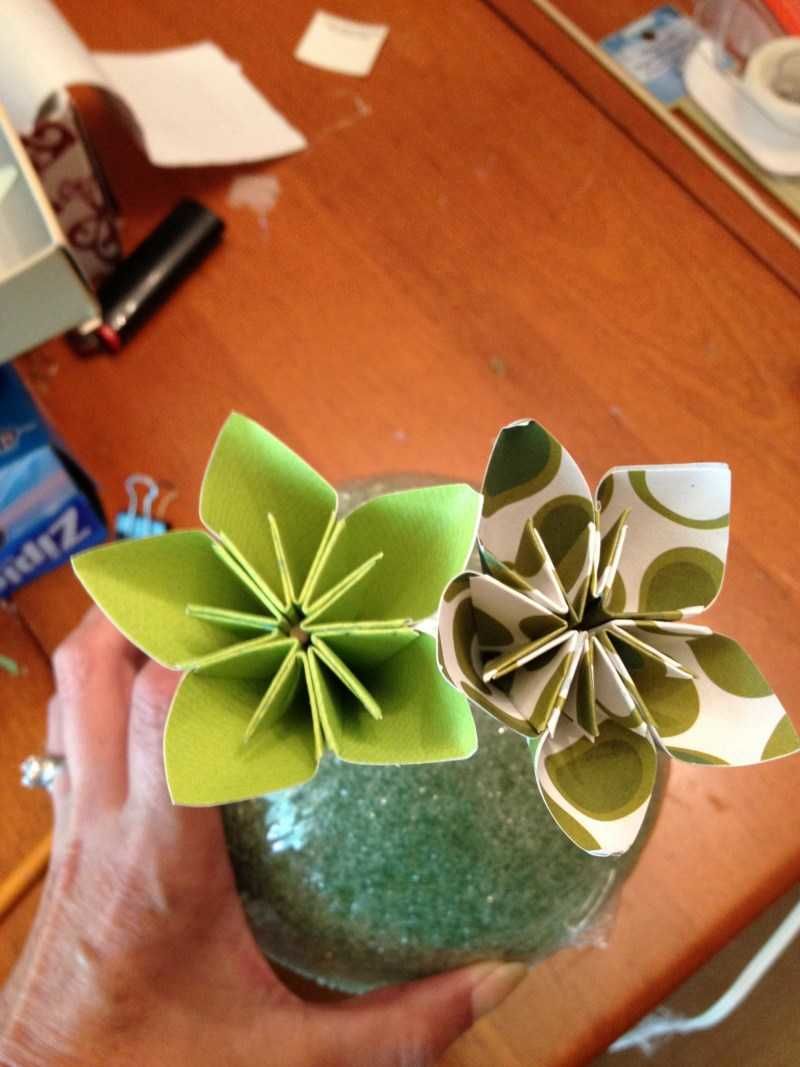
- For decoration, glue a bead or pretty button in the middle of each flower.

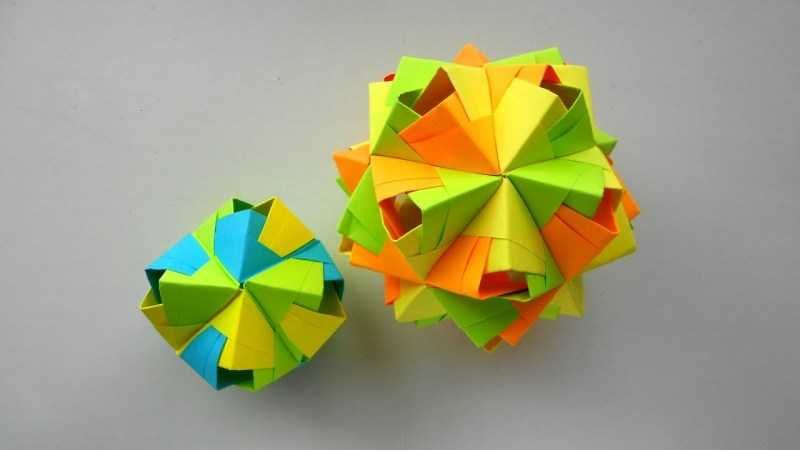
The number of modules can be different, the more, the more voluminous the finished product.

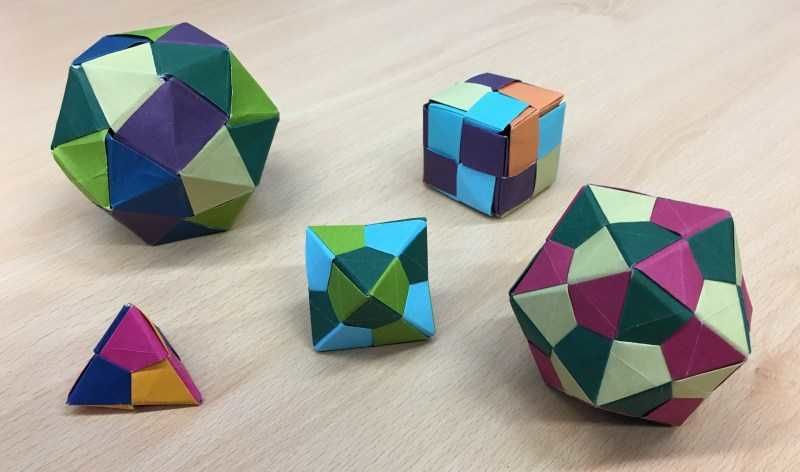
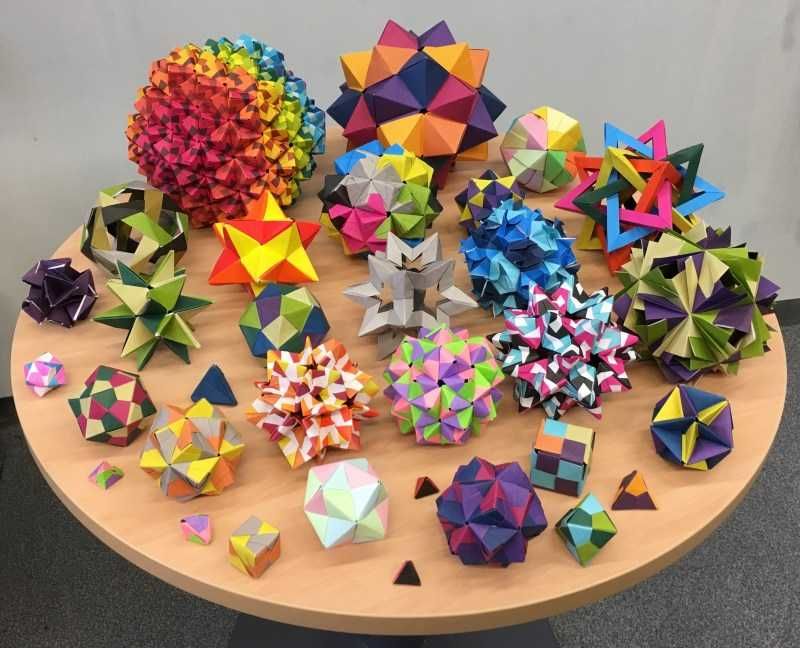
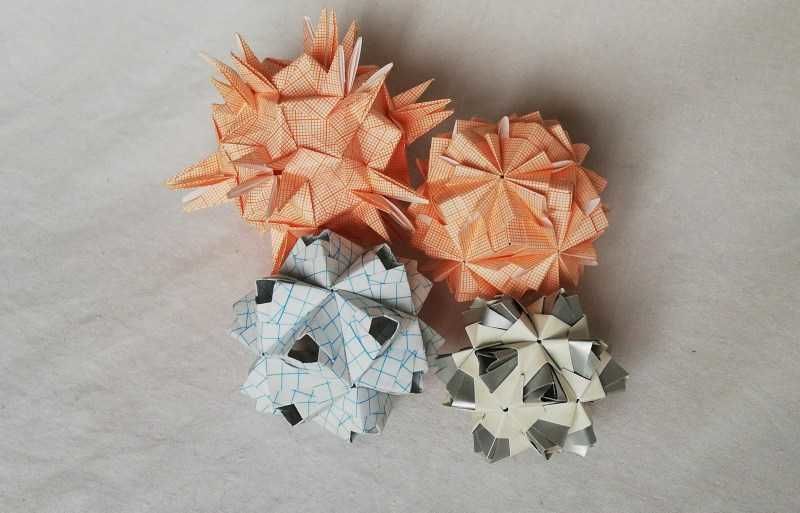
Overview of popular types
Having learned how to create simple crafts, you can move on to more complex ones. There are many kinds of colors and geometric shapes.
Some craftsmen have developed models that are assembled without glue. For each species, there are many video tutorials and master classes with diagrams on the Internet.
In one article it is impossible to fit master - classes on all kinds, so here is an introductory overview of the most popular elements.
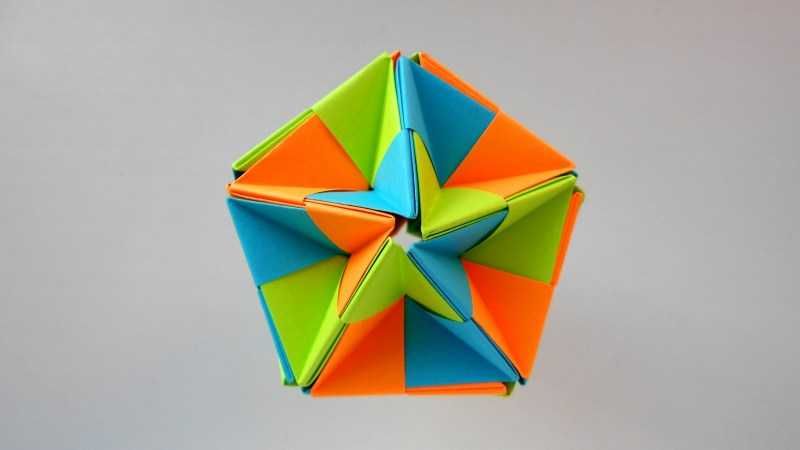
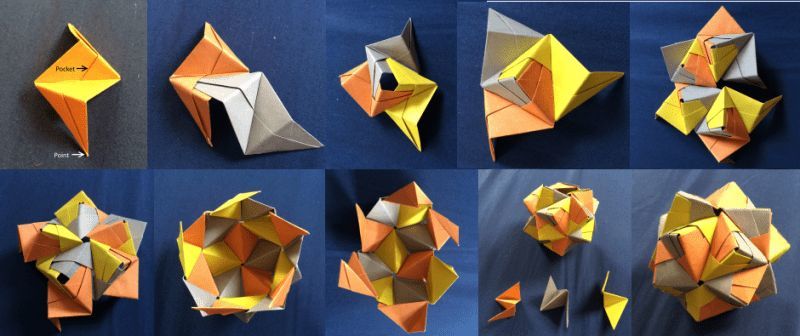
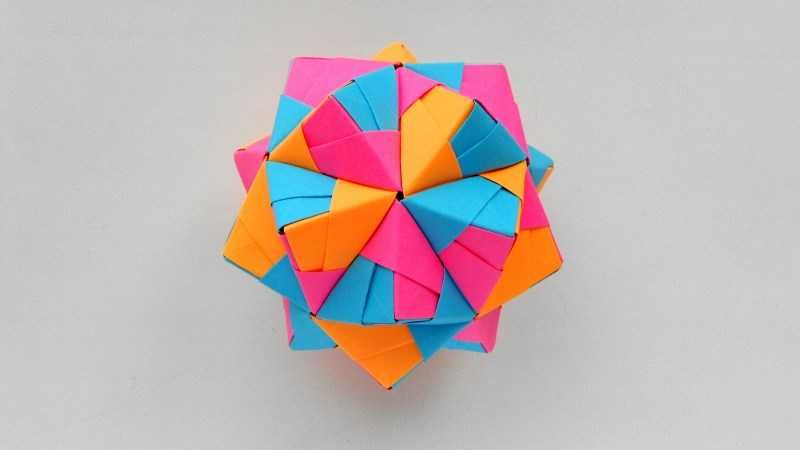
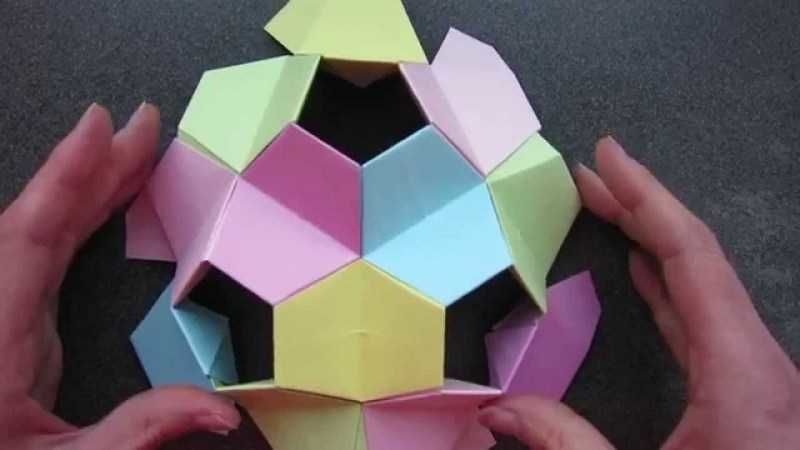
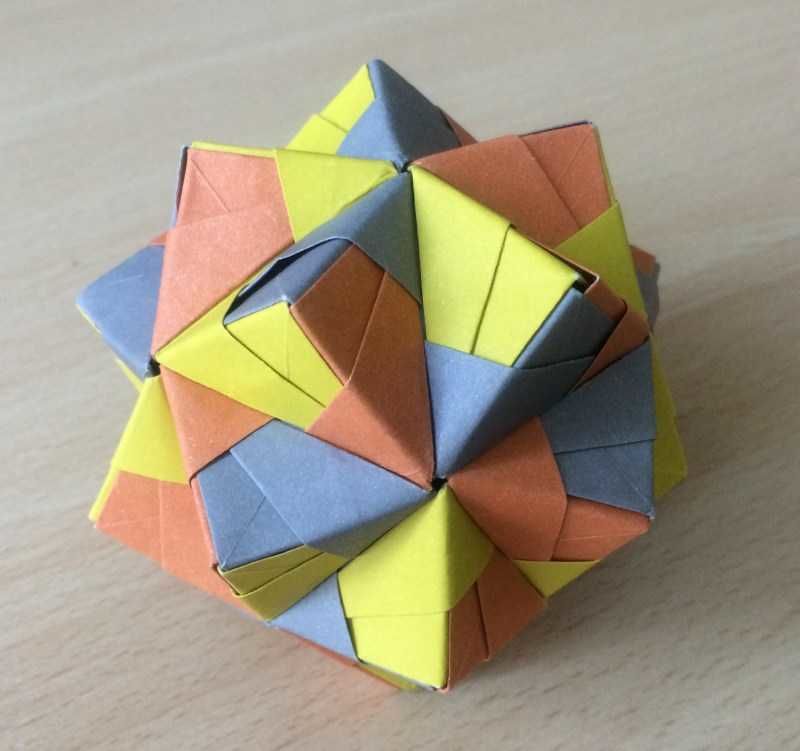
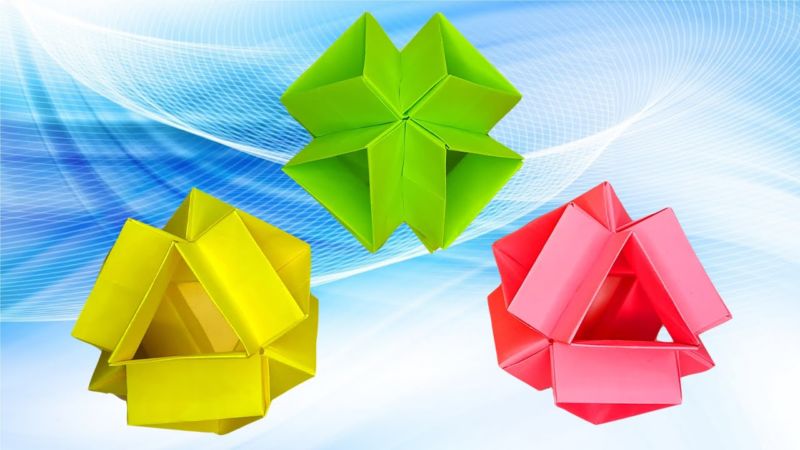
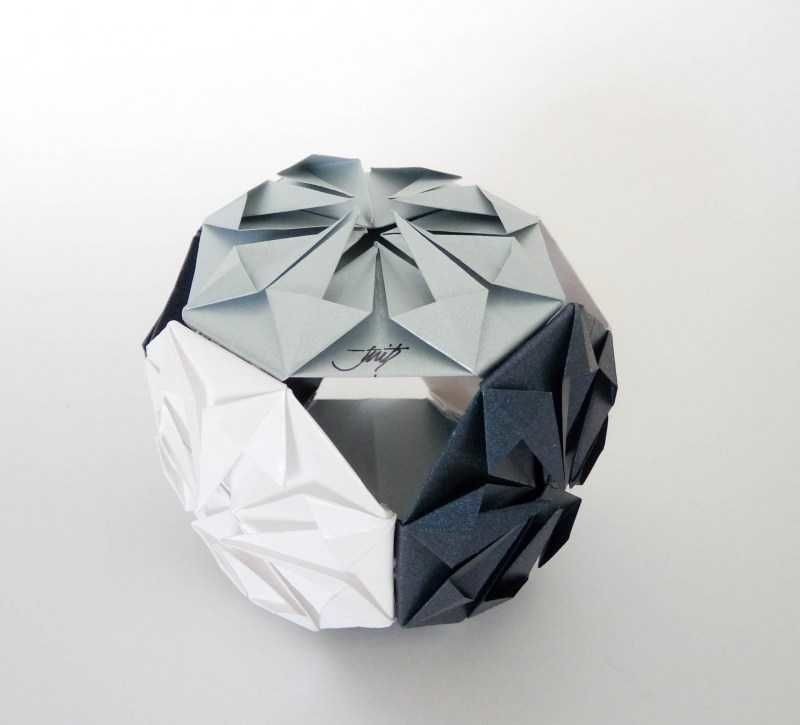
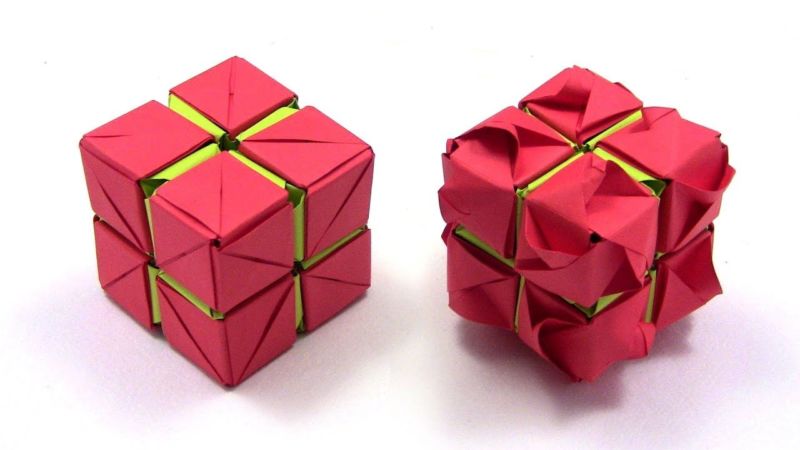
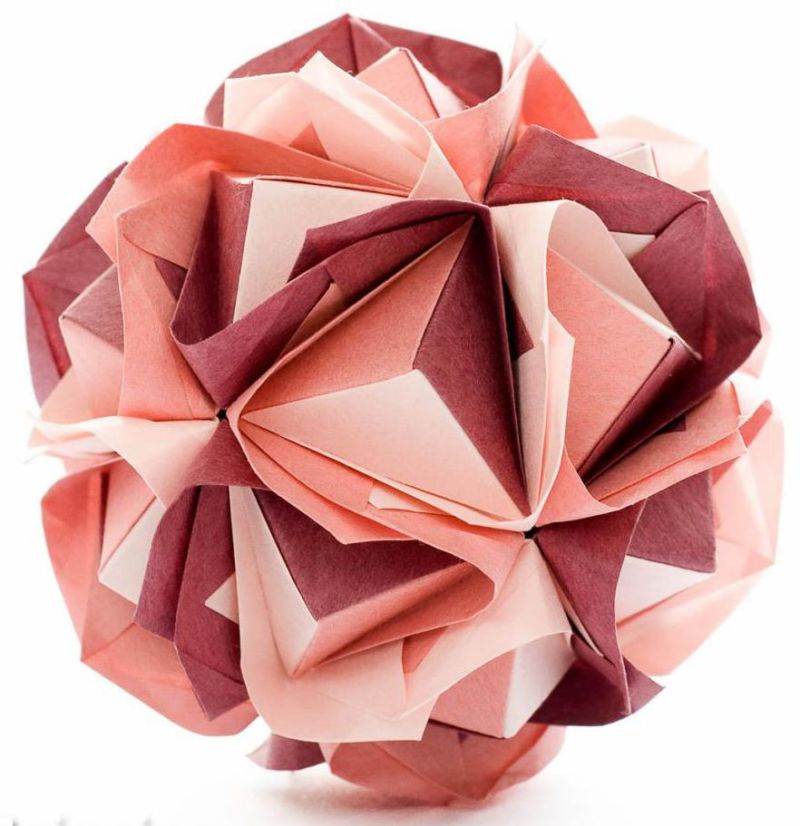
Classic
Assembled in a box in the shape of a cube. Six blanks are made for it. Four are glued together into a square, the remaining two are glued one at the top, the other at the bottom.
In this version, not all sides of the modules are connected to each other, between them there are gaps on all sides in the form of triangles.
If you put a sponge soaked in scented oils or simply fragrant herbs inside such a box, the triangular holes will let scents into the room unhindered.
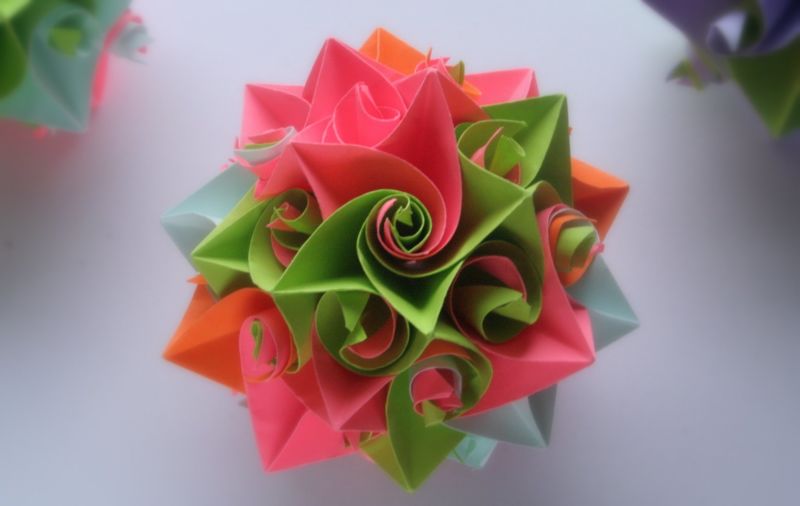
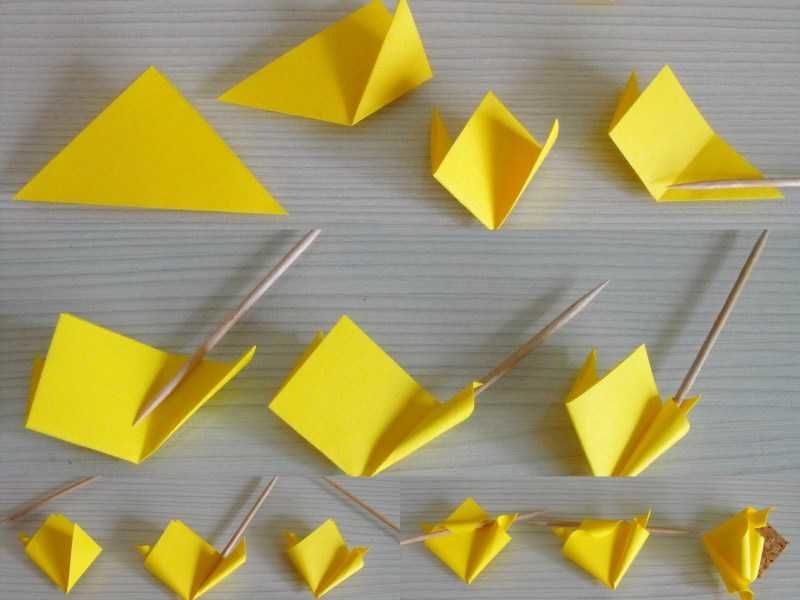
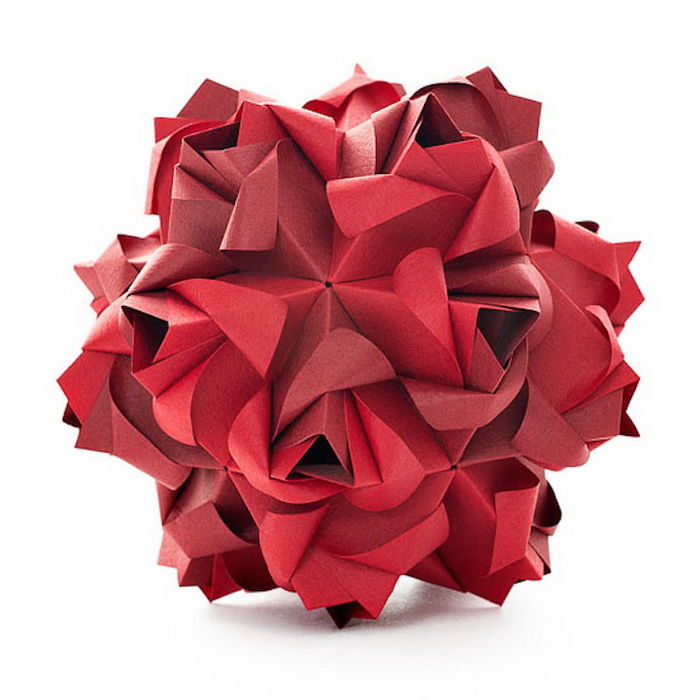
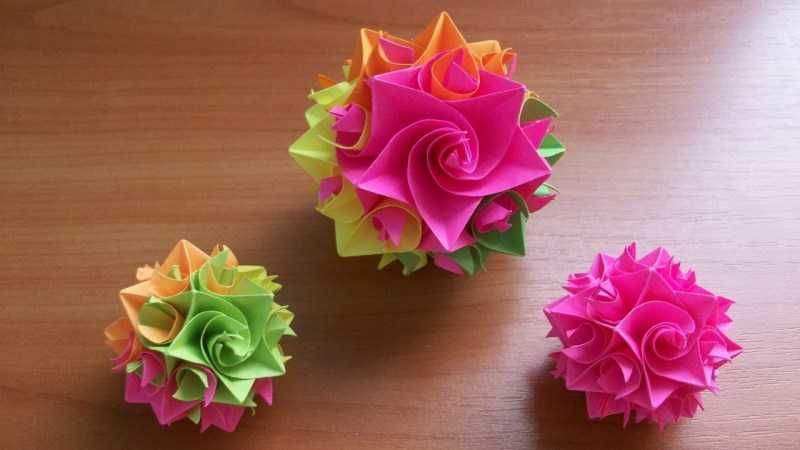
Roses
Modules in the form of rosebuds look festive and romantic. For one bud we need 15 square leaves 12x12 cm. For one rose we have to make three parts - the first of three, the second of five and the third of seven petals:
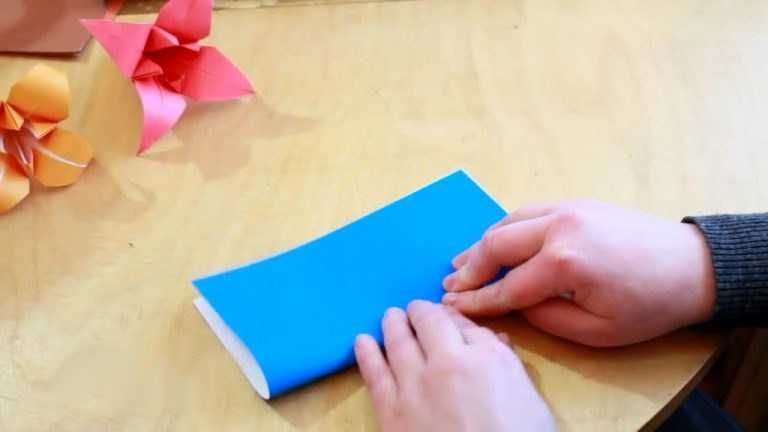
- Paper folded diagonally.
- One corner of the bend on the diagonal on one side, the second on the reverse.
- Upper corner of the twist with a pencil. We got a petal rose.
- Make 15 such petals.
- Glue together 3 parts - of three, five and seven blanks.
- Glued details put into each other. You will get a rosebud.
- From the green paper to make a sepal and put it into the bud.
- Sew the elements of the rose with each other so it will not fall apart.
- Assemble the ball.
Petals can be monochrome or different shades.
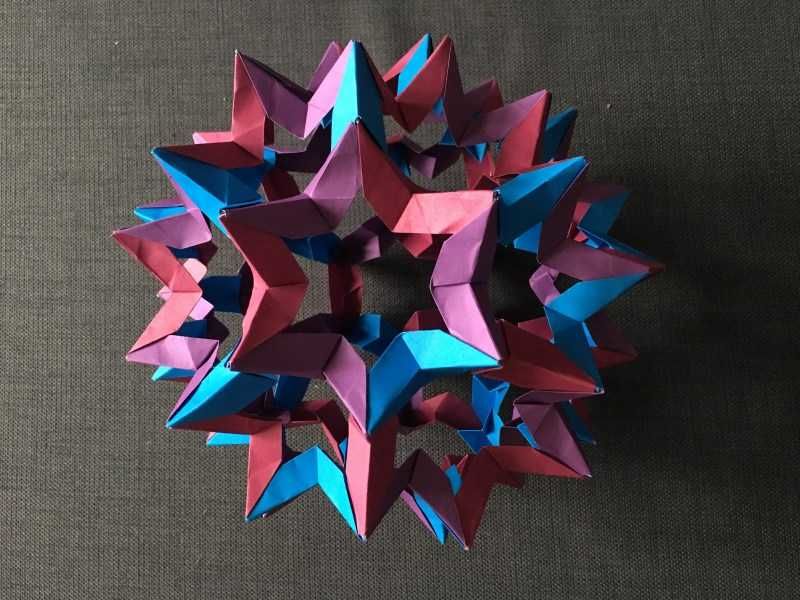
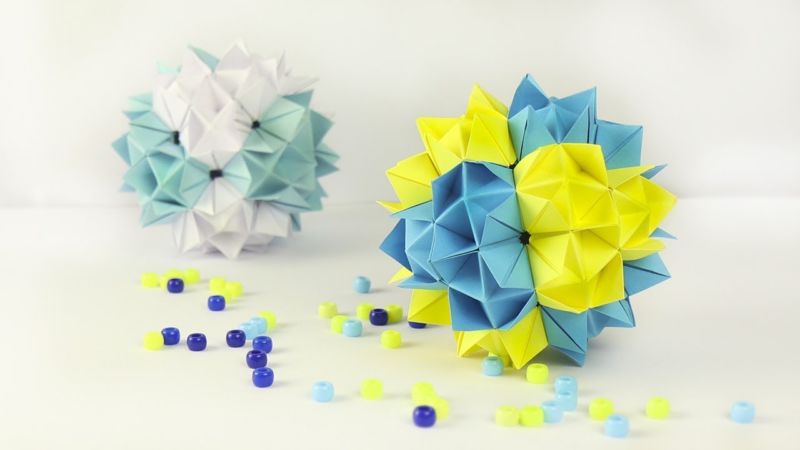
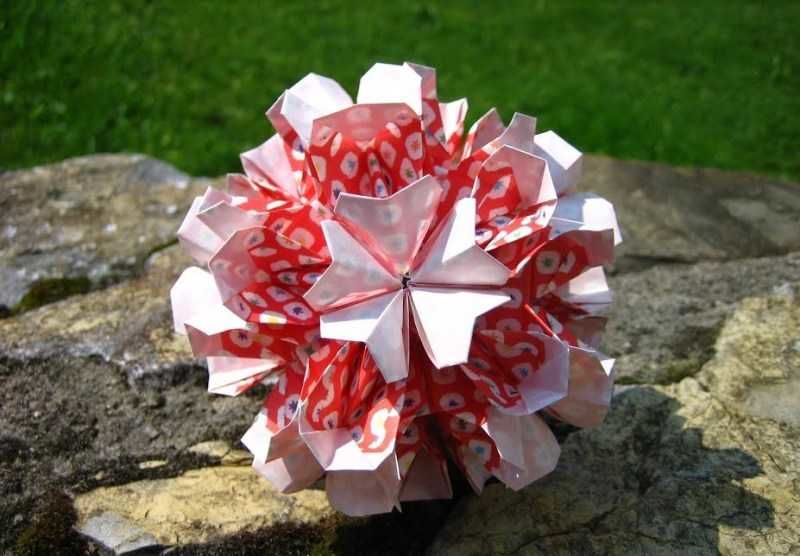
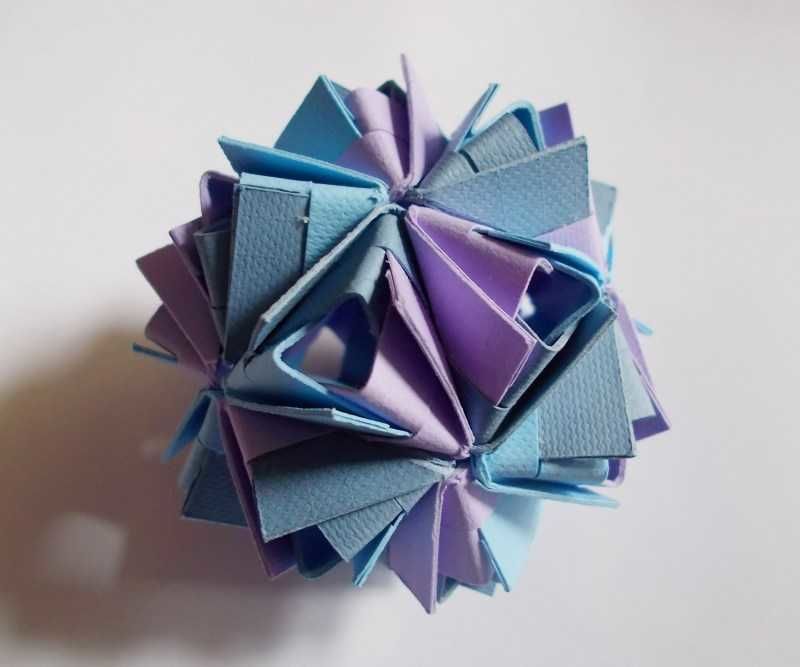
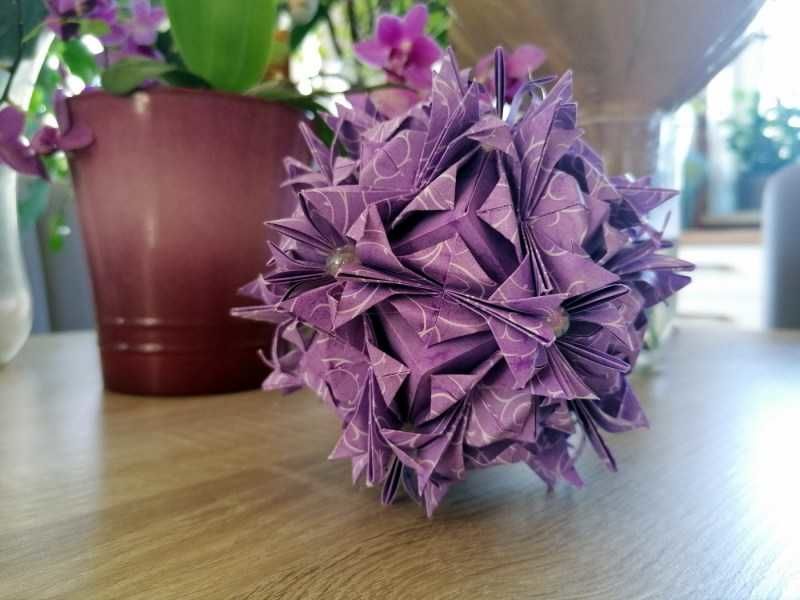
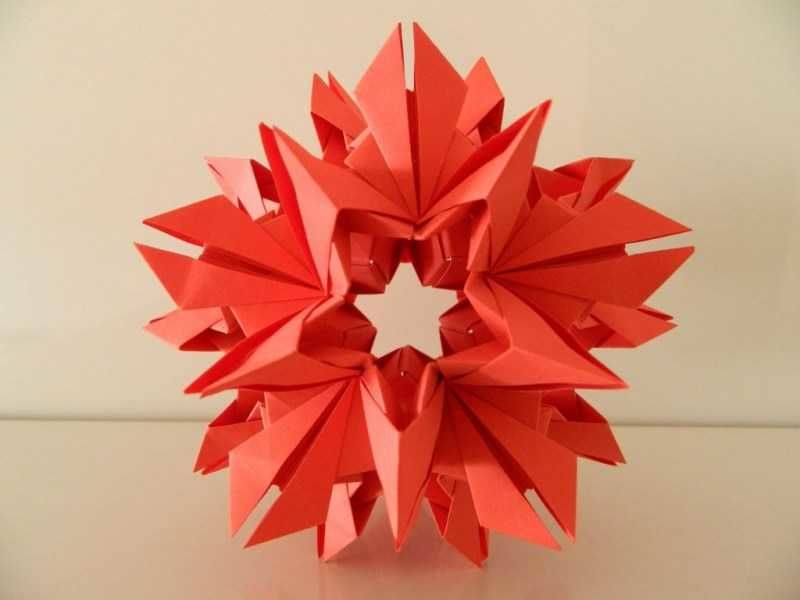
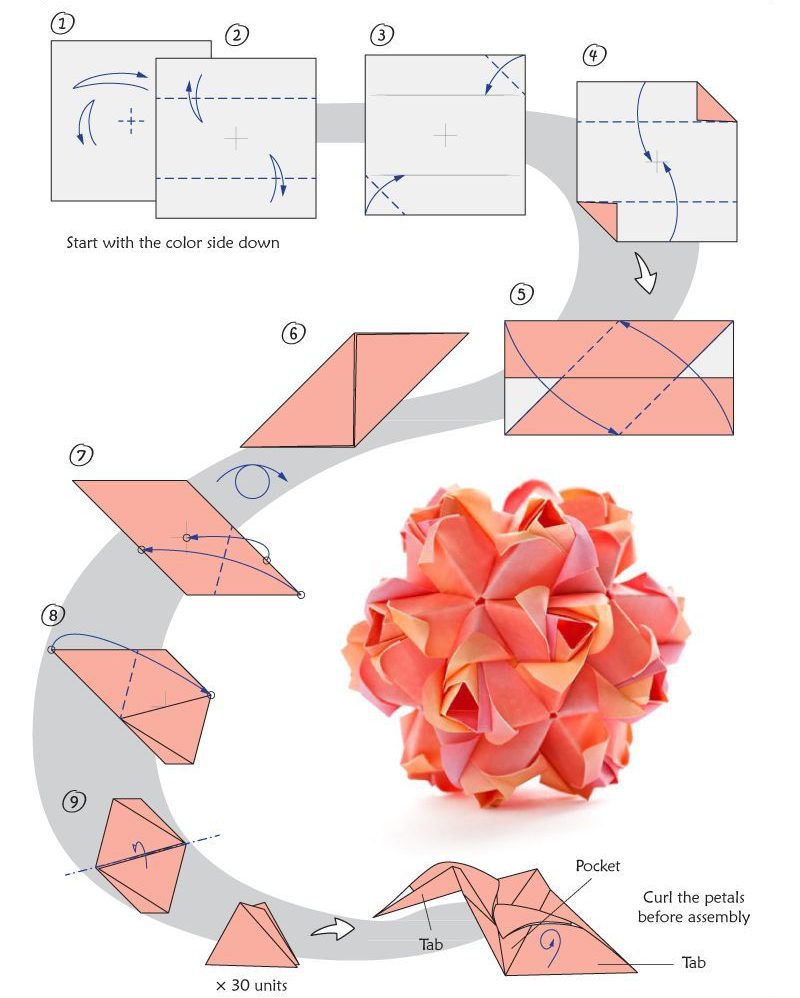
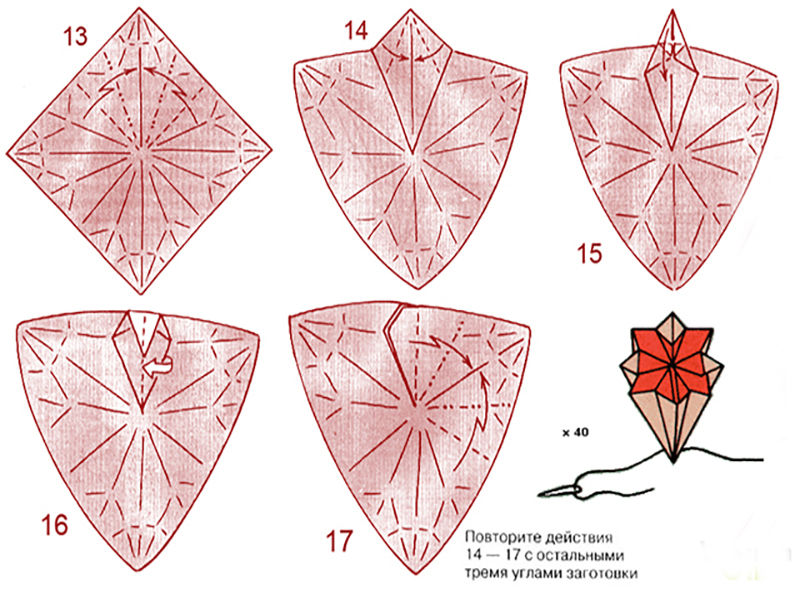
Carnations
Carnation composition consists of 30-40 parts. It turns out volumetric, for which it is called "super ball". Since there are many parts, it will take a long time to prepare them.
For the blanks take square sheets with a side length of 8-10 cm (you can take other sizes):
- First outline the diagonals.
- Turn the sheet over and bend horizontally and vertically. Each line of the fold well progladte.
- Fold into a "double square".
- The corners of the sides bend to the center line.
- Turn over and on the other side also fold the corners to the center.
- Bend back the triangles and hide inside.
- Free corners at the bottom bend to the middle.
- The resulting bottom corner bend up to the base of the triangle.
- Repeat on the other three sides.
- Gently completely unfold the sheet.
- Follow the resulting lines to fold a flower.
You can collect the bud from several pieces of different shades, stitching them together. Finished carnations sew or glue into a volumetric composition.
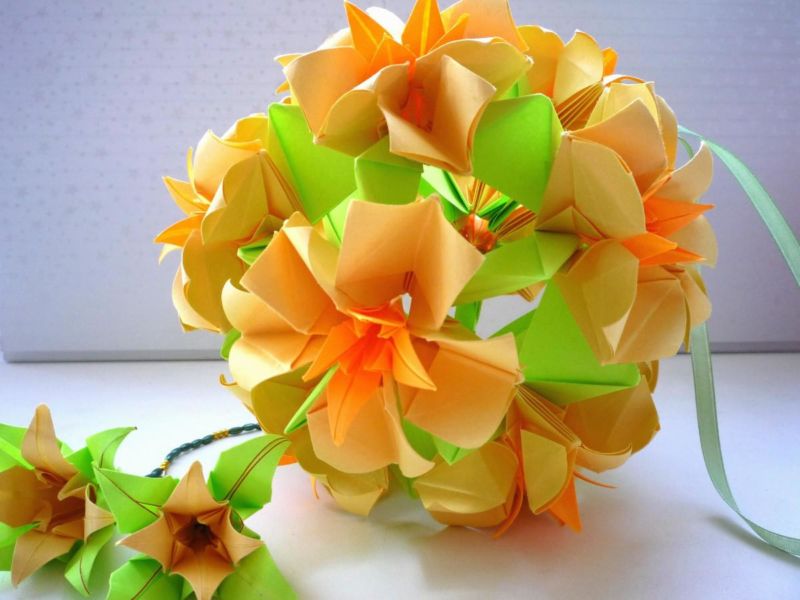
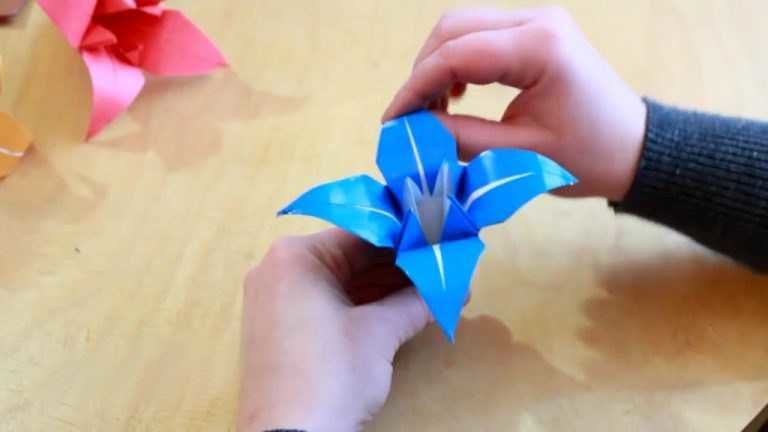
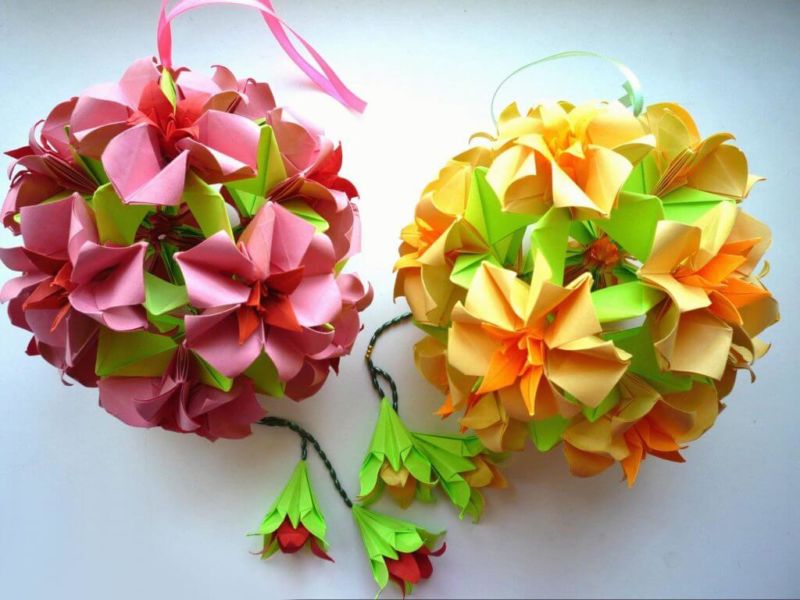
Lilies
The second name is irises. Beautiful, volumetric, refer to the classic figures of several centuries. Each flower has three parts. Two are the petals of the flower itself and the third is the sepal.
It is beautiful when the petals are made in two colors. For example, one piece is white and the second is pink. The third for the sepals are made of green paper. Elements are inserted into each other, placing so that the petals of the lower part were between the petals of the upper.
For the ball of 12 colors need to add a scheme of 36 pieces. Of green paper 12 sepals, 12 white and pink for the petals. For more naturalness, the edges of the petals are twisted with a pencil.
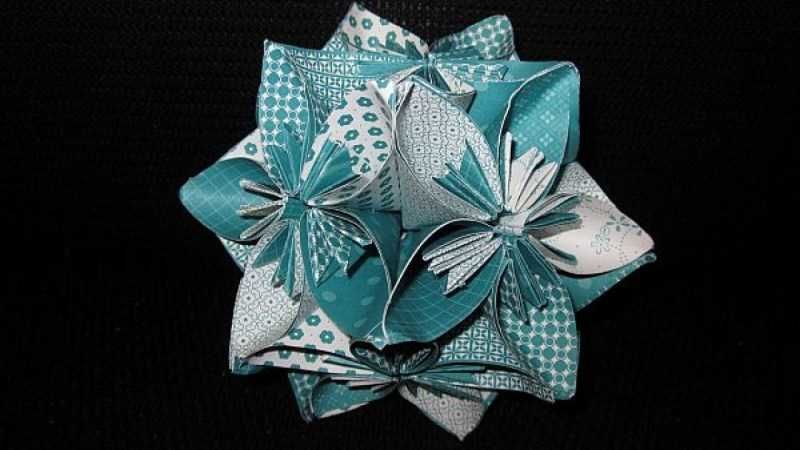
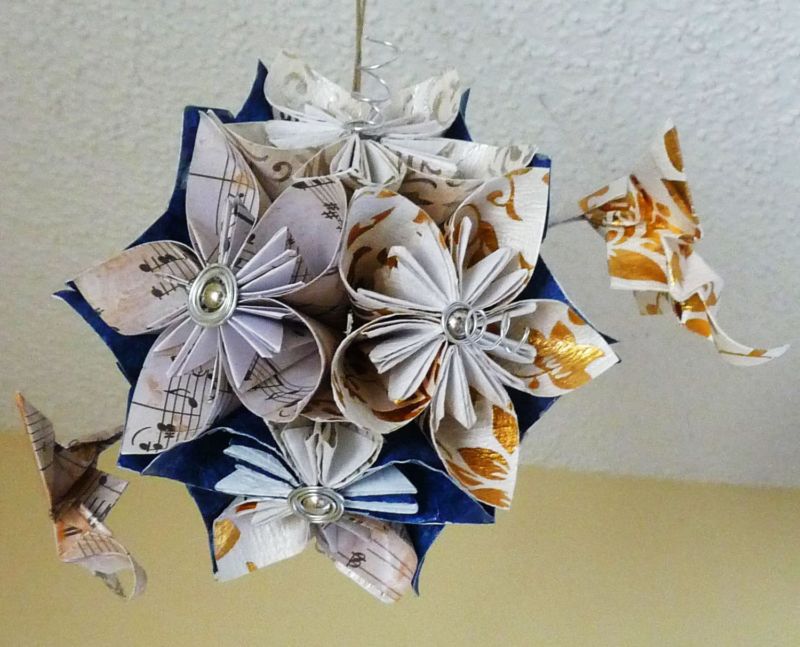
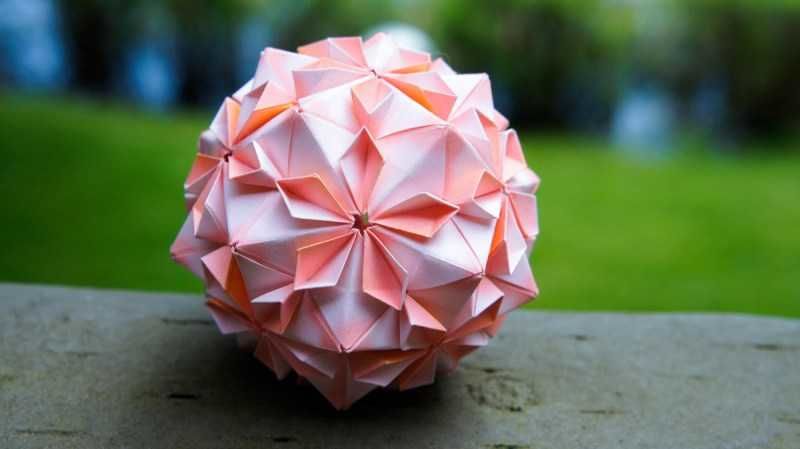
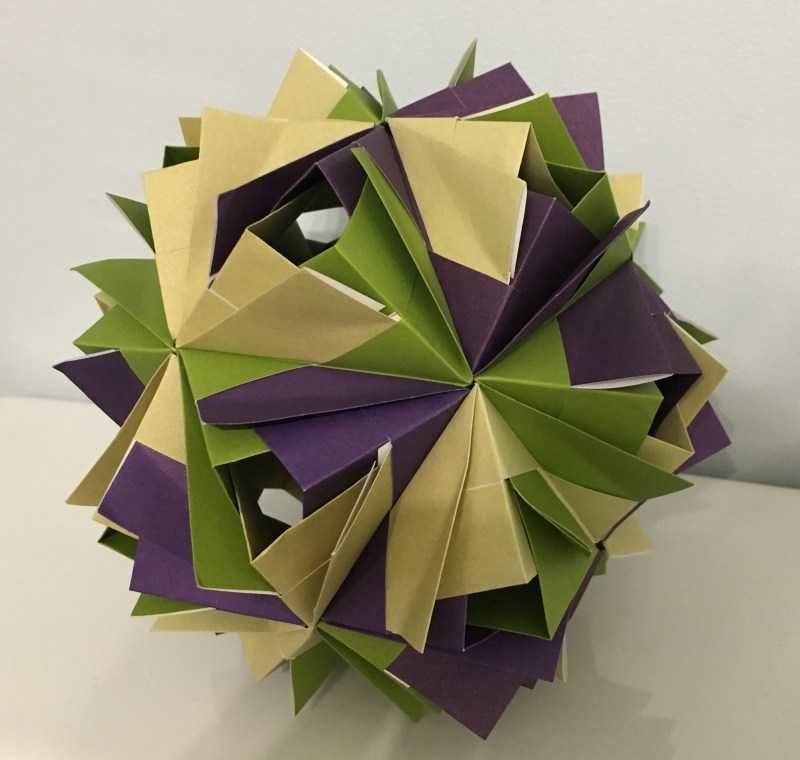
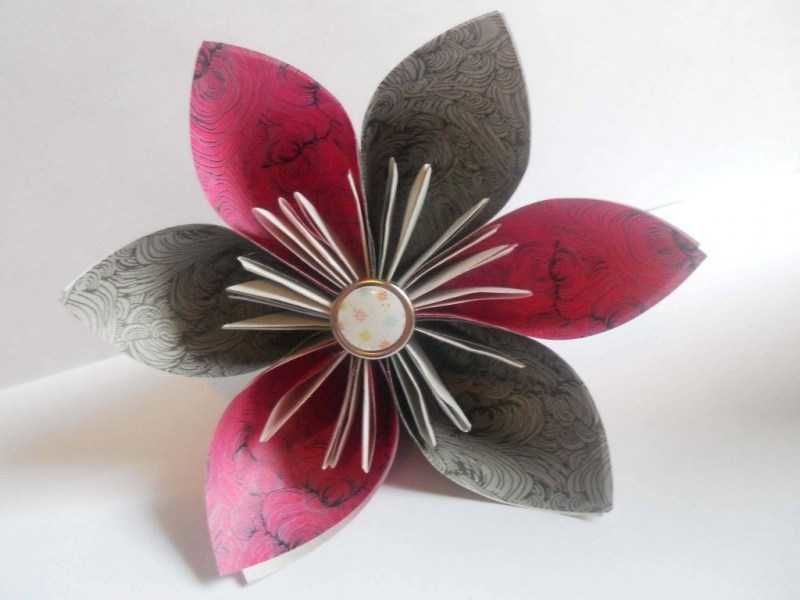
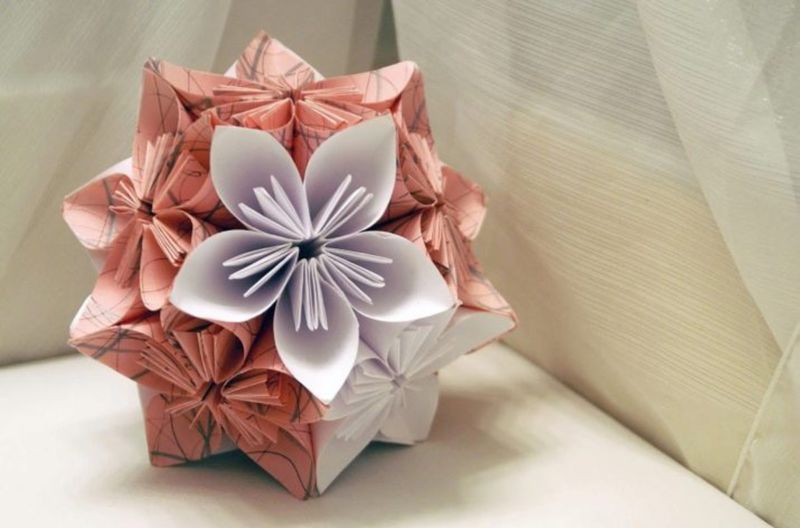
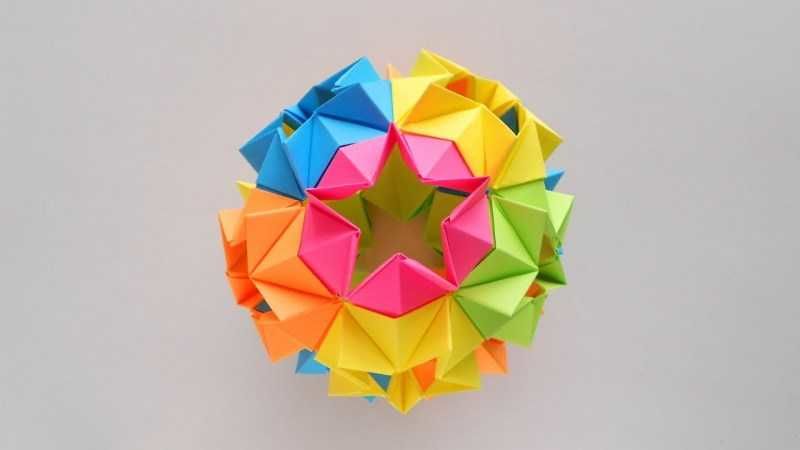
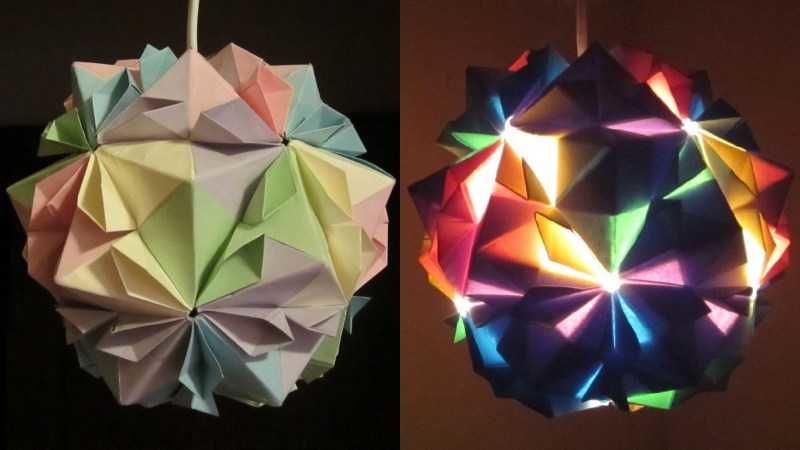
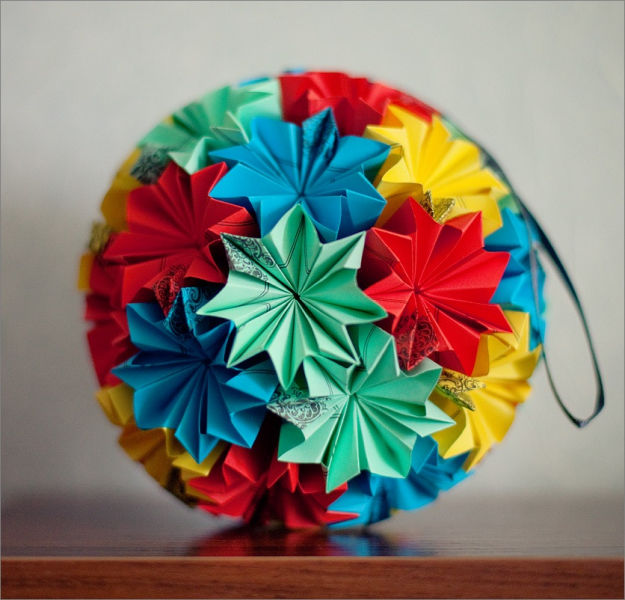
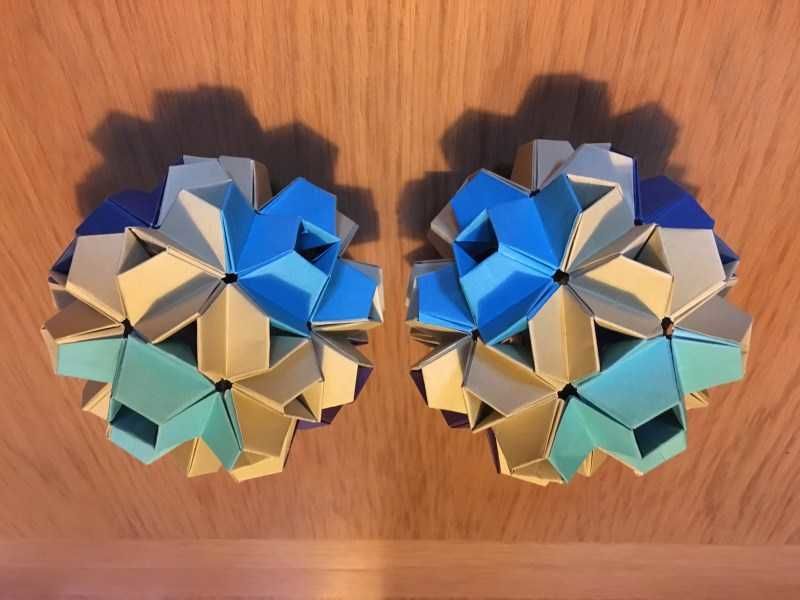
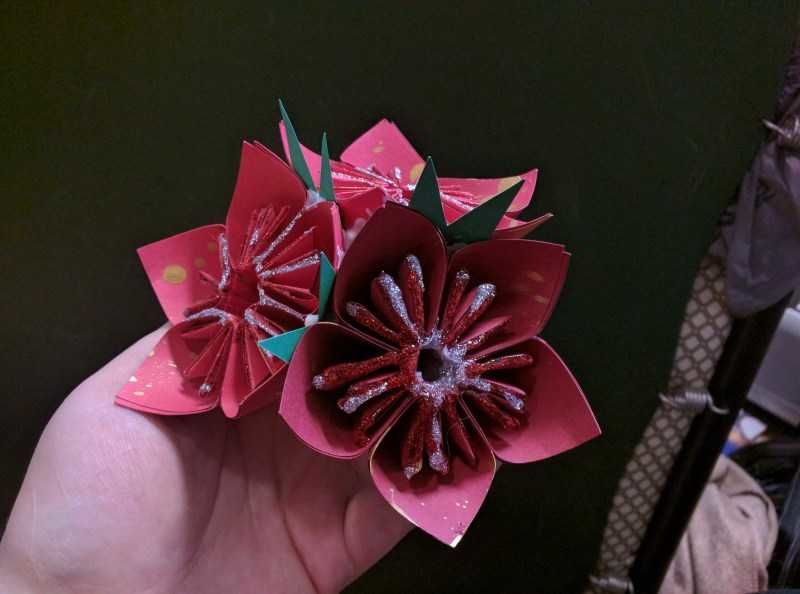
Sakura
This type is different peculiarity of gluing the blanks with each other. They are glued to the ends of the petals, an effect of openwork and lightness.
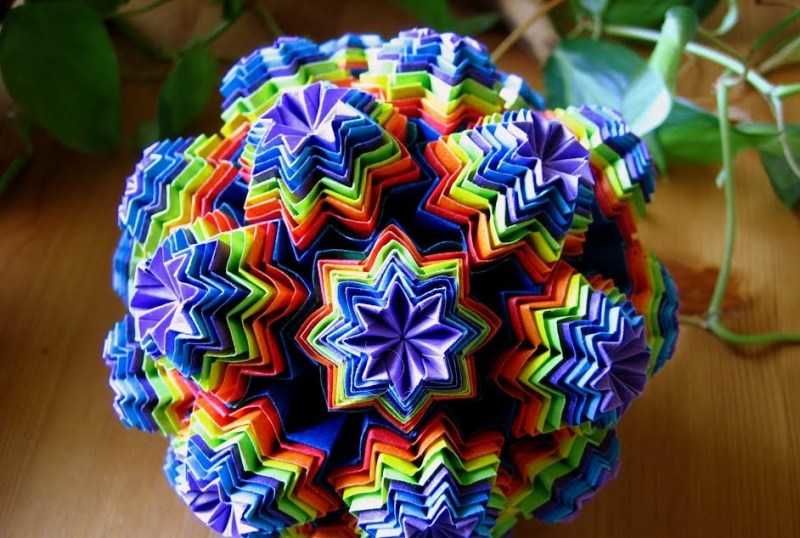
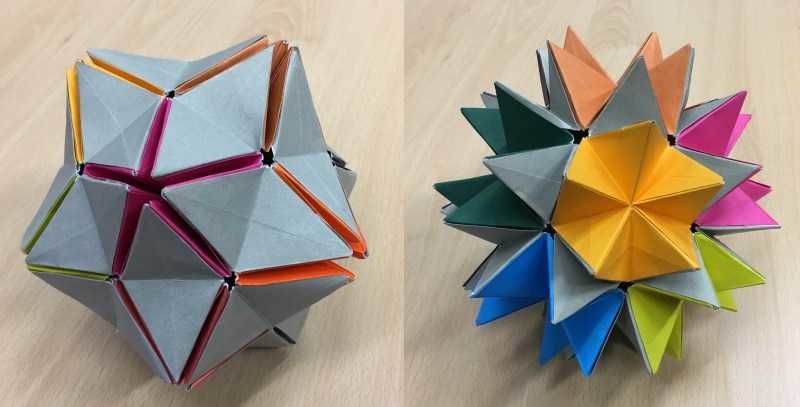
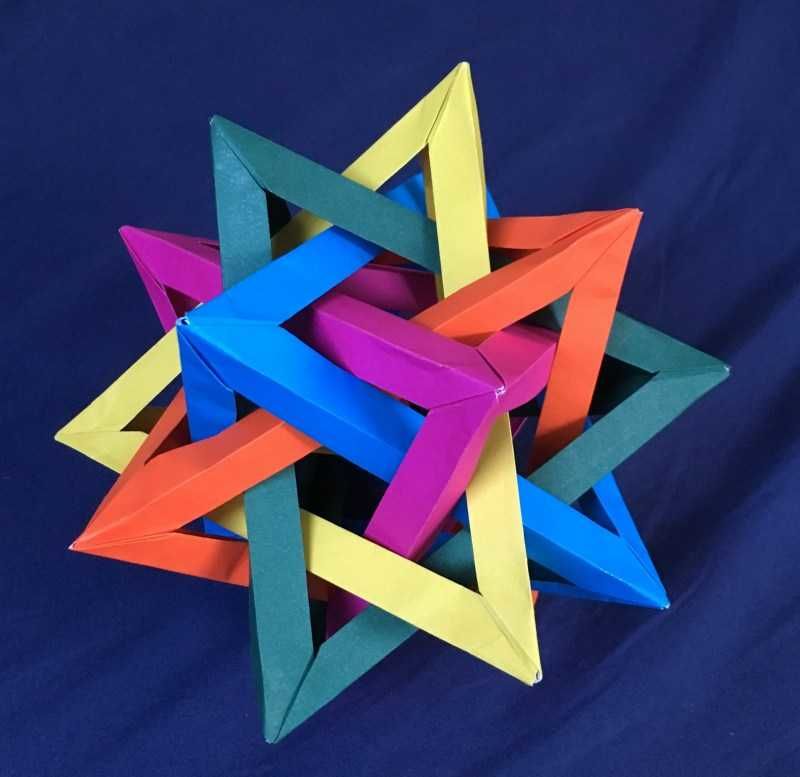
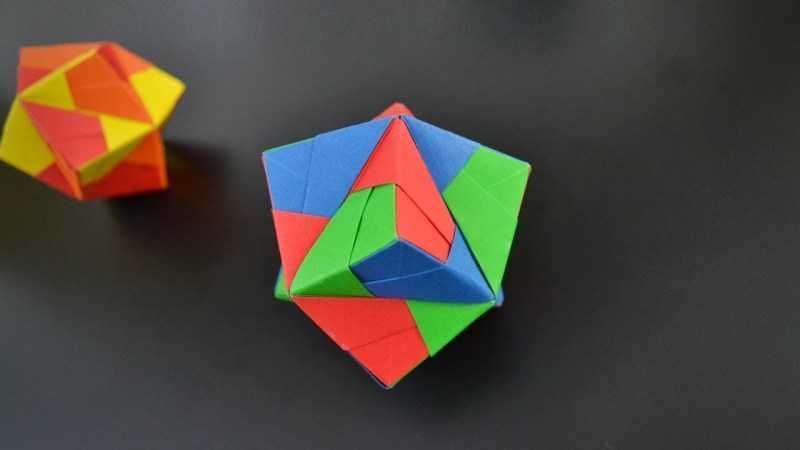
Popular types
In addition to the most common, there are many quite popular types.
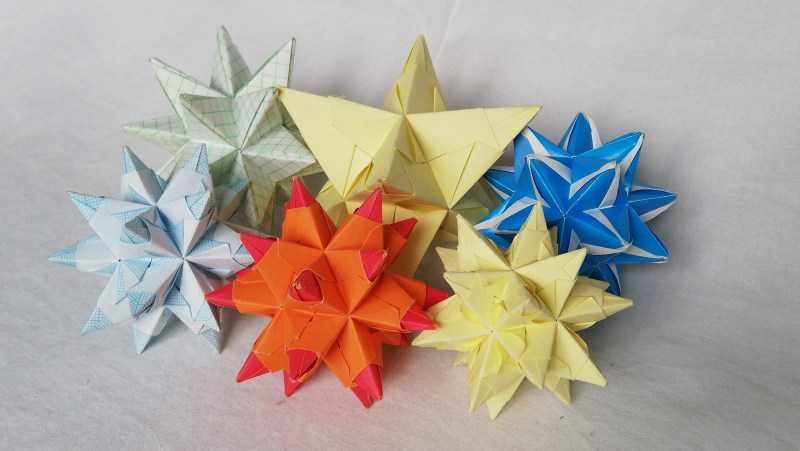
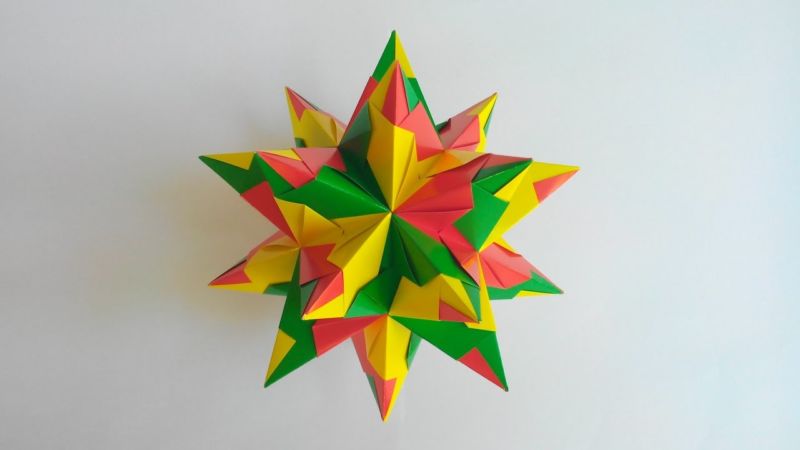
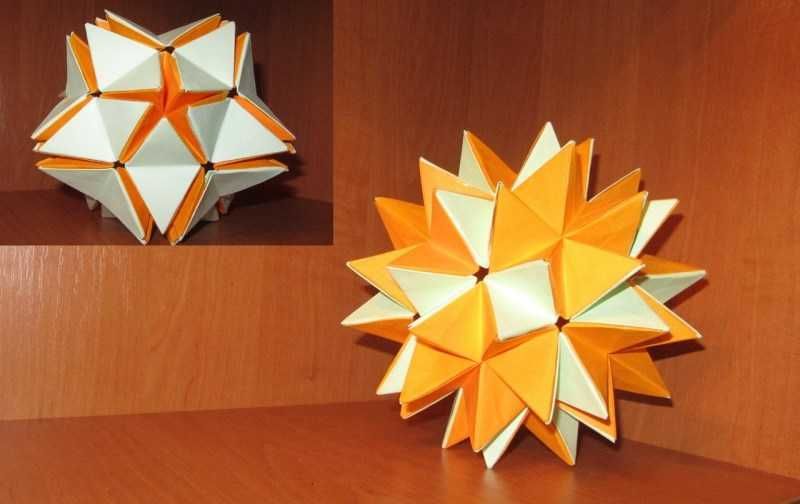
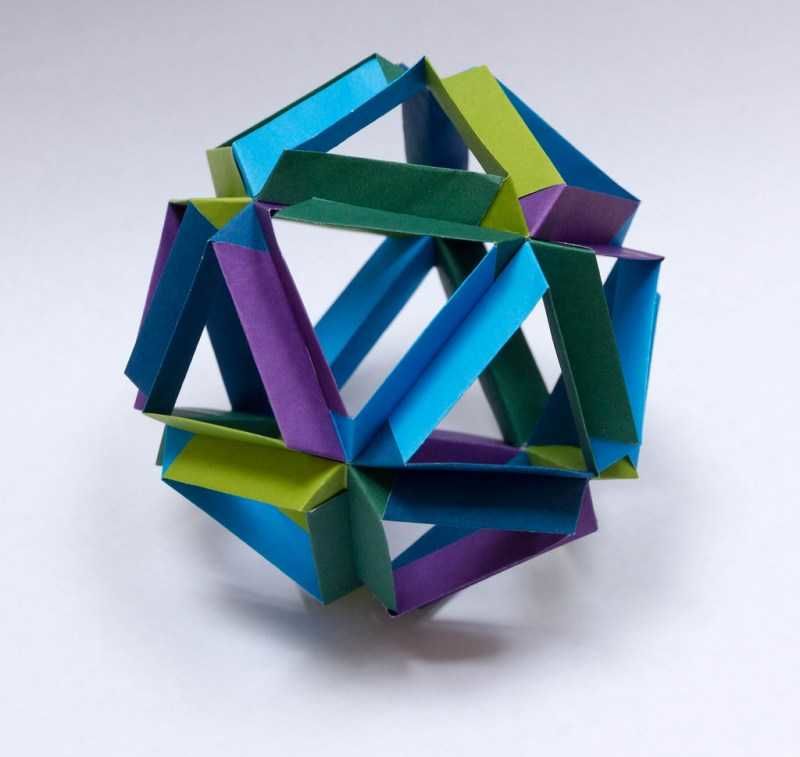
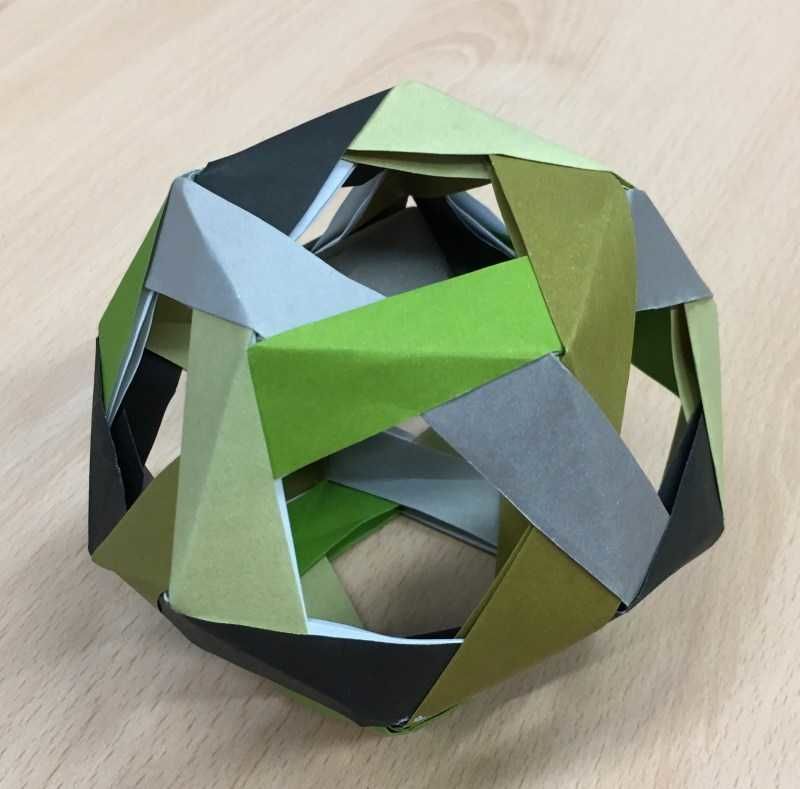
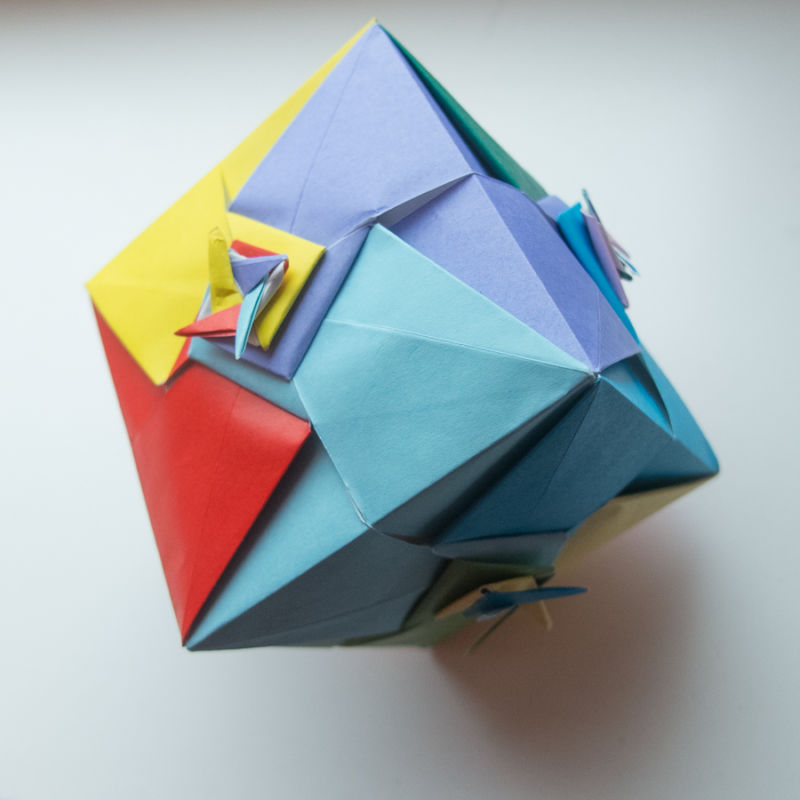
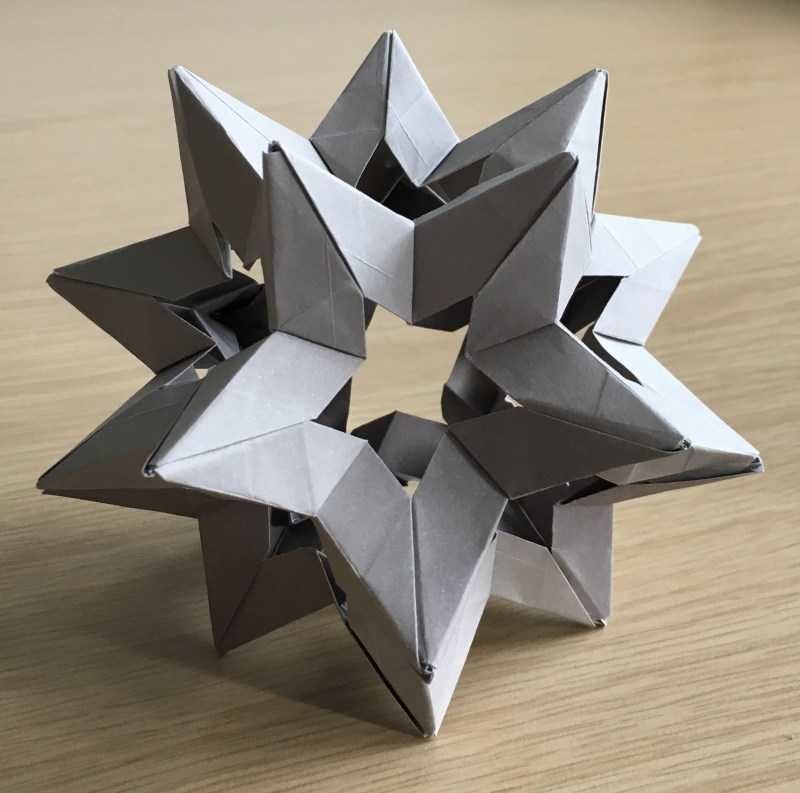
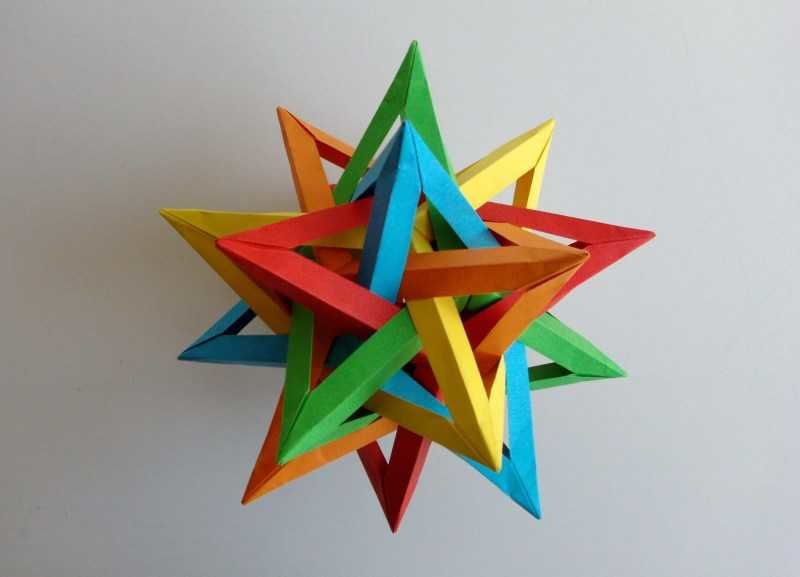
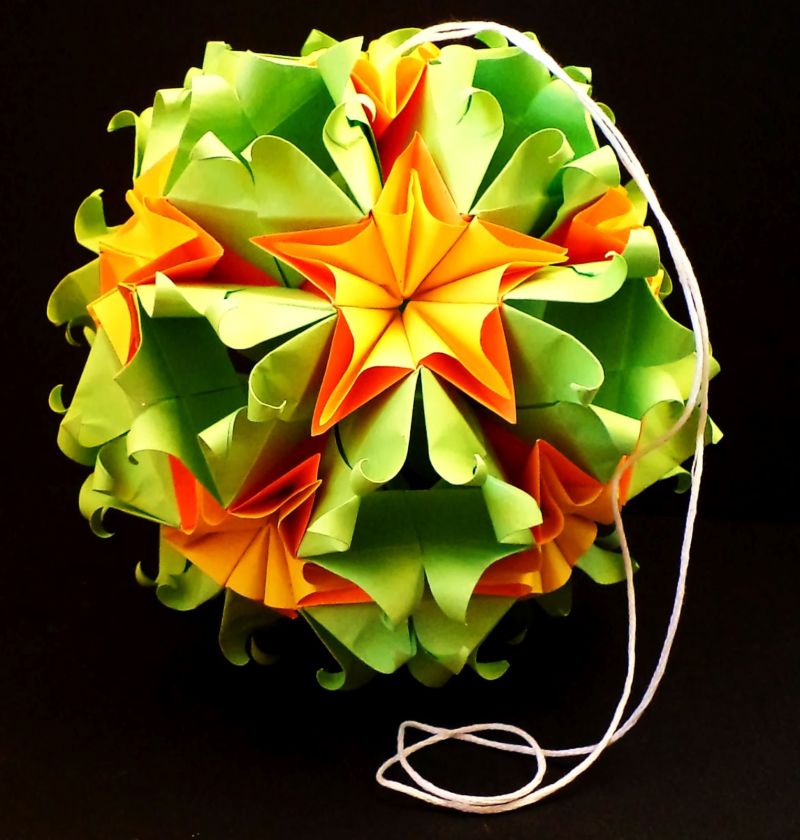
- Diamond.
- Star.
- Openwork ball.
- Primrose.
- Electra.
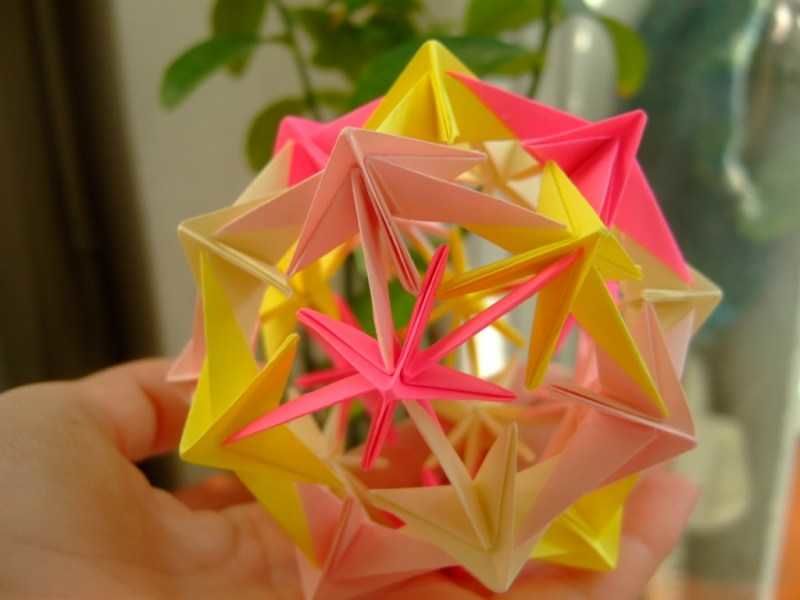
For all on the Internet a lot of schemes and training videos, so choosing your favorite option, having minimal skills, you can learn this type of Japanese art yourself.
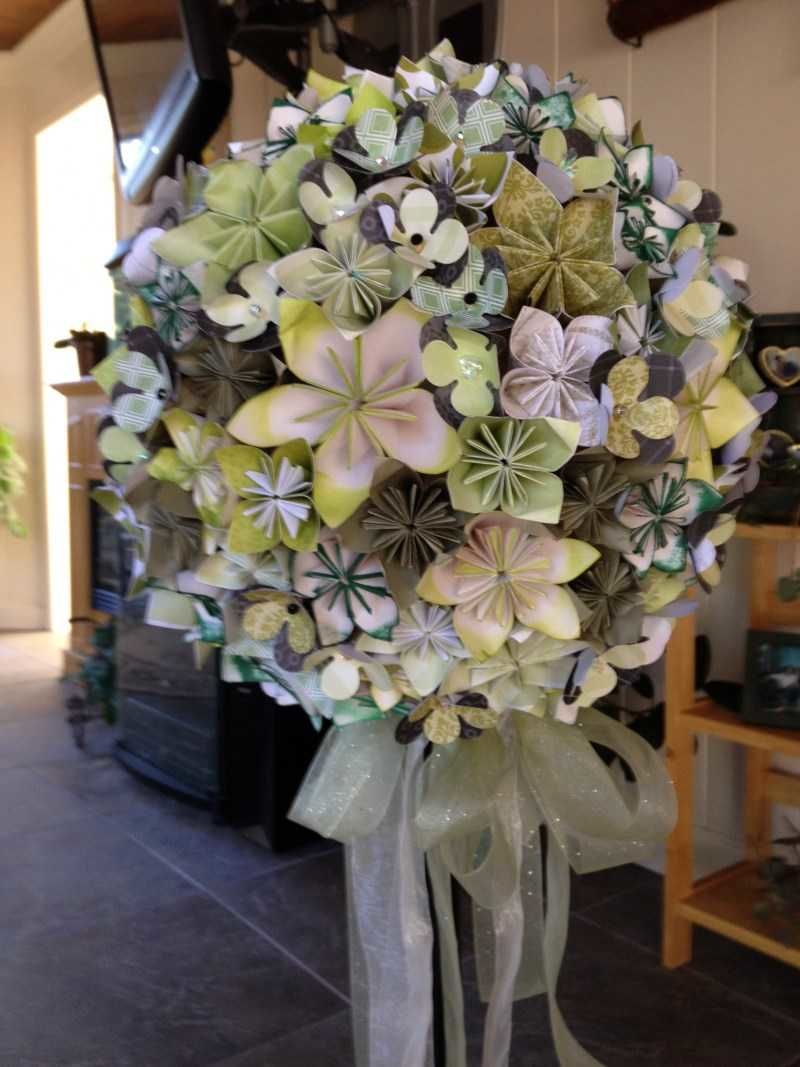
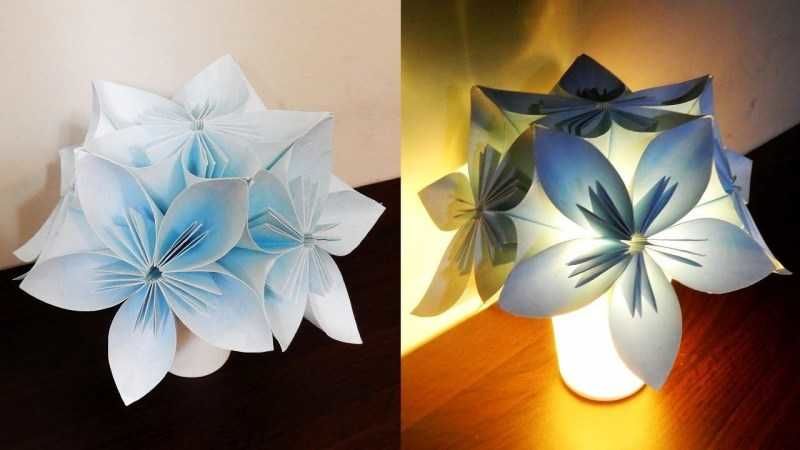
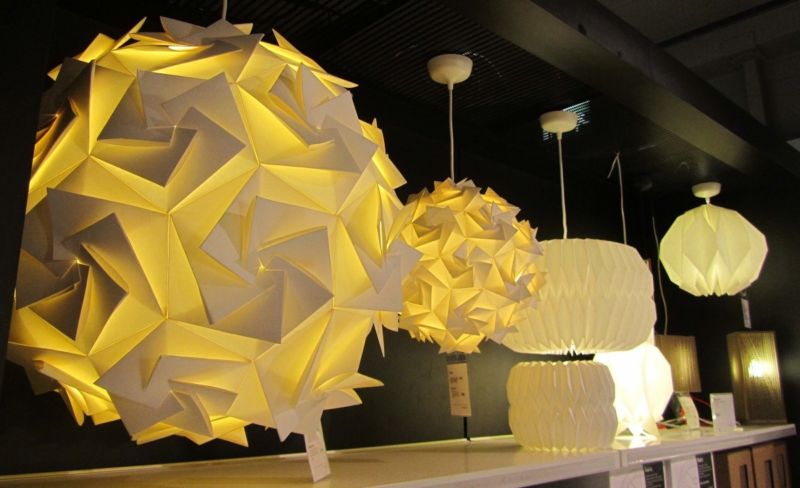
Application in modern life
Flower balls are used not only in Japan for holiday decorations. They decorate banquet halls around the world, decorate various themed events. Handicrafts in this style are beautiful and unusual. They can be an original gift or Christmas interior decoration.
This is interesting. Varitama is a type of kusudama of a special design. Spheres of large size are suspended on a height. At a certain moment according to the scenario of the event, they open into two parts and from them spill out sequins, flower petals or confetti.
In Japan, the opening of a new restaurant or store is decorated with lucky balls. It is believed that this is sure to bring good luck.
This Japanese handicraft activity brings not only aesthetic pleasure, but also practical benefits. It develops fine motor skills, assiduity, and imagination in children.

For adults, creative process allows to switch off from daily routine. For older people, such handicrafts - the prevention of diseases of the joints of the hands. Having mastered this Japanese technique, you can always make an original gift or decorate the interior.
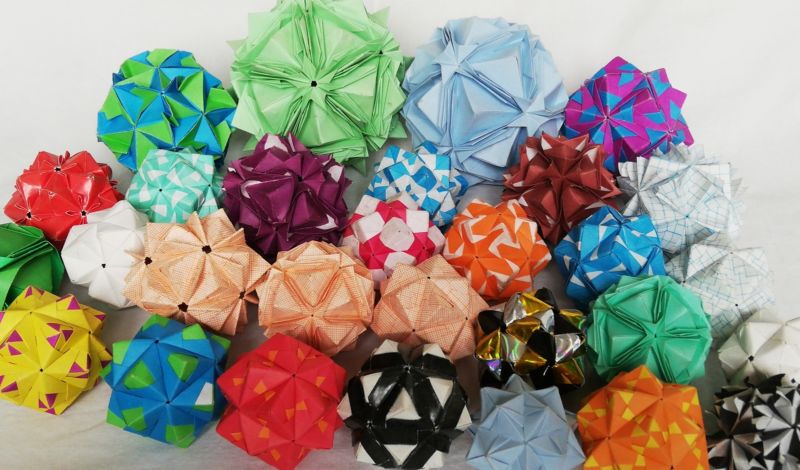
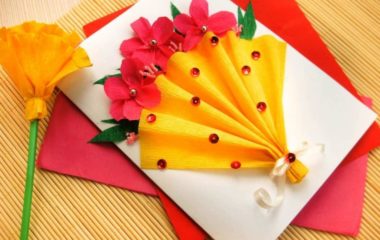
Photo ideas of homemade kasaduma