How to make a mask out of paper with their own hands: a master class with photos and step by step instructions
At a carnival, a masquerade, any holiday you want to look spectacular. The mask adds mystery and allows you to reincarnate, involves in the game and creates an atmosphere of joy.
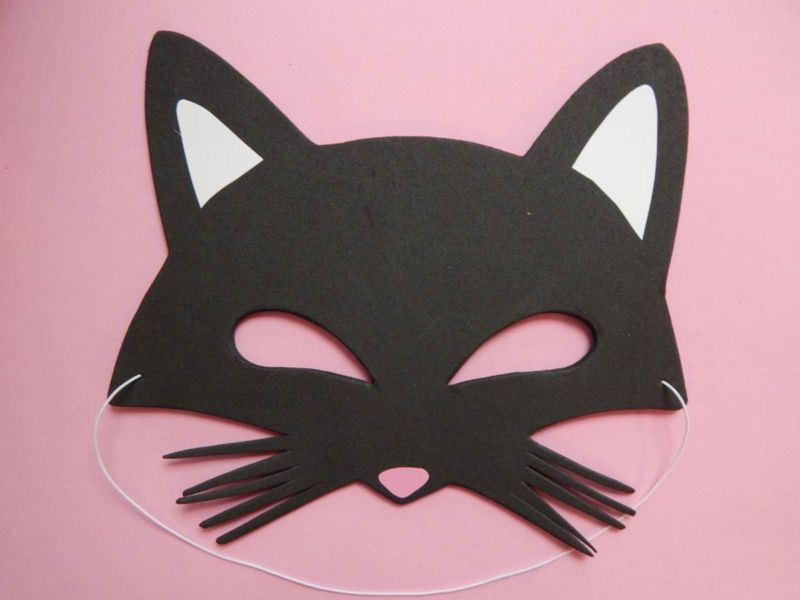
Masks can be three-dimensional, flat, papier-mache and others. The easiest way to make a flat mask. Take heavy paper or colored cardboard, gouache or paint, pencils, fabric, sequins, rhinestones and everything else your imagination prompts you to make a colorful and unique product.
Scissors, a ruler, and a utility knife are all useful tools. You need to think about how to fix it on your head and choose a braid, elastic band, or strap.
It is easier to choose a ready-made template and print it out on a printer, but it is much more interesting to create one from your own sketch.
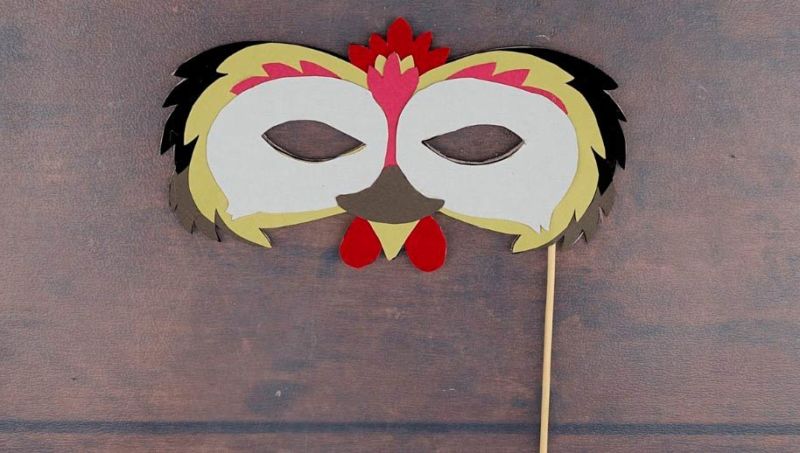
Making a mask from paper
Make an accessory for the upper part of the face. Prepare:
- thick paper (preferably colored);
- cardboard;
- a simple pencil;
- paints or felt-tip pens;
- colored pencils;
- glue;
- ribbon for tying;
- elements of decoration.
Work Stages:
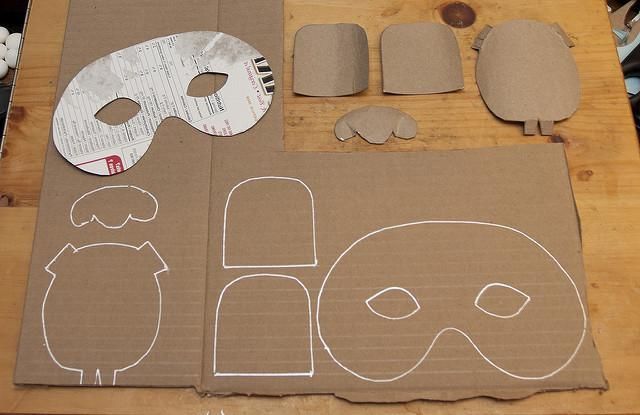
- Measure the distance between the centers of the eyes in a straight line with a ruler.
- Measure the distance from the left temple to the right.
- On paper or cardboard, mark the holes for the eyes according to the obtained dimensions. Mark fastening points for the tape.
- Draw the other details. The eyes can be almond-shaped ("Venetian" masks) or round. The edges of the product can be drawn straight, rounded, pointed or elongated. It is better if the bottom edge does not cover the nose.
- Cut along the outer edges.
- Cut holes for the eyes.
- Decorate the resulting template. You can use paints, ribbons, feathers, beads and more.
- Fasten the ribbon for tying.
The fabricated accessory is more original to attach to a cute hoop or stick instead of ties.
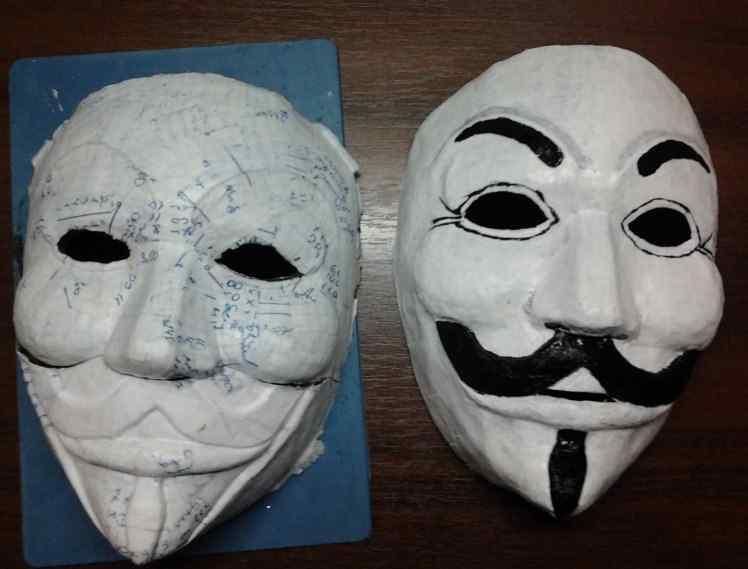
Mask of Anonymous (Guy Fawkes)
Also known as the "Mask of Vendetta" or simply "Mask V." Guy Fawkes, the head of the Gunpowder Plot, was executed in 16th century London. He served as the prototype image of the main character in the comic book and the movie "V for Vendetta".
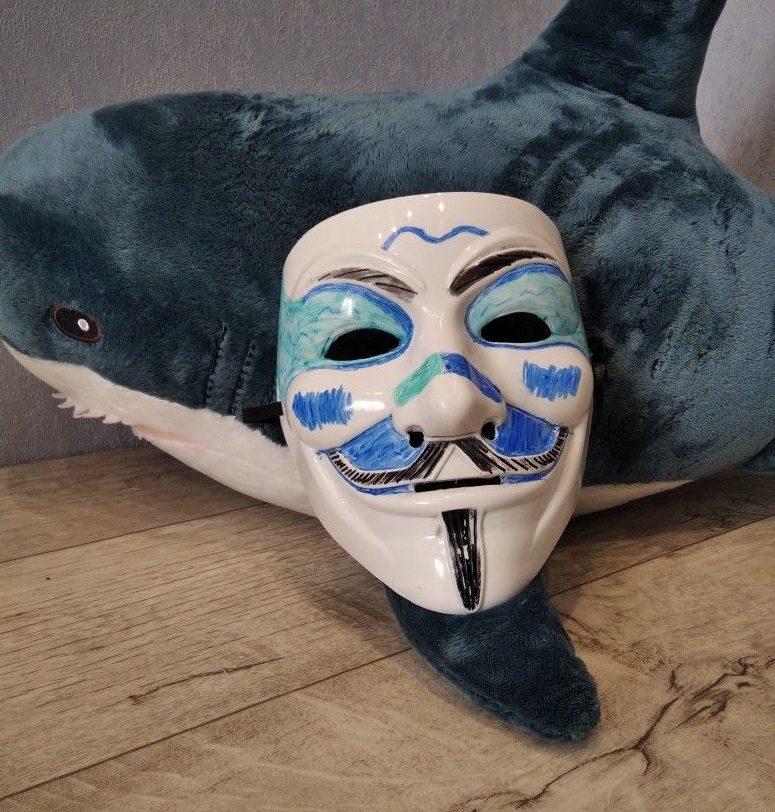
After the film was released, the Guy Fawkes mask, like the portrait of Che Guevara, became recognizable and popular, especially among protesters.
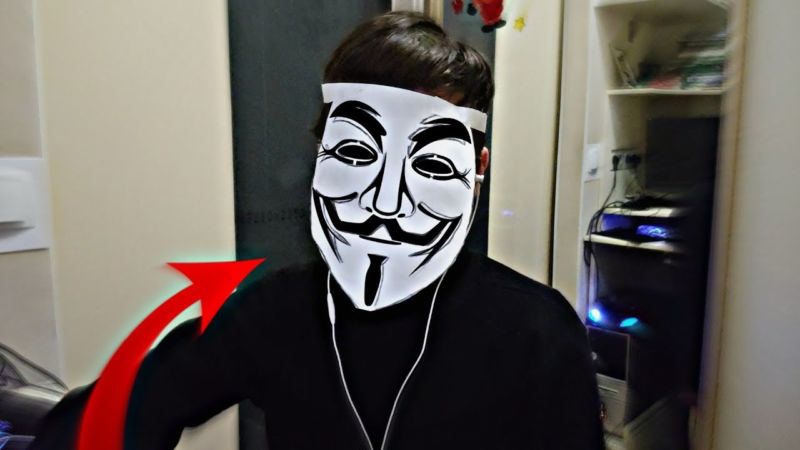
The work will require:
- white paper or cardboard;
- scissors;
- colored pencils;
- Rope (black);
- black marker;
- glue or tape.
Work Stages:
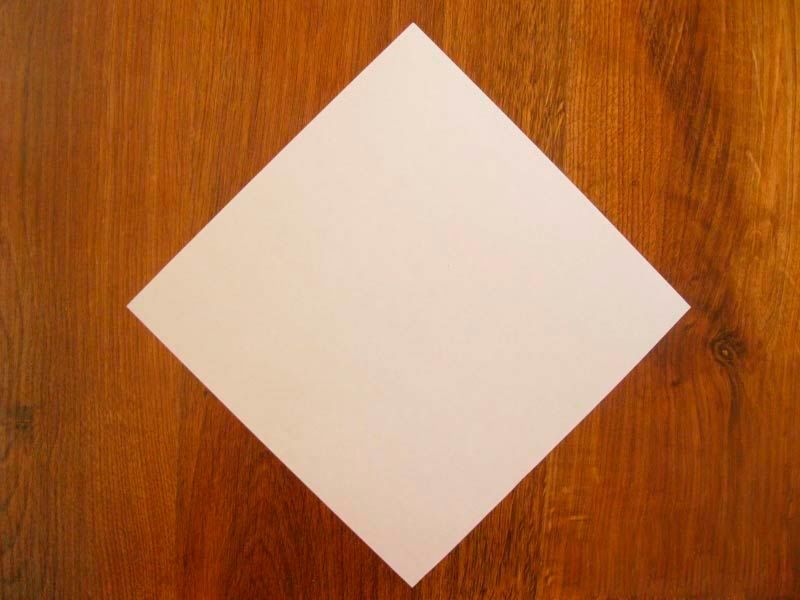
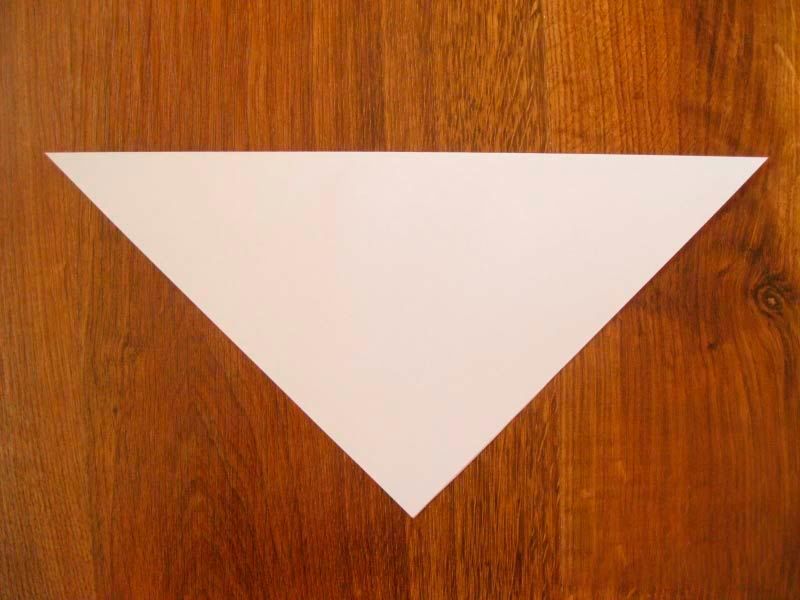
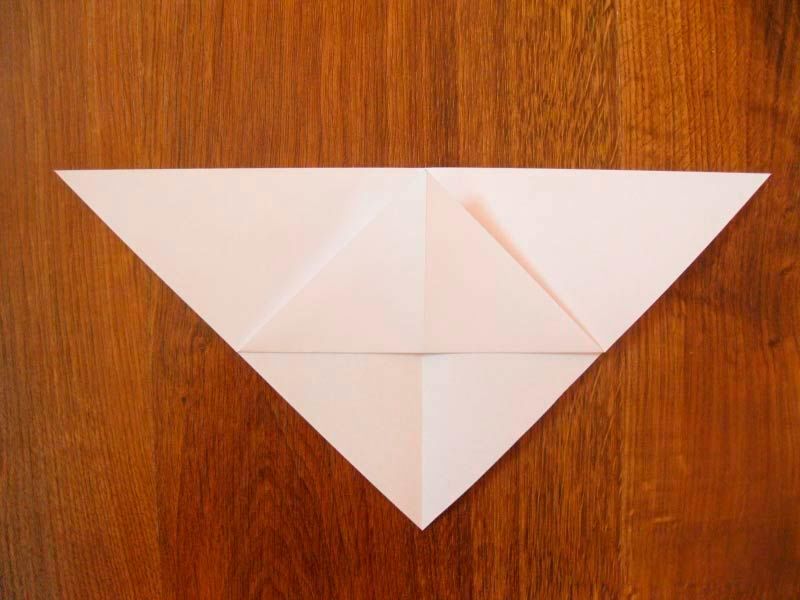
- Draw a general silhouette-an arc at the top, an elongated semi-oval at the bottom. Divide the sheet vertically in half so that the face is symmetrical.
- Make a pencil sketch of the main features of the face: eyes (measure the distance between the eyes beforehand), nose, lower contour of the cheeks, beard, mouth, mustache, eyebrows. It is better to have a picture of Anonymous in front of your eyes.
- Carefully cut out a silhouette.
- Cut holes for eyes.
- Eyebrows, beard and mustache painted with black pencil. Outline all the contours. Lightly shading under the eyebrows and cheeks for volume.
- Draw and paint over the red pencil circles on the cheeks as a blush, and lips.
- On the back side of the mask, attach the ends of the rope.
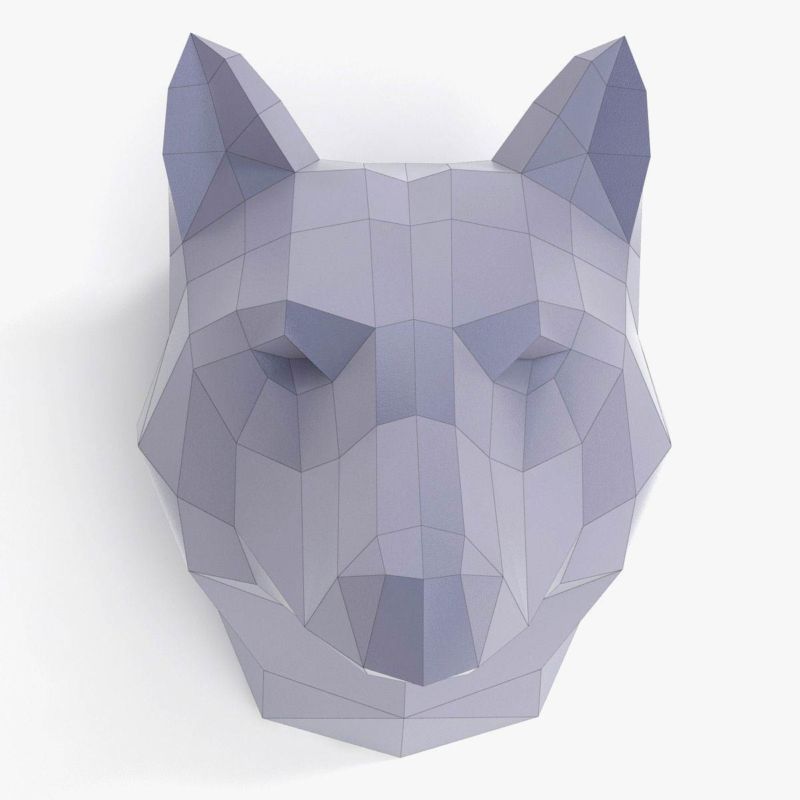
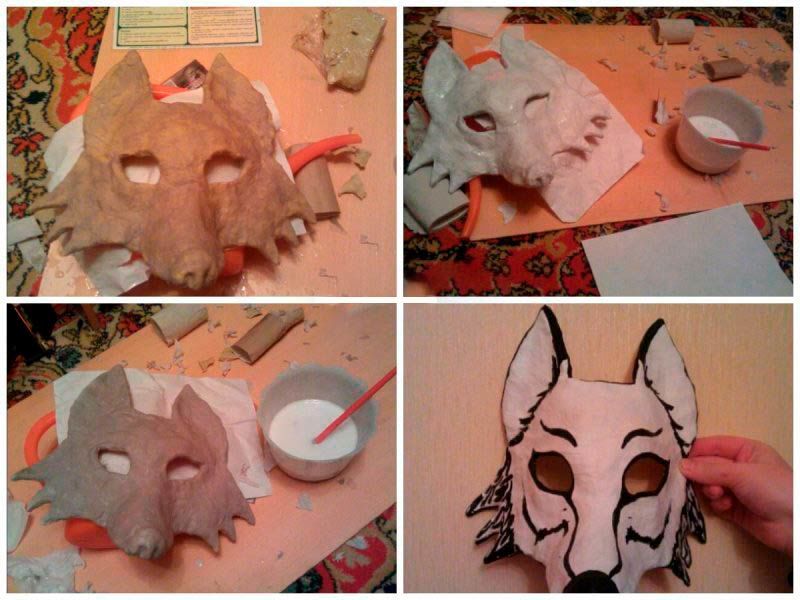
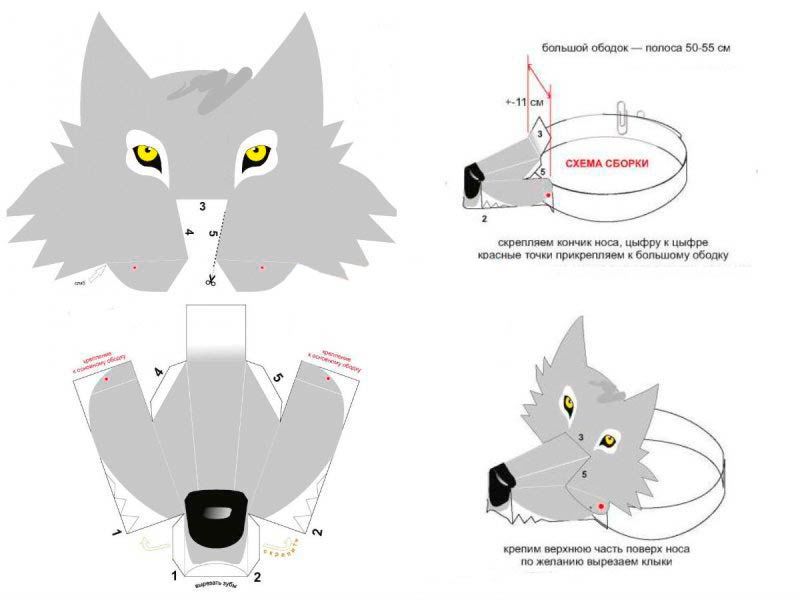
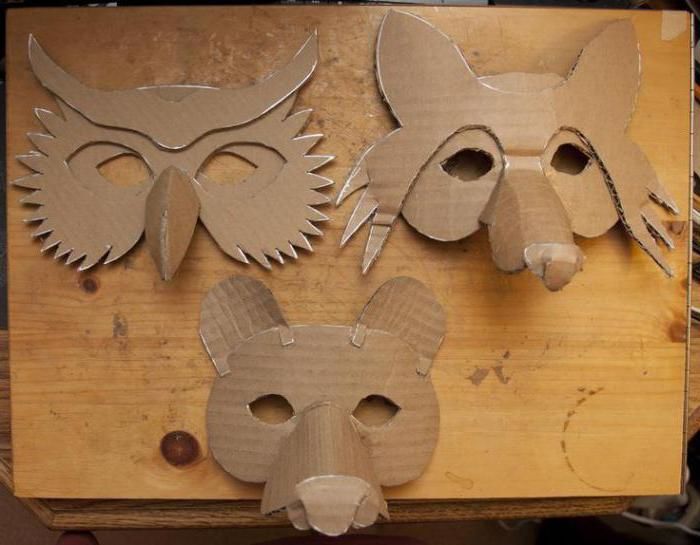
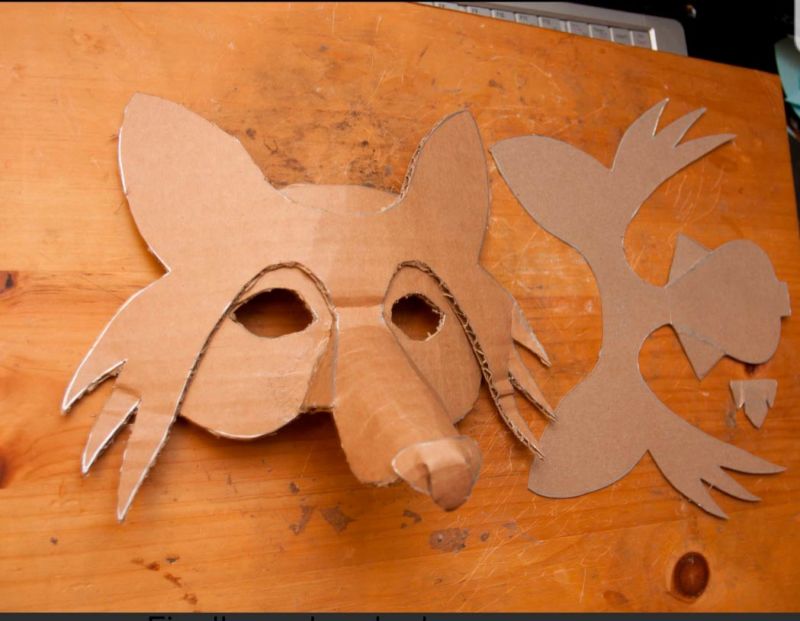
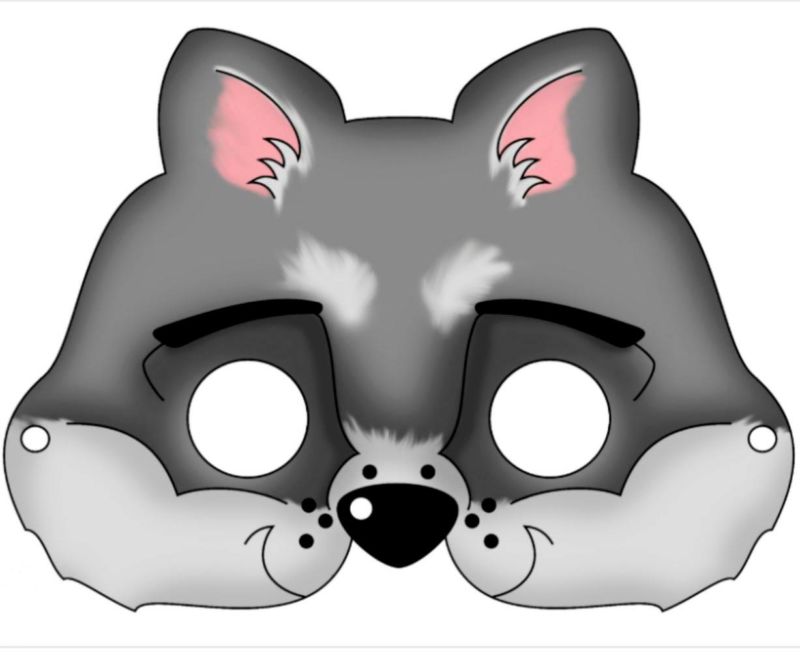
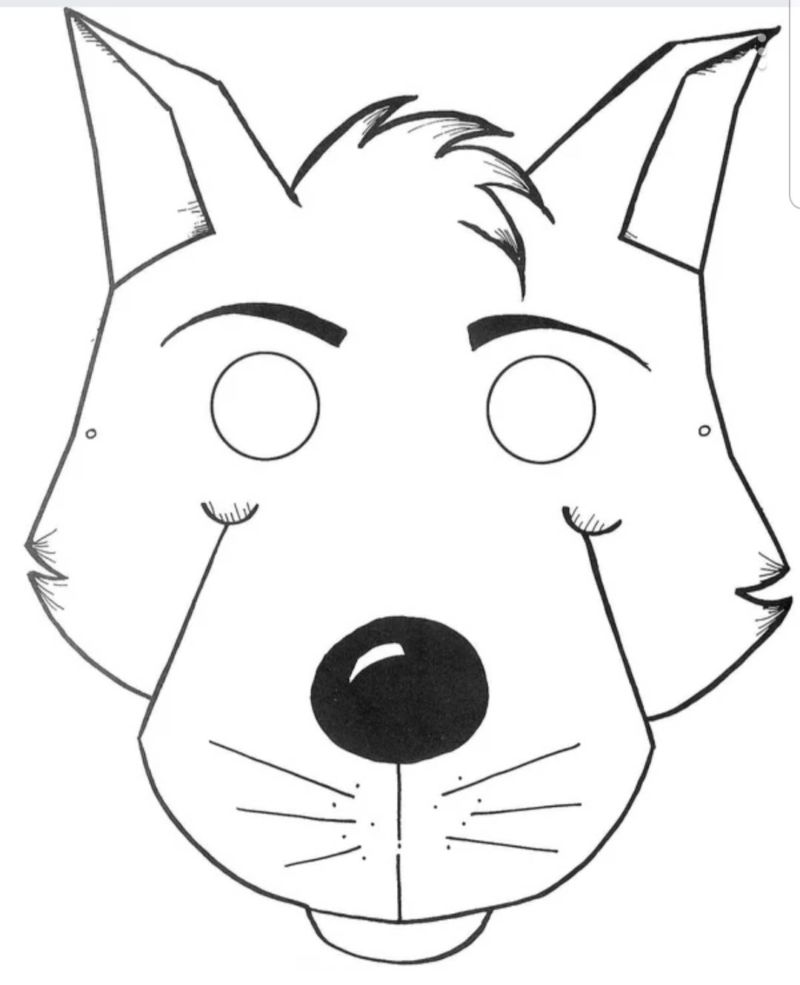
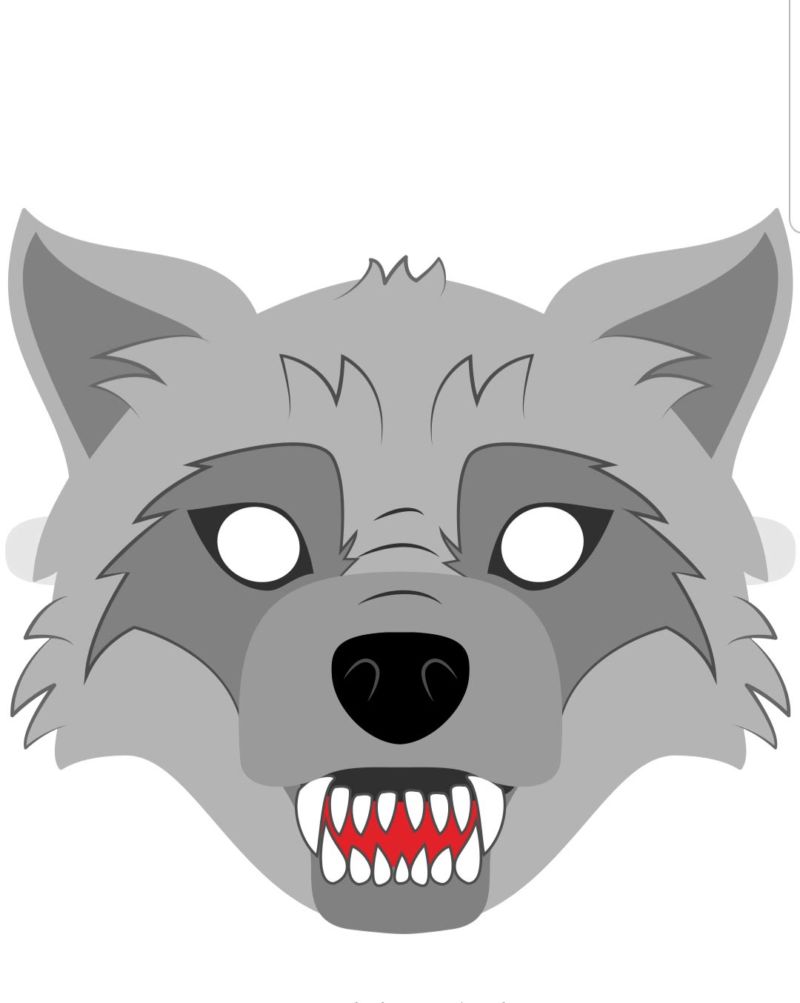
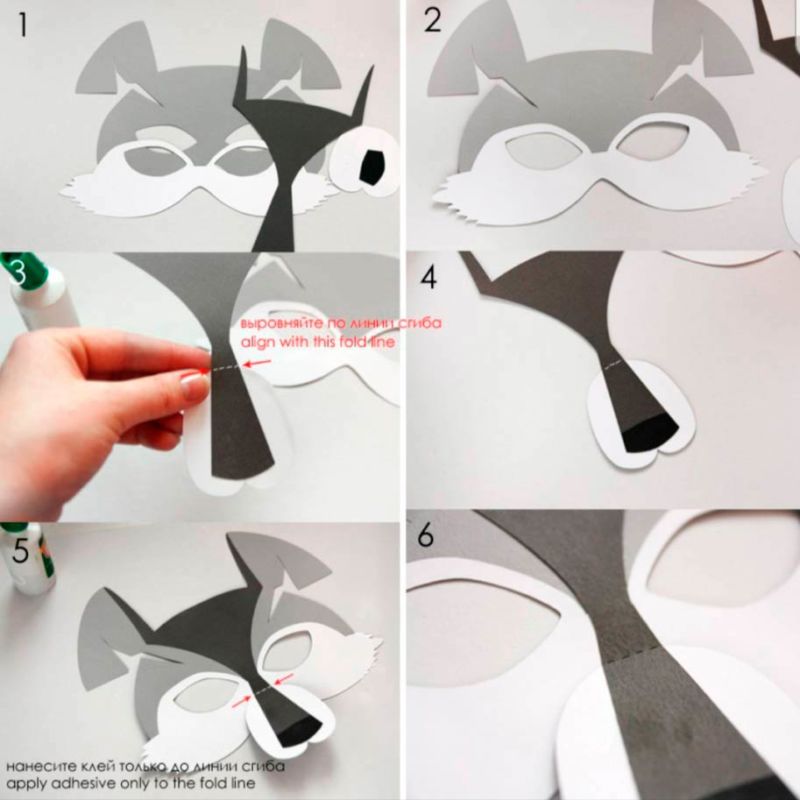
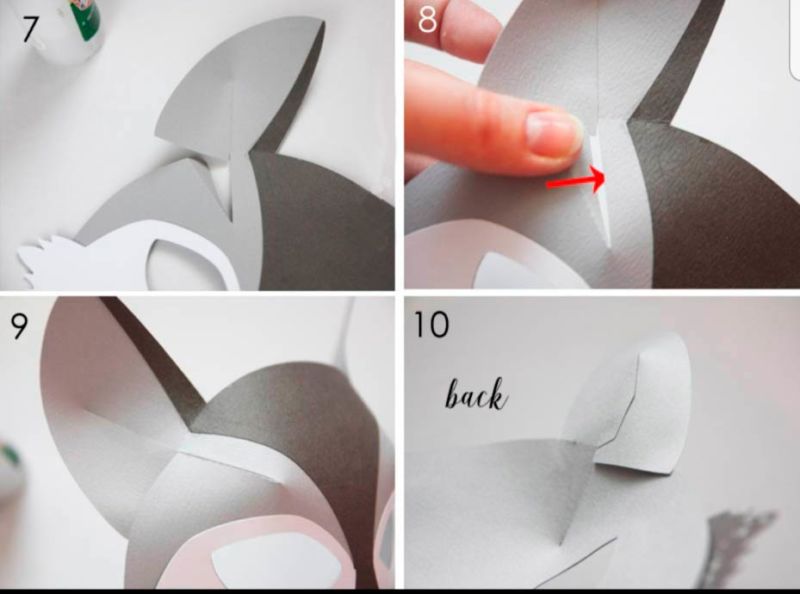
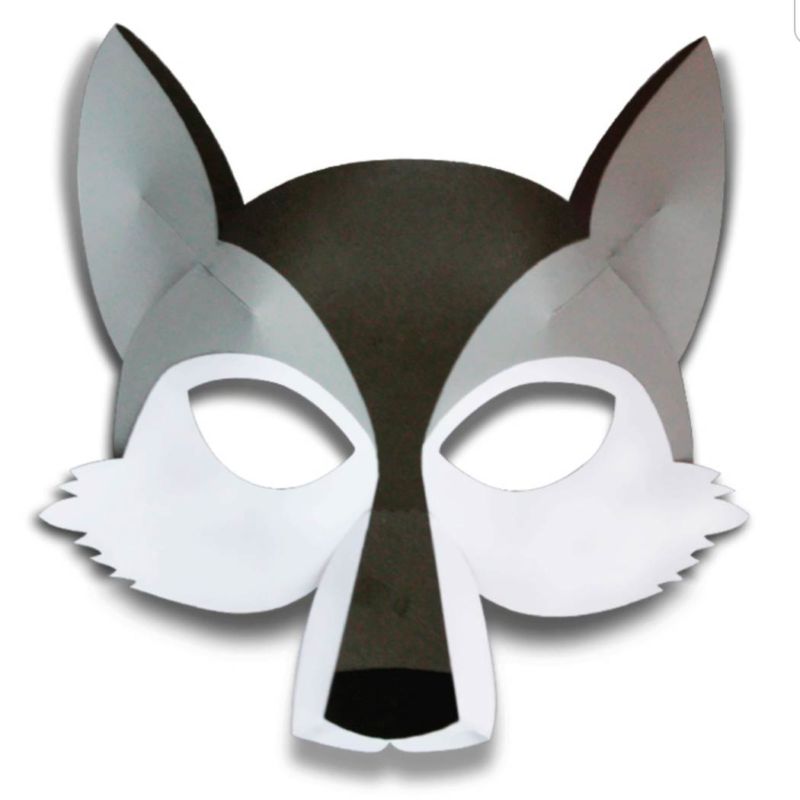
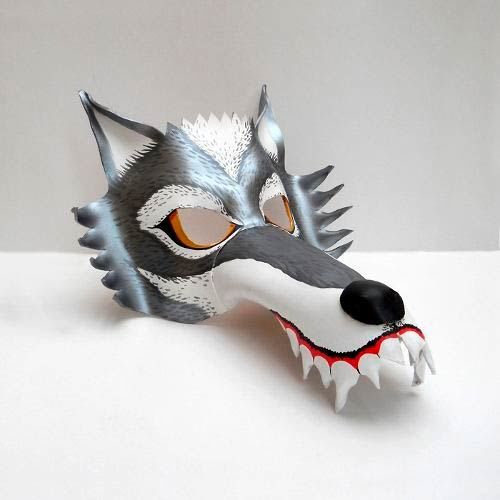
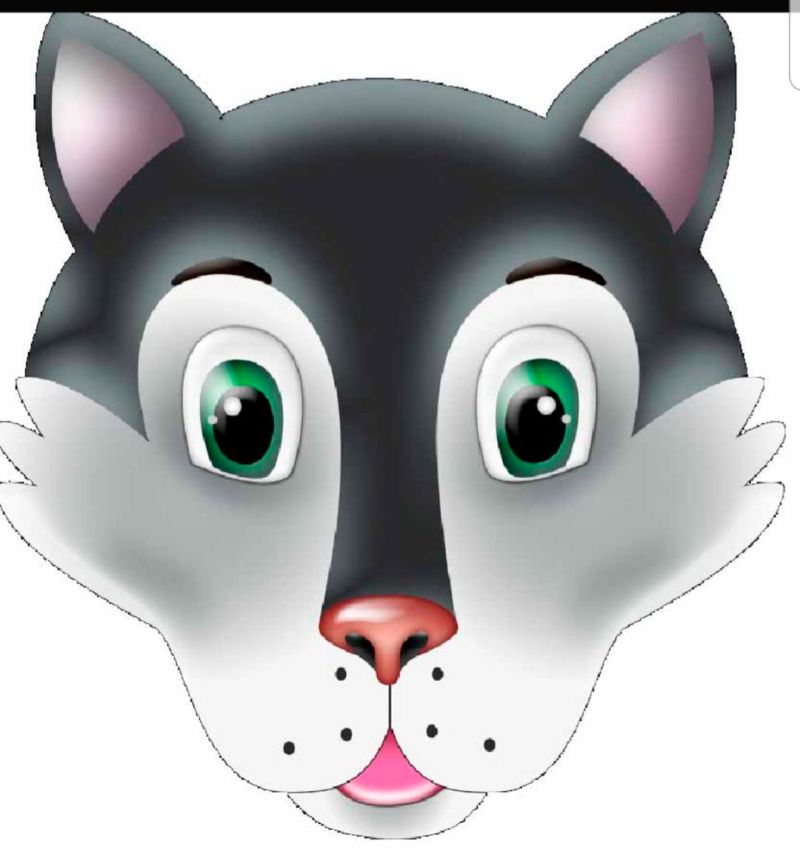
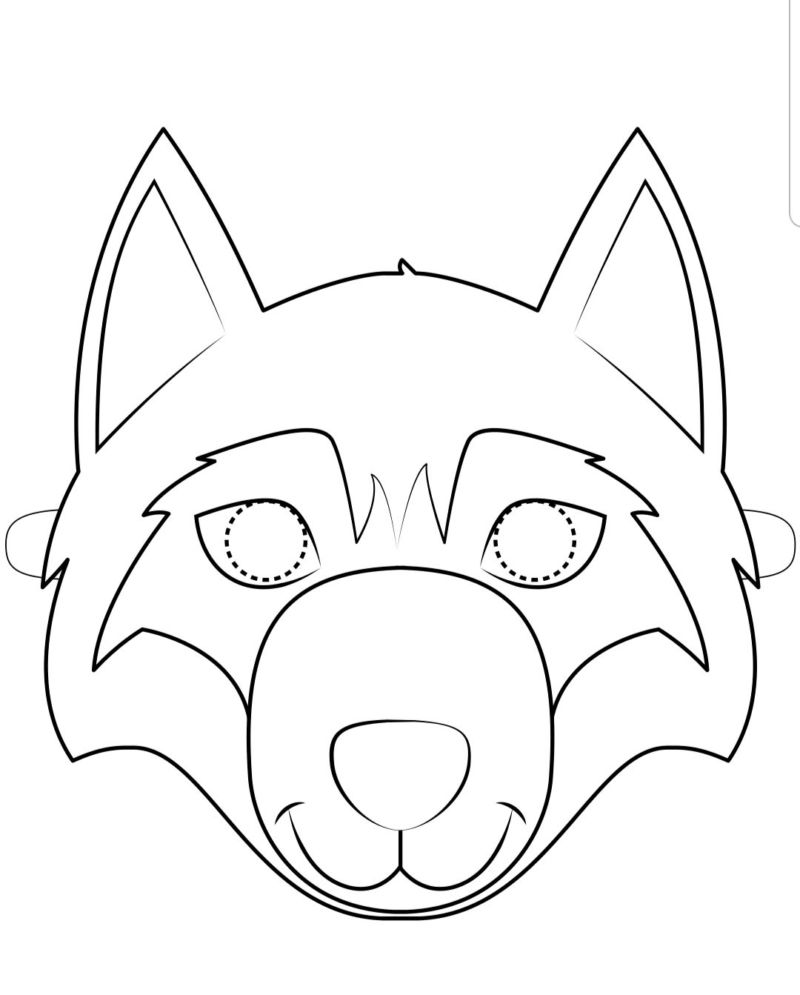
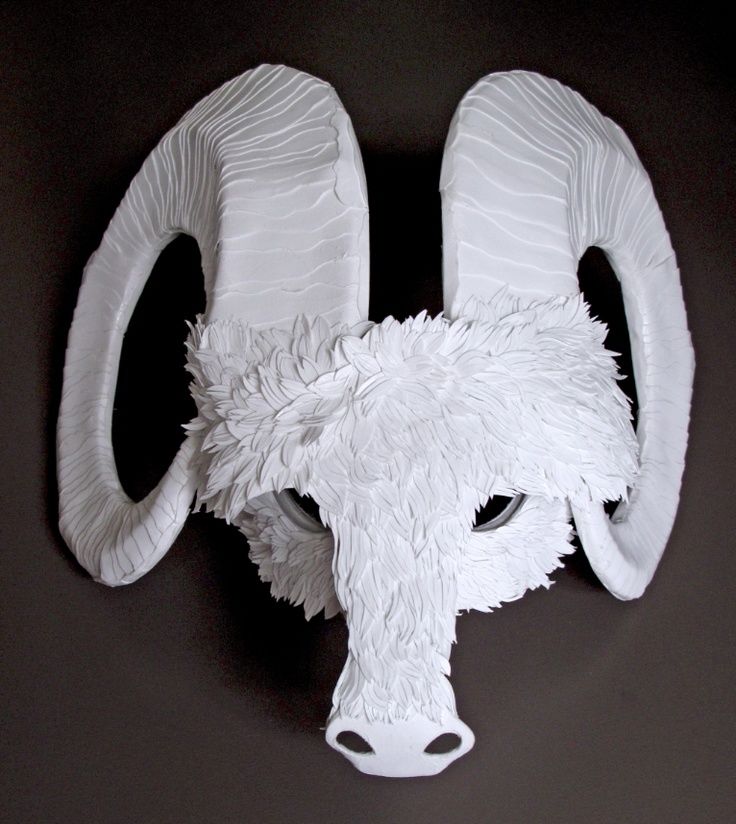
Wolf mask
It turns out volumetric and realistic. To make it you will need:
- cardboard or paper;
- glue;
- ruler;
- a simple pencil;
- paints or gouache;
- scissors;
- objects of decoration (pieces of artificial fur, sequins, soft wire).
Work Stages:
- Print the pattern you like.
- Cut out all the details.
- Paint the parts with paint.
- Attach the nose parts according to the numbers in the diagram supplied with the template and attach them to the headband.
- Fix the main part to the headband on top of the nose.

If desired, draw and cut out the teeth, from pieces of wire to make and attach a mustache and eyelashes, the ears and cheeks can be glued pieces of fur.
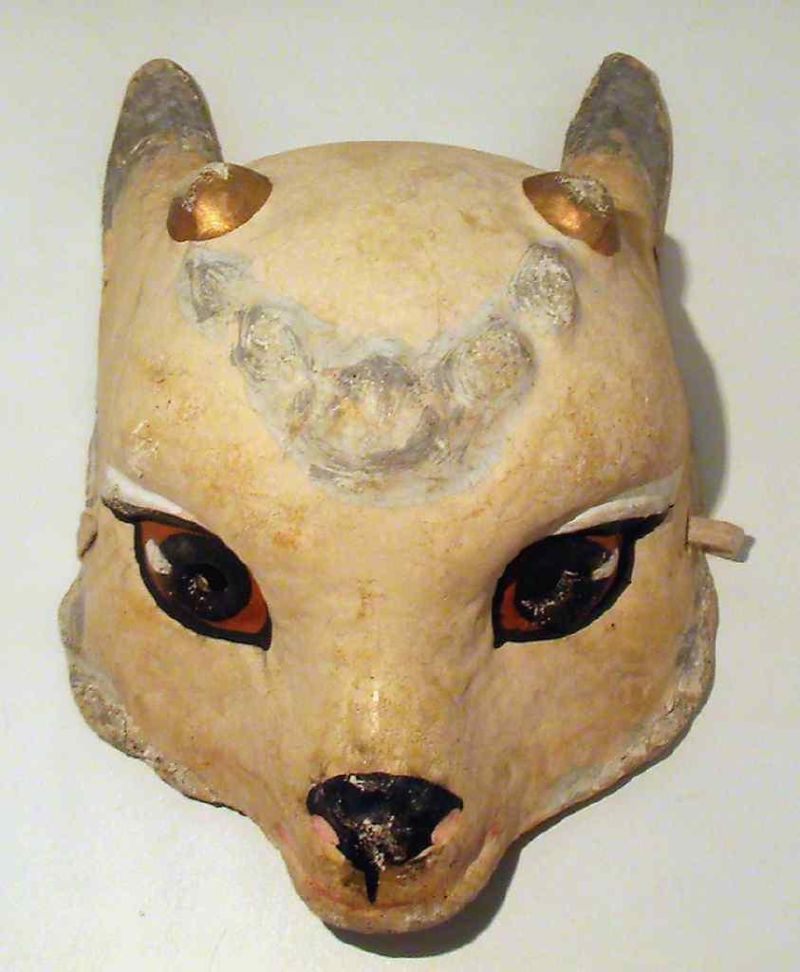
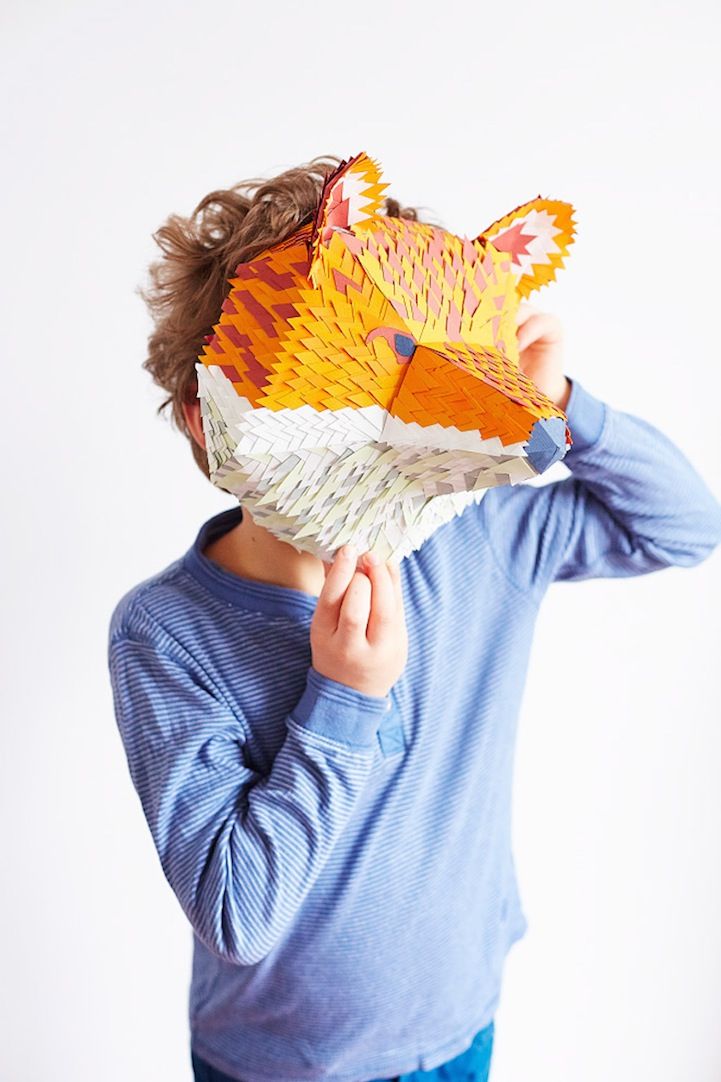
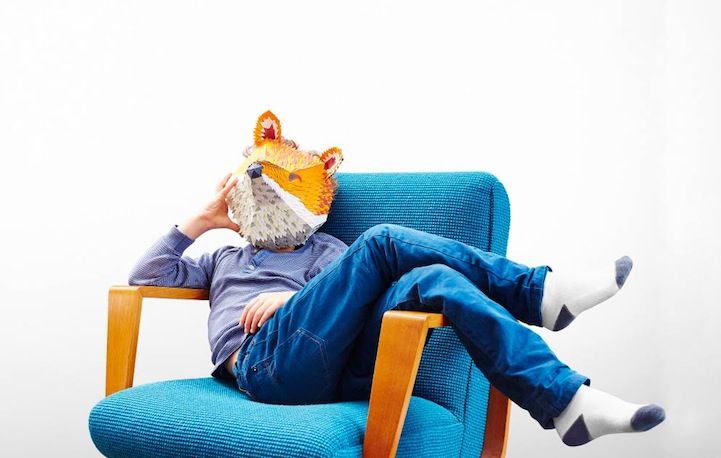
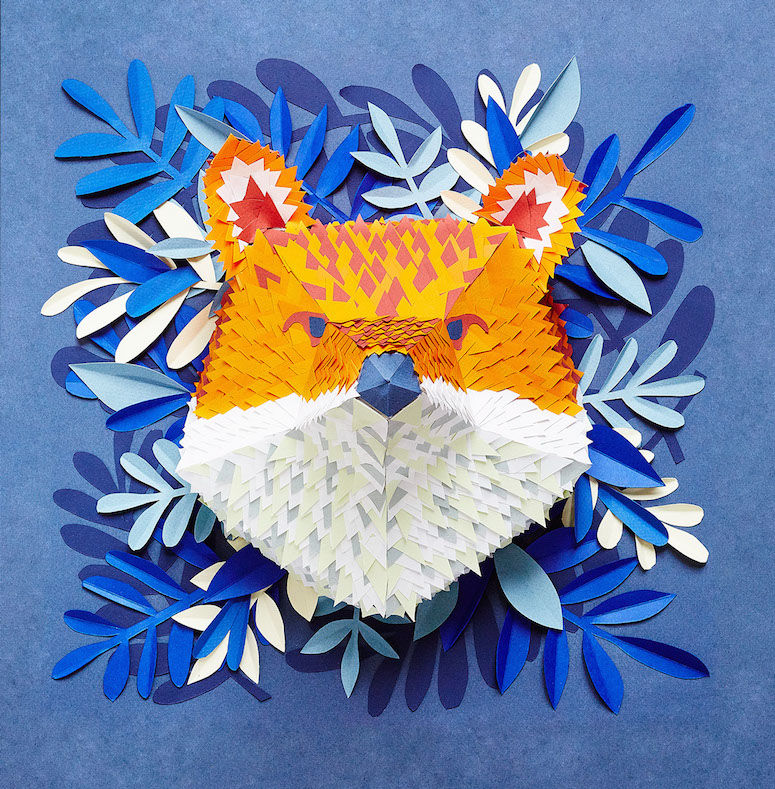
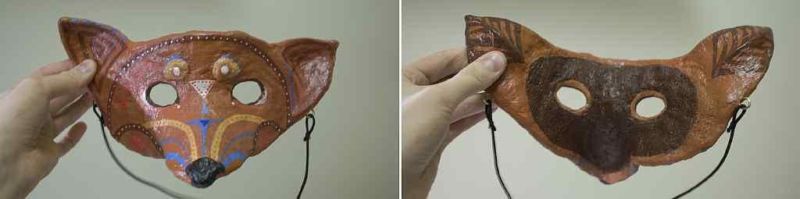
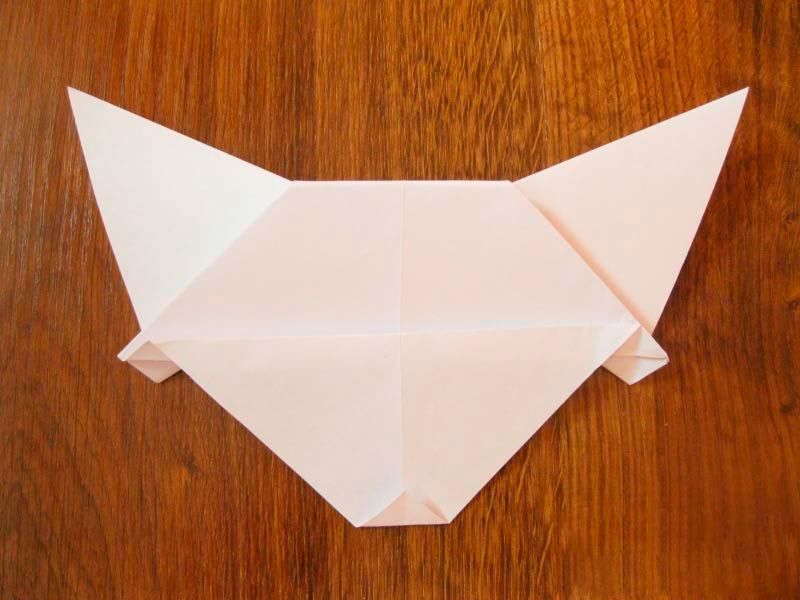
Mask of a fox.
It can be made according to a selected and printed template, and you can make it according to your own sketch.
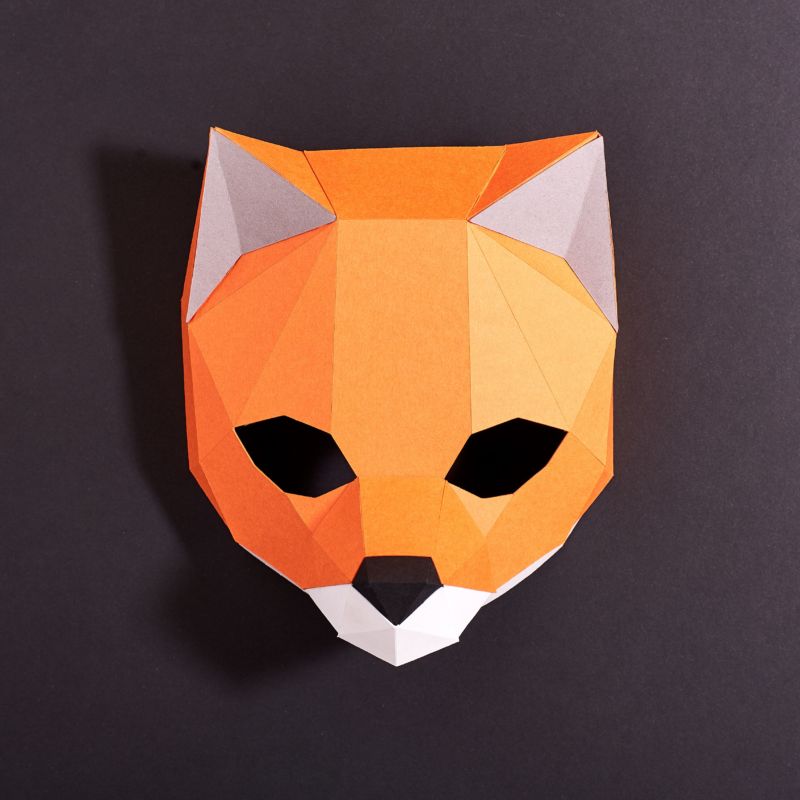
Need:
- Three sheets of thick paper of brown, red, orange colors;
- glue;
- a white paper napkin;
- a simple pencil;
- paints;
- elastic band or elastic band.
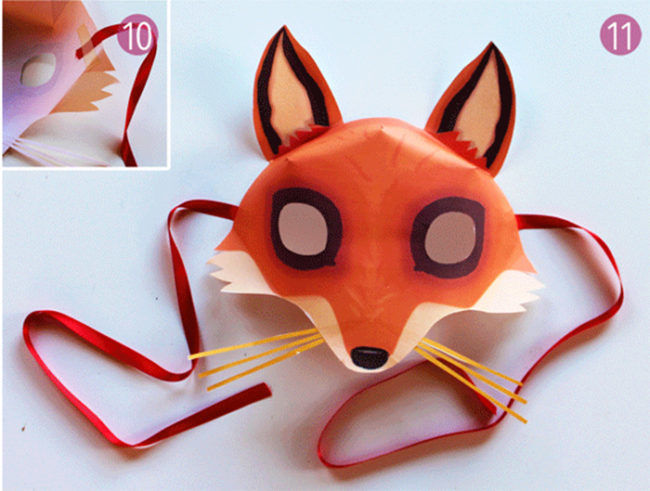
Work steps:
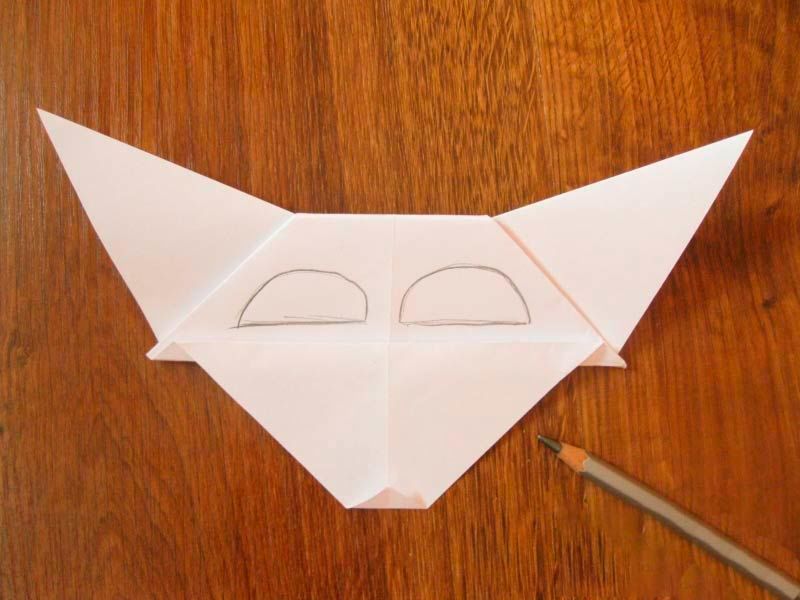
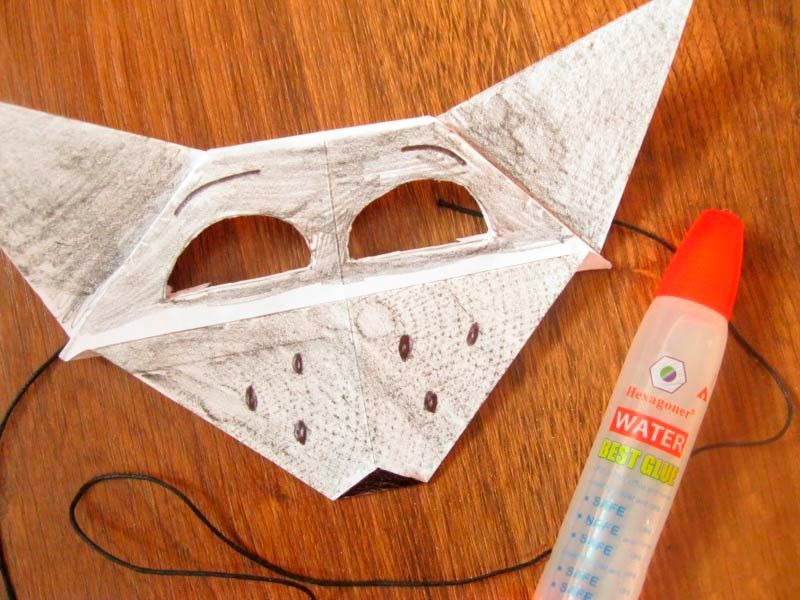
- Place a sheet of paper from temple to temple on the face and mark the location of the eyes with a pencil.
- Draw the eyes in the shape of almond-shaped eyes in the marked places.
- Draw a general outline around the eyes, not forgetting the ears. The mask should cover the bridge of the nose, eyes and forehead.
- Carefully cut out the outer contour. For complete symmetry, you can first fold the sheet of paper in half.
- Cut out the eyes.
- Punch holes for the braid.
- Cut colored strips of paper to about one centimeter wide and three centimeters long and glue them in rows around the edges to the eyes (you can do one row). This will give a "shaggy" appearance. You can glue lace to the bottom.
- If desired, cut out circles from a white napkin and glue them to the bottom of the ears.
- Paint the mask with paint to give the effect: contrast the eyes, ears.
- Fasten the tape on the sides on the inside.

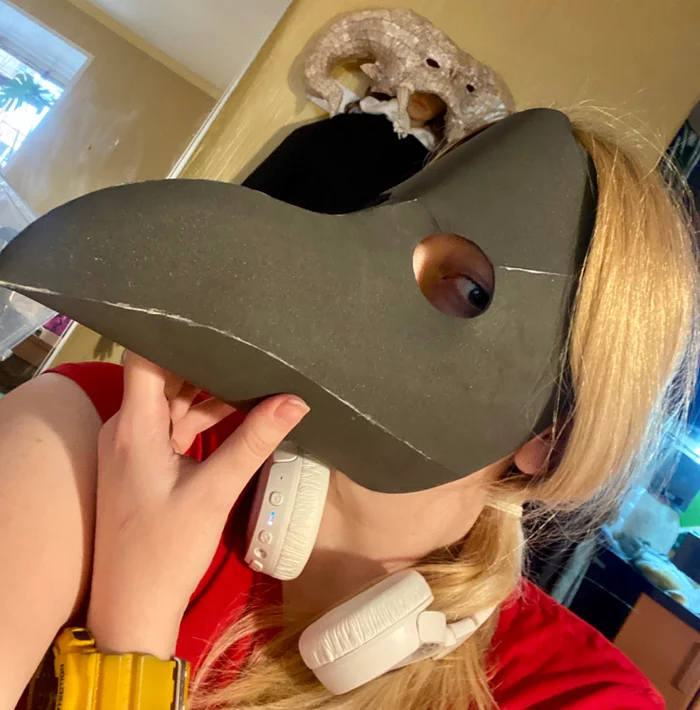
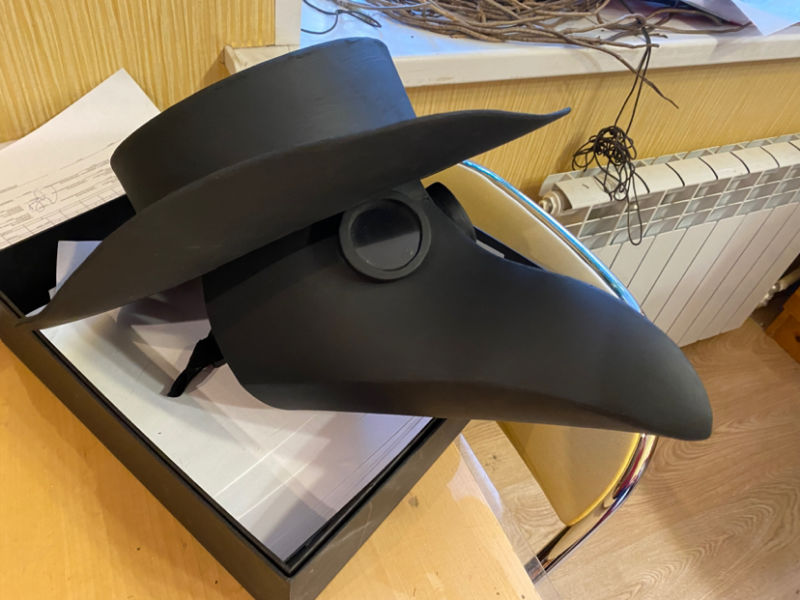
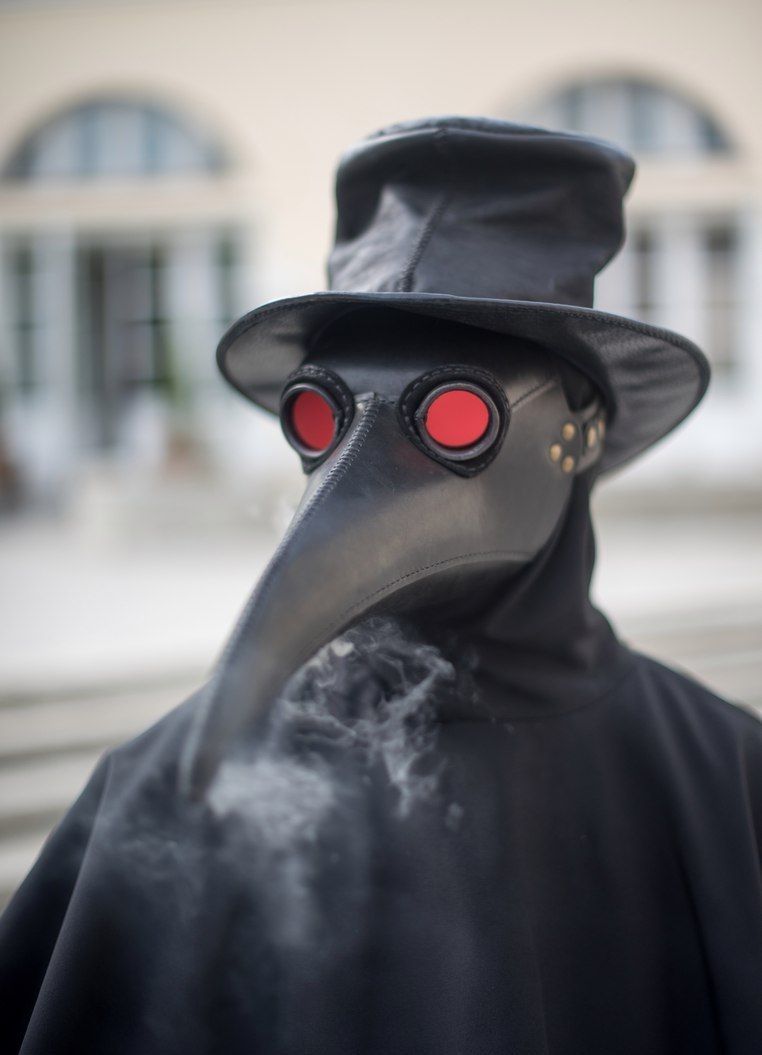
Plague Doctor Mask
These were worn by doctors during the plague in the 17th century. Nostradamus was also a plague doctor. The sight of a mask with a beak was supposed to ward off the disease. Strong-smelling medicinal herbs were inserted into the tip of the beak to protect the doctor from the stench that reigned around him.
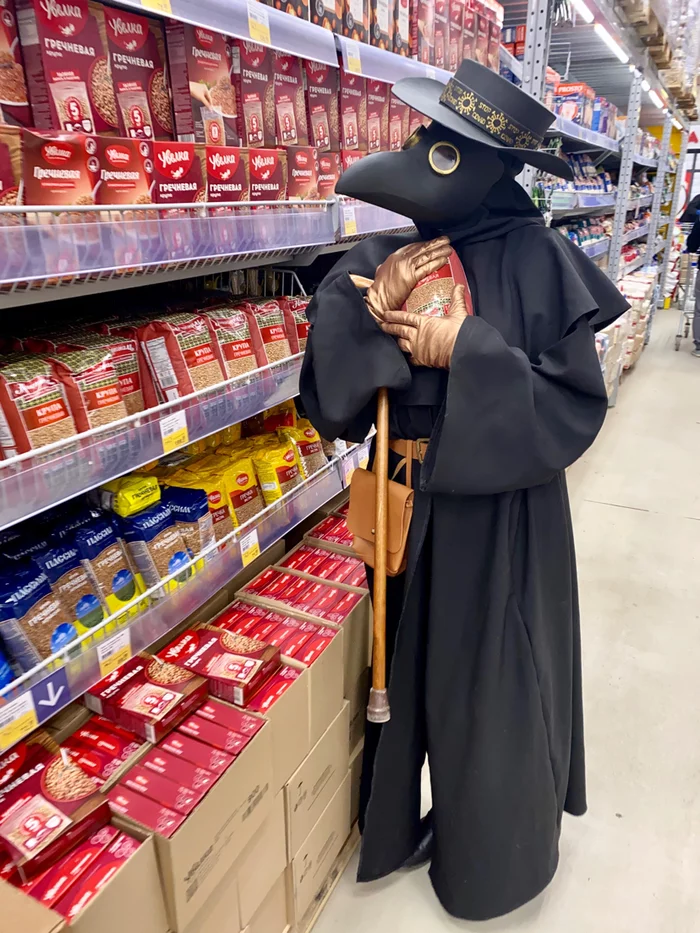
The mask also protected others from the smell of garlic, which the doctors chewed constantly. The mask had glass inserts to protect the eyes.
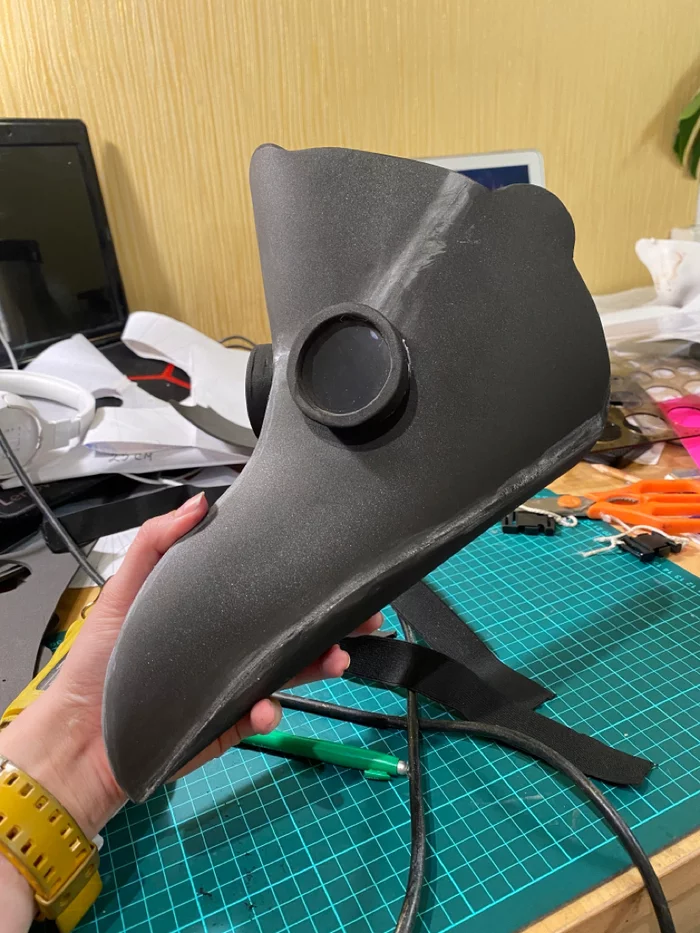
The dimensions should be considered when making it. The length of the main part is on average 25 cm. The height of the frontal part is about 10 cm.
You will need:
- thick paper, three to four A4 sheets;
- stapler, glue, tape;
- scissors;
- utility knife;
- cardboard;
- plastic bottle;
- dark, water-based or rubber-based paint;
- Tape or straps for attaching to the head.
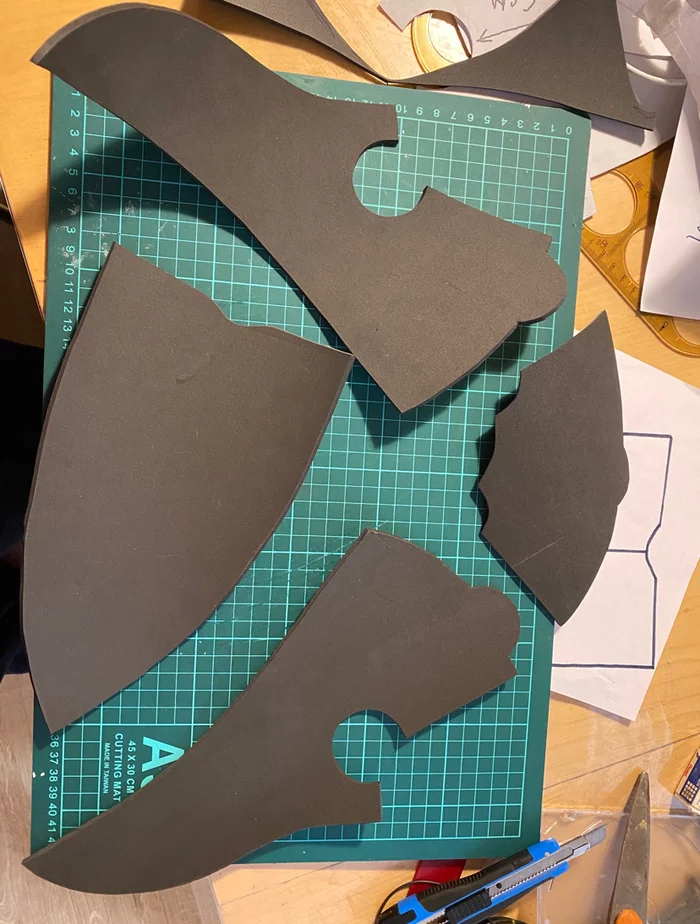
Work Stages:
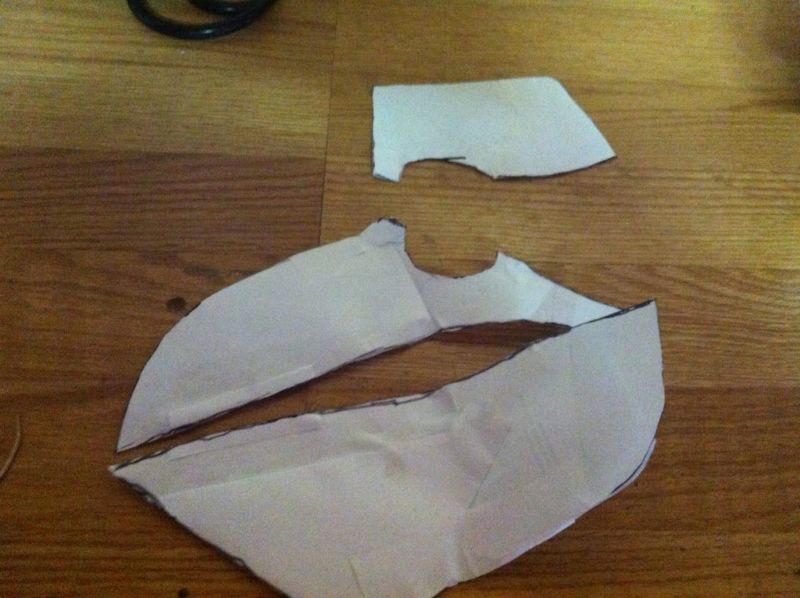
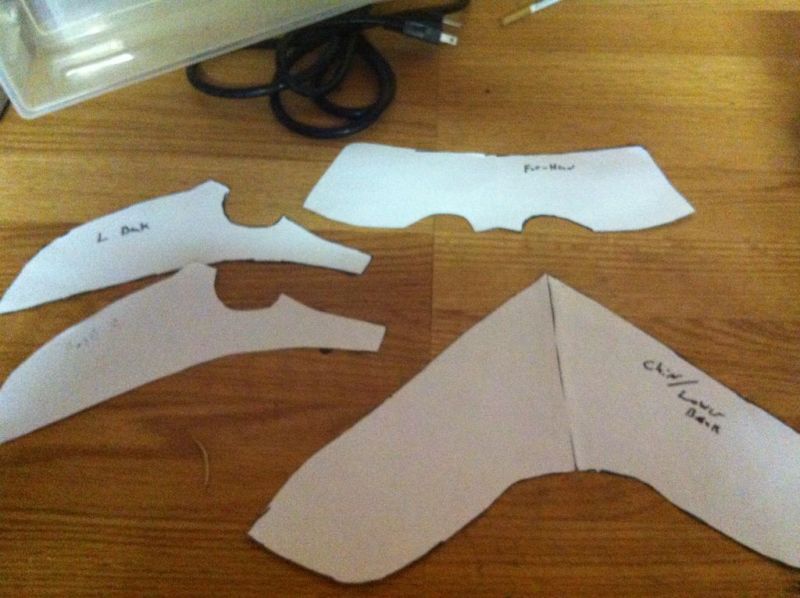
- Print out a template.
- Cut out the parts.
- Use tape, staple gun or glue to fasten the forehead and beak parts together.
- Evenly round the eye sockets.
- Get the right shape for the beak.
- Sew a thick band around the edge of the forehead and attach head straps to it - one longitudinal and two lateral. For stability you can attach a strap from the forehead to the back of the head.
- If desired the frame can be covered with several layers of tissues. This will smooth out the corners and add strength.
- Cut out two washers from cardboard for each eye socket (the inner washers have a smaller diameter). Glue the cups cut out of the plastic bottle between the two washers and glue or stitch on the outside.
- On the underside of the beak, punch holes for breathing.
- Paint the frame with water or rubber based paint in a dark color.

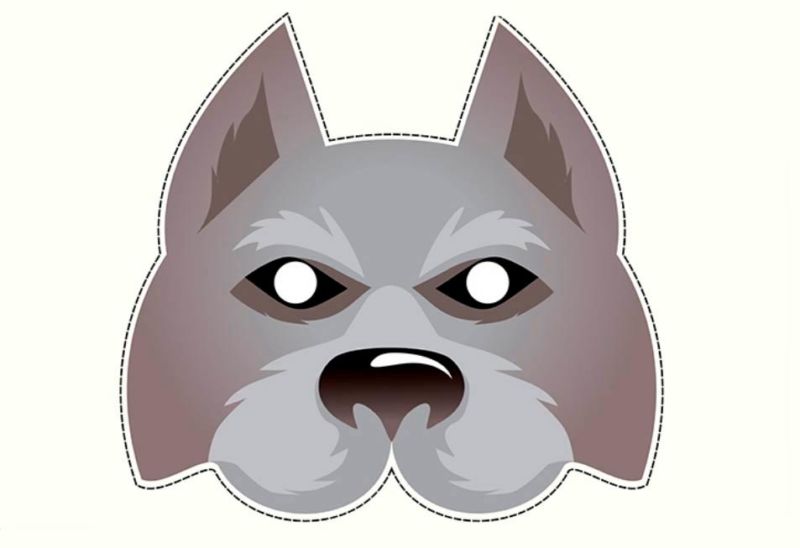
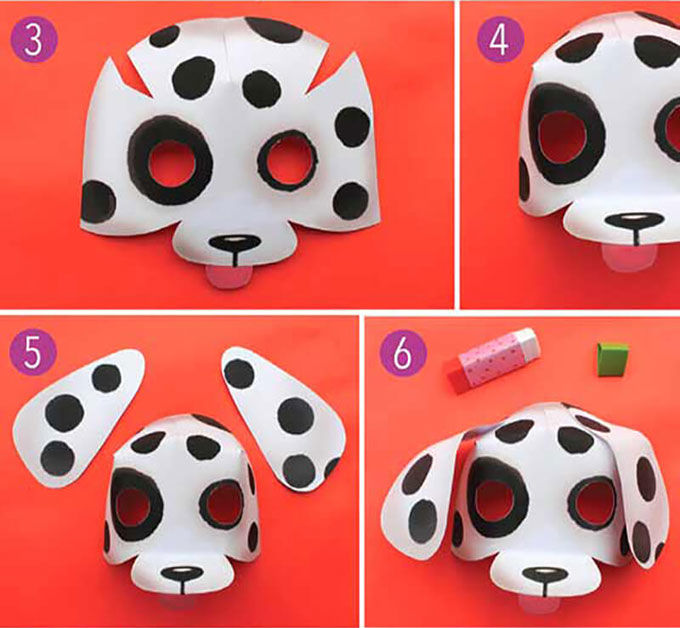
Mask of a dog
The process of making it from paper is fairly quick and simple.
Prepare:
- A sheet of thick white paper;
- scissors;
- glue;
- elastic band or tape;
- Pencils, paints or felt-tip pens.
Work steps:
- Draw the dog's face on the prepared sheet of paper.
- Draw the eyes of a dog so that they coincide with the eyes of the future owner of the mask.
- Cut out the muzzle of the dog along the contour.
- Draw and cut out the ears.
- Cut holes for eyes.
- Paint the resulting pattern to your liking.
- In the area of the temples on each side of the template and in the upper part of the forehead make one cut (depth of about three cm) in the form of a triangle (dart).Total should be three cuts on the template.
- Glue the cuts together. Darts will give three-dimensional.
- Glue the ears.
- In the area around the temples to make holes for a rubber band and attach it.
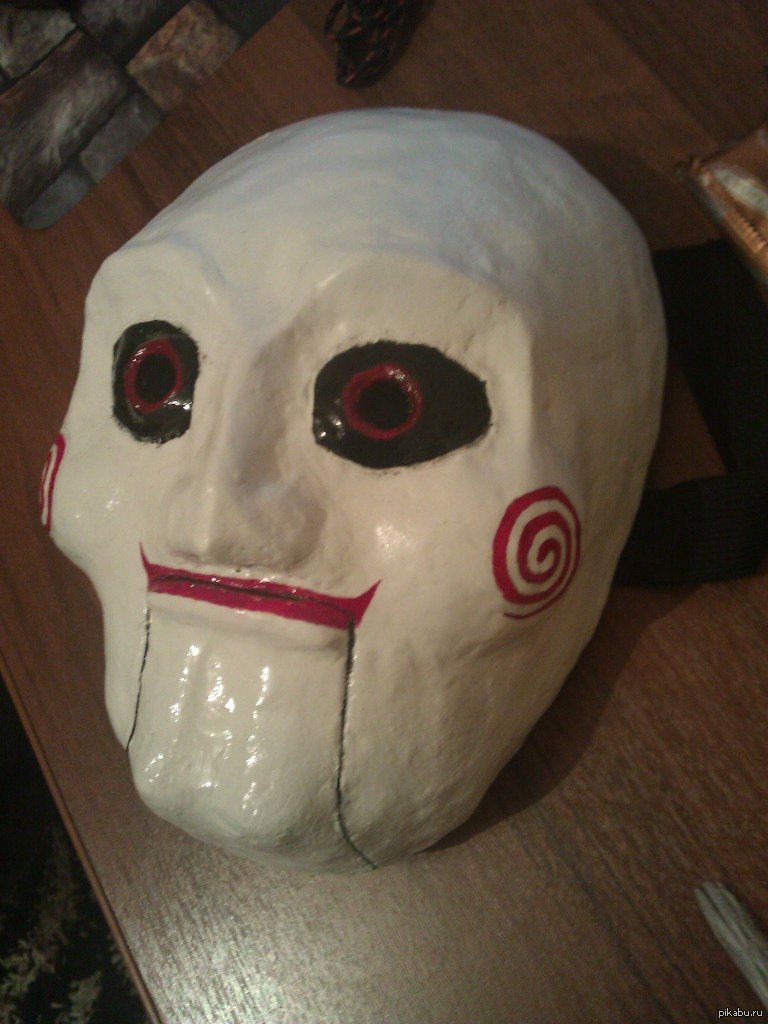
Scary masks
From Europe came to us the holiday of Halloween. With him came the tradition on this day to put on scary costumes and masks. To make a mask, you can choose and print a template, color it and attach a rubber band.
A really original scary mask can be made from papier mache. It will take more time, but is quite simple.
You will need:
- colored plasticine;
- white paper;
- PVA glue;
- colored water or acrylic dyes;
- elastic bands or thin straps;
- elements for decorating.
Work steps:
- Mold a mold out of plasticine so that it corresponds in appearance and size to a human face.
- Make holes for the eyes. Punch small holes near the nostrils for breathing.
- Tear the paper into small pieces and glue them to the shape with PVA glue.
- Add some blue and green dye to white dye. Stir well. When the glue is dry, paint the cake with the colour. Draw "blood stains" with red dye.
- From a piece of black plasticine mold the outline of the lips. Make fangs from a piece of yellow plasticine. Attach the lips and fangs to the shape. Paint the surface between the lips with a mixture of blue and red paint.
- Make "blood wounds": make a small pyramid from a piece of plasticine, glue it with small pieces of white paper. Let the glue dry.
- Attach the pyramid (or several) to the shape on the cheek or forehead. Paint in black, yellow, red, creating an imitation of a festering bloody wound.
- Glue decor elements: threads, sequins, dark lace, pieces of twigs, leaves and more.
- The mask can be pierced at the temporal part and a rubber band or straps can be inserted to hold it firmly on the head.

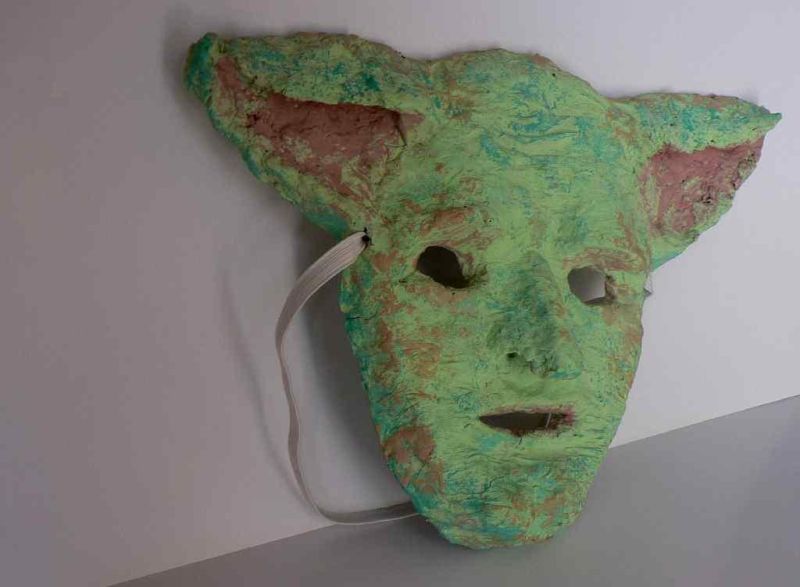
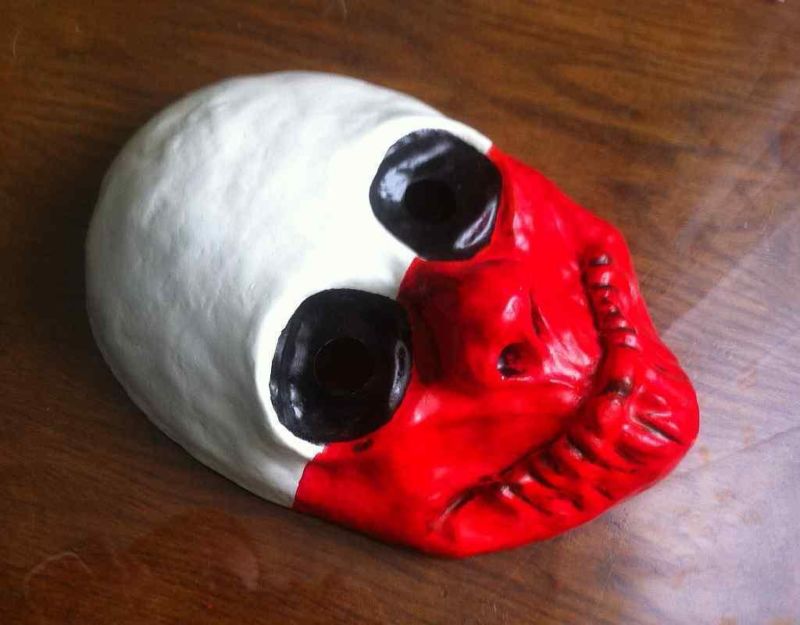
It is possible to make skeleton, werewolf, vampire masks using this technology. Cover the face completely or half.
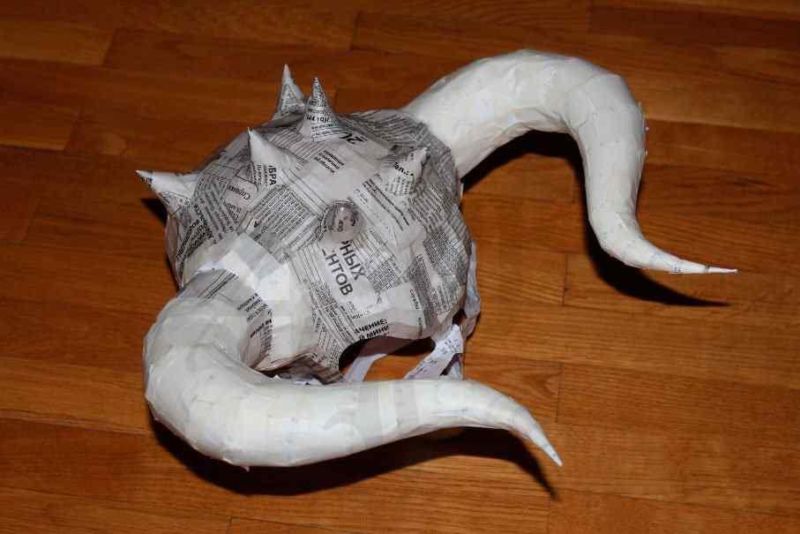
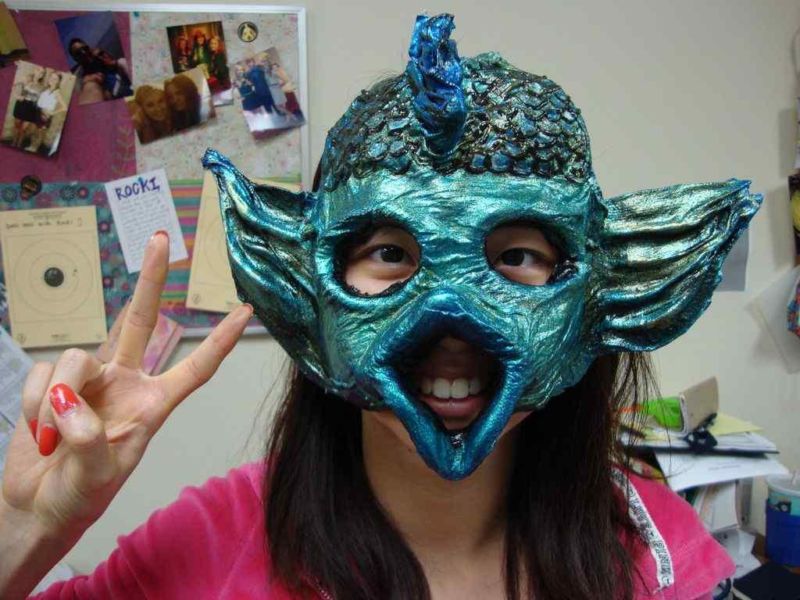
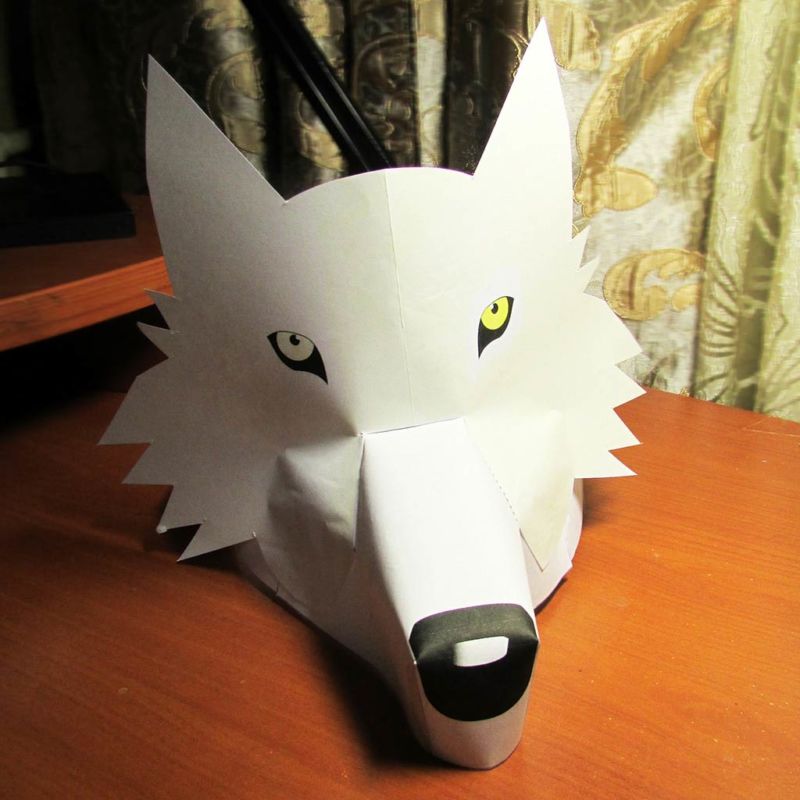
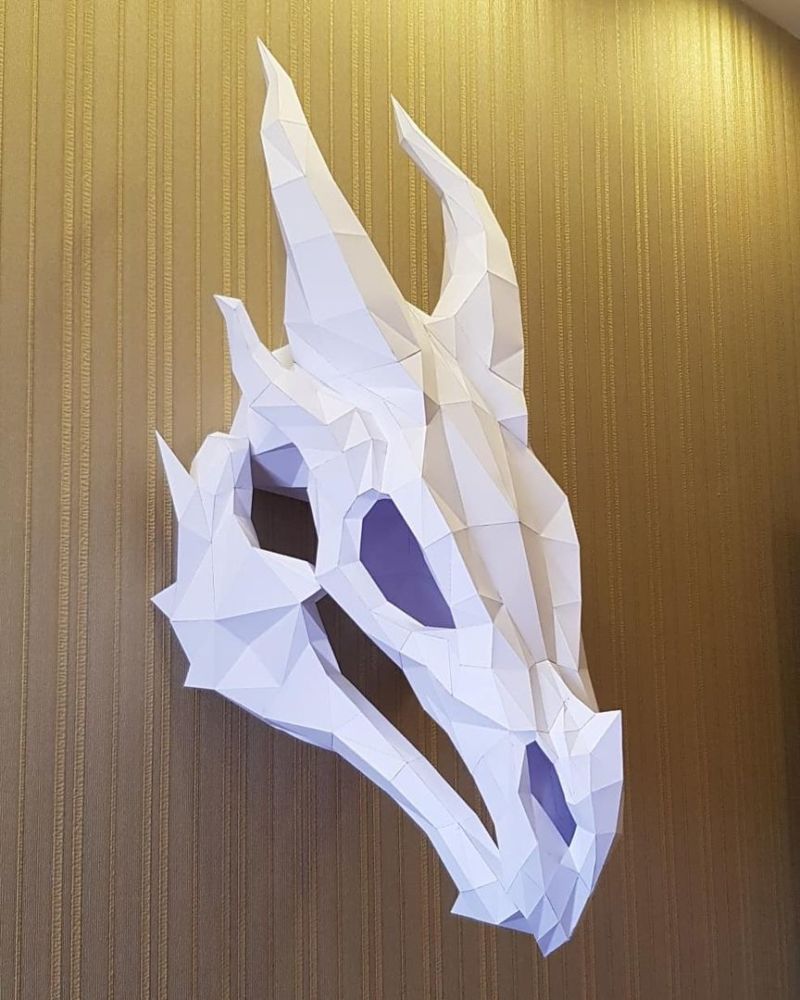
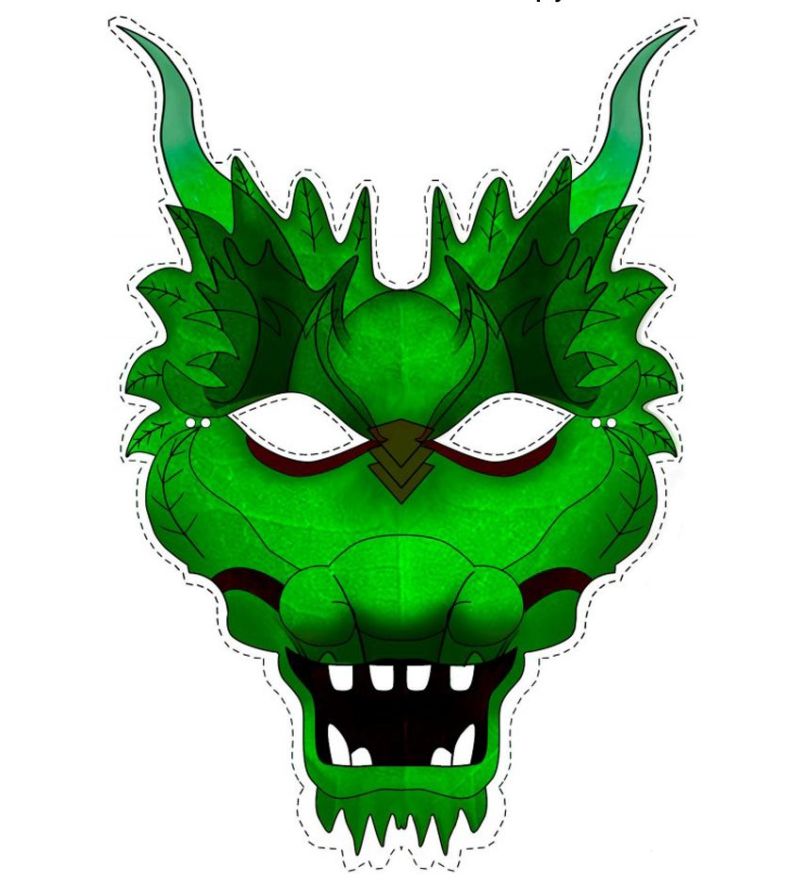
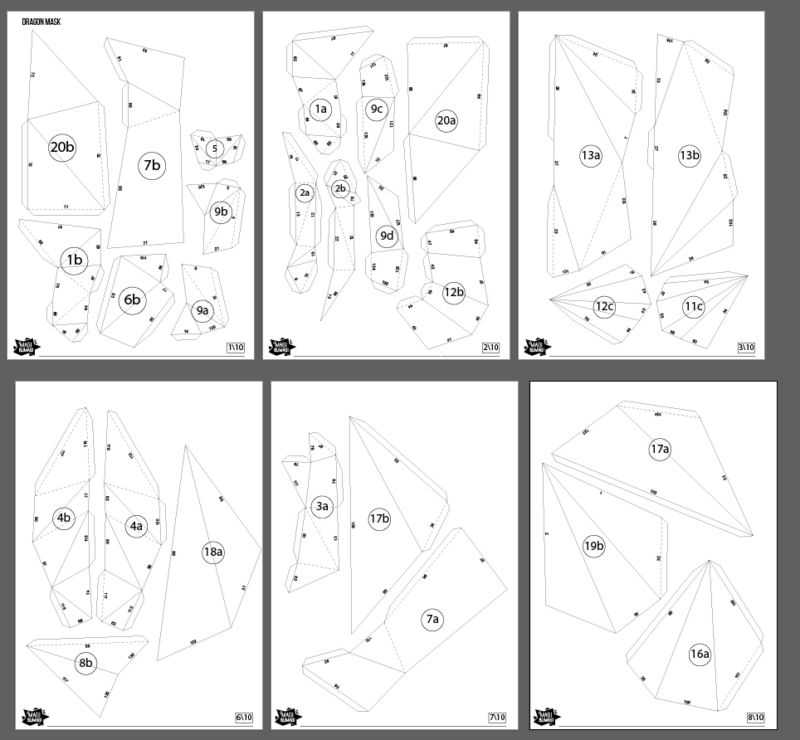
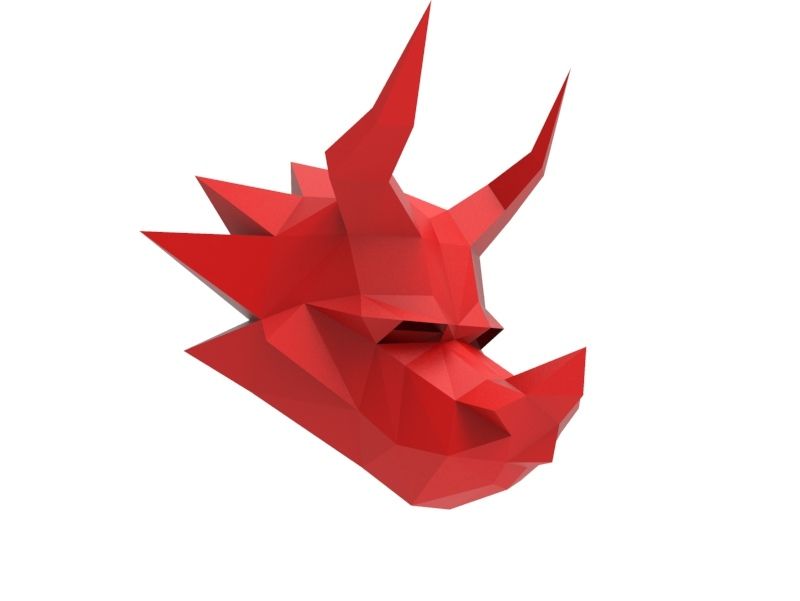
Dragon Mask
The dragon mask, completely covering the head, consists of a lower movable part (jaw) and the head itself. In it, the eyes are enough to draw, it is not necessary to cut through. A person will look through the open mouth of the dragon.
Needed:
- hard cardboard;
- scissors;
- glue;
- pencils and paints;
- stapler.
Work Stages:
- On a sheet of hard cardboard, draw the face of a dragon without the lower jaw, in size slightly larger than the head of the future owner of the mask.
- Cut out along the contour. Make two darts on the upper lip about three centimeters deep and glue them. You get a three-dimensional head.
- On the cardboard draw the lower jaw of the dragon, according to the size of the muzzle of the dragon. Carefully cut it out. Make a dart on the chin also about three centimeters deep and glue it. Bend and shape a three-dimensional jaw.
- Draw fangs and teeth on cardboard, cut them out and glue to the jaws.
- The corners of the lower jaw staple to the head.
Turned head dragon with moving jaw.
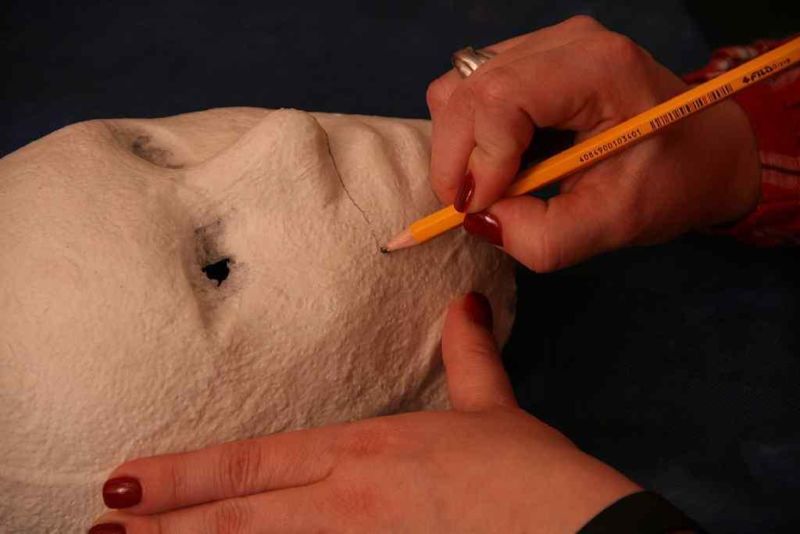
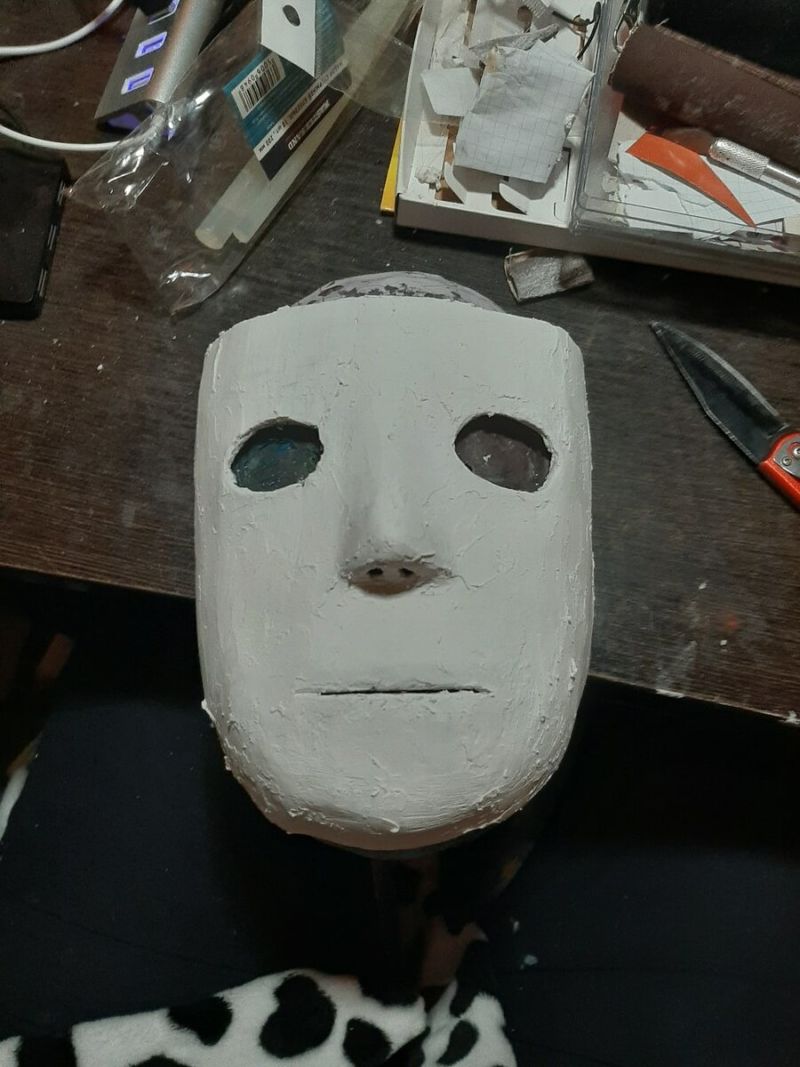
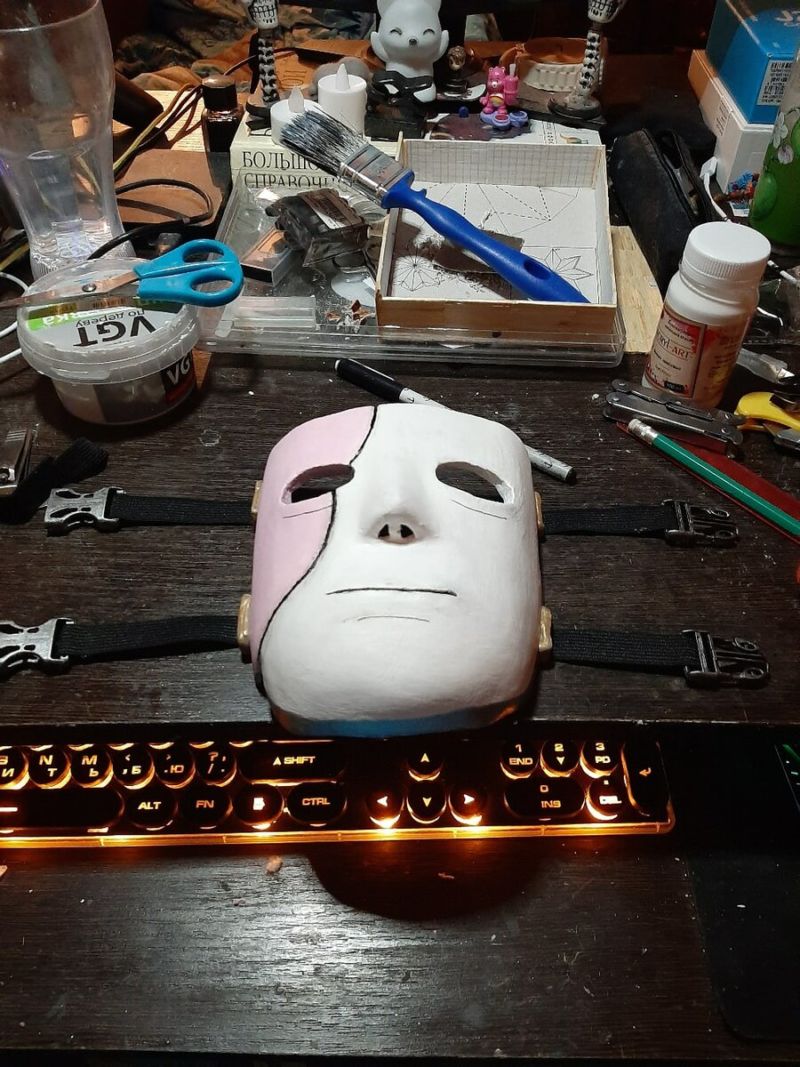
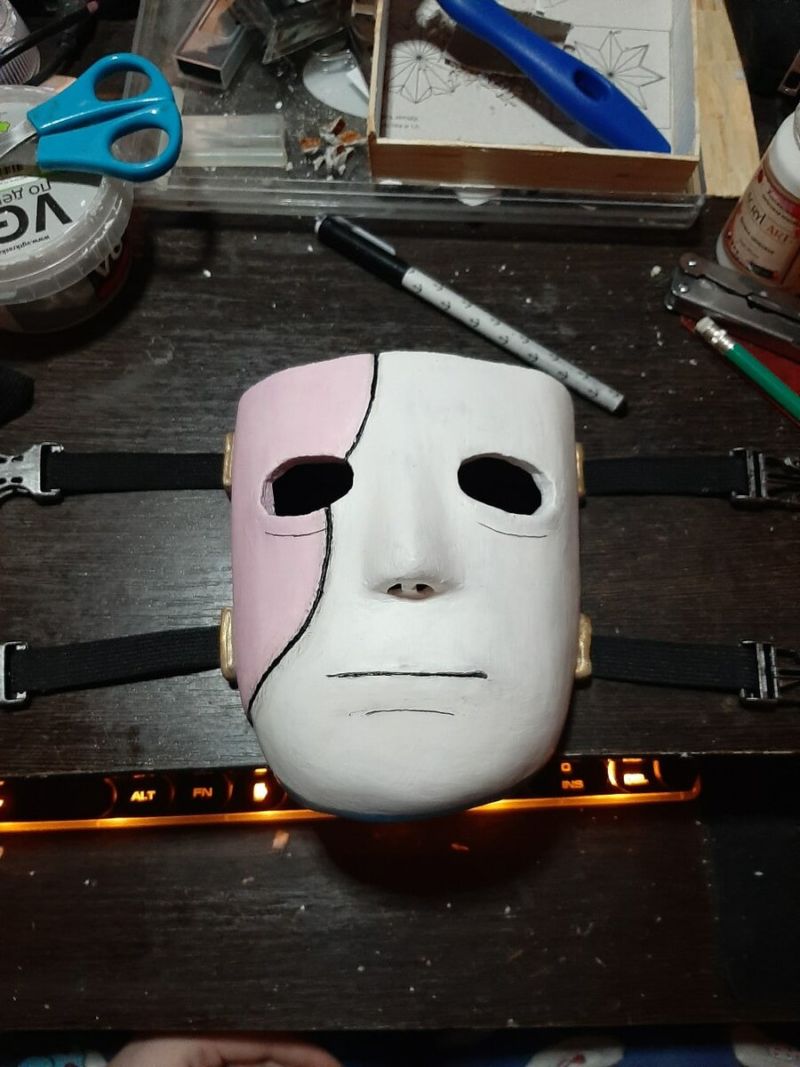
Masks of people
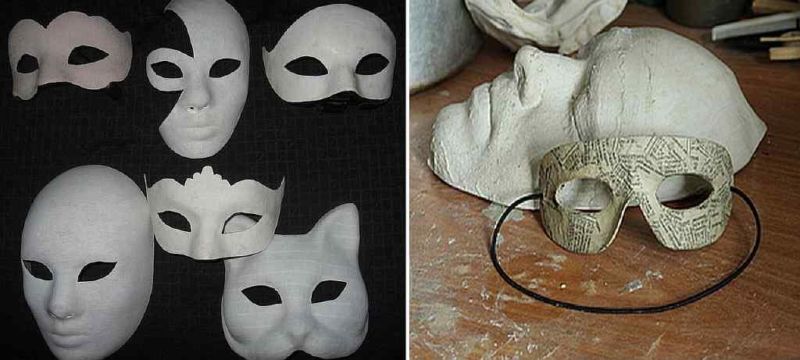
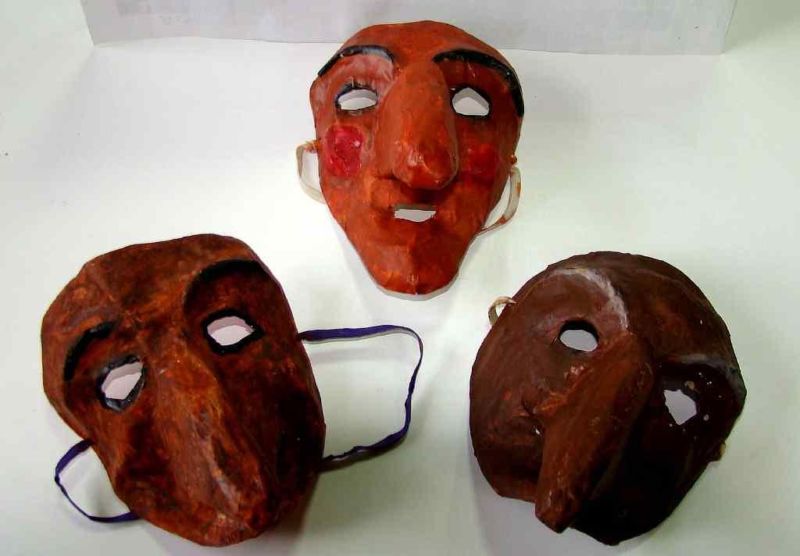
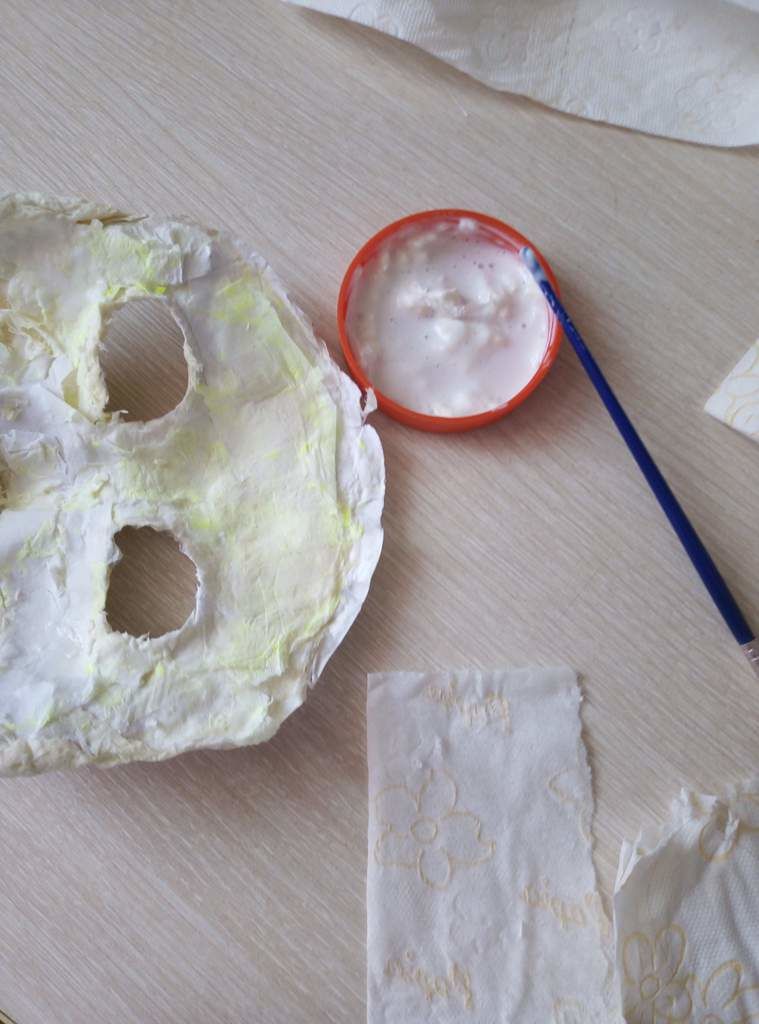
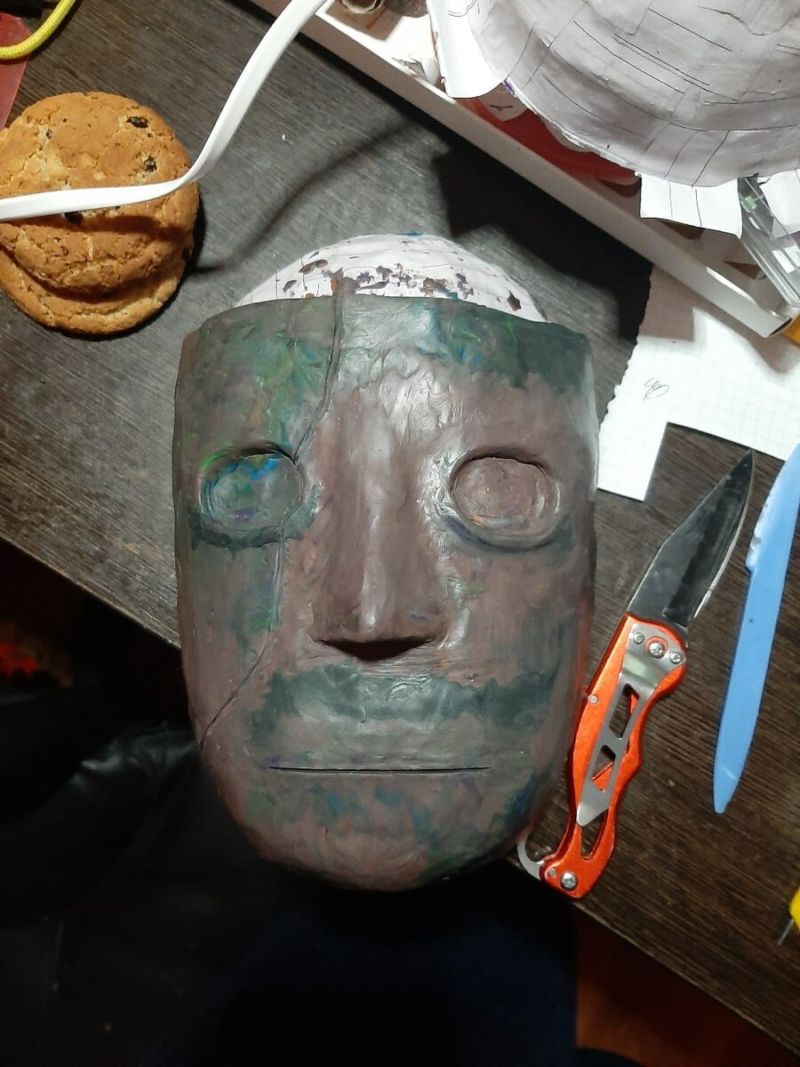
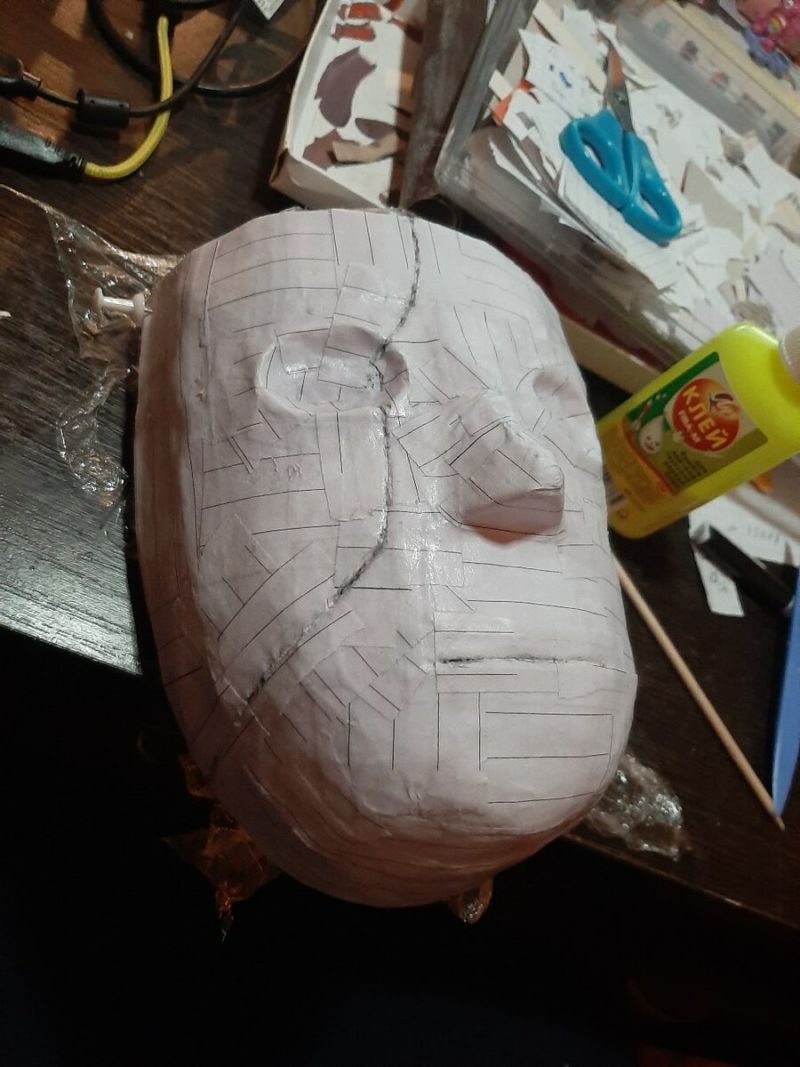
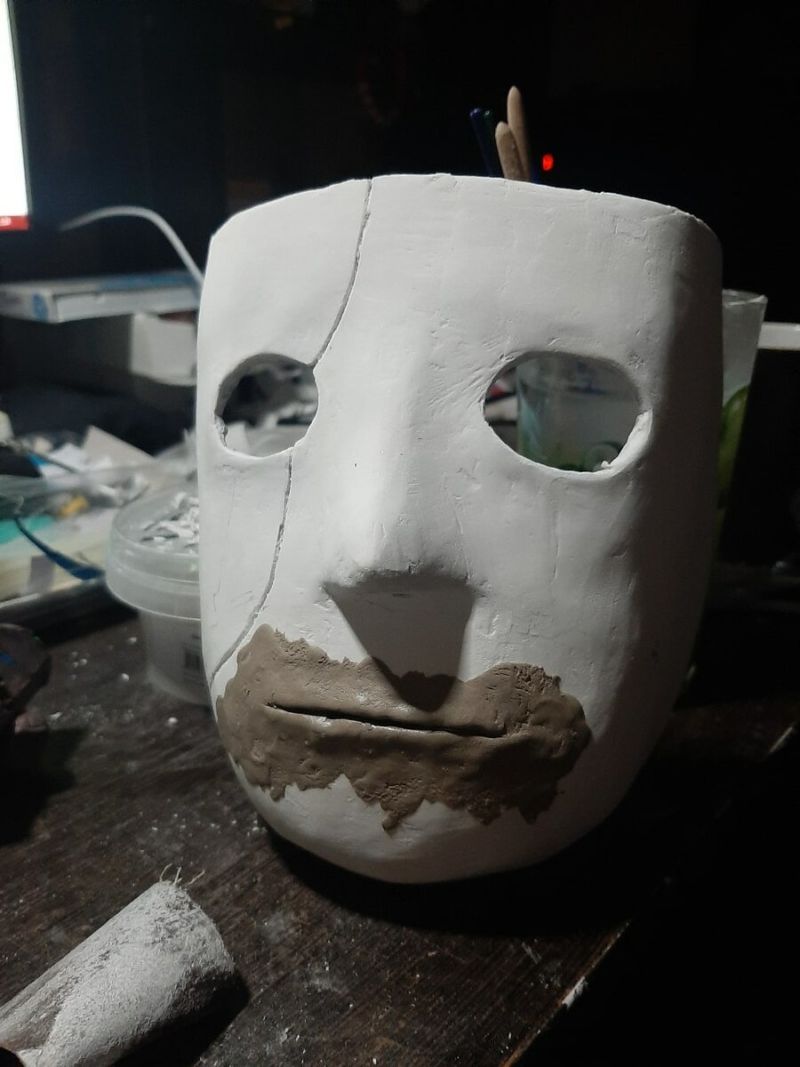
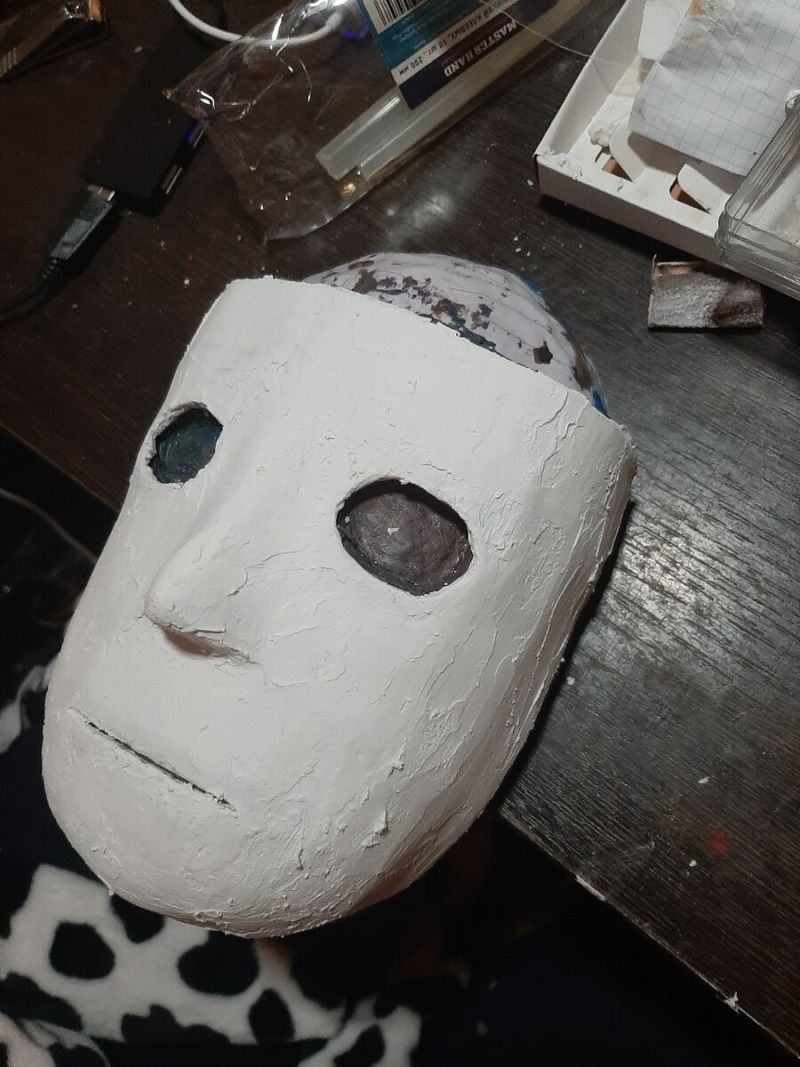
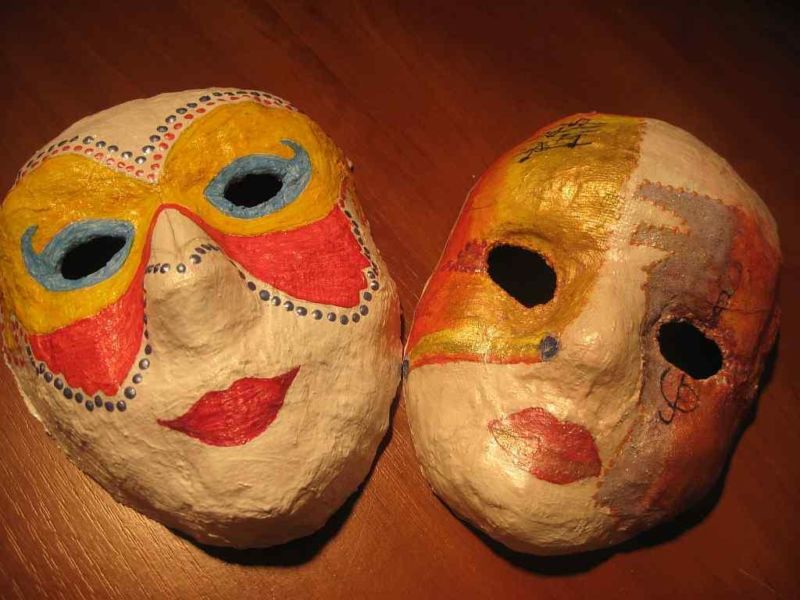
First make a mold of the face. For this purpose, plasticine, plaster, clay and other materials are suitable. Consider one interesting way.
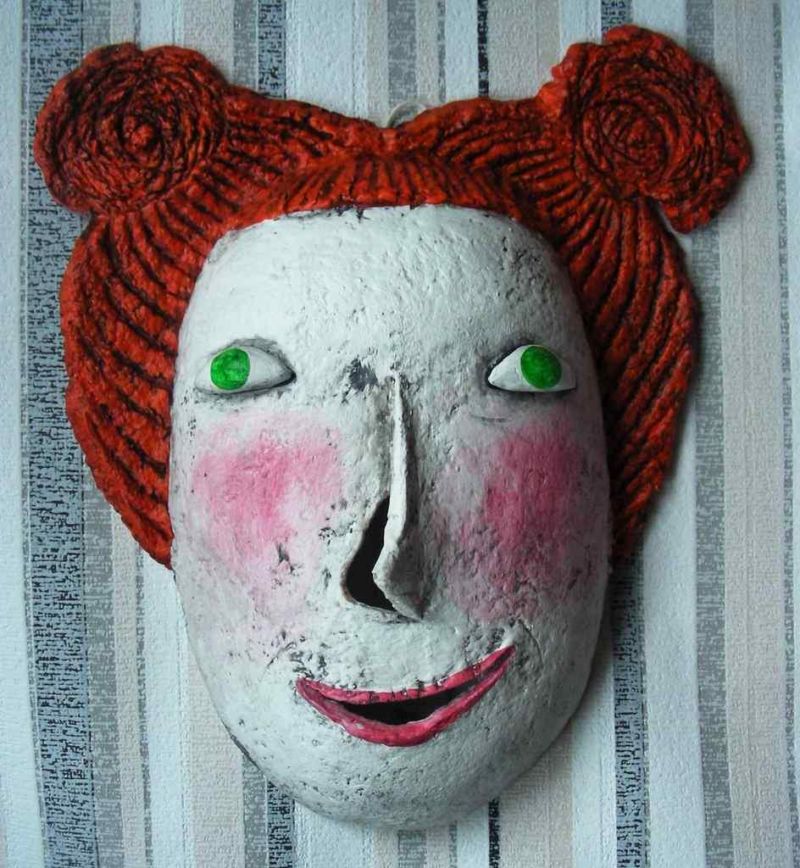
Make an impression of a mannequin or a human face out of foil folded in two or three layers. Cover it with napkins in several layers with PVA glue.
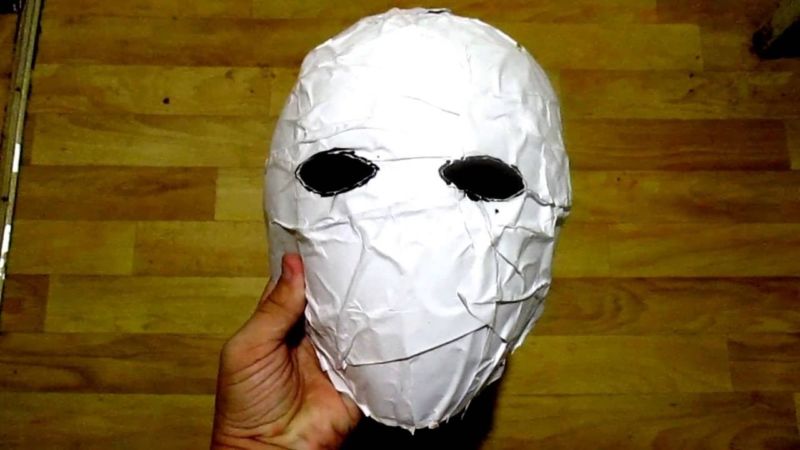
After drying thoroughly, cut holes for the eyes. Then trace the eyes, lips, nose, cheeks and paint as your imagination dictates. Attach straps or a rubber band, and the handmade masterpiece is ready.
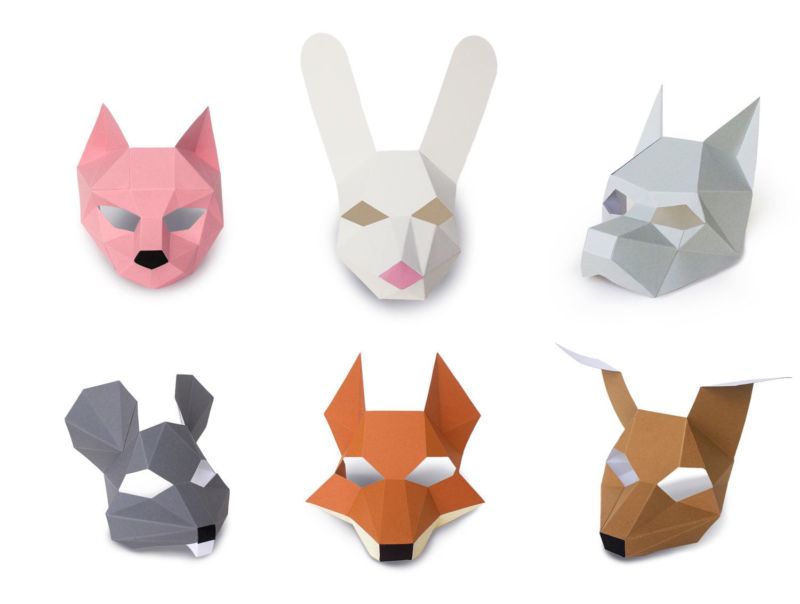
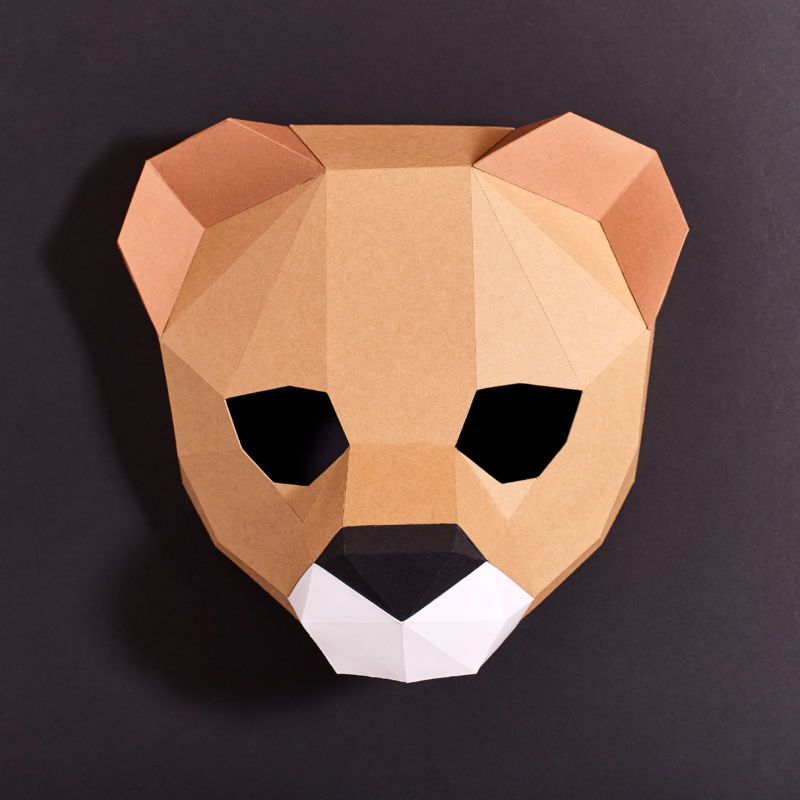
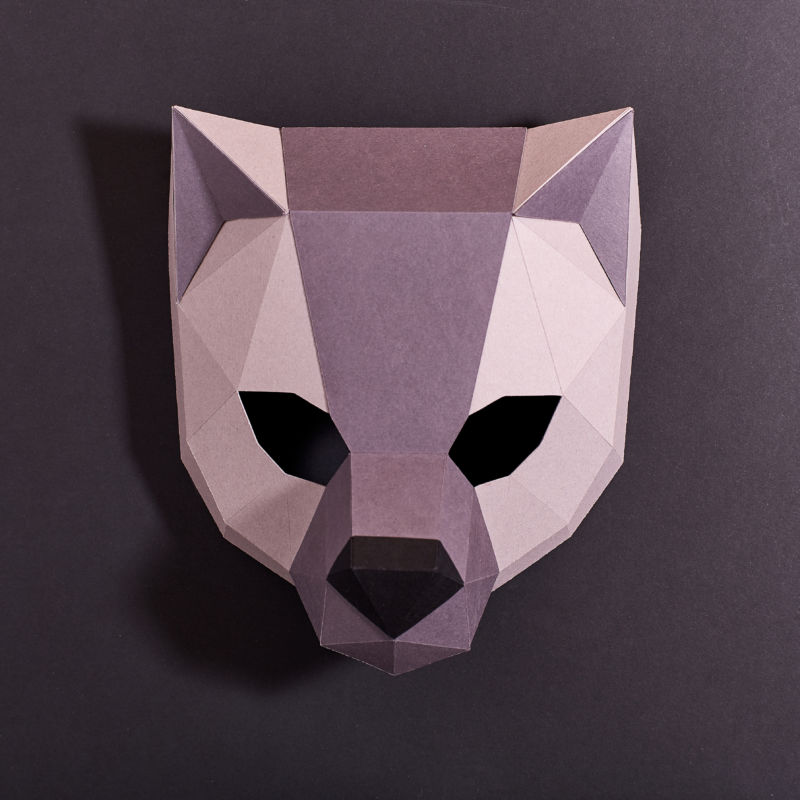
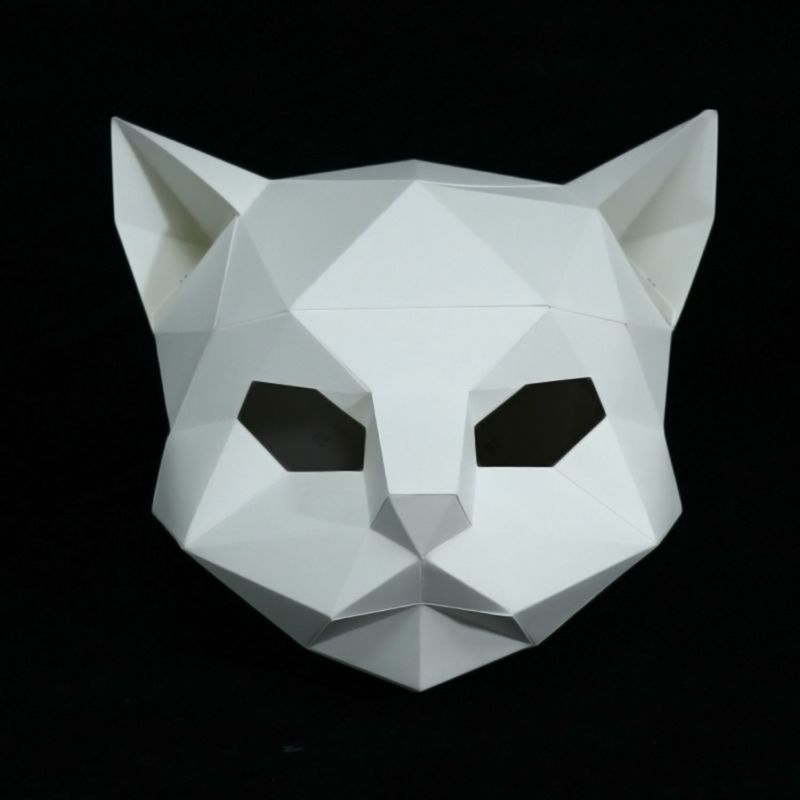
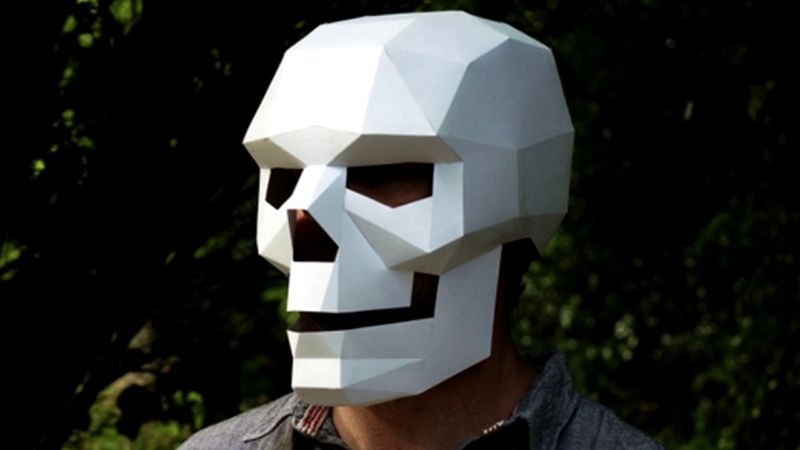
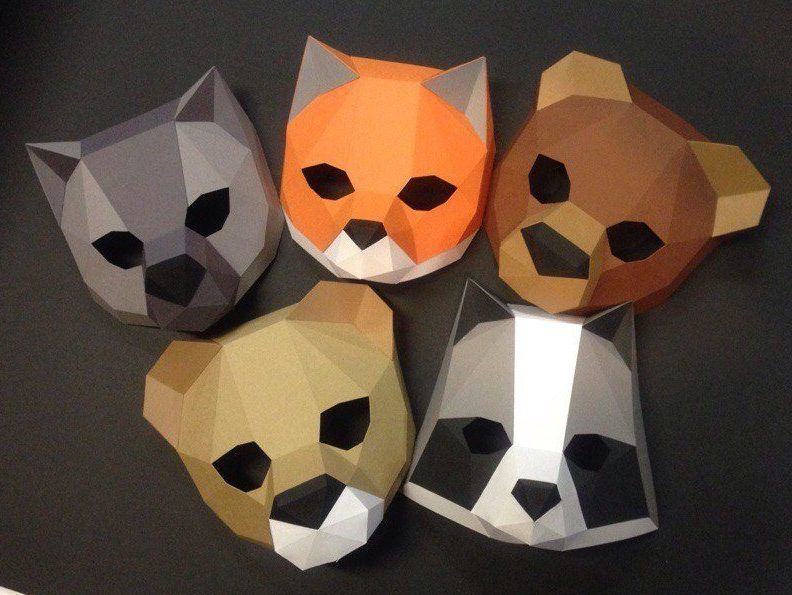
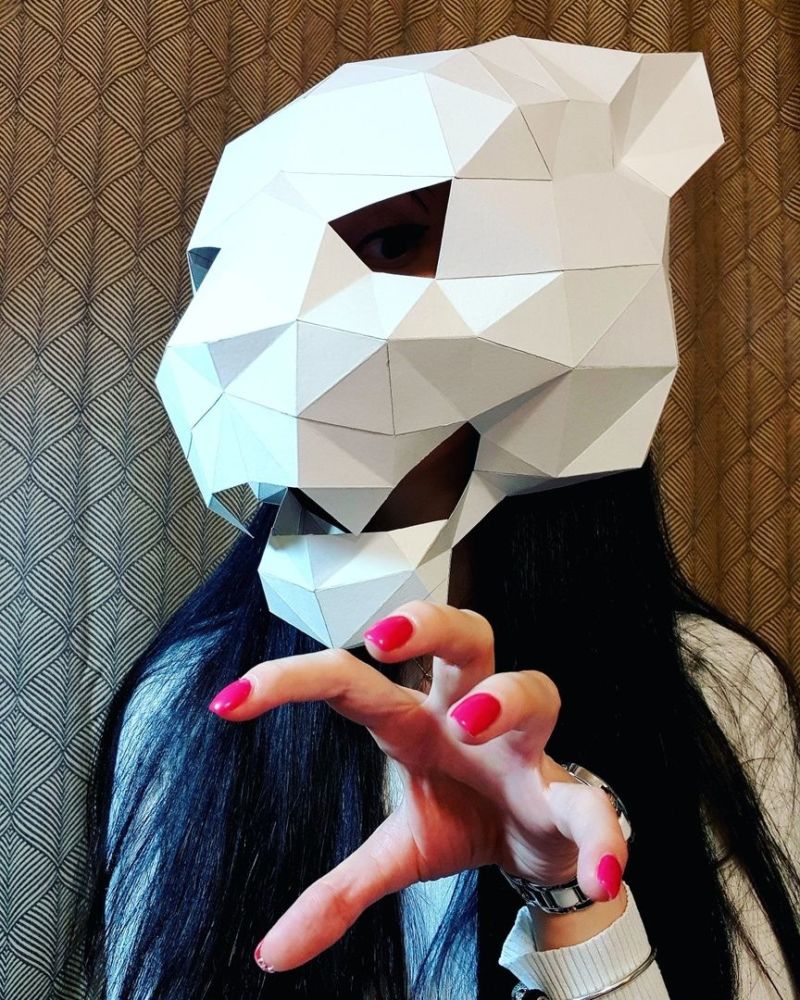
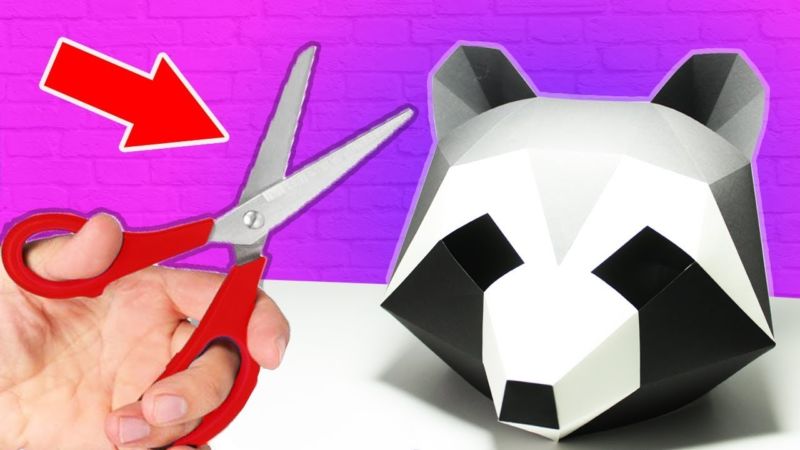
Papercraft
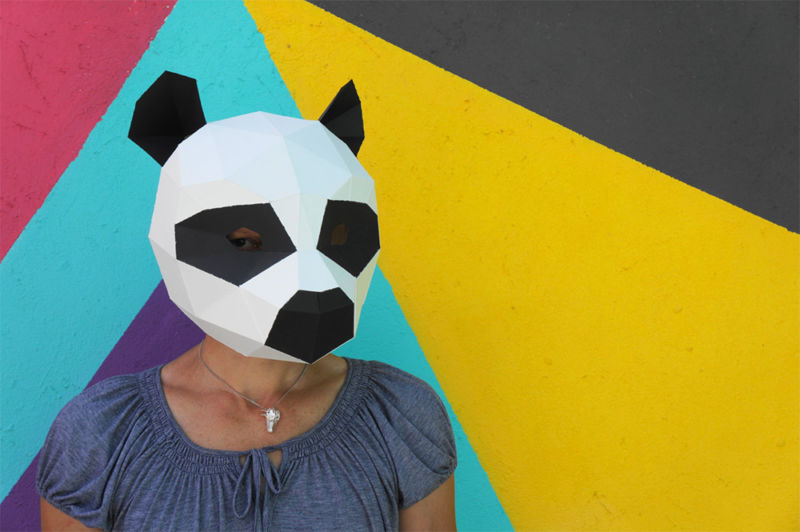
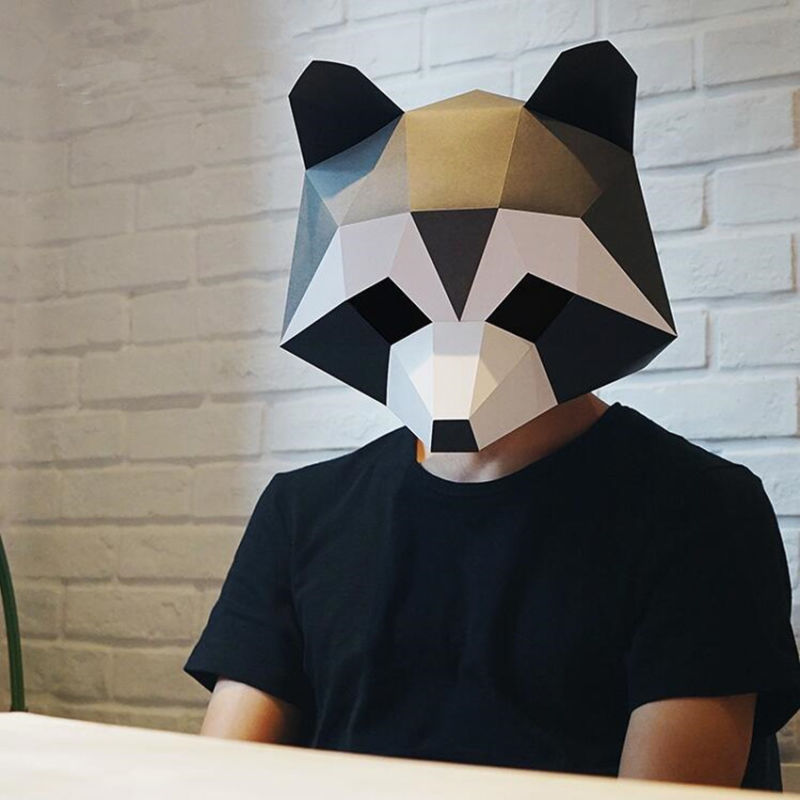
Papercraft is paper modeling-creating three-dimensional shapes out of paper or cardboard. The essence of the technology is to choose and print a ready-made scheme, cut out parts, glue them together according to the specified numbers. The finished figure is better to paint.
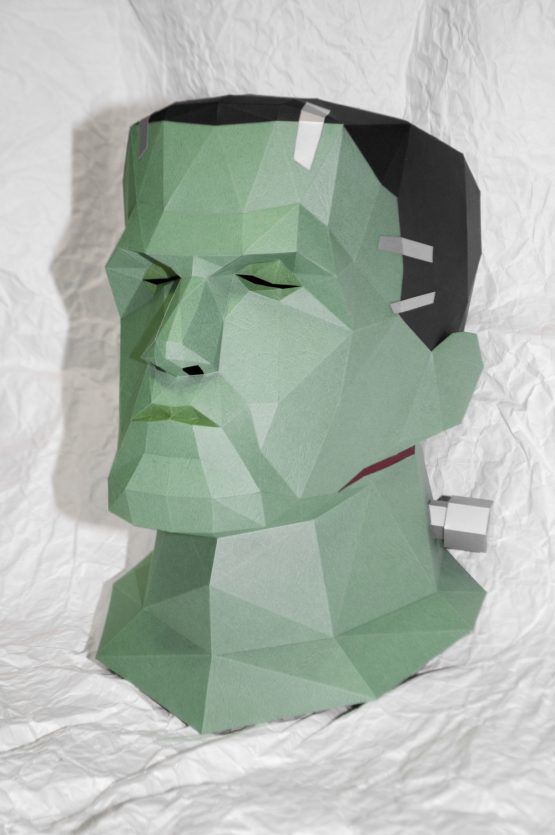
The choice of figures is huge. These can be animals, fruits, human figures, geometric shapes. Technology Papercraft can make an unusual and mysterious mask.
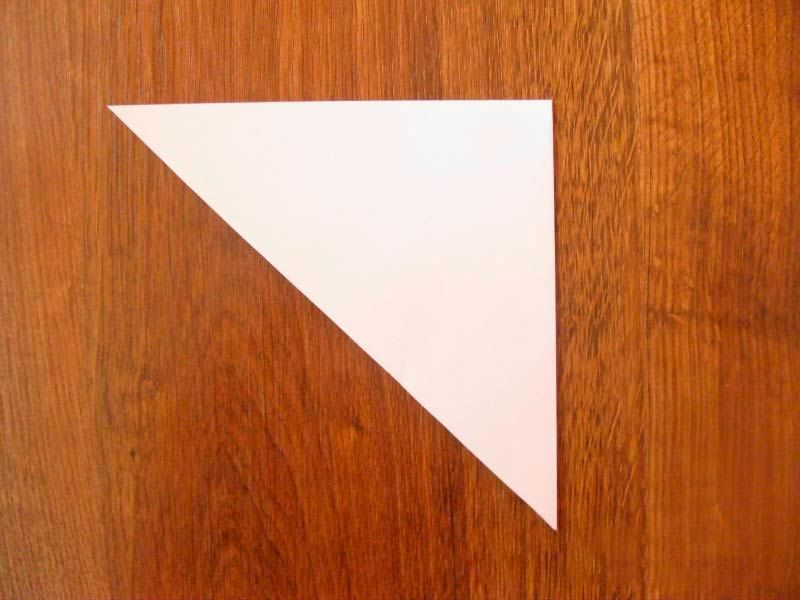
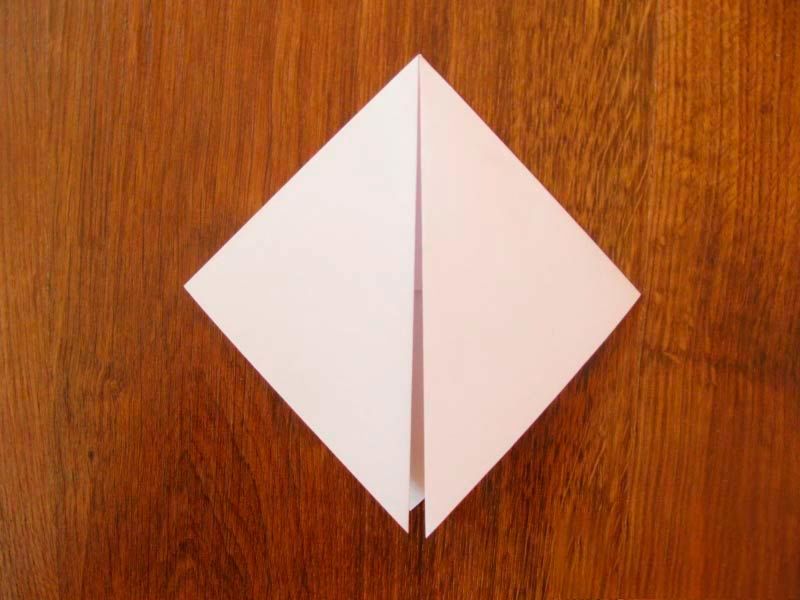
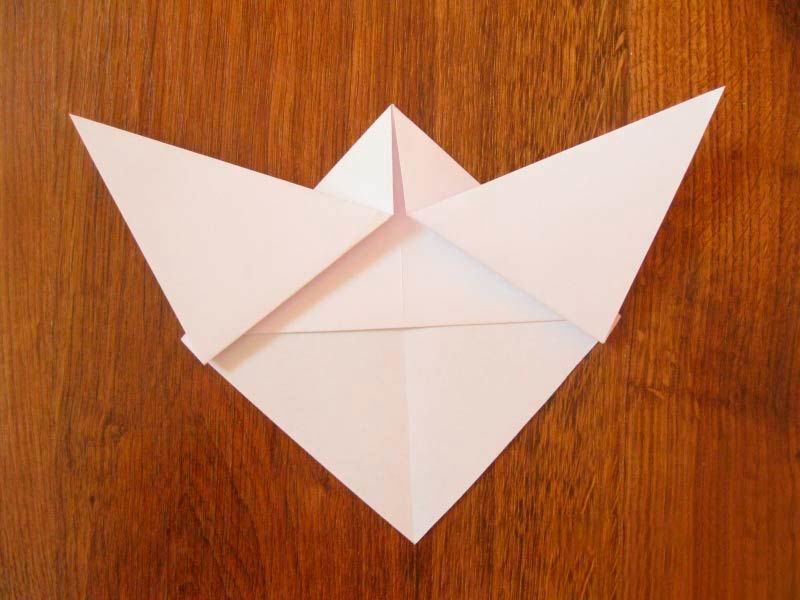
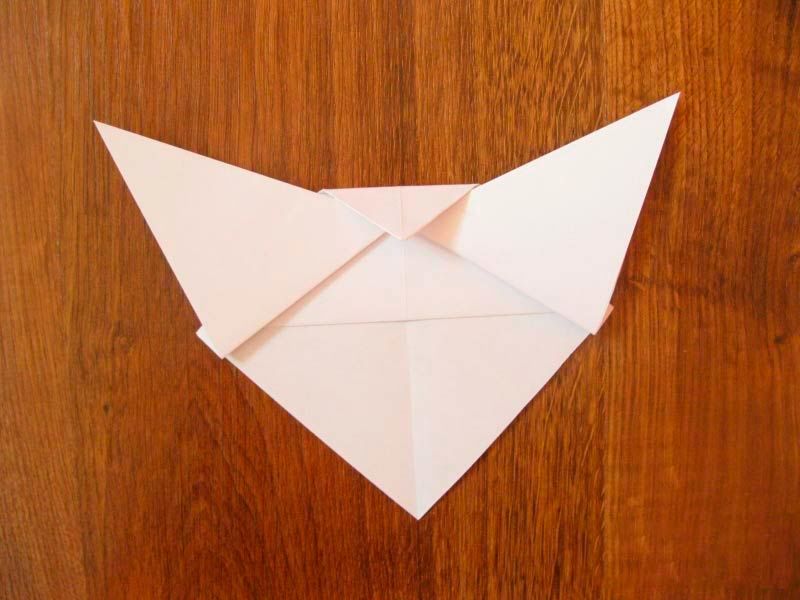
Make a mask in the origami technique
Origami (in Japanese "folded paper") - is an ancient art of making different figures without glue and scissors by folding the paper.
To work in the technique of origami you must first master the basic modules of the paper. Consistently assembling modules and connecting them to each other, as a construction set, you can get a simple animal masks.
With experience comes the ability to create masks of people and any fantastic and real characters.
Scrapbooking
Scrapbooking (literally: "book of clippings") - handmade art of making family or personal photo albums. A scrapbooking mask (stencil) is used for drawing or creating a background.
With the help of a mask gives additional volume, because part of the surface is not painted. Masks are made of transparent plastic. Use ready-made or make their own hands.
The choice of ready-made masks is huge. But when working with our own hands, this accessory will get originality and brightness. And the manufacturing process itself is an occasion to explore the imagination and create a fun and creative atmosphere. And be sure to lift your spirits.
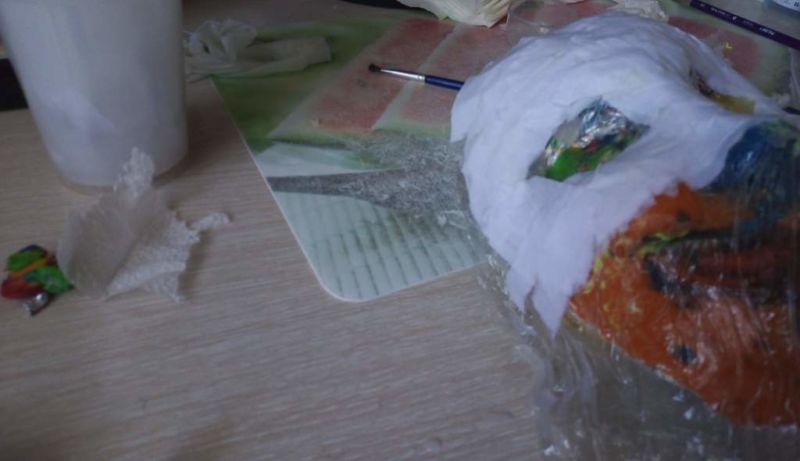
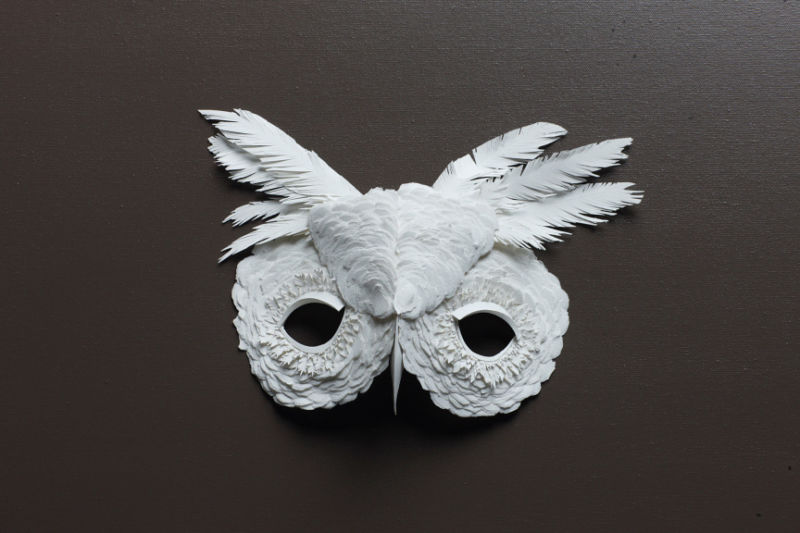
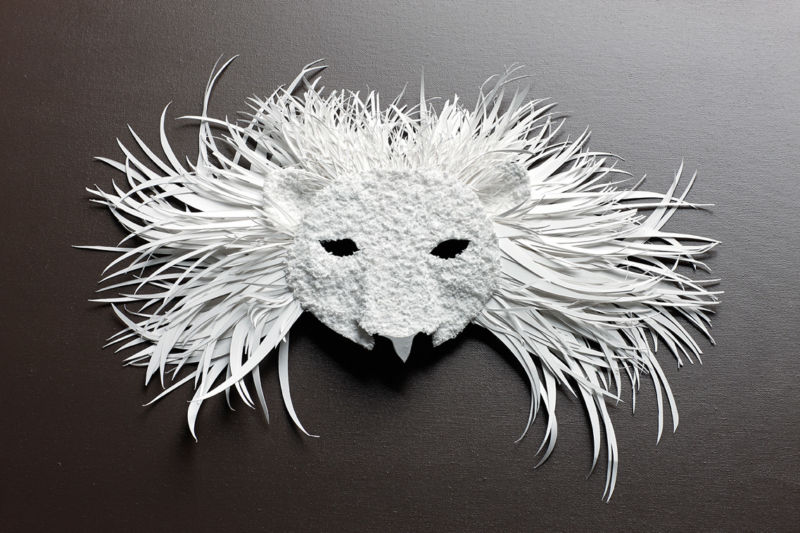
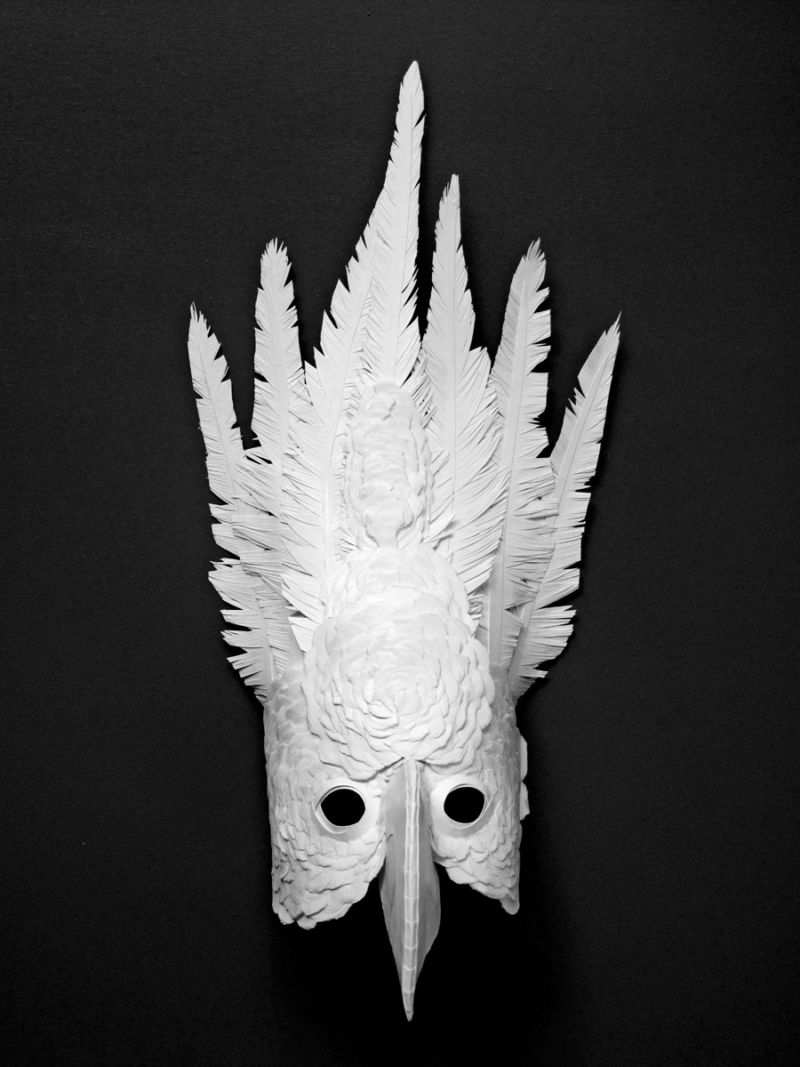
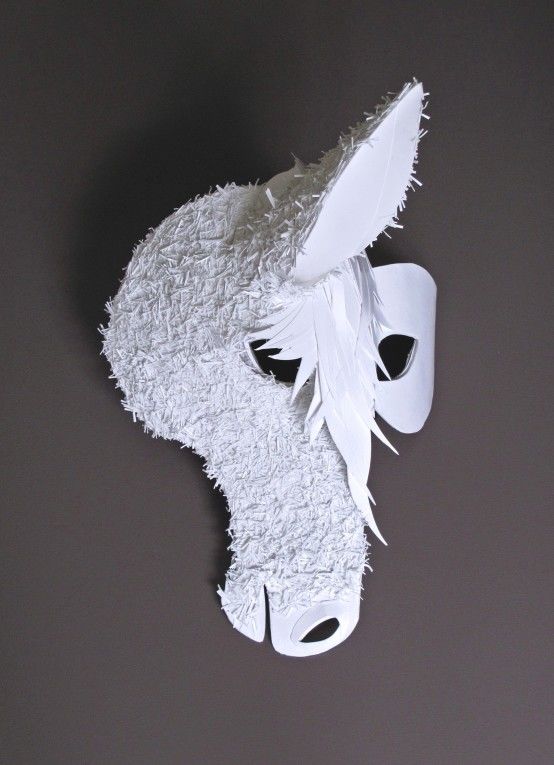
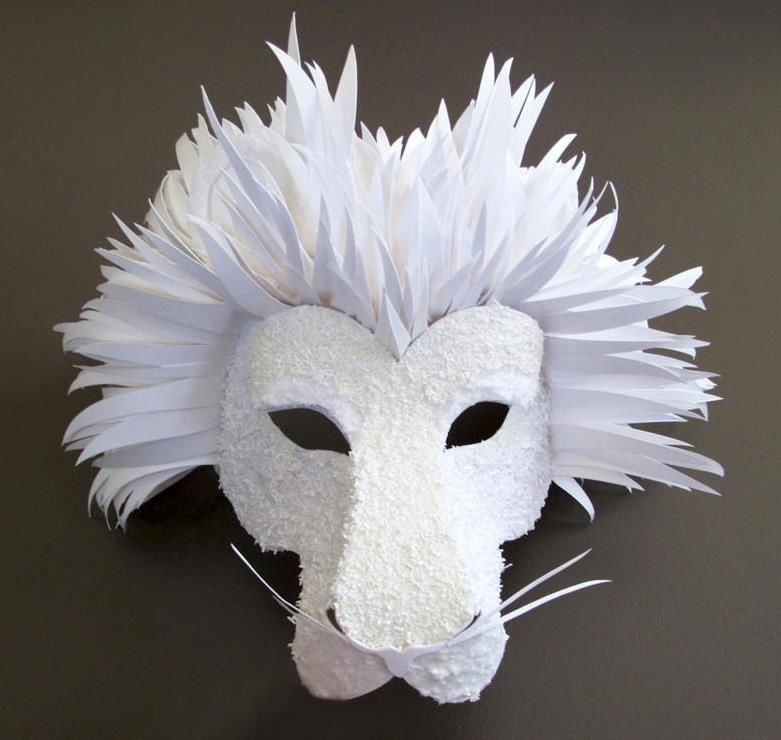
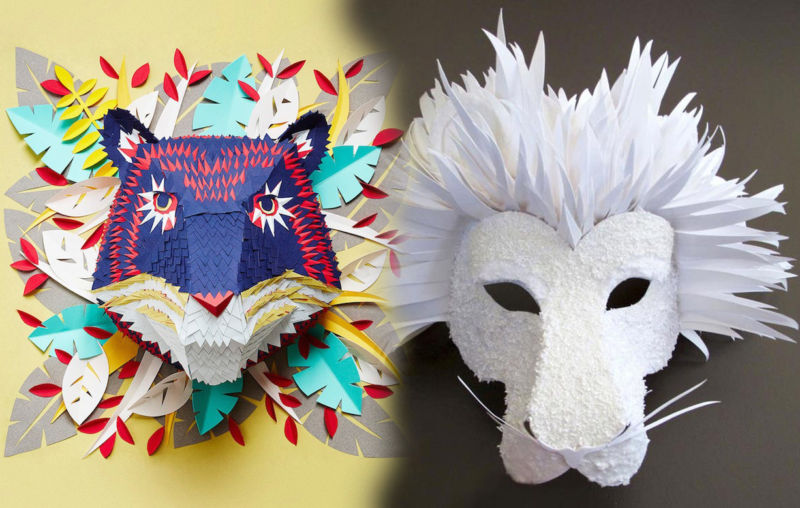
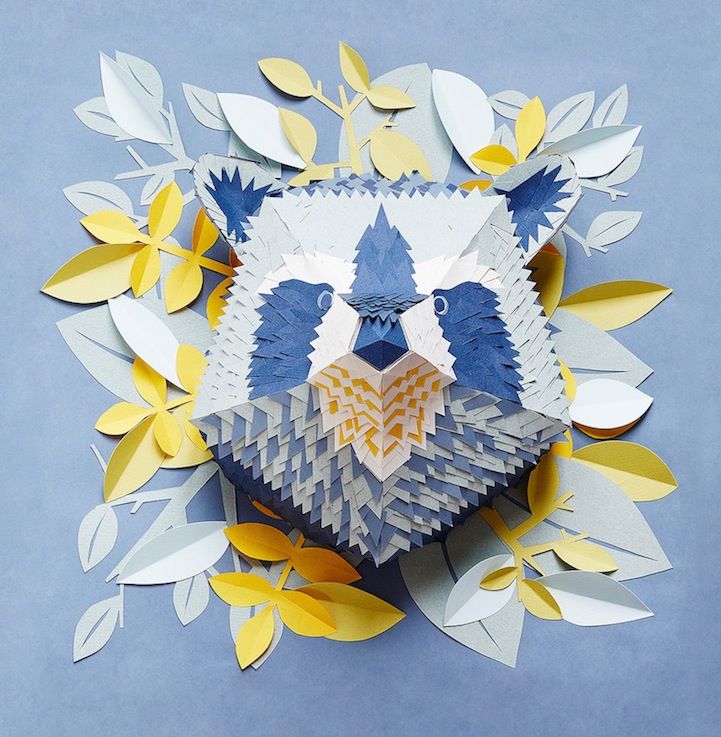
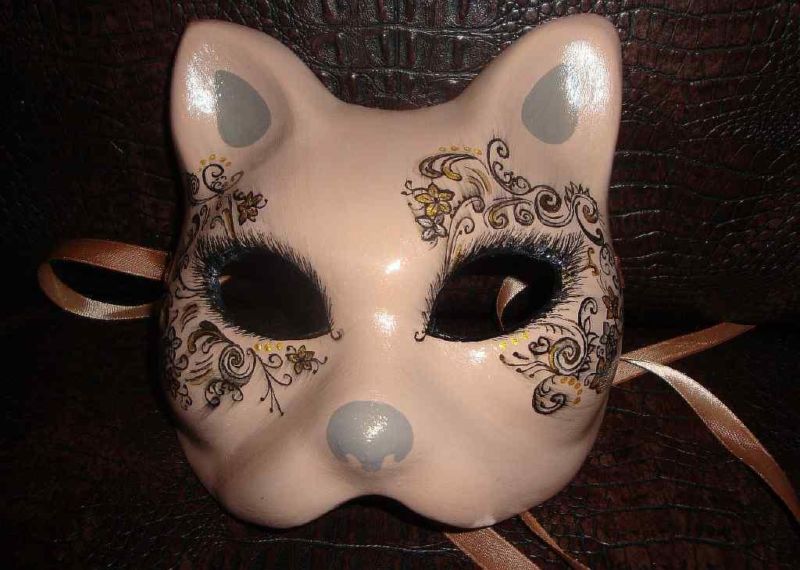
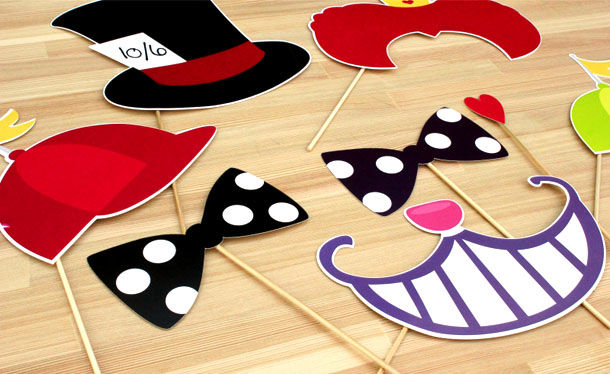
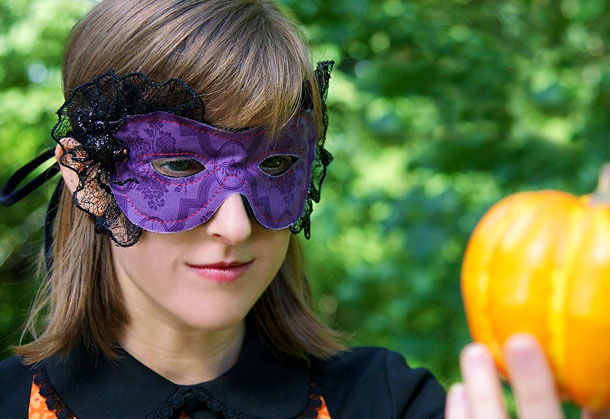
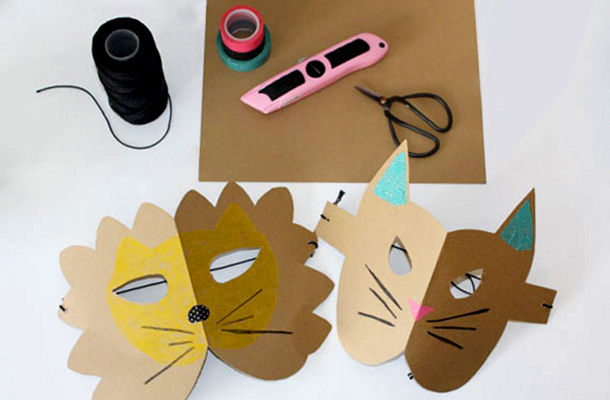
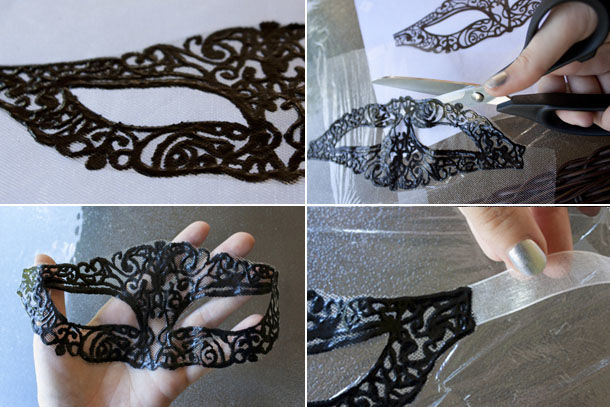
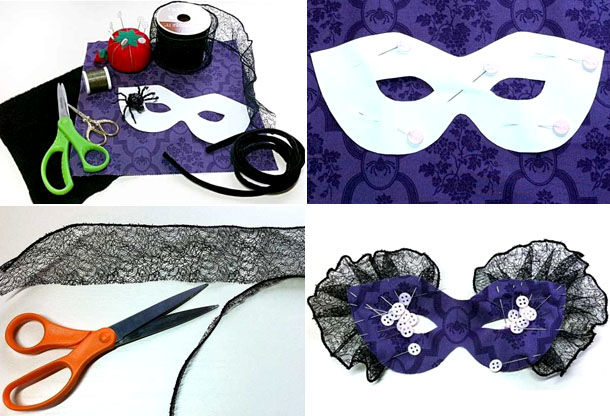
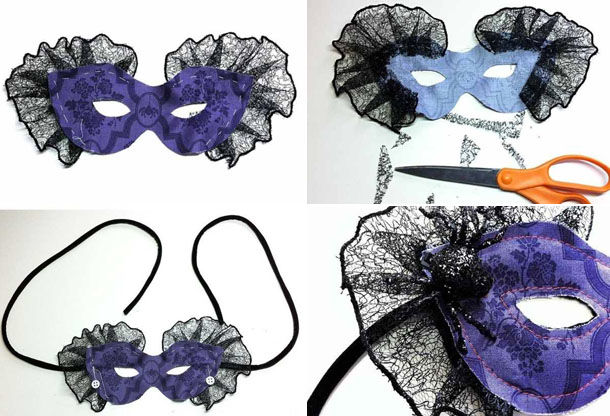
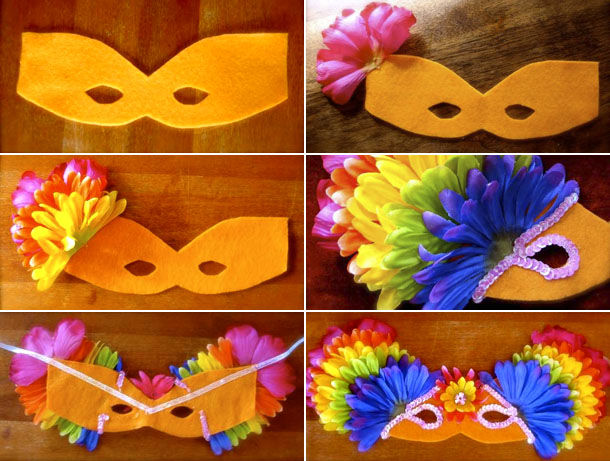
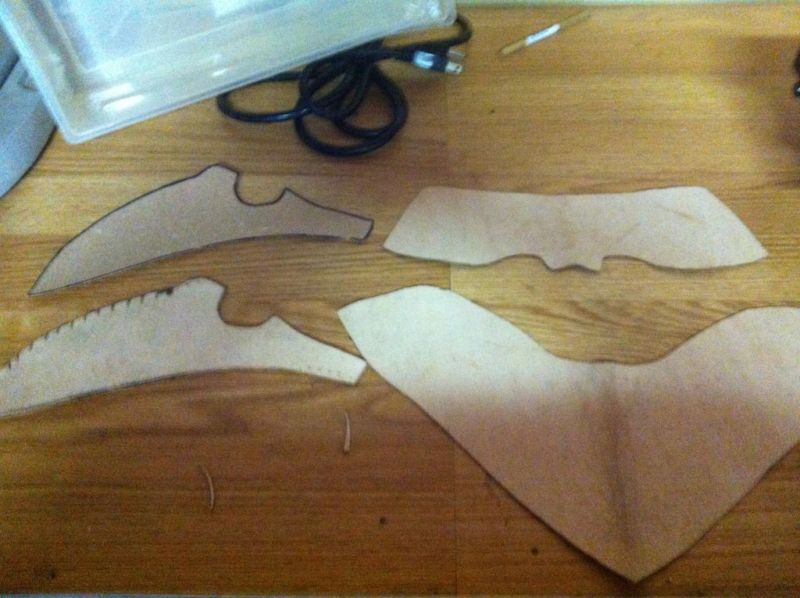
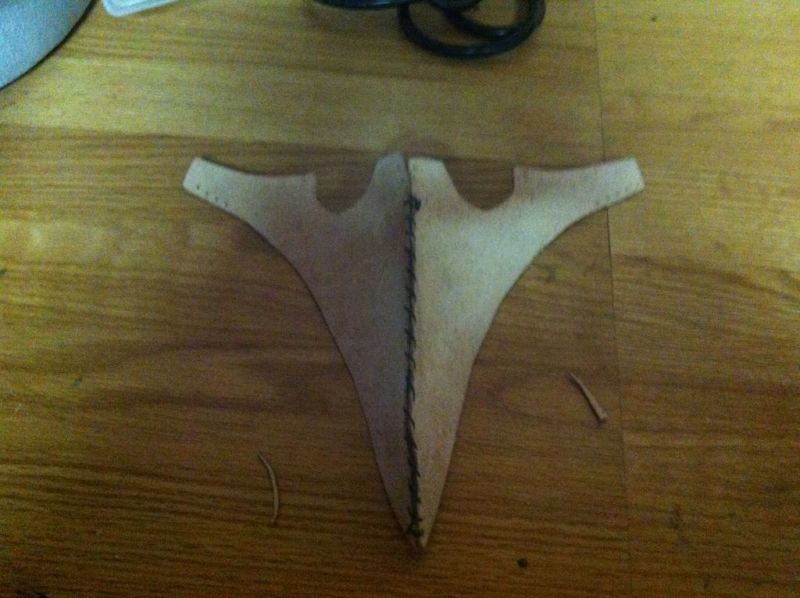
Photo ideas of homemade masks from paper