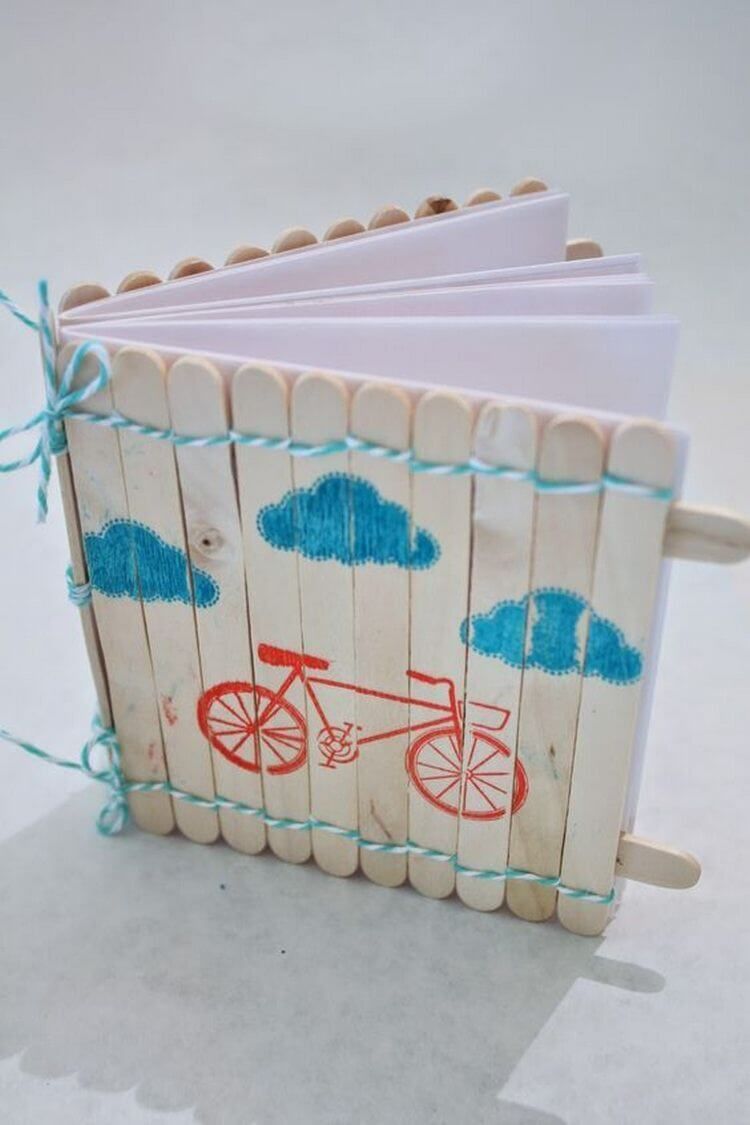
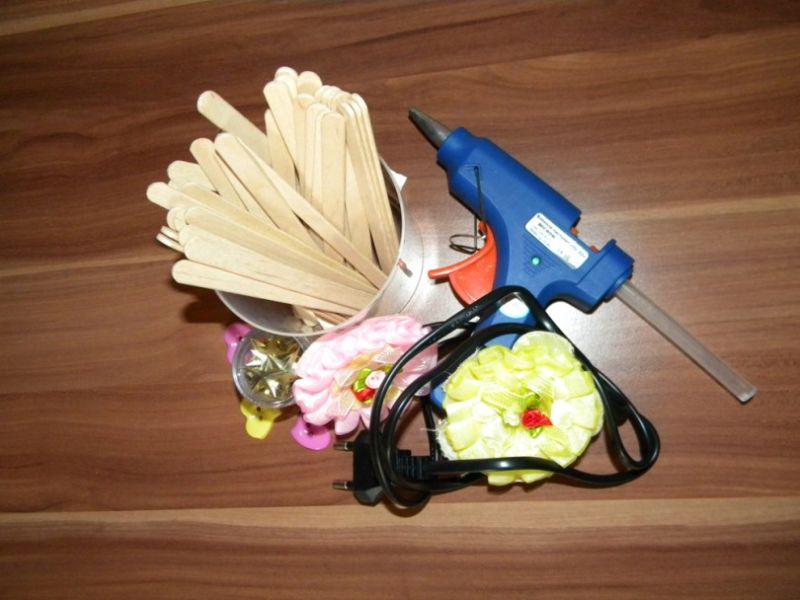
Popsicle sticks crafts with your own hands: easy children's master classes with photo ideas and examples
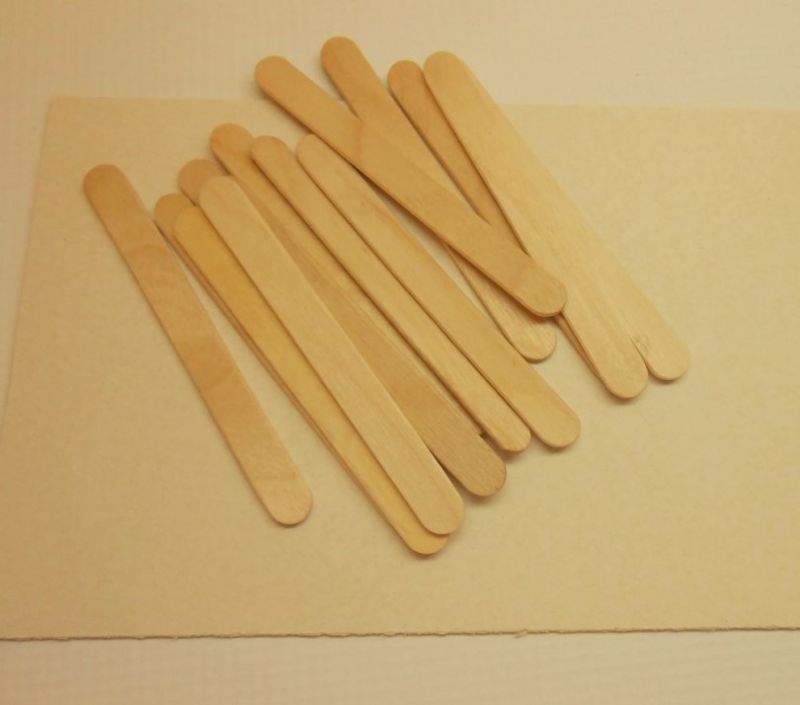
It seems that a stick from an eaten popsicle stick is useless, but this is an erroneous installation! Wooden bars can be reused.
From them it is possible to construct both a household item, such as a coaster for hot dishes, and an authentic bracelet, expressing the character of the owner.
Above all, crafts from wooden sticks with their own hands will be of interest to creative natures, families with children and those who think about sorting waste.
How to make crafts from popsicle sticks
There are the following work techniques:
- Gluing;
- Bending;
- Coloring and decorating.
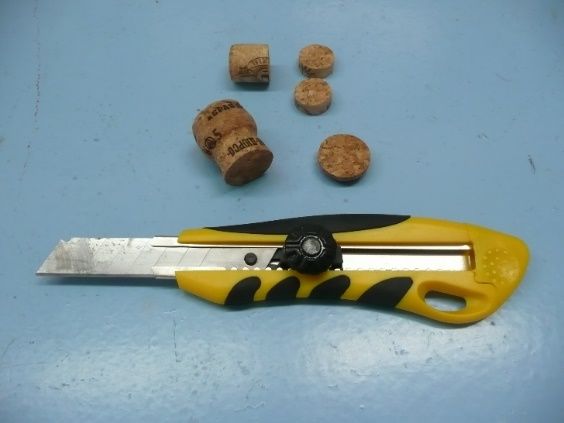
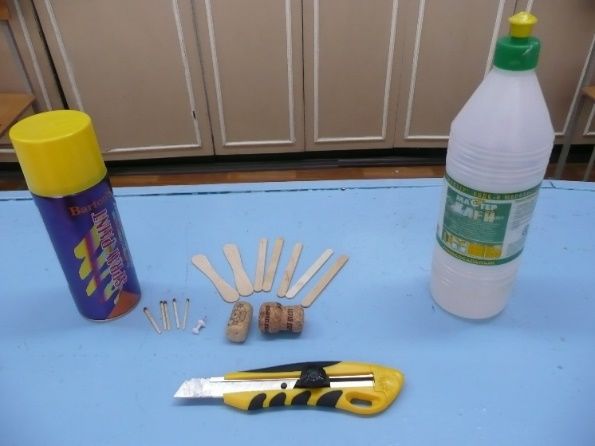
Preparatory work
Sometimes the base needs to be prepared in advance. Parts are soaked in cold water for more than 12 hours. Another option is also possible: boiling for half an hour. After the material has soaked in moisture, it is dried - this will take more than three hours.
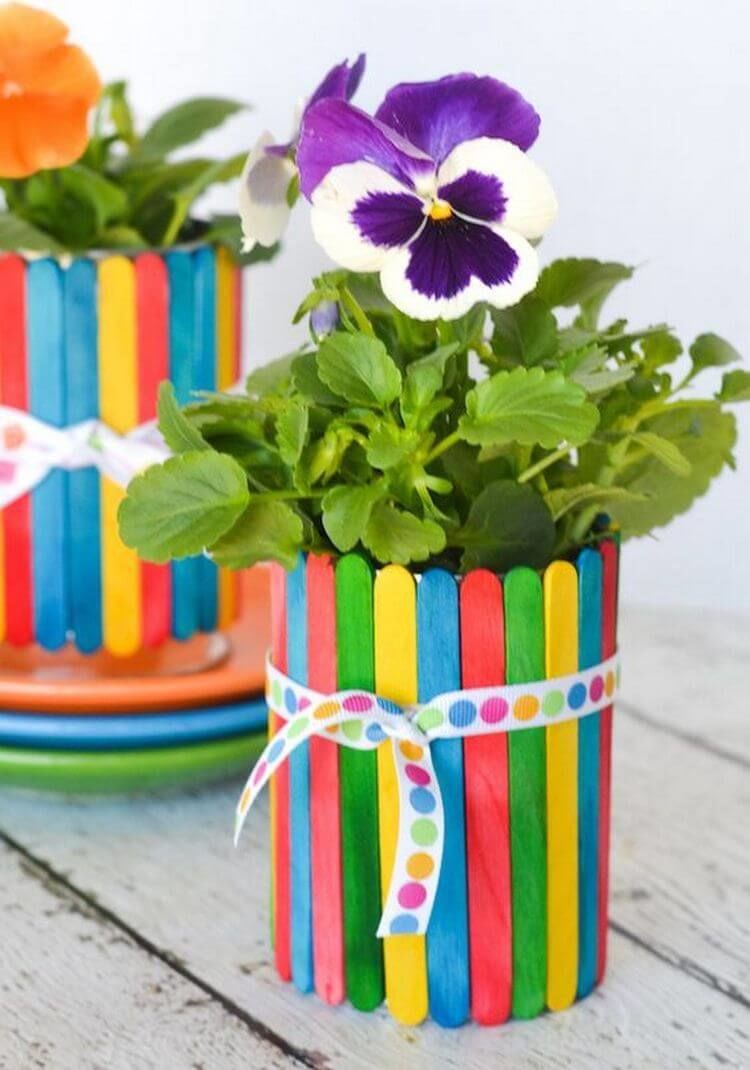
Useful crafts
As already noted, you can make decor from sticks, nice to the heart trinkets, and necessary items for life.
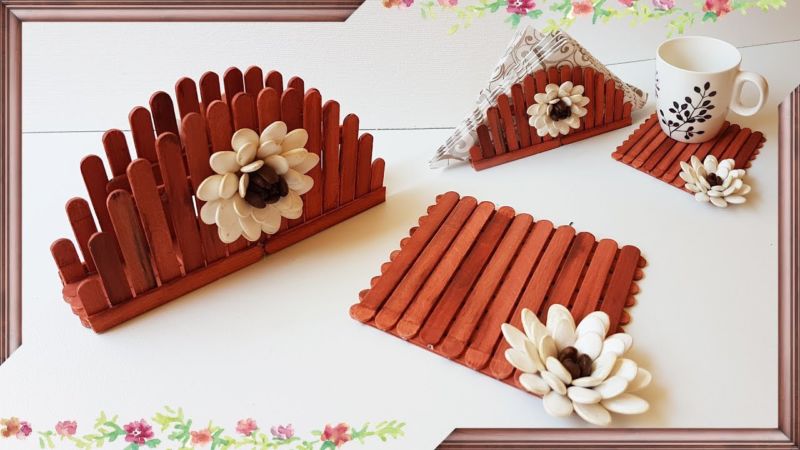
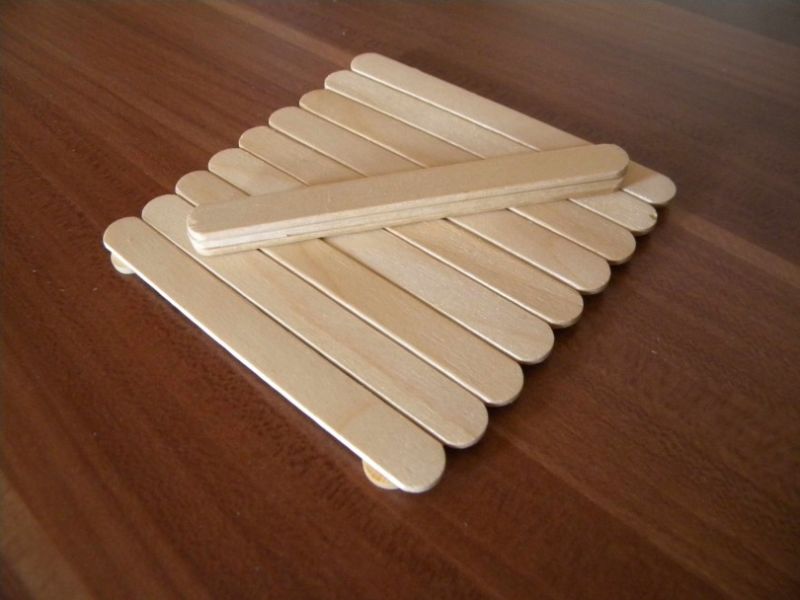
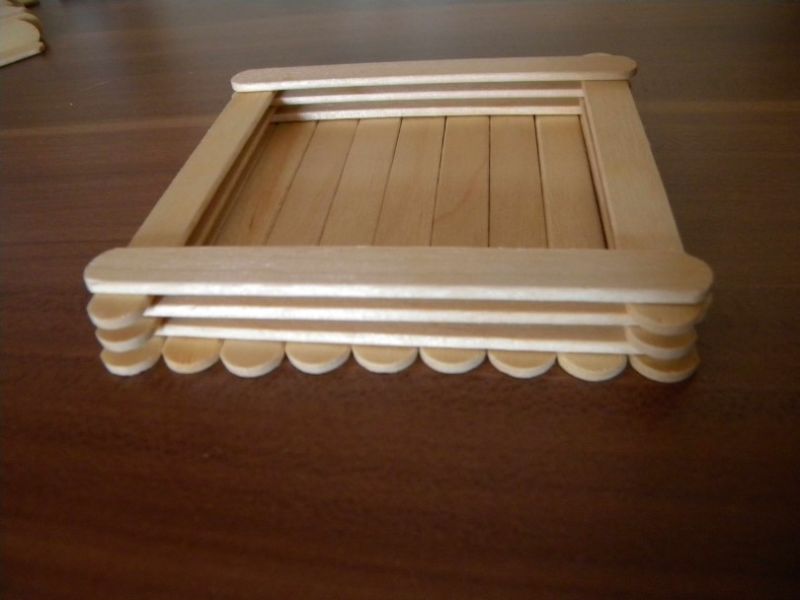
A coaster for hot food
To make a coaster, you need to stock up on the following items:
- Chopsticks (50 pieces);
- Wooden beads (large and small diameter);
- Three equal long rubber bands;
- Drill bit.
Step by step instructions:
- Using a drill, three holes are made in each stick: two on each edge and one in the center.
- A rubber band is threaded through the top 25 holes of the sticks, "bars" and large beads are alternated.
- Similarly need to do with the central row, but this time smaller beads are used.
- Through the third row is pierced rubber band.
- When the semicircle is ready to tie a knot and leave the tail.
- Repeat the same pattern with the second half.
- Tie parts together.
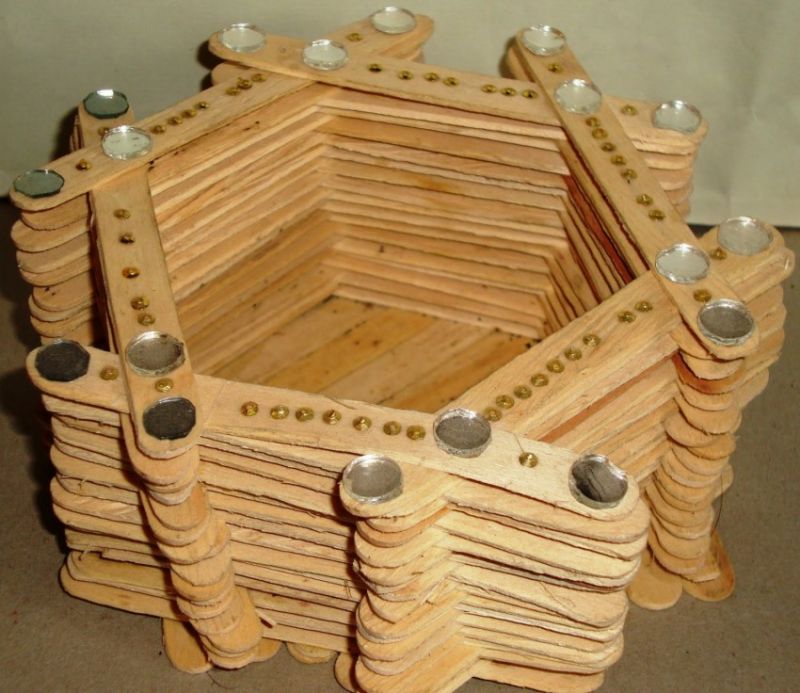
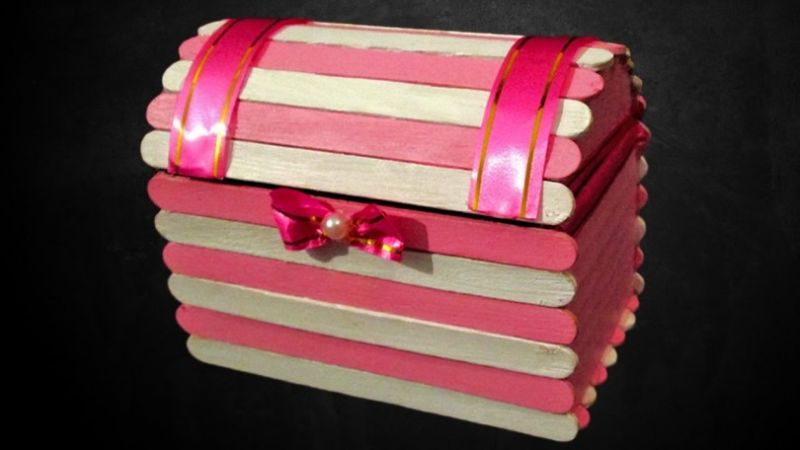
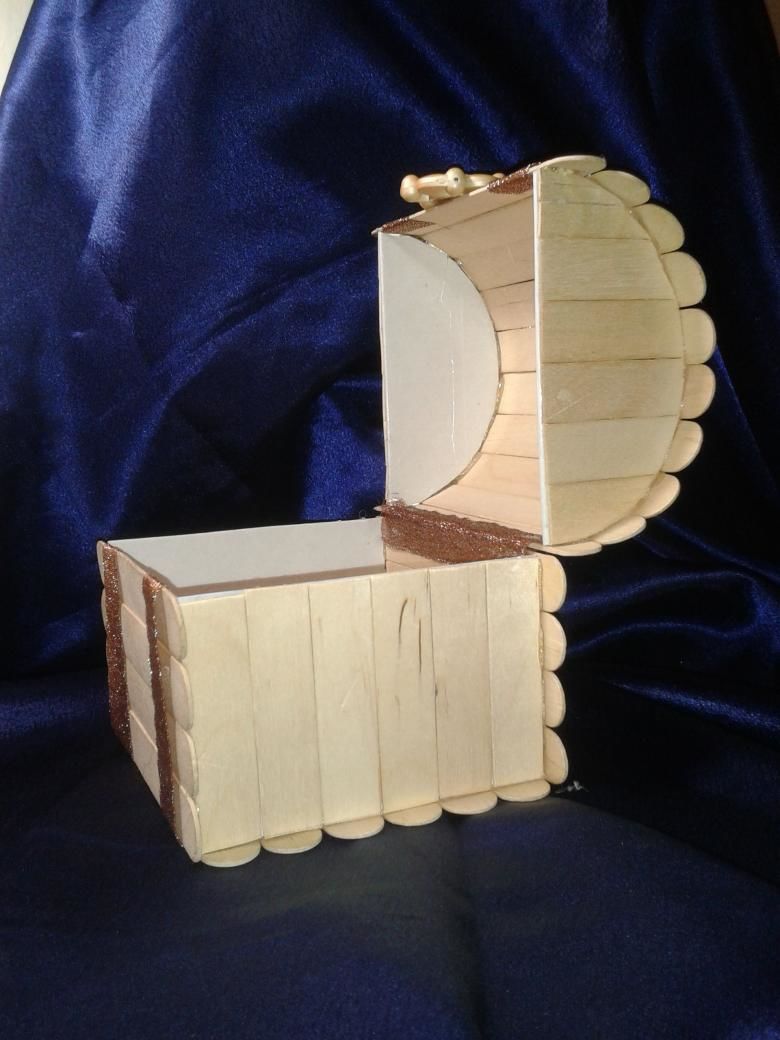
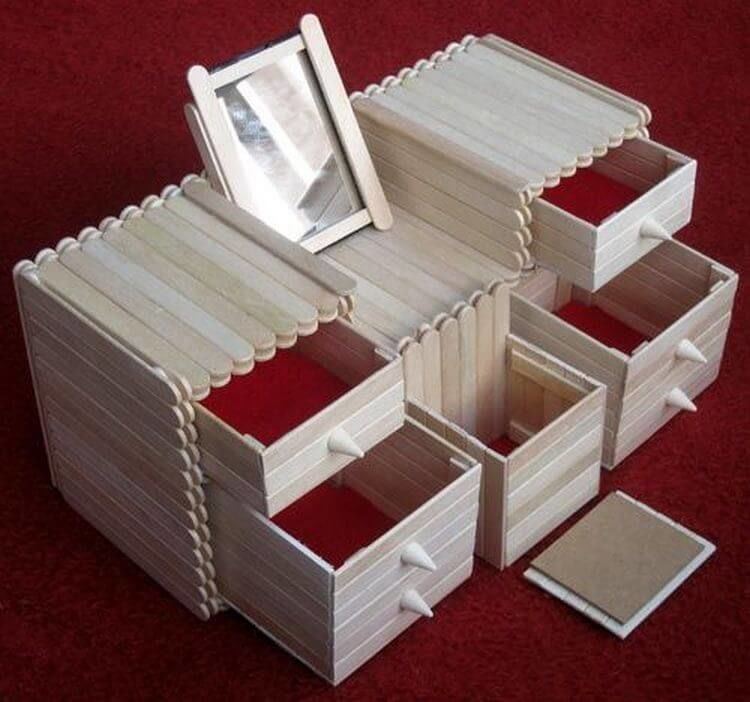
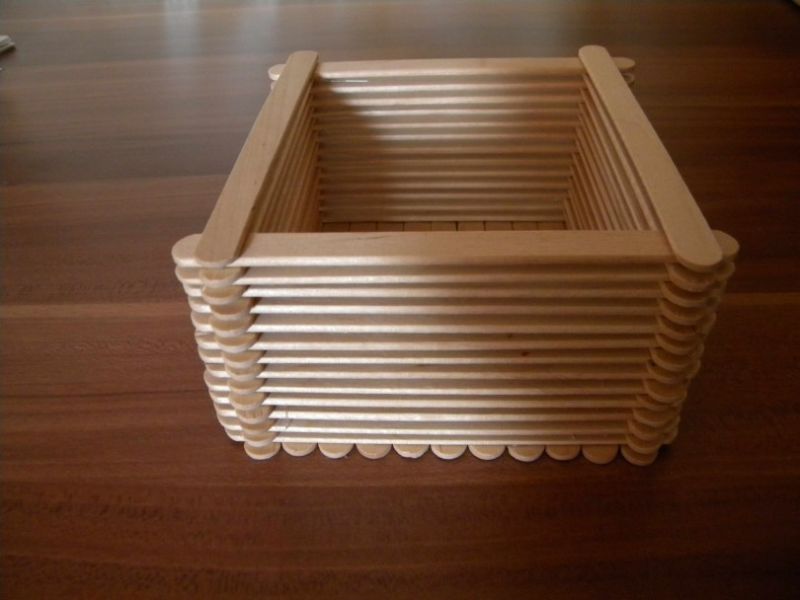
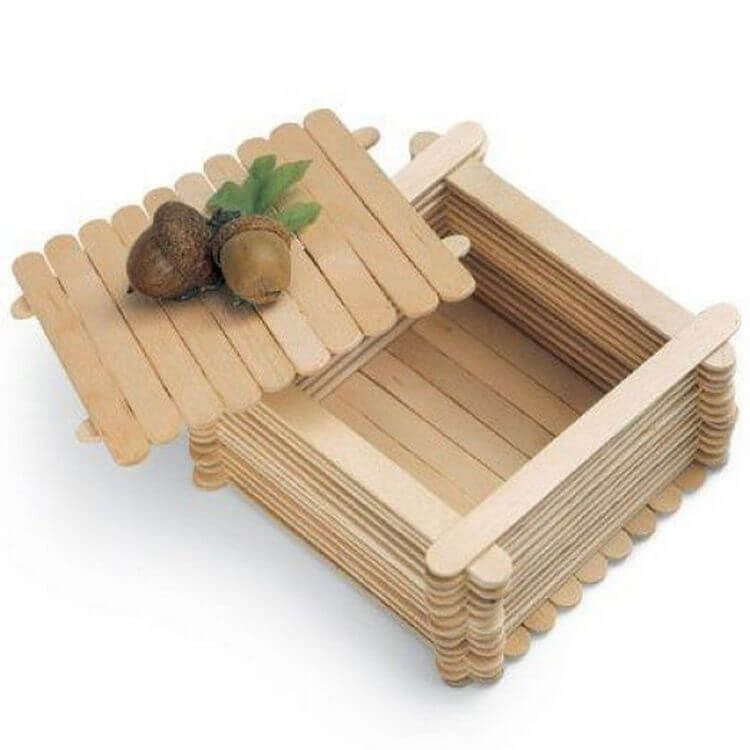
Casket .
For a casket will be needed:
- Sticks (29 pieces);
- Acrylic paint;
- Corrugated cardboard;
- Glue;
- Ruler, scissors, pencil, ribbon
- Decor elements to taste (beads, etc.)
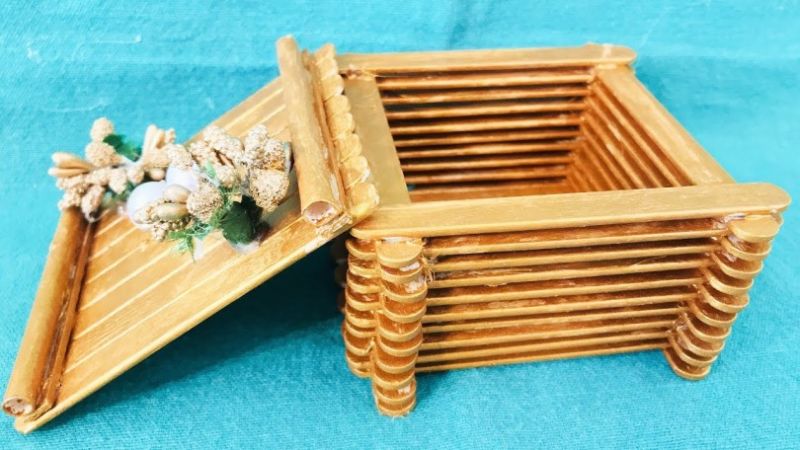
Instructions:
- Paint is applied to the bars.
- From corrugated cardboard cut out 2 rectangles 7 to 5.5 cm and two semicircles with a base of 7 cm and a height of 3 cm. The elements are painted with the same paint as the bars.
- Then the bottom of the casket is made. 7 sticks are laid out and temporarily fixed with tape in the center. The smaller sides of the resulting rectangle will serve as the side walls of the future casket, to them you need to glue cardboard rectangles perpendicularly.
- "Empty" ribs are glued popsicle sticks (6 pieces for each). When this step is complete, you should get a small open box.
- For the lid, the remaining sticks and two semicircles of cardboard are used. They are glued on the outside with wooden elements, you get a figure resembling a cut cylinder.
- The ends of the corrugated cardboard are decorated with satin ribbon. Two pieces of ribbon are glued to the lid, the ends flattened by about 2 cm, they are glued to the back of the casket, allowing the lid to move easily.
- It remains to let all the elements dry and you can proceed to the final step - decorating. For it, you can use the same tape as for the hinges.

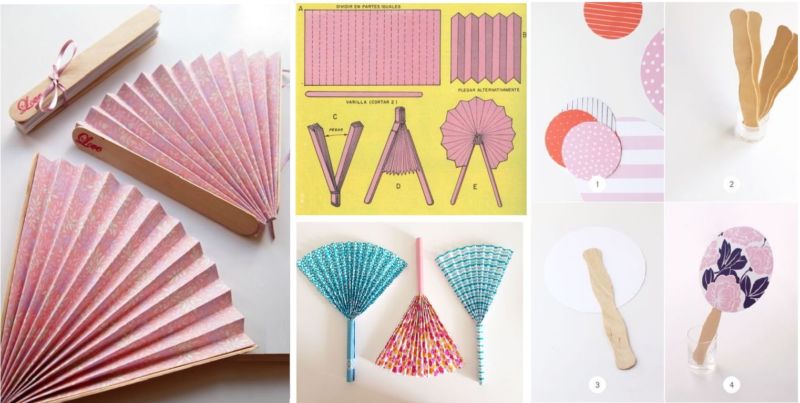
Fan
Another way: make an exquisite fan, which can both decorate the walls in the interior, and use in hot weather. For a useful accessory will require:
- Sticks (5-8 pieces)
- A sheet of paper (fabric cloth)
- Scissors
- Glue
- Fine wire
- Items for additional decoration (ribbons, paint, etc.).
It is made in just a few simple steps:
- At the bottom of each is made a small hole of equal diameter, through which will be passed the wire that binds the frame and provides its mobility.
- Threaded and fastened wire, it should not be tightened too much, so as not to prevent the folding of the fan. Its sharp edges are removed.
- Opened fan is attached to a sheet of paper (or fabric) and outlined with a semicircle (this is the very fabric of the fan).
- The piece is cut out, decorated as desired and glued to the fan base. Then it is necessary to accurately fold the construction and unfold it again.
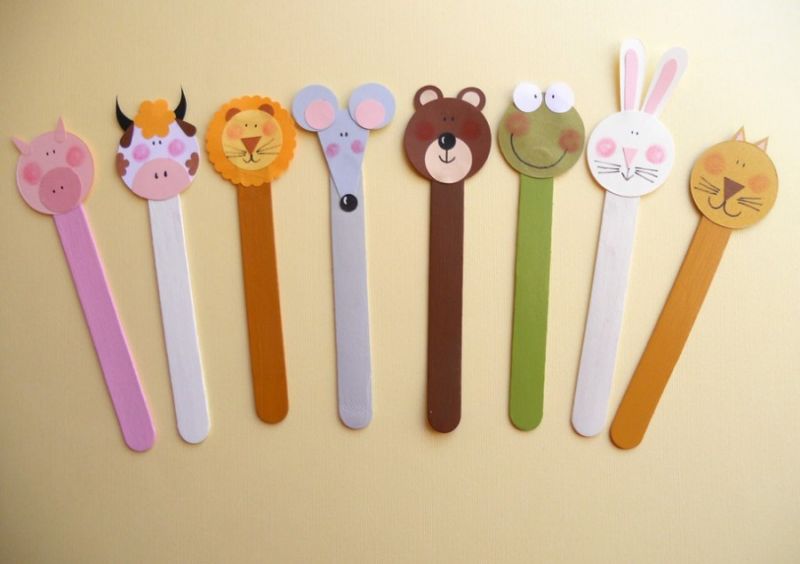
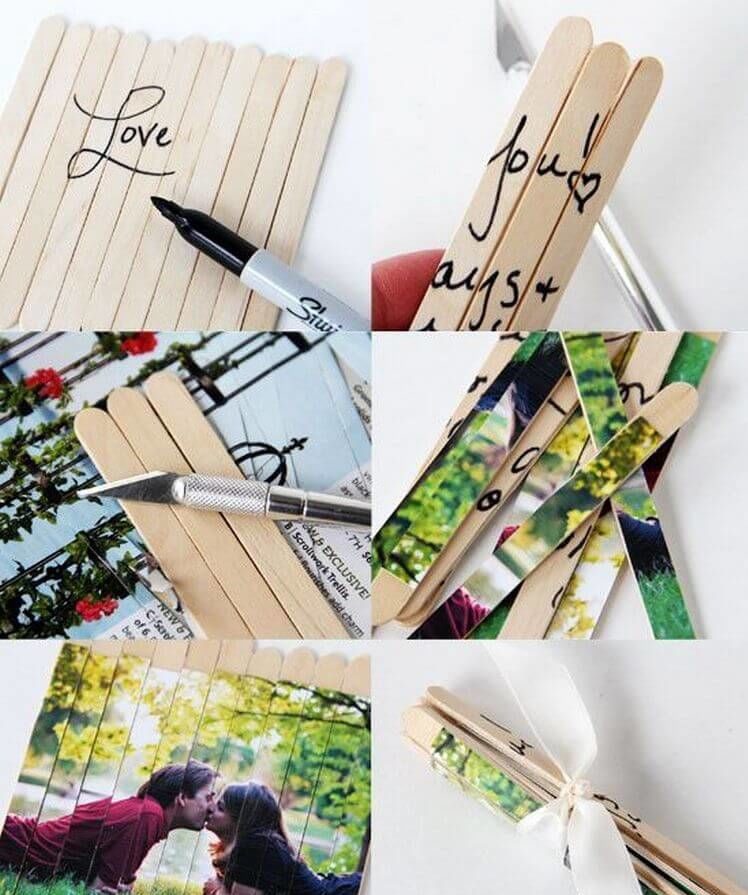
Bookmark for books
Bookmark for books - one of the most practical and simple crafts. For the easiest one you need to prepare:
- Ice cream sticks (depending on the number of bookmarks).
- Paints;
- Decorative elements (sheets of cardboard, ribbons, etc.);
- Scissors and glue.
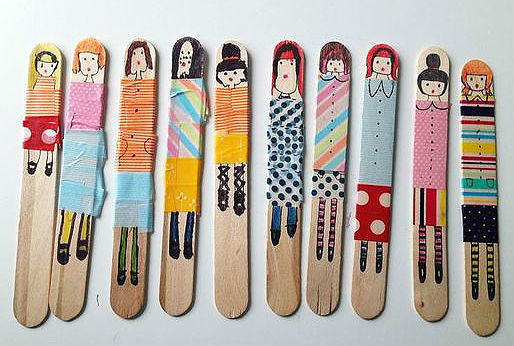
The outline of the desired design, which will be glued to the bookmark, is sketched on cardboard. This figure is cut out of the paper twice. Then the popsicle stick is painted the desired color. After the paint dries, a cardboard piece is glued to the top of the future bookmark on both sides.
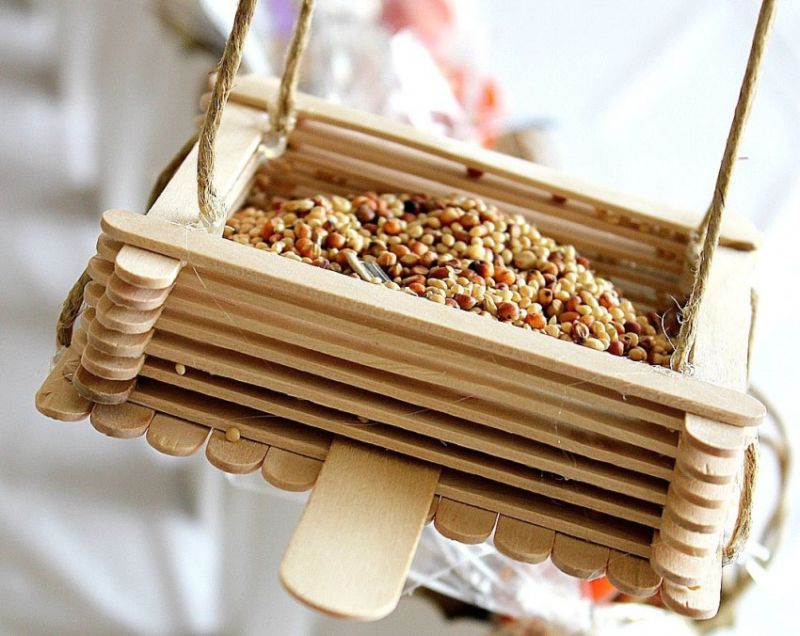
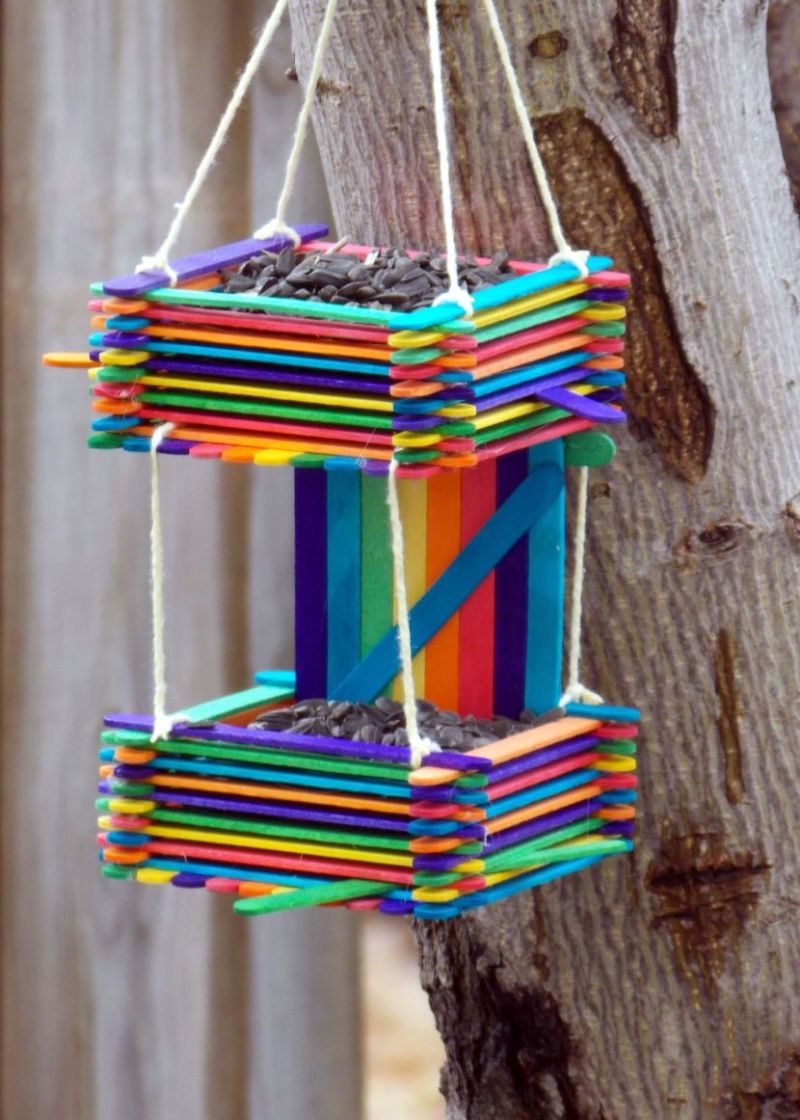
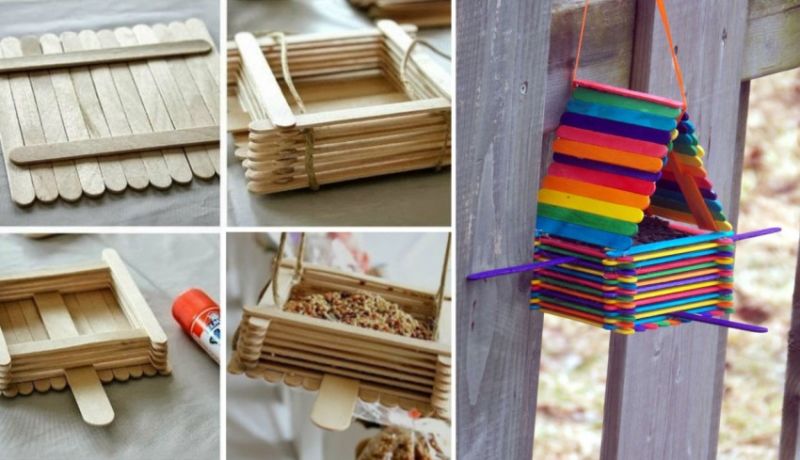
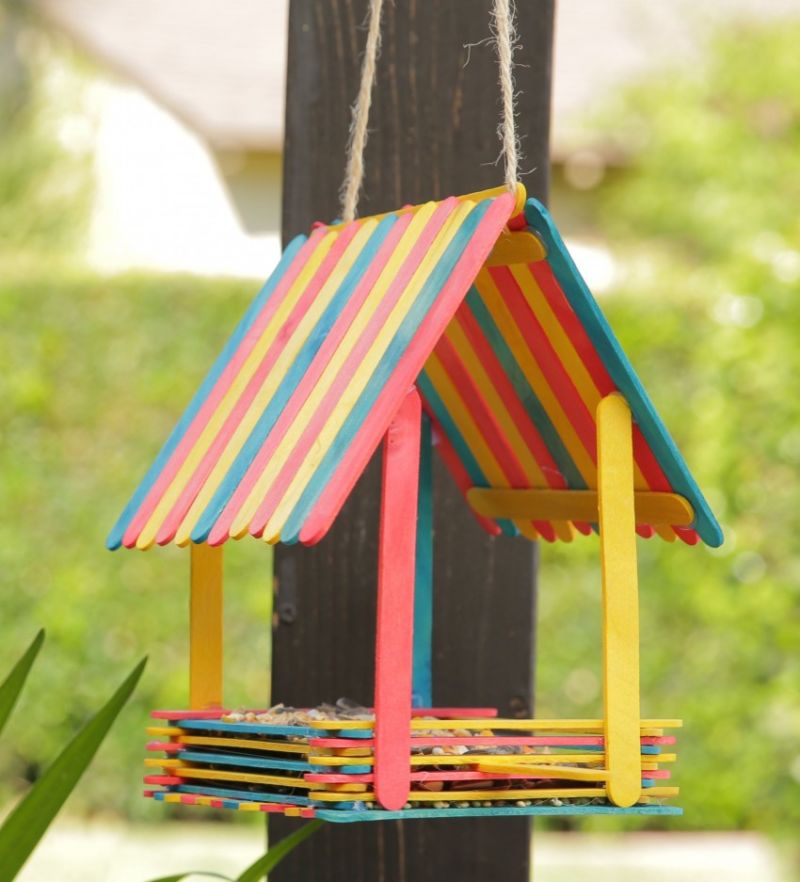
Bird feeder
This tiphack is especially useful for those who live outside the city and can hang the made bird feeder on their plot. For the product you will need:
- Sticks (36 pieces);
- Glue;
- Rope;
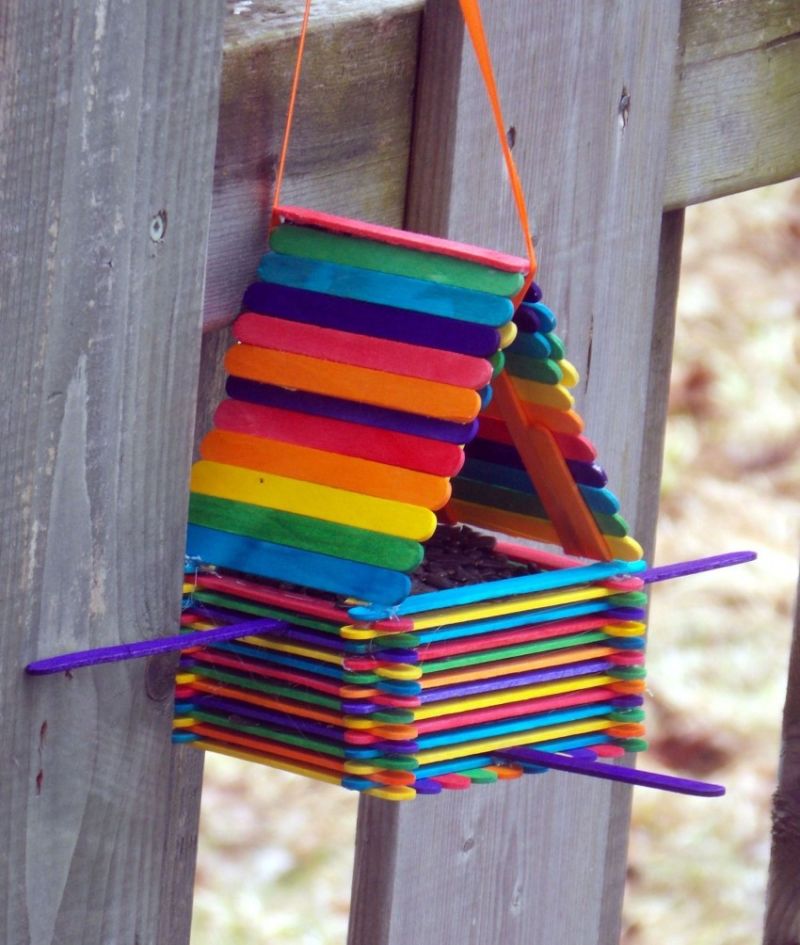
Step by step making:
- For the base, 11 pieces of wood are laid out, which are then fastened with 4 more placed at an equal distance from each other.
- The next 4 sticks are glued to the bottom of the bird feeder with a square.
- Then one of the sticks is cut in half and glued to the base - it is a support for the flying birds.
- The remaining sticks are laid out like the bottom rows.
- A strong rope is threaded through the bottom row to hang the feeder.
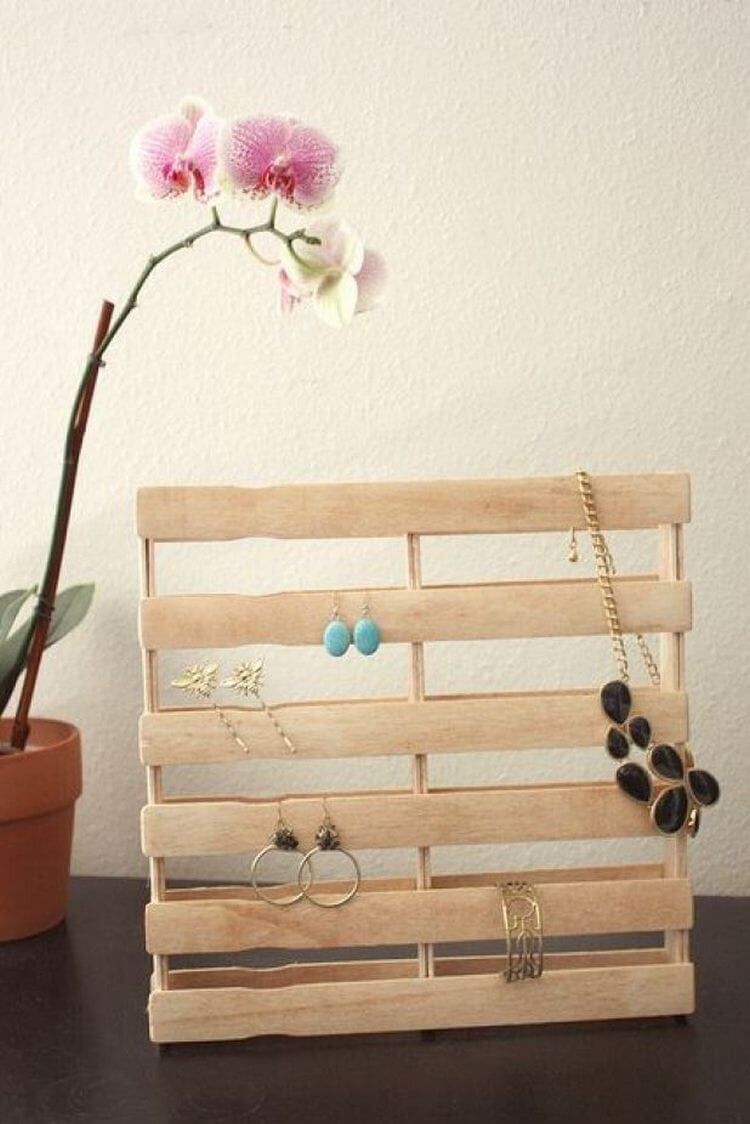
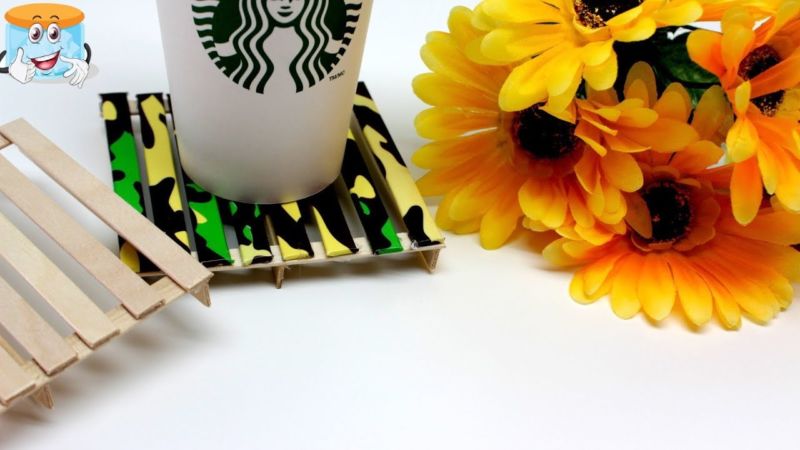
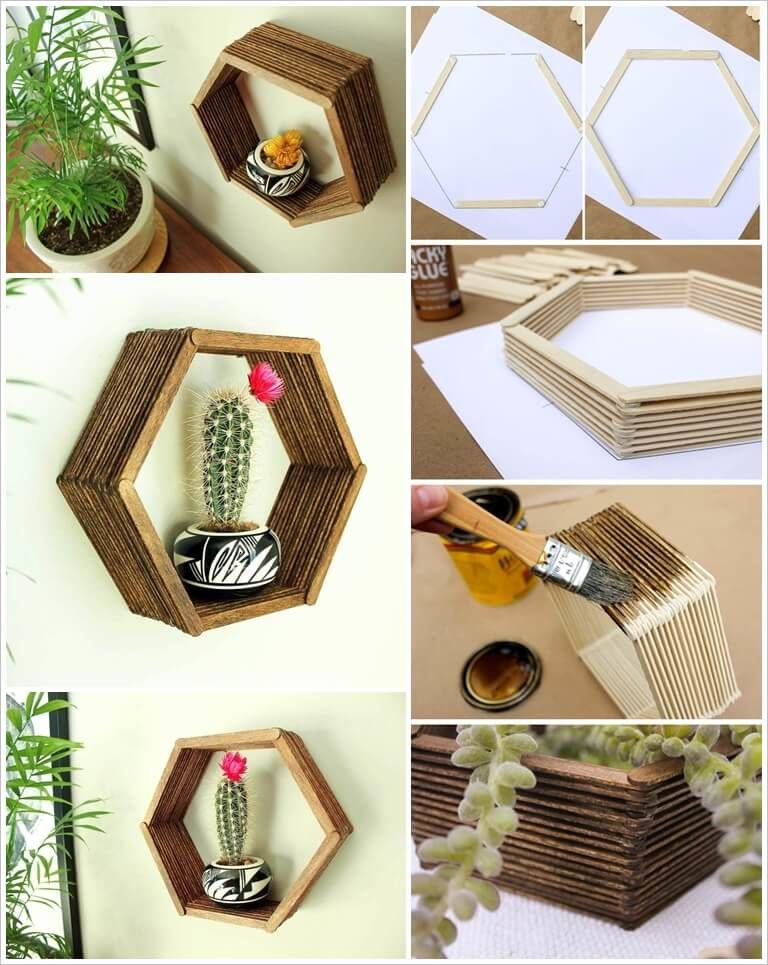
Shelves
To make a functional stylish shelf resembling a bee's honeycomb will be required:
- Sticks (depending on the width of the shelf);
- Stencil;
- Brush;
- Nail;
- Paint or stain.
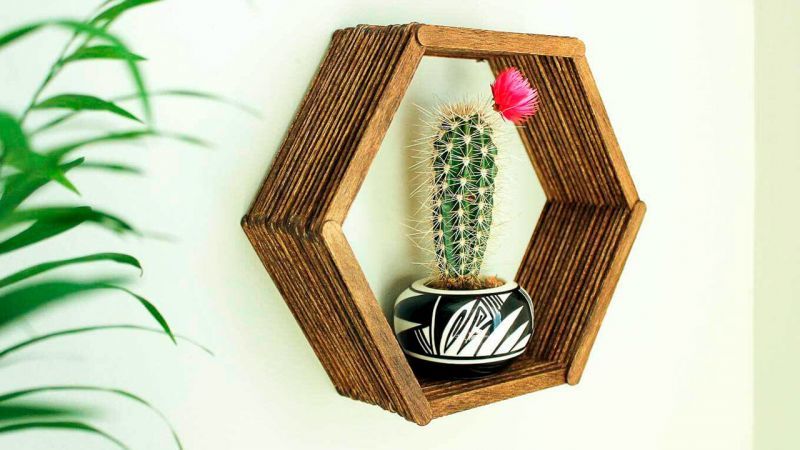
Making:
- A hexagon stencil is drawn on a sheet of paper. The first row is laid out according to the outlined contour. Glue is applied to the edges and the product is collected layer by layer.
- When the product is completely dry, it is evenly coated with stain/paint.
- The finished construction is hung on the wall on a nail.
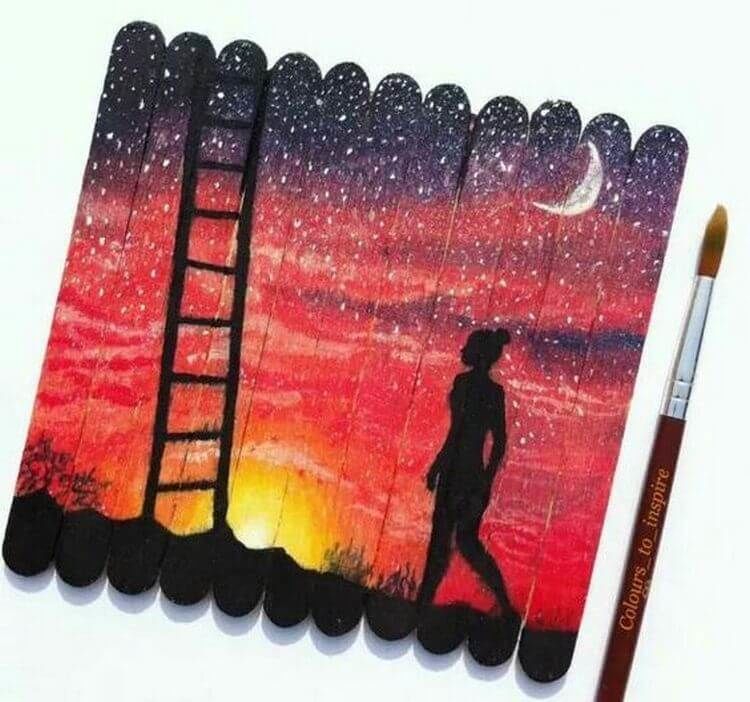
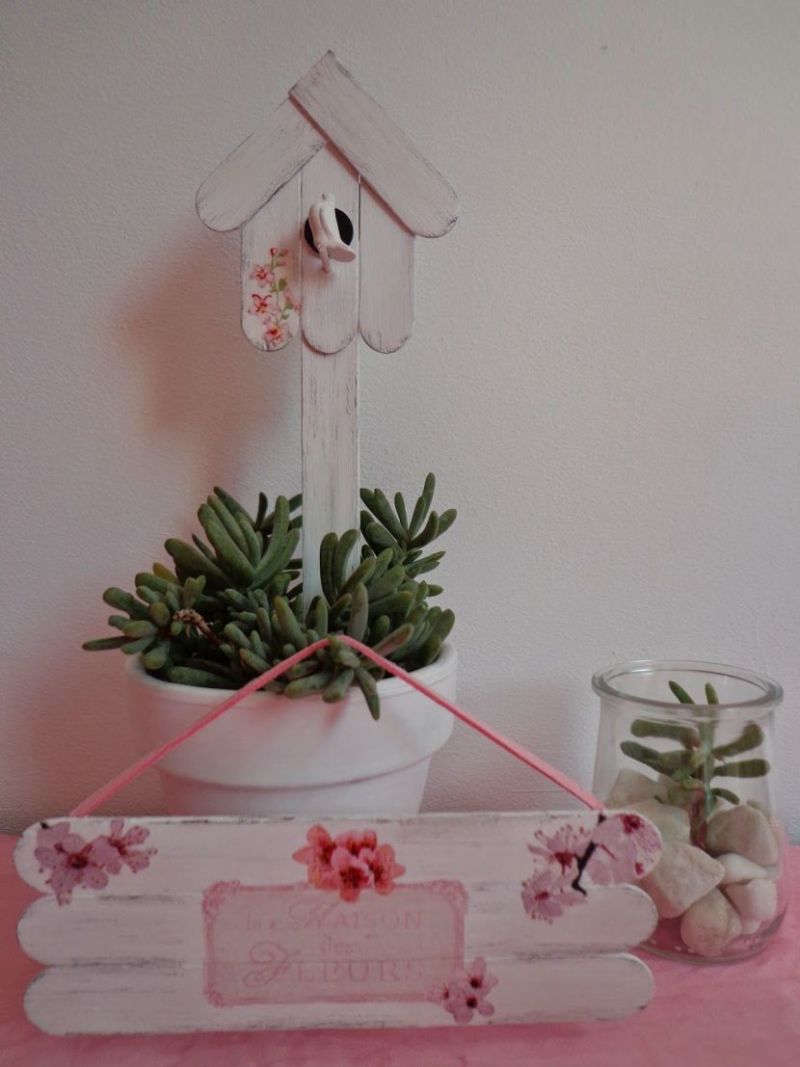
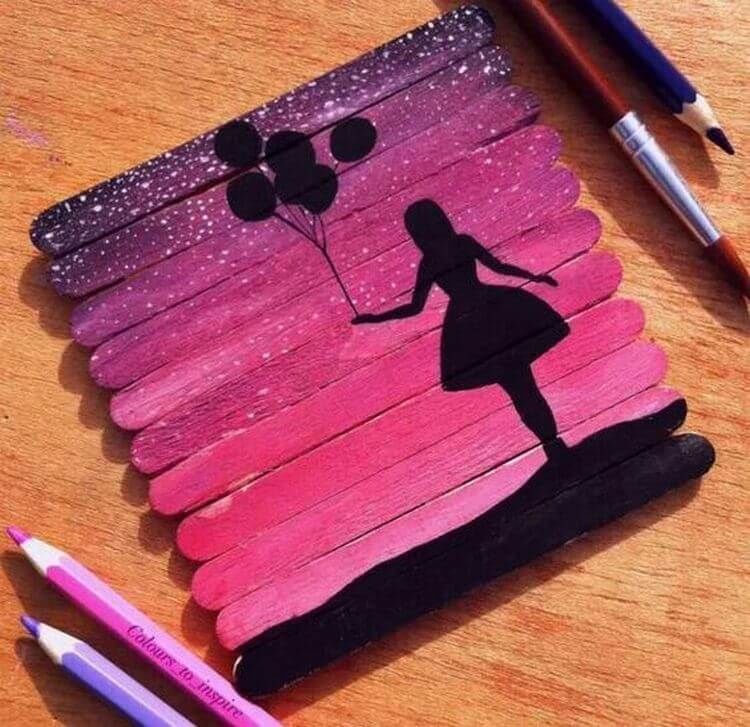
Decorations
Decor from ice cream sticks can nicely decorate the house and bring originality, originality to the interior. In order to make such a decoration you need only assiduity and care.
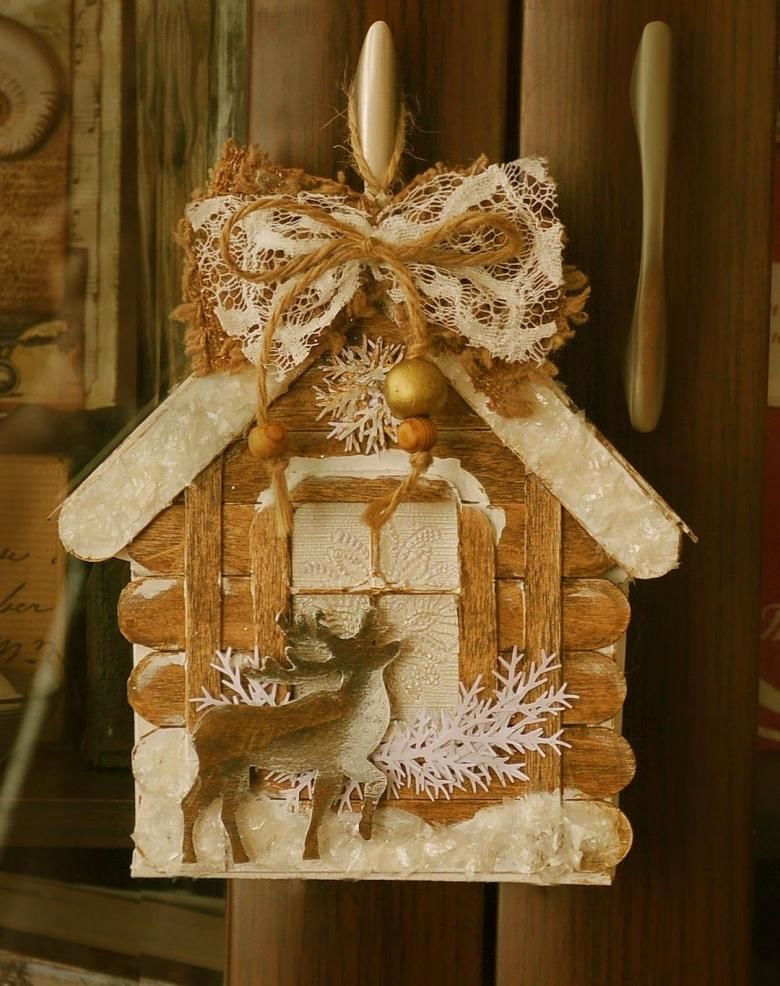
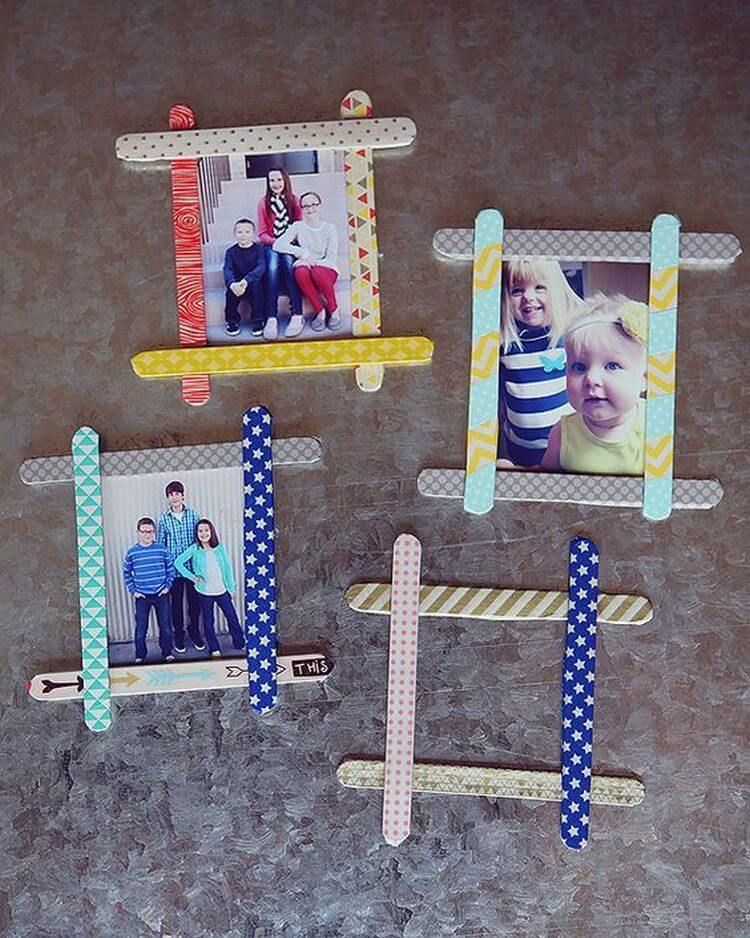
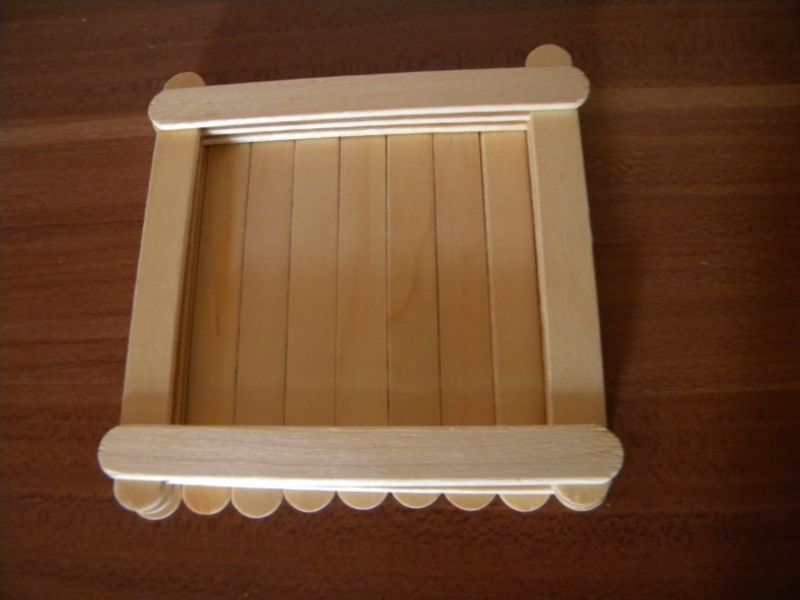
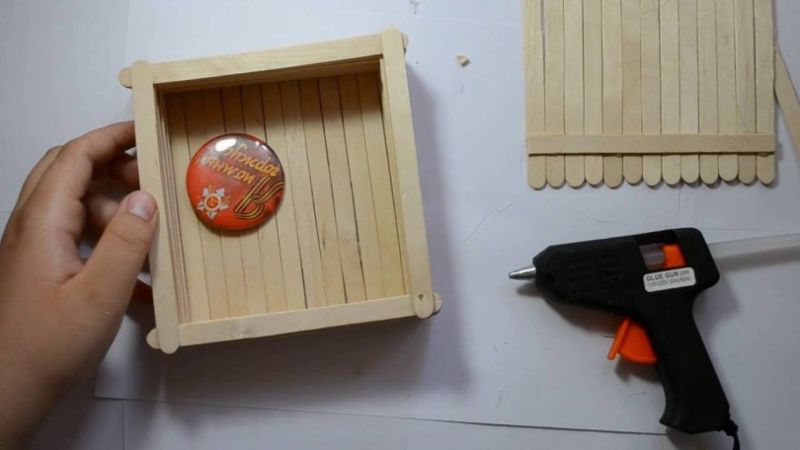
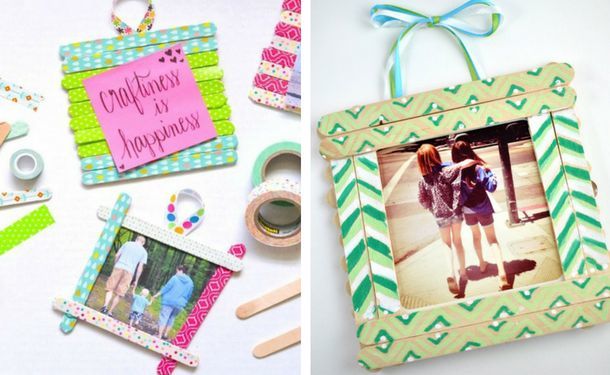
Photo frame
To make a charming frame for the photo you will need:
- Sticks (16 pieces);
- Glue gun;
- Paints and elements of decorations at will.
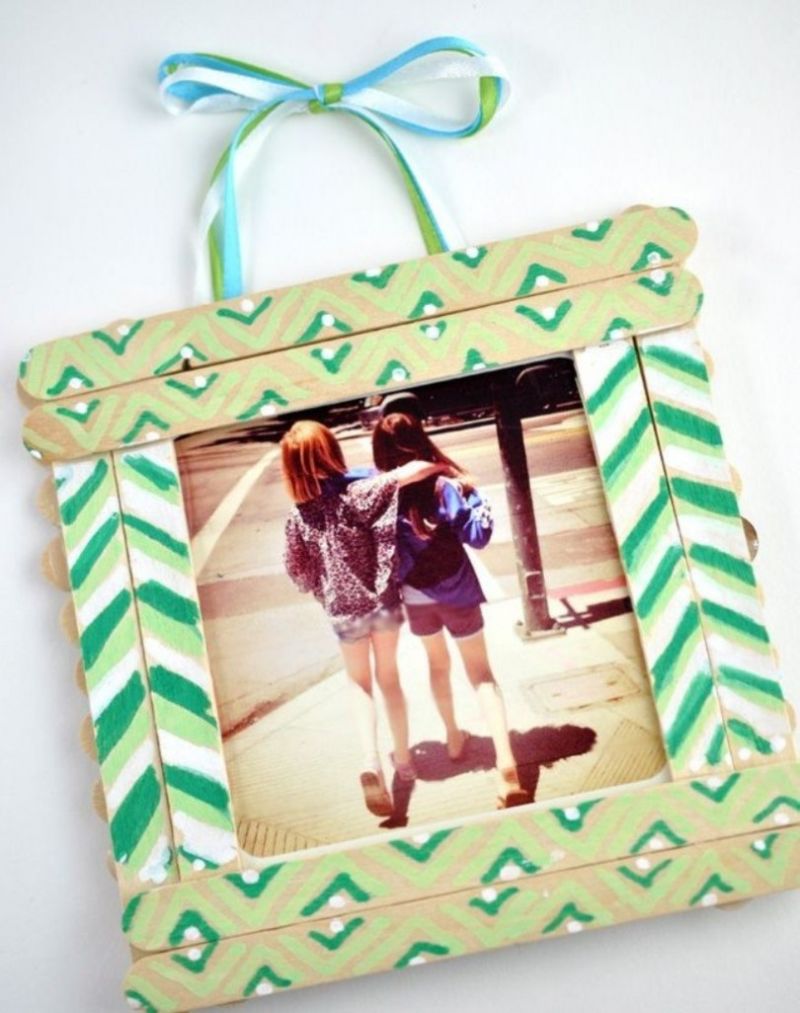
Step by step instructions:
- Parts are painted to taste.
- 4 sticks are stapled together in a square.
- On two parallel sides, two more sticks are glued to the outside of the frame, and then this procedure is repeated on the "back" side.
- In the resulting small space between the sides, you can insert the desired image. The frame is ready
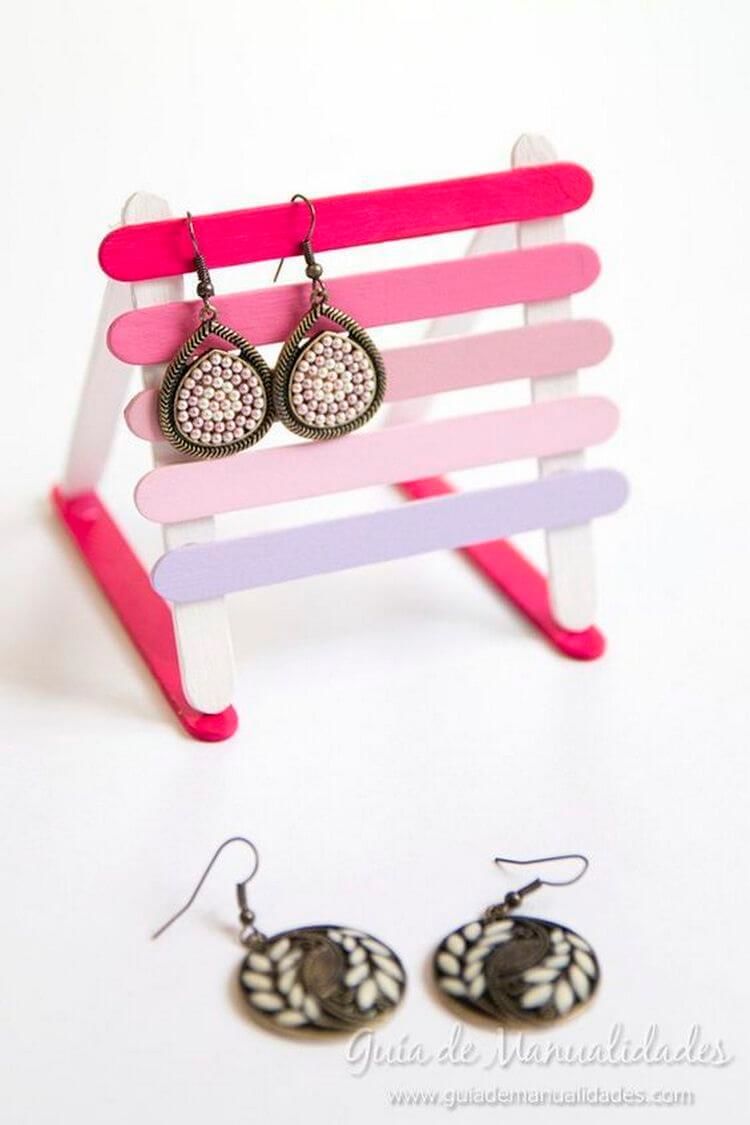
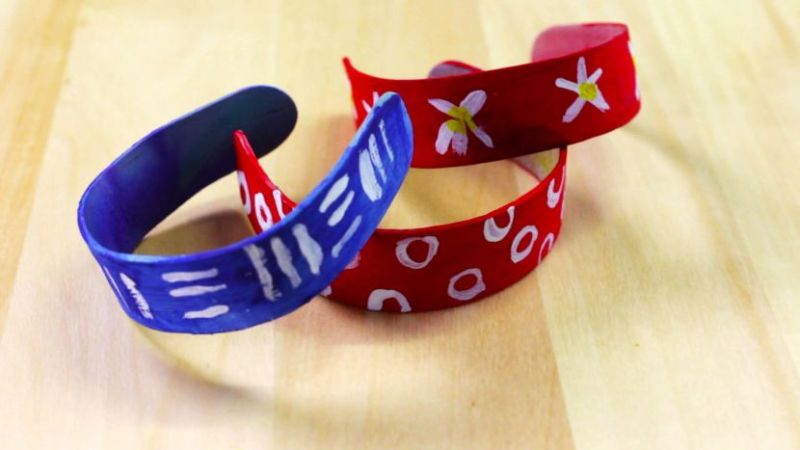
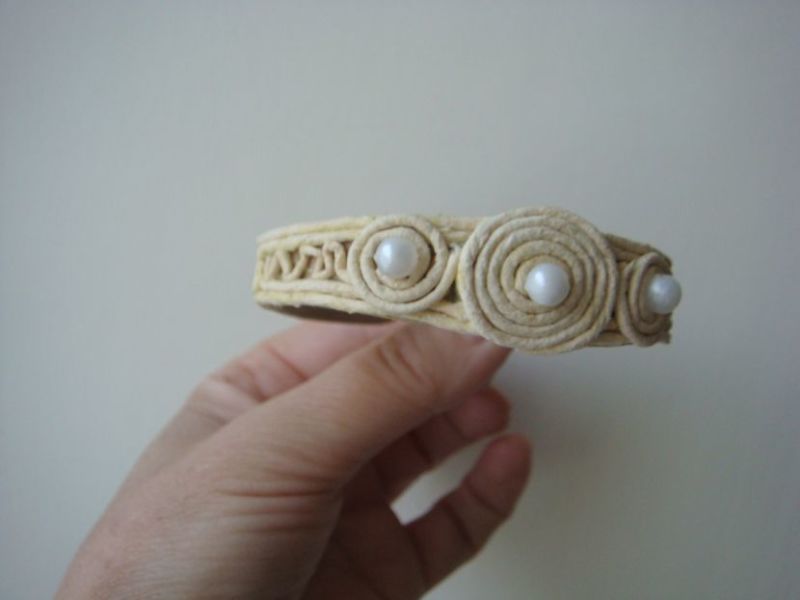
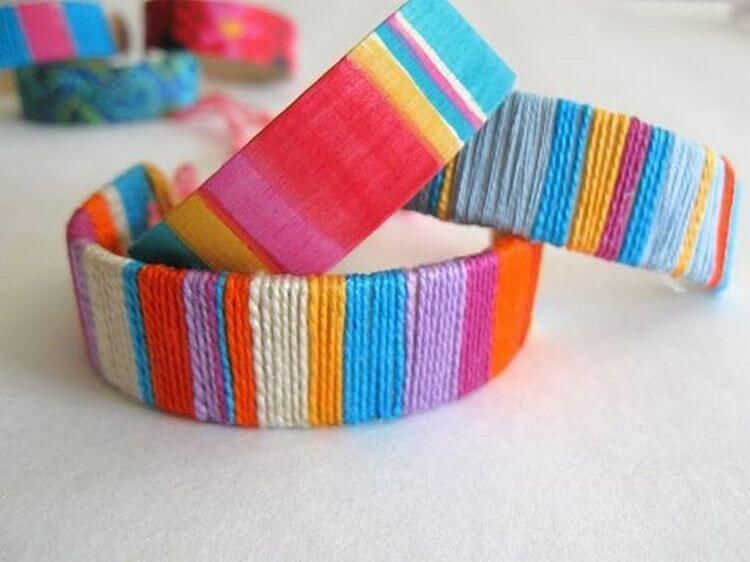
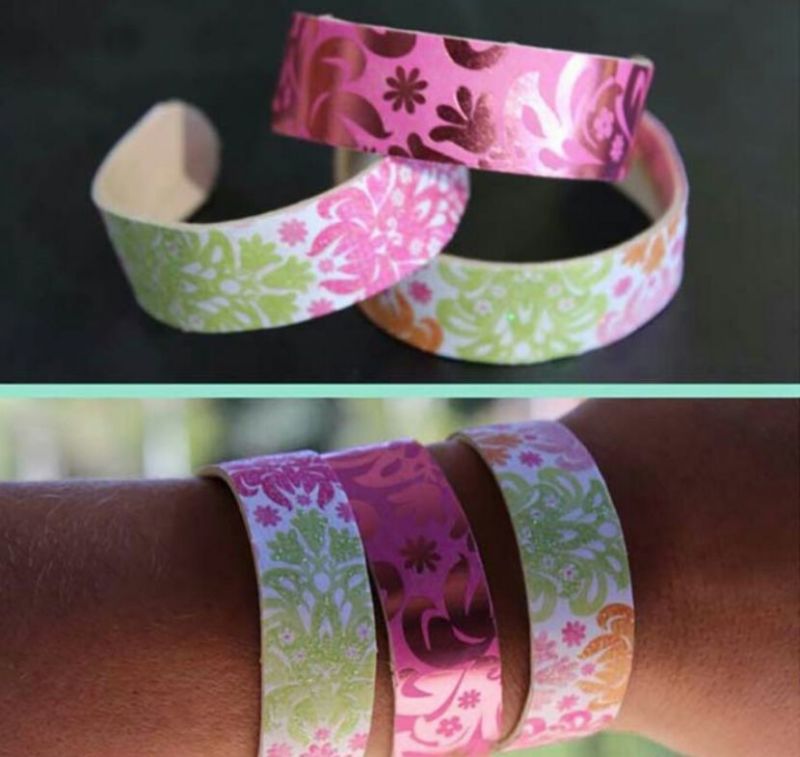
Bracelet
For the easiest and fastest way to make a bracelet out of ice cream sticks will need:
- Sticks (for one bracelet 2 pieces);
- Super-glue;
- Elements of decoration (ribbons, lace);
- Scissors;
- The pan with water, an empty glass.
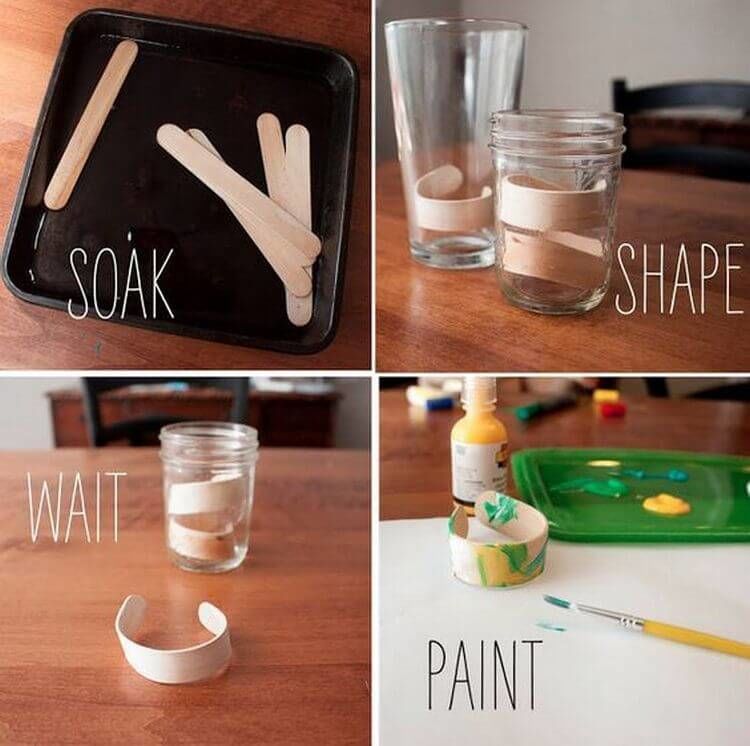
Bracelet is made as follows:
- At the first stage, the workpiece is soaked in water. You can soak overnight in water, you can boil it for forty minutes.
- Using a glass, the wet stick is slowly bent until it takes the shape of a semi-circle, and then placed inside the glass until it is completely dry.
- The two pieces are tried on the hand, the appropriate diameter is adjusted, and the two halves are glued together. The resulting product can be wrapped with a satin ribbon or decorated in any other way.
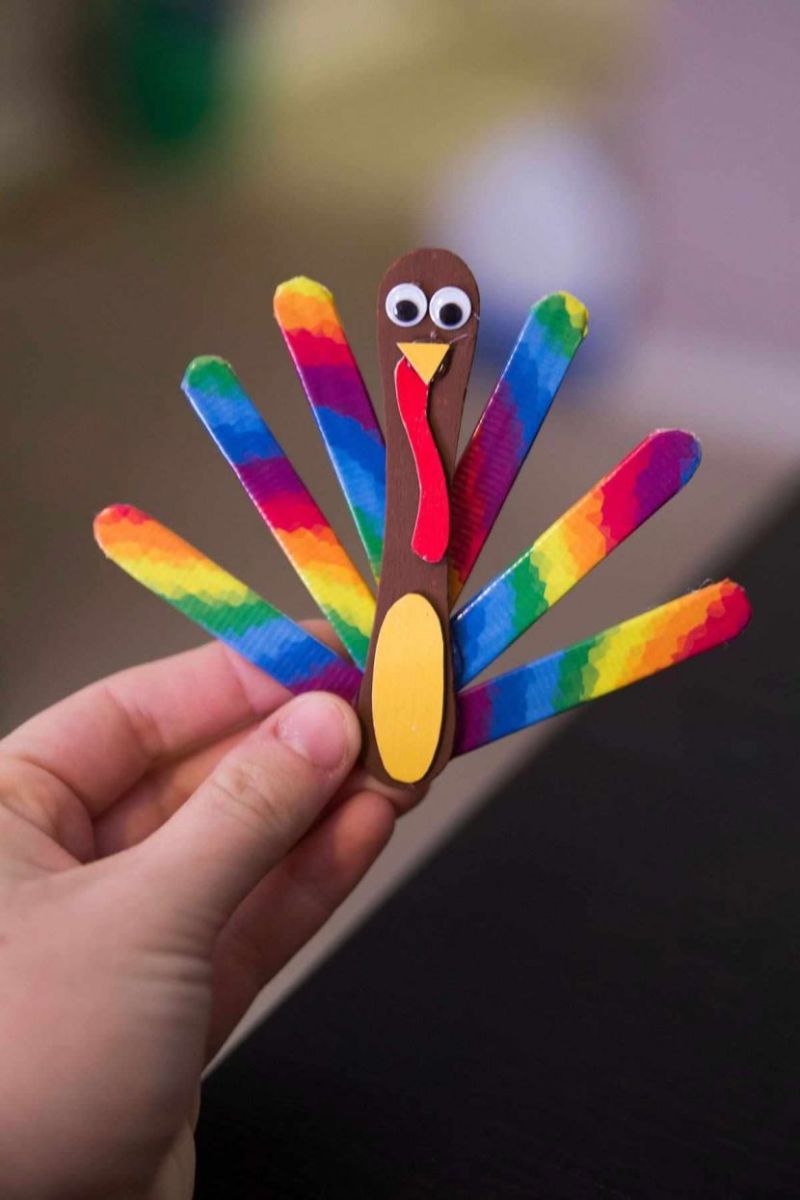
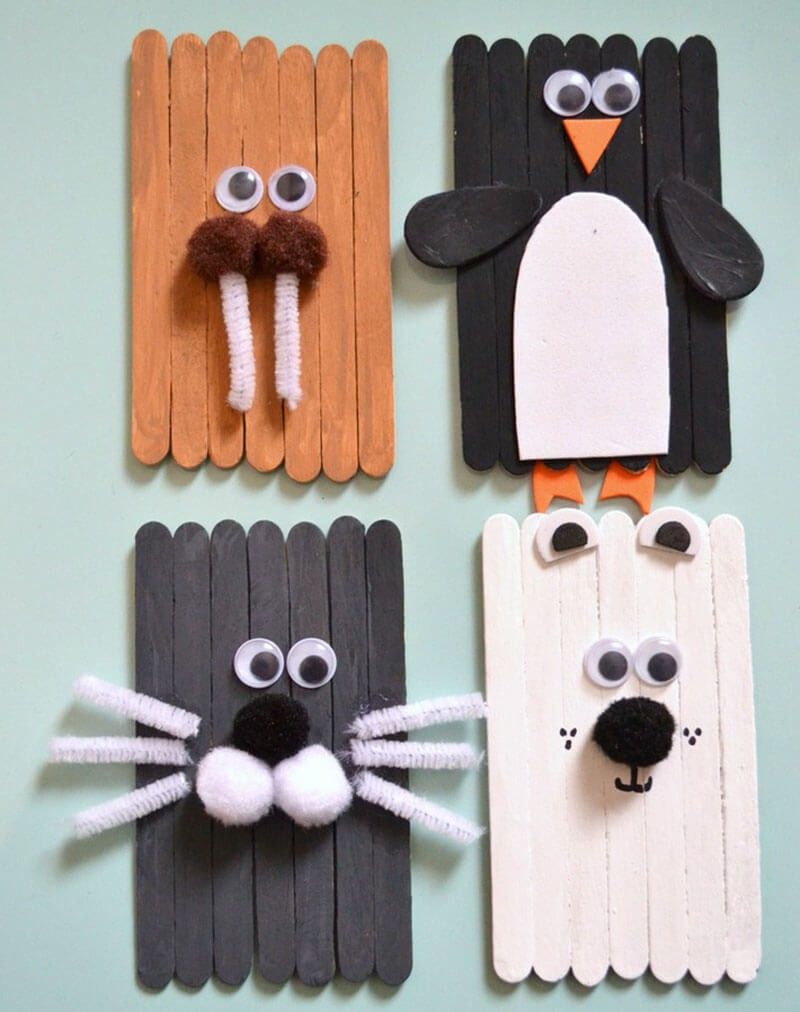
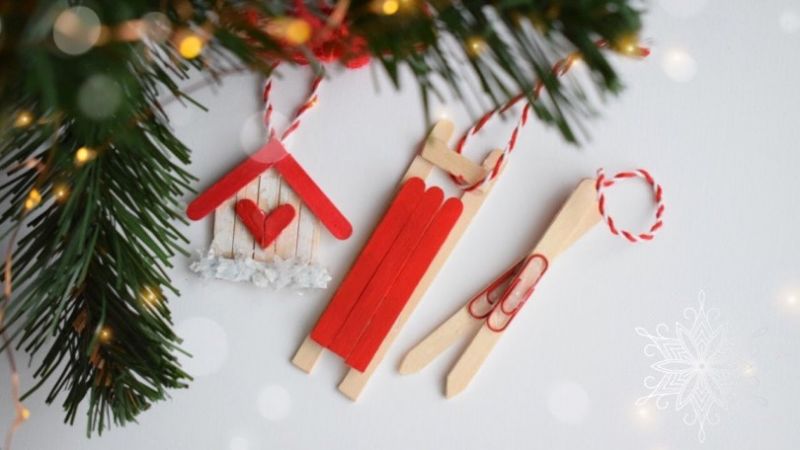
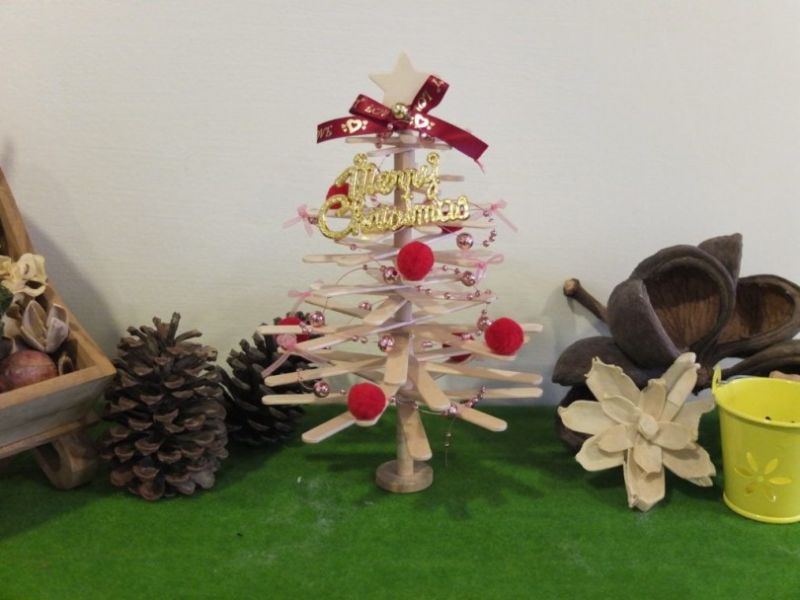
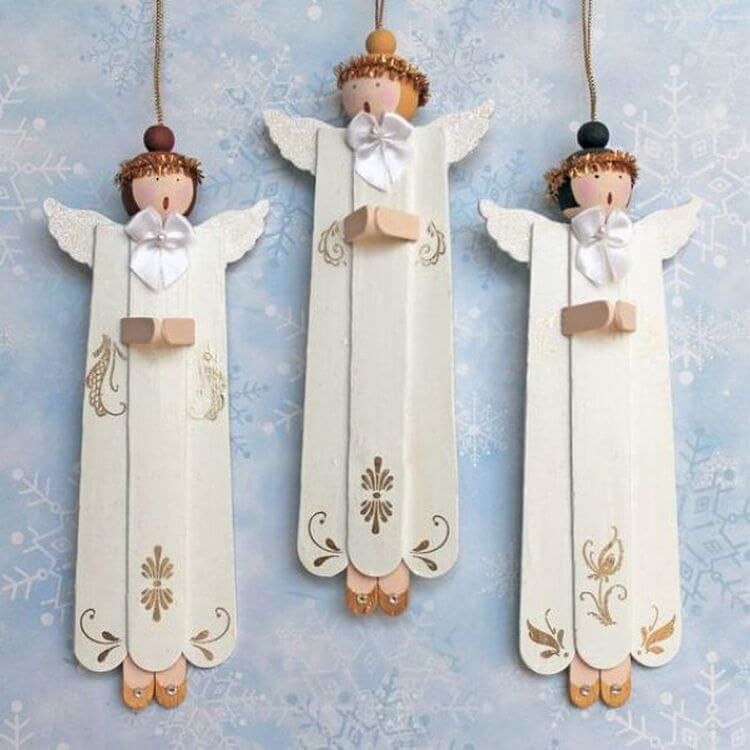
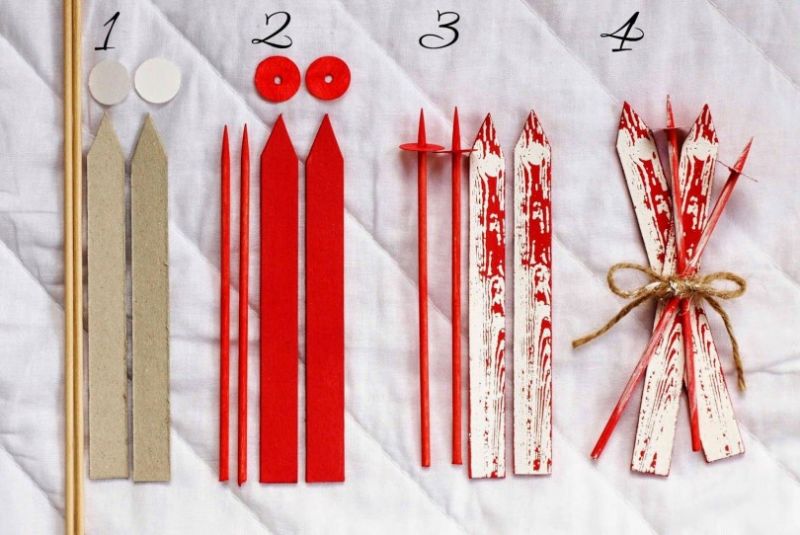
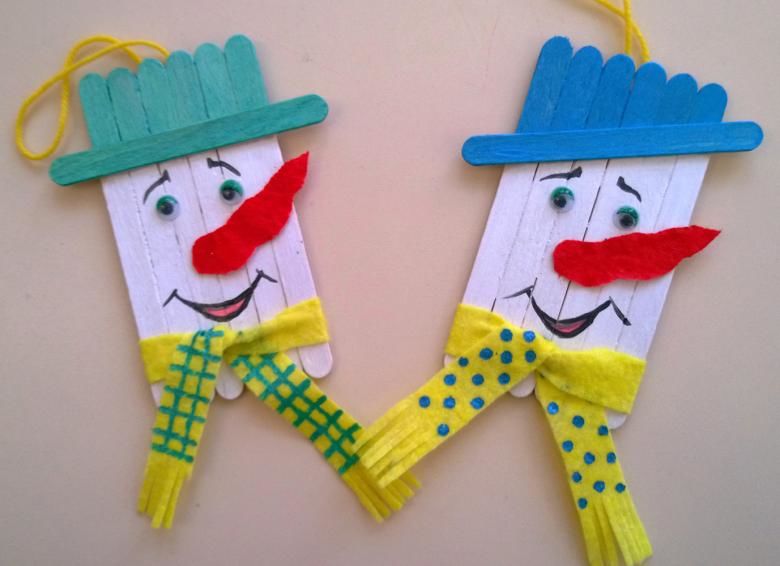
Christmas tree toys
Crafts from popsicle sticks can be used for decorating the Christmas tree. You can make a figurine of the snowman, which requires:
- Sticks (7 pieces);
- Glue;
- Gouache (white and black);
- Brush;
- A glass of water;
- Crayons;
- Orange colored cardboard;
- Rope for the loop.

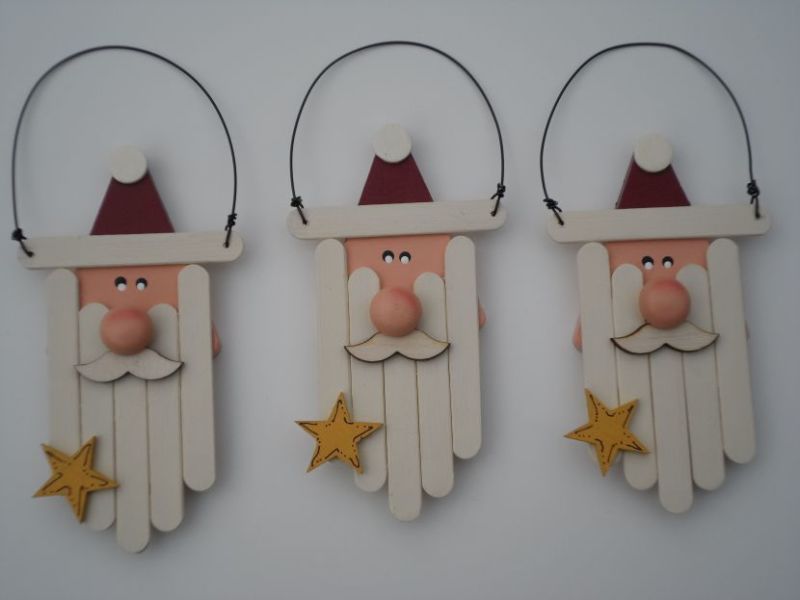
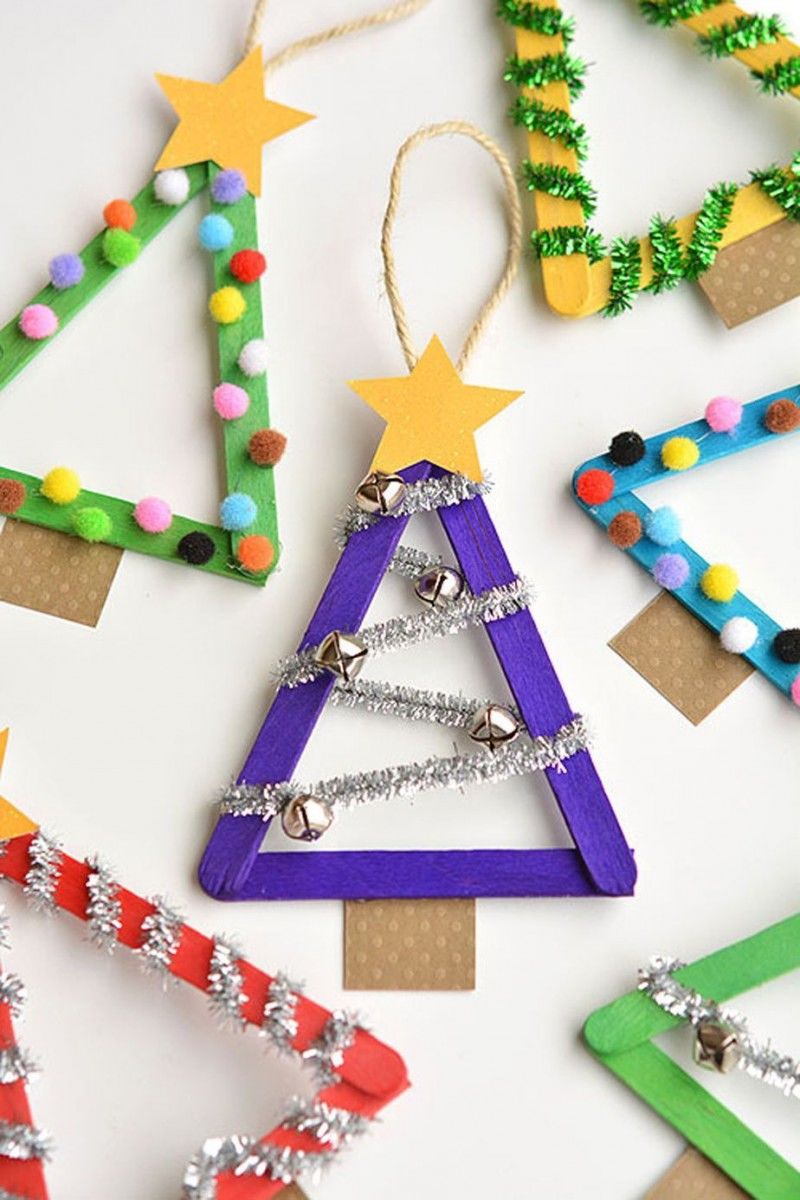
The snowman is made in just a few simple steps:
- Six sticks are laid out and glued together. The seventh stick is glued at the top of the design somewhat askew.
- The bottom (most of the product, up to the slanting stick) is painted with white gouache, the top (including the stick) - with black.
- A triangle or a cone is cut out of cardboard - it is the nose of the future snowman and glued in the center.
- Eyes and mouth of the toy are drawn with a felt-tip pen. Rope is attached to the back side. The snowman can be hung on the tree.
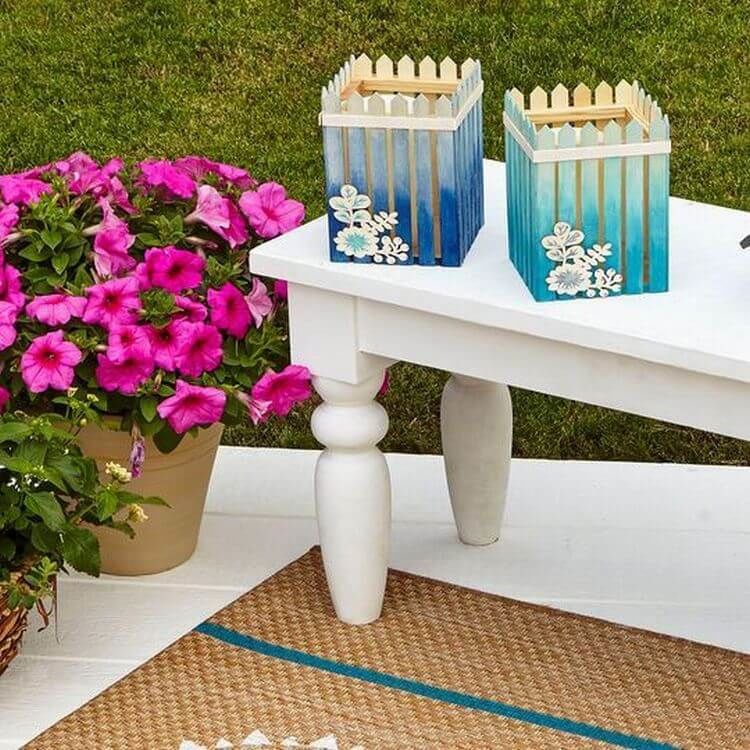
Lantern
To make a beautiful lamp you need to prepare:
- Sticks (depending on the height of the lamp);
- Superglue;
- Electric socket with wire and bulb.
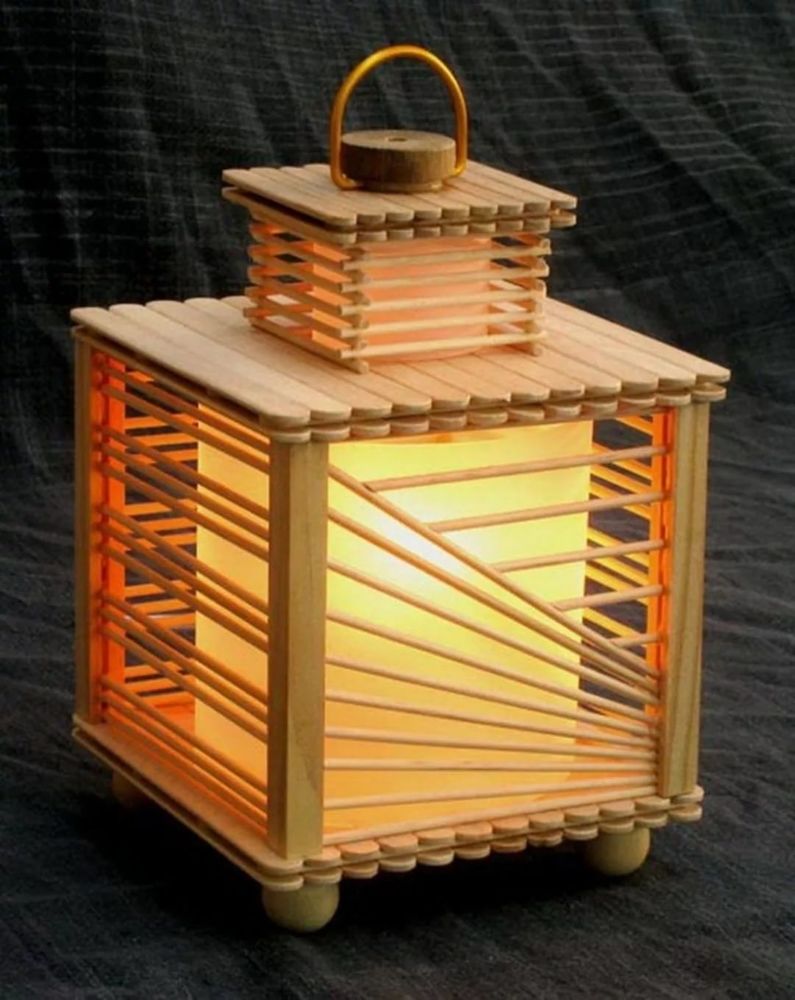
Step-by-step instructions:
- Initially, the base of the lamp is made, which is a square. To do this, you should lay out 2-5 rows.
- When the height of the straight walls will be enough, you should start gradually shifting the next rows of sticks to the center of the square, turning the product into a pyramid, at the top of which should remain a small square hole.
- Then the second pyramid is similarly made, with an outlet slightly larger than the first. The structures are glued together in the area of wide bases.
- Inside the resulting lampshade, a socket with a bulb is inserted, the cord is passed through the smallest, square hole. Important! It is necessary to use light bulbs of low power, since the lamp is made of wood.
Options for crafts for children
There are a lot of options for crafts from ice cream sticks for children, which kids can make on their own or together with adults.
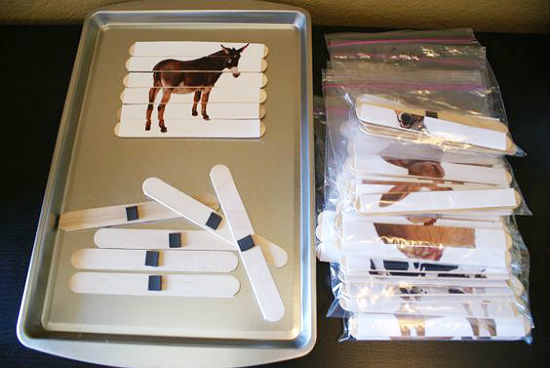
Puzzle
There are several options for making a puzzle, the simplest will require:
- Sticks (the number varies depending on the size of the picture);
- Paints and felt-tip pens / picture or photo - no longer than sticks;
- PVA glue;
- Scotch tape;
- A stationery knife;
- Colorless varnish.
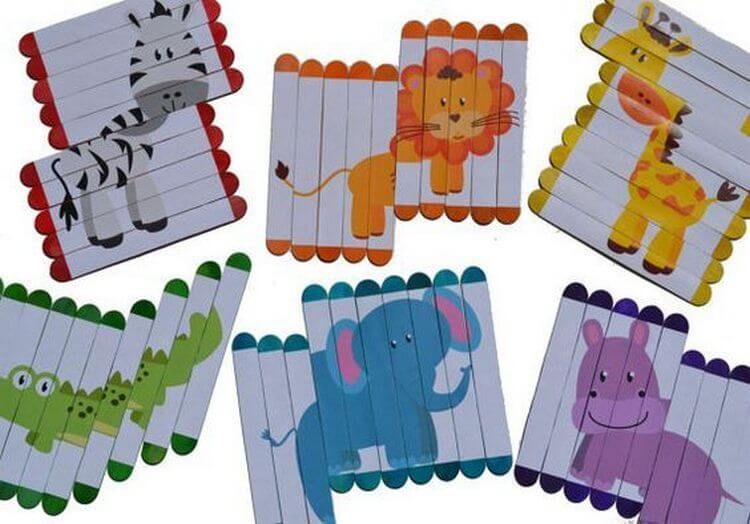
Step by step instructions:
- Bars are laid out tightly to each other and fixed with tape.
- The back side is painted with paints and felt-tip pens with the desired design. When the drawing is dry, it is varnished and the tape on the back is removed
- Instead of using a painted picture, you can use a photograph. To do this, repeat step 1, and then smear the surface of the pictures with PVA glue. After drying, the picture is cut along the lines, the tape is removed from the back side. The protruding edges of the picture can be trimmed.
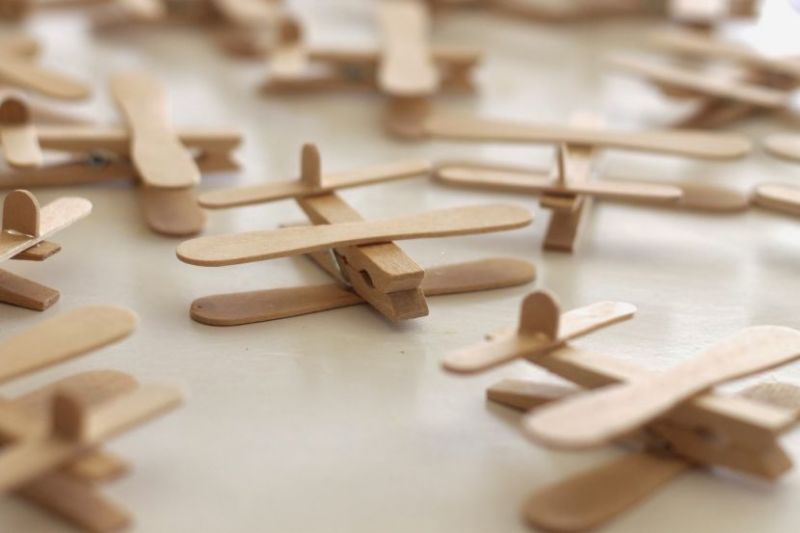
Toys
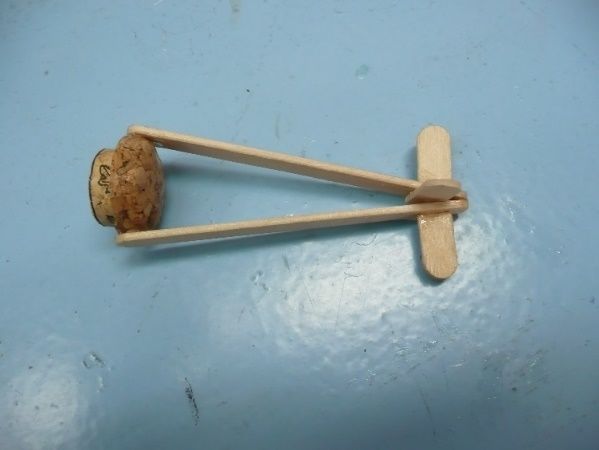
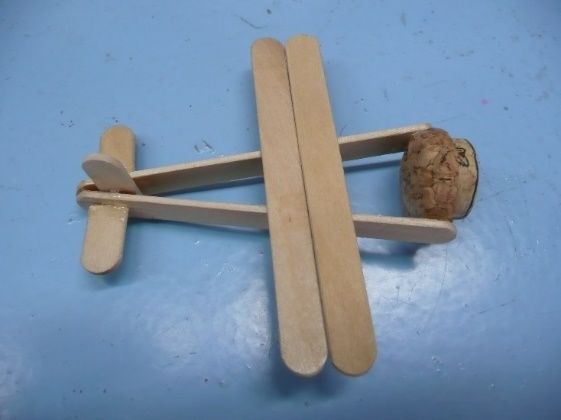
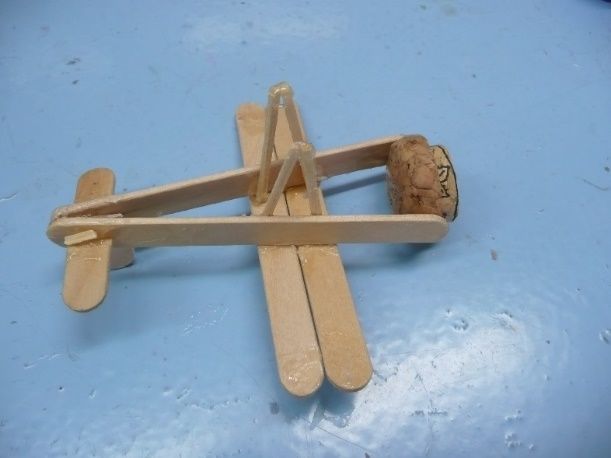
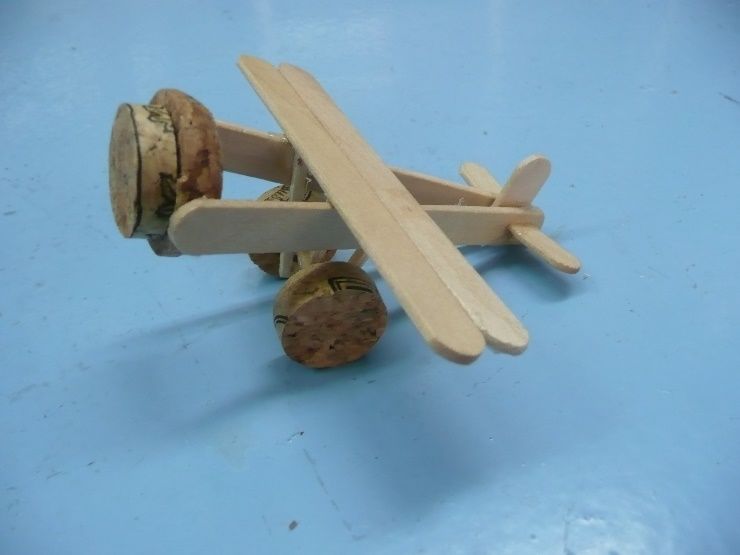
To create an airplane will need:
- Sticks (8 pcs.);
- PVA glue;
- Gouache;
- Cocktail straw;
- Scissors;
- A bead of wood;
- Decor (colored paper, stickers, buttons, etc.).
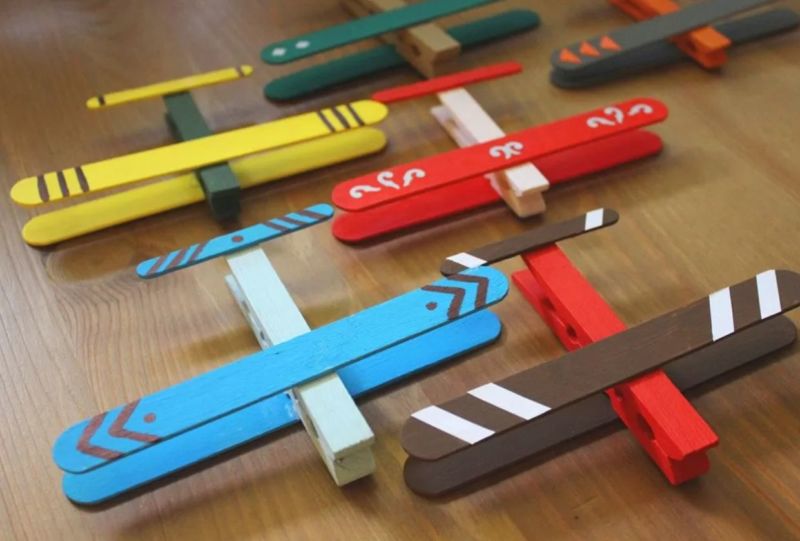
Creating a toy:
- For the body of the airplane, 5 sticks are glued to each other.
- Closer to the edge of the resulting structure perpendicularly glued another stick - the wings of the toy.
- From the cocktail straw is cut two equal lengths equal to the width of the stick. The parts are fixed to the wings on both sides of the body (on the inside). On top of them glued another popsicle stick, so that the body should be between the two parts.
- Ice cream sticks cut in half. The resulting parts are glued overlapping - the tail of the plane. When the detail dries, it is attached to the body.
- The resulting model can be decorated as desired.

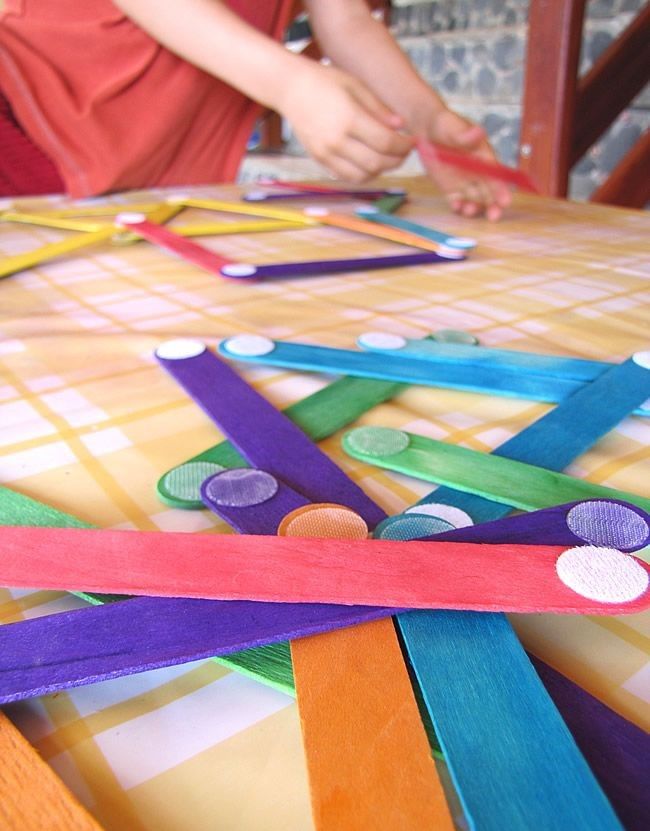
Developmental games
One of the most useful crafts from wooden sticks with their own hands can be a developmental constructor, for which you will need:
- Sticks (quantity to choose from);
- Paints;
- Small Velcro (depending on the number of sticks);
- A marker.
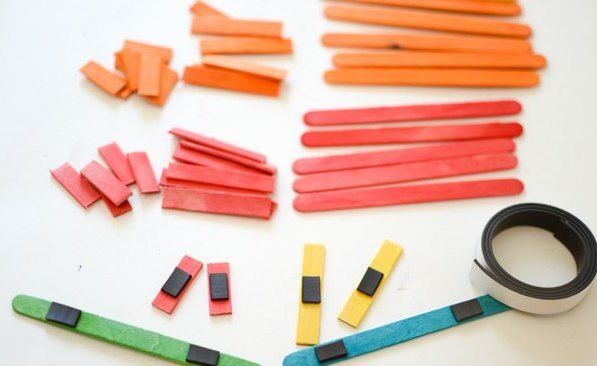
Making:
- All parts of the future constructor (sticks) are painted.
- After drying, velcro is divided into two parts and glued at different ends (on one side). Do the same with the rest of the sticks. The constructor is ready! From the resulting parts can be assembled house, tree, letters, numbers - it all depends on imagination and the number of sticks.
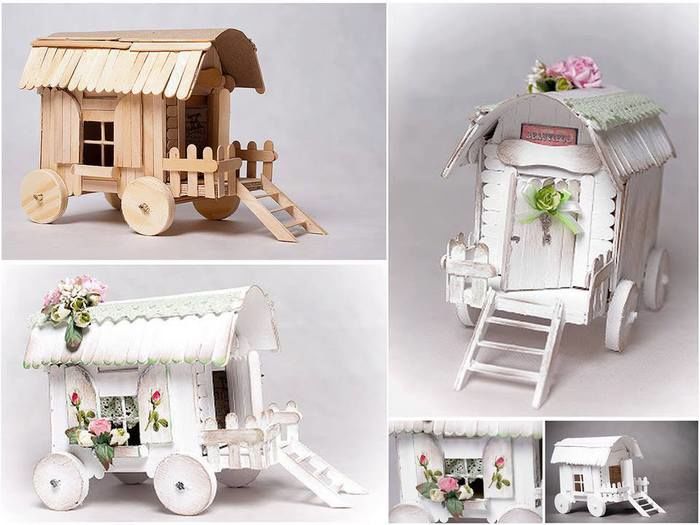
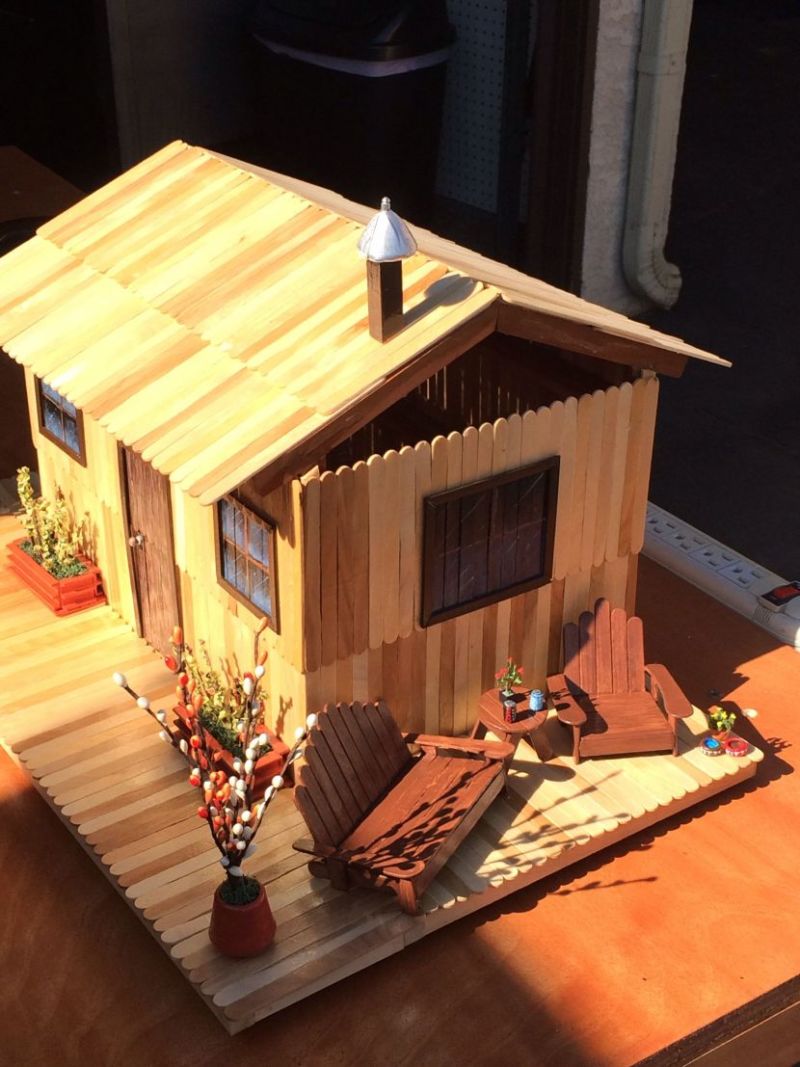
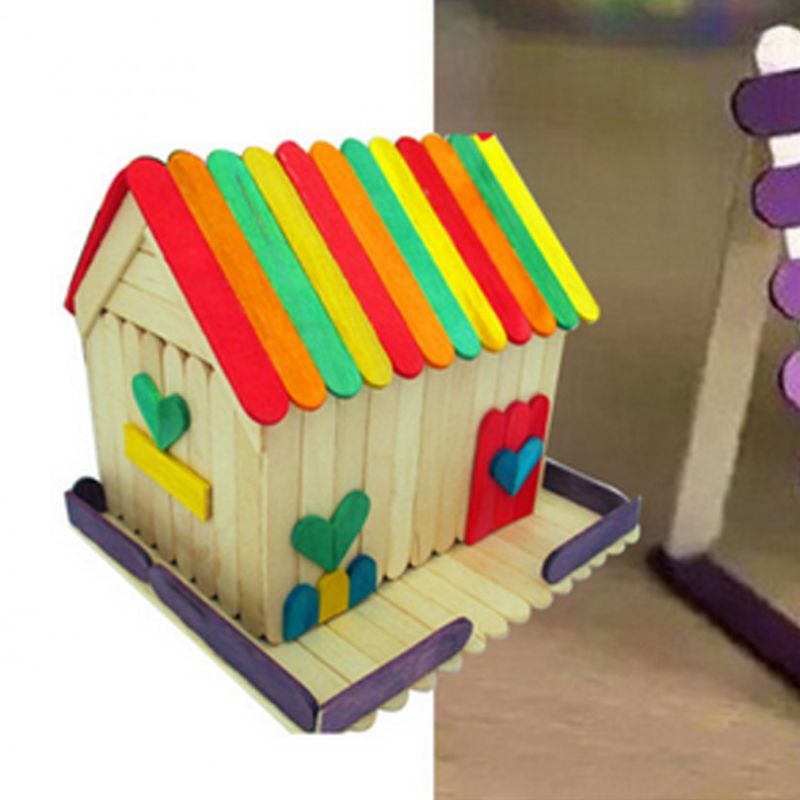
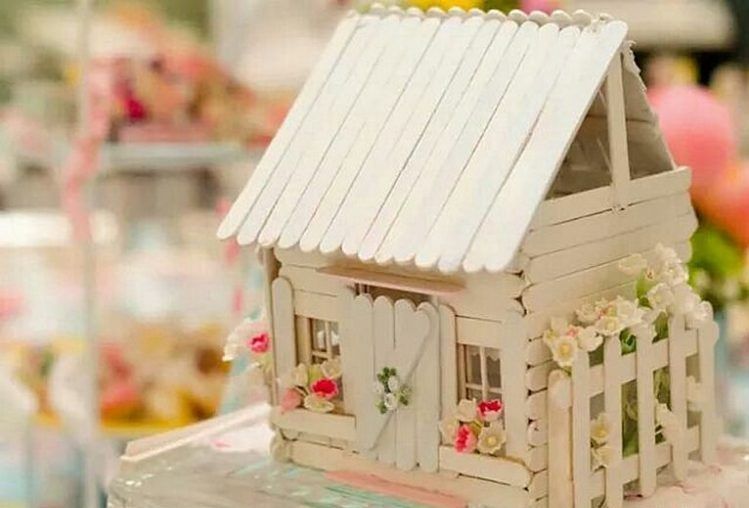
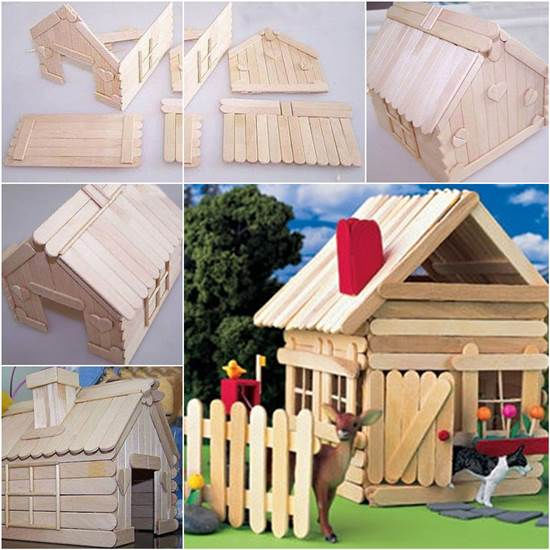
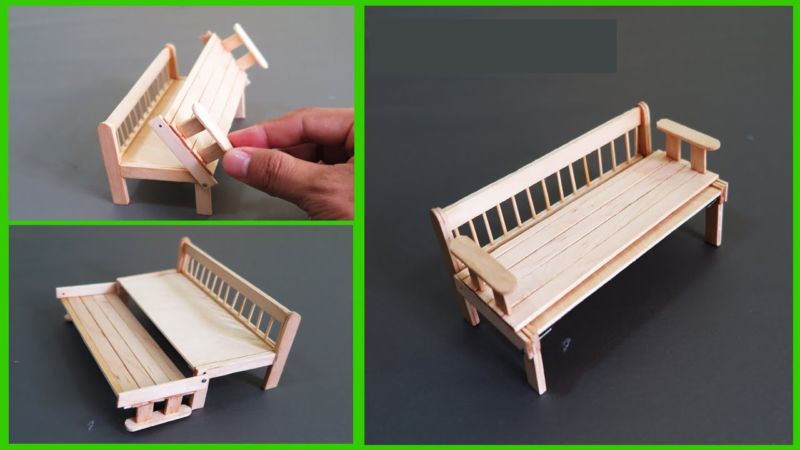
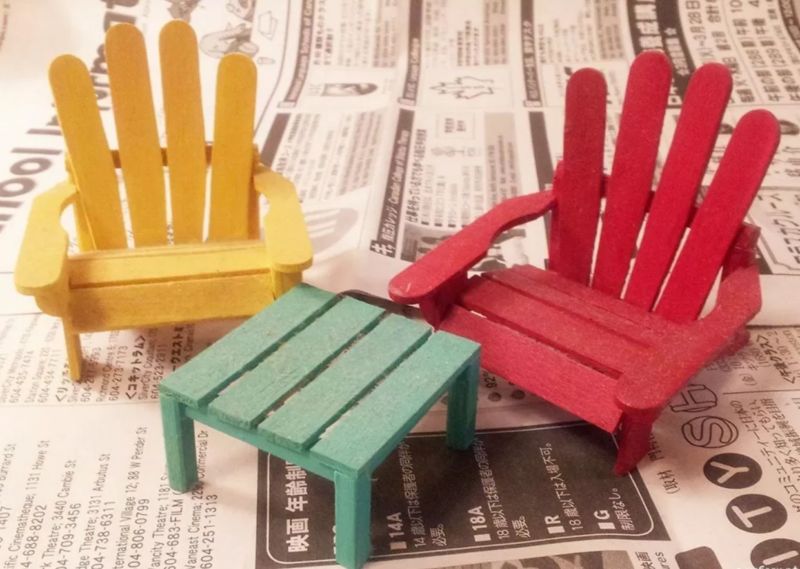
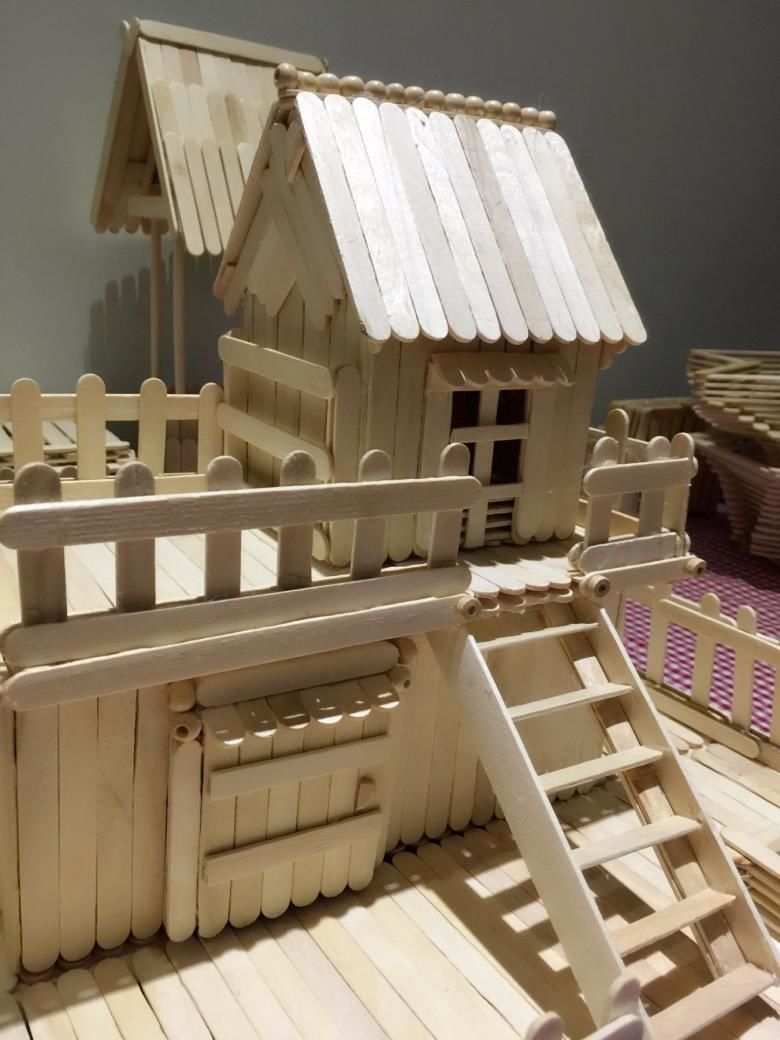
Toy house and furniture
One of the most difficult crafts would be a doll's house. Bars from popsicle bars can also serve as a basis for making furniture. The following materials are needed to make the house:
- Wooden sticks (approximately 14-20 for one wall);
- PVA glue or a glue gun;
- Scissors and a knife;
- Material for decorations.
Important: The toy is quite difficult, it is recommended to make it together with a child:
- 12 sticks are placed in a row and glued. Two sticks are glued on both edges.
- Need to make 7 similar designs. For two of them need not two sticks, and 3 - in the middle of the design. This is the roof of the future home.
- Three parts are glued together so that the semblance of a room without 4 walls. This detail is glued to the fourth - the "floor".
- For the roof you need to glue together three parts in the shape of a triangle and glue to the resulting house.
- From a few sticks you can make a staircase. To do this, cut a few sticks into small pieces - these will be the steps and glue them to two sticks perpendicularly.
From ice cream sticks you can also make a bed. For this you will need:
- Chopsticks (18 pieces);
- Wooden skewer;
- Glue;
- A pencil and a box cutter
- Decor (paints, felt-tip pens) as desired.
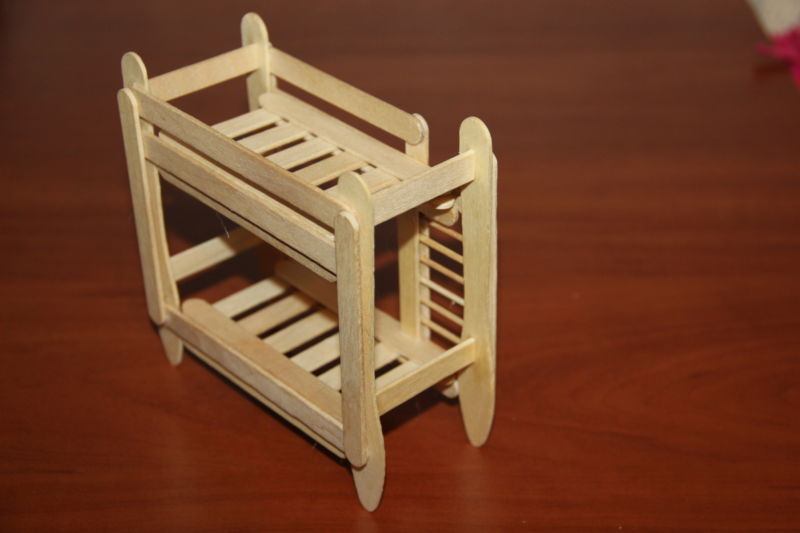
Step by step instructions:
- The first stick is cut in half.
- Five sticks are glued together. For reliability, the construction is fastened with one half of the cut bar perpendicularly, just below the middle. The second side piece is made in the same way.
- A skewer is cut off two parts equal in length to the width of the side of the bed. The resulting parts are glued close to the halves of the sticks, a little closer to the middle.
- Two popsicle sticks are glued to one of the sides, on the side of the "bindings". The free edges of the two sticks are glued to the second part of the headboard. The frame of the bed is ready.
- For the mattress, five sticks are glued together and glued on top of the frame. Bed, designed for a small doll is ready.
For a table to prepare 16 sticks:
- 8 ice cream sticks are laid out in one row and glued together.
- The structure is fastened around the edges with two bars.
- Two sticks are placed crosswise and glued in the middle. Need to make two parts - are the legs of the table. To the tops of "crosses" horizontally glued one stick - for her feet will be glued to the table top on the edges.
- Parts are glued together.
Thus, homemade from popsicle sticks brings fun and allows you to relax after a hard day's work, but also gives you the opportunity to make a useful object.
Based on the knowledge gained, you can improve your skills. And the unexpected question "What can I make from ice cream sticks?" will no longer cause bewilderment.
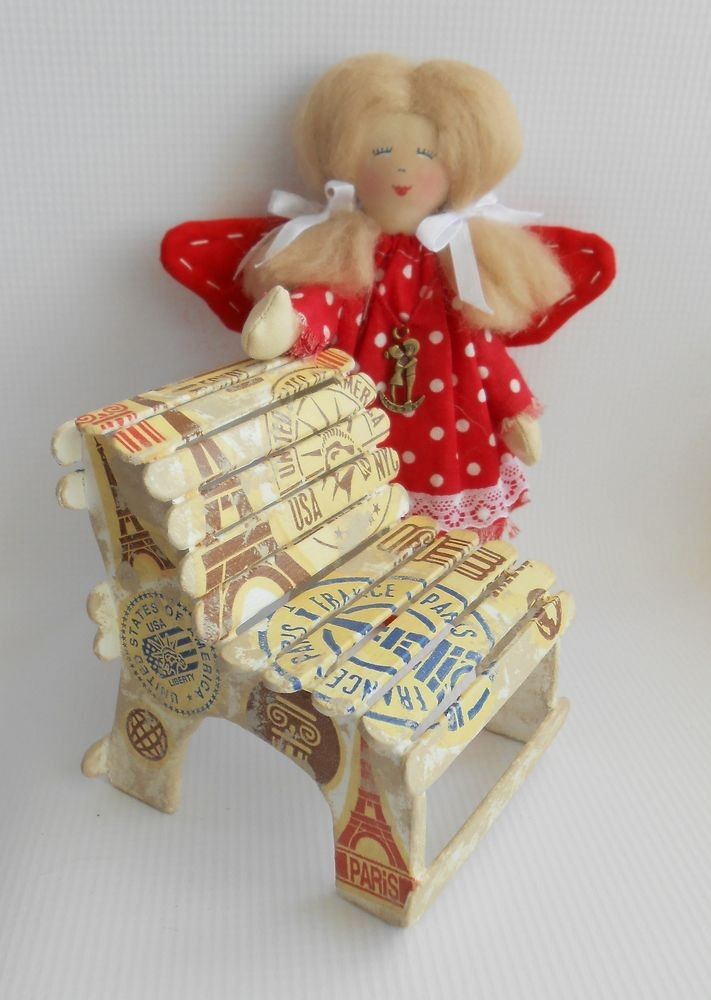
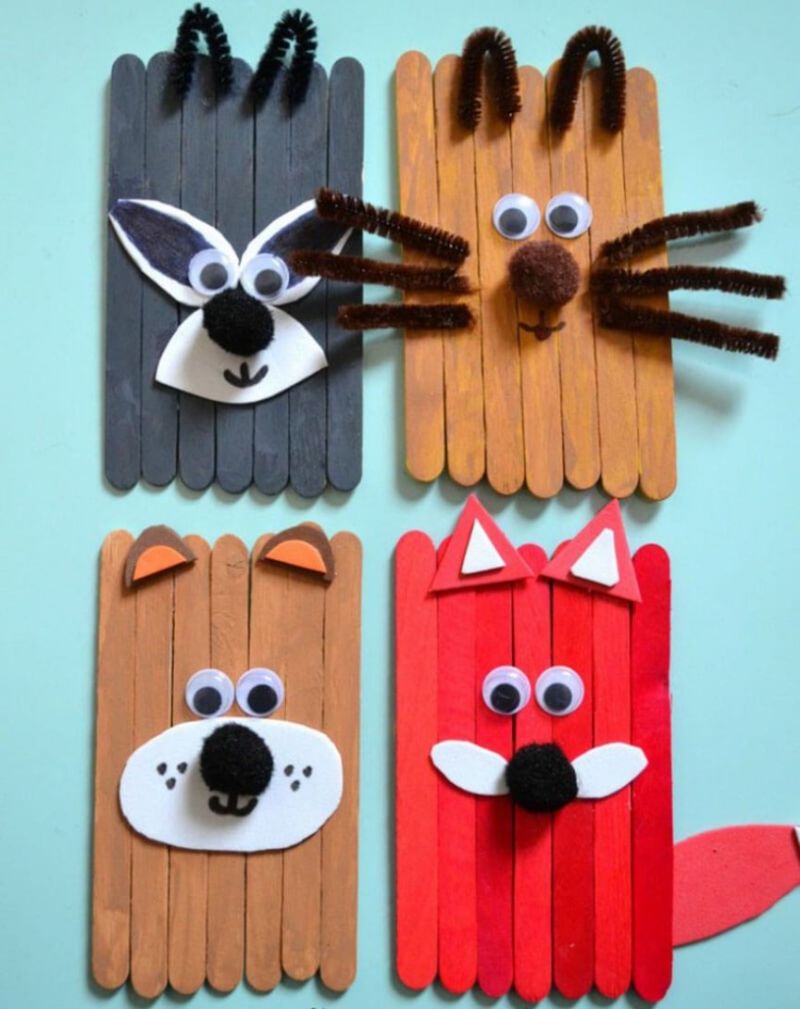
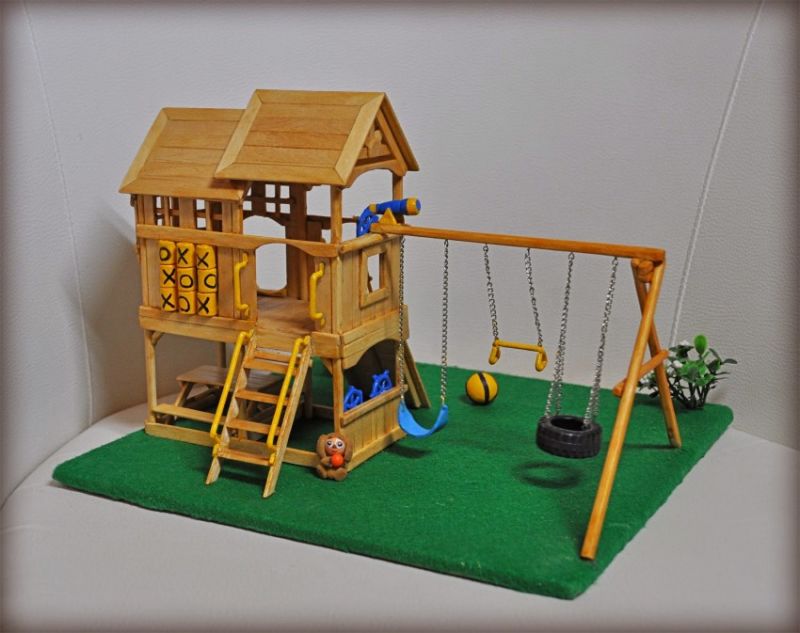
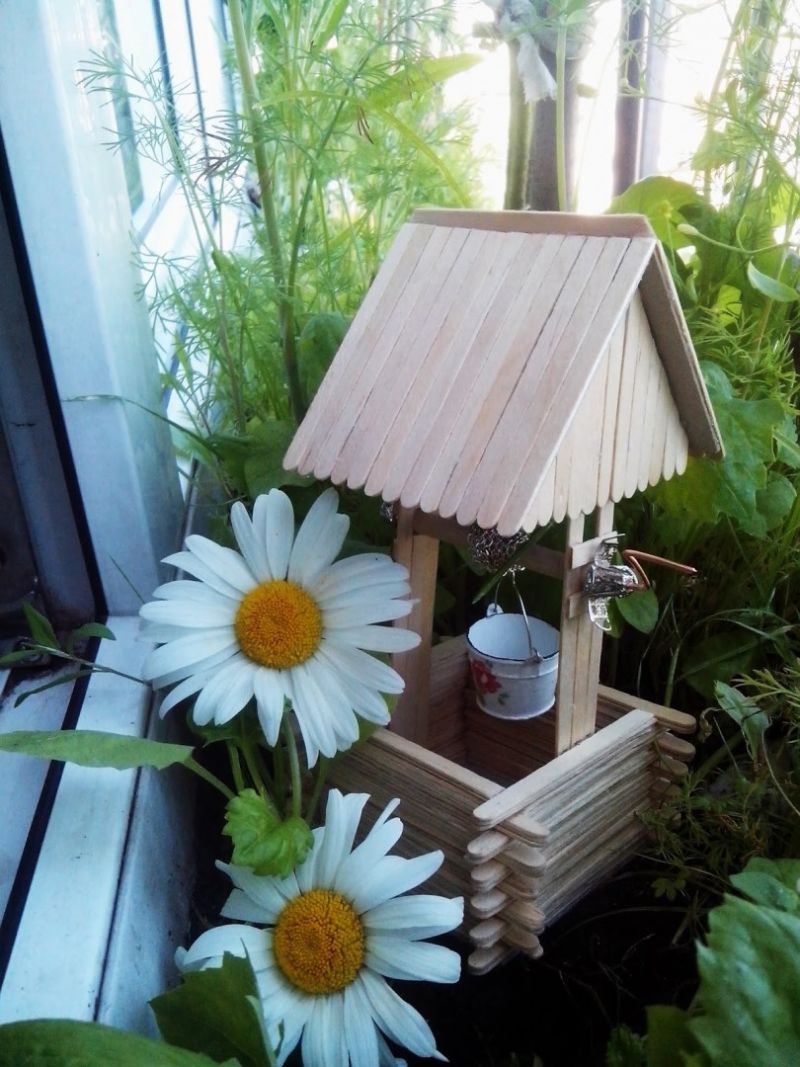
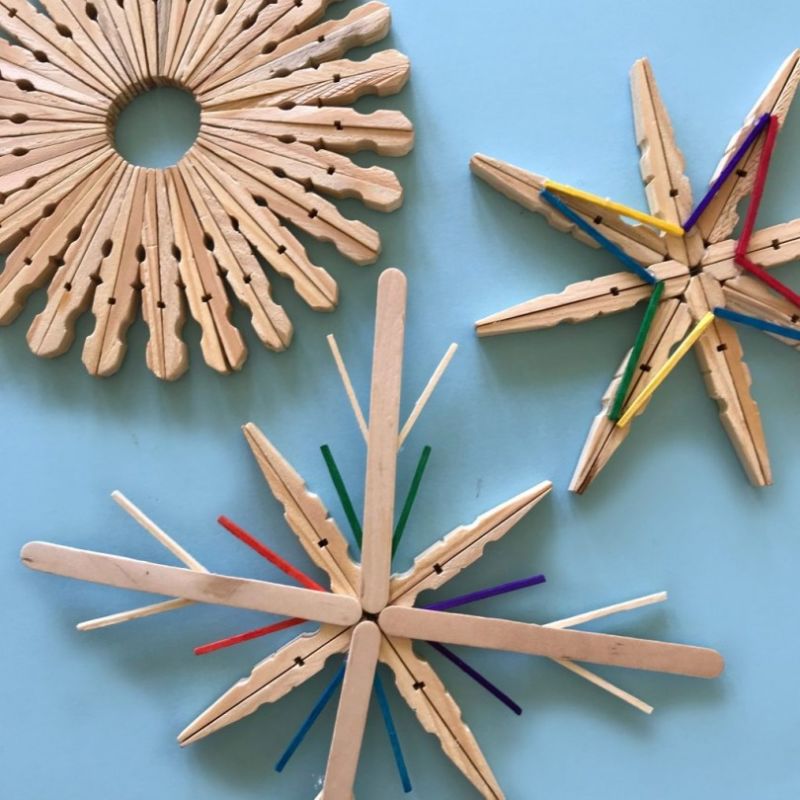
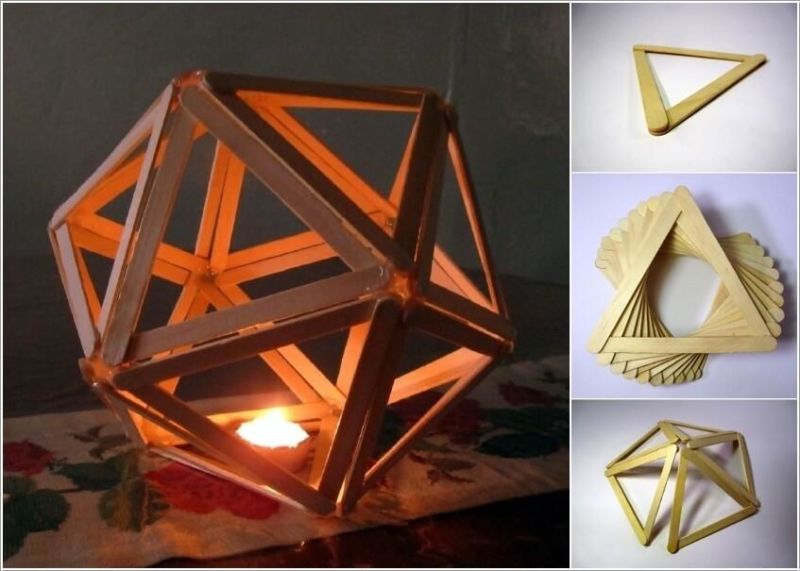
Photo of Ice Cream Sticks crafts