Handmade crafts for Easter: interesting master classes for children and adults with photo examples and ideas
Easter brings peace of mind and tranquility, a premonition of the approach of spring and warmth. This family holiday evokes associations with the sun and light, with painting eggs and making crafts.
Easter crafts can be created together with children, you only need to have the desire and patience to explain to the child each action produced.
Symbols of Easter
The main symbols of Easter, representing life are eggs and chickens. Also, this holiday does not do without loaves of bread, Easter bunny as a symbolism came from the west. There are many other things that are associated with the landmark date for Christianity, for example:
- chicken;
- a lamb;
- a stork;
- a fire;
- candles;
- sweet muffin;
- unleavened dry cake; etc.
All of these can be made with your own hands in the form of table treats or crafts.
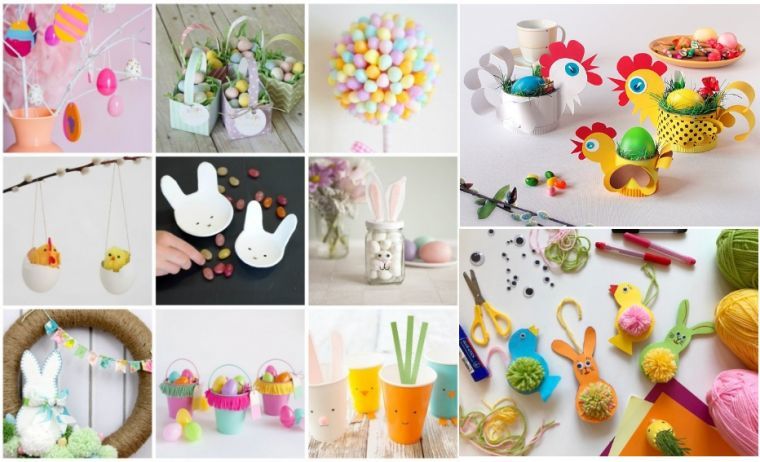
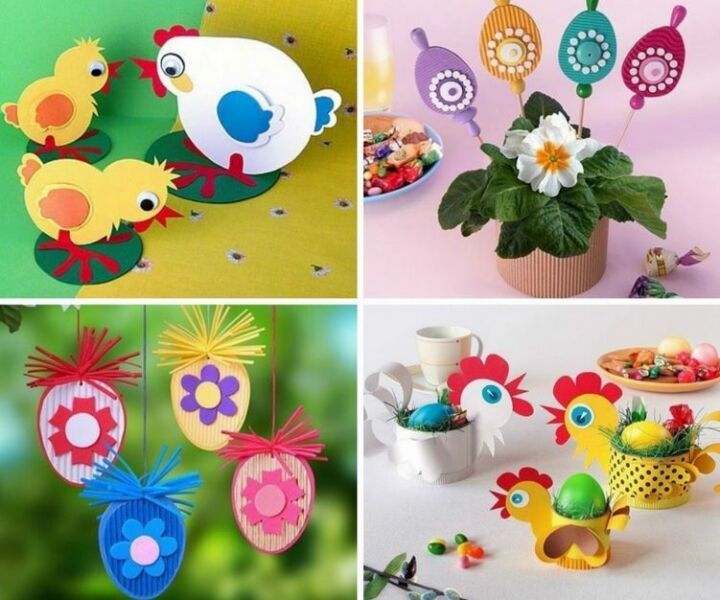
Ideas for crafts
There are many ideas for making Easter symbols, and they are all made using different techniques and materials.
Ideas for Easter with their own hands:
- eggs made of plasticine;
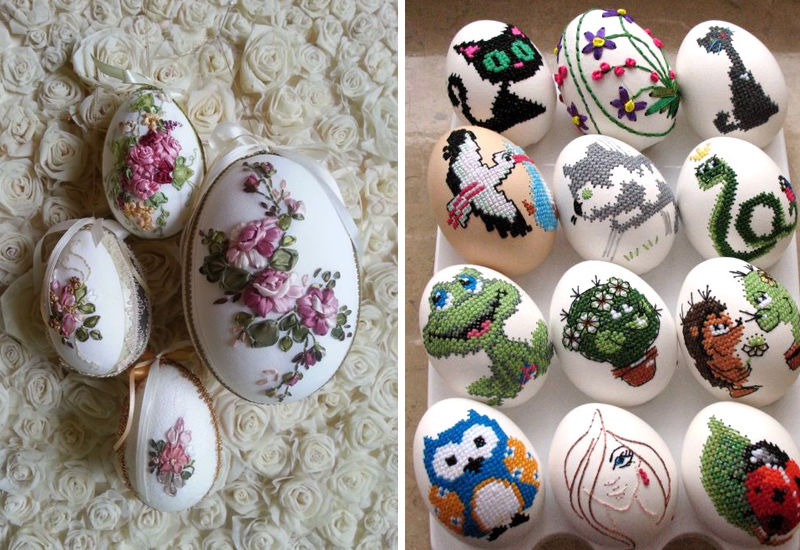
- Decoupage eggs;
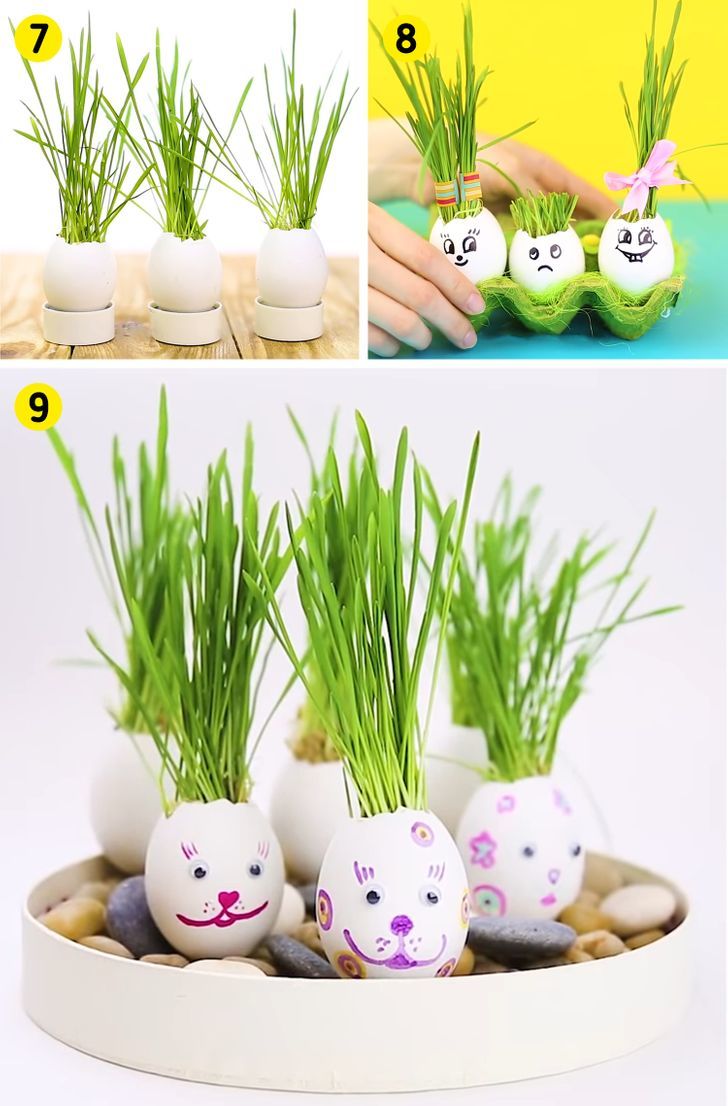
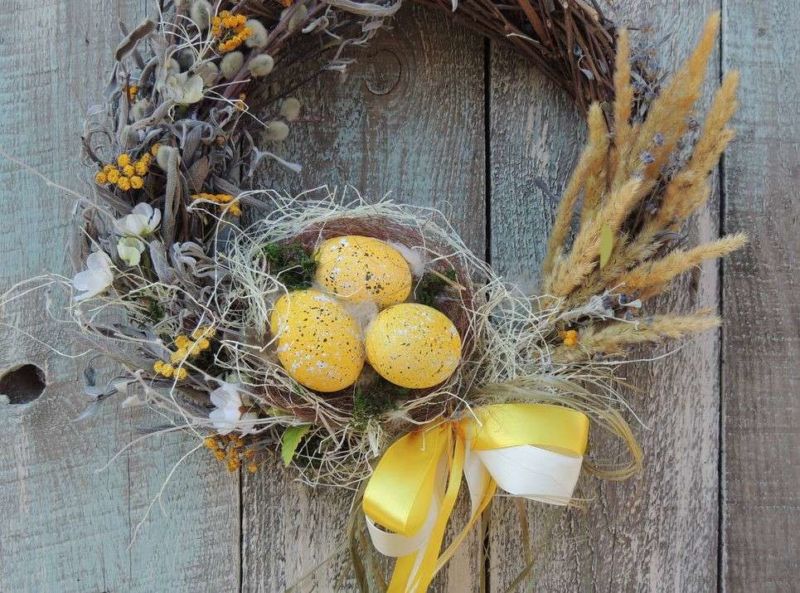
- picturesque meadow;
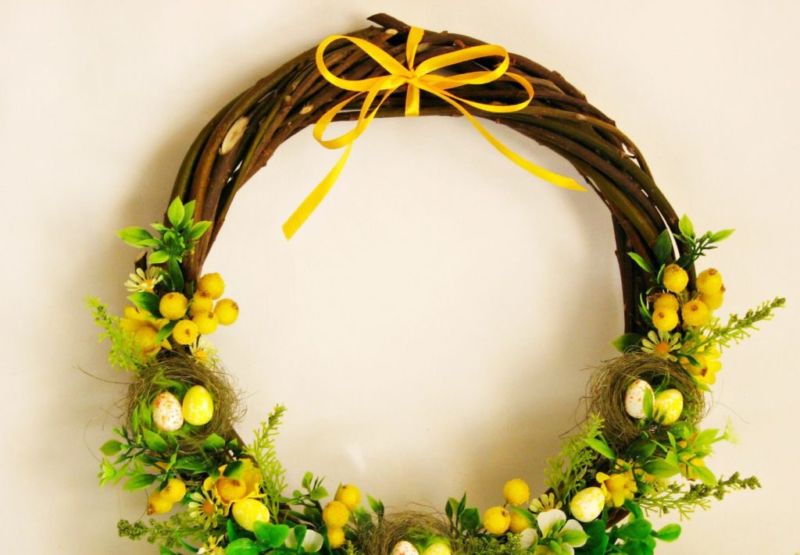
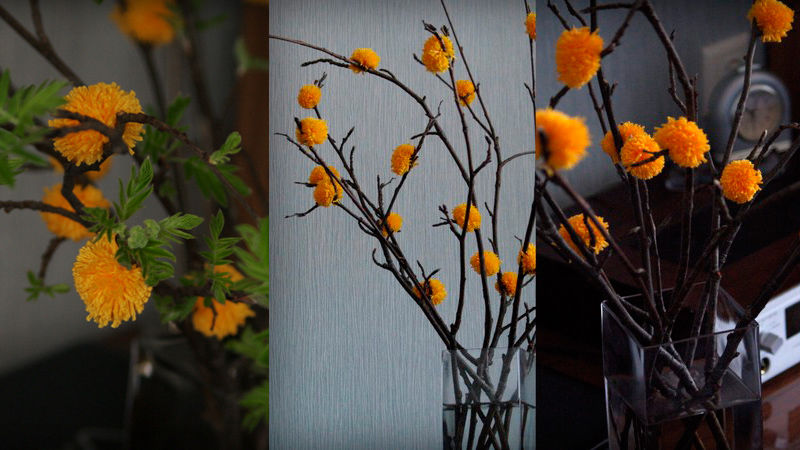
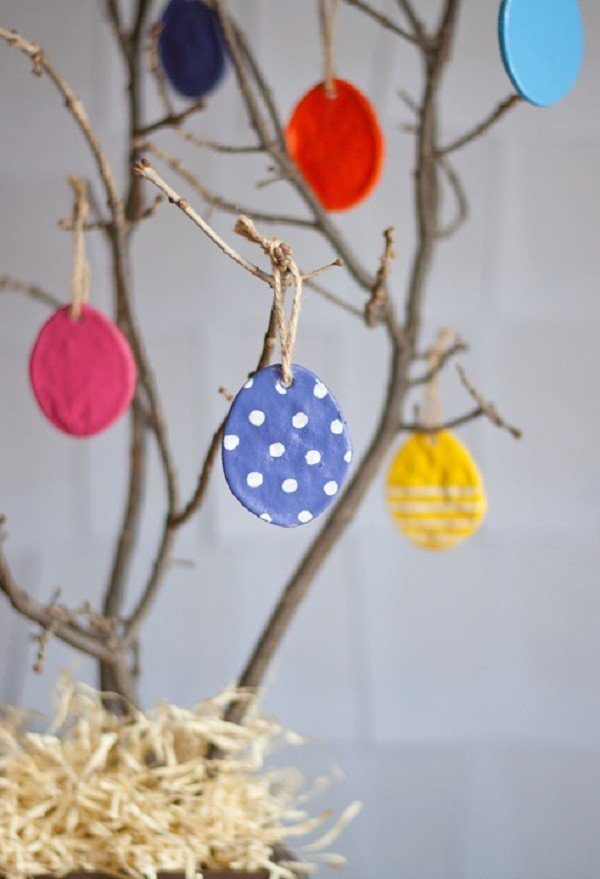
- a composition of twigs and eggs;
- plasticine painting.
Some of the most popular crafts are:
- Easter eggs of all kinds;
- Easter bunny out of paper;
- paper coaster in the shape of a chicken;
- chickens from an egg tray;
- cardboard garland of bunnies;
- a basket from a plastic bottle;
- coaster from newspaper tubes.
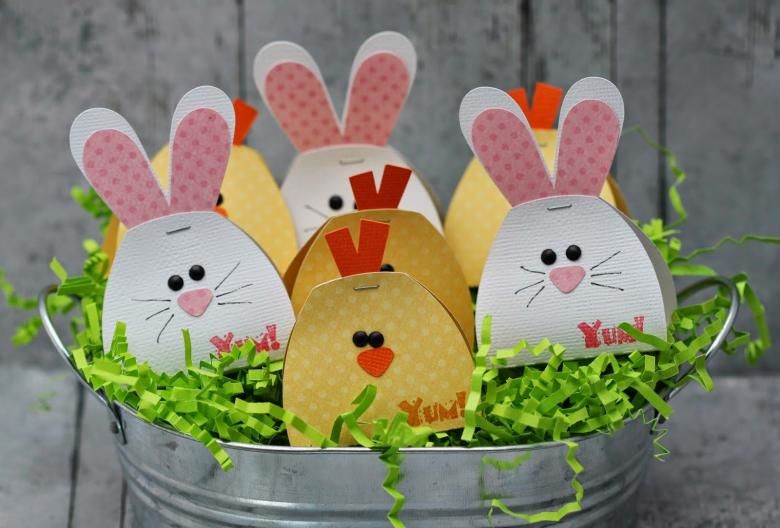
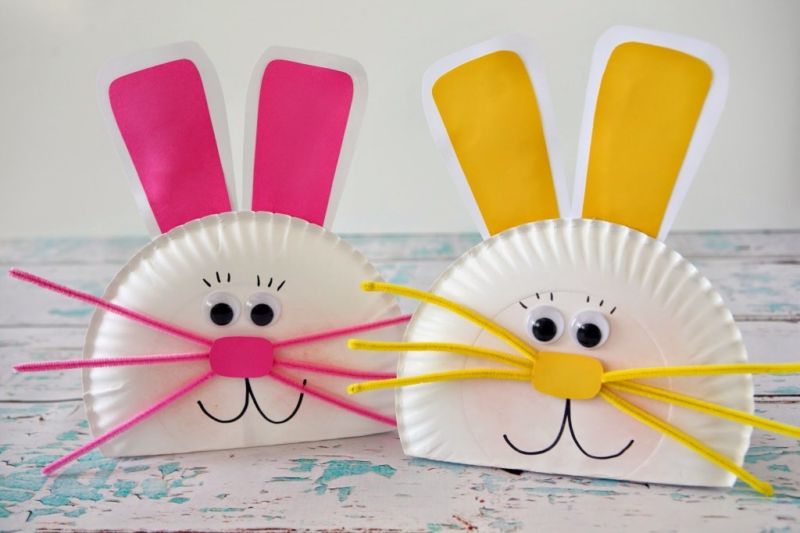
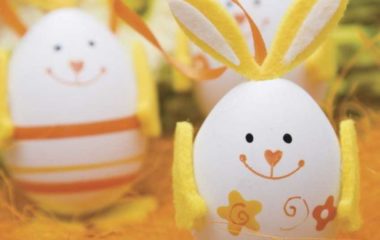
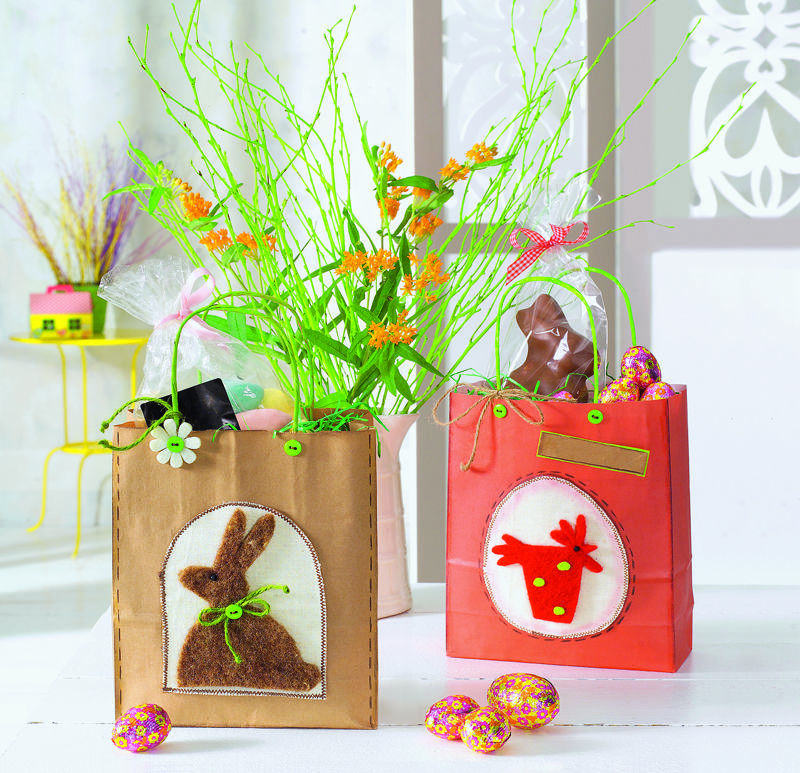
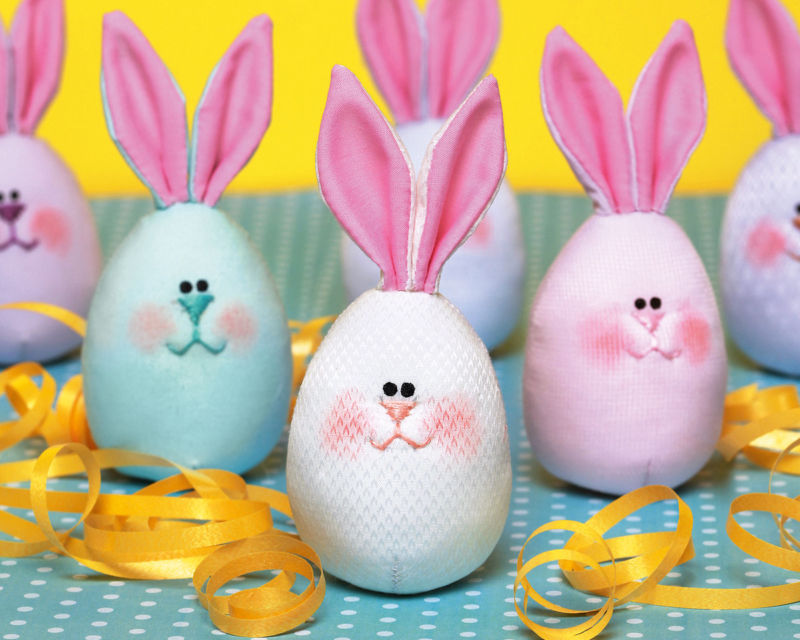
Easter bunny out of paper
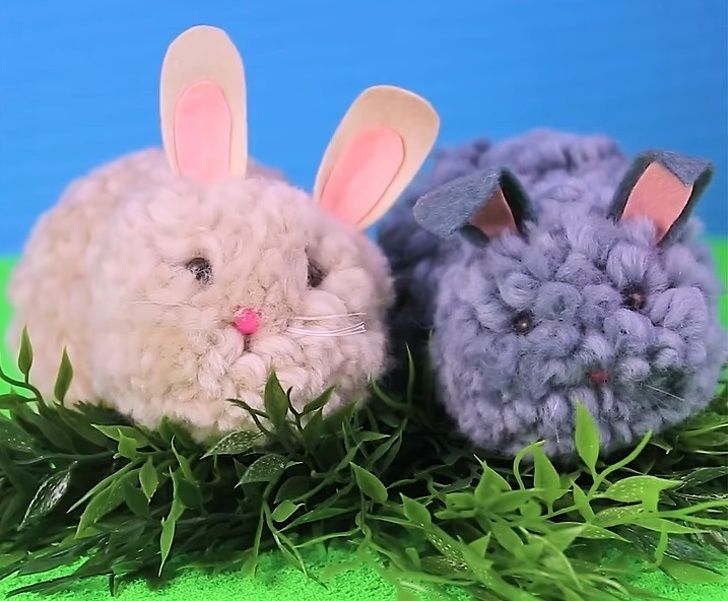
Many parents make crafts for Easter in the kindergarten, a version of the rabbit from an ordinary terrycloth, in this case will be just right.
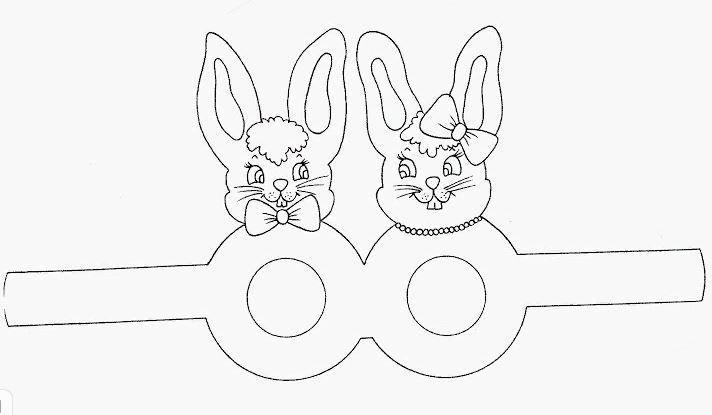
Applique for Easter in the form of a rabbit is made quite simply, you only need:
- Find a template of a beautiful, cheerful bunny and cut it out along the contour.
- Create a suitable background on a sheet of paper and glue the cut out figure to it.
- Add some details as you like, for example glue a fluffy tail or create a small bush.
Handicrafts for Easter in the garden is ready!
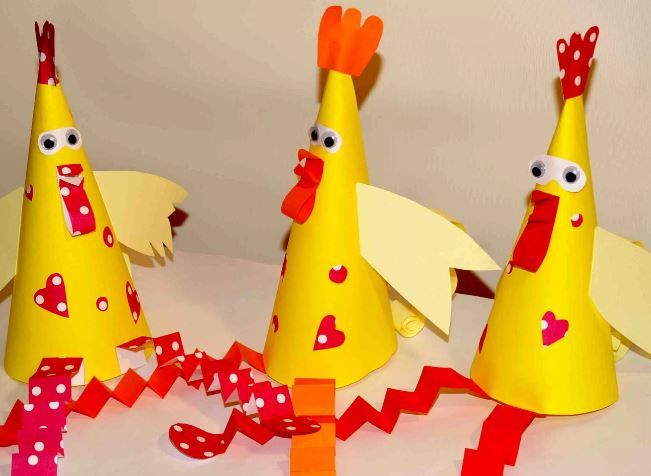
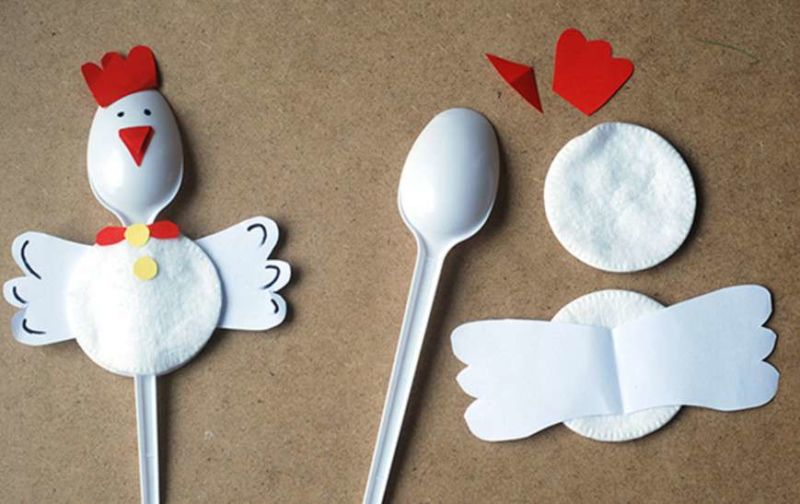
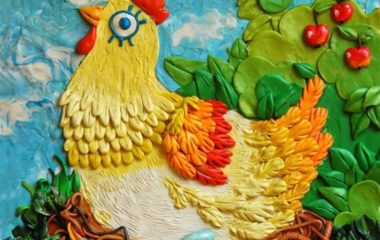
Paper coaster in the shape of a chicken
Handicraft for Easter in school should be more serious than the previous one. A paper coaster for eggs will do.
For the work you will need:
- paper for wrapping;
- two cardboard sheets;
- scissors;
- glue pencil;
- PVA glue;
- a picture of a decorative chicken;
- felt-tip pen;
- a simple pencil;
- openwork ribbons of different colors.
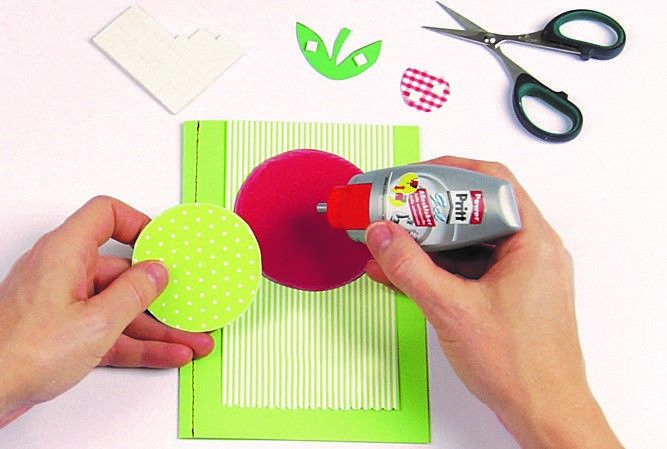
Easter crafts are made as follows, you need:
- Cover one cardboard sheet on both sides with wrapping paper by means of glue.
- Apply the image of a chicken to another sheet of cardboard, circle and cut out the stencil.
- Using the template, make two blanks from the pasted sheet of cardboard.
- Prepare a strip 6h14cm and twist it into a ring.
- Make a pair of notches (3cm) on the upper right and lower left sides.
- Secure the incisions in a lock, forming a ring.
- Glue the two opposite sides of the elements in the form of a chicken.
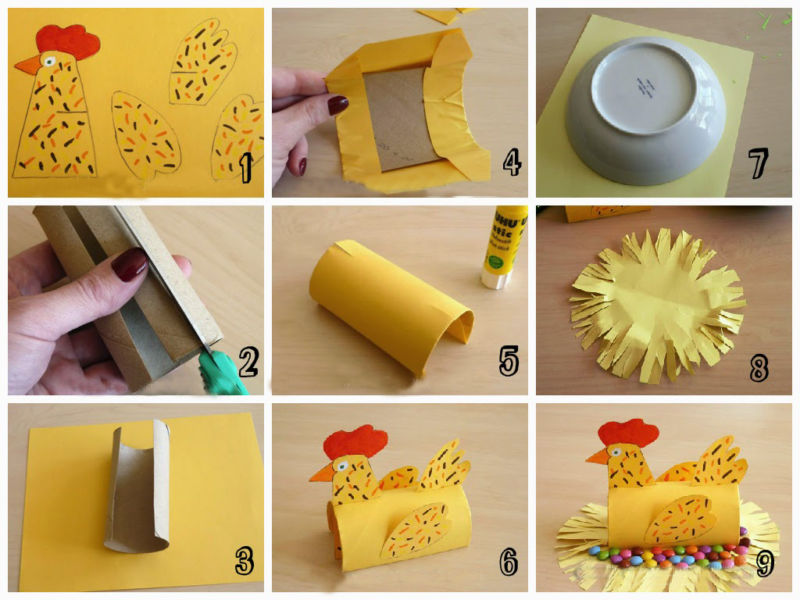
It remains to decorate the stand, for this is necessary:
- Cut out the wings and tails from the openwork ribbon of white.
- Make scallops from red paper, eyes from black paper.
- Prepared elements fix with PVA glue.
- Beaks can be drawn with a felt-tip pen.
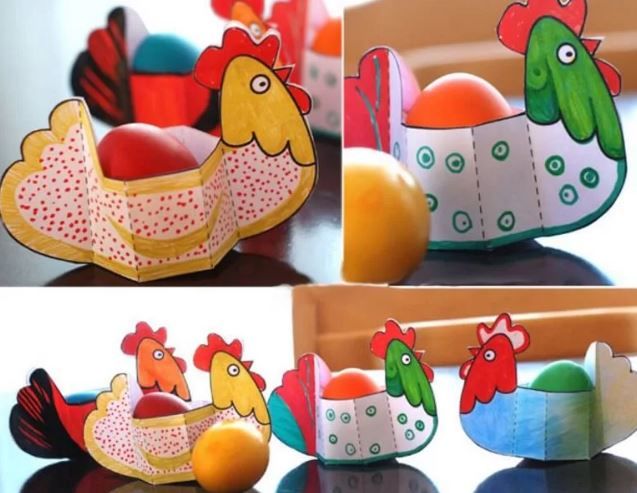
Such a coaster "hen" will be a great decoration for the Easter table or serve as a craft for demonstration at school, especially if you put a painted egg in it.
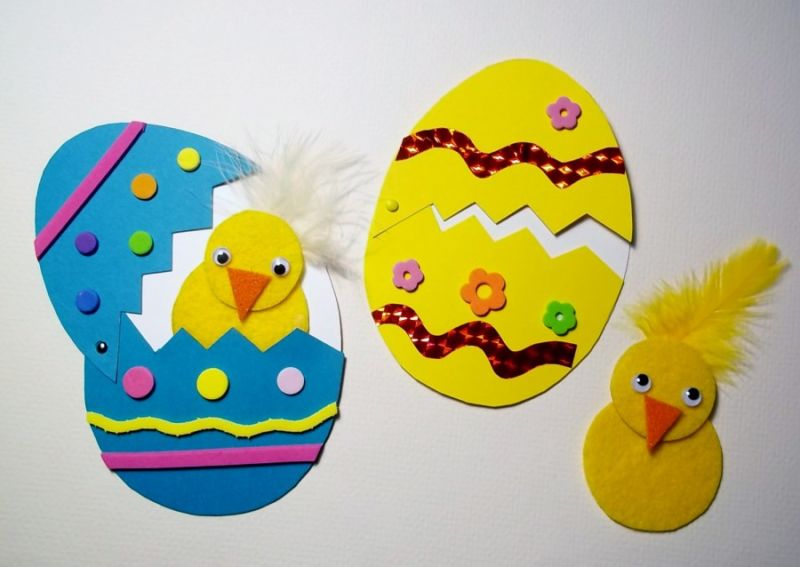
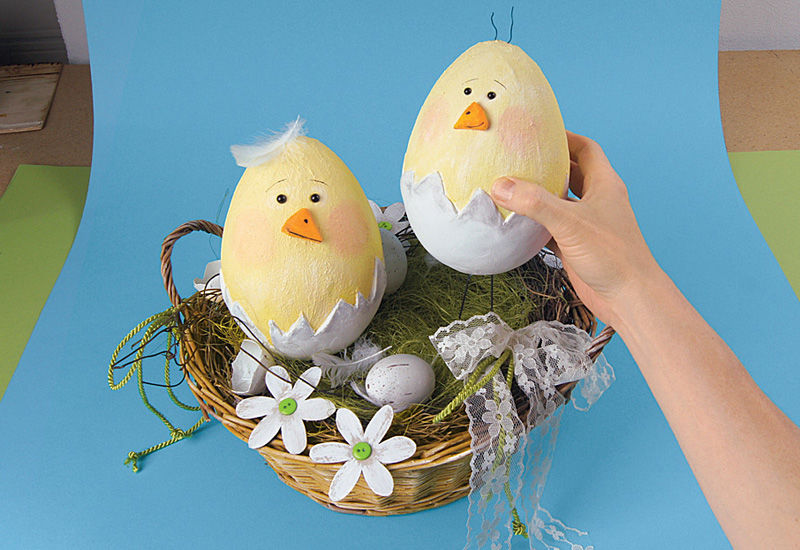
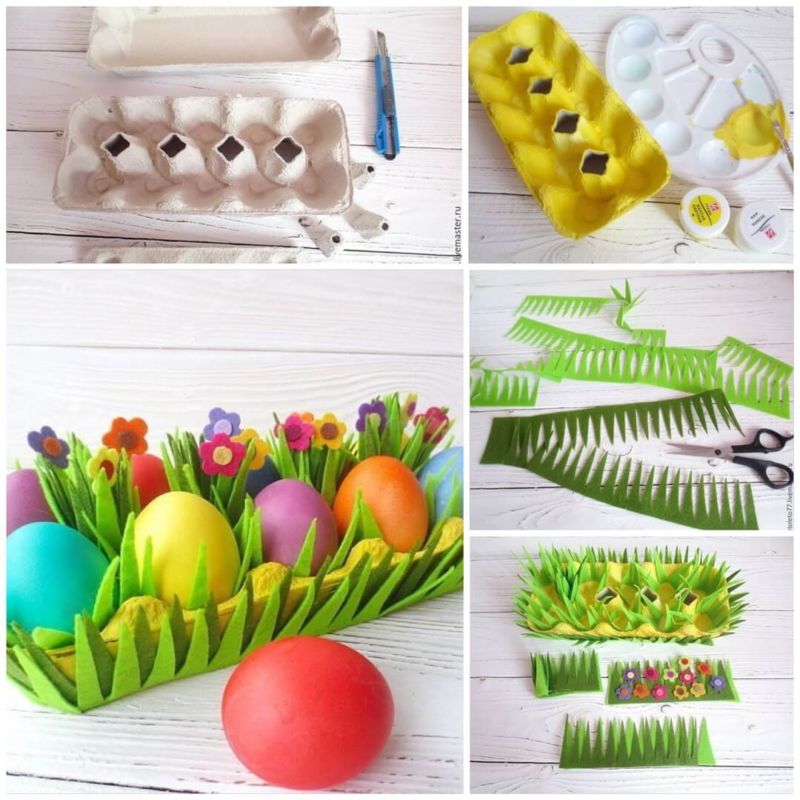
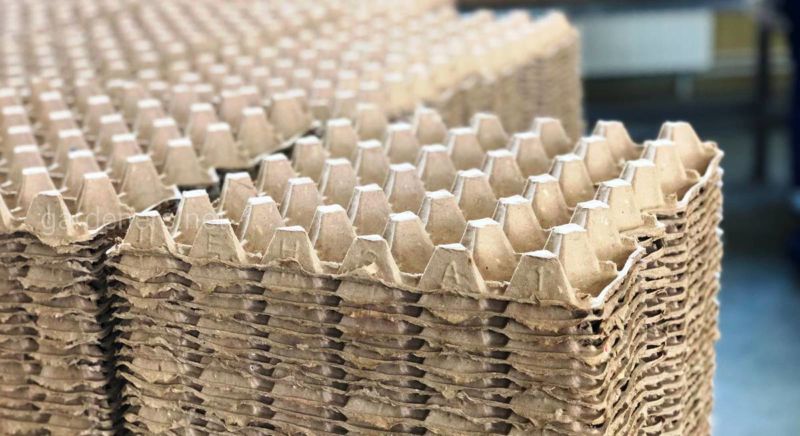
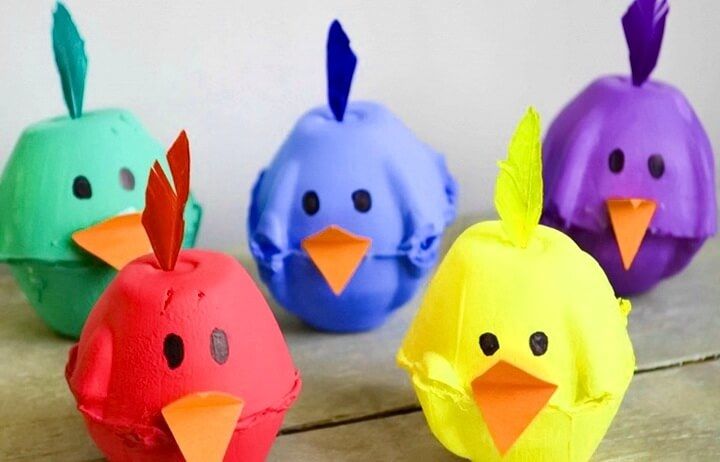
Chicks from an egg tray
You can start your journey to acquiring crafting skills with an egg tray craft in the form of chickens.
For the work you will need:
- Egg tray;
- colored paper;
- marker;
- brush;
- acrylic paints;
- glue;
- utility knife;
- scissors;
- eyes from old toys.
Everything is very simple and fast, you just need:
- Cut out a couple of cells from the egg tray.
- Trim all the excess from their edges.
- Glue the cups to each other. This should make the torso of the chicken.
- Make a chicken beak. This can be done in two ways: cut out an orange paper lozenge, fold it in half and glue it in place, you can in this place make an incision with a box cutter and glue the nose into it.
- Cut a small scallop out of colored paper and glue it into the hole made in the top center.
- Color the craft in any color you like.
- The eyes can be used from old toys or just draw with a marker.
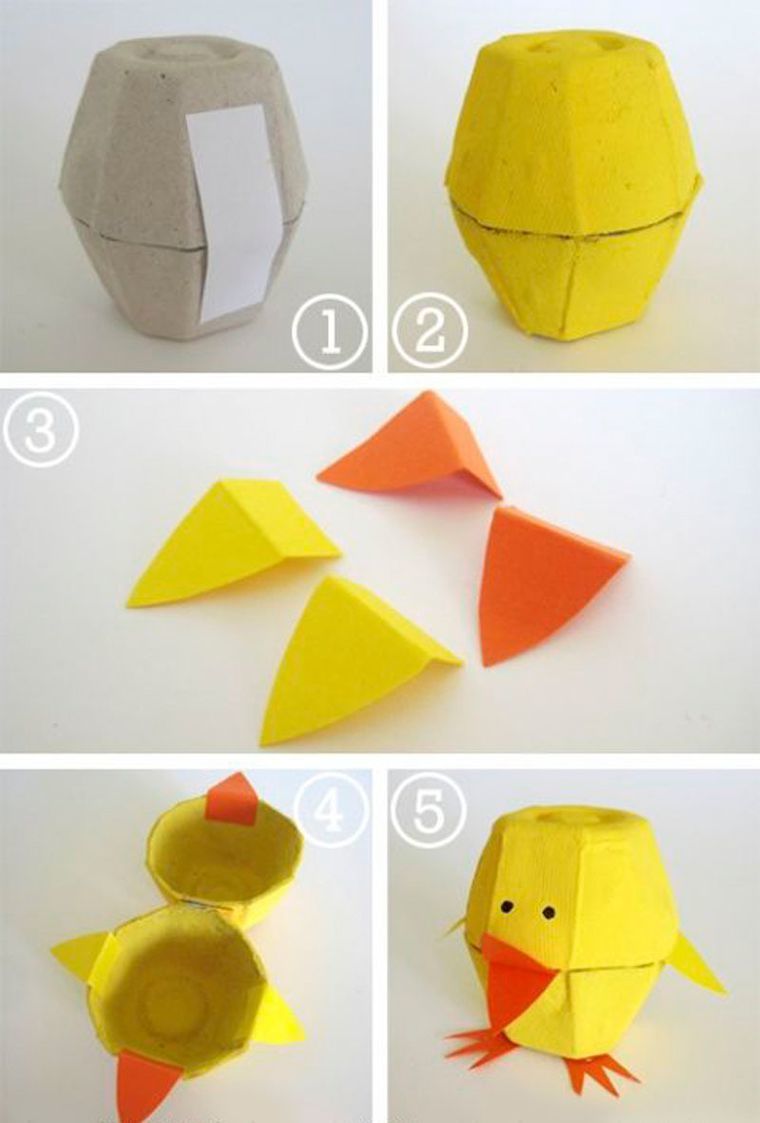
That's it!
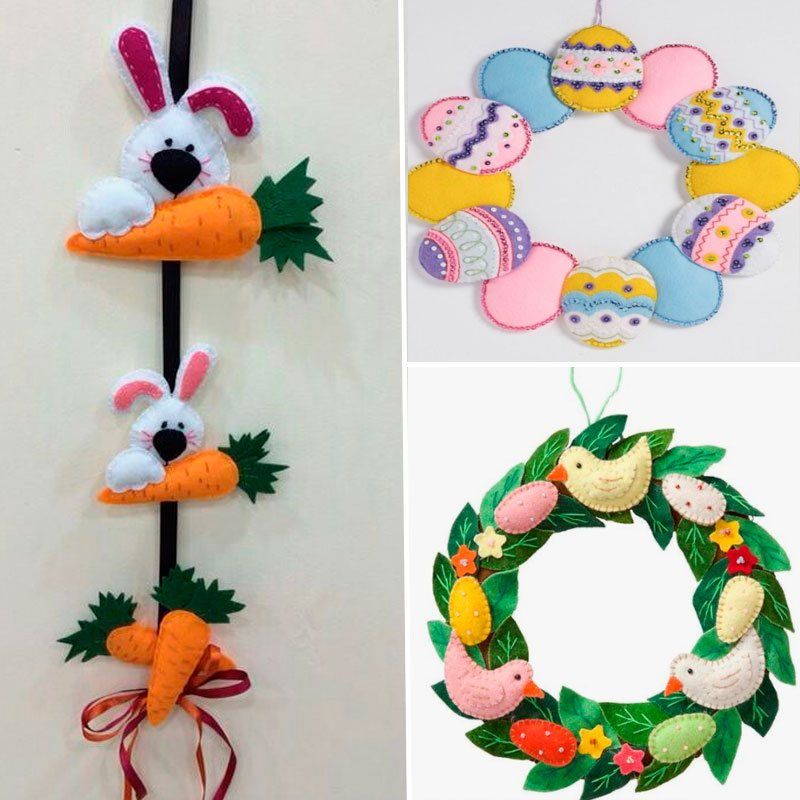
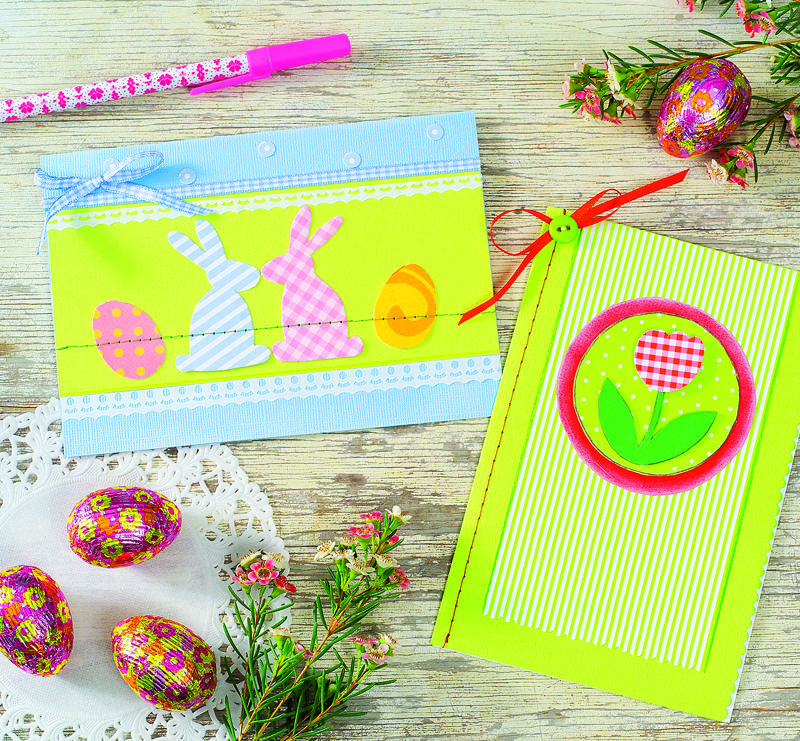
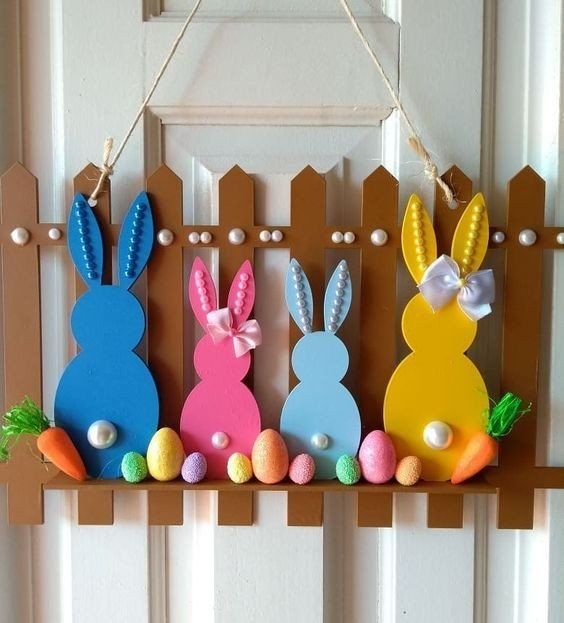
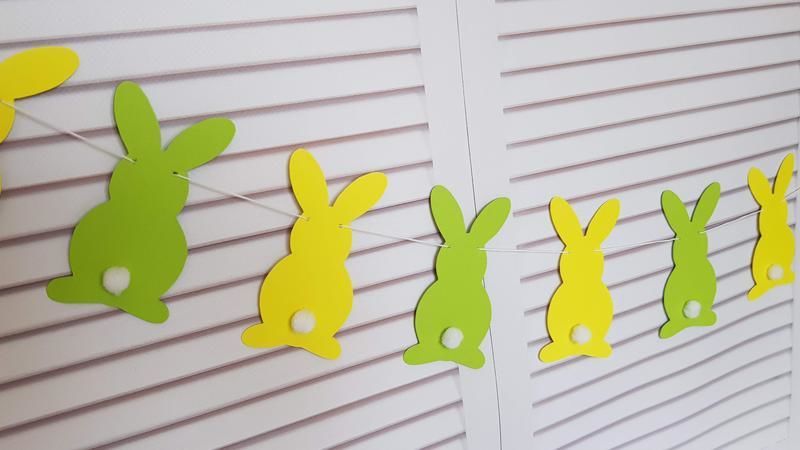
Cardboard bunny garland
Any child will like the themed garland, in addition, made with the application of their own efforts. To do this, you only need to find a template of a cheerful bunny, make more blanks on it and cut them out. Glue pieces of absorbent cotton as tails and connect all the blanks together.
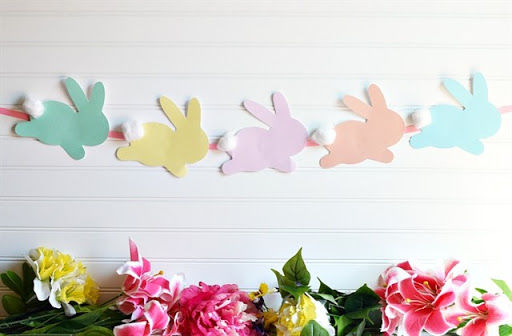
To make a blank, it is desirable to use thick paper, painted on both sides. To connect the elements you can use string or string, or you can use glue to fix them.
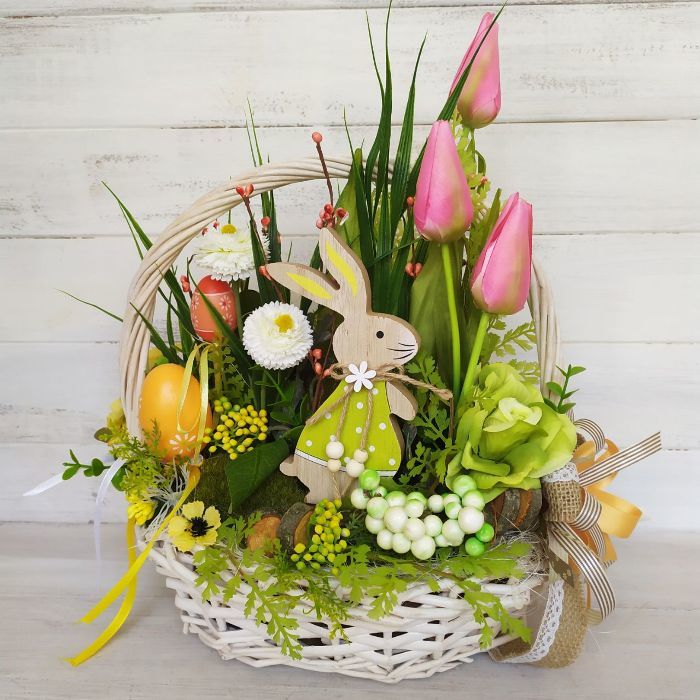
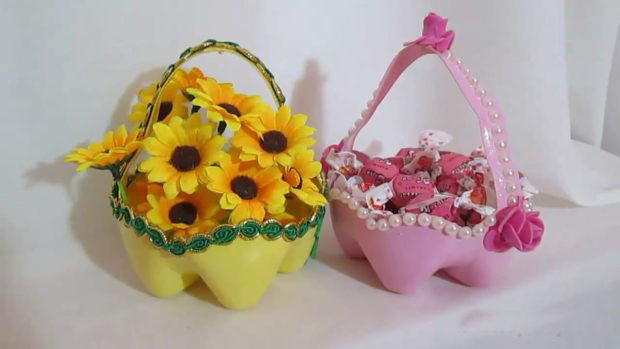
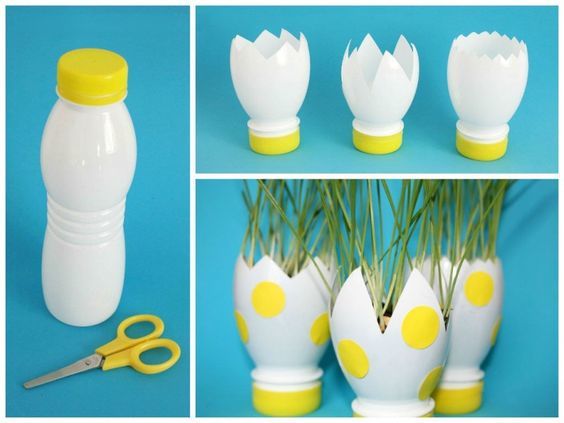
Basket from a plastic bottle
In good hands, even plastic bottles are transformed into useful things. For example, a basket in which you can beautifully place eggs, candy, candles, etc.
For this you will need:
- scissors;
- plastic bottle;
- glue;
- acrylic varnish and paint;
- decorative elements.
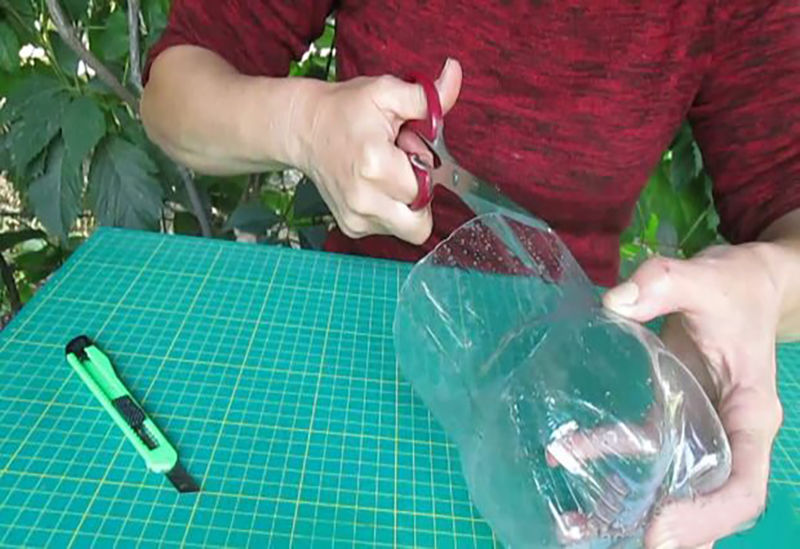
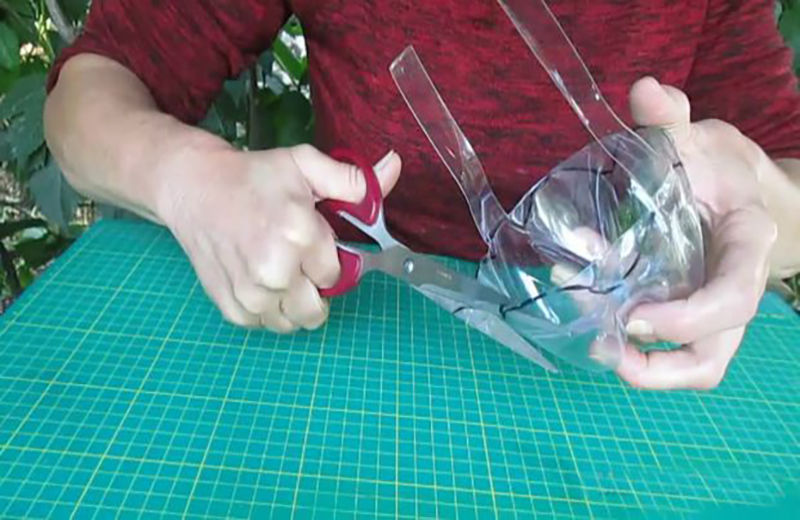
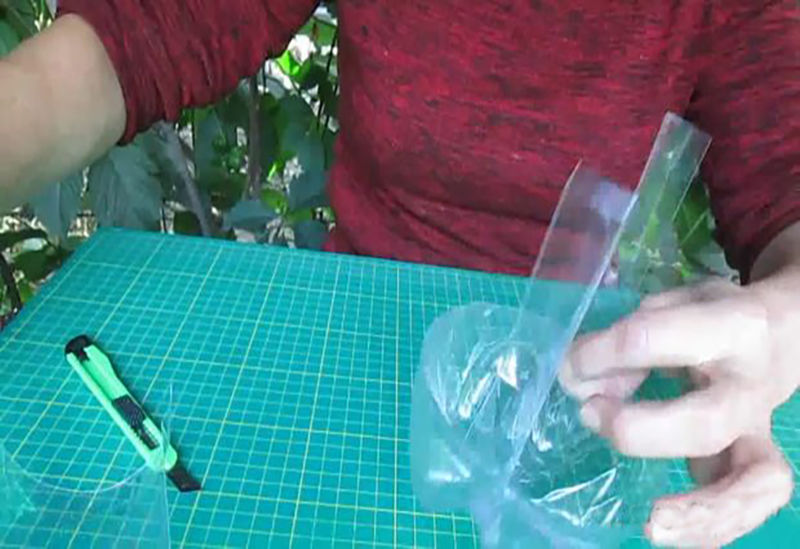
The manufacturing process consists of the following steps:
- The edges of the bottom need to be decorated by beautifully cutting out the outline with scissors.
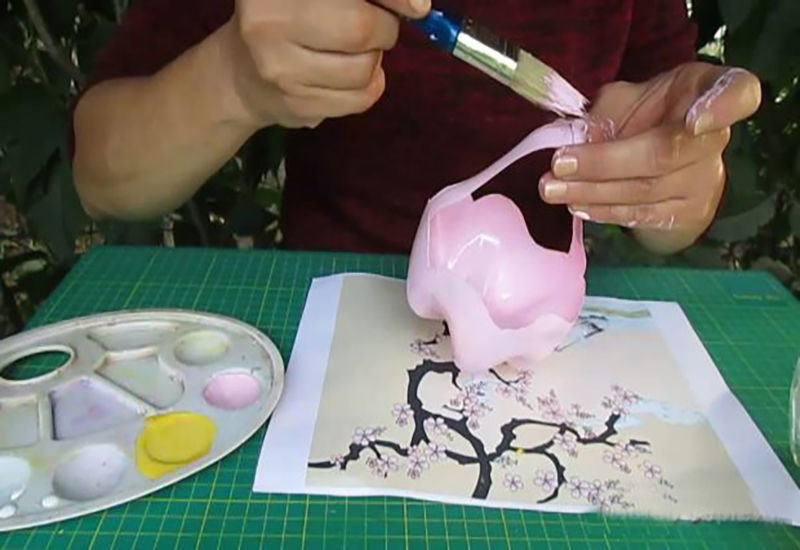
- Paint the outside of the workpiece and let it dry.
- Secure the paint with varnish.
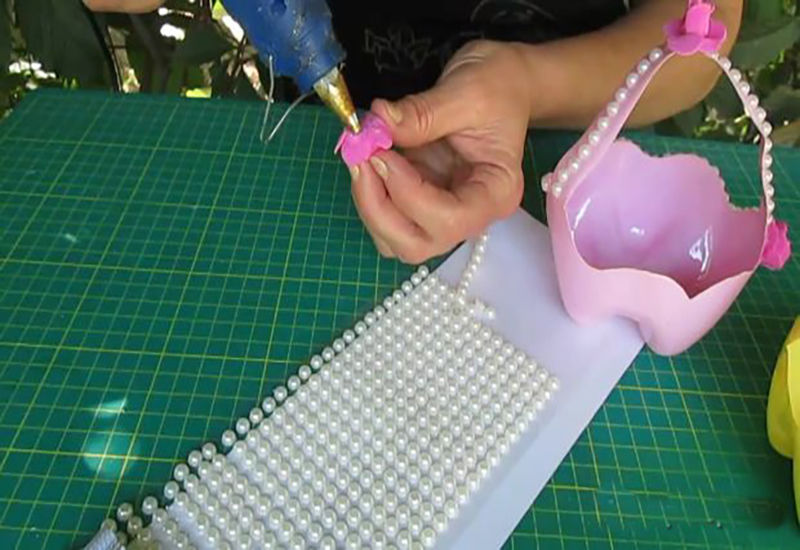
- Connect the handles with glue, then decorate the joint with decorative elements.
- Decorate your handicraft.
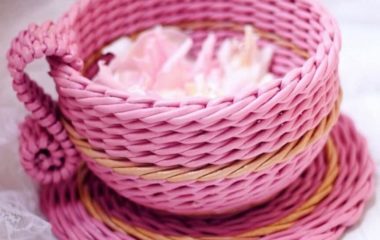
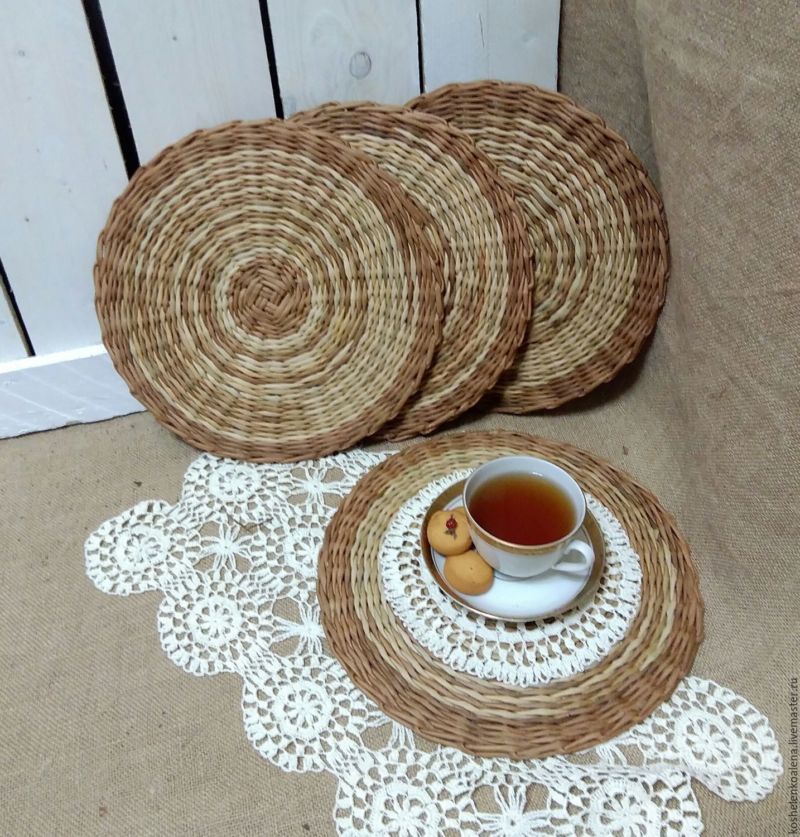
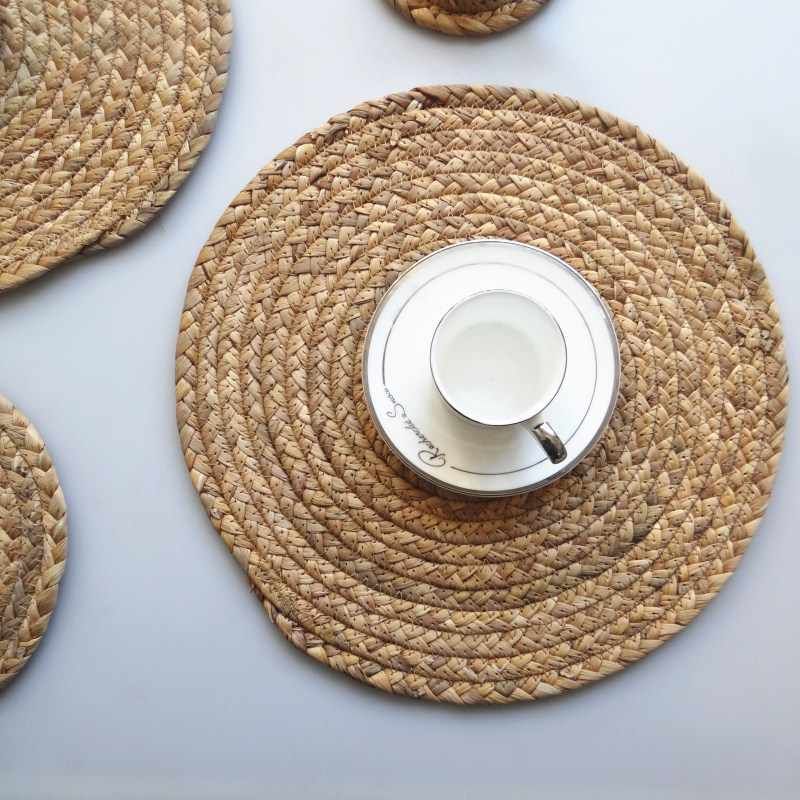
Paper tube tray
Tray for loaf and eggs may well be created from newspaper. For such a craft we need to prepare:
- old newspapers;
- acrylic varnish and paint;
- PVA glue;
- glue, fast action;
- brushes;
- scissors;
- spokes;
- clothespins;
- pliers.
Step by step work:
- First you need to cut strips of paper about 10cm wide.
- At the corner of the paper strip put a needle at an angle of 40-45º.
- Screw a strip of paper on the needle and fix the end with glue. (The required number of tubes depends on the diameter of the tray to be made).
- Moisten a part of the tube with water sprayer, then place it in a container with the narrow side to the bottom, the wide part because of the moisture should not deform.
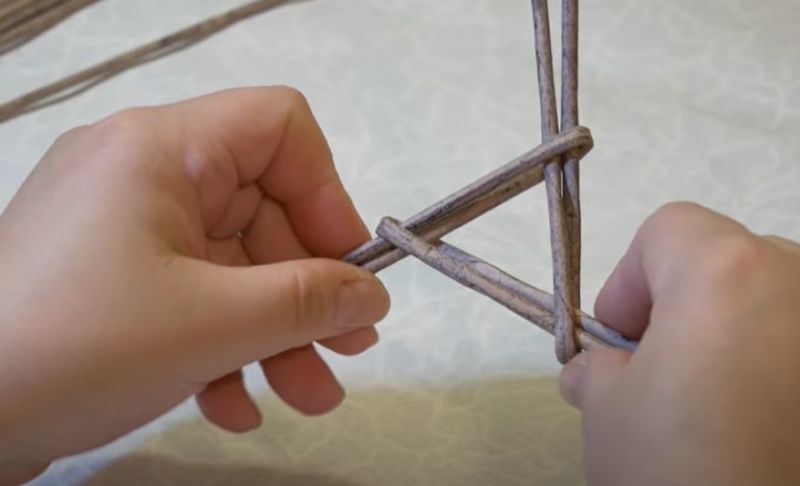
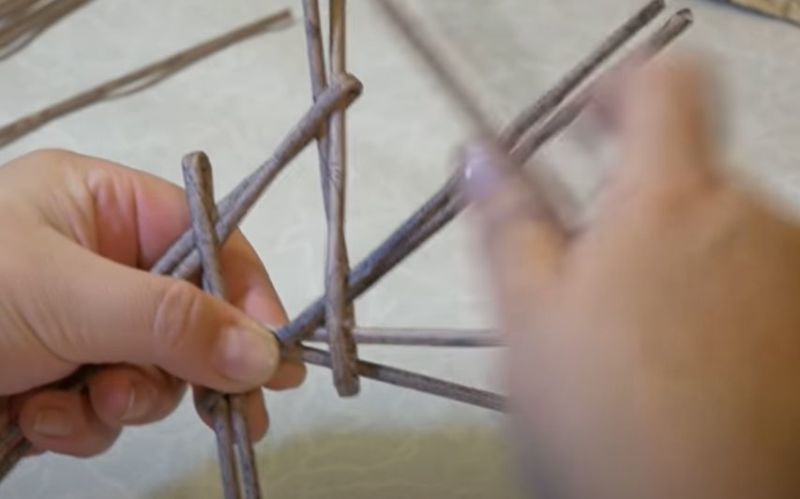
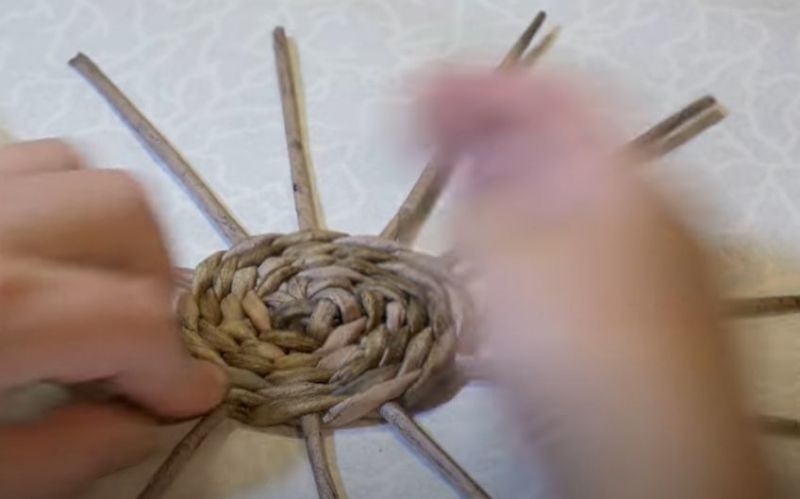
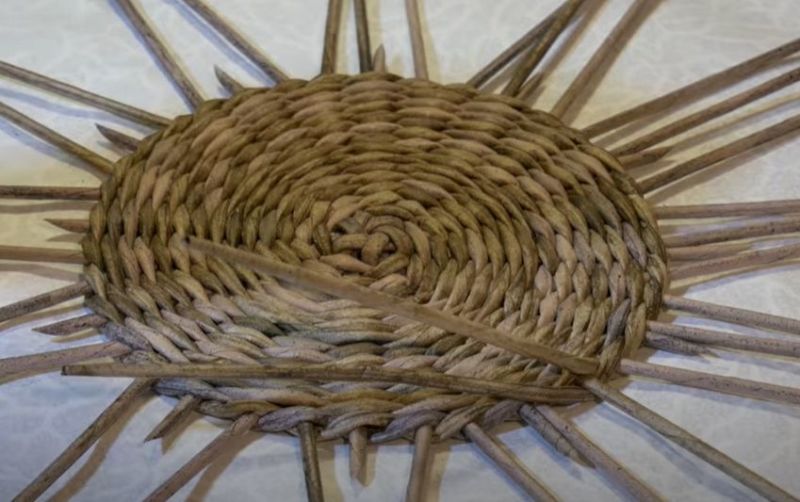
- Take sixteen tubes and assemble the base by weaving. It is desirable to crush a little tube.
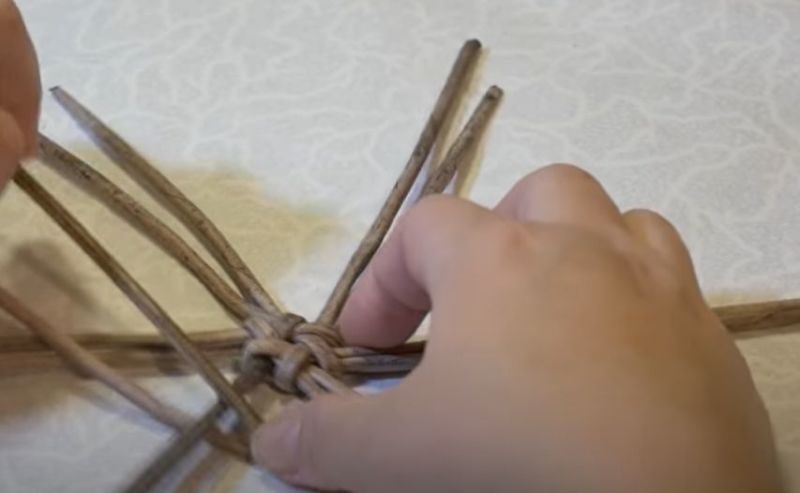
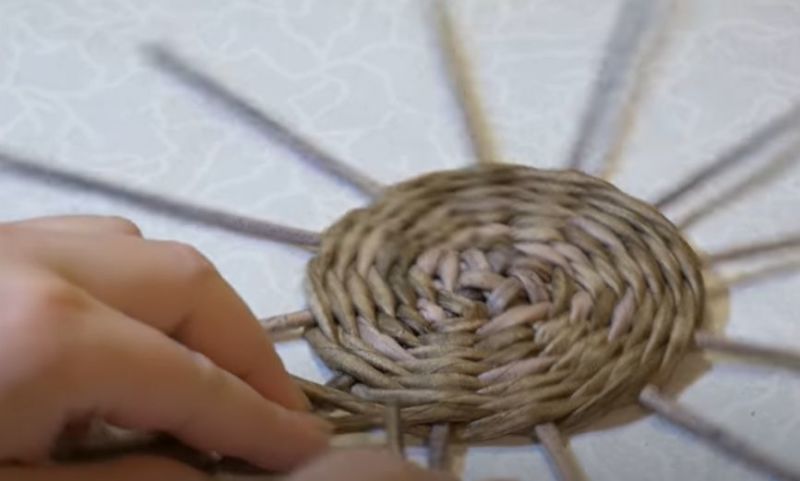
- Take a longer tube, fold it three times and braid one circle around the bottom, the method of two tubes. You can braid the elements by inserting the narrow part into the wide part, the uprights are braided in the same way.
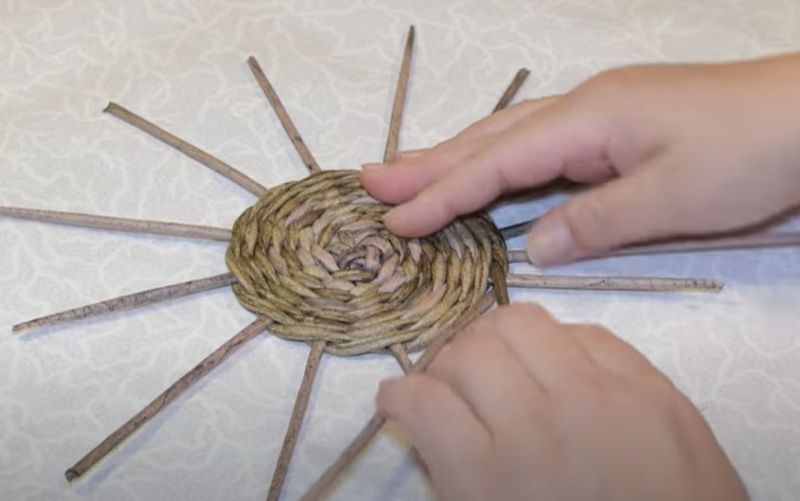
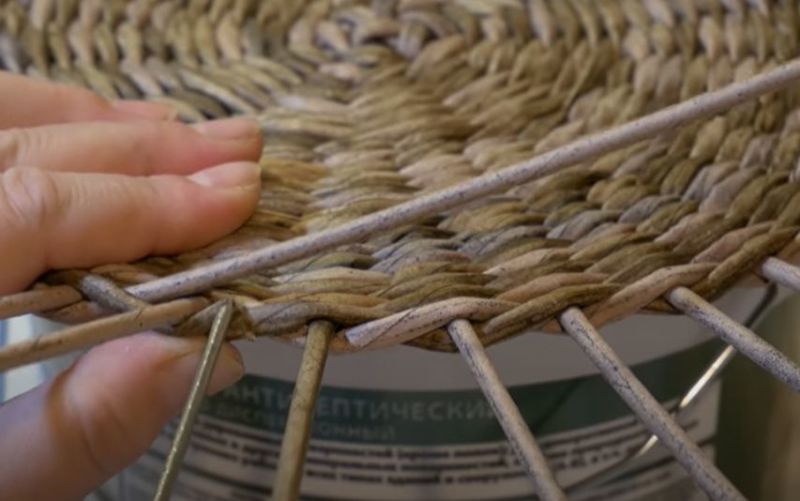
- With the second circle braid three rows of four struts. Then two stands a few rows each, their number depends on the size of the desired stand for the kulich.
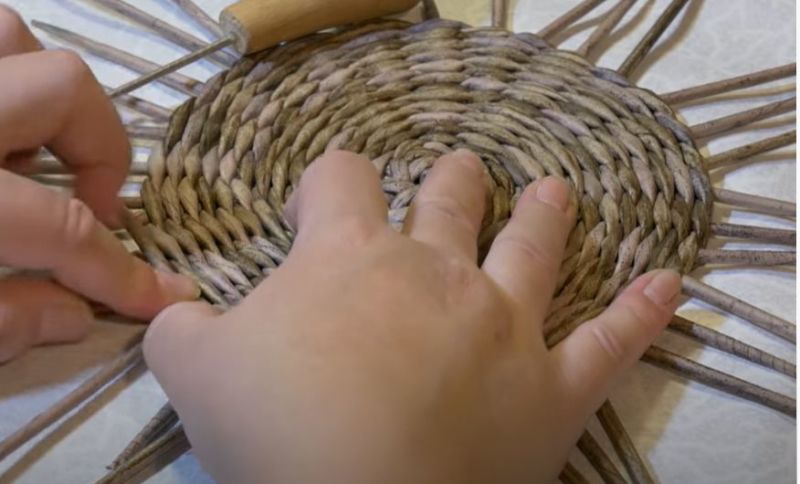
- The compartment for the cube should be separated with a rim, for this purpose you need to fold the stands in the shape of the letter "U" and add them between the tubes. You should fasten them with clothespins so that they do not get in the way.
- The braiding of the next circle consists of eight rows of one rack each, but so that it will fit a hen's egg.
- Next you need to raise the struts and knit a rim of the required height.
- Hidden inside the weave stands, resorting to the help of a needle.
- The rim, separating the kulich, braid in a rope way. The ends of the inside of the stand.
- Bite the ends of the racks with pliers.
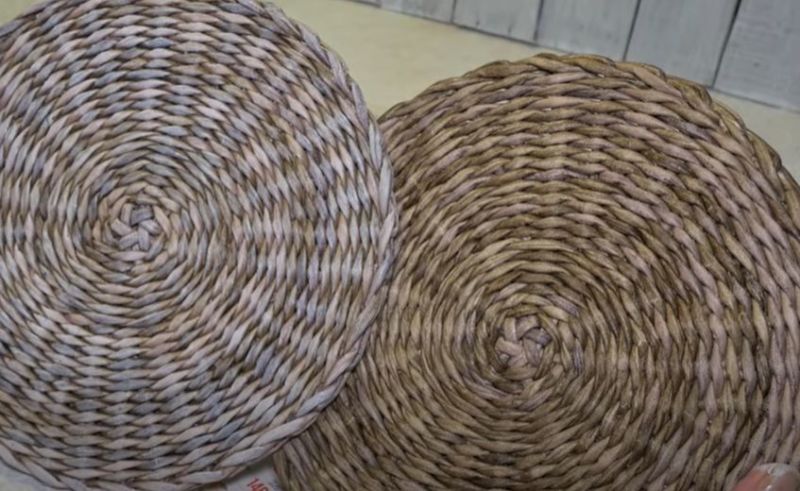
- Apply one layer of snowball mixture with PVA on the product to strengthen it.
- Then apply two more coats of acrylic-based paint and three coats of varnish.
- Form the cells for the eggs by twisting the rolls and paint them in a suitable color, varnish and glue with quick-drying glue.

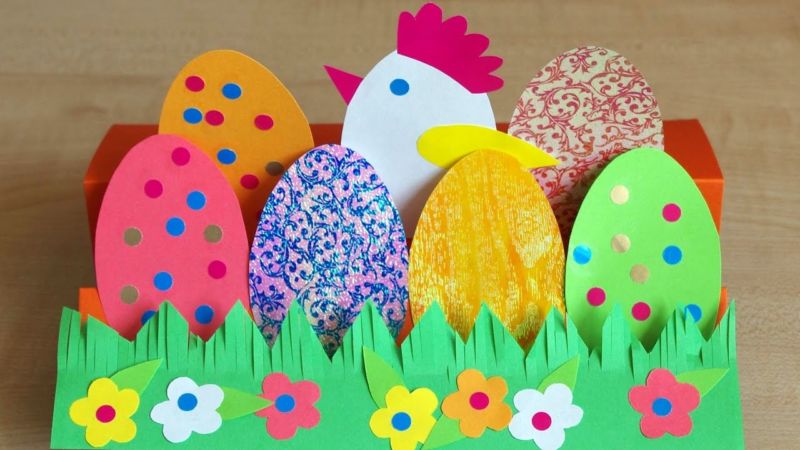
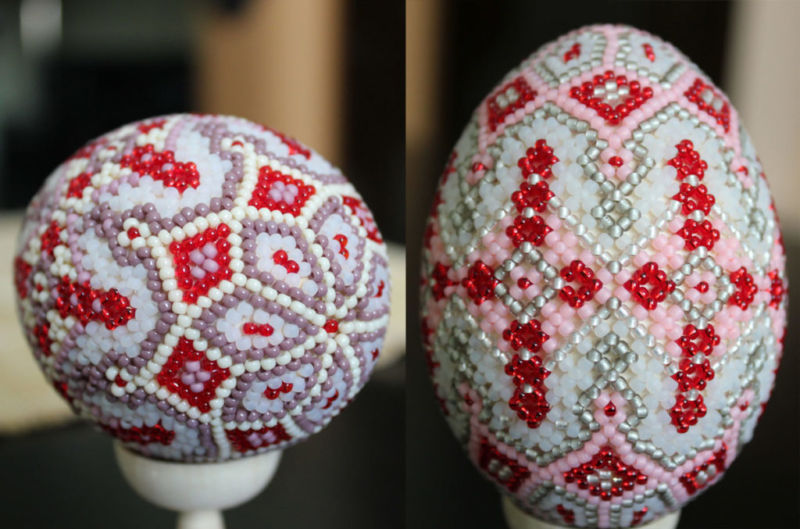
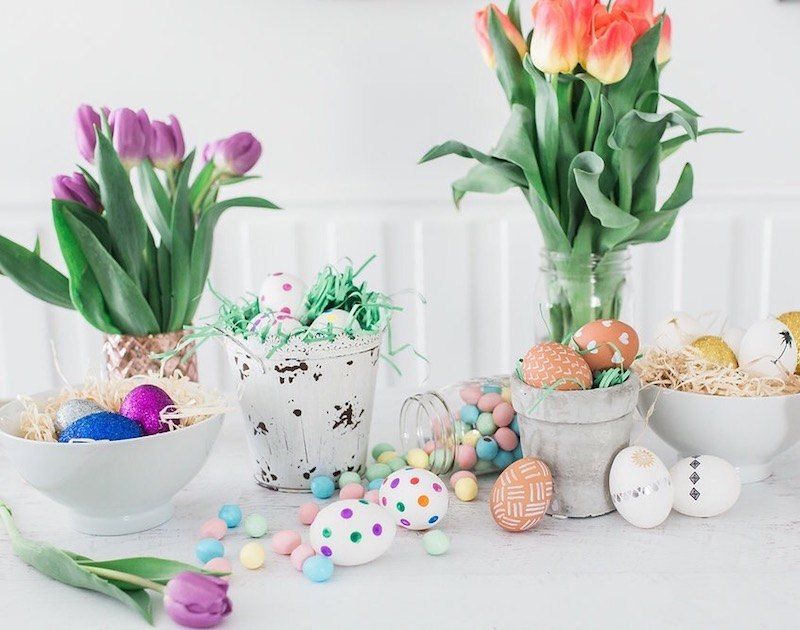
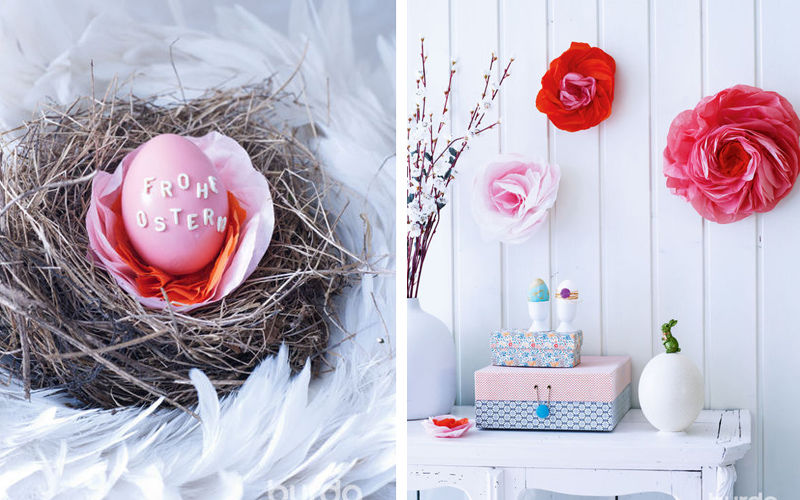
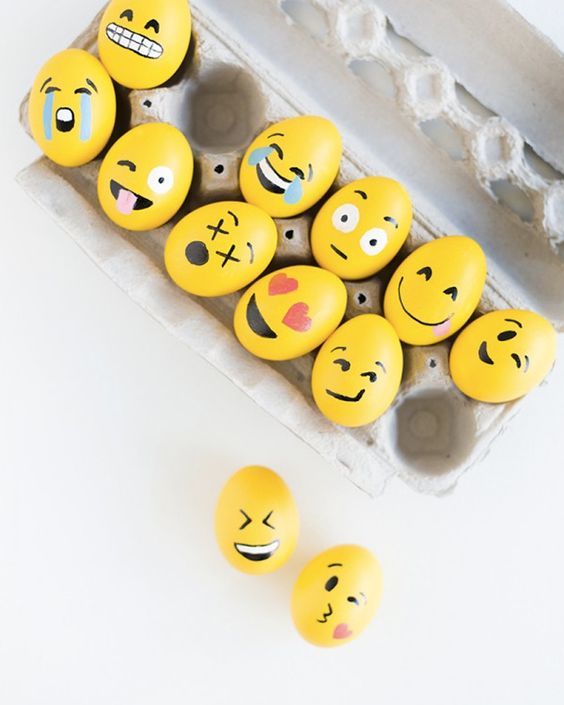
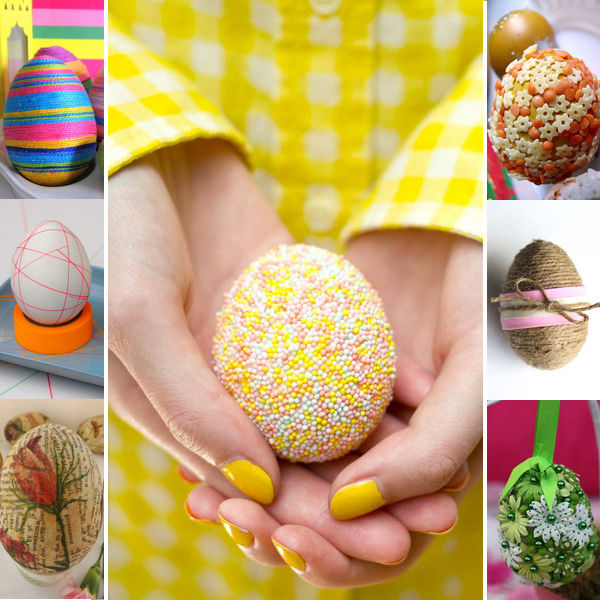
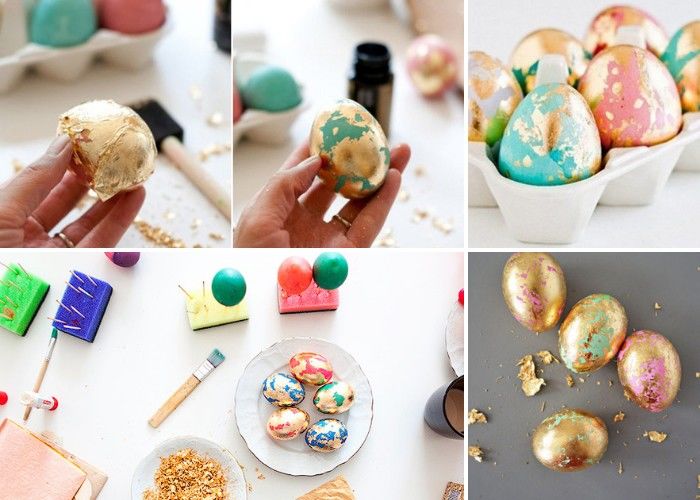
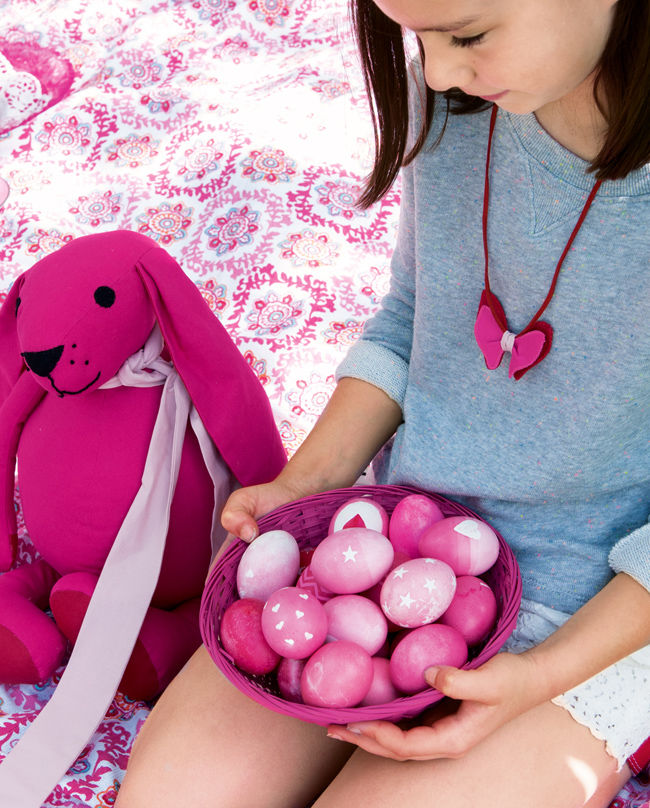
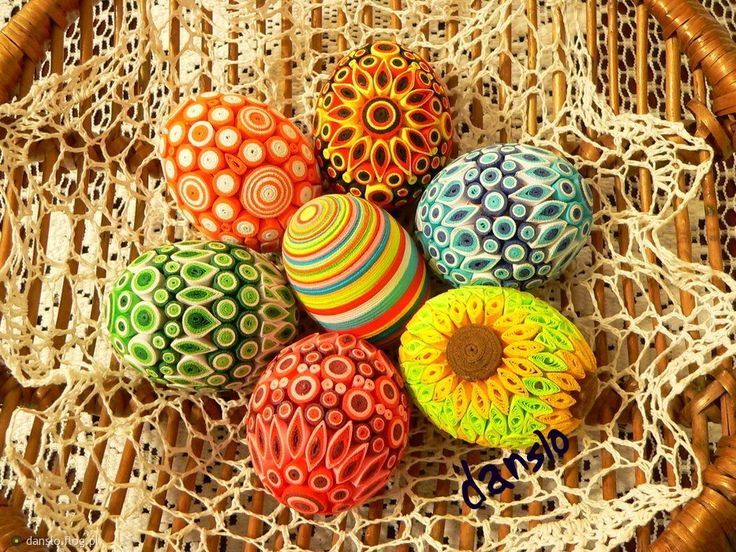
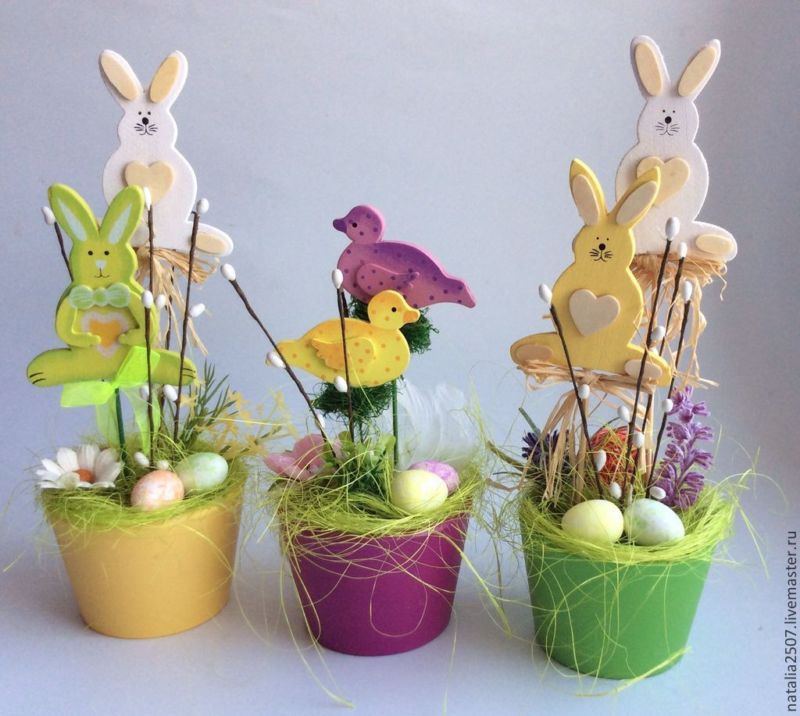
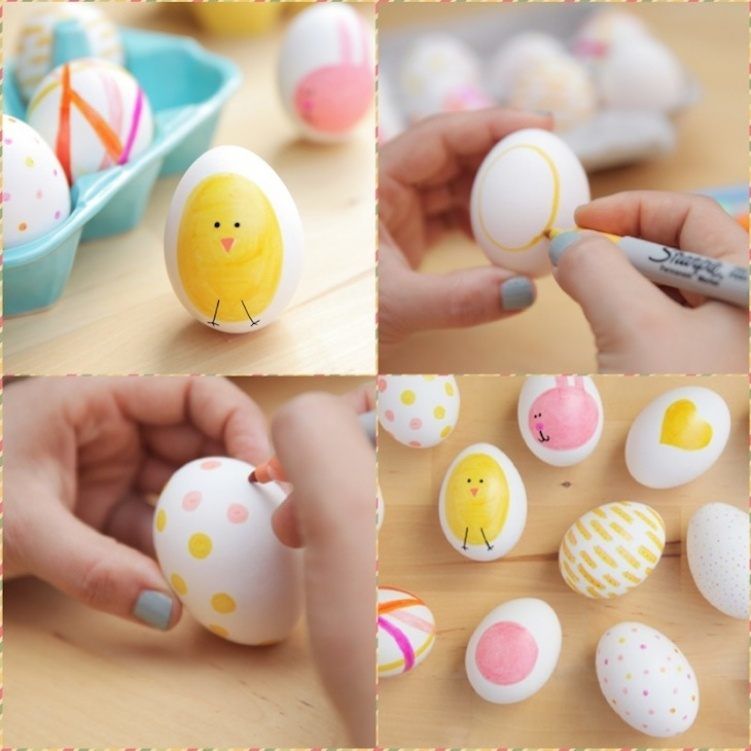
Easter Eggs
Undoubtedly the centerpiece of the Easter table are the ornate eggs. They can be painted or otherwise decorated. In addition, the eggs do not have to be natural, they can be made from any material.
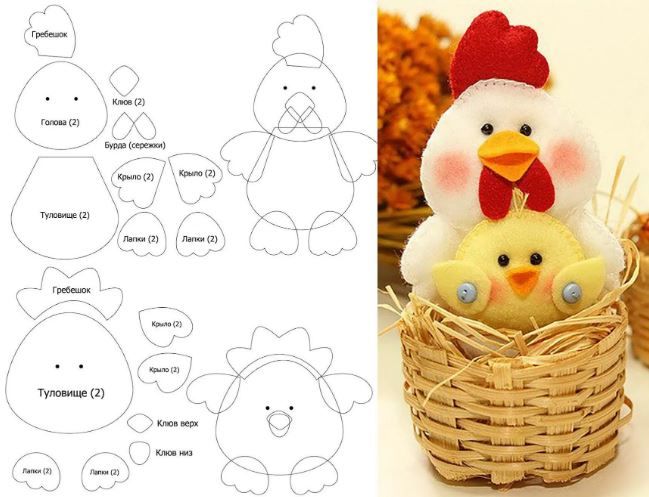
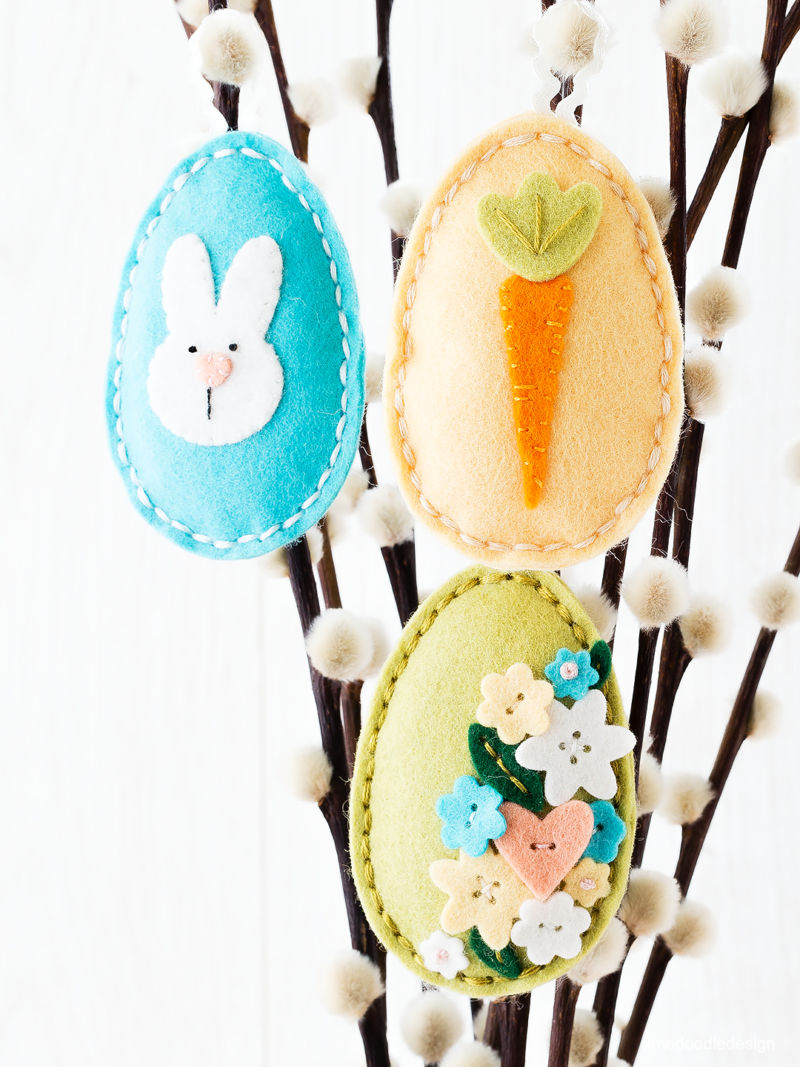
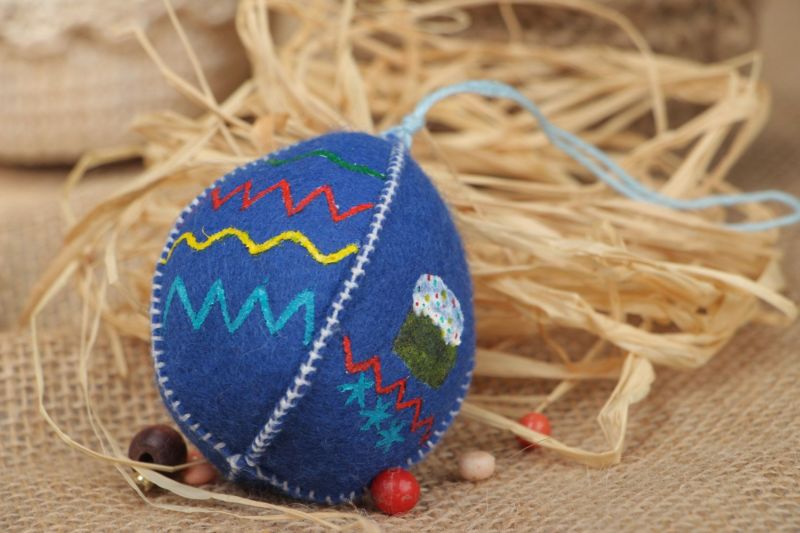
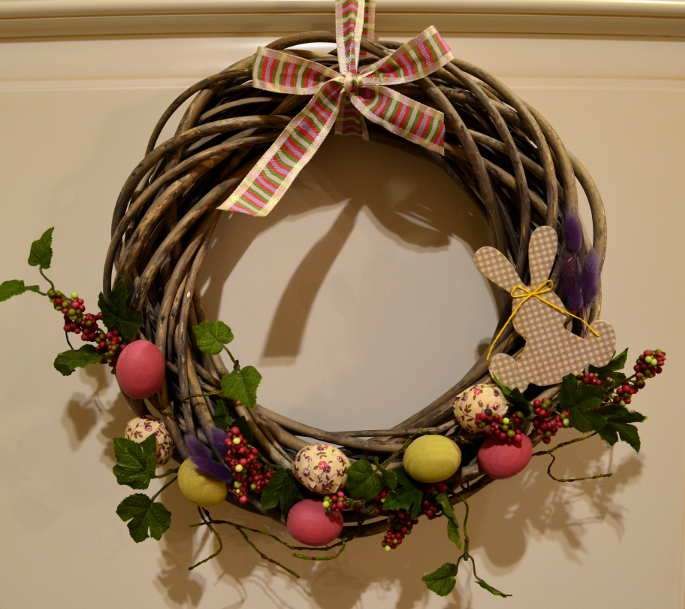
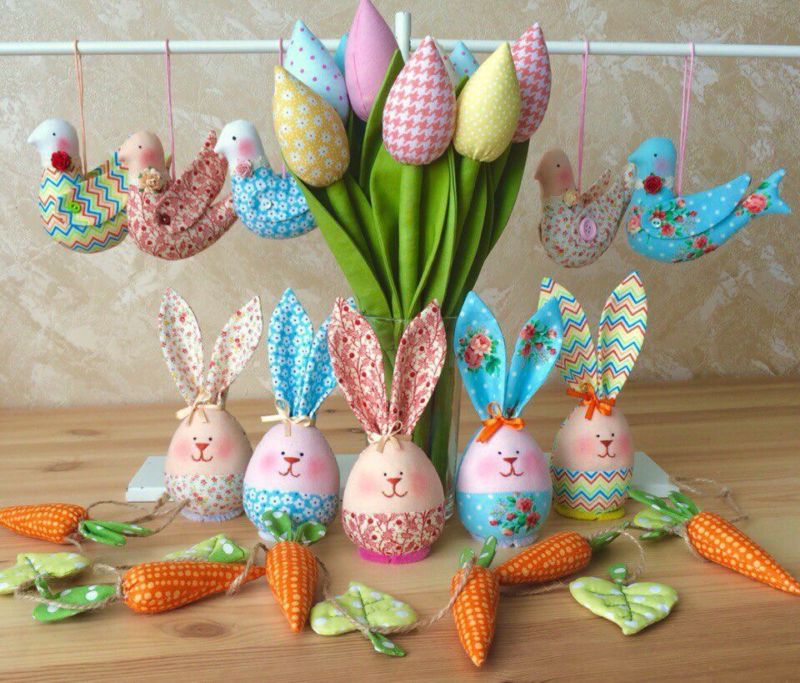
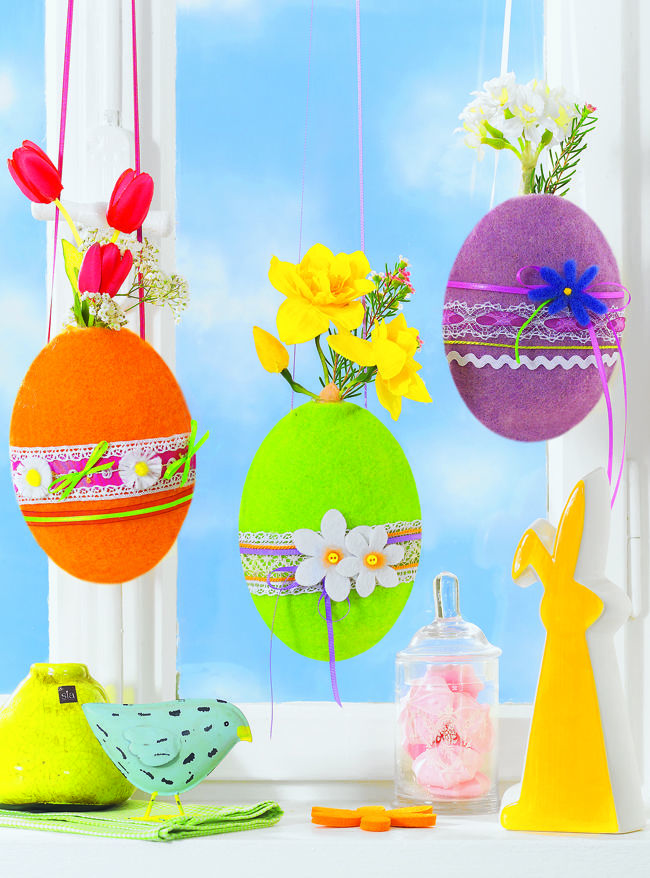
From felt
This material can be shaped into an egg and beautifully decorated. The main thing is to carefully seal the edges of the felt, otherwise the inner filler (wool, synthetics, etc.) may come out through the seams.
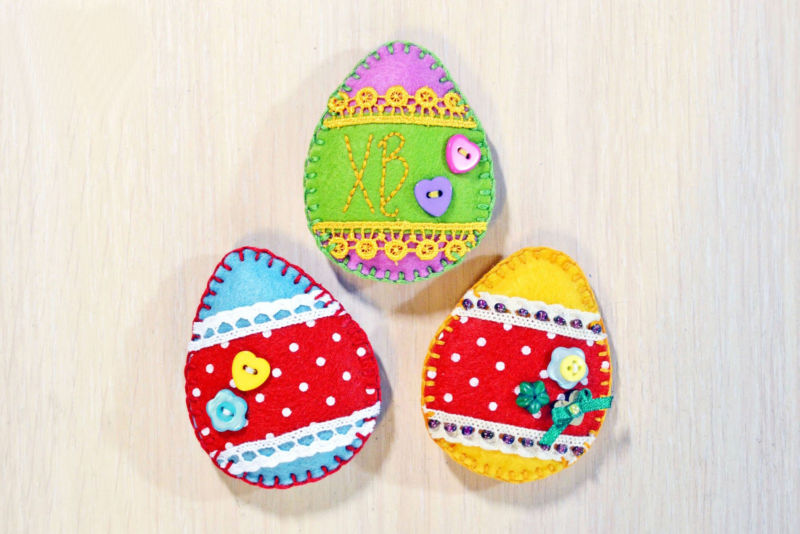
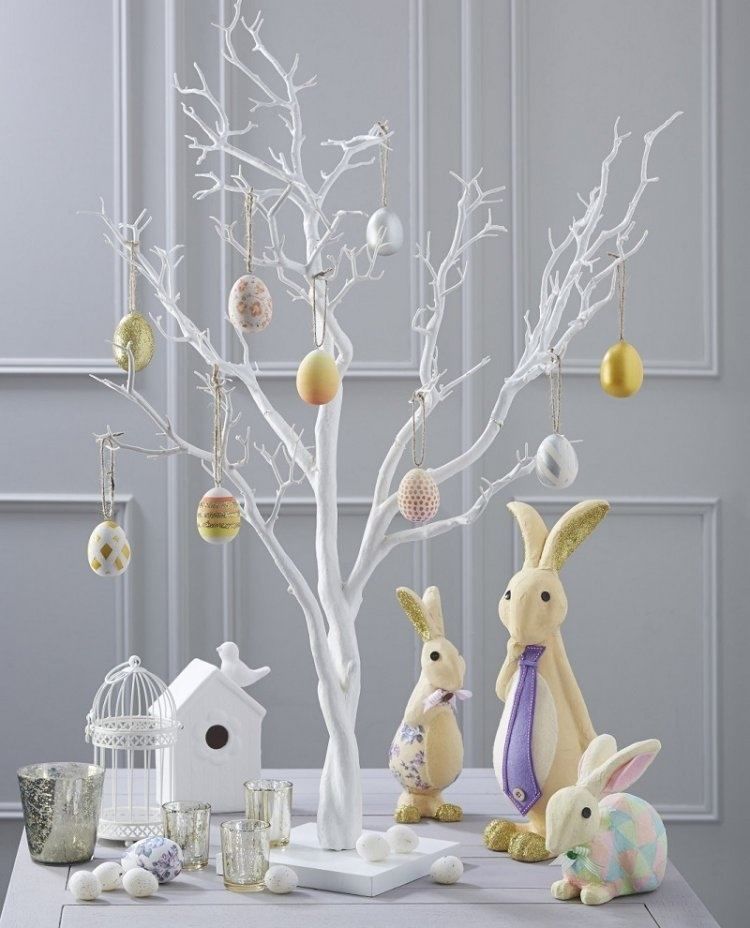
After making the eggs from them it is possible to make a wreath or hang them on an Easter tree. If you attach a rope to the workpieces, you can decorate curtains with them as a garland.
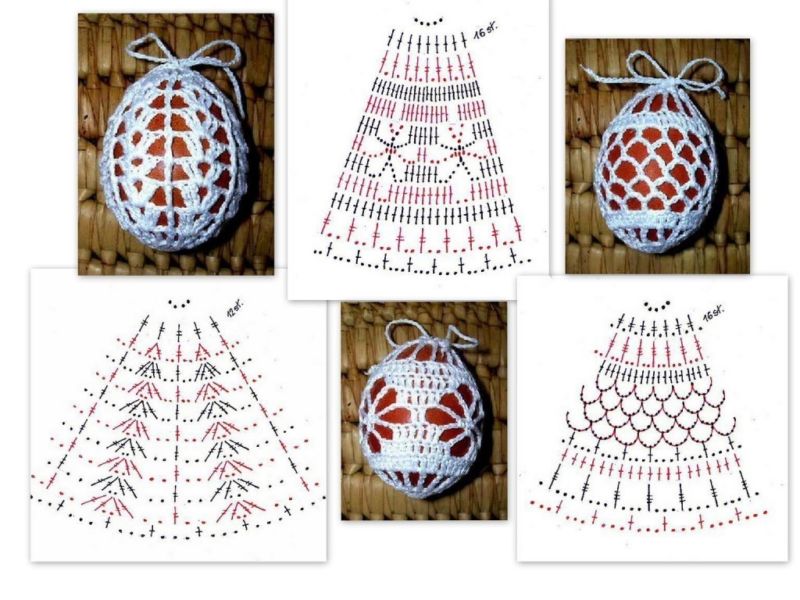
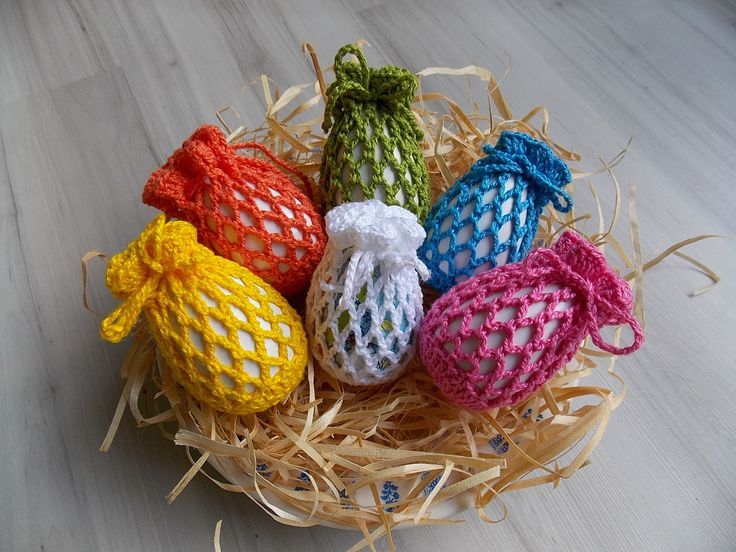
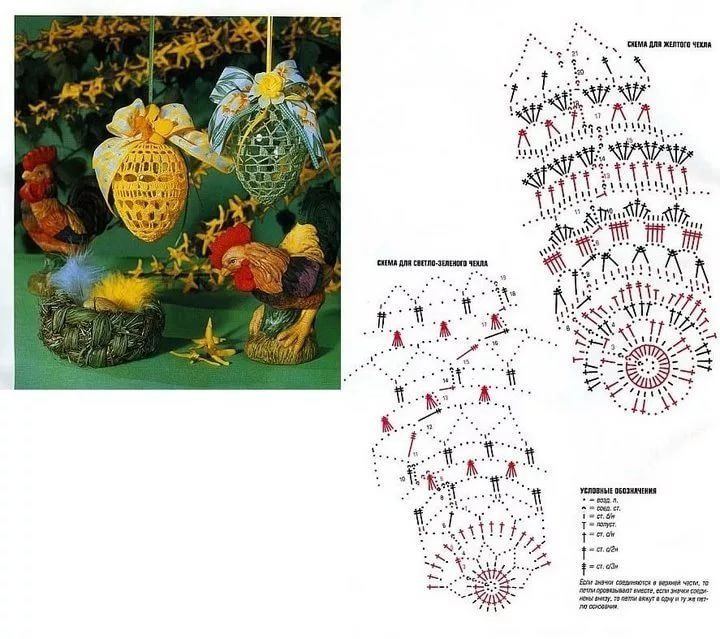
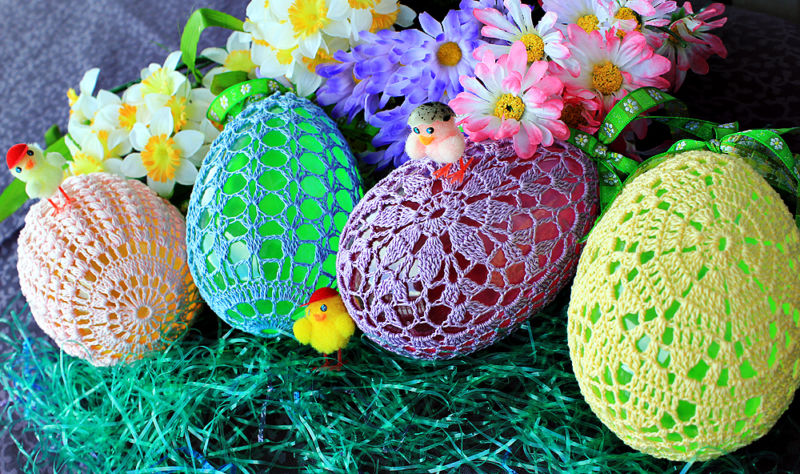
Crocheted
Eggs for Easter can be knitted by needlepoint, for this you will need:
- colored yarn,
- large needle,
- needles,
- crochet,
- filler.
Knitting is done according to the following scheme, you need:
- Dial on three needles for twelve loops.
- Tie in a circle of five rows.
- In the sixth row on each spokes evenly knit together two loops twice.
- Take the 7th and 8th rows and knit inside out with a few straight stitches.
- Row 9 - three left-handed, two together.
- In the 10th row - only the right-handed loops.
- 11th row - continue with the loosening of the loops by adding two front and two together.
- In the 12th row - one left, two together.
- Now cut the thread, leaving 30 cm and thread the needle. Collect the stitches on the needle from the spokes, tighten and fasten the thread.
- Next, lift the stitches from the tied piece onto the needles.
- On the spokes again to gain twelve loops.
- Crochet two rows in a circular pattern with the right hand stitches.
- Begin the ducking: four lefts, two together.
- Crochet two rows in a circle.
- Next - three left-handed, two together.
- Crochet two rows in a circle.
- Then two lefts, two together.
- Again, two rows in a circle with the right side of the face.
- Next row: one left, two together.
- Cut the thread, gather the loops on the needle and pull slightly.
- Through the remaining hole stuff the egg with filler.
- Use the needle to tighten the hole tightly and secure the thread.
- Make a loop.
Easter egg is ready!
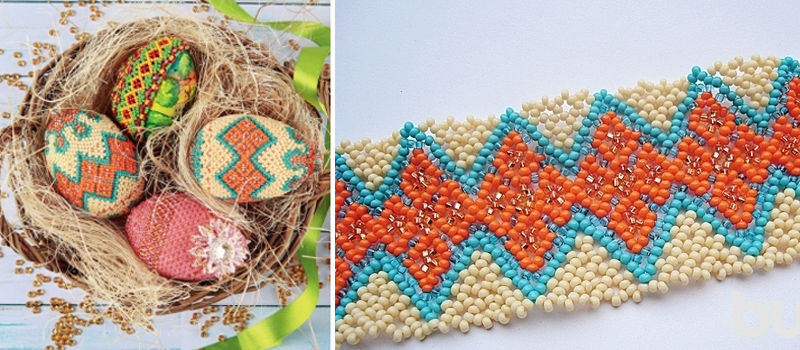
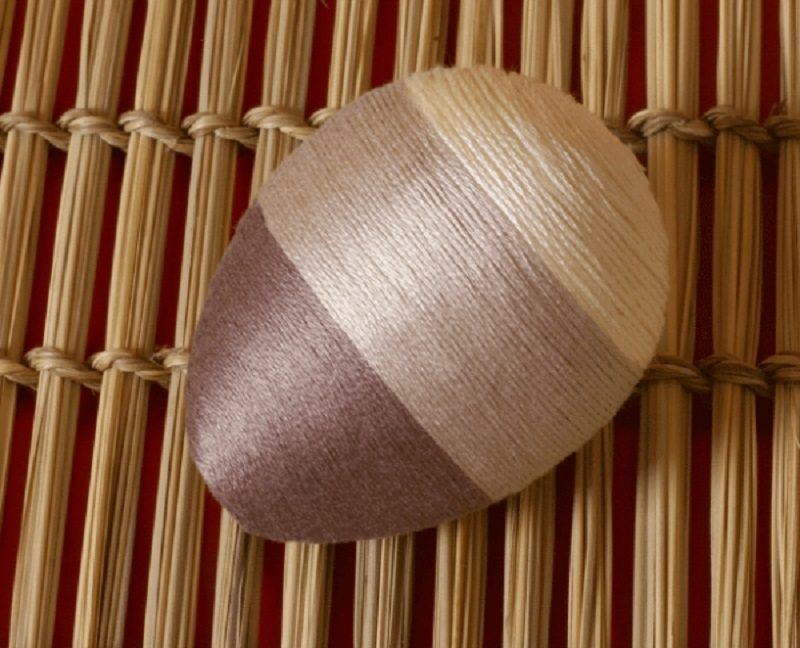
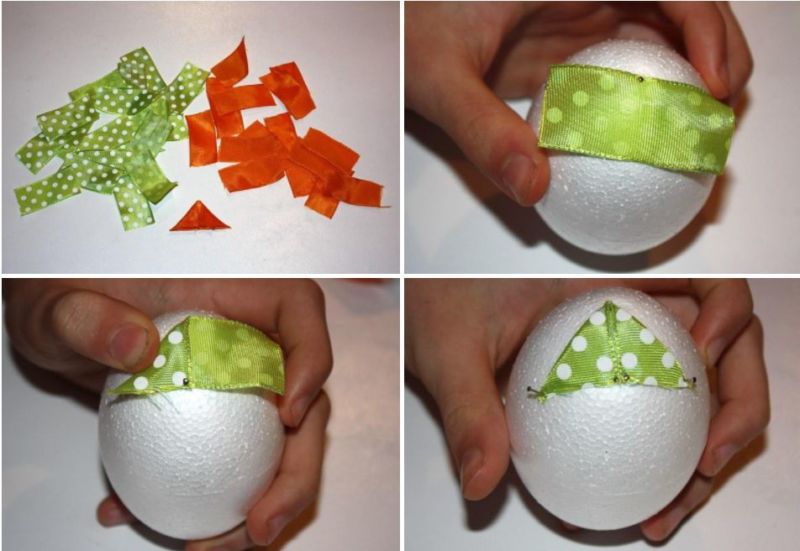
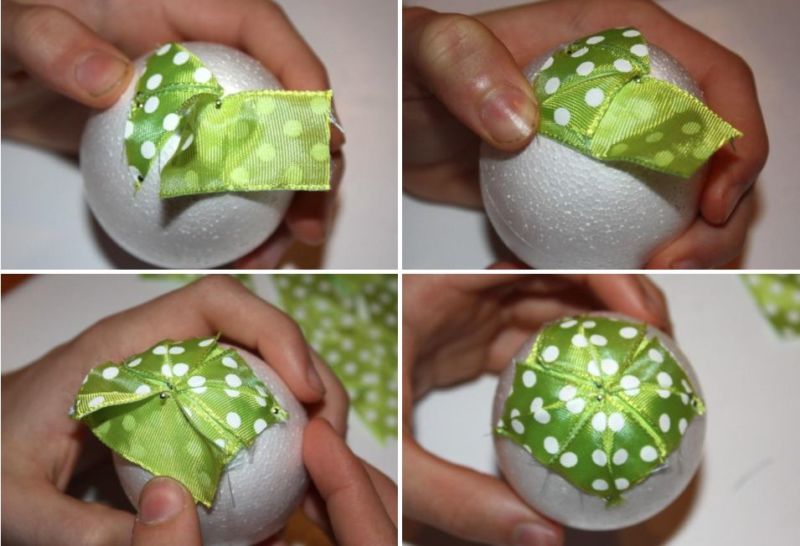
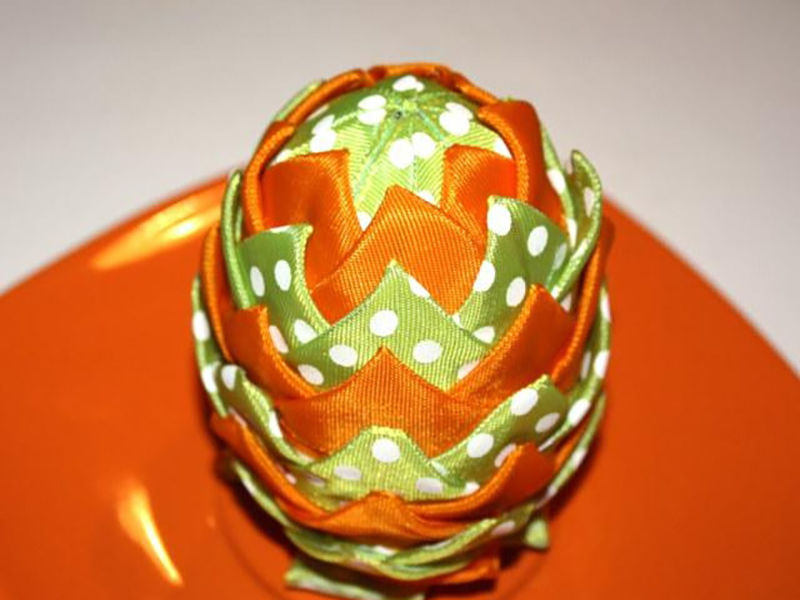
From satin ribbons
It is possible to decorate decorative eggs from dense material with ribbons in an interesting way. All you need to do is:
- fix the edges of the ribbons with tape or hot glue;
- Wrap the workpiece with tape, fixing the ends at the bottom. Press the strips tightly together, avoiding gaps between them;
- glue pieces of double-sided tape on the sides, to which the decorative elements should be attached on the back. Also, double-sided tape will prevent the ribbon from shifting.

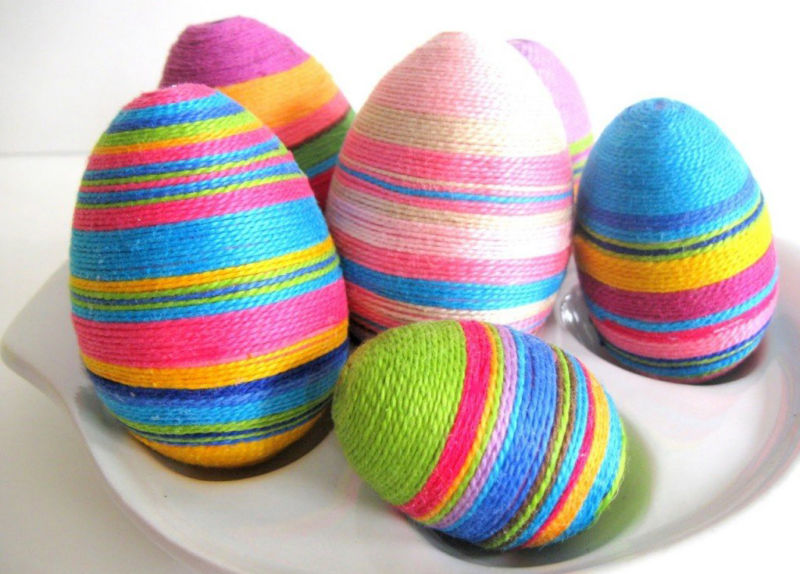
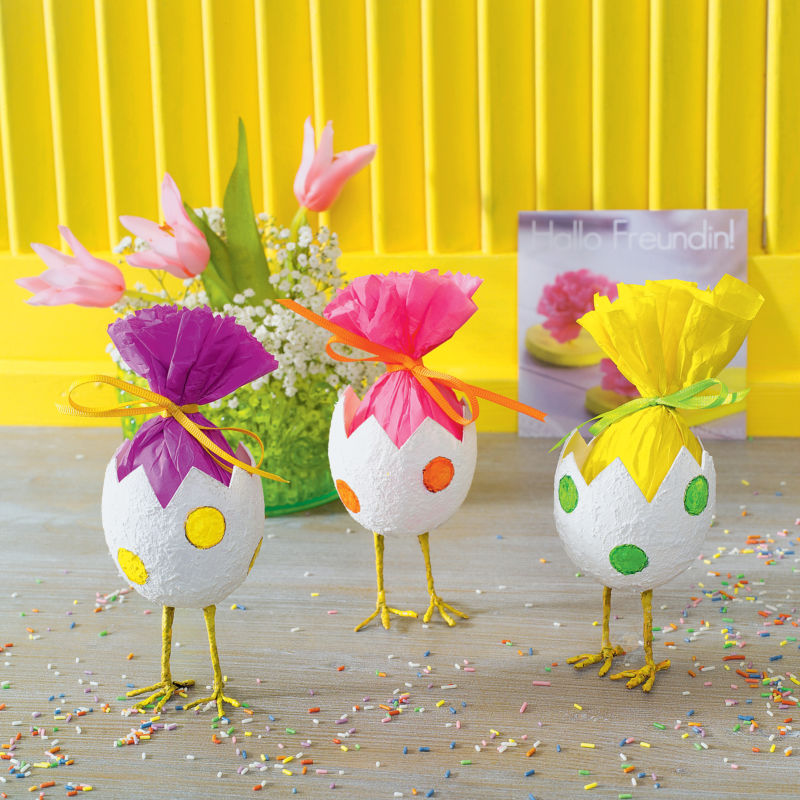
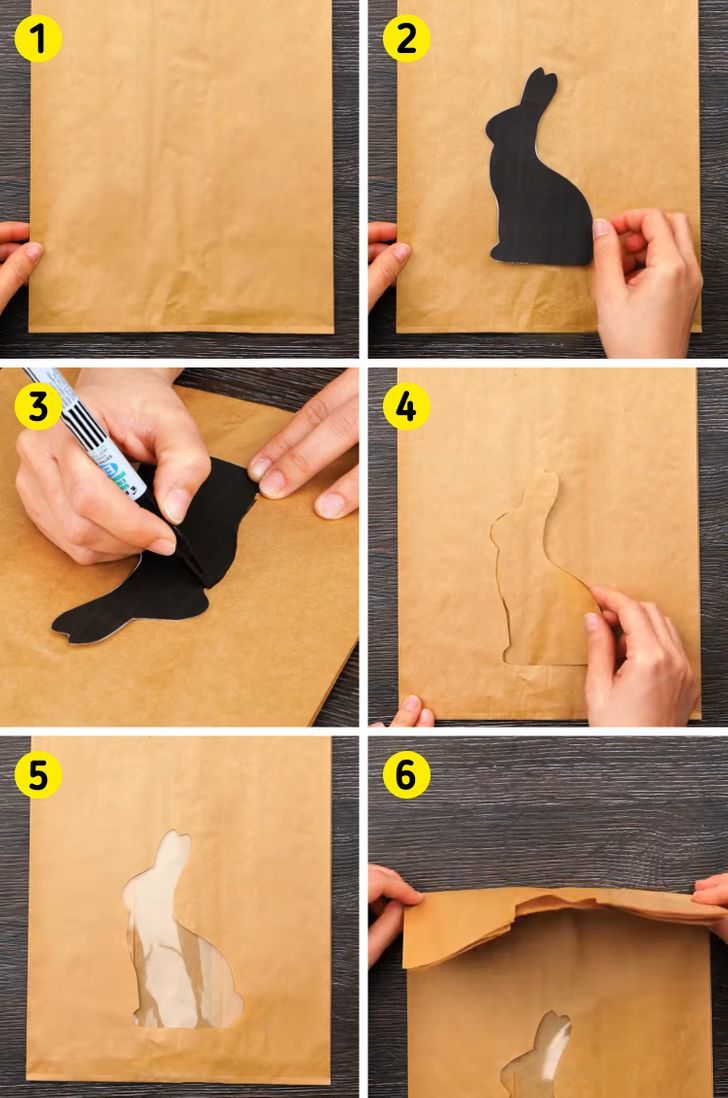
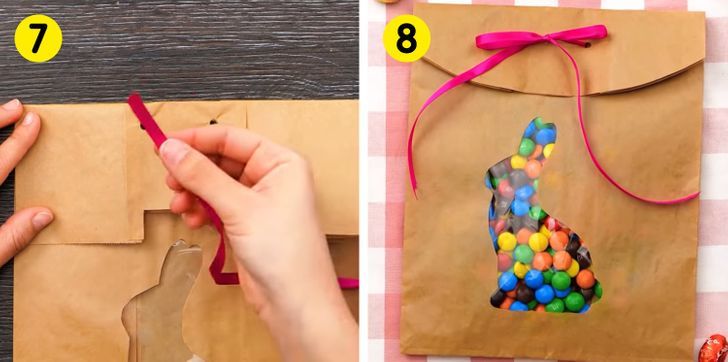
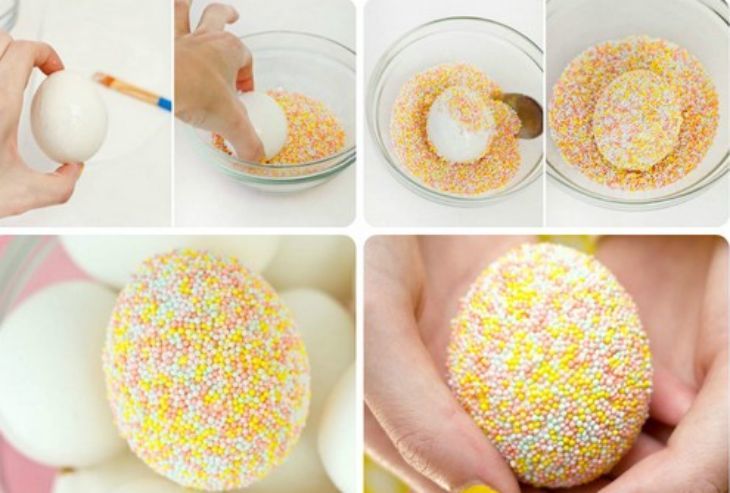
From the threads
In such a cute applique you can put anything: a chick, candy, etc. This handicraft can be made with the help of: thread, PVA glue and a balloon.
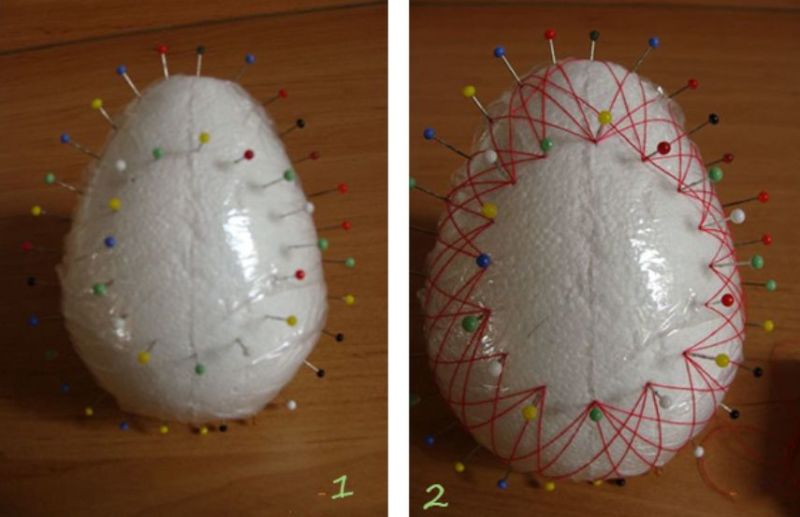
To make it you need:
- Inflate the balloon and tightly tie the tail;
- Wrap the threads around the balloon, all layers should be abundantly drenched with glue;
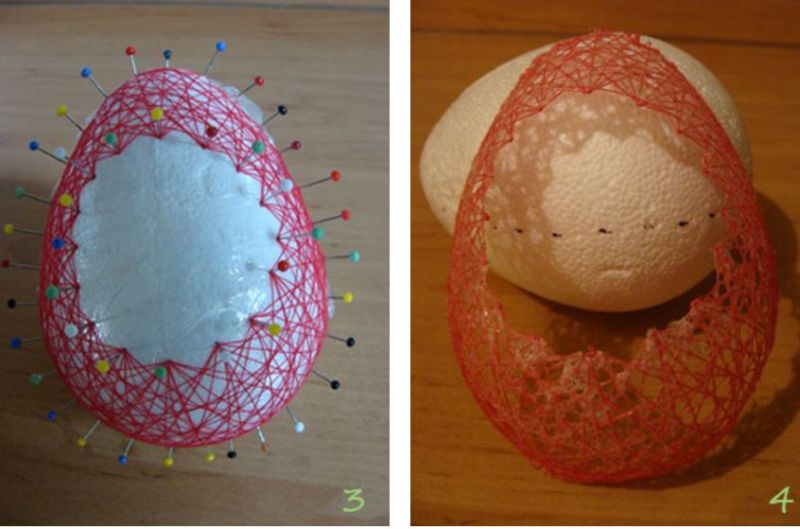
- Leave until the glue dries and burst the balloon;
- Cut the resulting egg from the threads just above the middle;
- glue on the inner circumference of one of the halves of the rim;
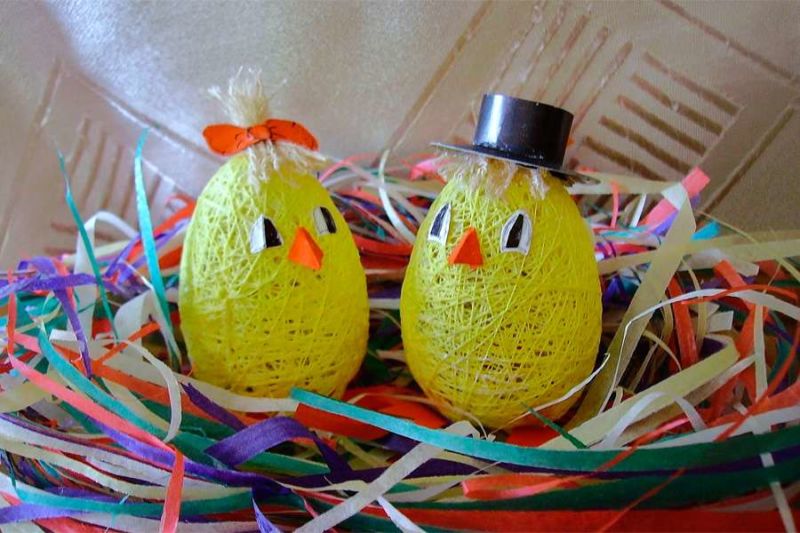
- Close the product as a casket and proceed to decorate.
The decorations can be whatever you like.
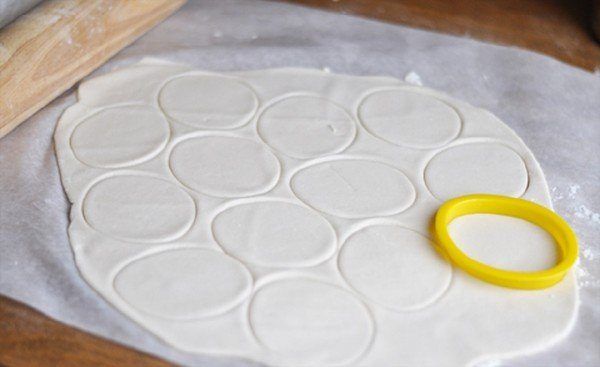
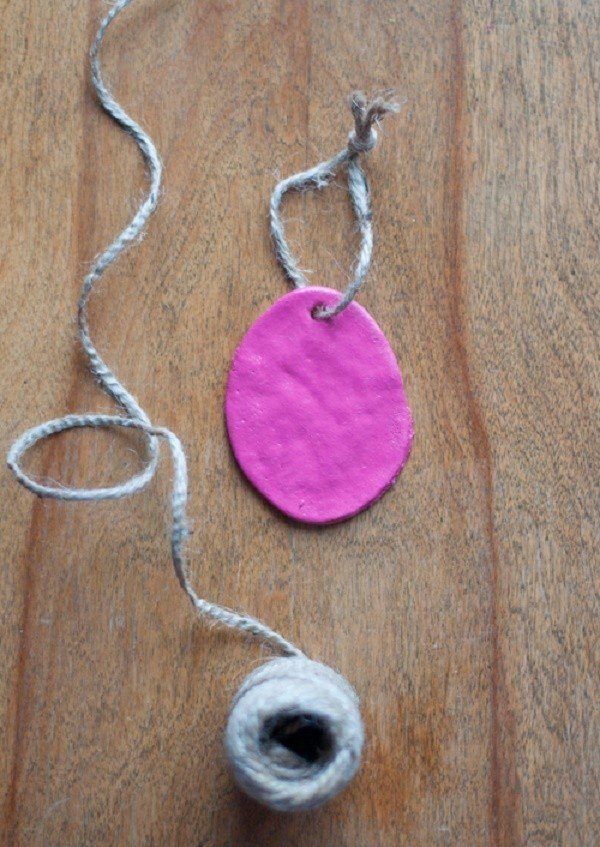
Made of dough
This kind of craft can be a great treat for the Easter table. For it you need to knead a puff pastry (base) of the following ingredients:
- 1 tbsp. flour;
- 1 tbsp. salt.
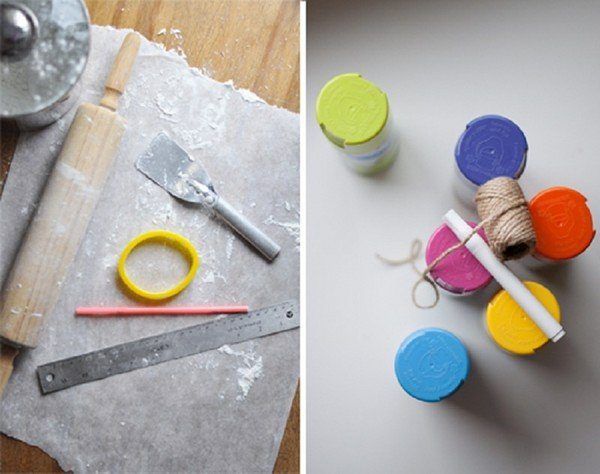
Making:
- In the base you need to introduce five tablespoons of vegetable oil;
- Gradually add flour (about 1 cup), kneading at the same time, until you obtain an elastic and soft dough;
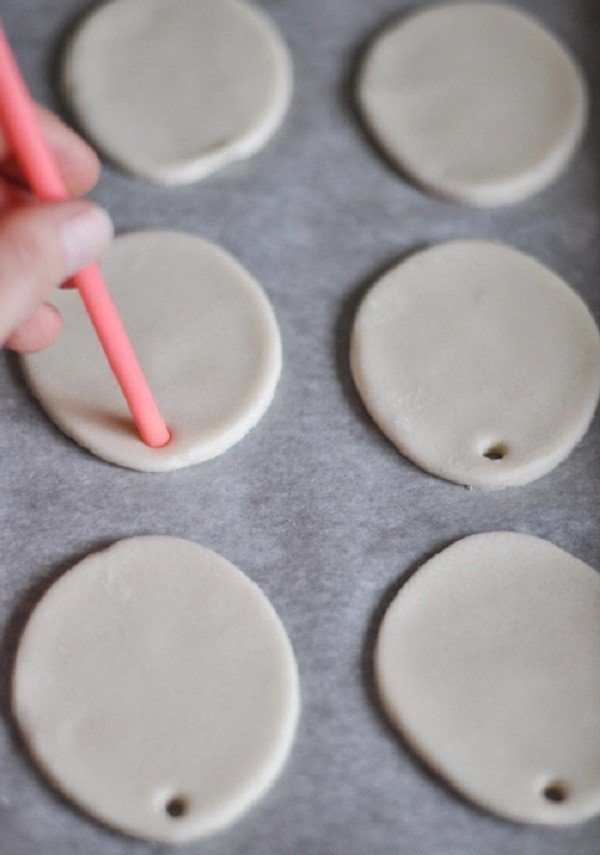
- Shape the dough into an egg;
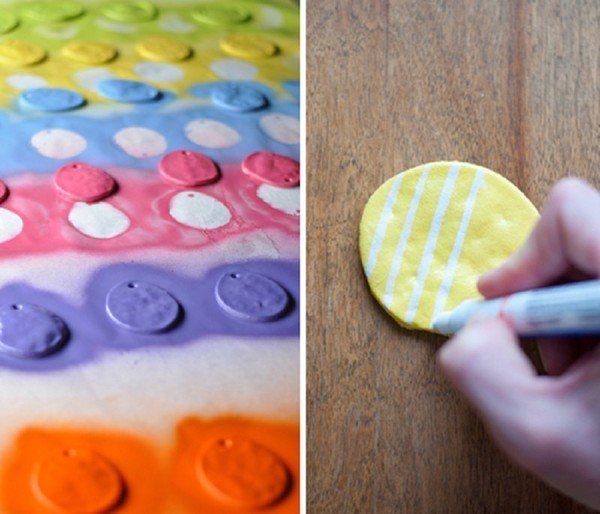
- dry about one day in the sun or four hours in a slightly heated oven;
- dye the dough with food coloring.
As you can see from this article, crafts for the important Christian holiday can be made from a variety of materials. There are many options for any age group of needleworkers.
It is only necessary to show imagination, to make efforts and have a desire, then the Holy Resurrection of Christ can be held according to all traditions, with the presence of symbolic attributes and treats.
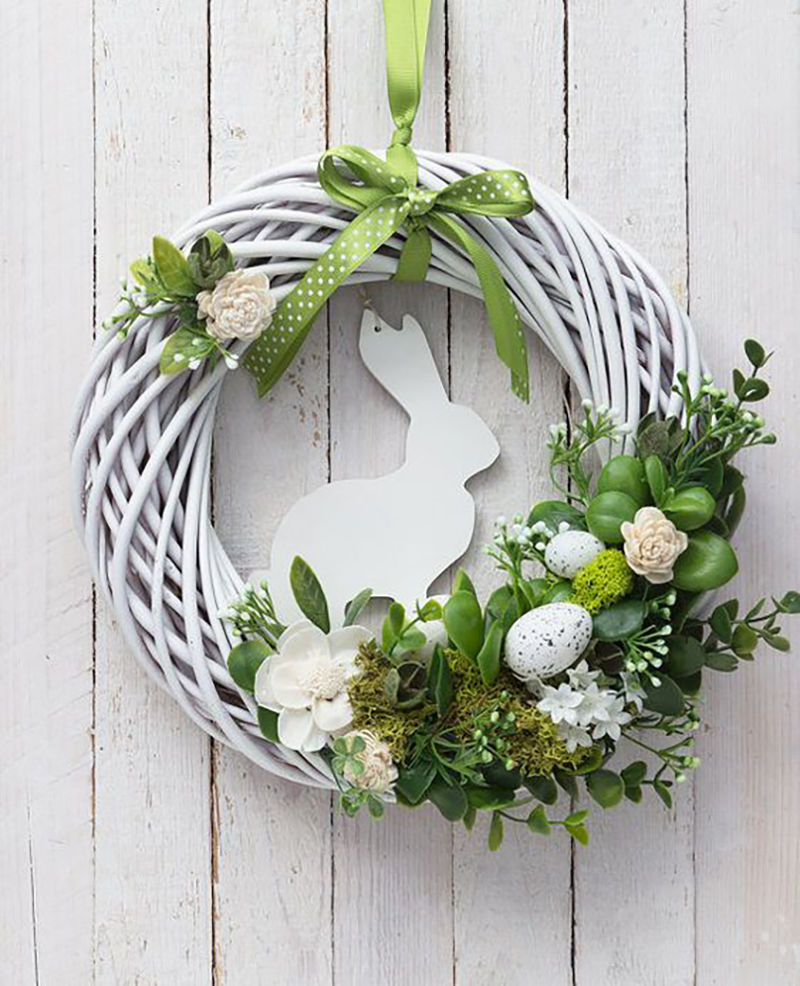
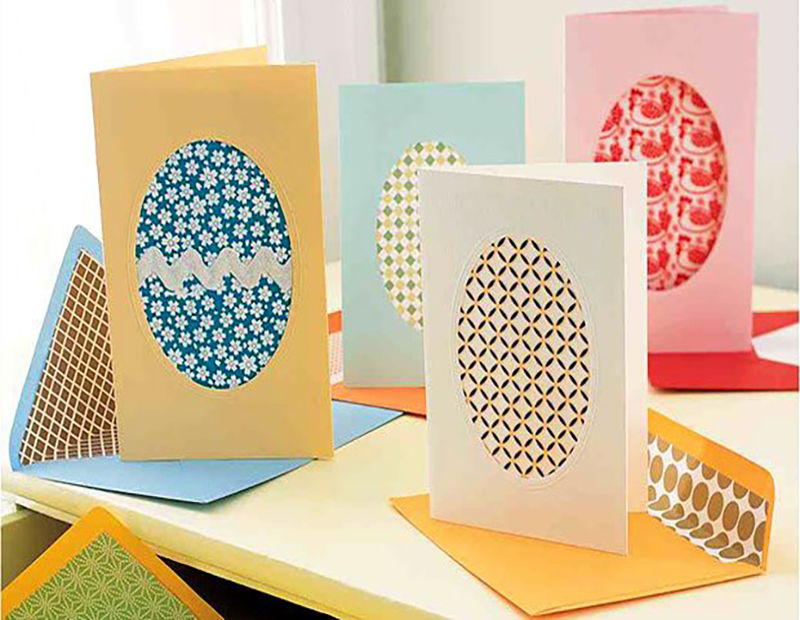
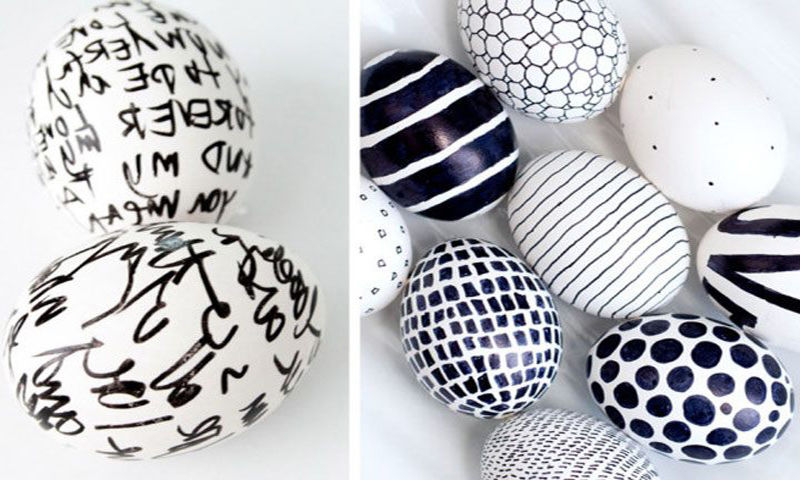
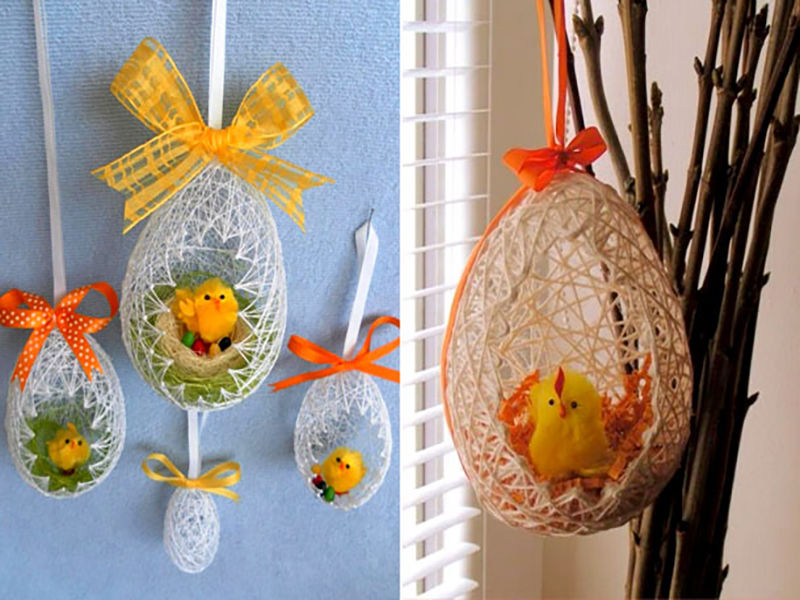
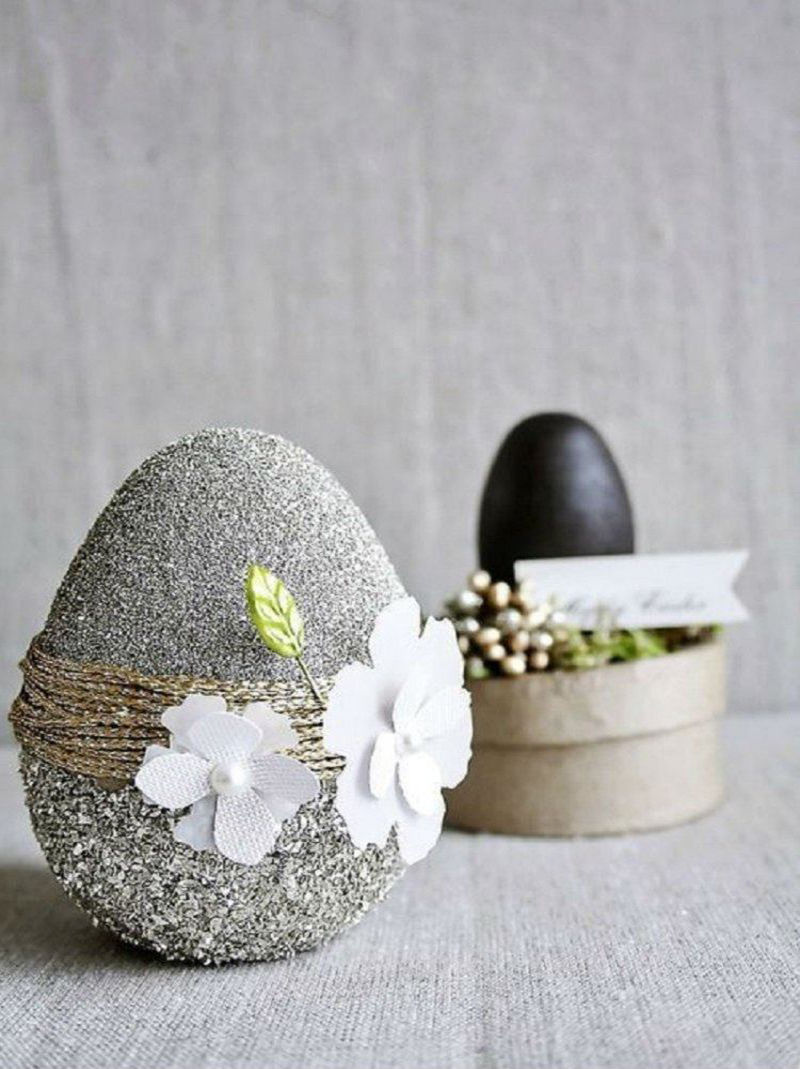
Photo of crafts for Easter