Toothpick crafts with their own hands - the best original ideas and simple master classes for children
Every day we use household items, not thinking how wide the scope of their application is: matches, cotton disks, caps, bottles and even light bulbs - all this can be safely used in creative activities.
One of the universal tools at hand to create a creative product is a toothpick. However, do not be reckless to think that this object is easy to handle. Working with it requires enormous patience, assiduity and thoroughness.

Individuals with creative thinking, able to see the potential in the simplest thing at first glance, have the opportunity to make an unusual handicraft to decorate the home interior or a gift to a loved one.

Handicrafts immerse the brain in work, while unloading the psyche and bringing the creator into a state of harmony and balance. In addition, this way of spending leisure time will help bring people together united by this entertaining friendly pastime.
What can you make with toothpicks?
- Practical decorative elements: boxes, boxes, vases, Christmas decorations, doll houses, earrings and beads.
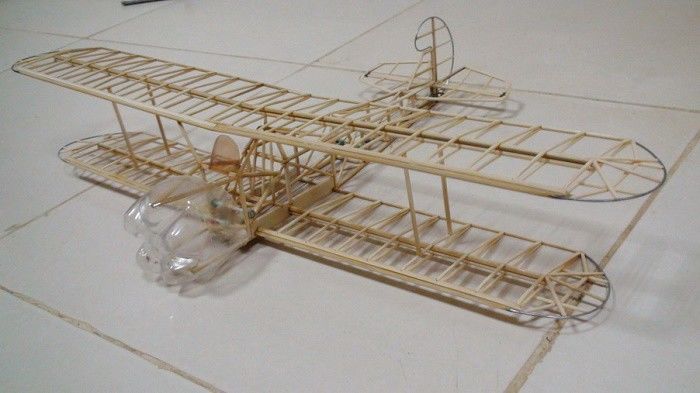
- Unusual figures: flowers, umbrellas, small animal toys, 3D constructor.
Toothpick crafts for children
It is especially useful for children to create intricate products. By doing this, they develop fine motor skills, neatness, discipline, responsibility, abstract thinking, and creativity.
By inviting your child to make any of the crafts listed below, you'll not only provide a fun journey into the world of fantasy, but you can also later decorate the house with a touching and unique creation.
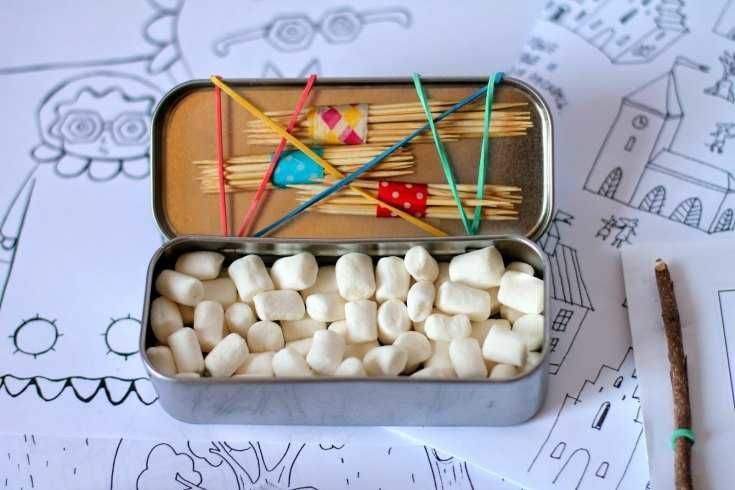
Toothpick and plasticine crafts
For the following crafts, we will need only two things:
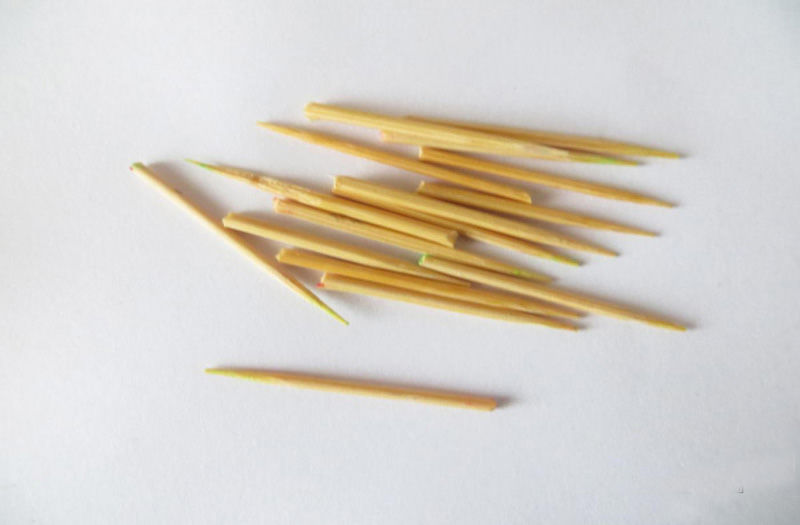
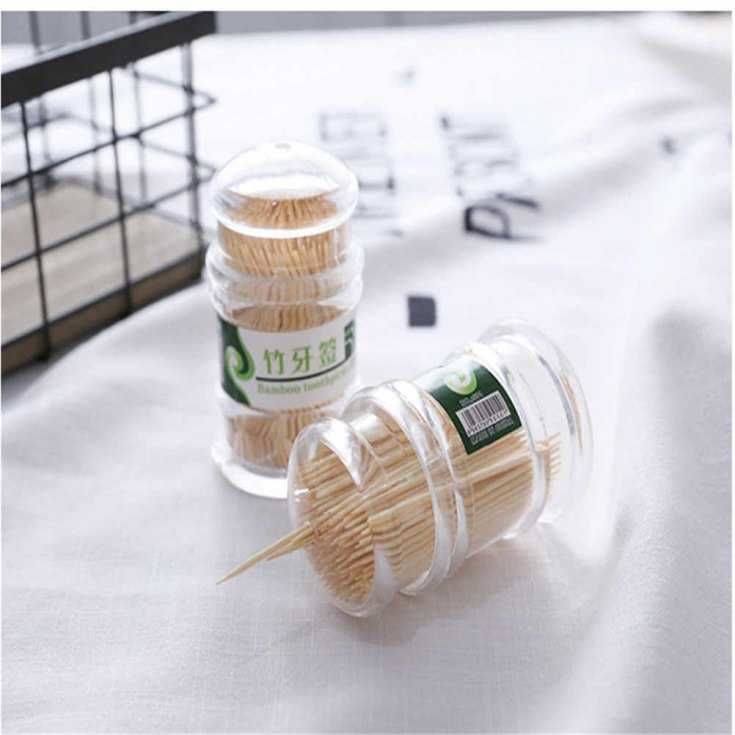
- Toothpicks .
- Plasticine
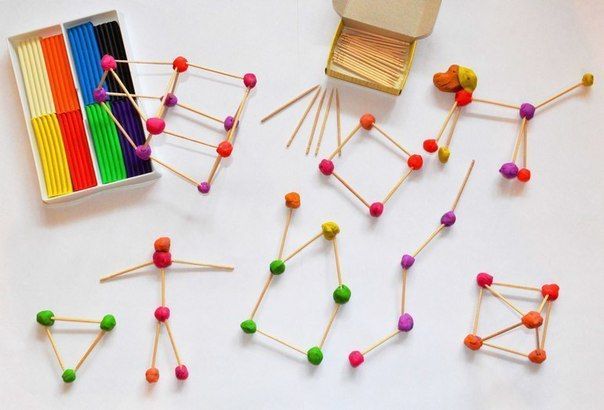
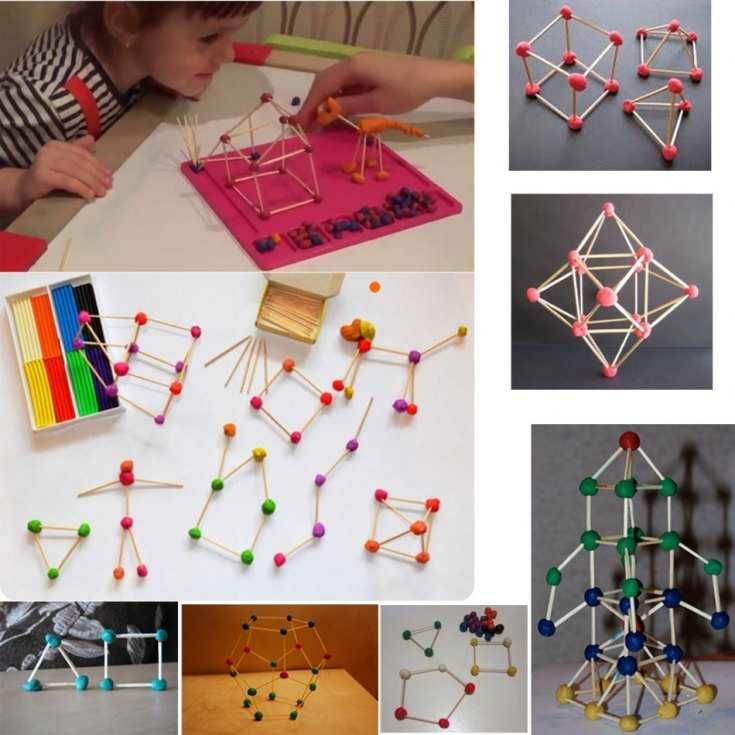
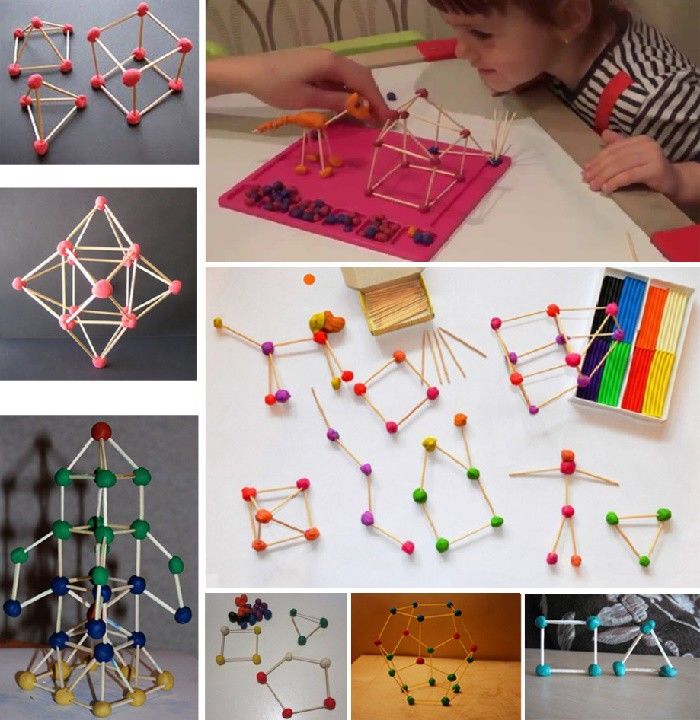
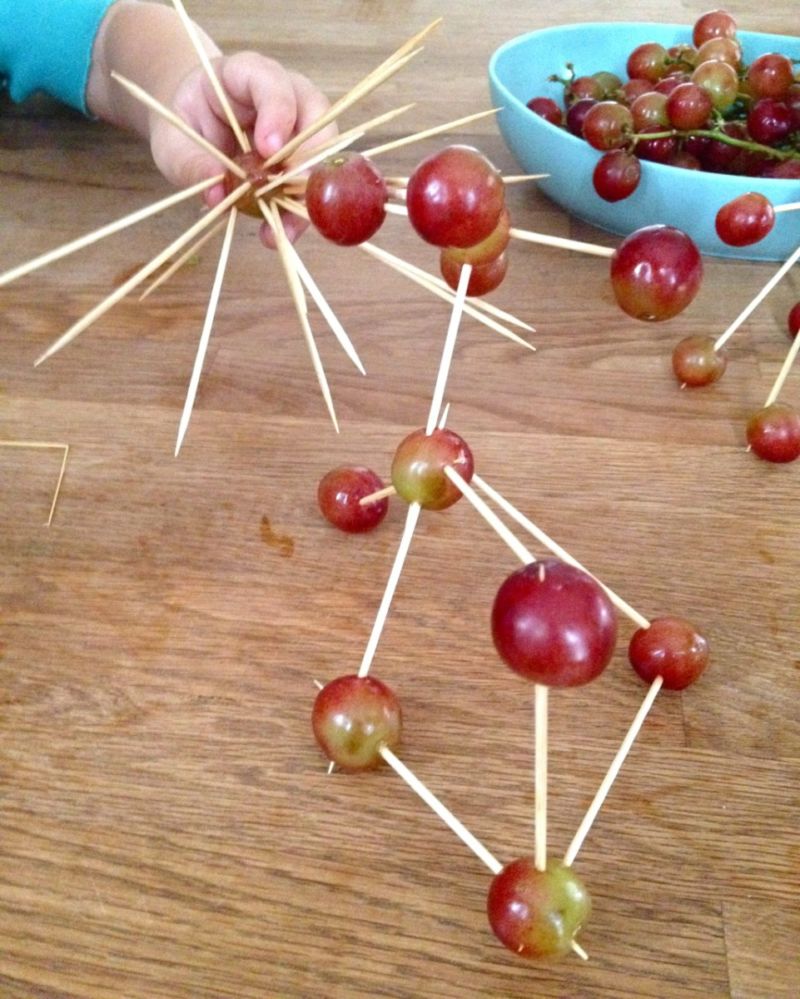
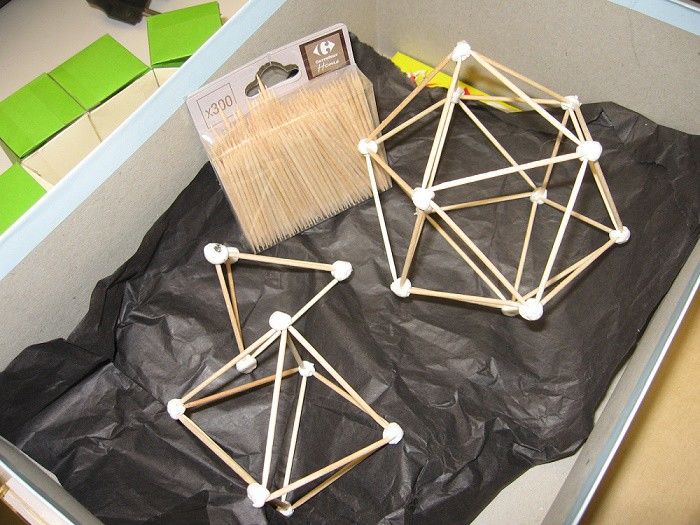
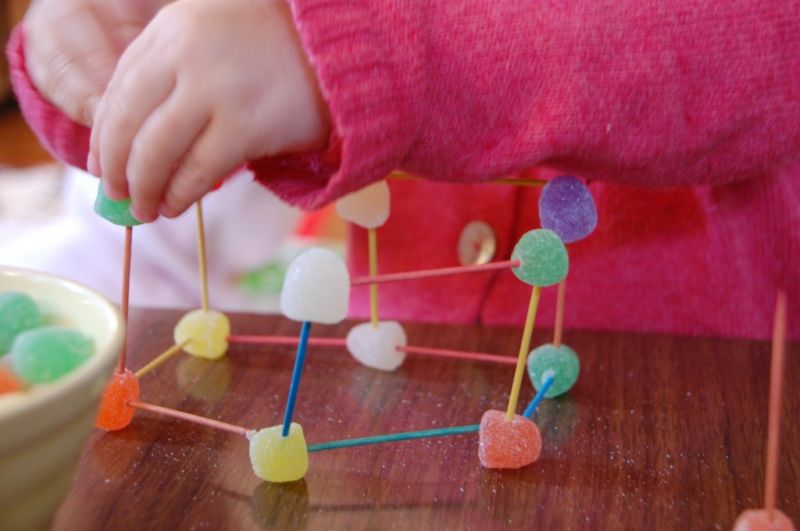
3D models
These figures are some of the easiest to make. It is best to start by asking your child to make these, and then gradually move on to more complex ones.
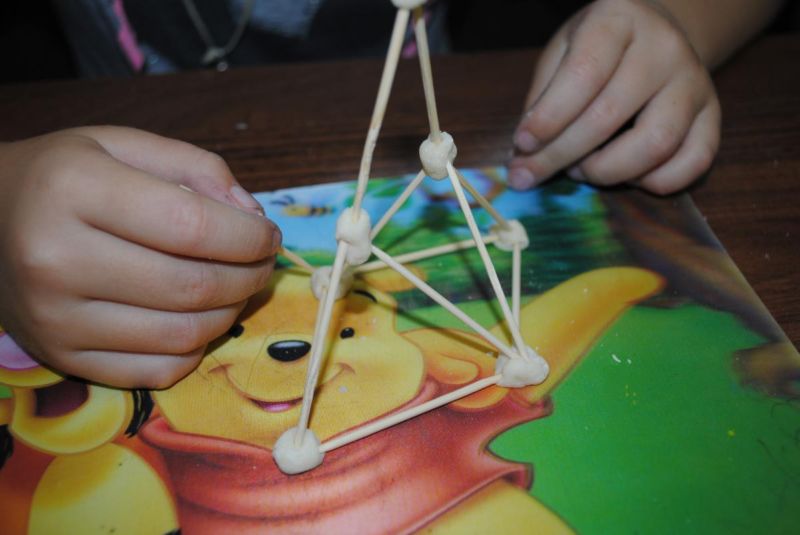
- Roll several small plasticine balls (the more the better).
- Use toothpicks to connect the plasticine lumps together. Learn different geometric shapes: cube, rhombus, triangle, and so on. Use your imagination! Thanks to this uncomplicated technique, you can build original objects: stars, little people, houses, suns, and more.
The beauty of the process is that toothpick crafts without glue will not make the kid get dirty, so the workplace will remain neat even after the most chaotic and energetic creative activity!
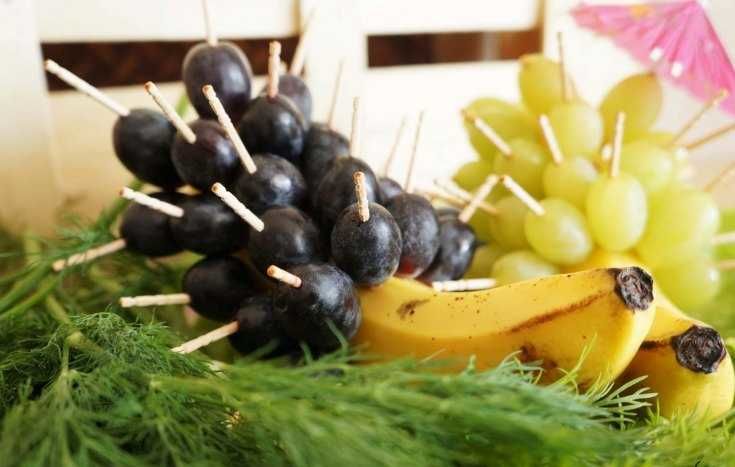
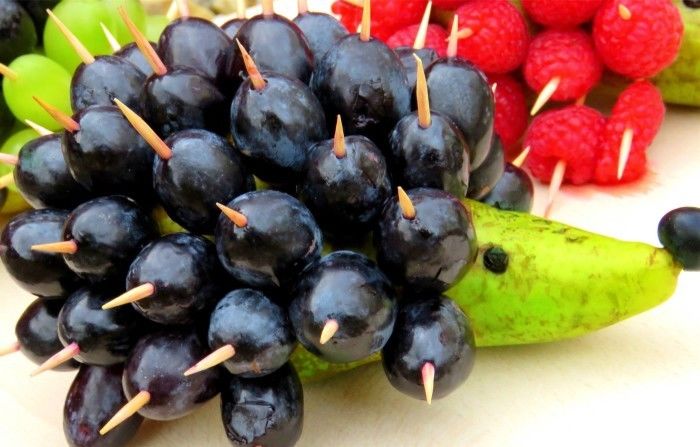
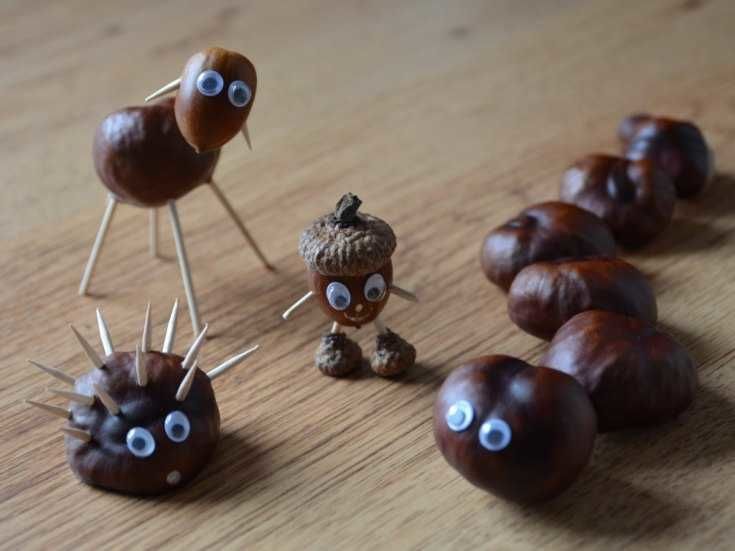
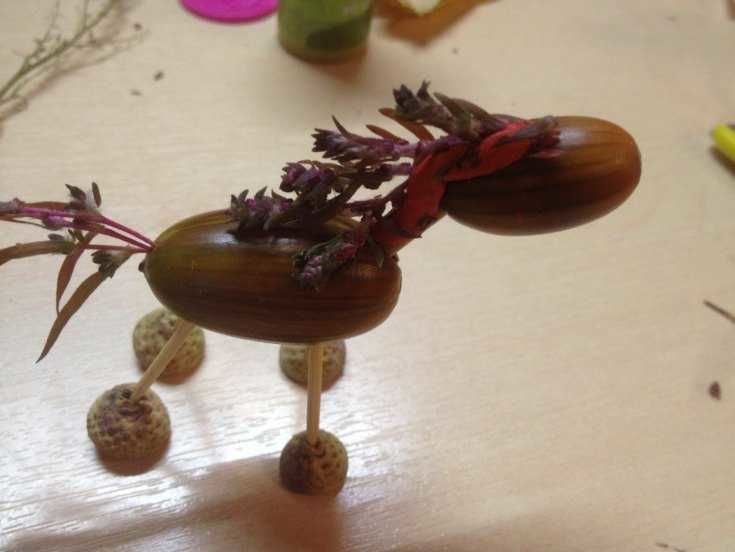
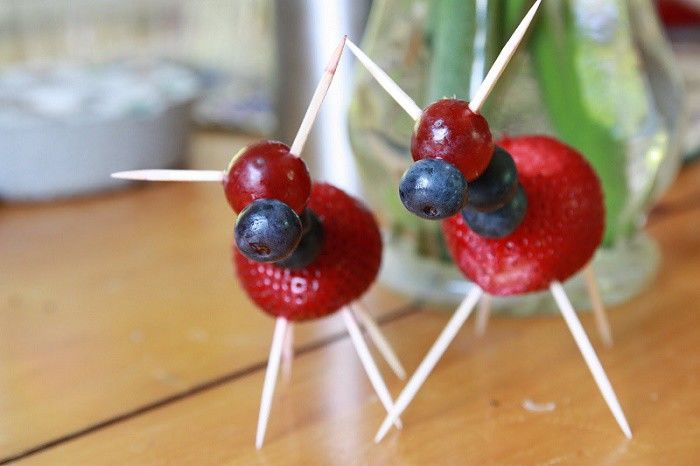
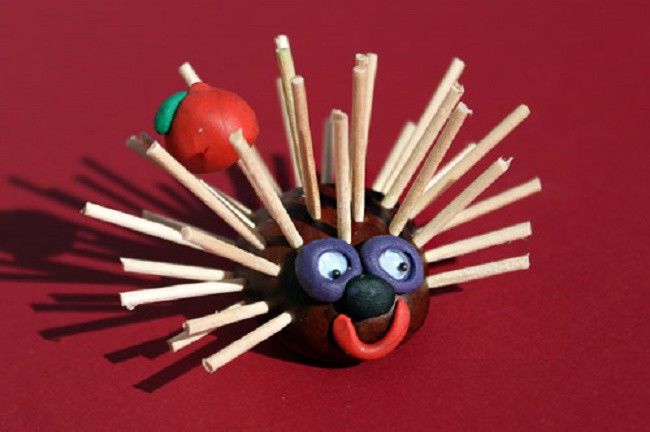
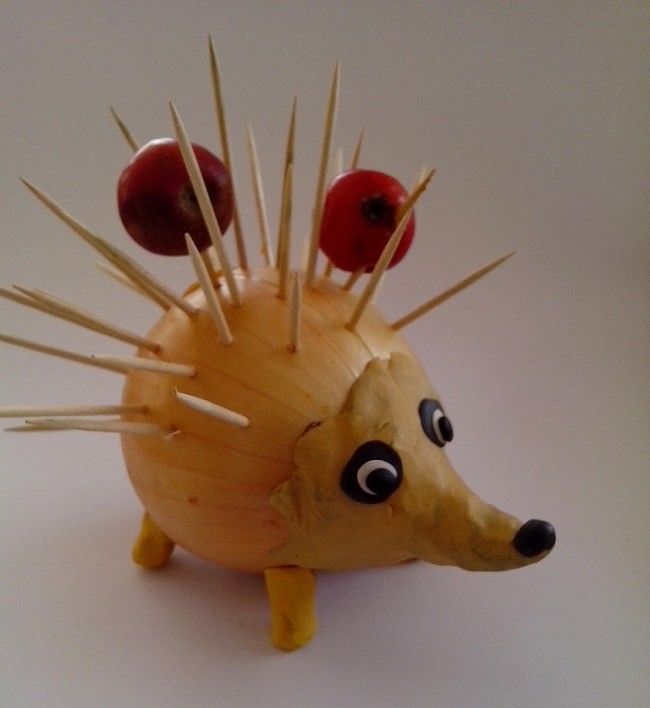
Hedgehog
It is more interesting to work when the result is not just an inanimate object of decor, but also a friend in the form of a funny little animal.
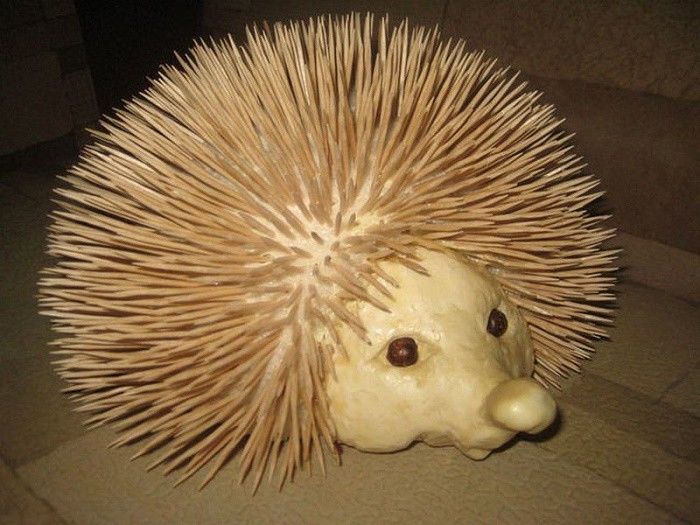
How to make?
- Warm up the plasticine, rubbing it with your hands for a while.
- When the material becomes more malleable, make a medium sized ball. This is the body of the hedgehog. Attach to the body slightly oblong ovals of the same color - feet.
- Make and attach to the body oblong face of the animal. Free flight of fancy: eyes, nose color, even a smile.
- Stuck in the body of a hedgehog toothpicks. The thickness of covering the body of the "needles" - at your discretion.
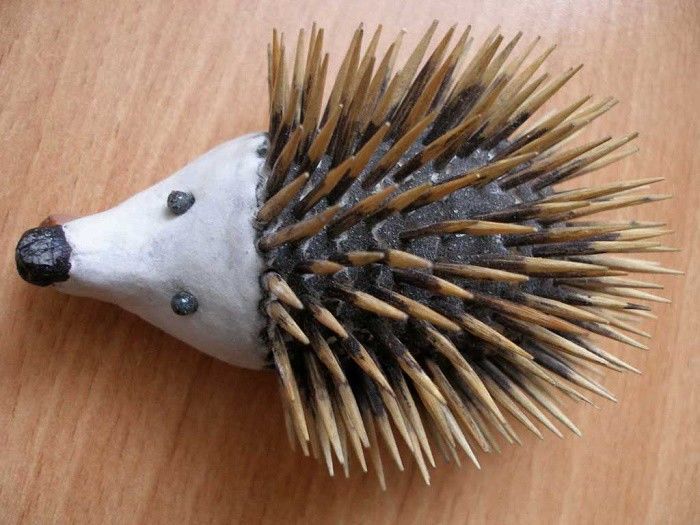
It's done! Now the animal with a cute face will adorn your shelf and delight the child's eye.
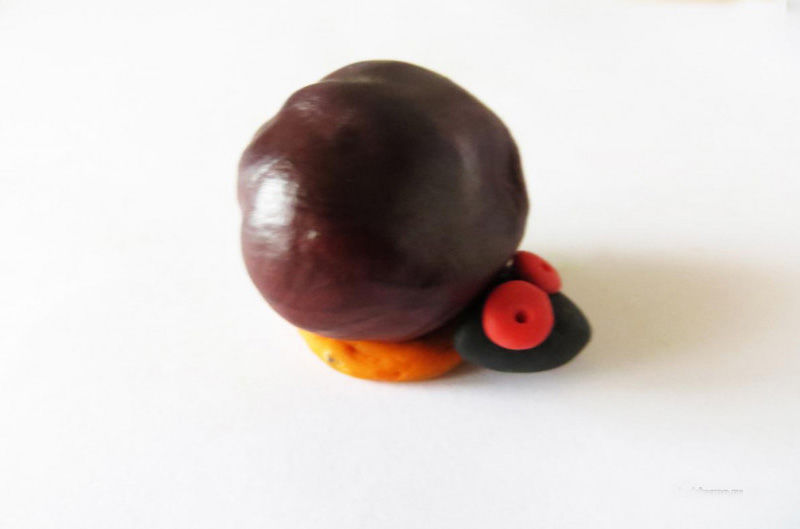
Spider
A handicraft for the bravest kids!
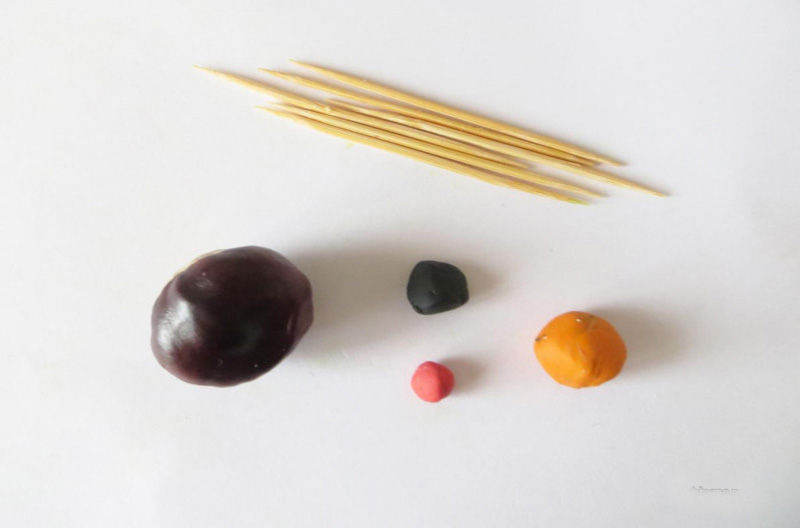
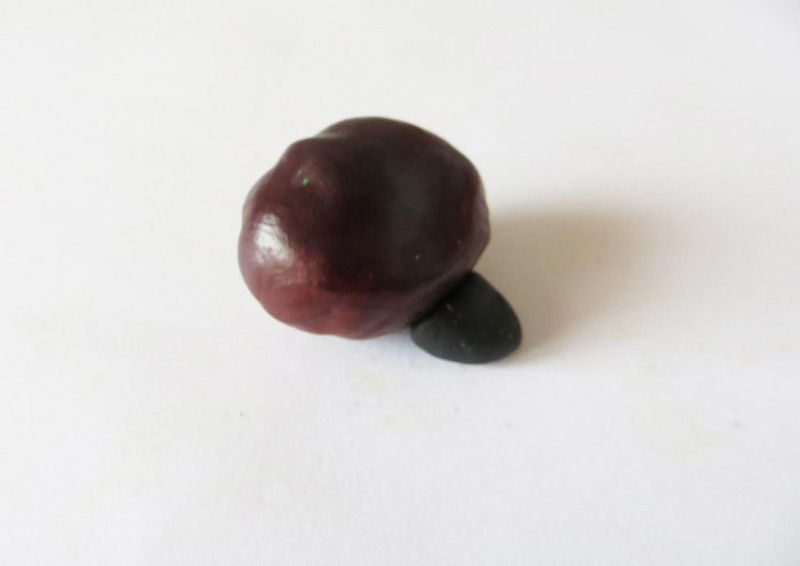
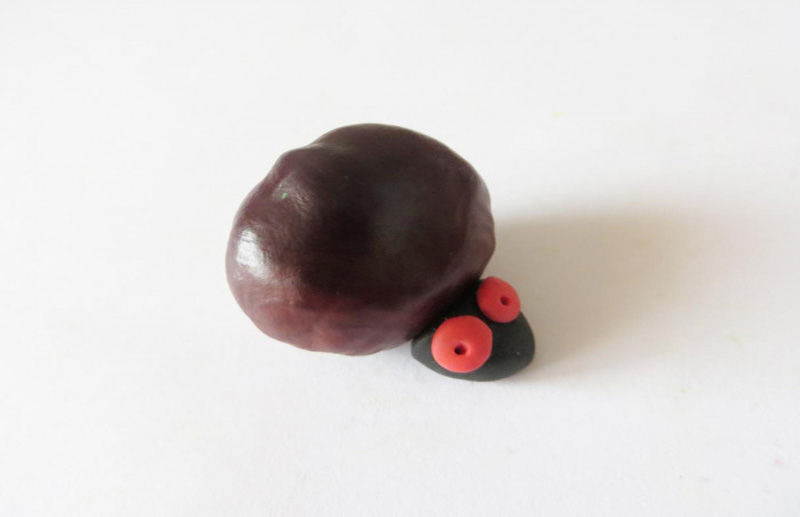
- Roll the round body of a spider. Glue a smaller ball to it - the head. Make either realistic black beady eyes, or more unusual good-natured eyes, as in the cartoon.
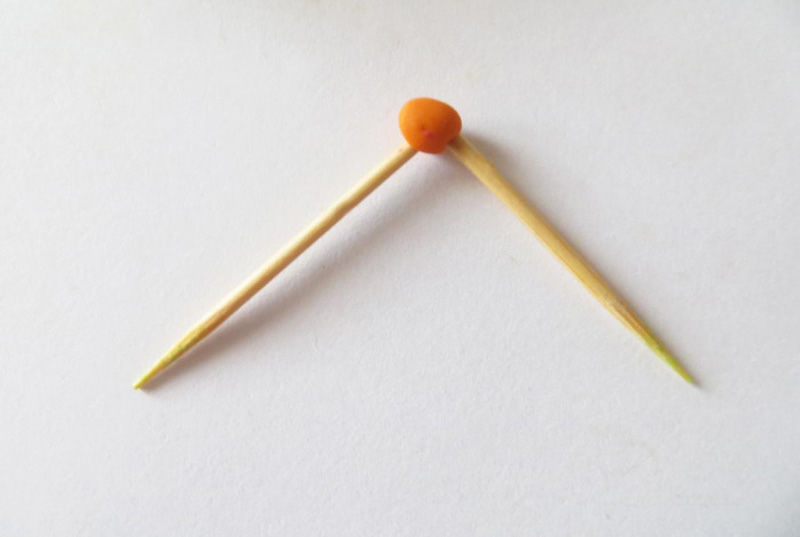
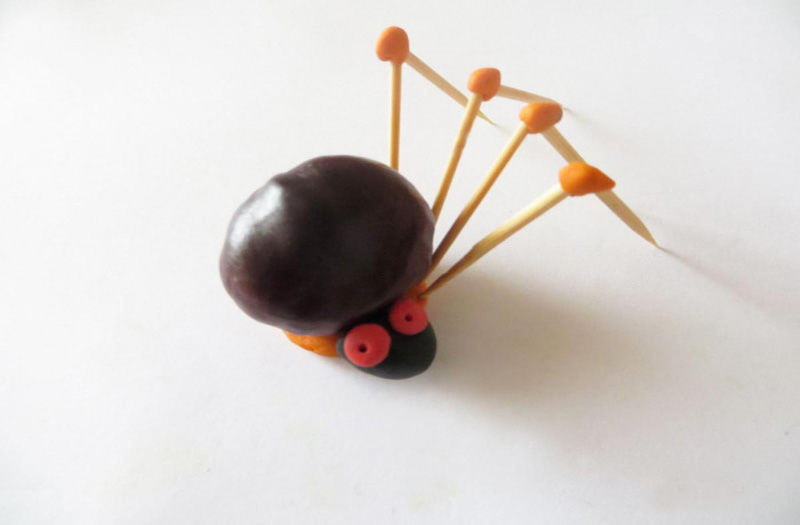
- Insert the first toothpick into the body, attach to its back end a small ball of plasticine and staple to the other toothpick at an angle. Do this manipulation 7 more times. Toothpicks can be painted in black or brown, the color of the legs of the spider.
Voila! After such a wonderful craft, it's hard to be afraid of such charming spider-like creatures.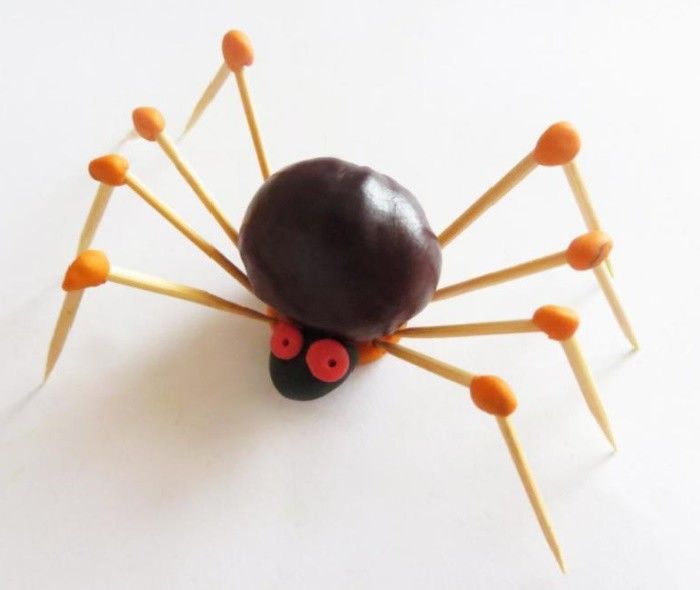
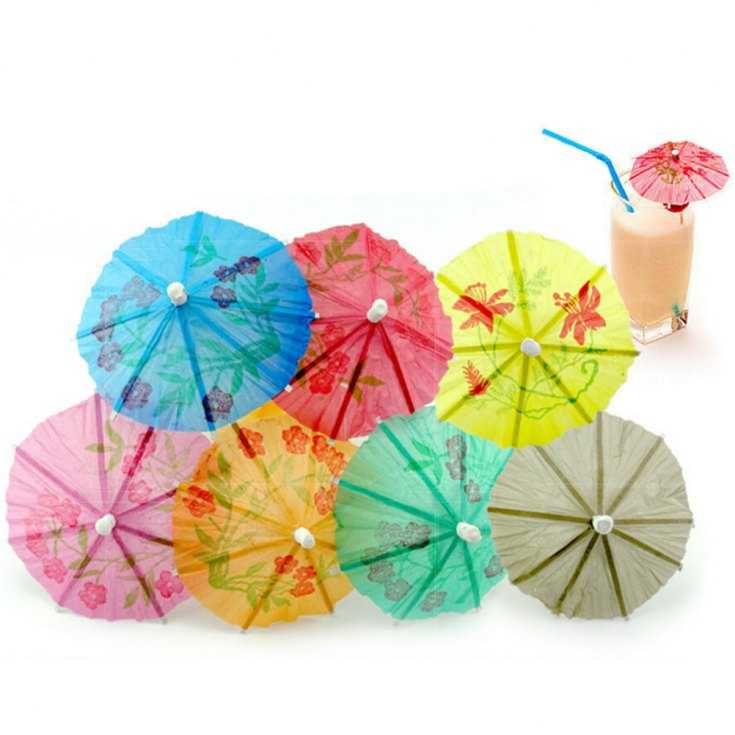
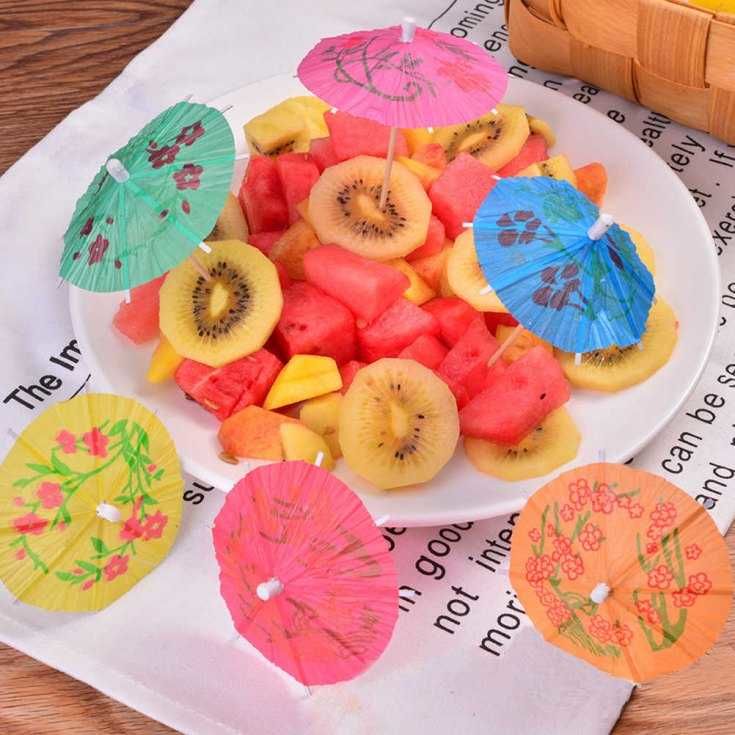
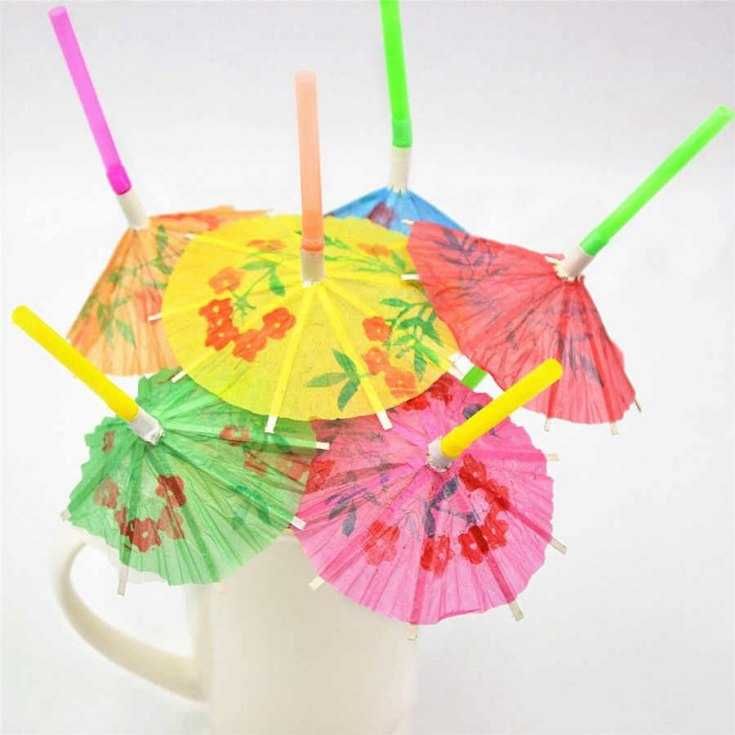
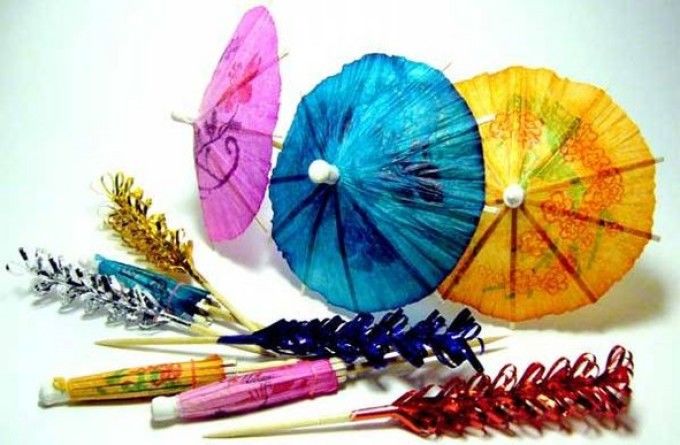
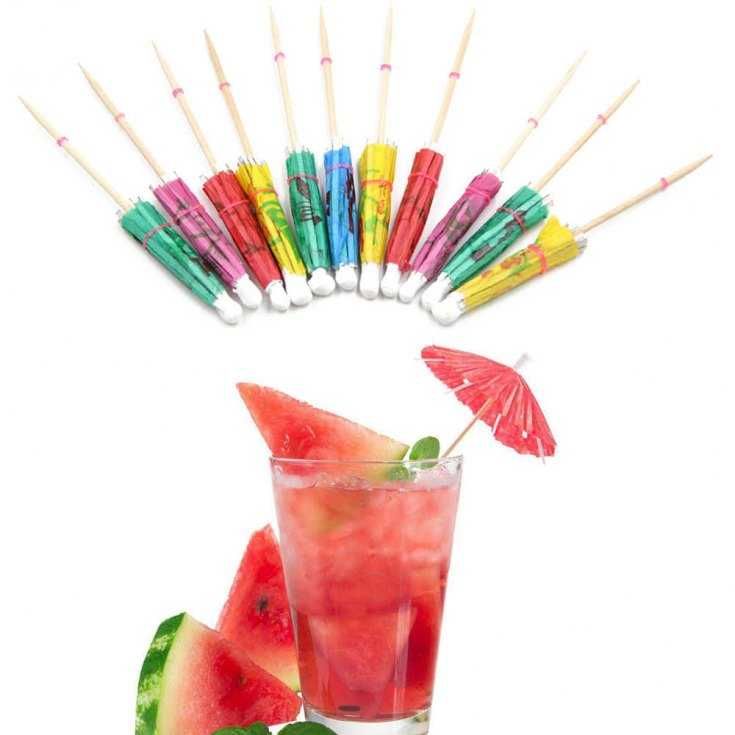
Umbrella
From ordinary toothpicks you can make a small umbrella, which will find its application not only in games with dolls, but also as a decoration of cocktails and dishes at a family dinner.
For this we will need:
- 10 toothpicks
- Corrugated paper
- Scissors
- Glue
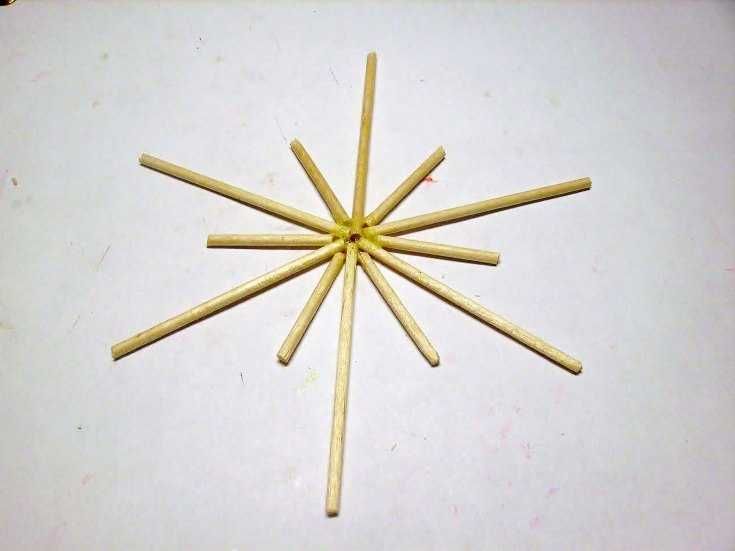
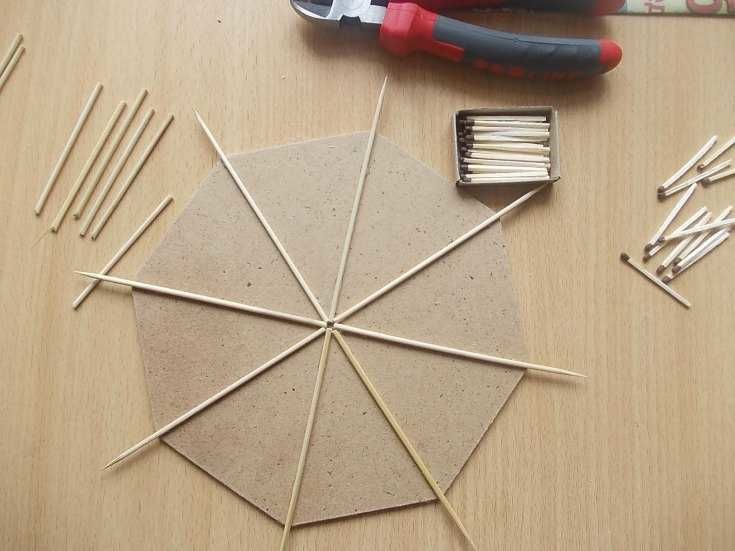
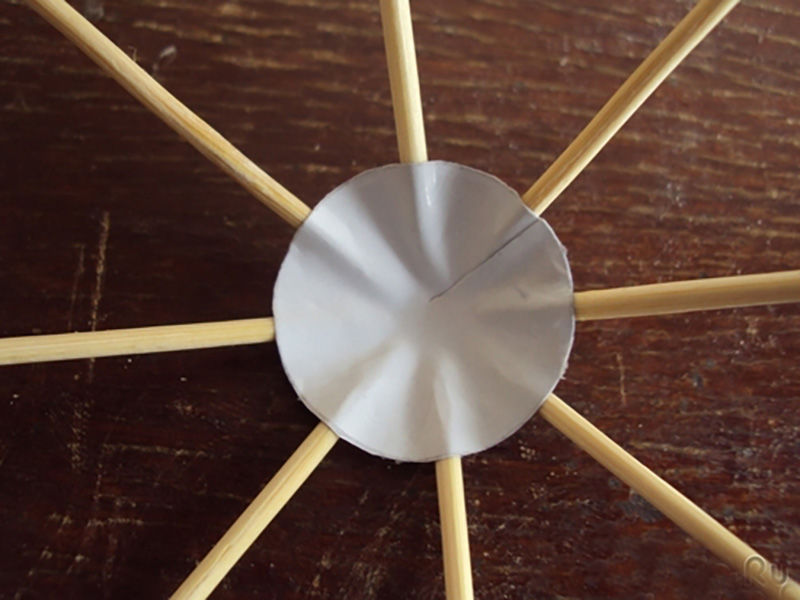
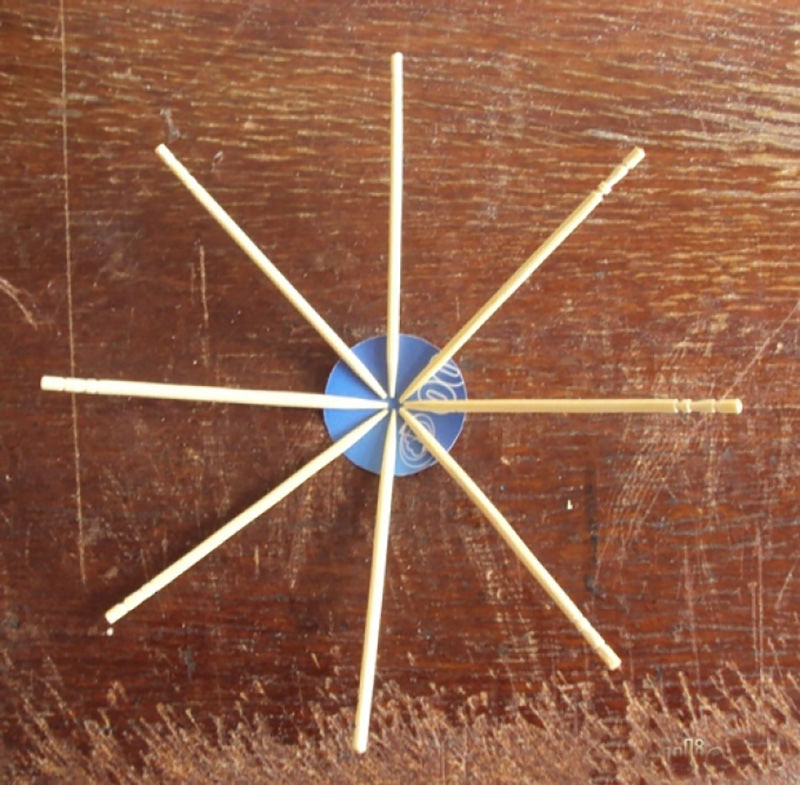
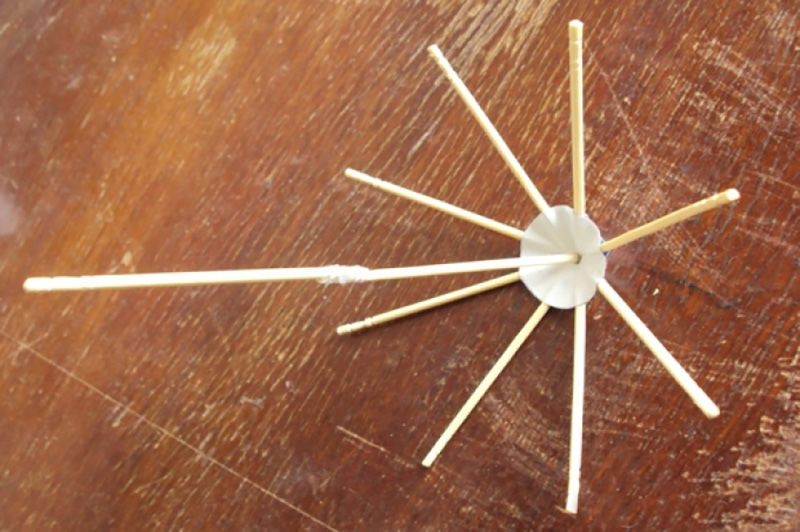
Steps of making:
- From the paper, cut out several identical circles. First one, smear it with glue. On top of it place 8 toothpicks at an equal distance from each other. The second circle, smear it with glue and put it on top, thus fixing the toothpicks between the two paper circles.
- To build a handle for the umbrella, take two toothpicks and connect them to each other with paper, tape or tape.
- Glue or sew around an umbrella fabric.
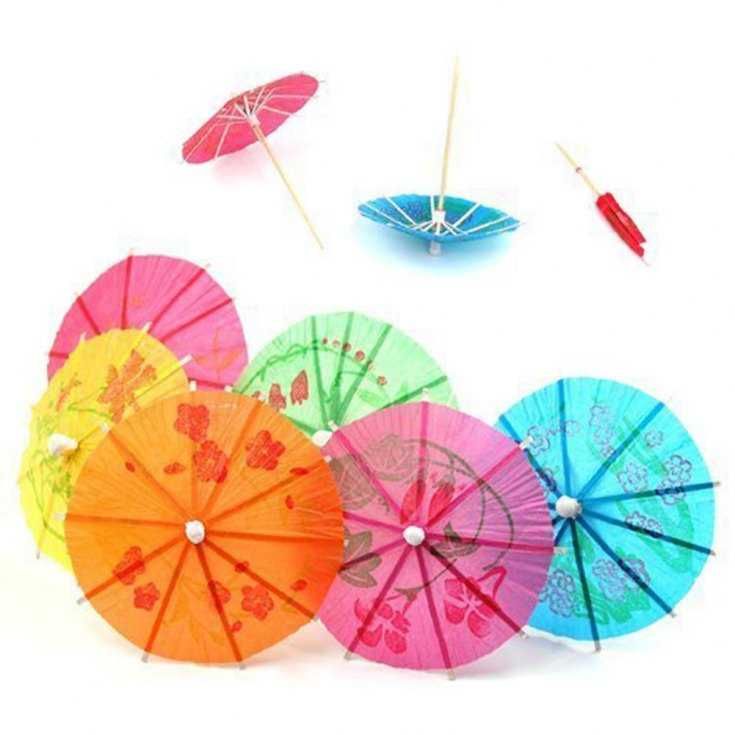
Done! Miniature umbrella is ready to charge you and others with positive energy. You can cover the product with sequins, beads and beads for more beauty.

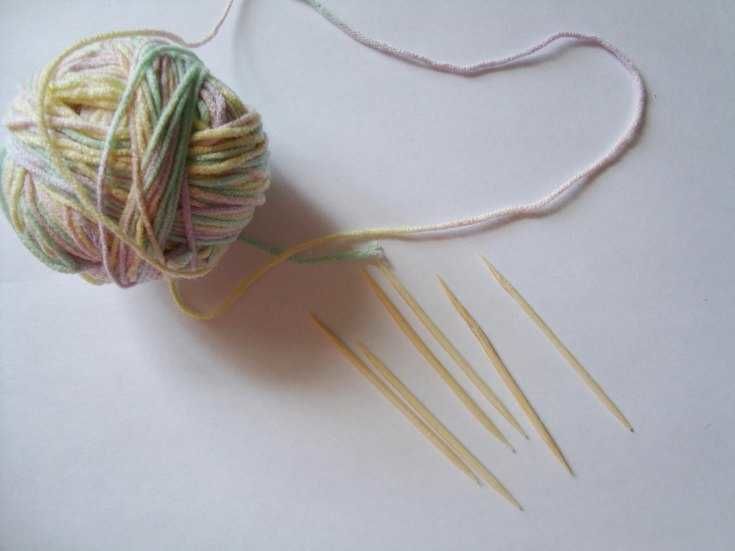
Toothpick and thread crafts
Many people will be surprised to learn how many different crafts you can do with toothpicks and ordinary thread. This process can even involve children. After all, they will definitely be interested in the process of making crafts.
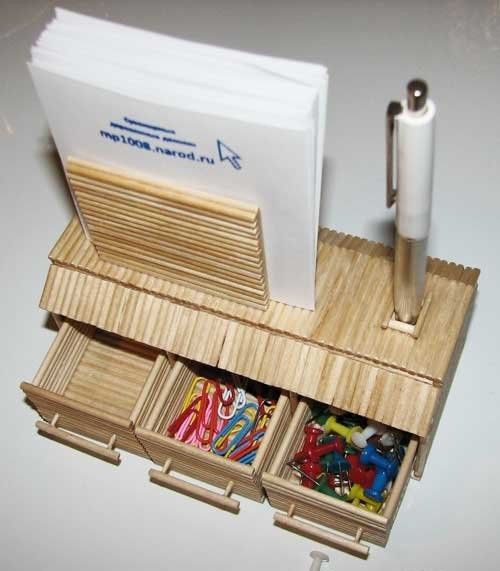
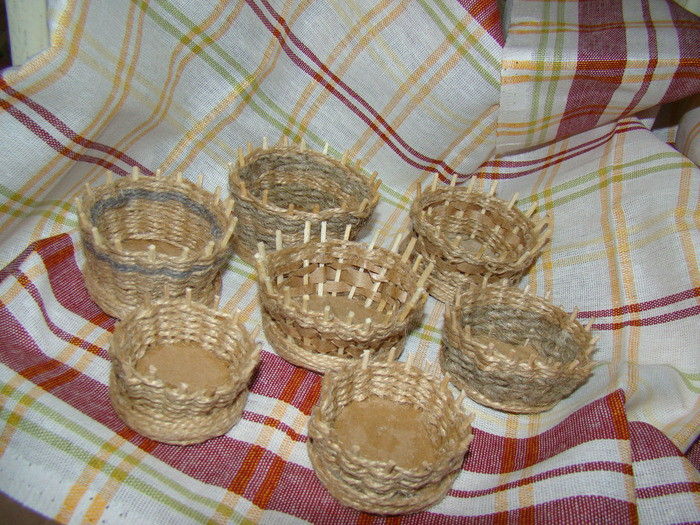
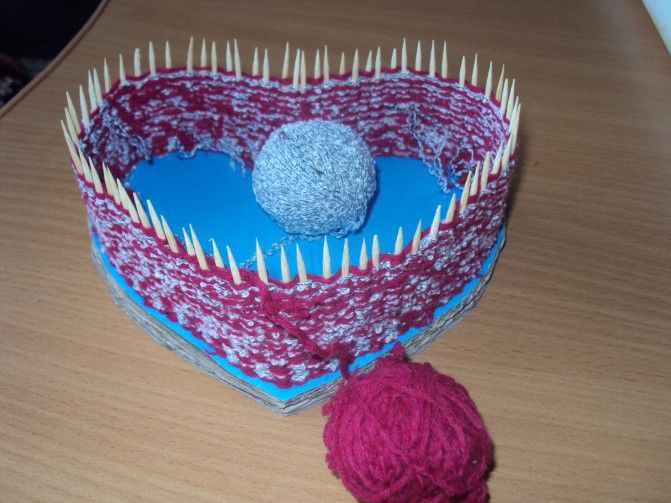
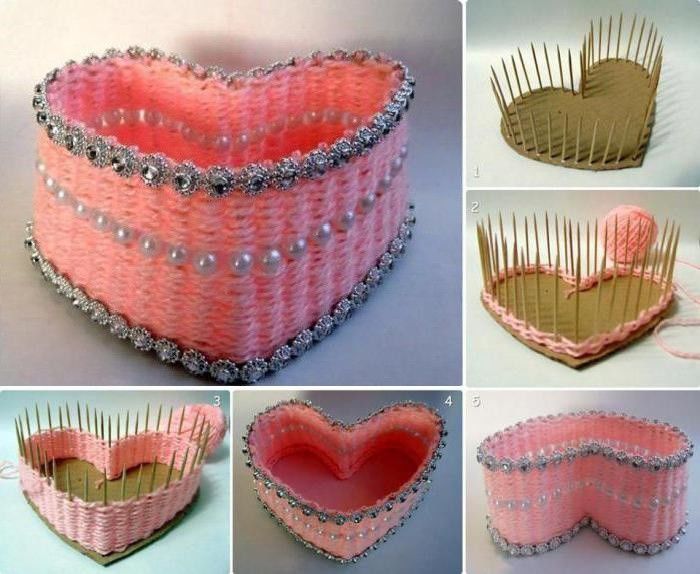
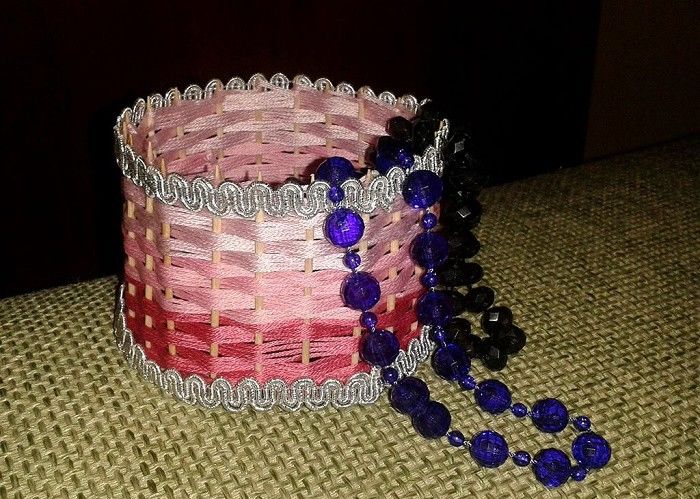
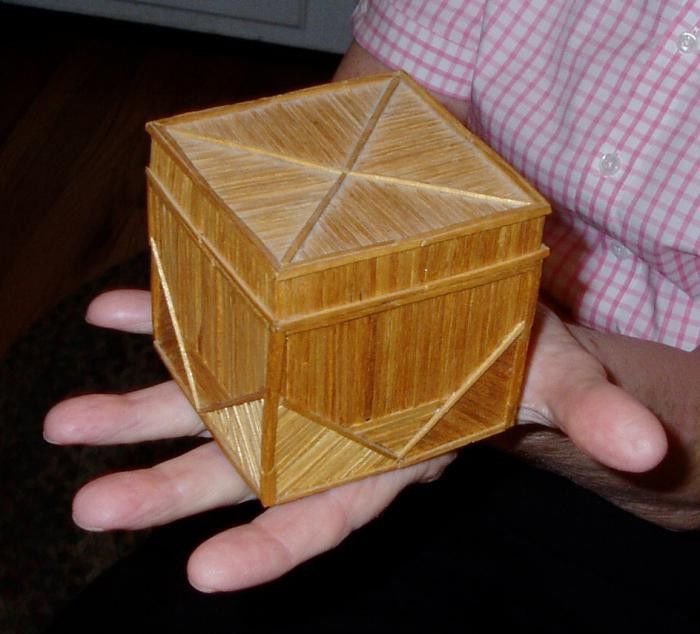
Box
A neat, miniature casket will transform an interior with its elegance and ennoble any environment, making it incredibly pleasant and cozy.
What to use?
- Heavy cardboard
- Thread
- Toothpicks
- Scissors
- Glue
- Compasses
- Needle or awl
- Decorative jewelry: beads, beads, lace ribbons, etc.
The process of making step by step:
- With a compass, draw a circle on heavy cardboard.
- Use scissors to cut out the bottom of your jewelry box.
- Beforehand, smear the ends of the toothpicks with glue to strengthen the construction, insert them into the cardboard along the contour at an equal distance from each other (about 1 cm). Holes for the toothpicks can be made with a needle or an awl.
- Attach the end of the thread to one of the toothpicks. Weave the thread through the wooden elements, moving in a spiral, and fix with glue.
- When you reach the height of the middle, you can glue decorative ornaments on the toothpicks.
- Continue the thread all the way to the top, leaving the small ends of the toothpicks. Glue up the thread and cut it off.
- Coat the ends of the wooden sticks with glue and place beads or beads on them for an aesthetic look.
- Decorate the jewelry box with an elegant lid. Cut out another circle from heavy cardboard and glue it to your product.
- Decorate the upper part in any way you like: attach a lace ribbon, use stickers, beads, you can even glue small photos. The main thing is to make the box pleasant to look at first of all you.
That's it! An absolutely individual and unique handcraft will amaze your guests and fully delight you!
Christmas toy
You can decorate your Christmas tree with homemade toys. You do not have to buy them in a store.
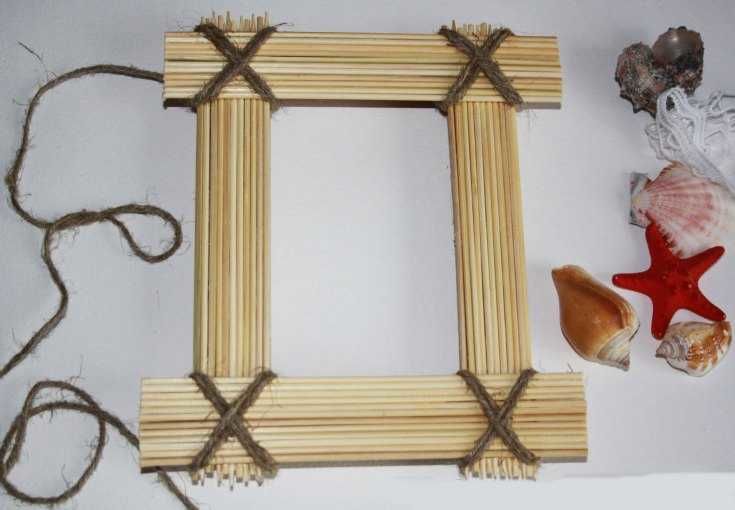
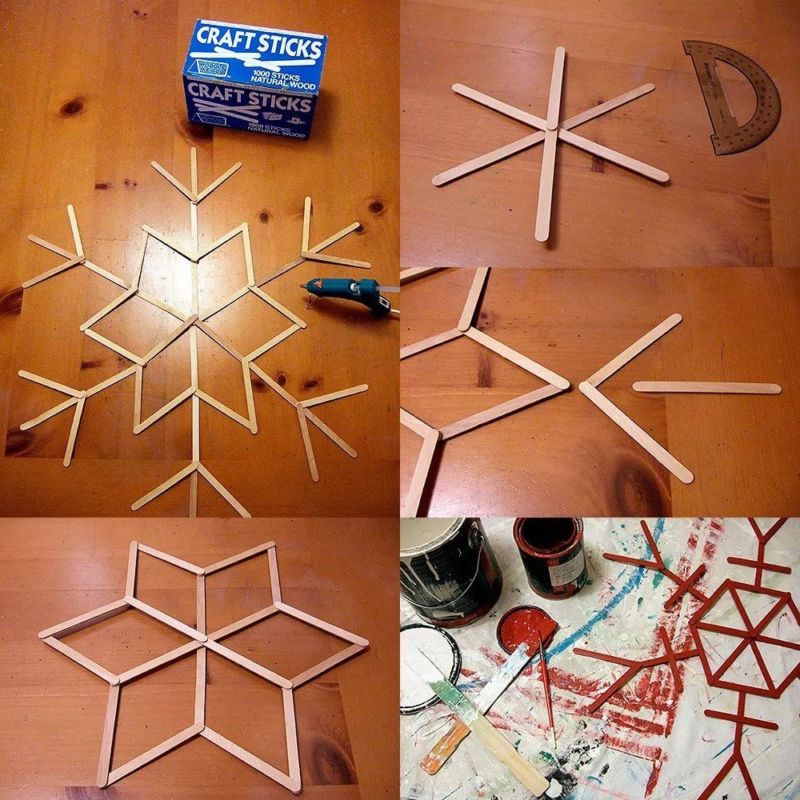
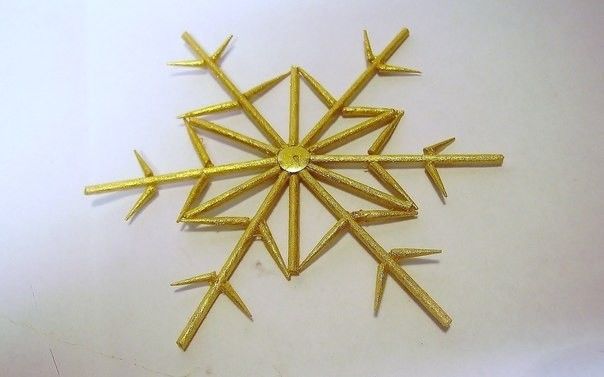
Star
It is always more pleasant to decorate the Christmas tree with toys made by your own hands. Holiday product in the form of a star will advantageously emphasize the splendor of your Christmas tree.
Prepare:
- 8 toothpicks
- Thread
Now you can begin to make:
- Take four toothpicks and make a crate similar to a tic-tac-toe board.
- Do the same with the remaining toothpicks.
- Wrap the corner pieces on each crate with string.
- Place one crate on top of the other, turning them slightly to make an octagonal star shape.
- Secure the resulting shape with threads.
- Wrap a thread around one of the corner pieces and make a loop on top. So you can hang the toy on the tree.
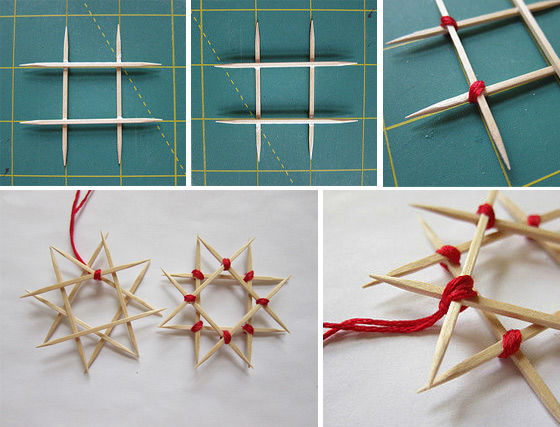
Done! A homemade toy will make any celebration brighter.
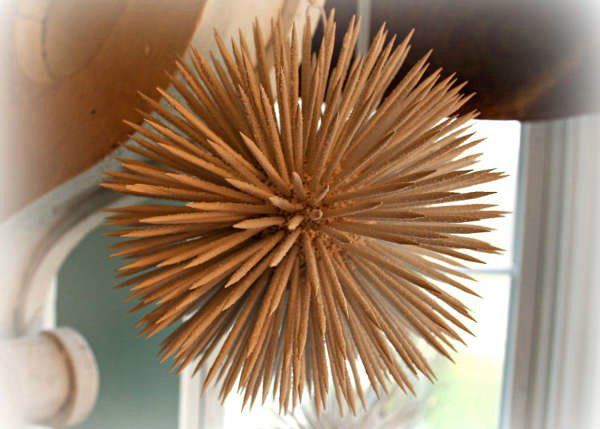
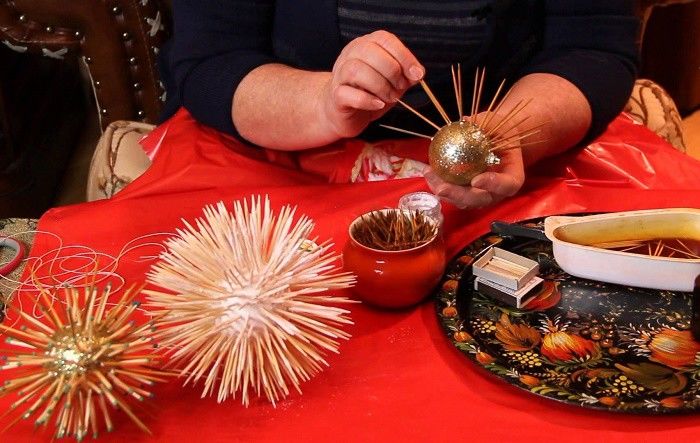
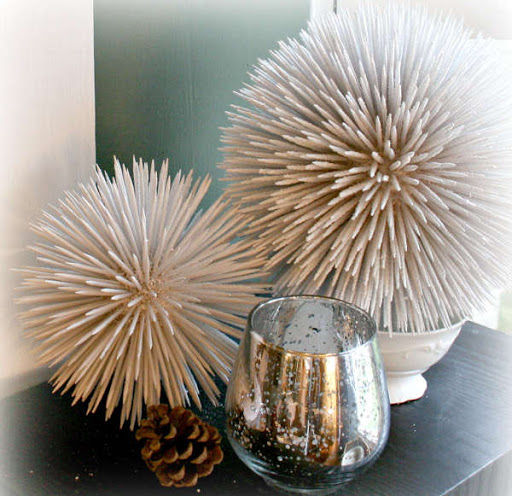
The ball .
There is a second version of the Christmas tree decoration in the form of a charming ball, without which it is difficult to imagine the atmosphere of the holiday.
We need:
- Toothpicks
- Styrofoam spheres
- Paints
- Needle
- Glue

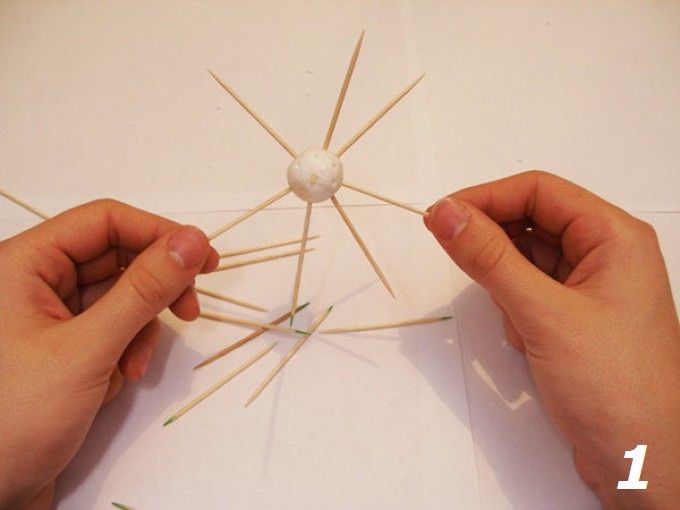
Let's begin to make a craft:
- With a needle, make holes in the foam ball at an equal distance from each other.
- Coat one end of the toothpicks with glue and insert them into the holes made. Try to place the toothpicks at a small distance from each other, lining them up at an equal height. This way the ball will look much neater.
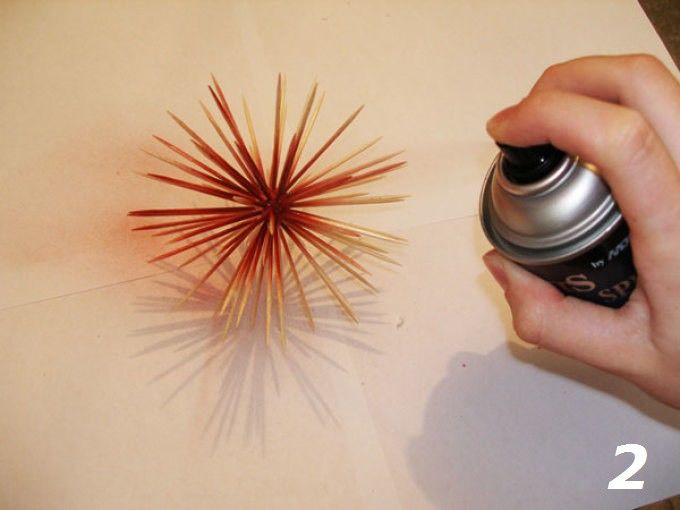
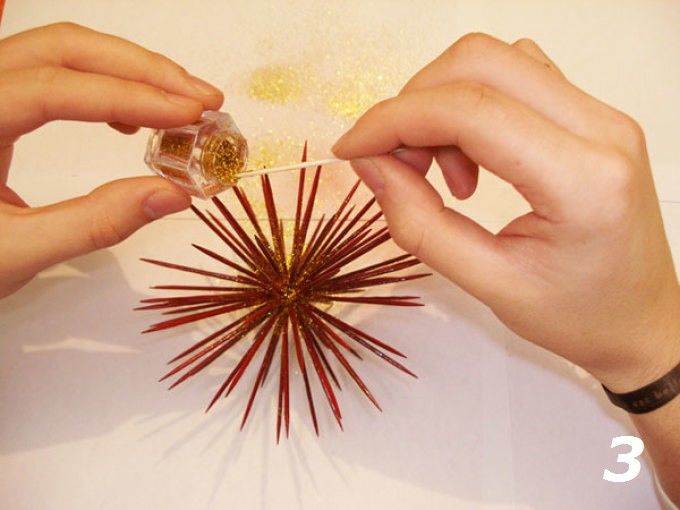
- Coat the prickle with paint of any color. You can sprinkle it with sequins, so as to make a home a little sparkle and variety.
- Glue the ribbon to the resulting "sea urchin", so that the toy will please you and decorate your Christmas tree.
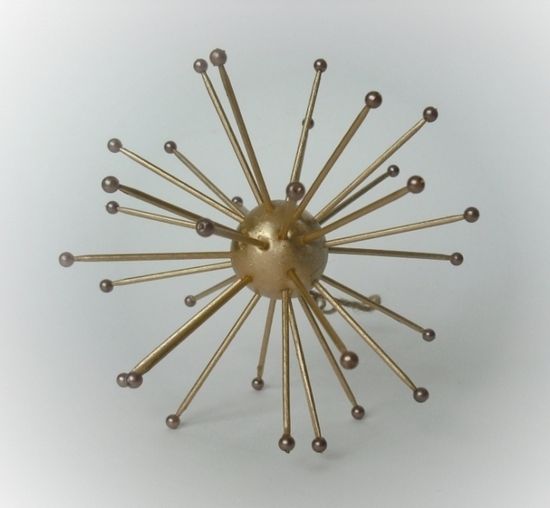
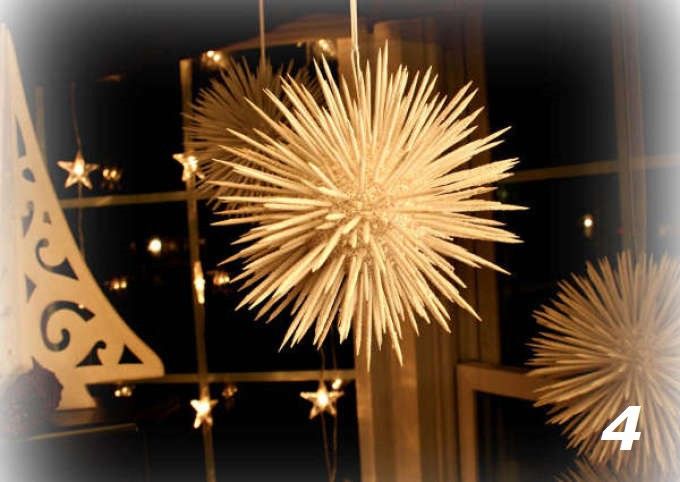
Ta-da! Now your holiday will be completely exceptional and incomparable. However, these crafts can be used not only during the celebration, but also to stylize the everyday interior. It will turn out great!
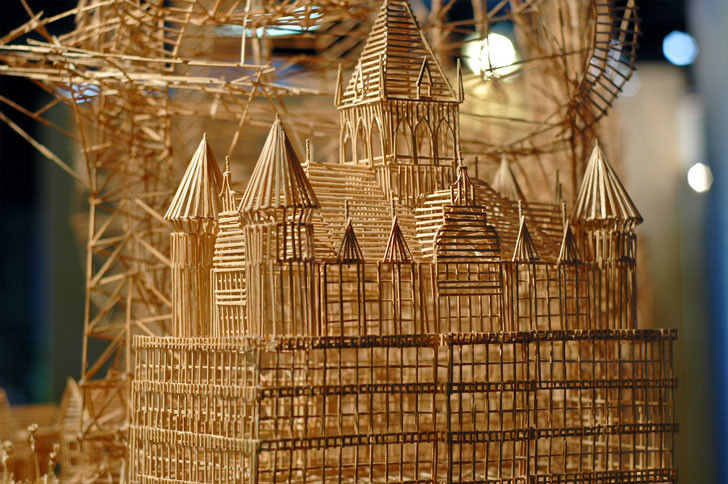
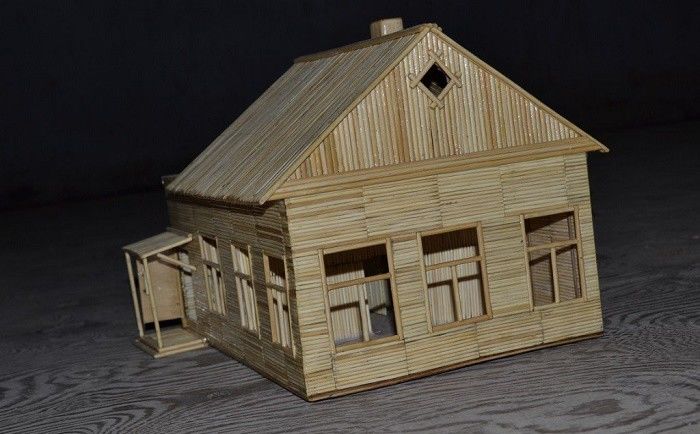
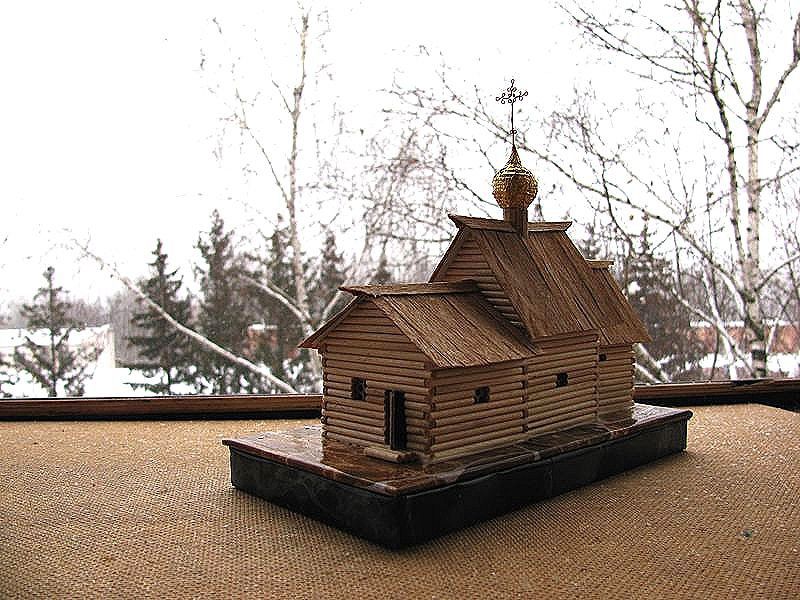
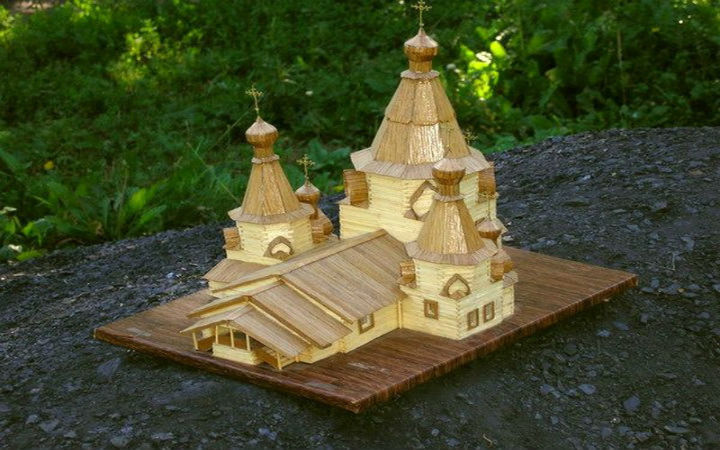
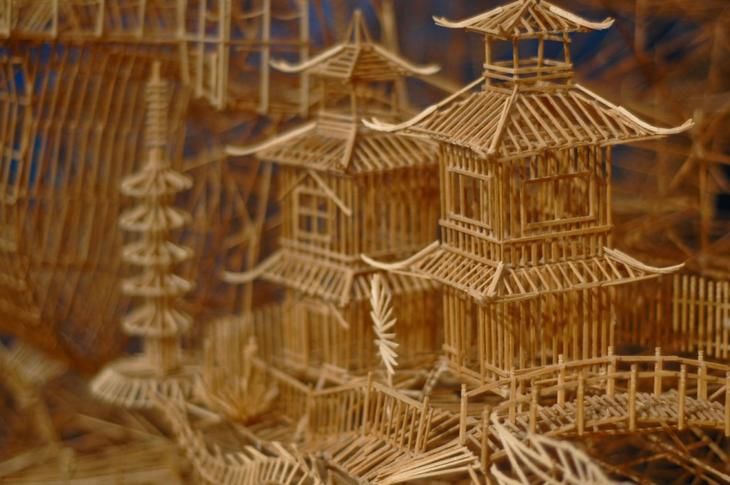
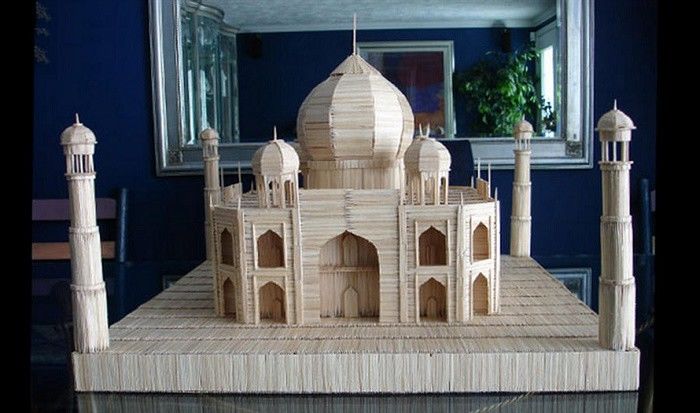
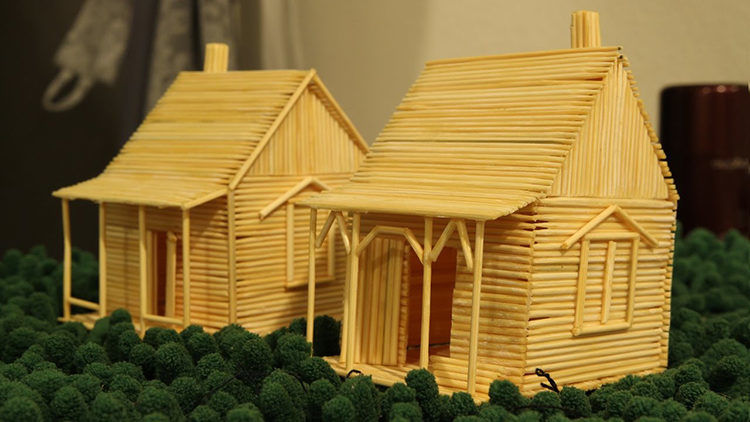
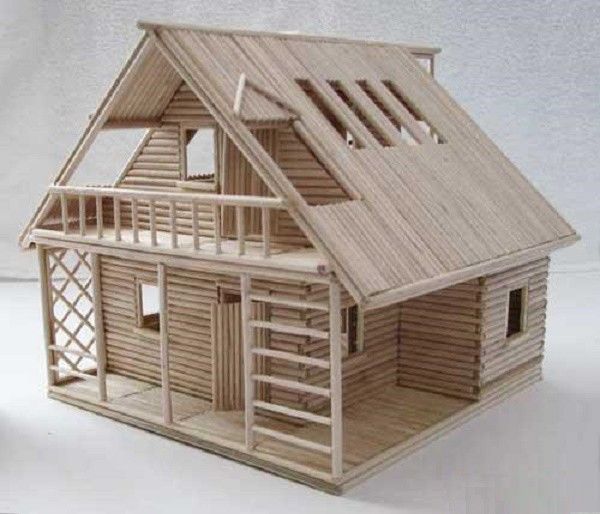
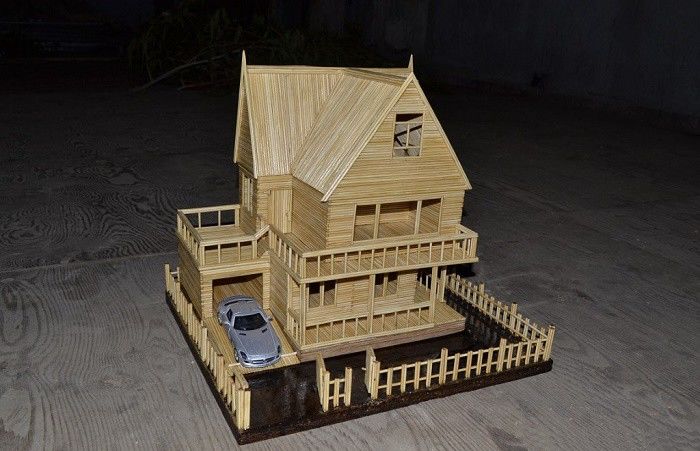
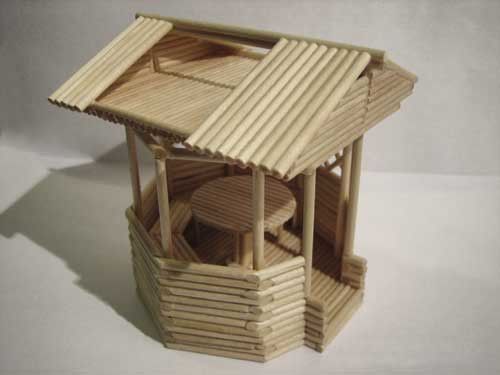
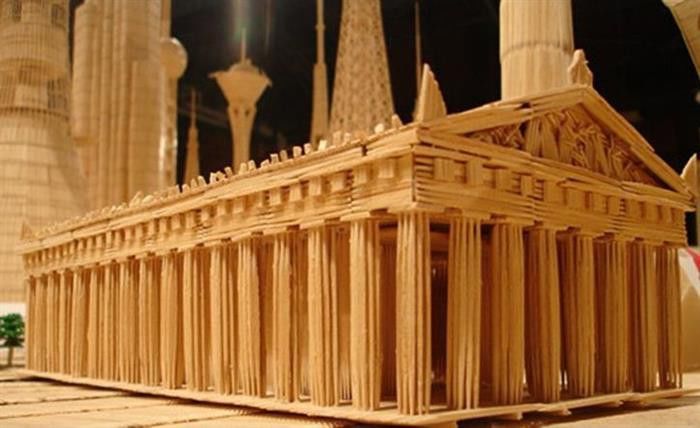
House
This craft will require much more patience and concentration. However, it will pay off in full - a fabulous house which is an important part of your interior.
What do you make it out of?
- Knife
- Toothpicks
- Glue
- Paint and glitter (for design)
- Cardboard
- Pencil
- Ruler
Making crafts:
- Pre-paint the material for the windows, doors, roof, or floor (depending on whether you are going to color code any parts of your future home). This should be done ahead of time so that everything has time to dry.
- Draw the base of the house on hard cardboard or other heavy material. Cut it out.
- Take 20-40 toothpicks (depending on the size of your house) and glue them together. You can trim the sharp ends to make it look neater. This is the floor of the house.
- Glue the wooden floor to the cardboard base to make the construction more stable.
- Similar to the manipulation with the floor, build the walls by gluing the small "logs". Take into account where you want to see door and window openings. In these places you can cut out rectangular spaces.
- The places prepared for windows, decorate in a certain design. It all depends on your imagination. For example, you can create a triangular arch over a window by breaking a toothpick in the middle and gluing the halves at the break at a slight angle. You can also frame the window. Cut the toothpick into four pieces and glue them around the windows as a frame. In addition, make a cross-grid for the window as a kind of frame design and attach it to the overall picture.
- Move on to the roof. To build it, construct two identical rectangles from toothpicks. Then glue them together at an angle and attach them to the house.
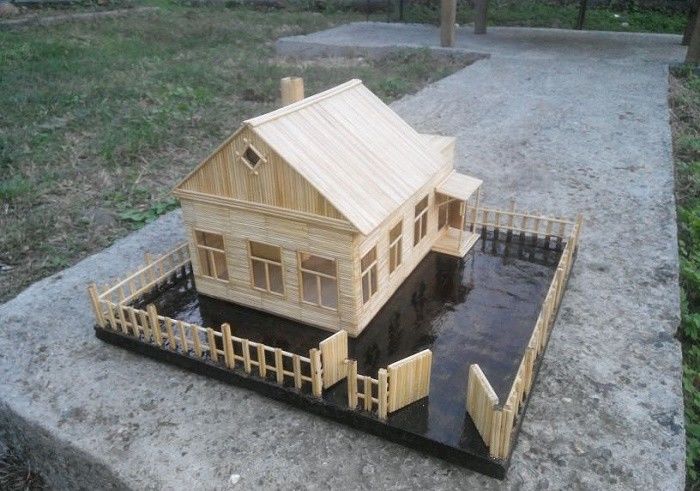
- To complete the craft, give free rein to your imagination. The roof can be attached pipe from the same toothpicks. Walls or roof can be sprinkled with glitter to get a magical version. The basic design is ready, what to do next with the house - the choice is up to you!
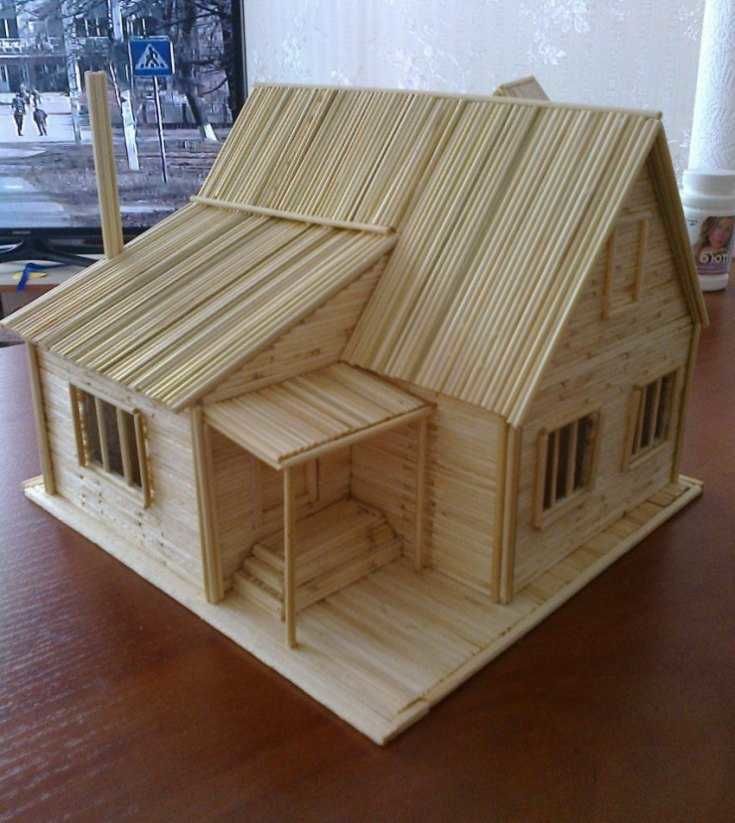
So, the creation is ready! You can put little dolls in the house or leave it uninhabited as a decorative object. In any case, this handicraft will undoubtedly liven up the interior and bring an intoxicating fairy tale into the daily routine.
So, we have considered several original crafts, quite simple to make.
We hope that this experience will help you spend your free time in an interesting way, create something unique and beautiful in its own way, and bring a sincere smile to your face and those close to you. Enjoy the creative atmosphere!

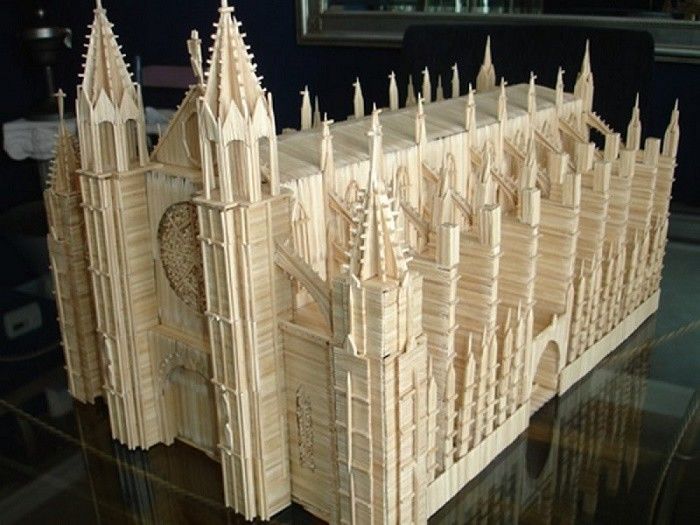
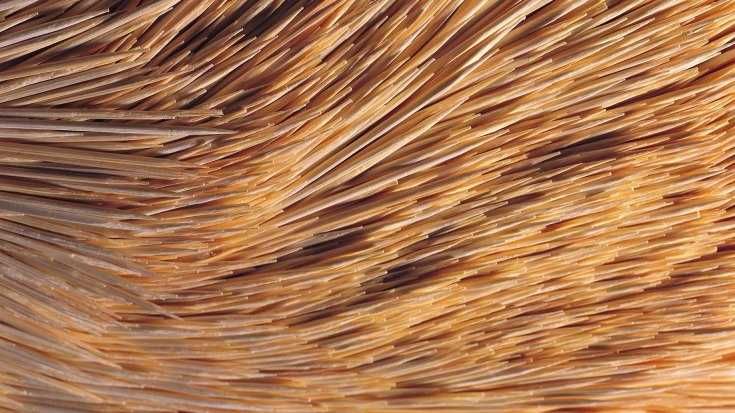
Toothpick crafts photos