Handcraft basket: ideas for decorating with colored paper, cones, flowers, craft materials
Practical and often used in everyday life, on vacation, in play activities - a basket, sold in souvenir stores and at the market. But on sale there are mostly one-size-fits-all models. Products made by hand - it is quite another matter.
Making such a thing is not very difficult. It is important to follow the advice of professionals, to approach the work responsibly, to perform the processes accurately. And everything will turn out.
Materials for making baskets with their own hands
Before proceeding to the manufacture of the basket, you need to decide where it will be used. Based on the options, you will have to take into account the weight of the material from which you will have to weave the product. The material can be a variety of sources:
- Paper base (cardboard, newspaper, any kind of paper);
- fabric and thread resource (fabric, thread, rope, etc.);
- a variety of wood material;
- plastic;
- All kinds of waste material.
Also, the maker can apply an unusual natural material, or anything else.
Ideas for a "basket" handicraft
Leitmotif of weaving a similar handicraft depends on many factors:
- The need for this attribute in the home and household.
- An element of design in the interior. In this case, it is necessary to take into account the style in which the design of the space is made.
- Products to give as a gift (to whom it is intended, age and preferences of the recipient of the surprise).
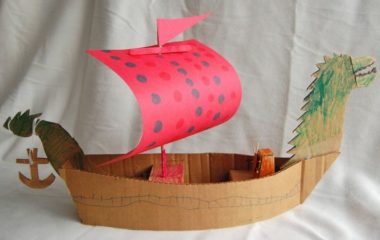
- The craft as an attribute of the play process, or the first steps in the child's learning.
- The time of year and holidays.
- Understanding the idea will allow you to decide the parameters and shape of the basket, as well as tips on what to make it from.
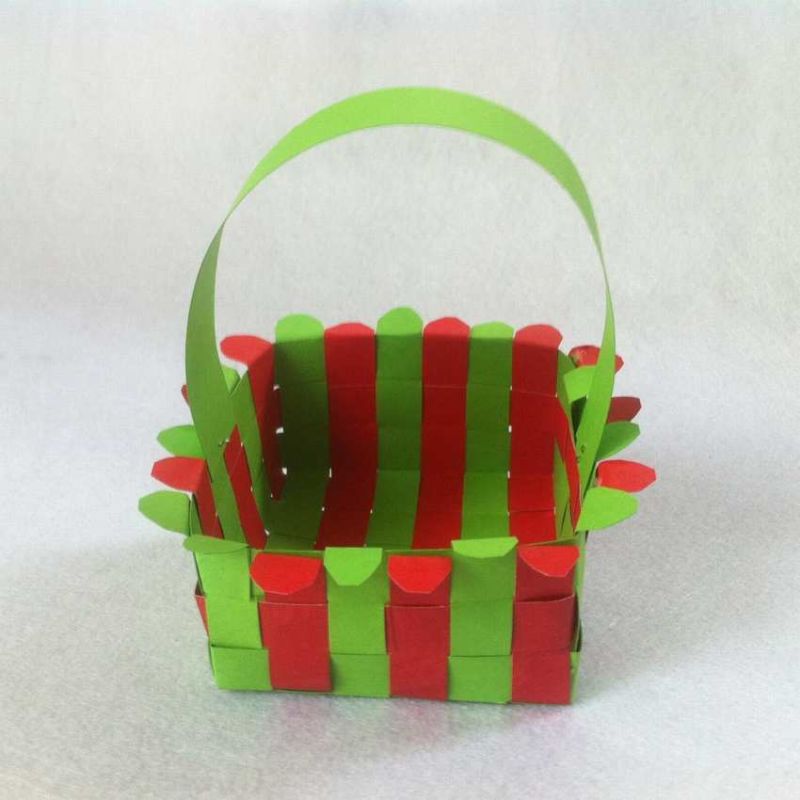
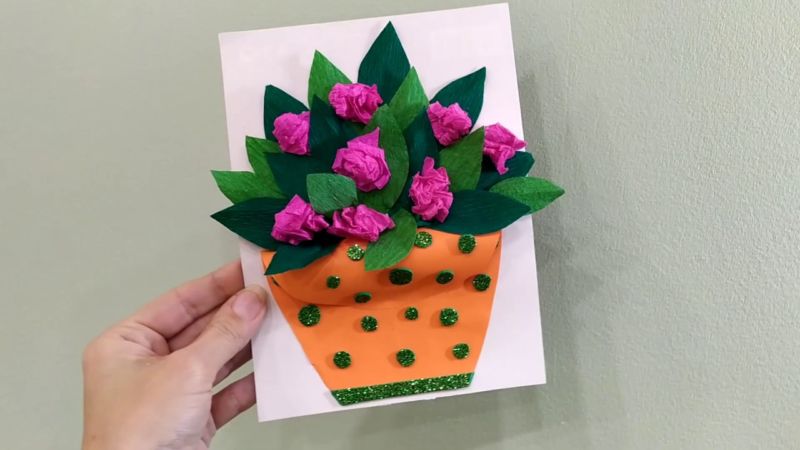
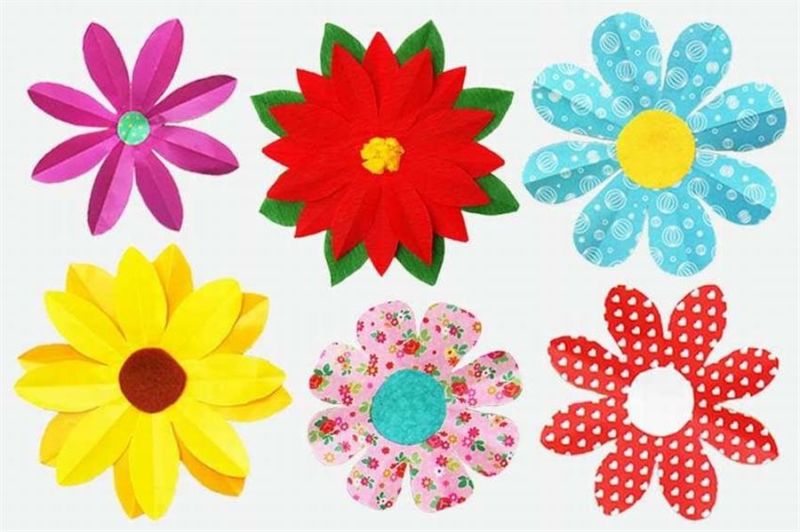
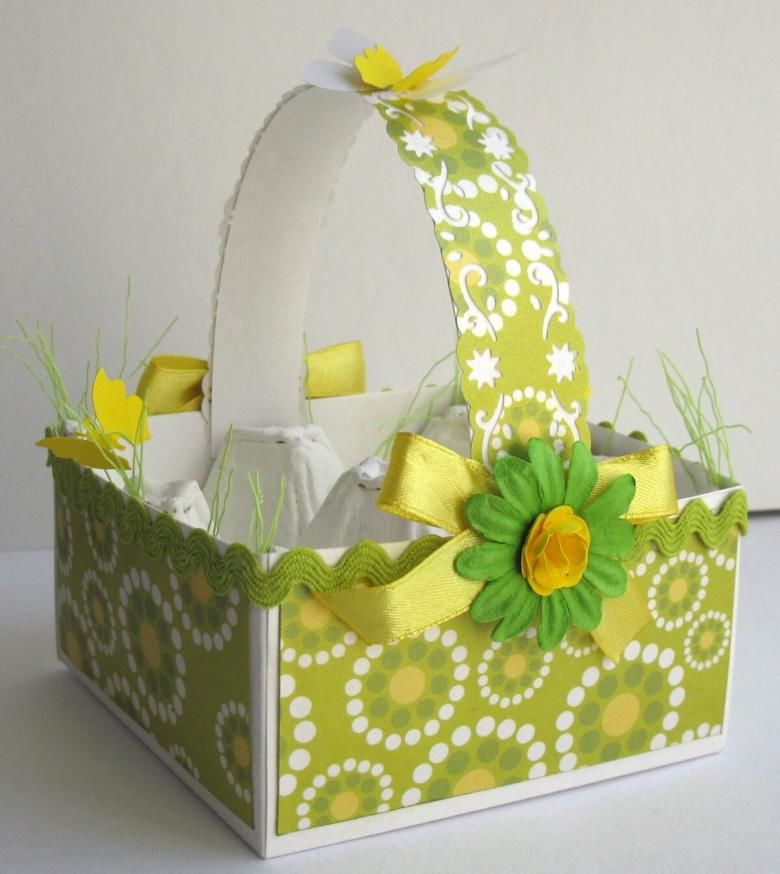
Basket with flowers from colored paper
This version of the craft - applique is easy to perform together with a child, as the process is not complicated and will bring pleasure to the baby.
You need to prepare:
- templates - large and small circles of two colors;
- The base of cardboard for the applique;
- for a wicker basket - a rectangular sheet of paper and paper strips (the color of the paper will prompt the imagination of the little master);
- traditional accessories for applique.
Step by step execution of the details:
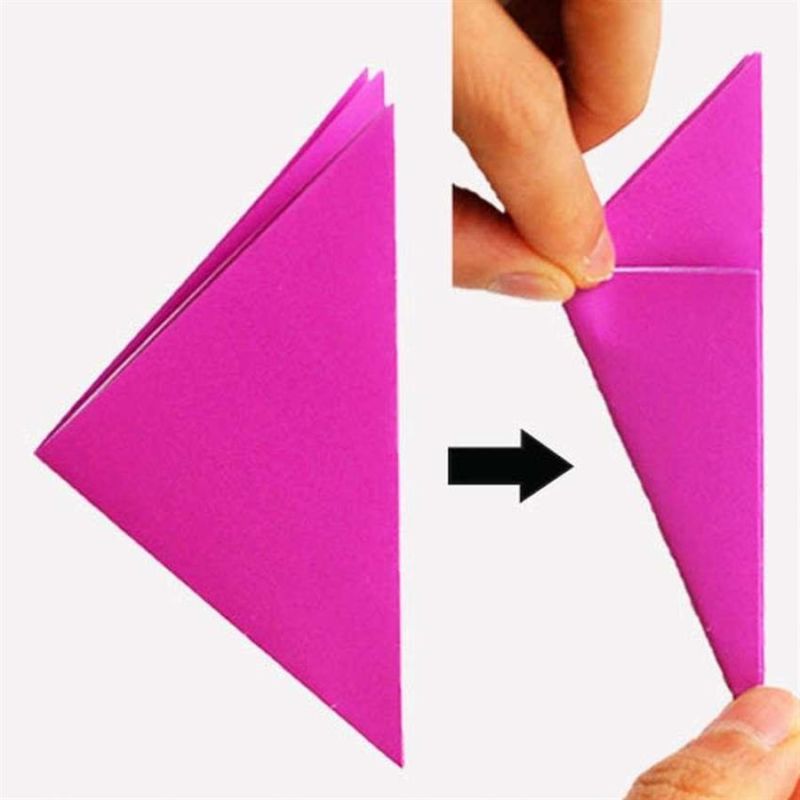
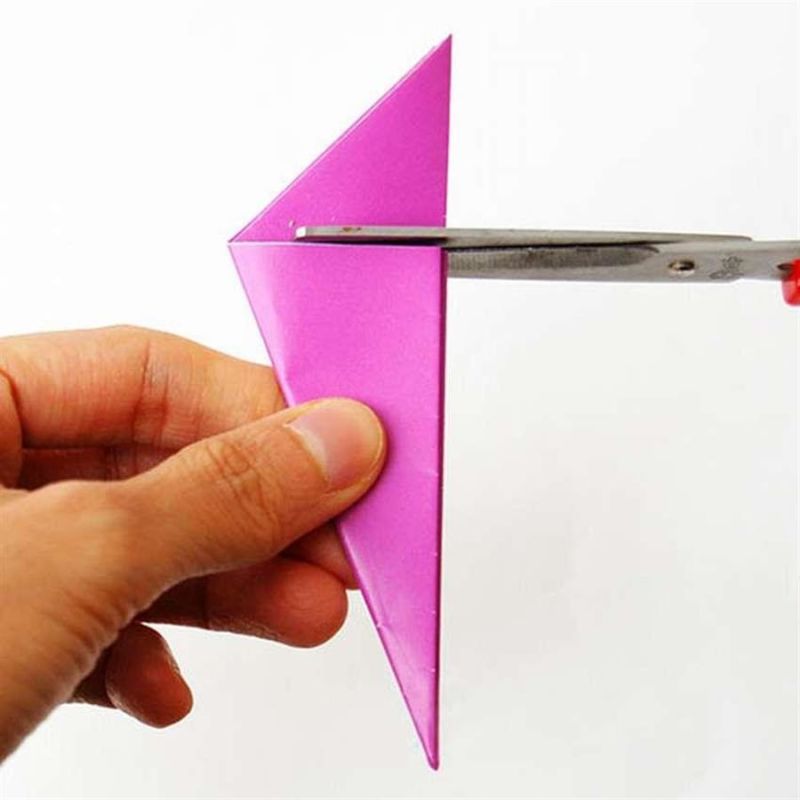
- Large circles are folded in quarters.
- The edges are slightly bent toward the middle.
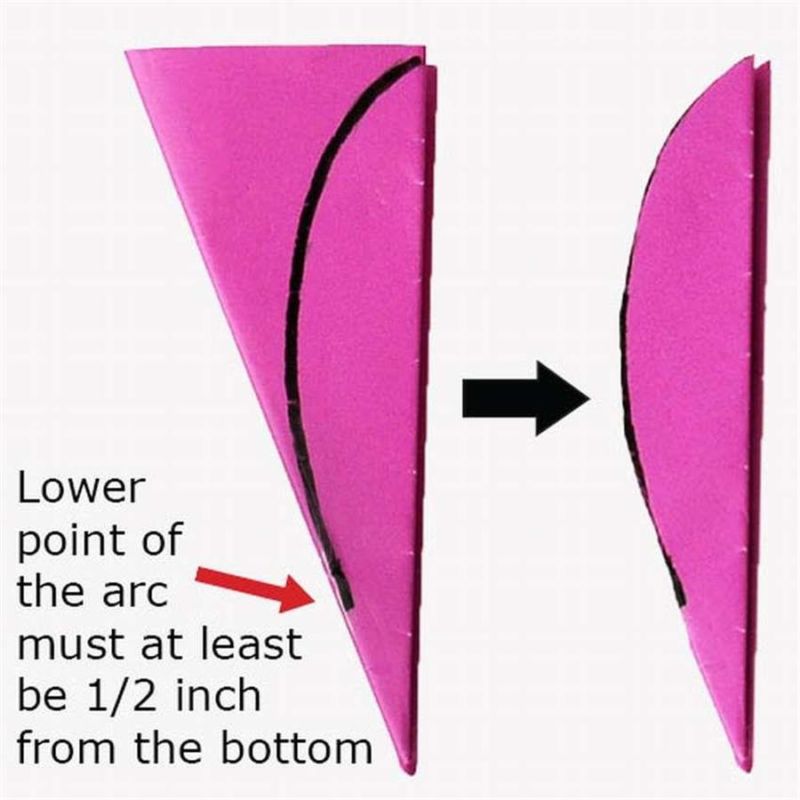
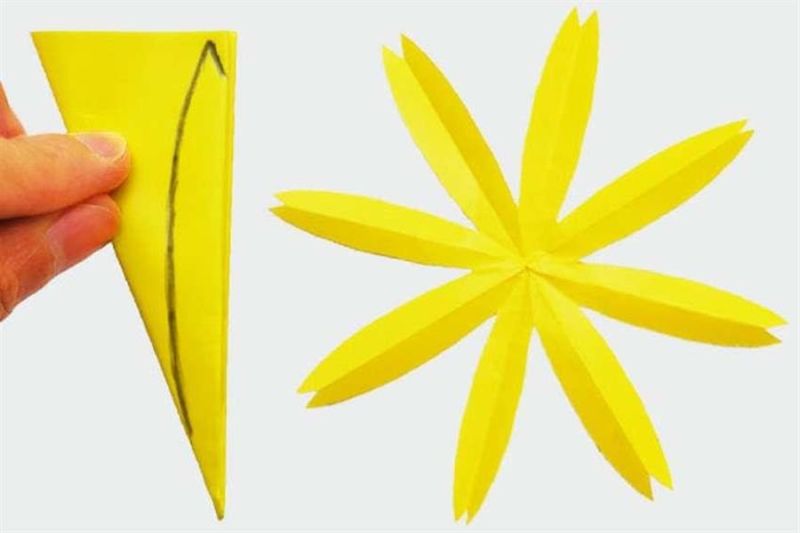
- In a rounded form cut off the right edge of the workpiece.
- Unfold all the parts - the petals of flowers.
- The next step - the middle. Small circles to fold similar to the first item.
- Draw the core, finely cut the edges of circles.
- It remains to assemble the product. On the petals glued the middle of the two colors. Slightly fluff them up.
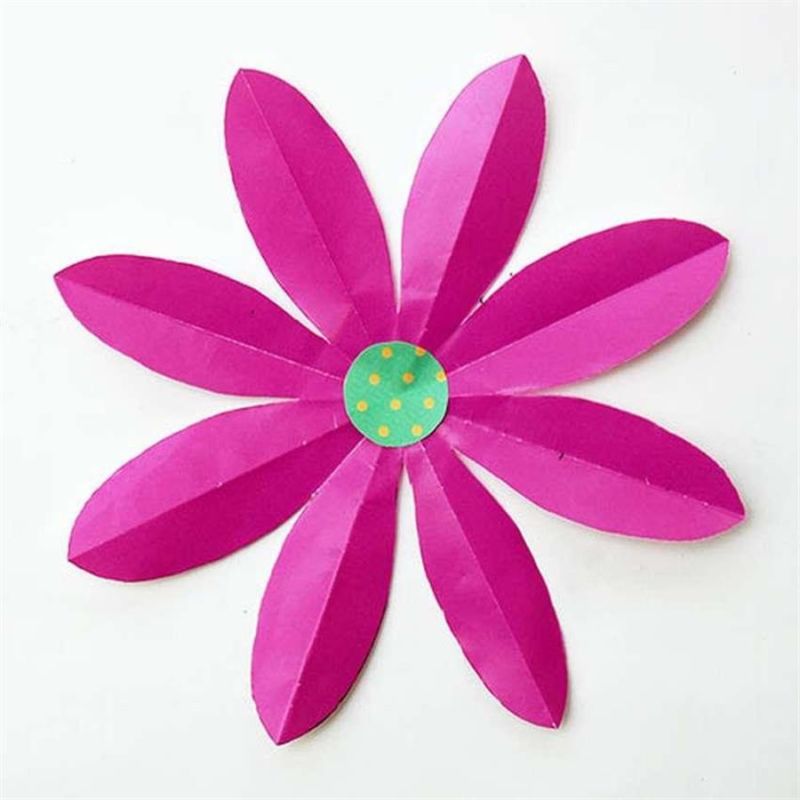
The flowers for the basket are ready.
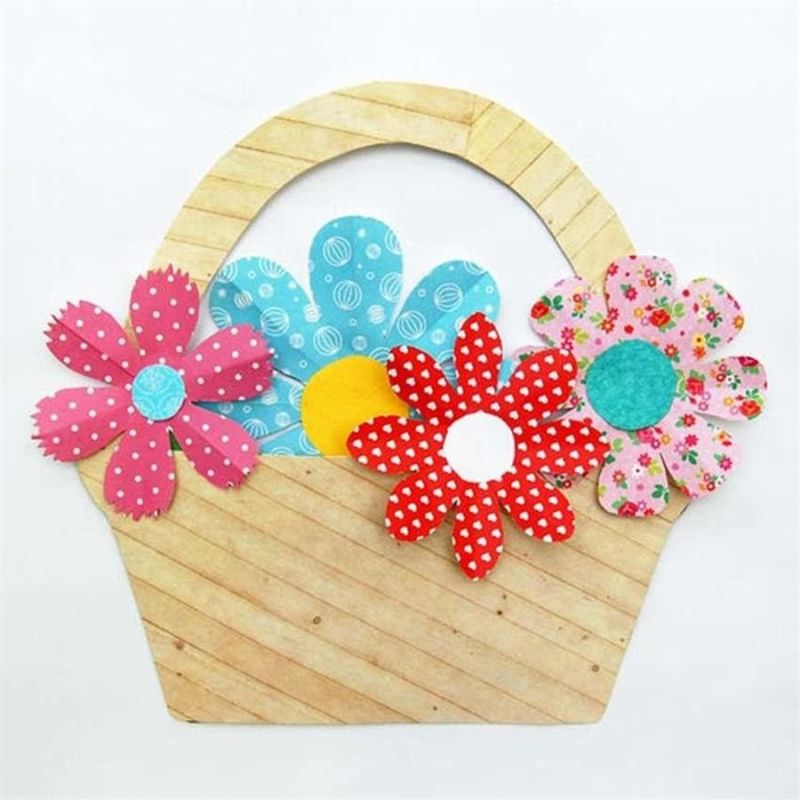
The steps of making a basket:
- Rectangular sheet of paper (size and color according to the manufacturer's plan) cut into strips no more than one centimeter wide. Do not cut to the edge.
- Separately prepare similar strips of a different color.
- Weaving is done by advancing the strip through the strips cut on the rectangle.
- In each subsequent row, the strips are woven in a checkerboard pattern.
- Draw and cut out the shape of the basket, place on the woven mat and glue.
- Cut the woven fabric in such a way that the edges can be tucked in. Then glue to the back side of the basket.
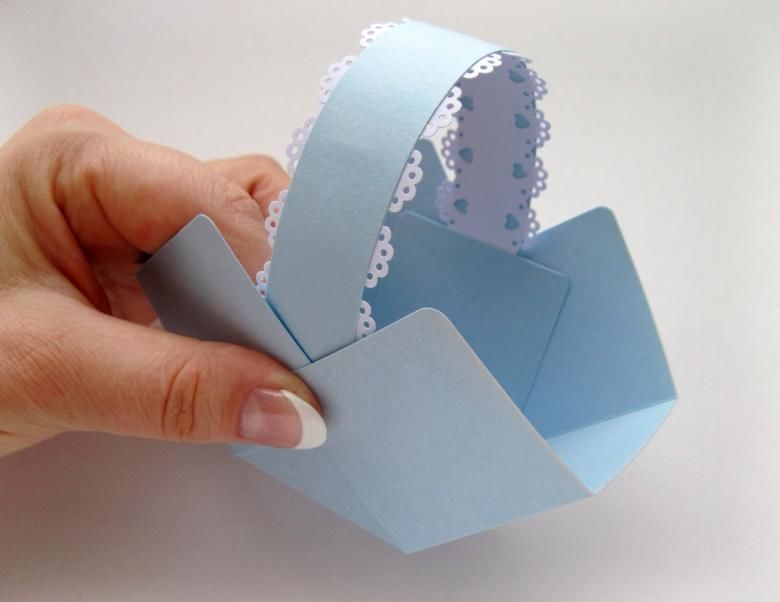
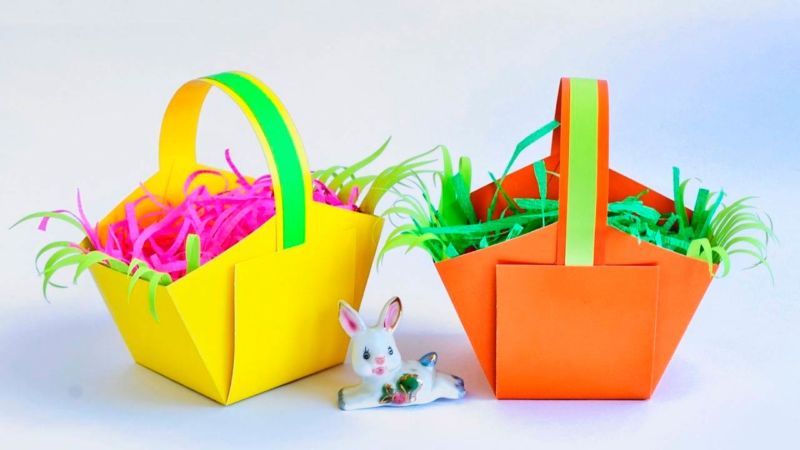
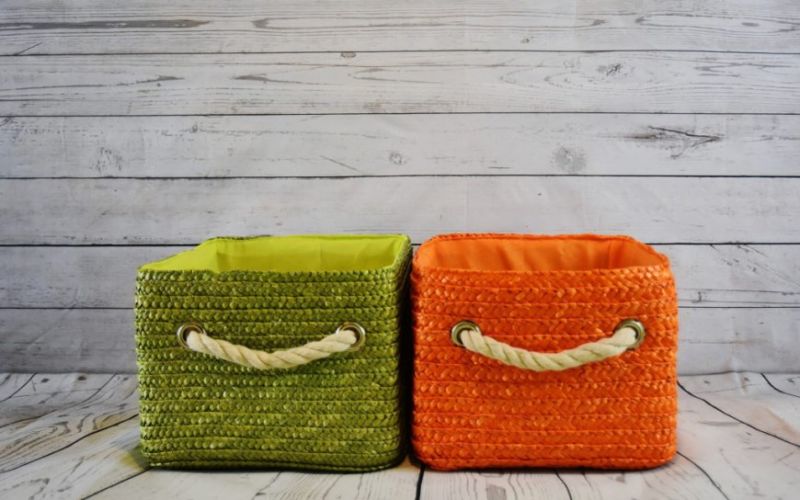
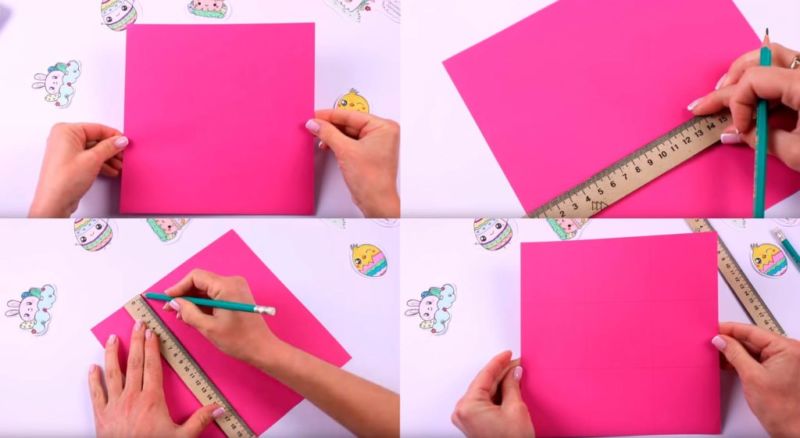
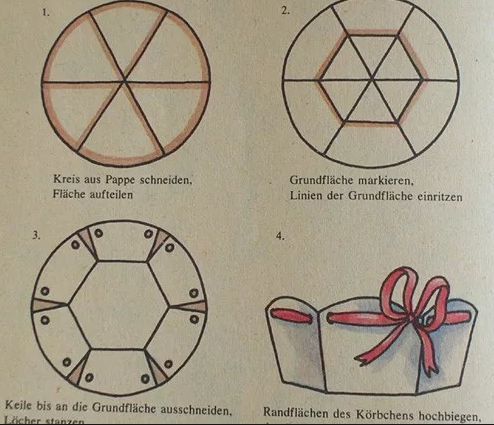
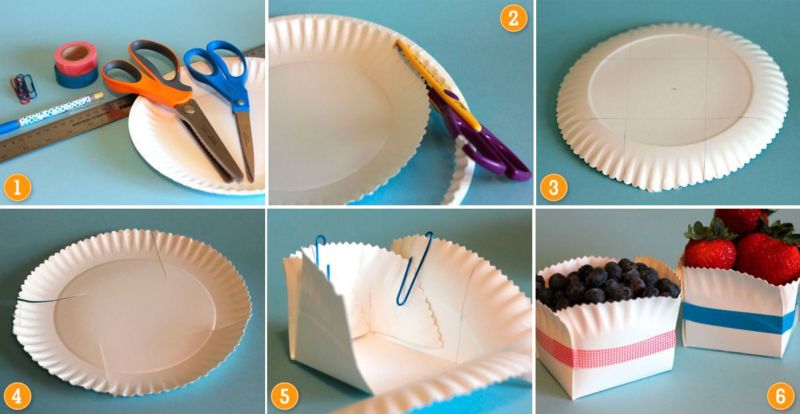
The girls love to play "Mother Daughters". Why not offer to make a square-shaped basket with your own hands. The handicraft is made quickly enough with a minimum amount of material.
You will need:
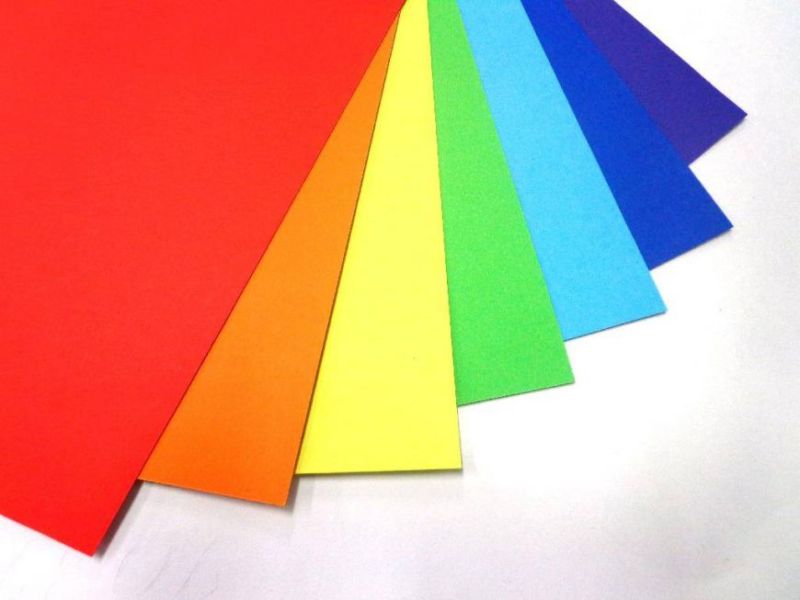
- cardboard and colored paper;
- ruler and a pencil;
- scissors and glue;
- imagination.
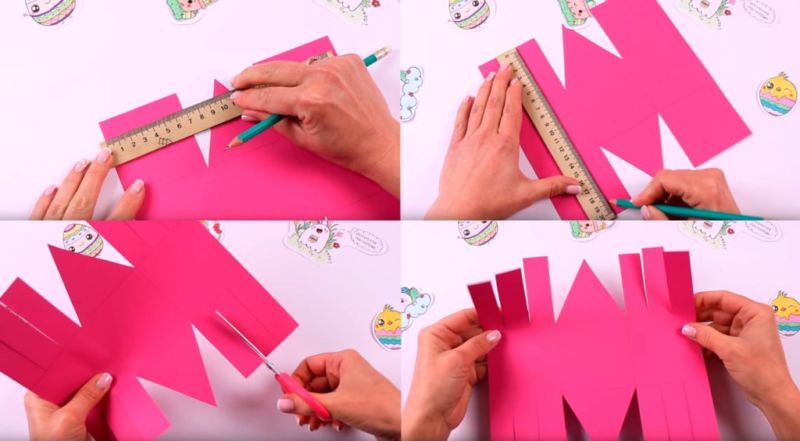
Procedure:
- Divide a sheet of cardboard (size at discretion)into nine identical squares.
- The four corner pieces divide diagonally and cut off the corners.
- Do not touch the middle squares.
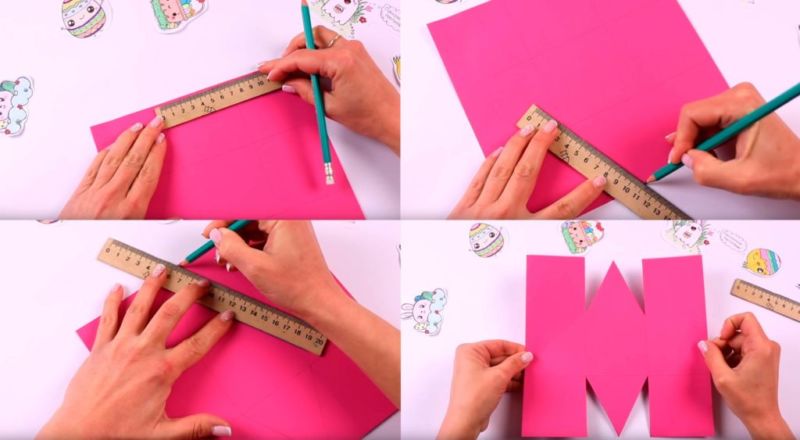
- The two opposite squares cut to a central square shape.
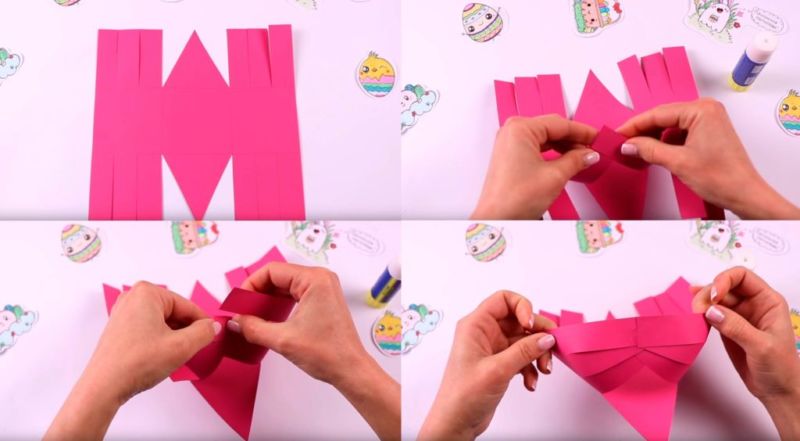
- Cut off the upper halves (half square) and bend.
- Alternately, the two opposite parts (a square with two triangles) turn into sides of the basket - fold and glue to half a square.
- From a strip of cardboard cut handles and glue inside the product.
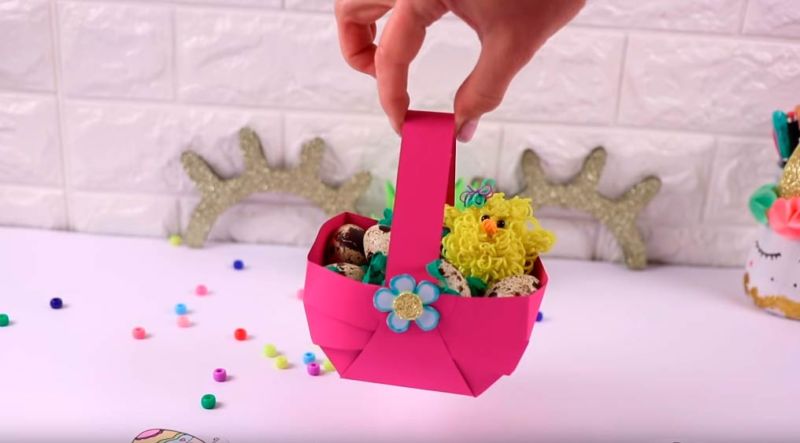
To decorate use colored paper: cut out and glue flowers, butterflies, various figures.
The little mother will gladly use this necessary thing.
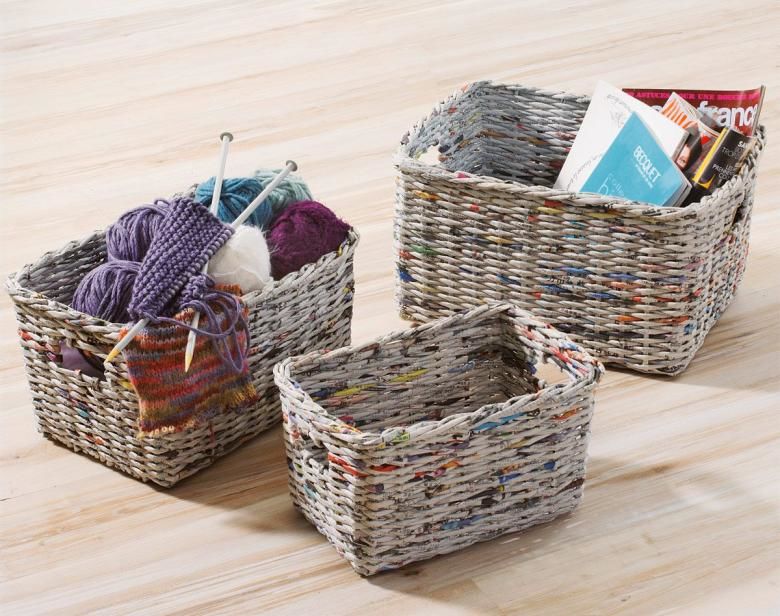
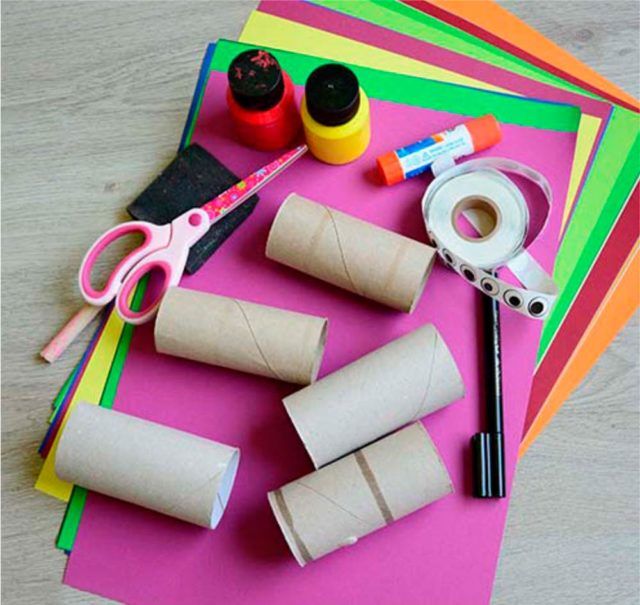
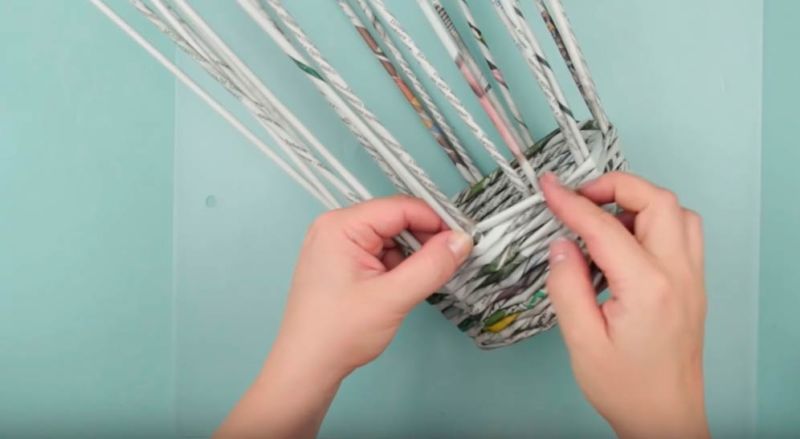
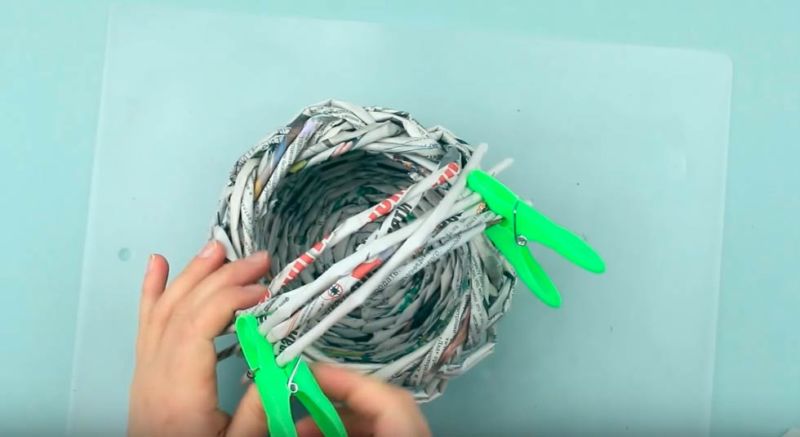
From newspaper tubes
Techniques of weaving baskets out of newspaper tubes are many enough to choose the most convenient option:
- Technique - twisting in a spiral. This technology is simple. The difference from analogues is the step-by-step increase in the height of the object. The build-up is due to the intertwining of the tubes in a circle. The subsequent workpiece is superimposed on the previous piece in a spiral. In this way you can make beautiful tall baskets for the interior.
- The layered technique of weaving involves creating an object from several newspaper tubes at once. Beginning the work with the rope technique, then with the help of supporting holes add a "vine". After that, the walls of the basket are braided in a circle, simultaneously using each tube. Such a technique is useful for weaving baskets of different shapes.
- Interesting method of "pigtail" (edging and overlaying types). The edge method is used if the weaving is counterclockwise. In this process, the tubes are brought in and out. When using the overlay technique, several twists are worked simultaneously. Such weaving resembles a basket made of willow vines.
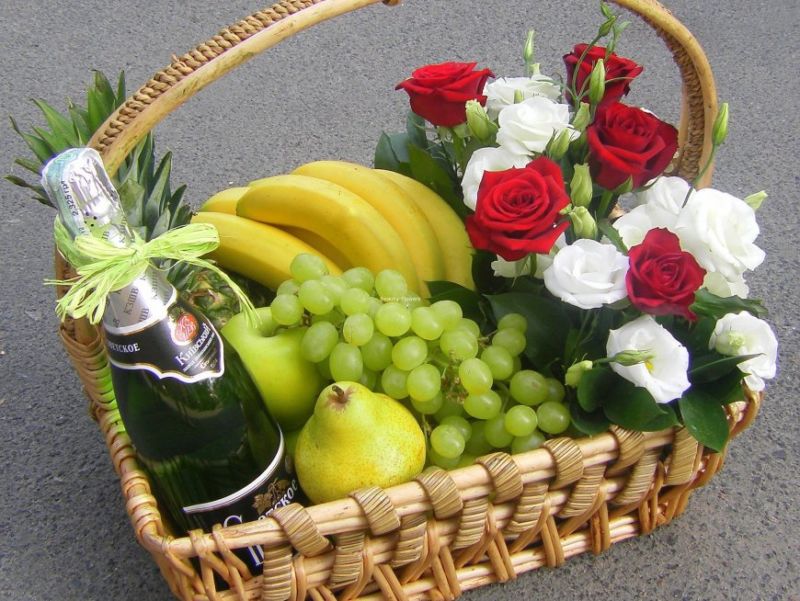
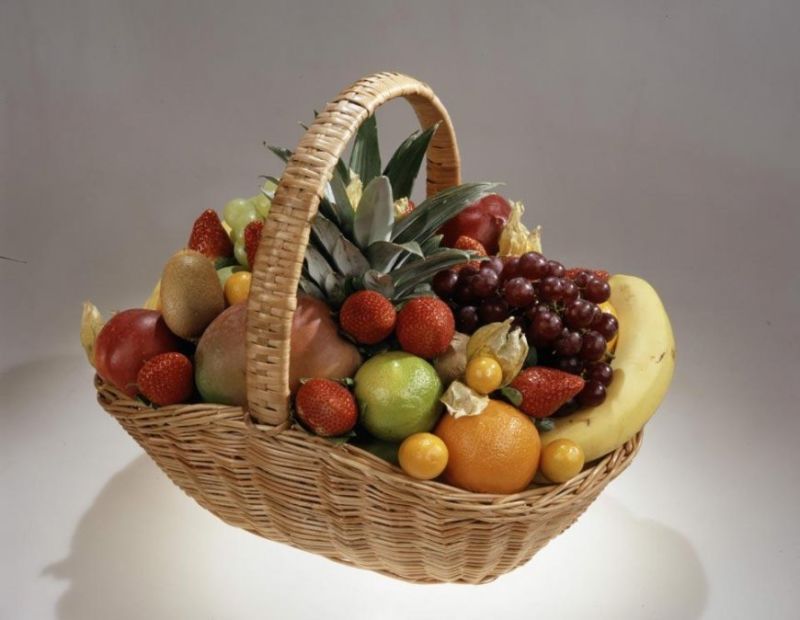
- For novice needleworkers, professionals recommend working in the style of rope technique, or apply a spiral twist. An example would be an elegant fruit basket.
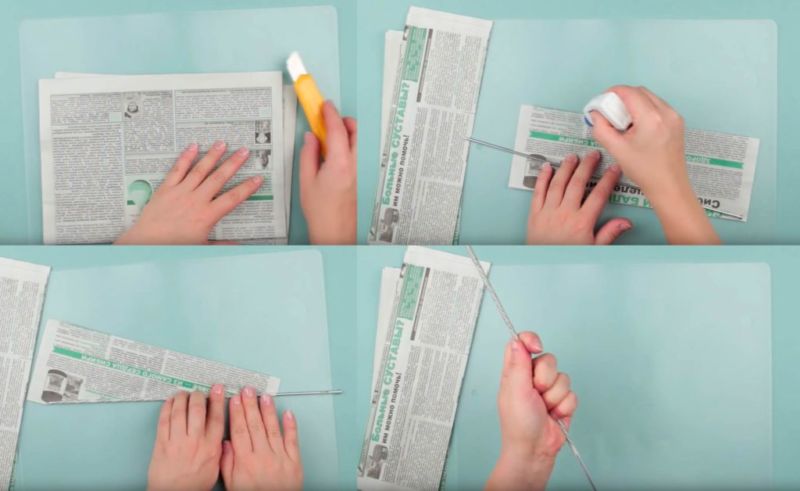
Prepare:
- Newspaper tubes (patience will be needed, as more than three hundred up to thirty centimeters long need to be prepared);
- Paint or varnish, a brush.
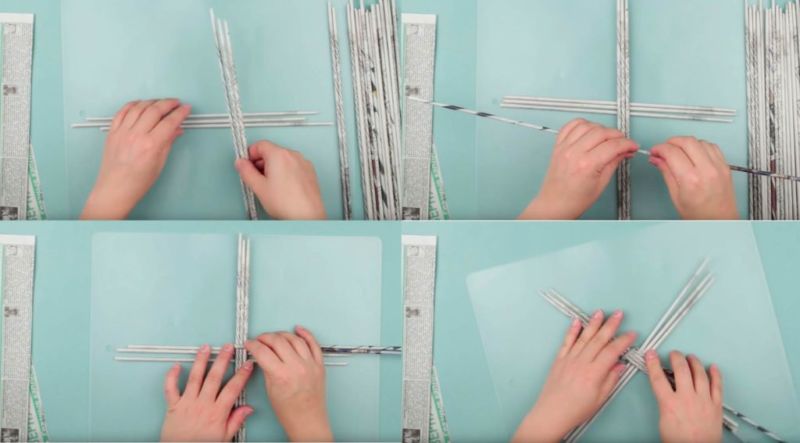
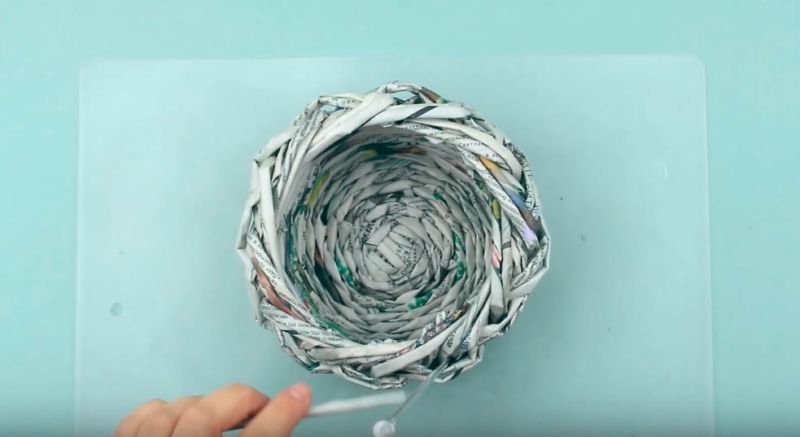
Step by step process:
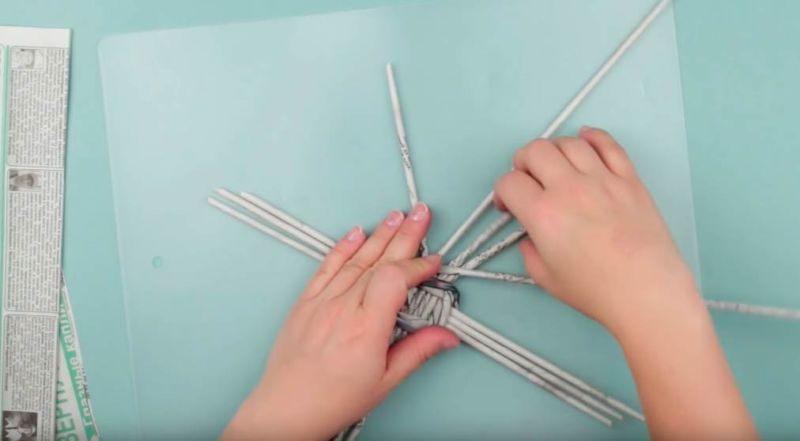
- Form the bottom in a rope method, applying a "cross" in the base;
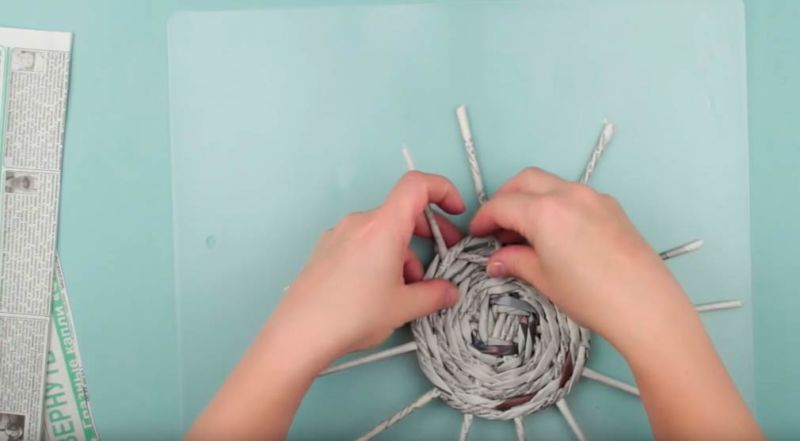
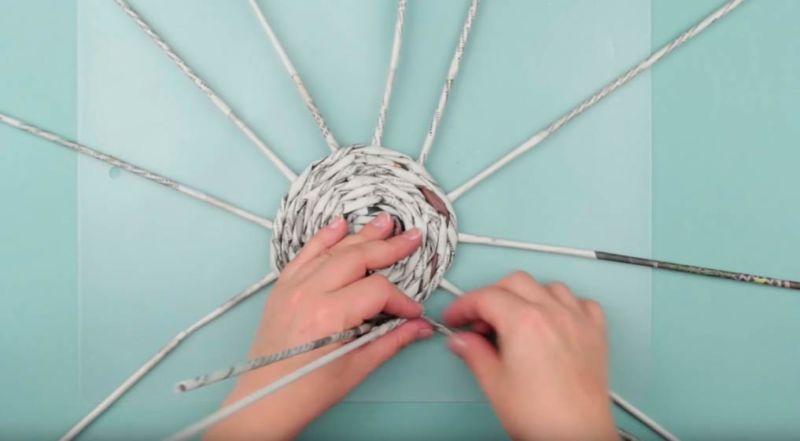
- For the bottom, weave 6 rows, braiding 3 tubes at a time, then proceed to one roll (continue to the desired size);
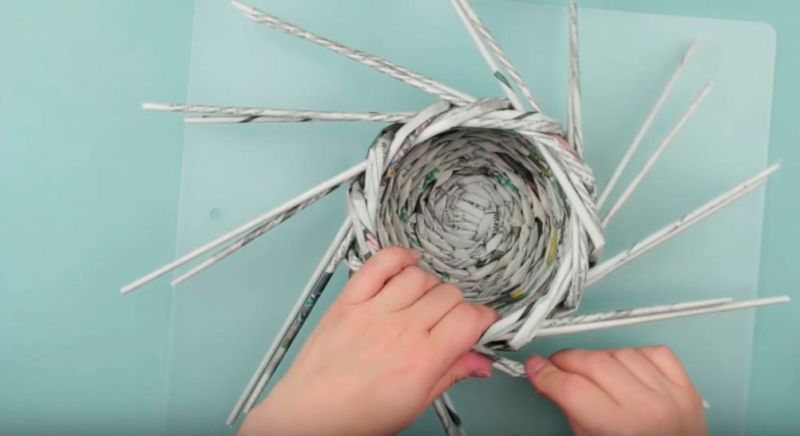
- form the sides of the basket; for this purpose, the bottom is put on a round object;
- the work is done in a layer-by-layer technique;
- it is possible to create an openwork effect;
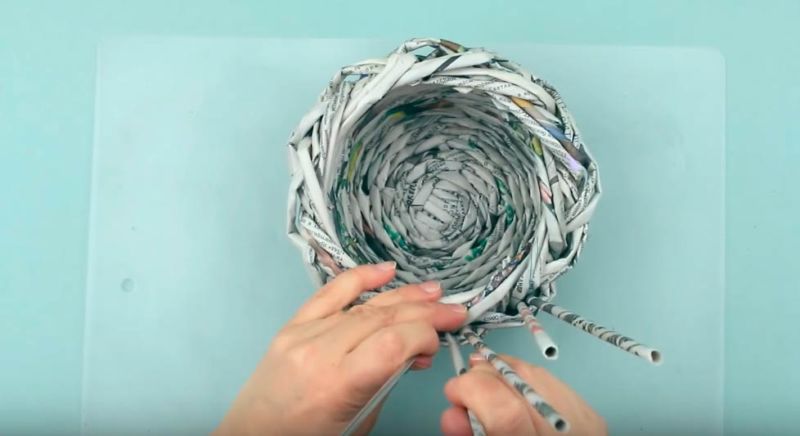
- after completing the weaving of the main product, create handles;
- In the final step, the basket is painted or varnished.
- After it dries, the basket is decorated with various decorative elements. Do not fill it with a lot of fruit.

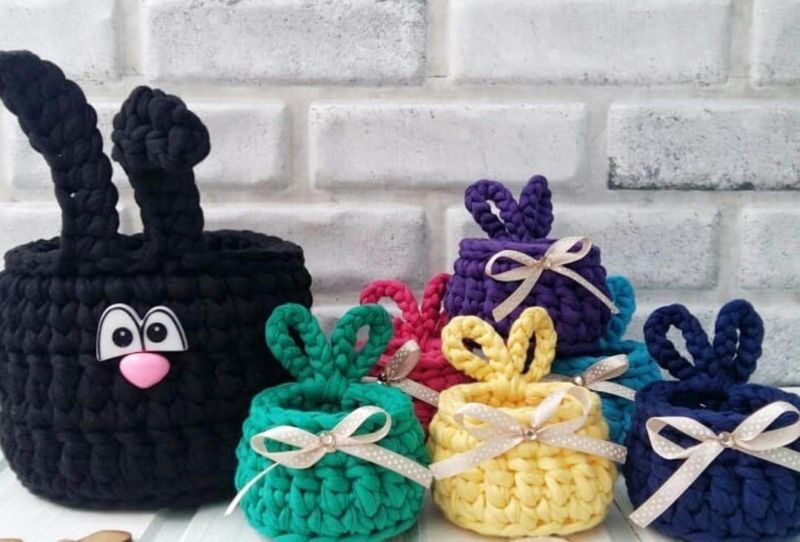
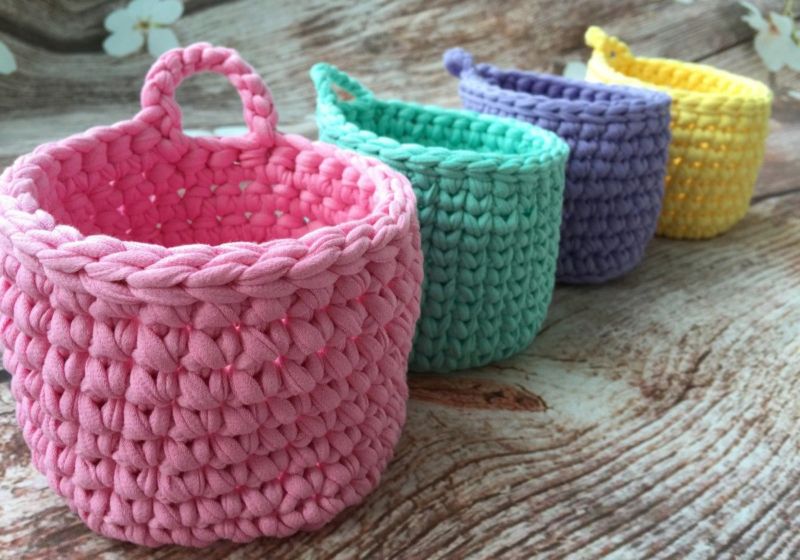
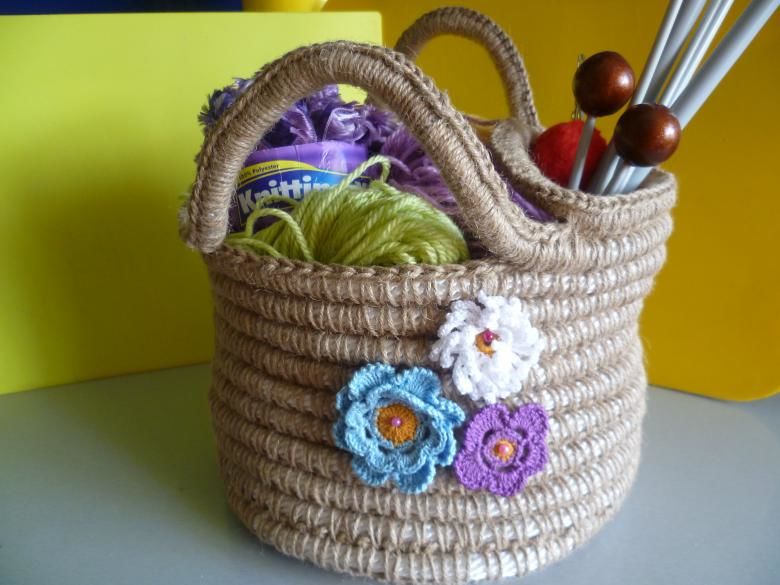
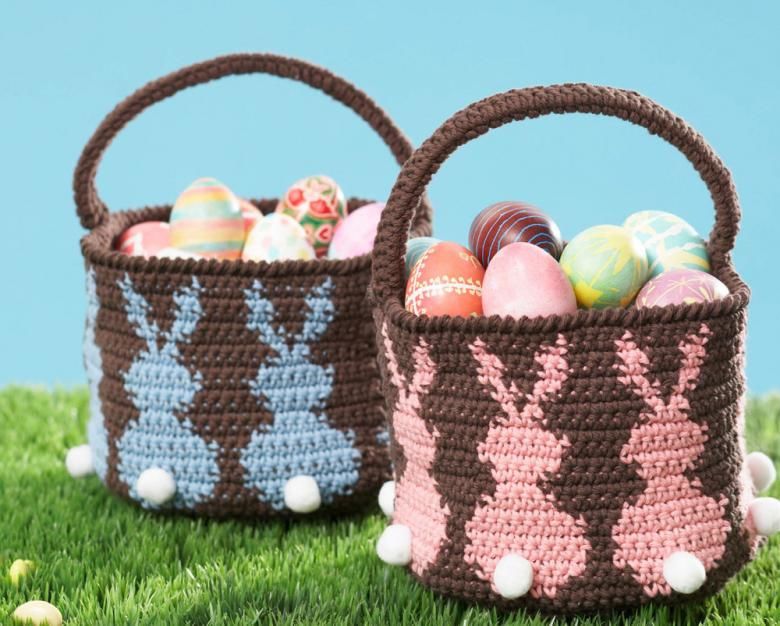
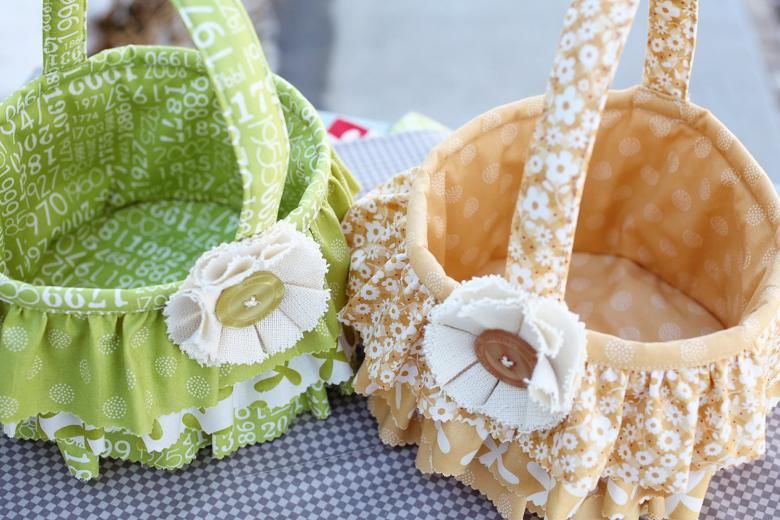
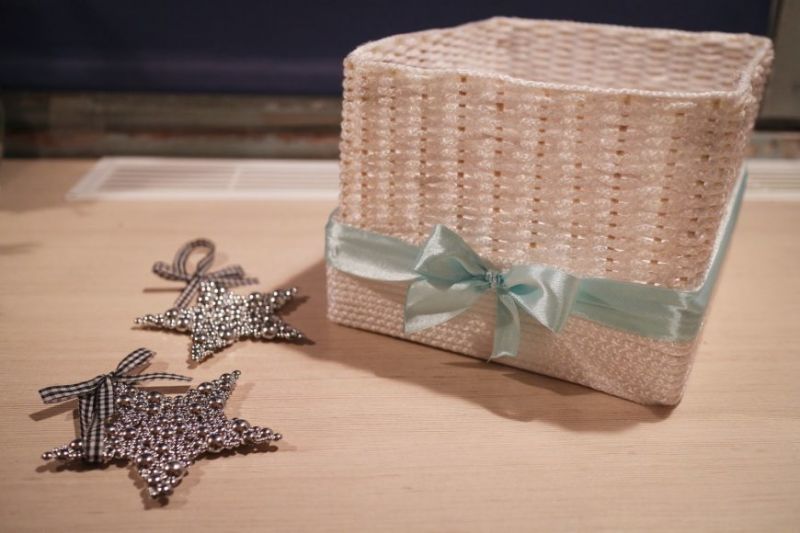
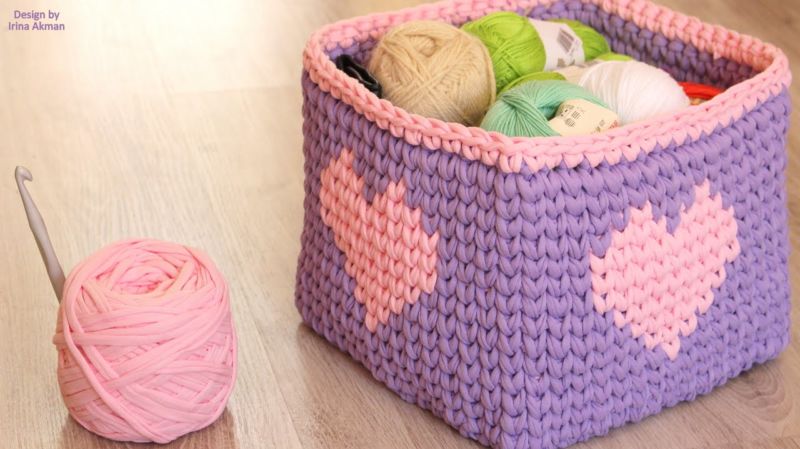
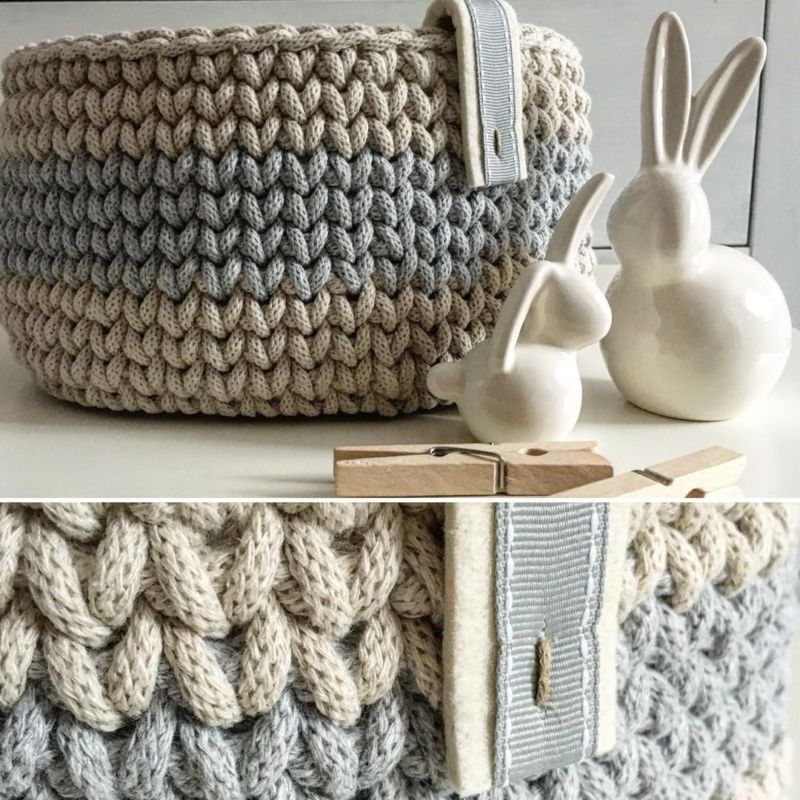
Basket, crocheted by crochet
Crocheted products are distinguished by elegance and decorativeness. For crocheting baskets, knitted yarn is the best. It will give volume, hold the shape, is durable.
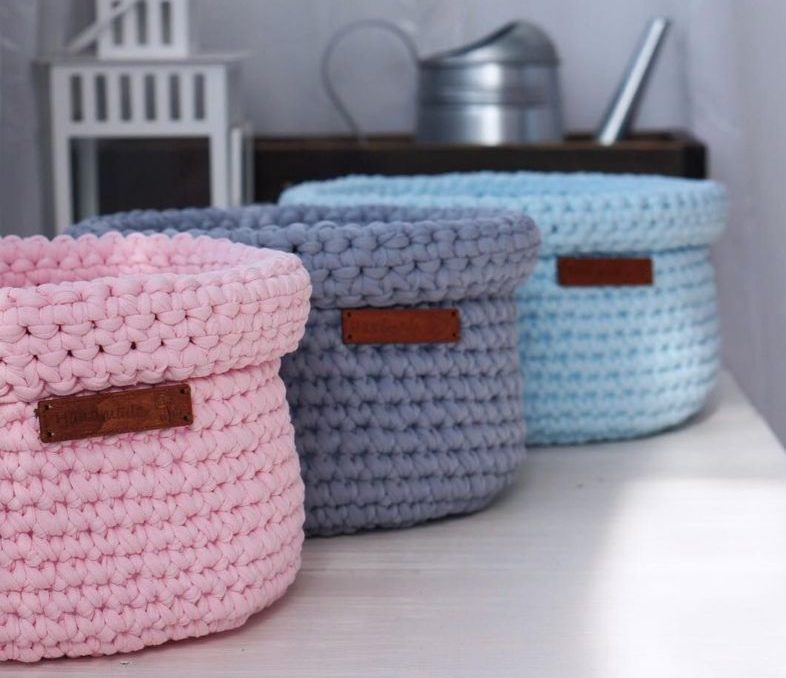
Aesthetic appeal to the product will help a variety of patterns, which can knit baskets. If the knitting option is chosen for the first time, it is better to use the simplest possible pattern. This is a ticking pattern. Armed with yarn and crochet, you can proceed.
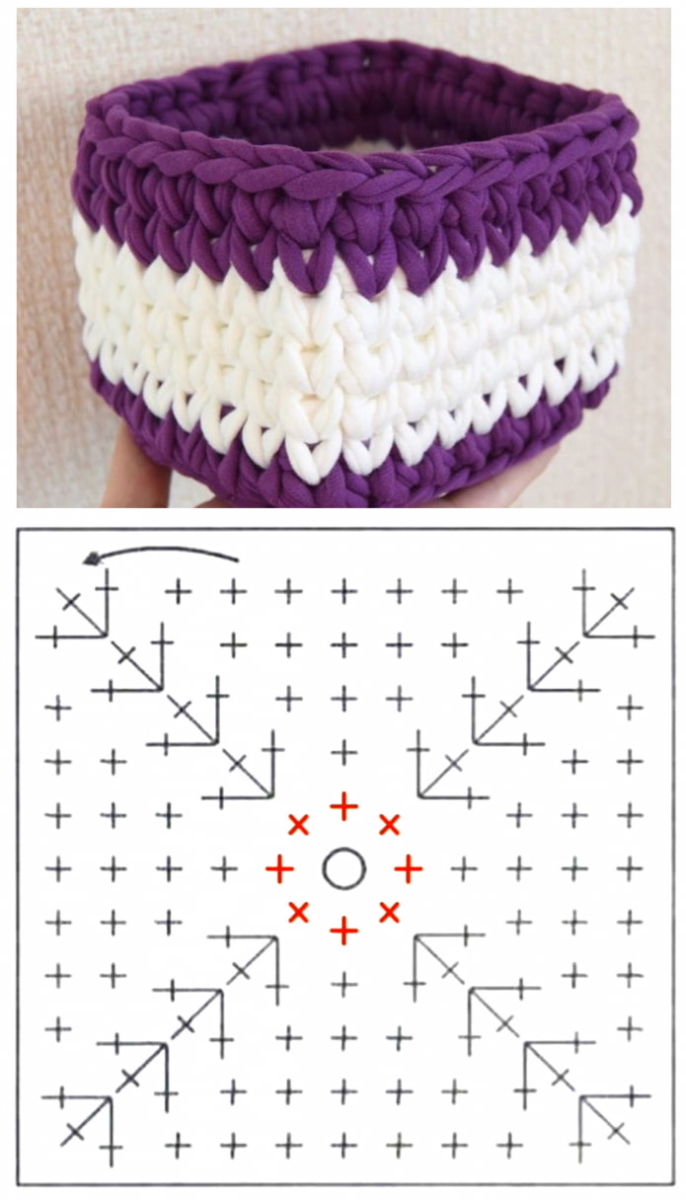
The course of execution:
- Bottom - its diameter depends on the idea, and therefore the number of rows made will be an individual parameter.
- Borders knit with simple columns.
- In order not to spoil the look of the product, you need to watch the tension of the thread.
- Knit the selected height.
- Tighten the last loop firmly, cut the thread and hide it (carefully sew inside the piece).
- Use ribbons, braid, buttons, beads, etc. for decoration.
The crocheted basket requires gentle, neat, careful care.

The pattern is quite easy, even novice knitters can cope with it.
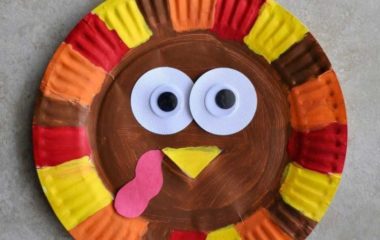
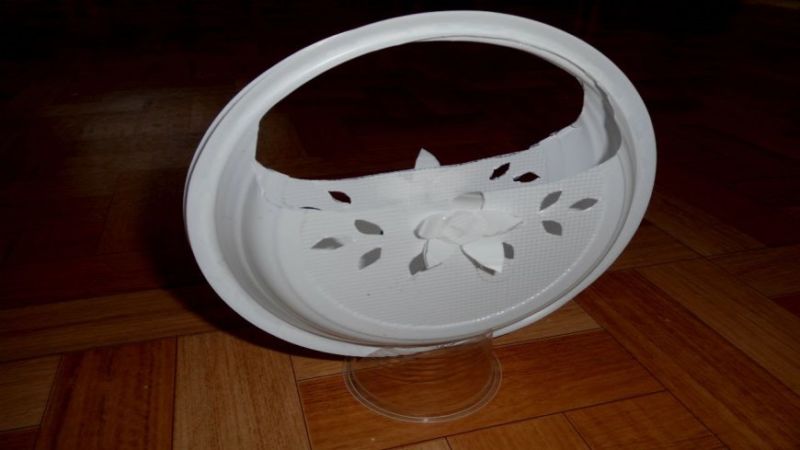
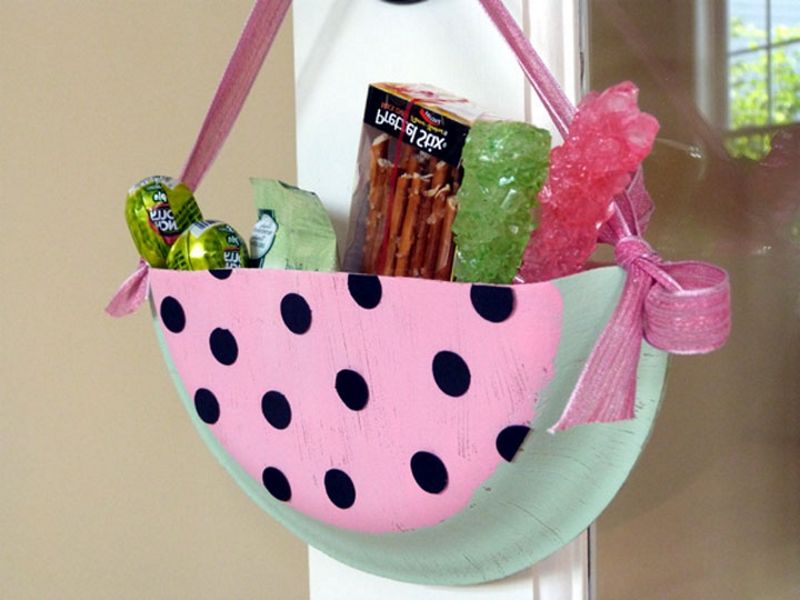
From a disposable plate
To please the baby by giving him an extraordinary plate is not difficult at all, and not expensive.
You will need:
- disposable plates;
- Thread, needle, scissors (or stapler);
- Material for a handle (ribbon, cord);
- decorative elements.
Execution:
- Cut part of plate in a semi-circle.
- Connect with a whole plate (bottoms out). Connectivity produce in a circle beautiful stitch or with a stapler.
- At the top, in a place where a pocket is formed, make small holes and make a handle for the basket.
- Decorate the resulting product with applications of different materials, different patterns.
As an option, you can use double-sided colored plates. In this case, no additional processes are needed. Fill the basket with candy and present it to the child.
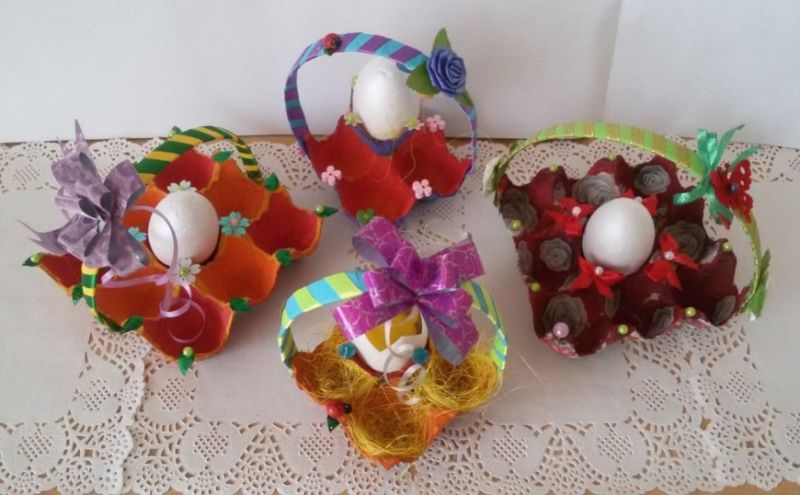
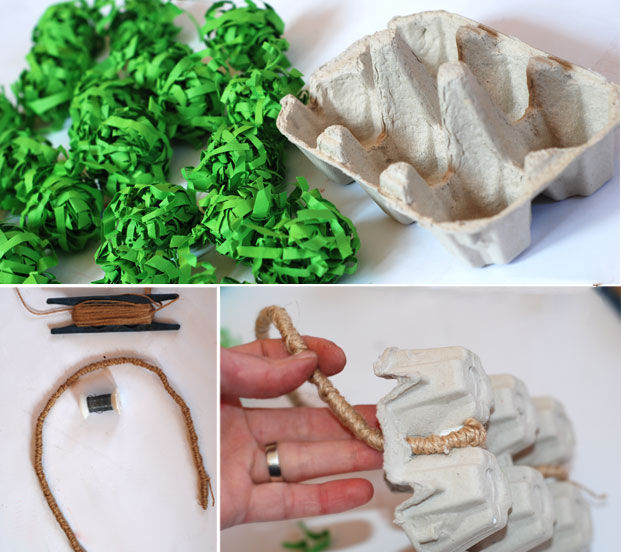
From egg trays
Miniature baskets made from egg trays will be a great decoration for the holiday table.
Prepare the material tools:
- Polystyrene egg tray;
- acrylic paint;
- brush, scissors;
- glue gun;
- natural material (at discretion);
- additional small elements for decorations.
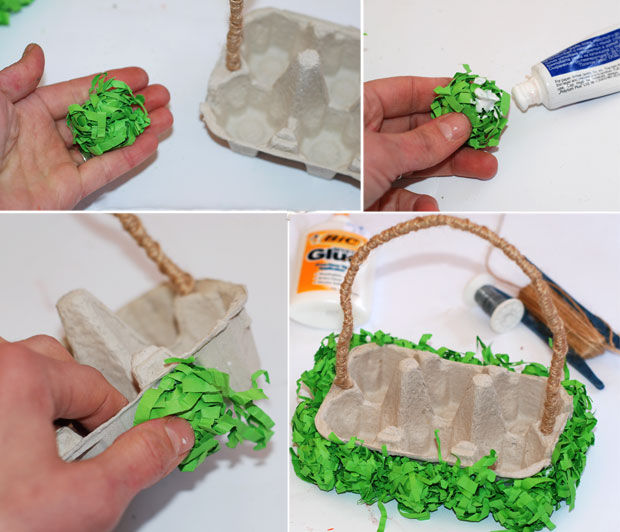
How to make such a handicraft:
- In the work will need only the bottom of the trays, so the lid should be removed.
- Cut one cell (for convenience, it is worth cutting off the two outermost notches and divide it in half).
- Showing ingenuity, give the edge of the blank a certain shape.
- Clean up by cutting off burrs and various defects. The irregularities can be removed with the heated iron tip of a hot melt glue gun.
- Prepare the handle - from a part of the tray, cut a thin strip of the required length and glue it to the opposite walls of the resulting product.
- Proceed to decorate. To begin with it is necessary to decorate the bottom of the basket (this will add strength to the product). Pistachio shells painted in different colors will look good. Glue the dried parts to the base of the handcraft.
Decorations can be very different:
- Applique from beads or insignificant natural material;
- small flowers from beads;
- ornaments of croup with subsequent coloring;
- crocheted elements.
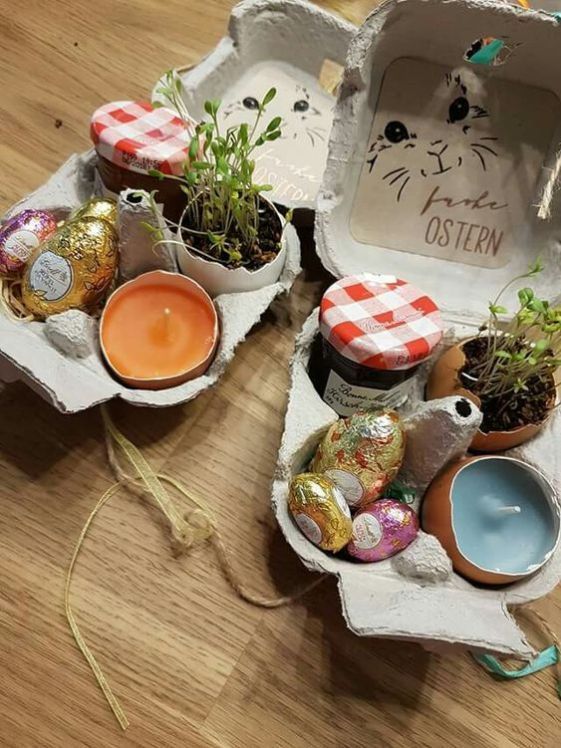
Arrange the baskets in front of the appliances with a miniature name card enclosed.
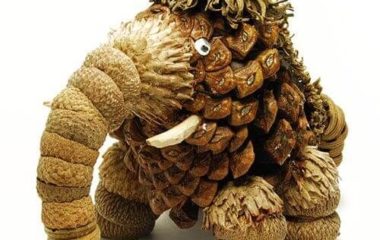
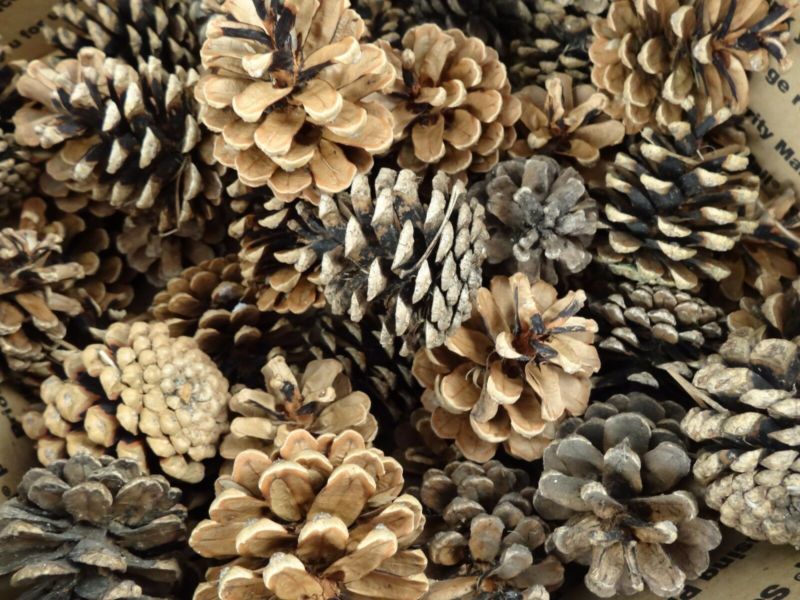
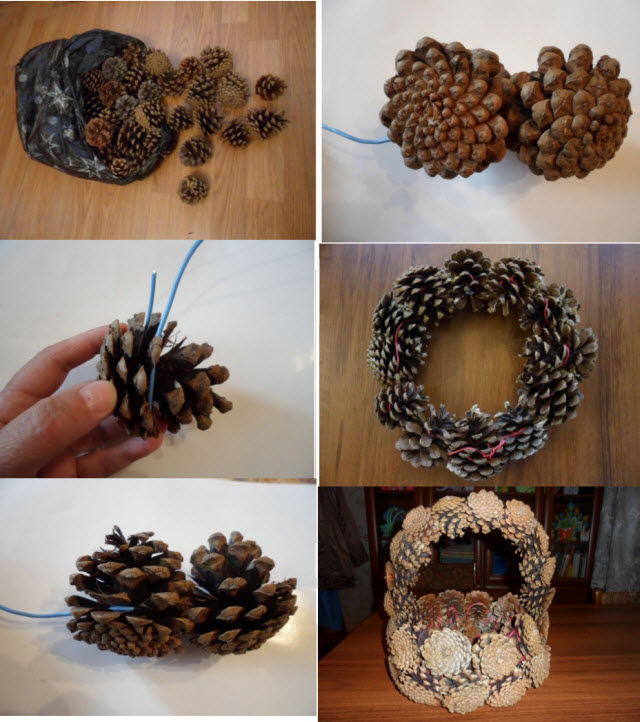
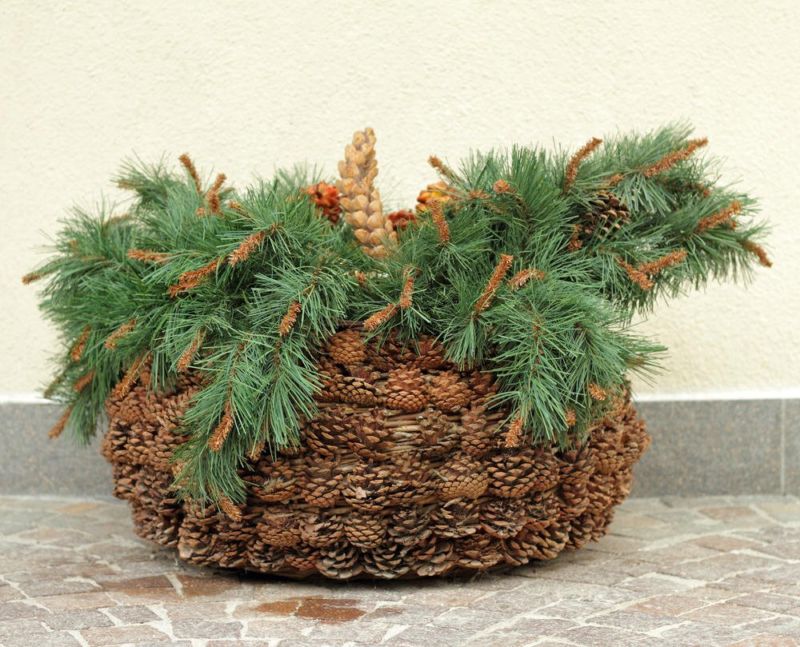
From cones.
Cachet of cones for pots with ampelous plants looks attractive. To make it, you will need a minimum of material and time.
What are the steps:
- Select a flower pot.
- Pinecones to fix between each other. The most acceptable option is to glue the pot.
- The handle is made a little longer than in a normal basket.
- The bottom can not be made.
- The planter should be a couple of centimeters higher than the flower pot itself.
If the product is intended for a hanging version, the bottom is necessary.
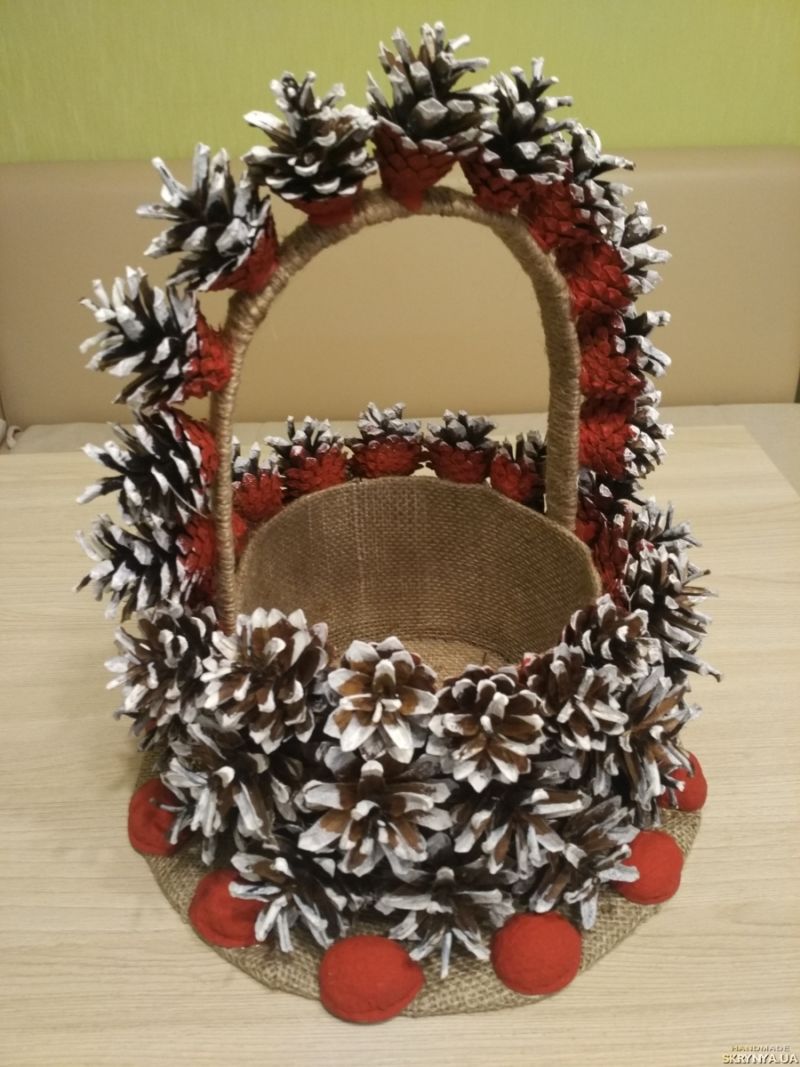
In the case of decorating with cones vase made of wood base (barrel, tub), you will need to impregnate it with protective compositions. This will prolong the life of the product.
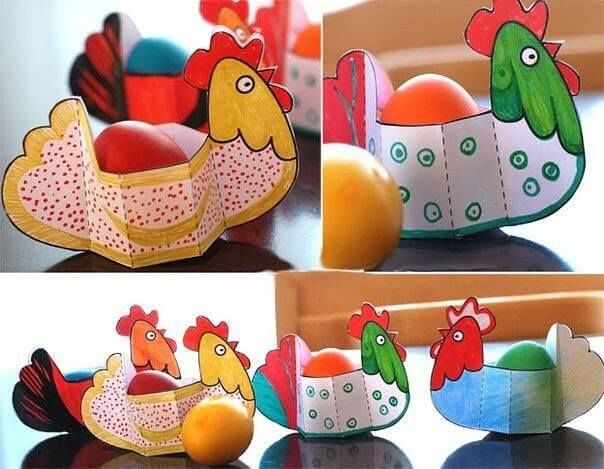
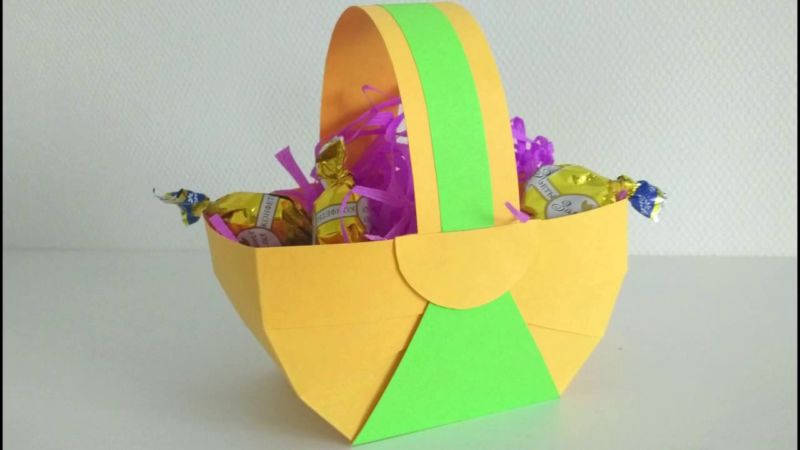
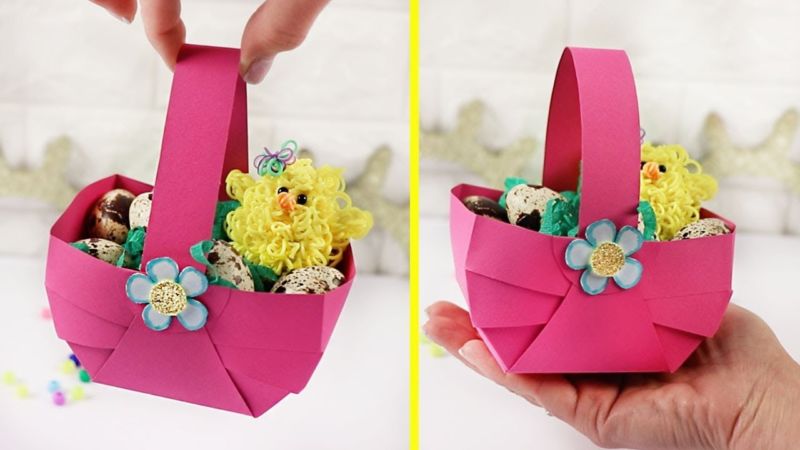
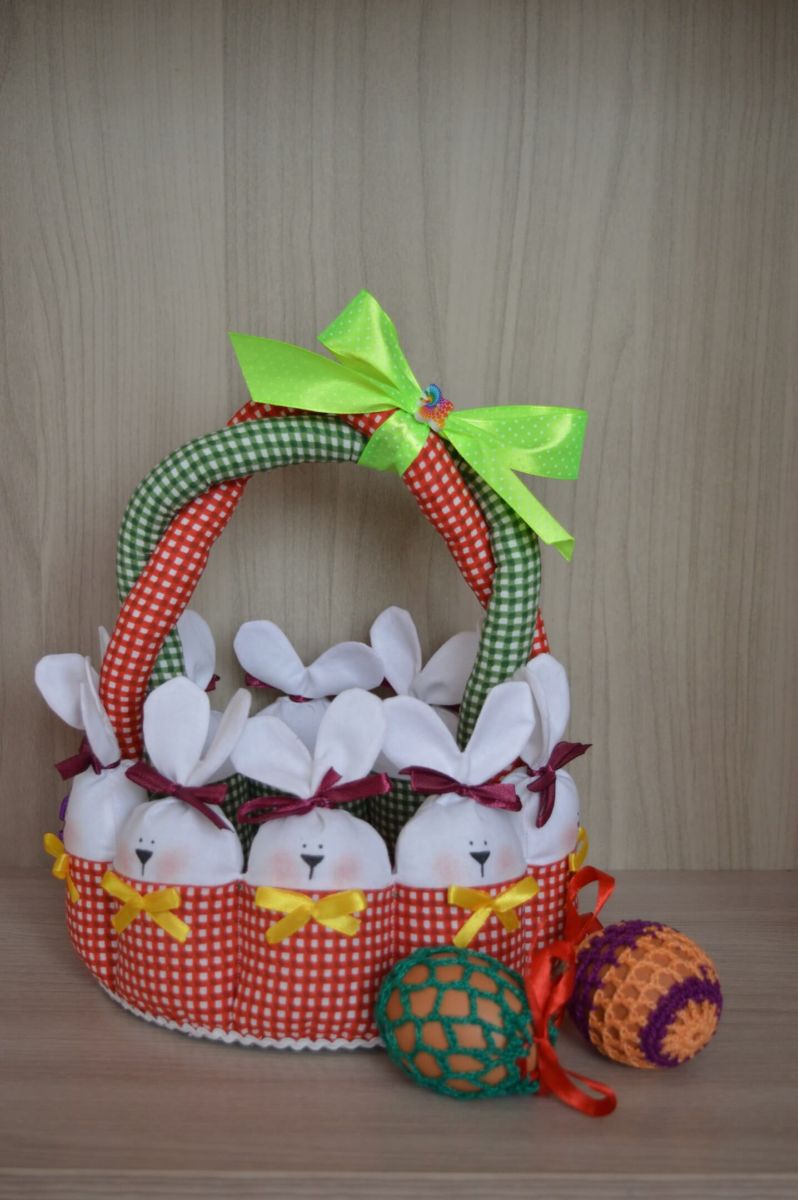
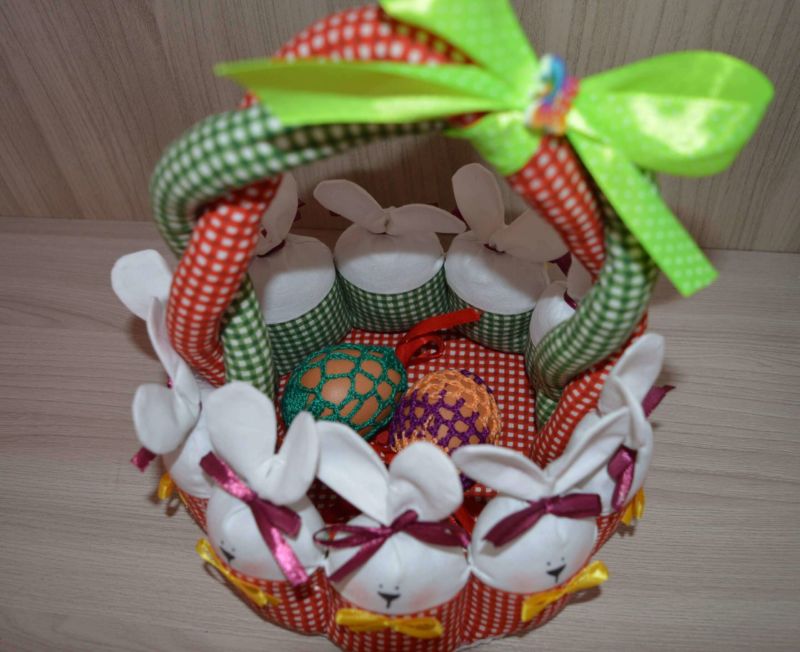
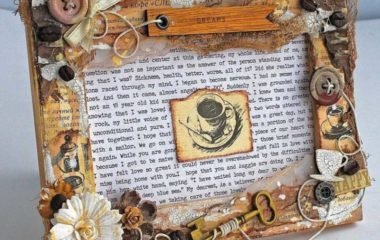
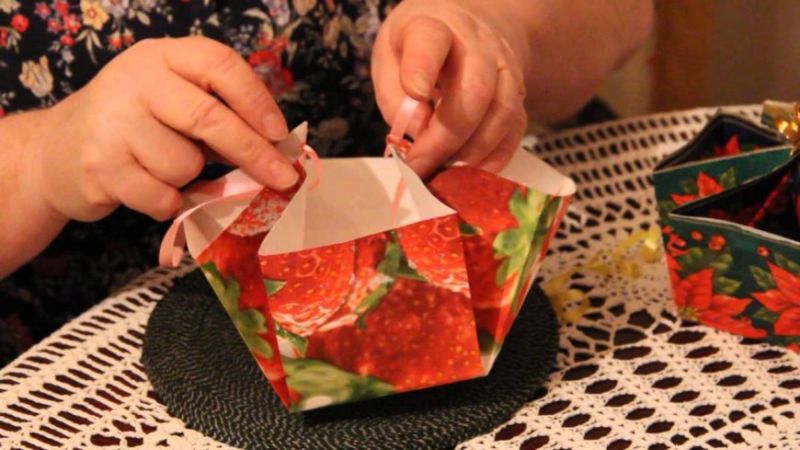
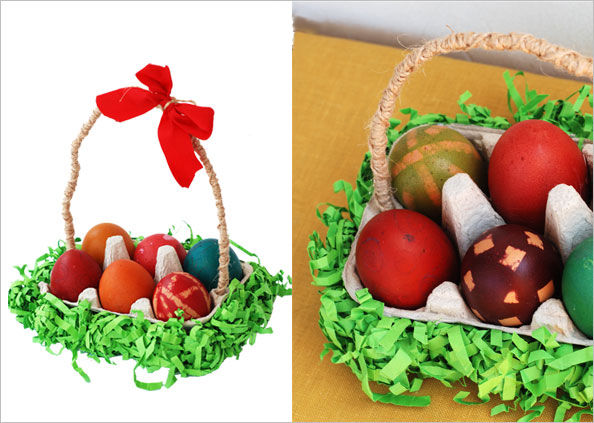
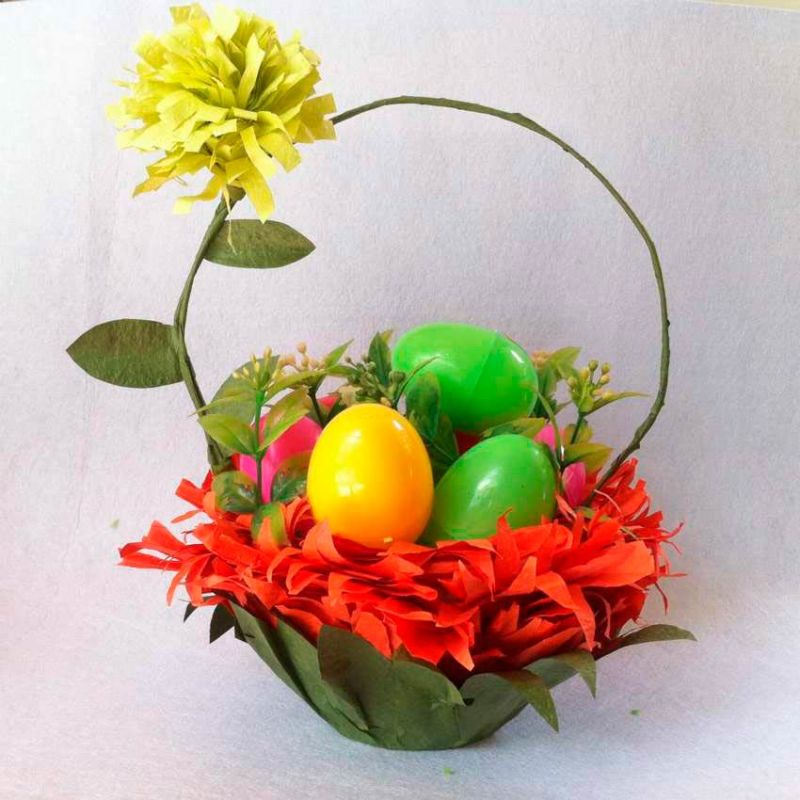
Easter Basket
On a bright holiday, the basket has become an indispensable attribute. It is necessary to prepare these items in advance, so that on this day only to fill them. These baskets are made in different styles, using the whole color palette and an array of decorative elements.
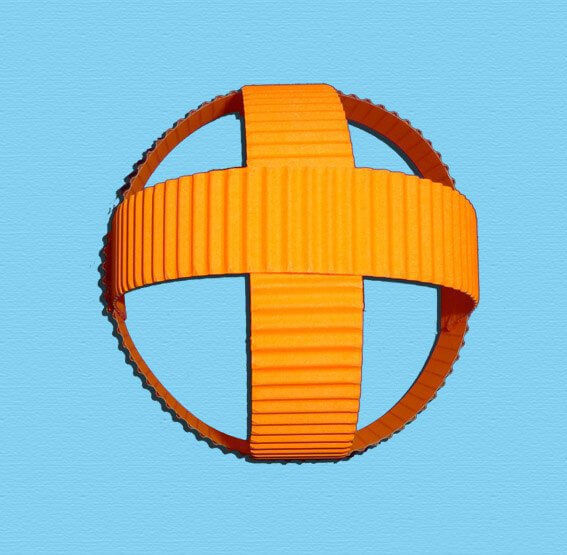
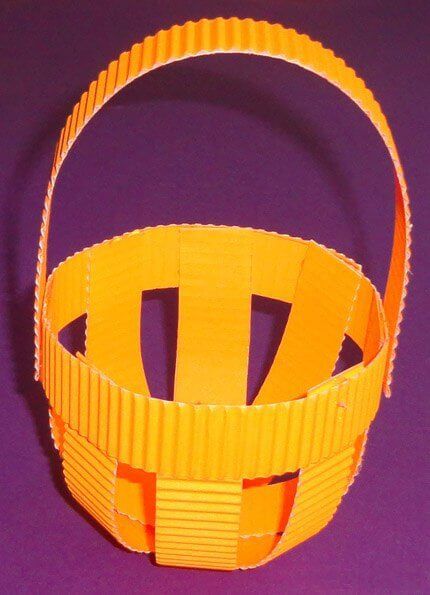
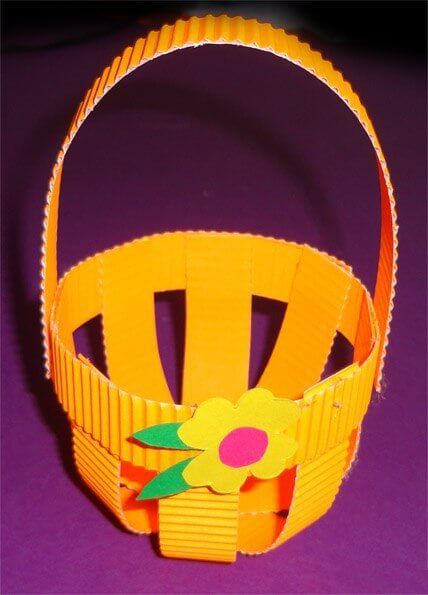
Made of corrugated cardboard.
A variant in the form of twisting from corrugated strips and then gluing them together is suitable for children's creativity. Kids with passion will make these unusual crafts. Following the manufacturing instructions, everything will work out from the first time.
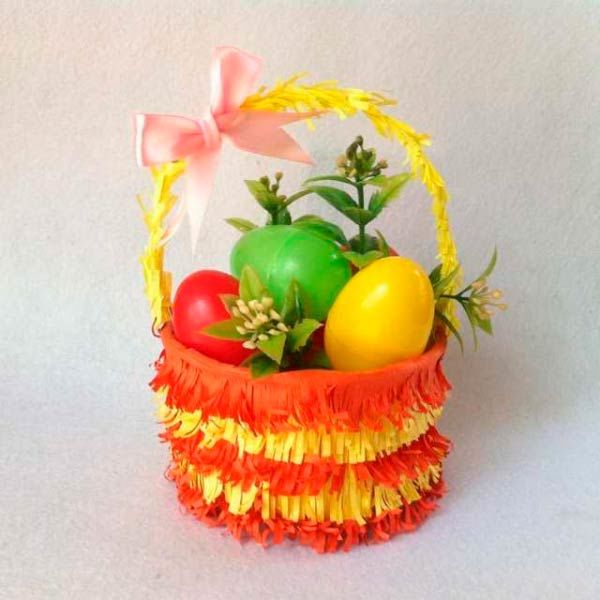
Stages of creating a basket:
- Prepared one centimeter wide strips, and in the amount of a little more than ten pieces, twist.
- Fix the loose end with glue.
- Not much pressure with your fingers on the center of the future product, give it a shape in the form of a concave container.
- This will form the bottom and sides.
- Cut a strip of a different color of the required length - you get the handle of the basket.
- Decorate the finished product, fill it with painted eggs, candy or flowers.
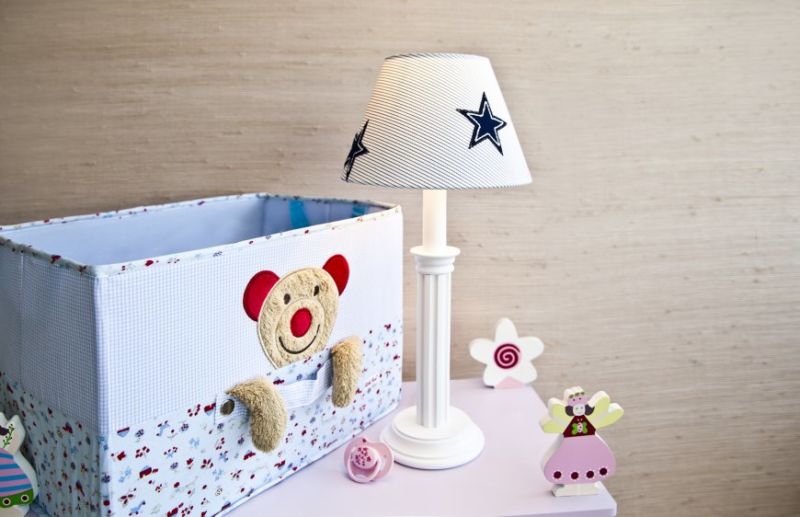
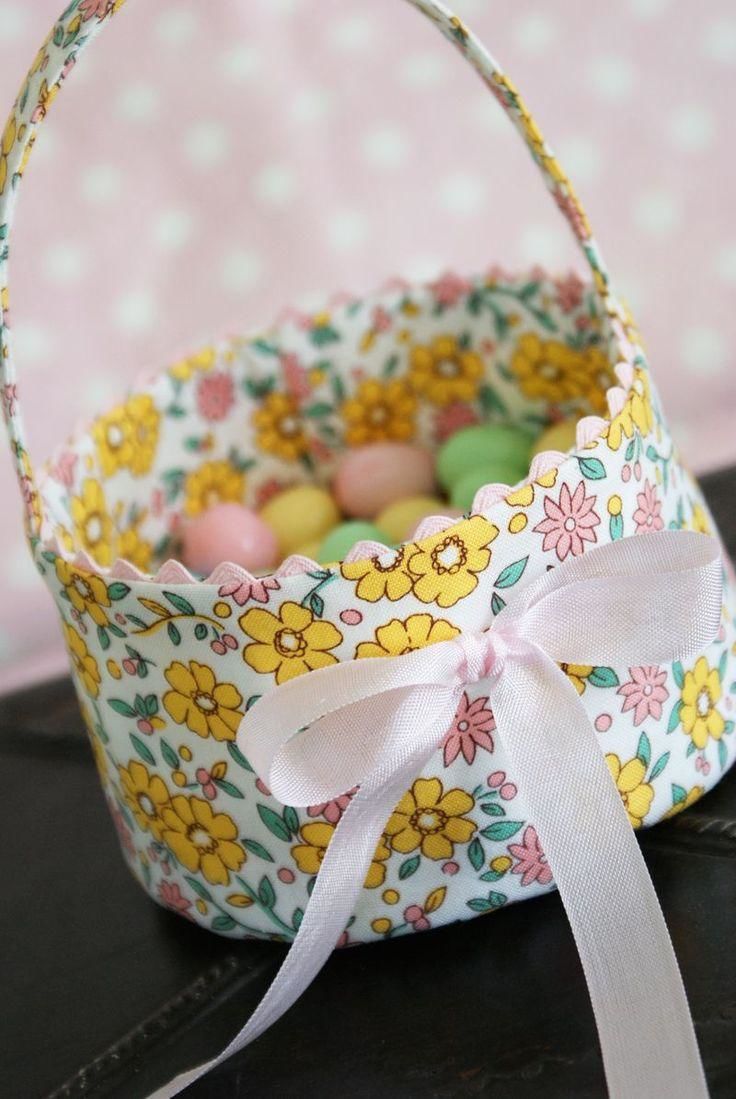
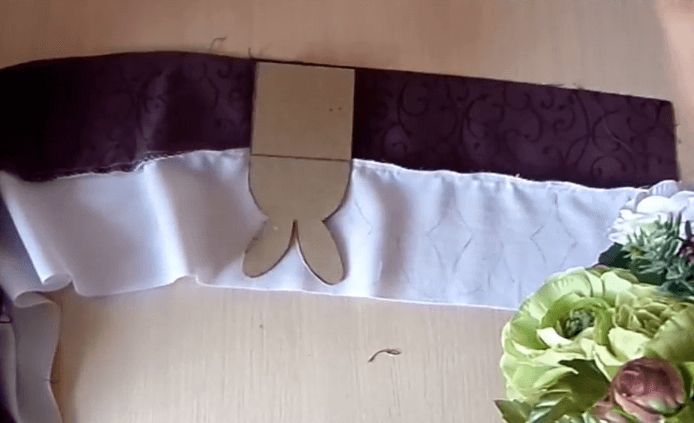
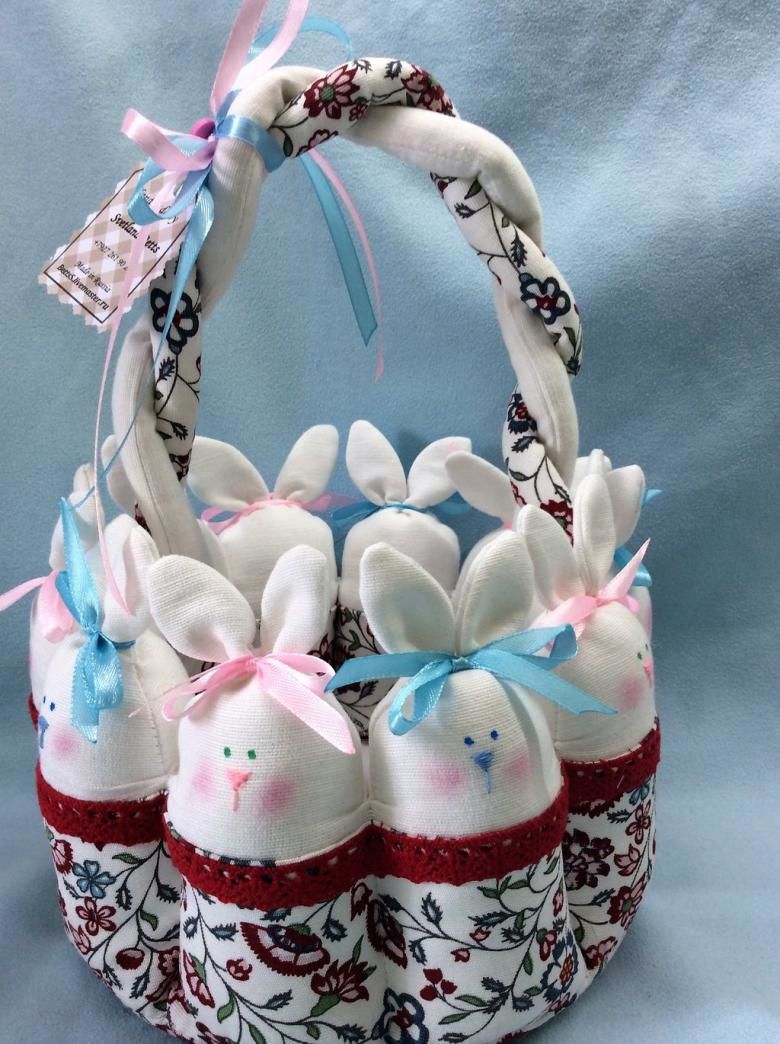
From fabric
There are many options for making baskets in this way. If a child takes part in the work, you can turn to the simplest way of performance.
What you need to do:
- cut the fabric into strips (the most different colors will do);
- Sew the pieces together;
- Cut strips from thin cardboard or heavy paper (length equals the height of the piece);
- lay them in the form of sun rays, in the middle glue the "sun" - a circle;
- Braid around the rays with fabric braid.
Decorations and filling as desired by the manufacturer.
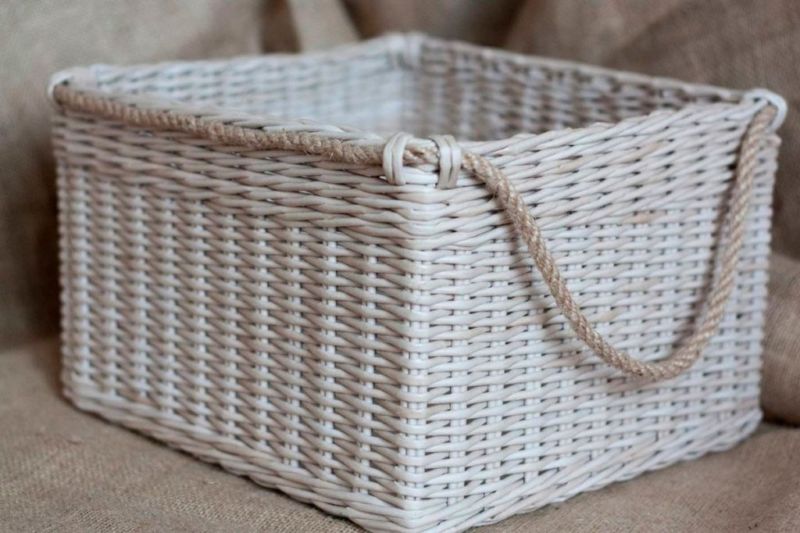
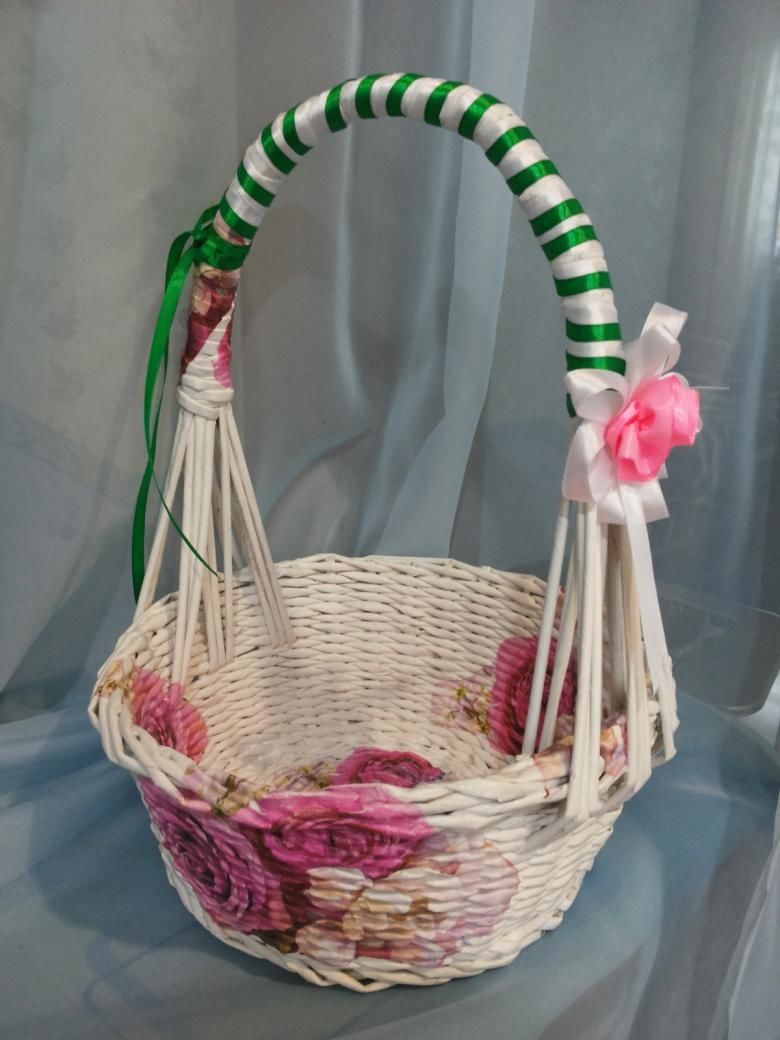
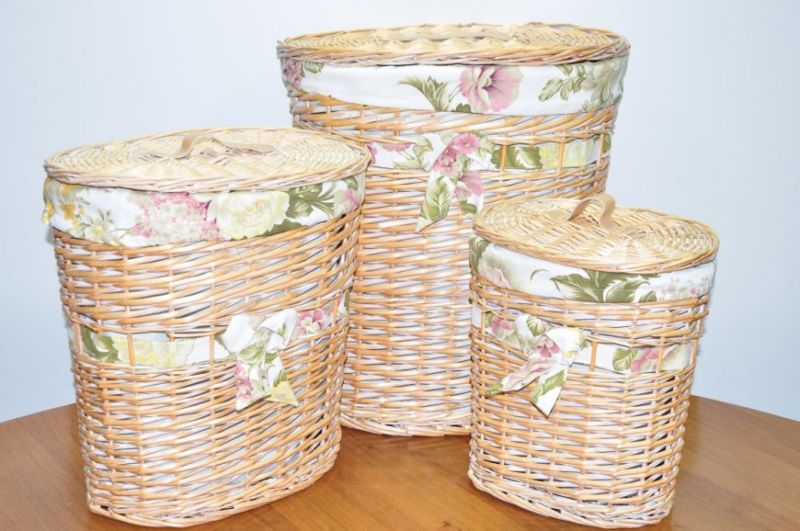
Wicker basket made of wicker twigs
Easter wicker products made by masters of handmade craftsmanship are now widely available in specialized stores and markets. Such baskets are in extremely high demand.
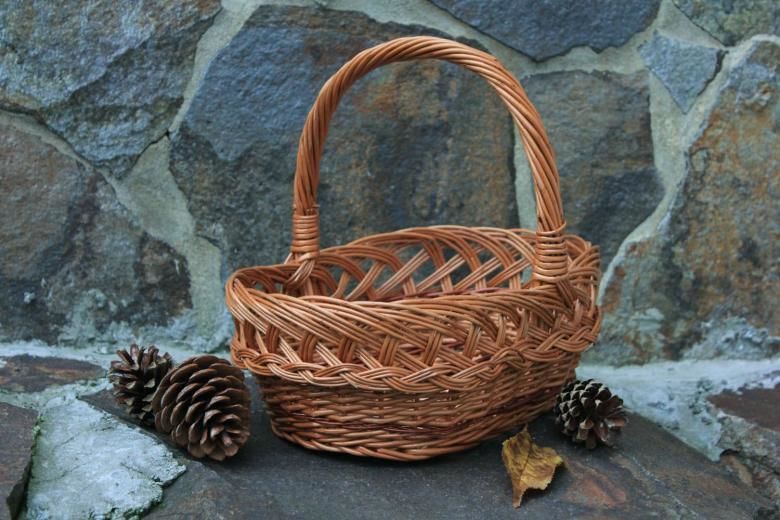
To perform such work with their own hands is somewhat difficult, especially for novice lovers of weaving. To make it work, it is desirable to visit (and not once) master classes of professionals in their field. Here you can gain knowledge and skills from the preparatory stages to the final decoration.
According to the purpose baskets are of two kinds: for practical use and decorative application. In either case, creating a unique basket is a fascinating, interesting and time-consuming (sometimes not so much) process. And this process brings joy.

Photo ideas of crafts in the form of a basket