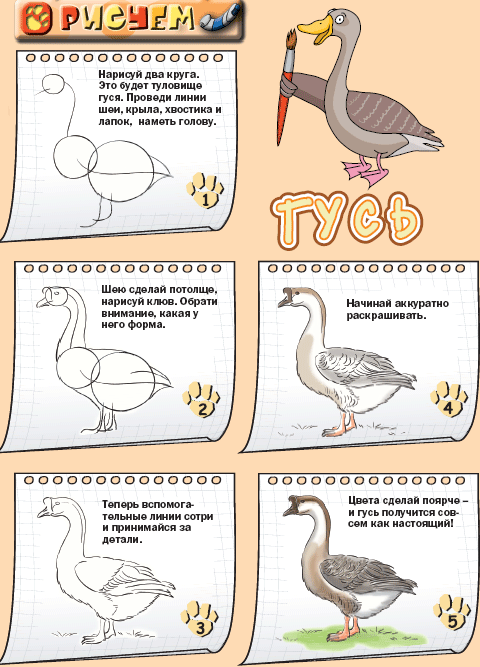
How to draw a goose: step-by-step drawing with pencil and paint for beginners and children
If you want to learn how to draw geese or teach your children, in this article we have described several drawing schemes. The guide is very detailed, so you can learn in 15-20 minutes.
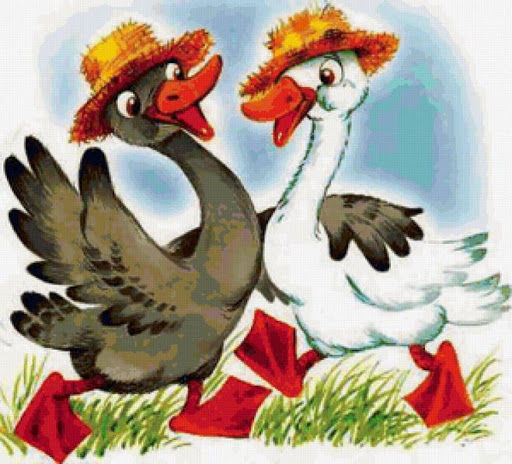
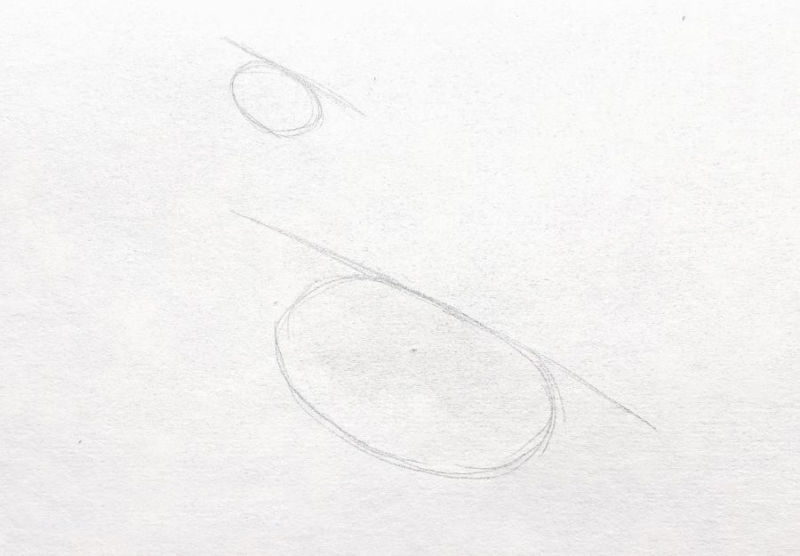
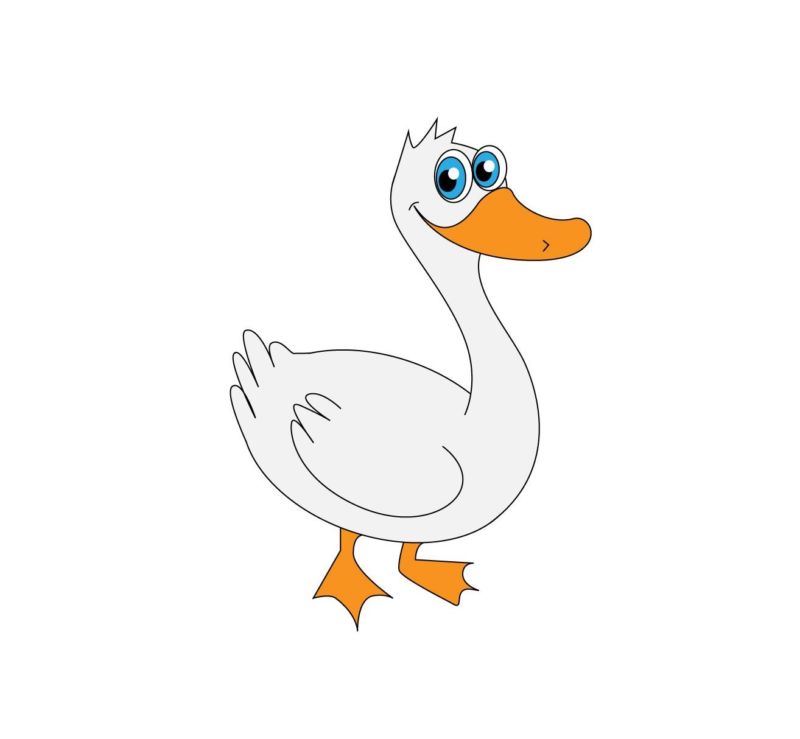
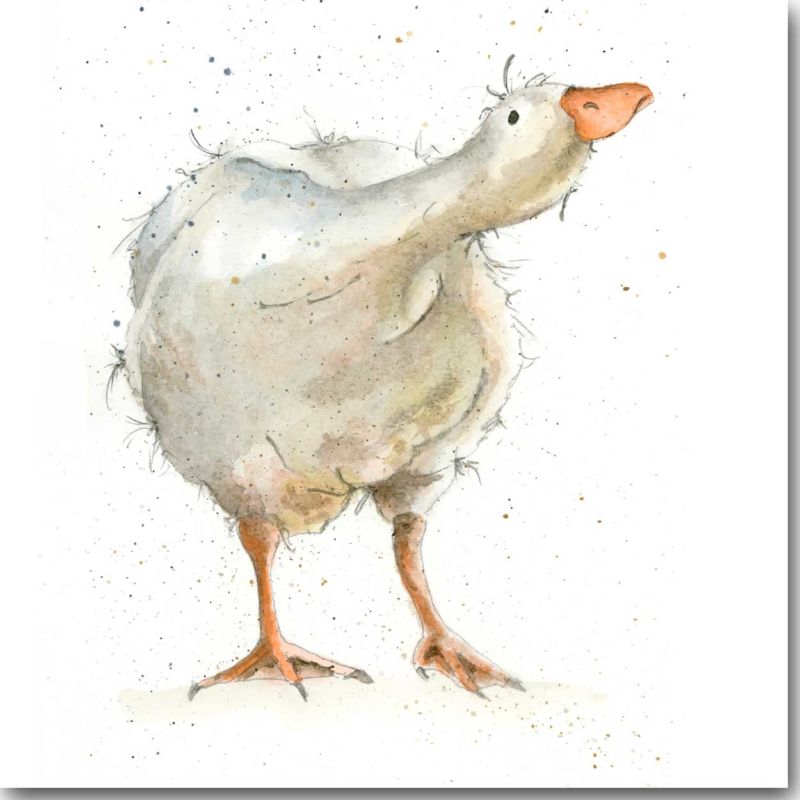
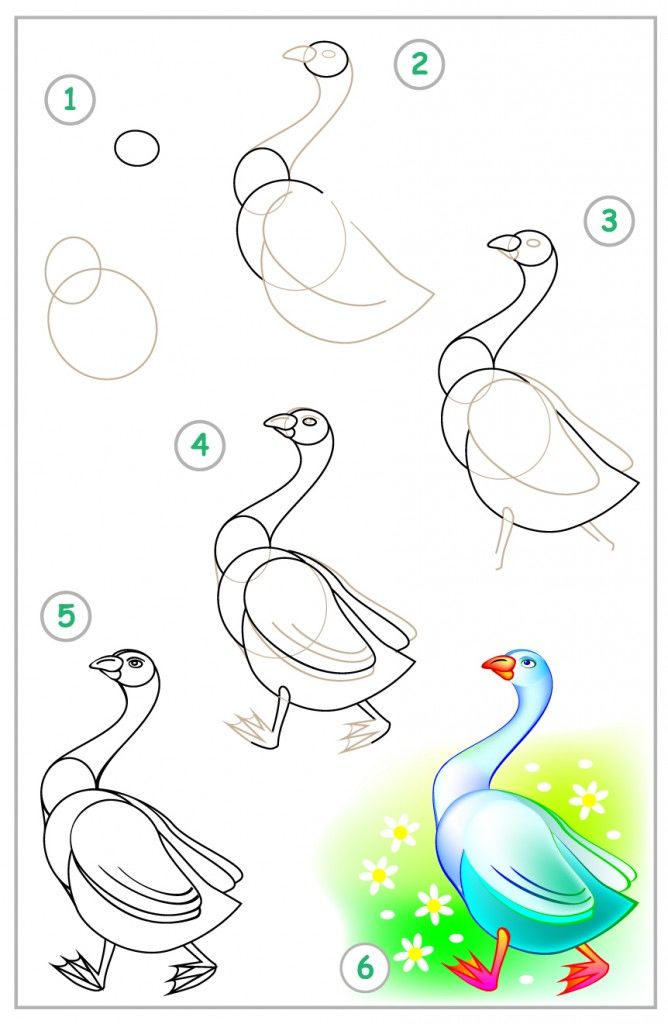
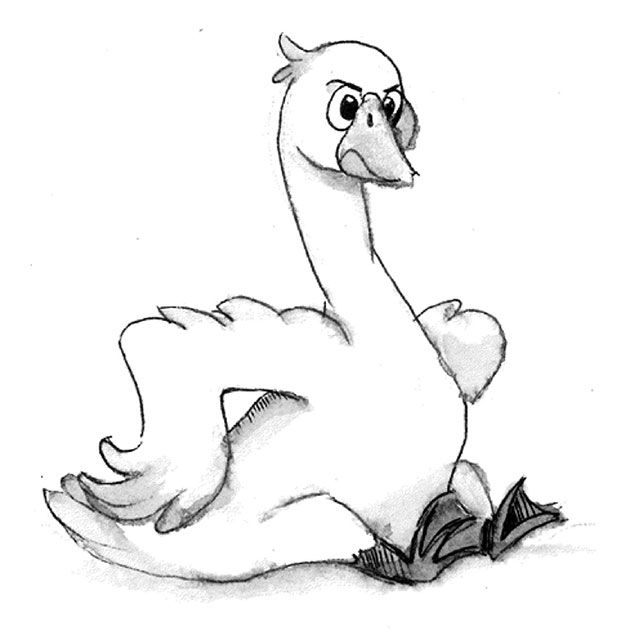
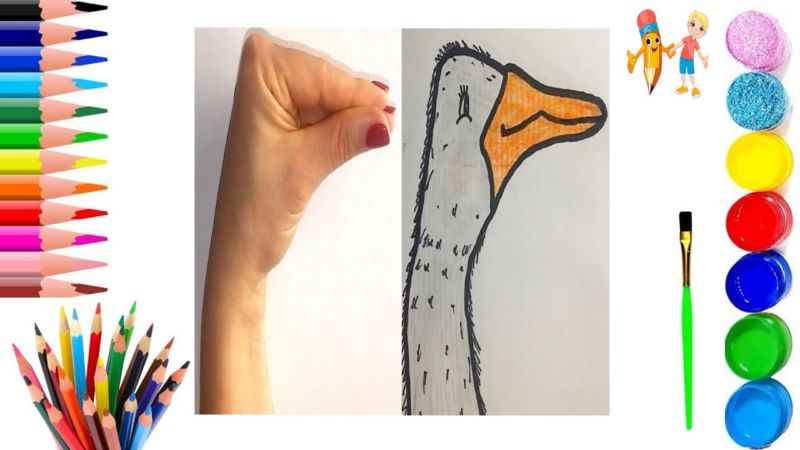
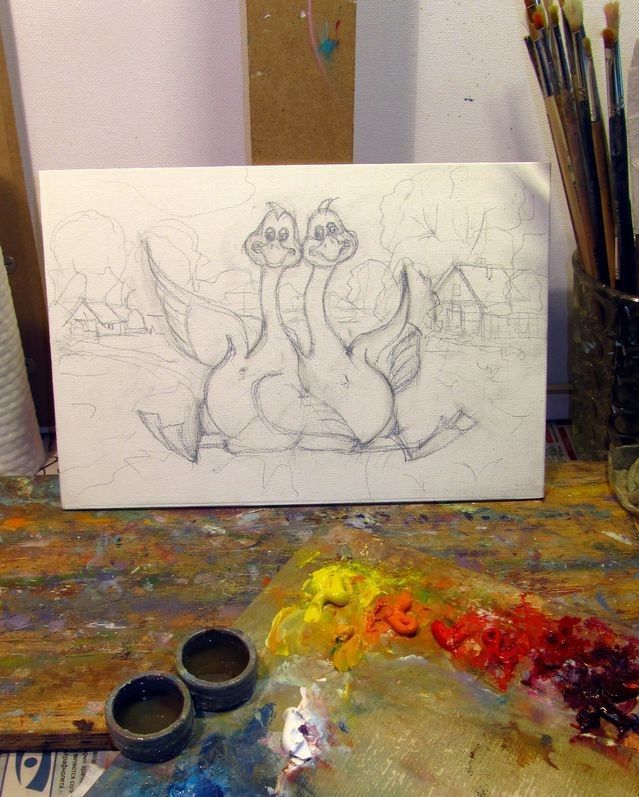
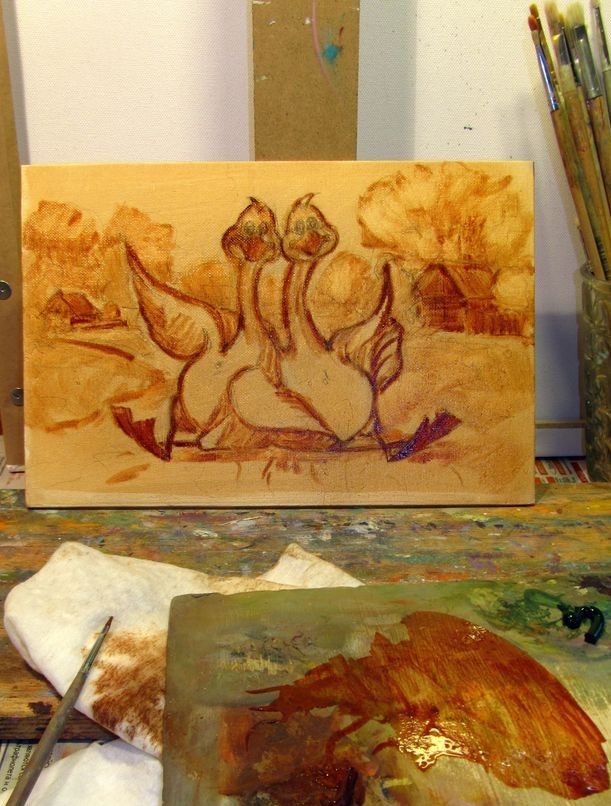
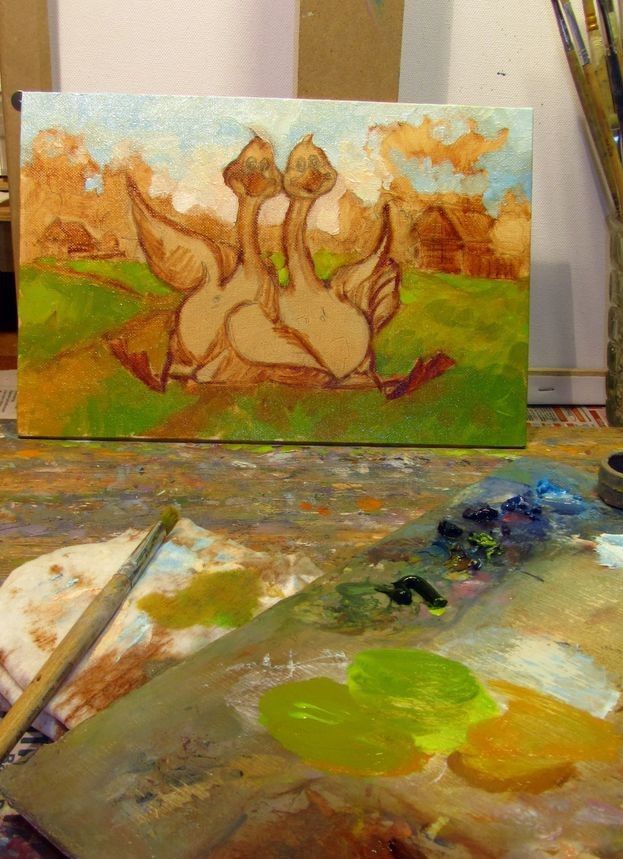
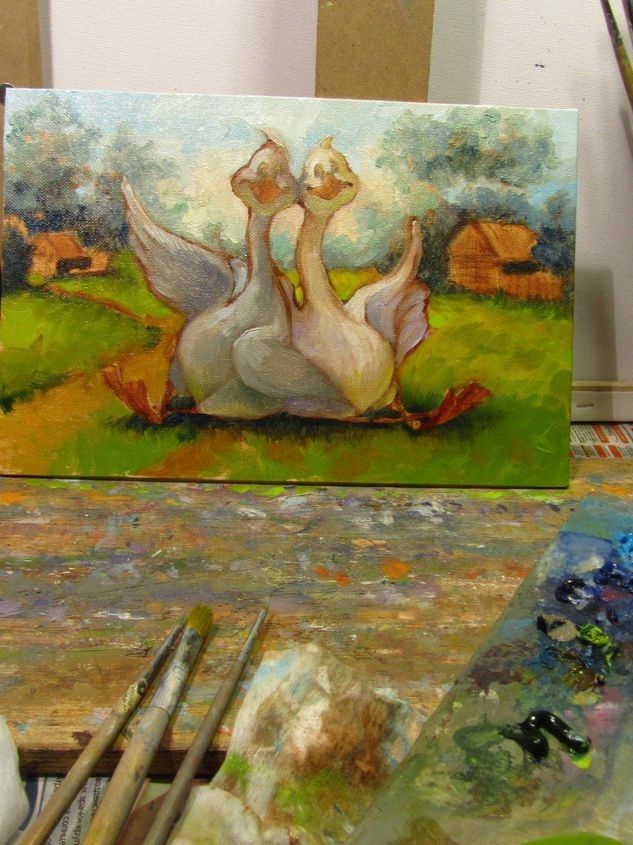
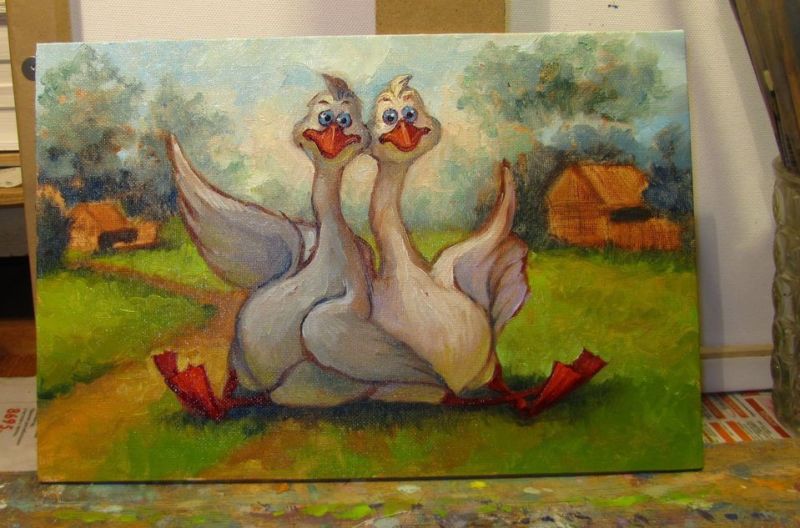
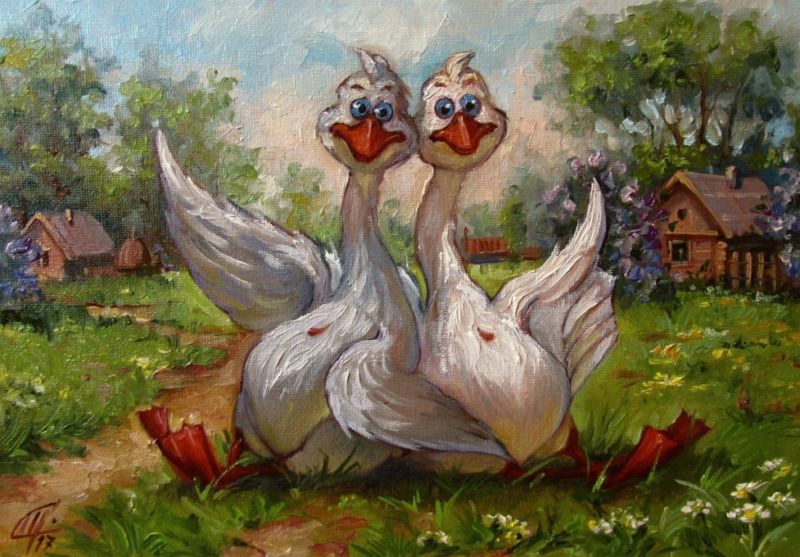
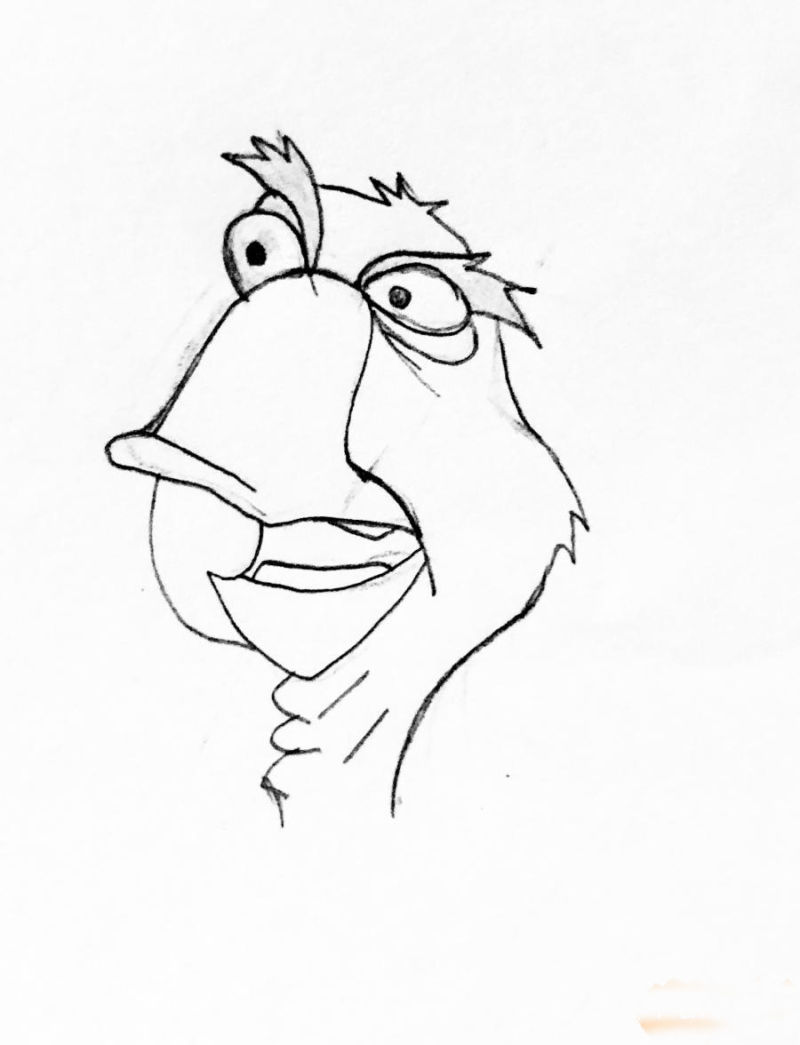
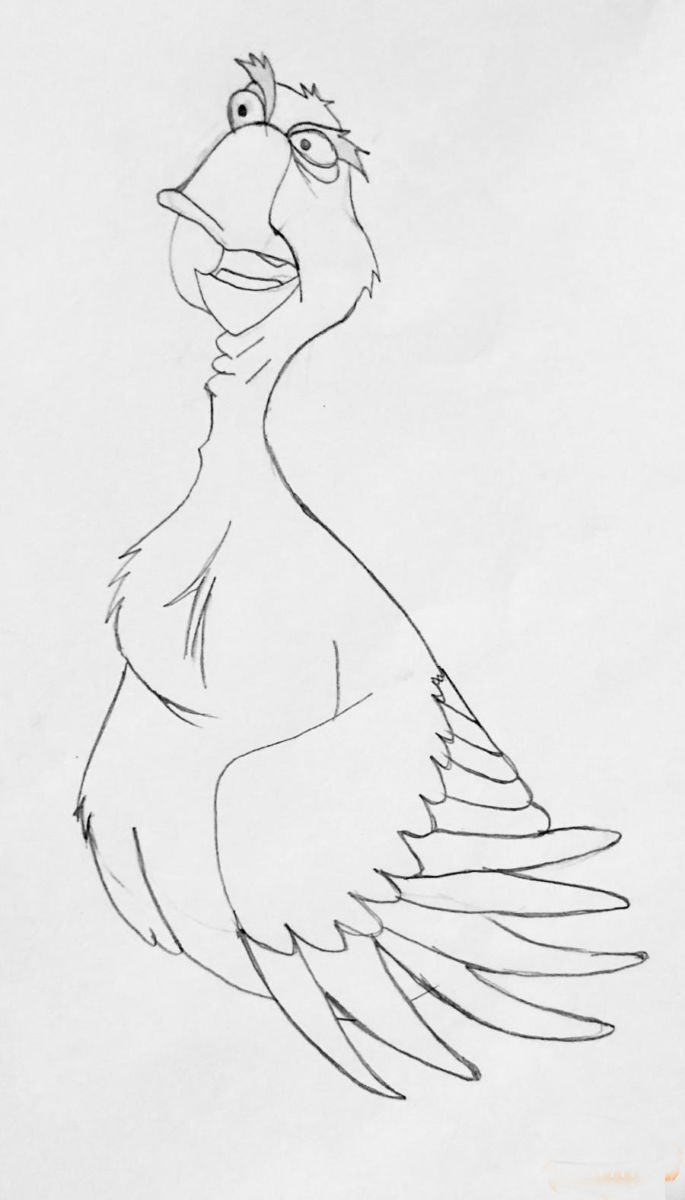
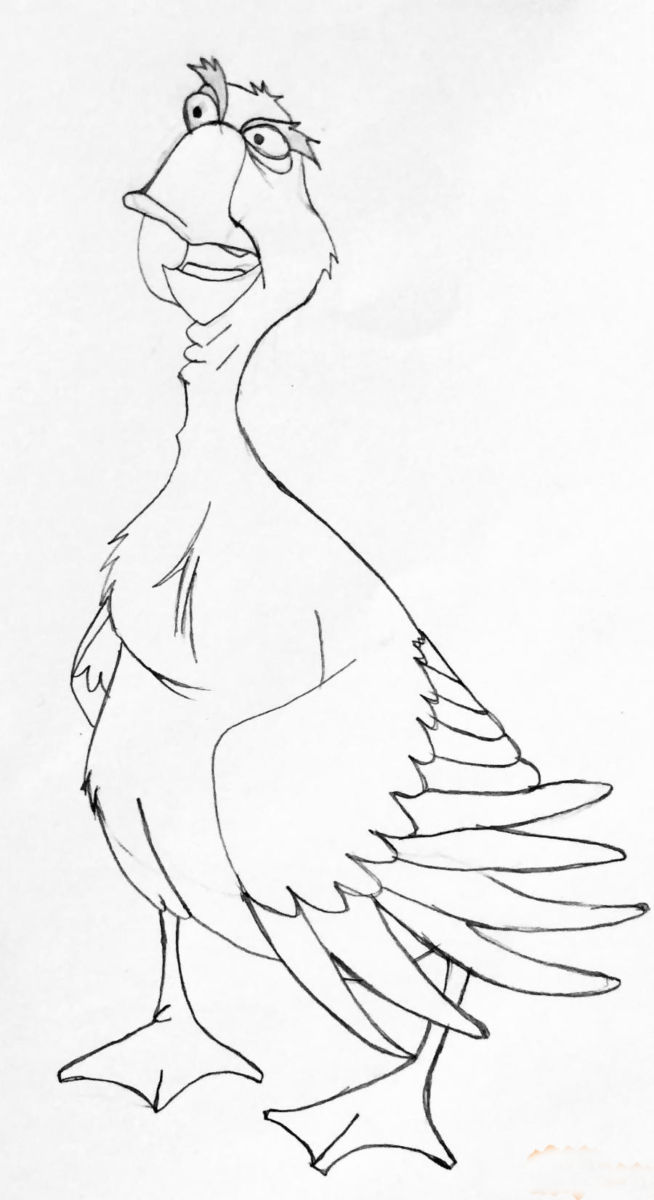
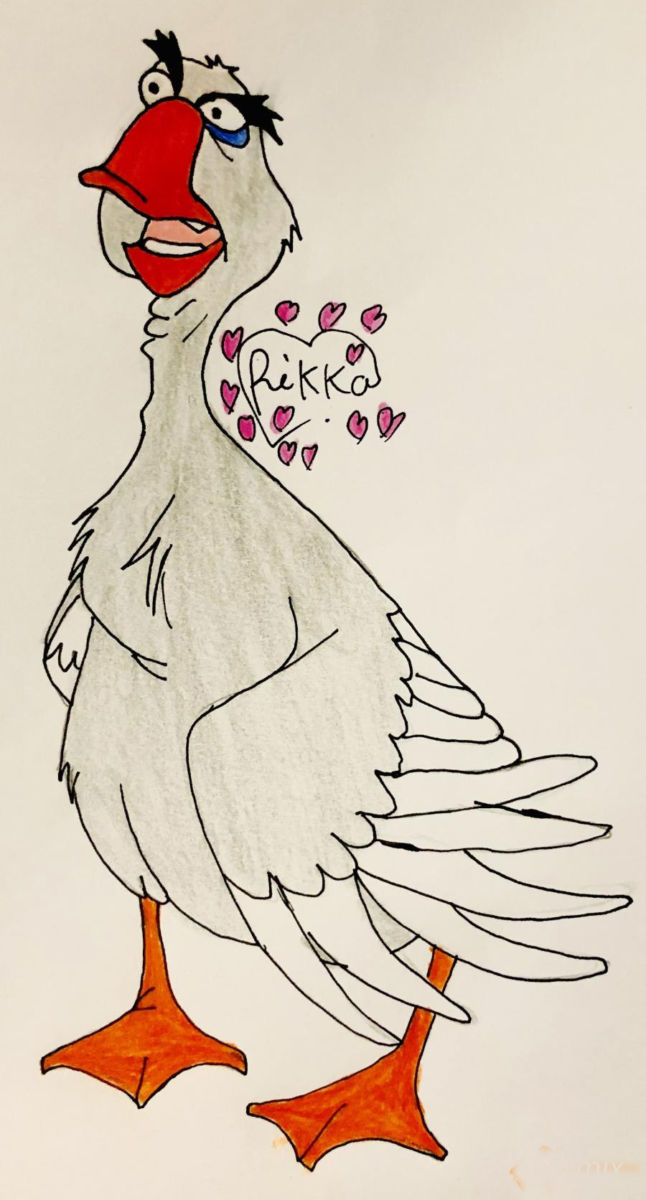
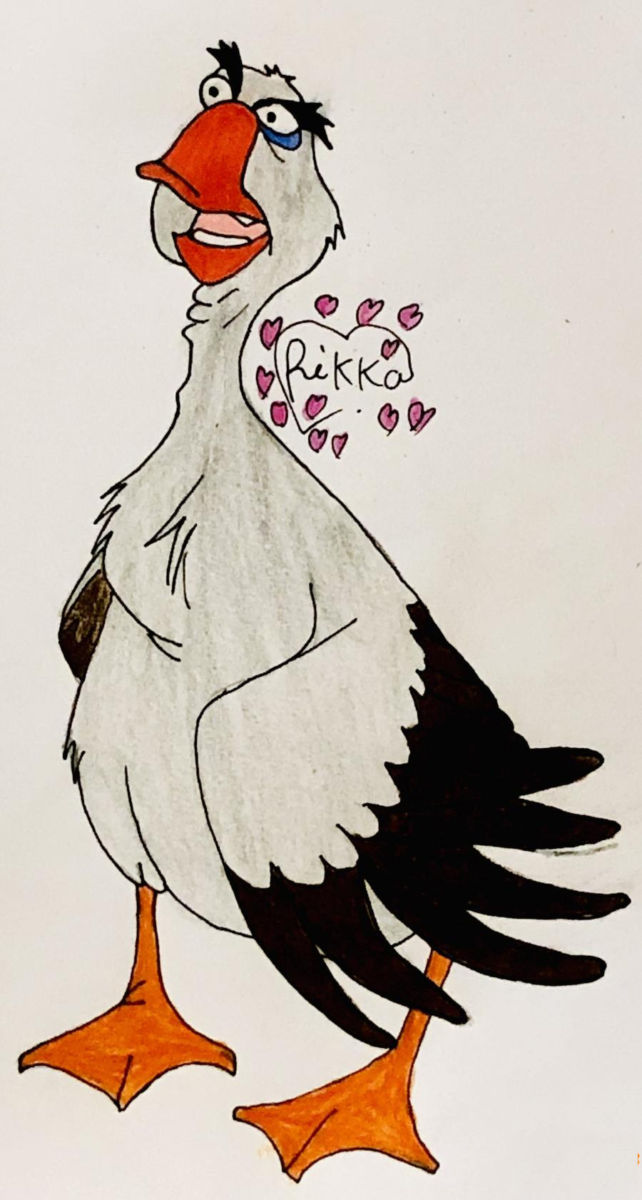
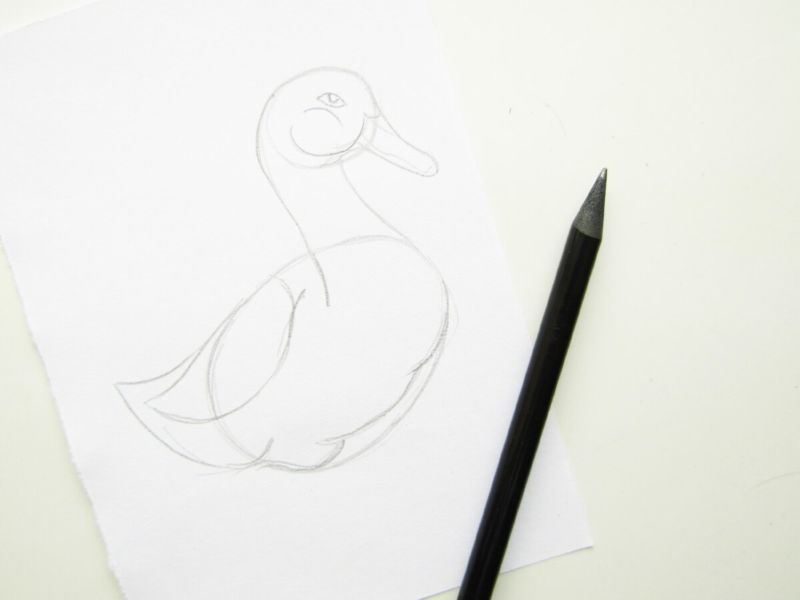
Drawing the little goose from the cartoon "Two Merry Geese".
This short cartoon film is known to many children and adults, it was created in 1970 by Soyuzmultfilm studio. Draw the goose should follow these instructions:
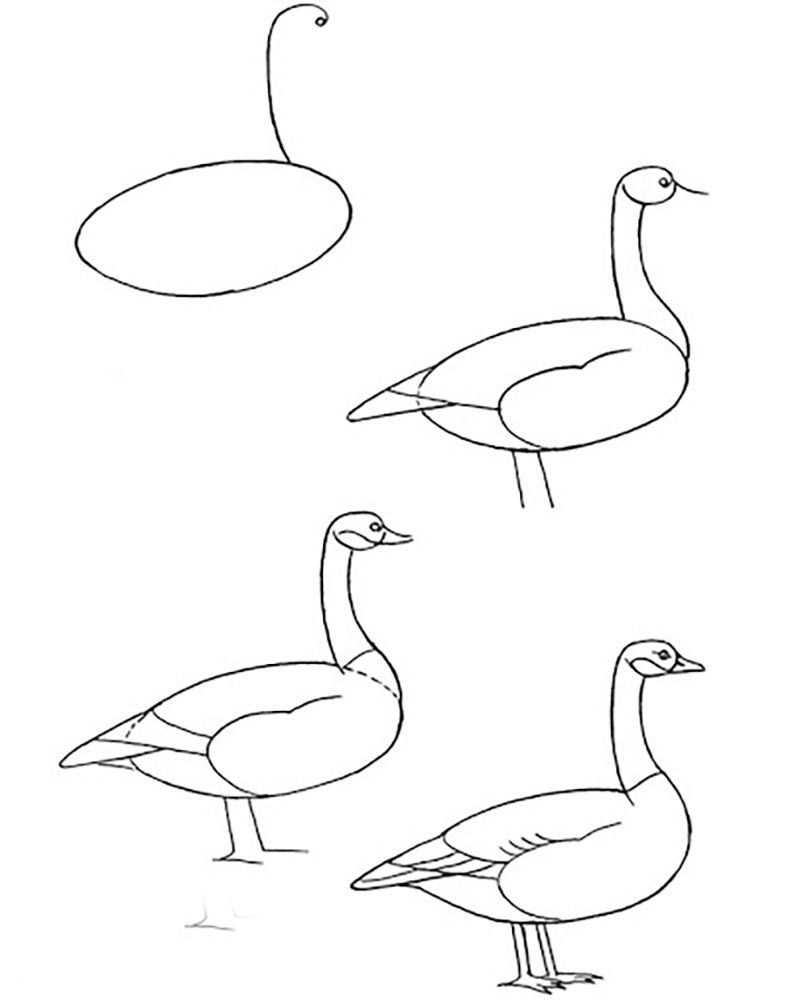
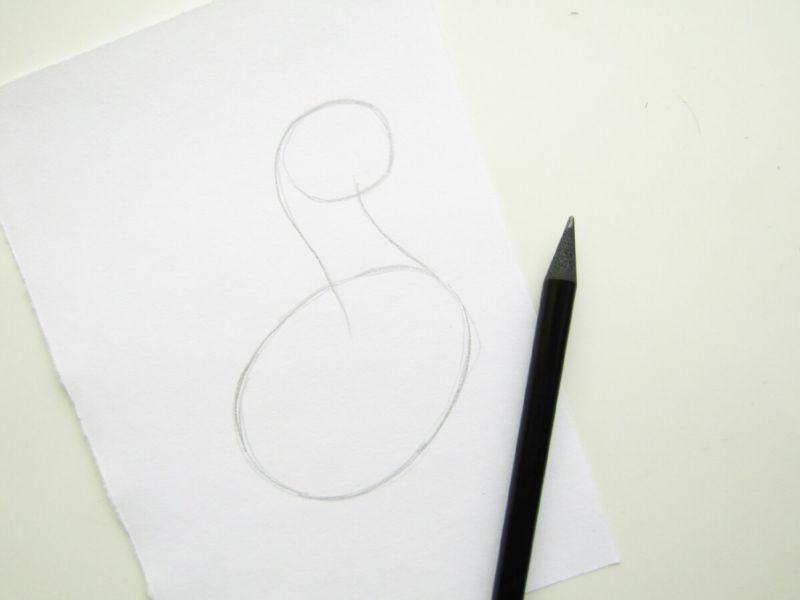
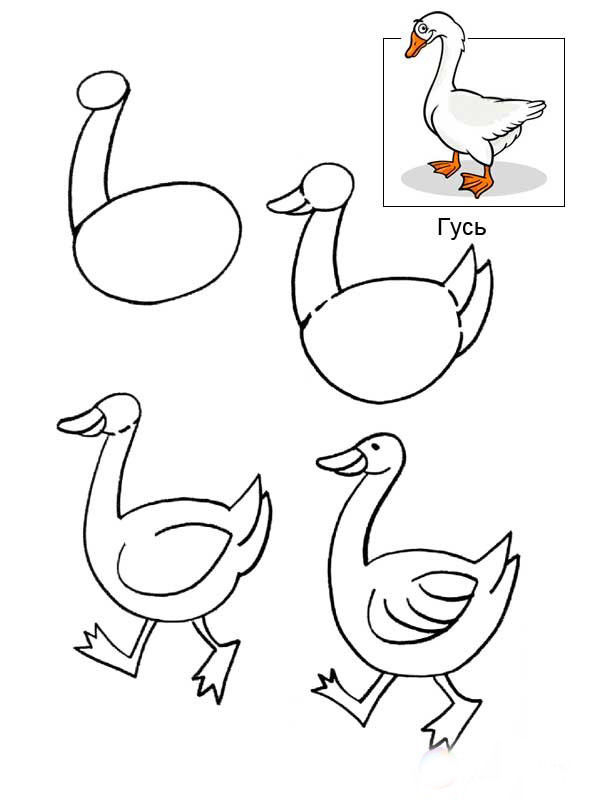
- Create first of all ovals, they will be the basis for the head and body.
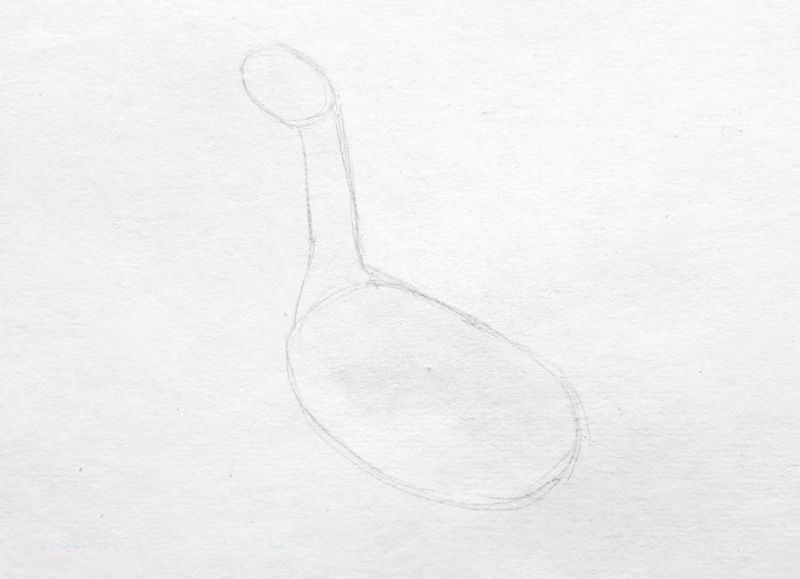
- Draw the head of the bird with a beak, and then the graceful neck.
- Draw eyes and nostrils.
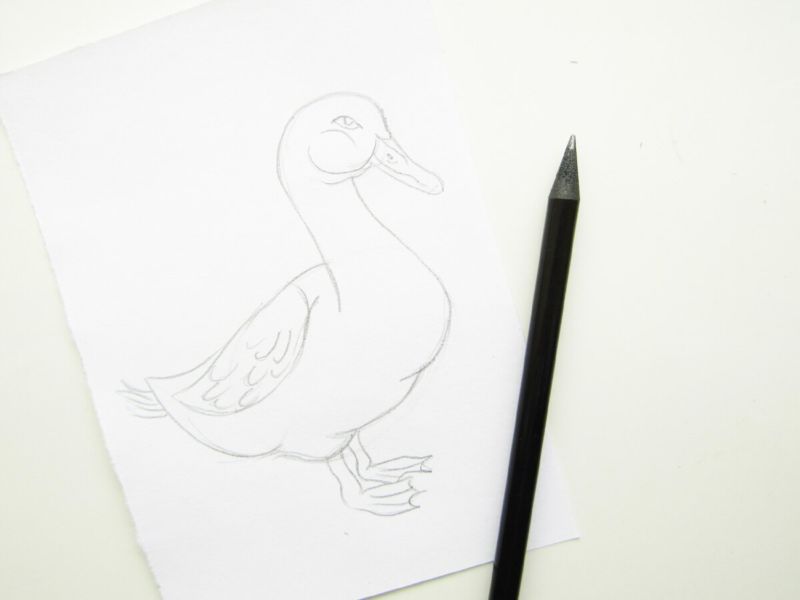
- Next, we create the folded wings.
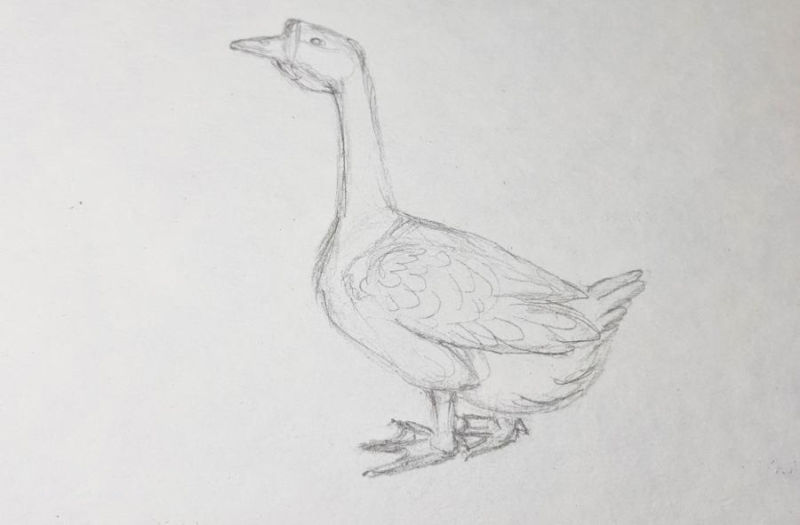
- Begin to work on the feet, if you draw a goose with a pencil, it is important to trace the fine details, such as webbing on the fingers, nostrils, etc.
- At the end of the work all the contours are outlined.
Basic Aspects of Drawing a Canada Wild Goose
- Drawing this beautiful goose is not at all difficult, but it is important to work well on shading the bird. When the head is drawn, the beak and neck should be made the darkest. About 1/3 of the neck (counting from the head), draw the characteristic light ring that distinguishes Canada geese.
- Draw more darkening to the ends of the wings, especially the tail and the feet.
- Brush the feathers frequently, but without pressing the pencil hard.
- Use the lightest colors to paint the base of the wings and torso. Rough texture is necessary for plumage.
- Do not rush too much with the shading, it is better to take several breaks, but still confidently shading the drawing evenly. Good luck!

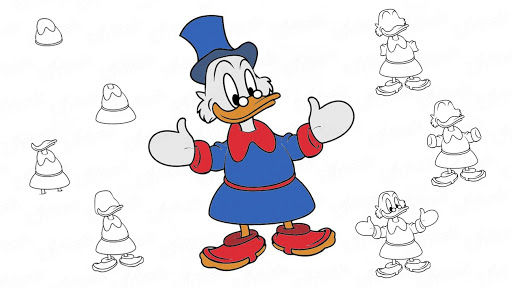
Detailed Scrooge McDuck drawing.
To work you will need:
- An A4 sheet of paper or special scrapbook sheets for drawing;
- a half-soft pencil;
- A soft eraser;
- watercolor paints;
- a glass of water;
- paper towels;
- brush set.
Let's begin:
- The first thing is to make a light sketch, it is formed of 3 ovals - head, chest, belly, then 2 ovals are drawn at the bottom of the belly-feet; 2 ovals on the sides of the chest. And over the head a cylinder is created, it is further transformed into an elegant hat.
- Next, we start gradually adding details. Let's draw the cylinder, then let's take McDuck's face: we draw clearly raised eyebrows, large eyes, glasses and a huge beak, don't forget about sideburns, at this stage you can also draw the hands. Hands of this cartoon character is always in gloves, torso in camisole. We dorisovyvayu cane, shadow fragments sketch with black paint, which is diluted with water, the excess moisture is absorbed with cotton napkins. We paint the eyeball and the glasses with diluted blue watercolor.
- We have already reached the belly and paws. Slightly rounded abdomen, giving it a spherical shape. Drawing a small tail, we add massive feet in sandals.
- To make the image of Scrooge McDuck more expressive and contrasting, we should go over all the outlines again with a simple pencil. This should be done after the paper dries. The drawing is ready!
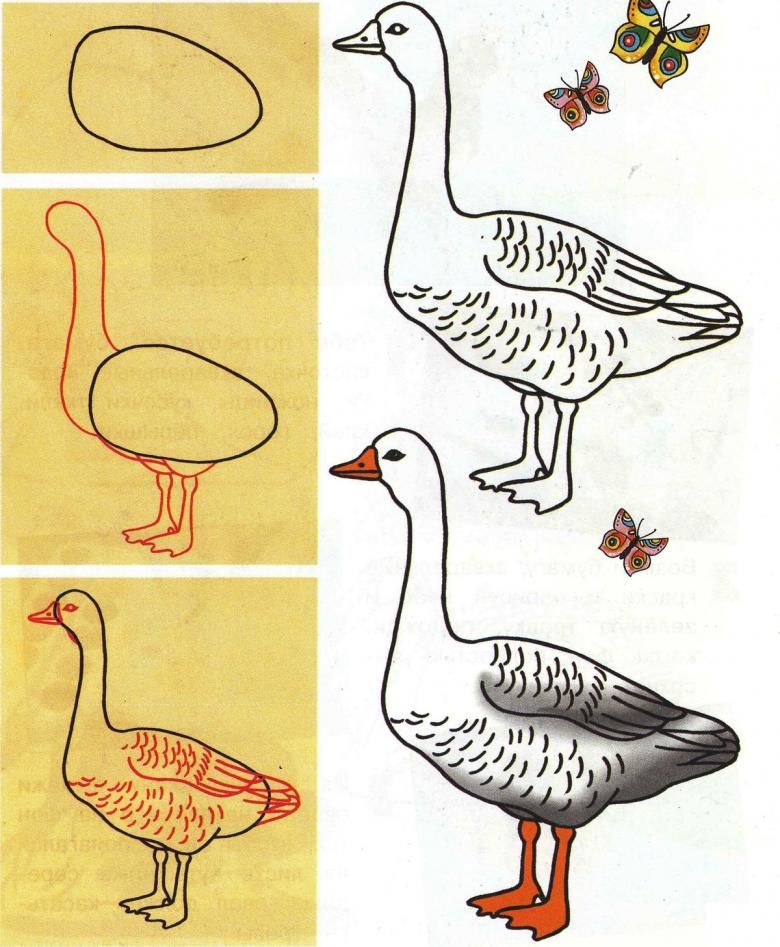
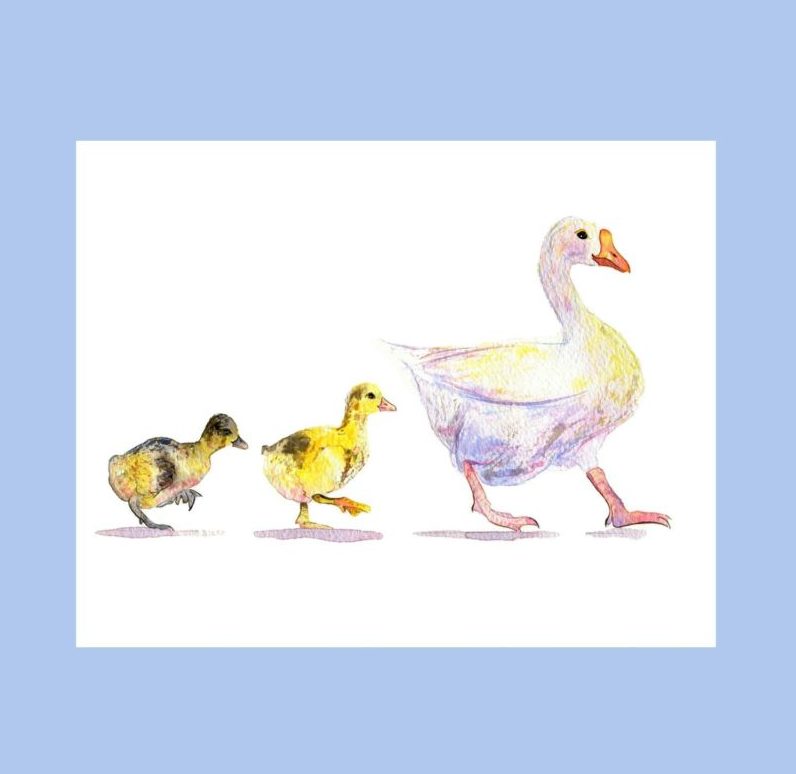
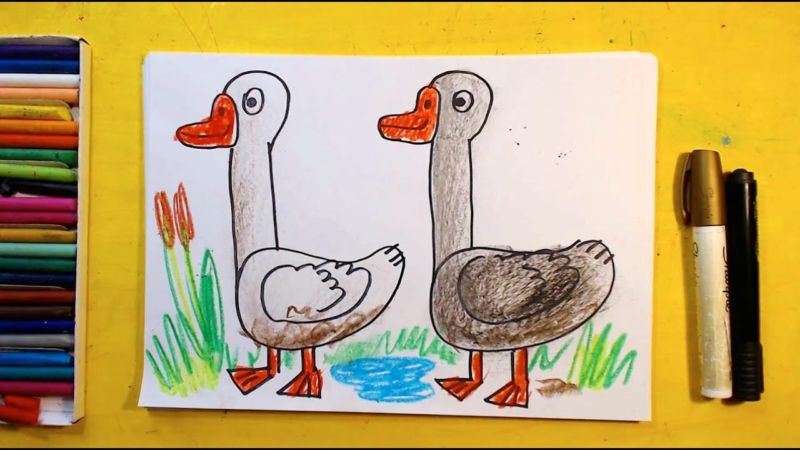
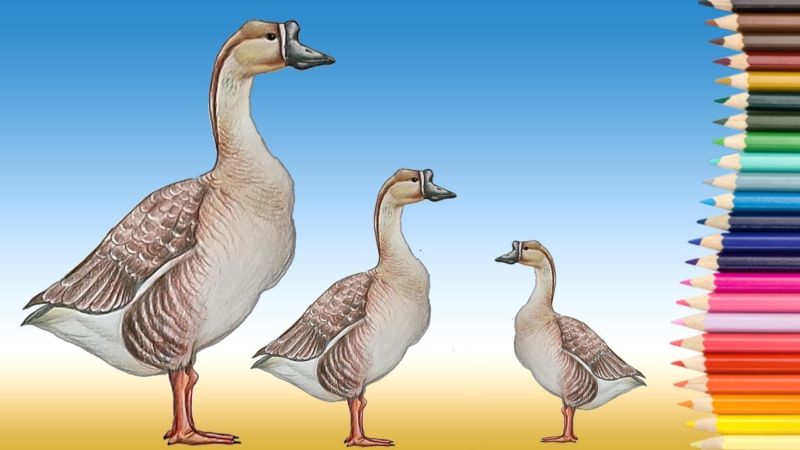
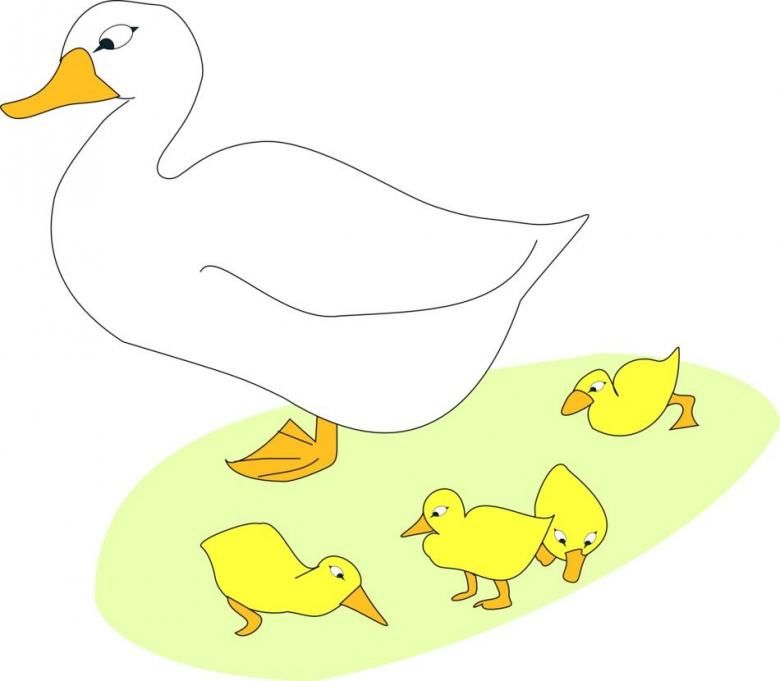
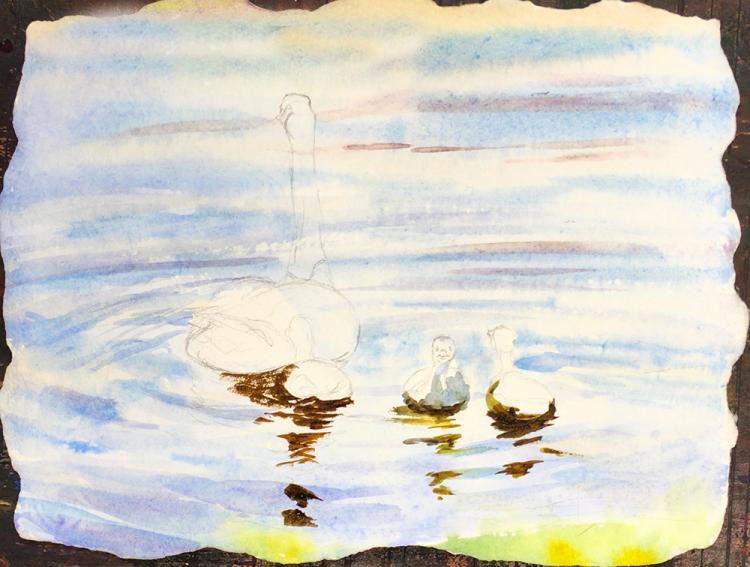
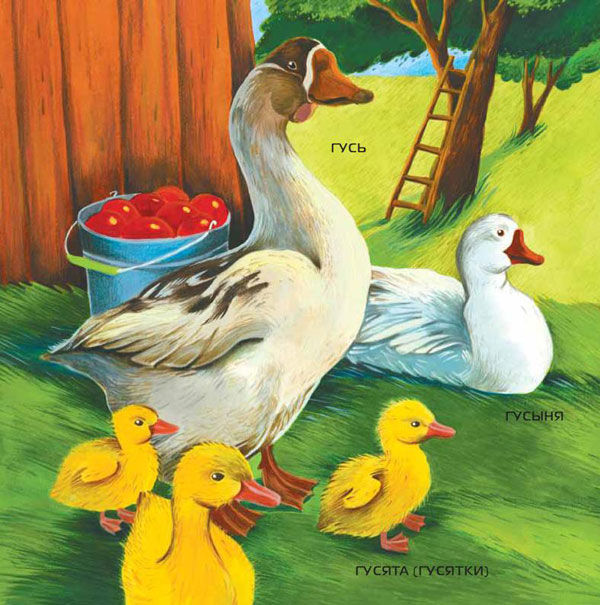
Drawing a goose and goslings
Goose step by step with goslings is drawn as follows:
- The goose can be drawn according to the instructions, which we have already provided above.
- With goslings here everything is a little more complicated, beforehand you should study all kinds of drawings of little goslings.
- All the proportions of the body when drawing should be reduced in multiples, with the neck and torso of the goose planted lower.
- First, two circles are drawn, with the lower one being slightly stretched along the horizontal line. Next, these figures are connected oblong thin lines, these lines have already clearly traced contours of the goose neck.
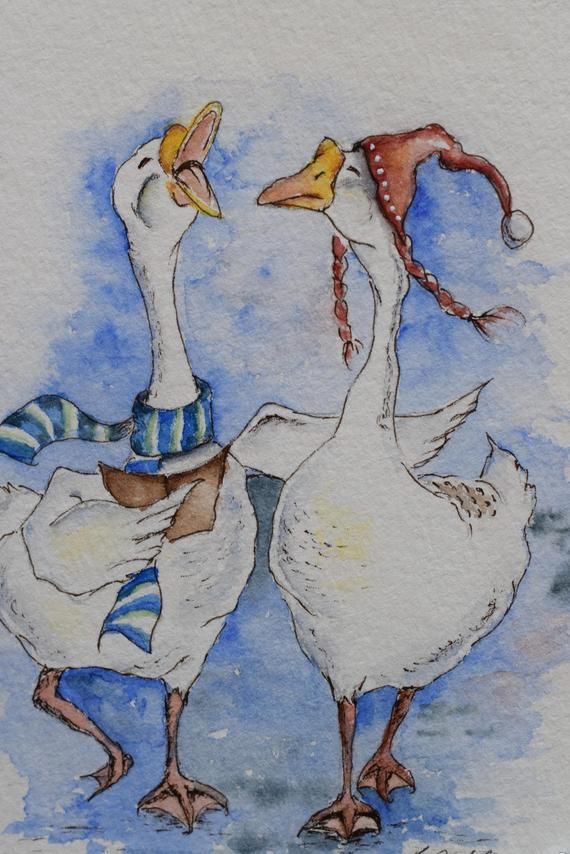
- If you want to create a whole story, it is worth using more shades of primary colors.
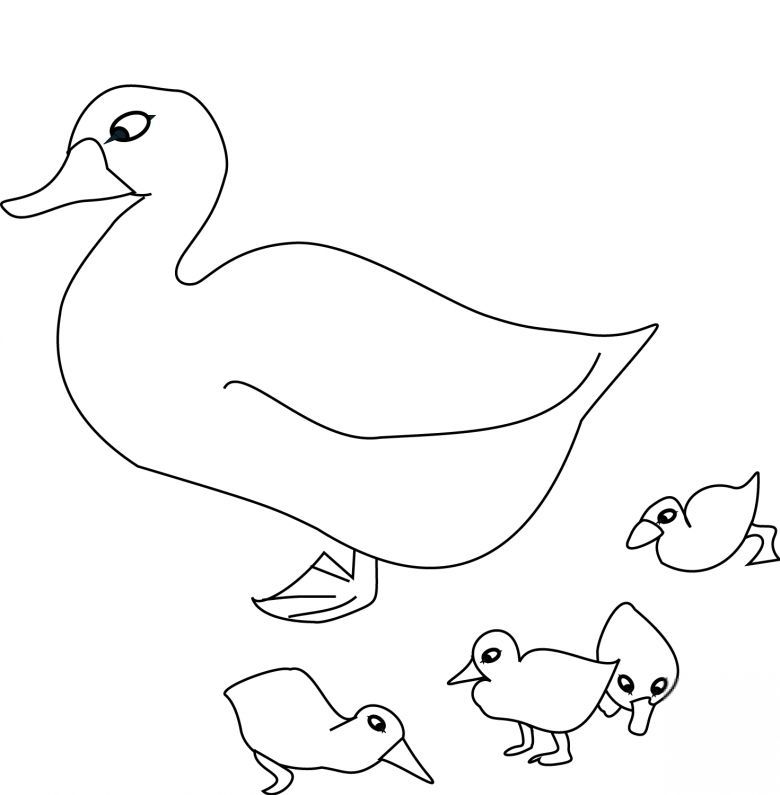
The painted geese should be colored with colored pencils, work with light and shade perform rolled-up balls of absorbent cotton.
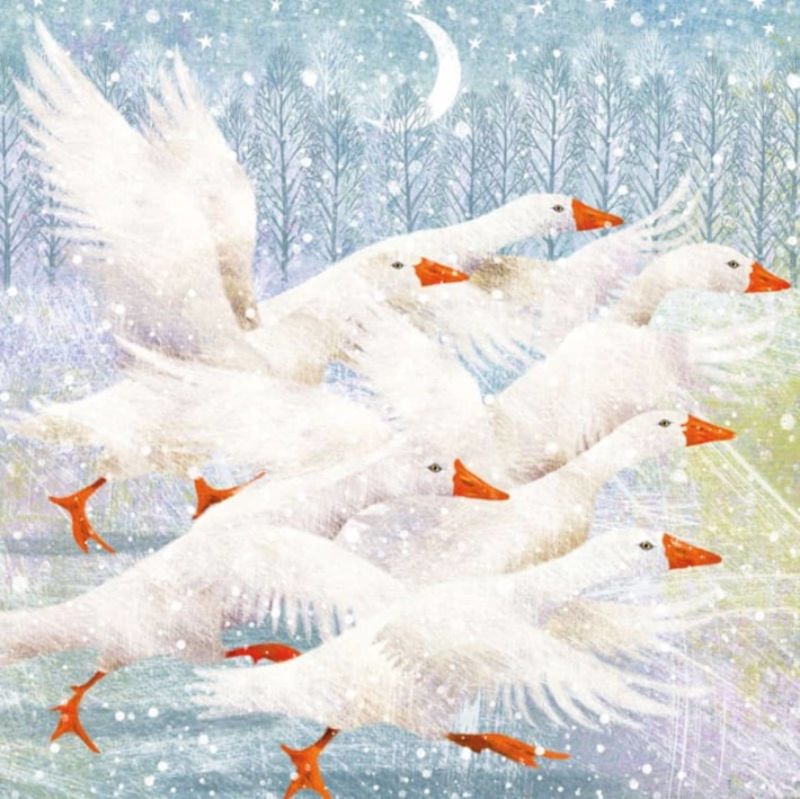
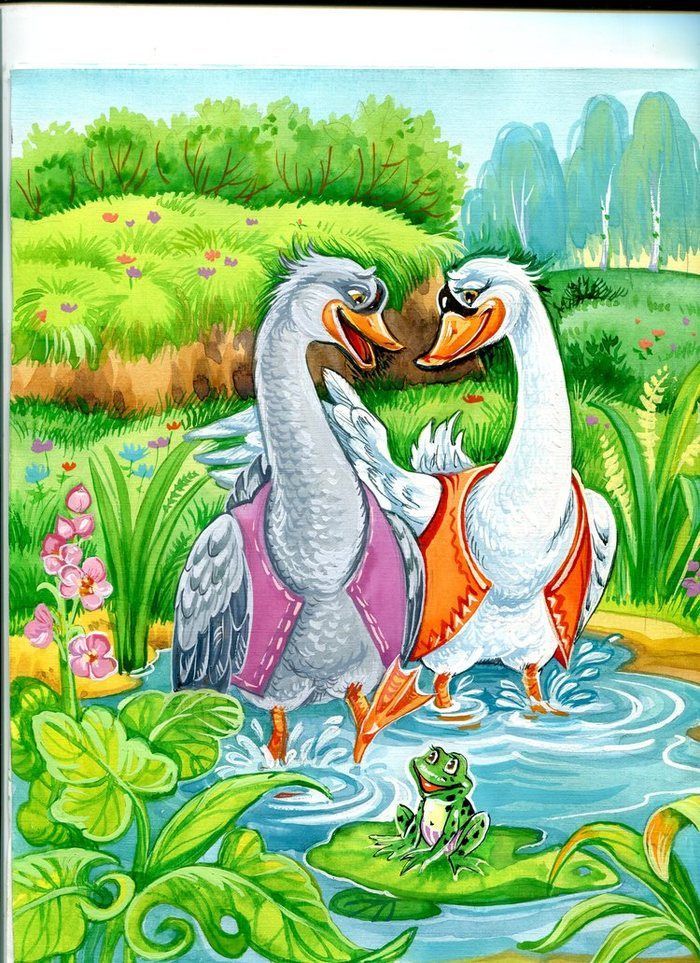
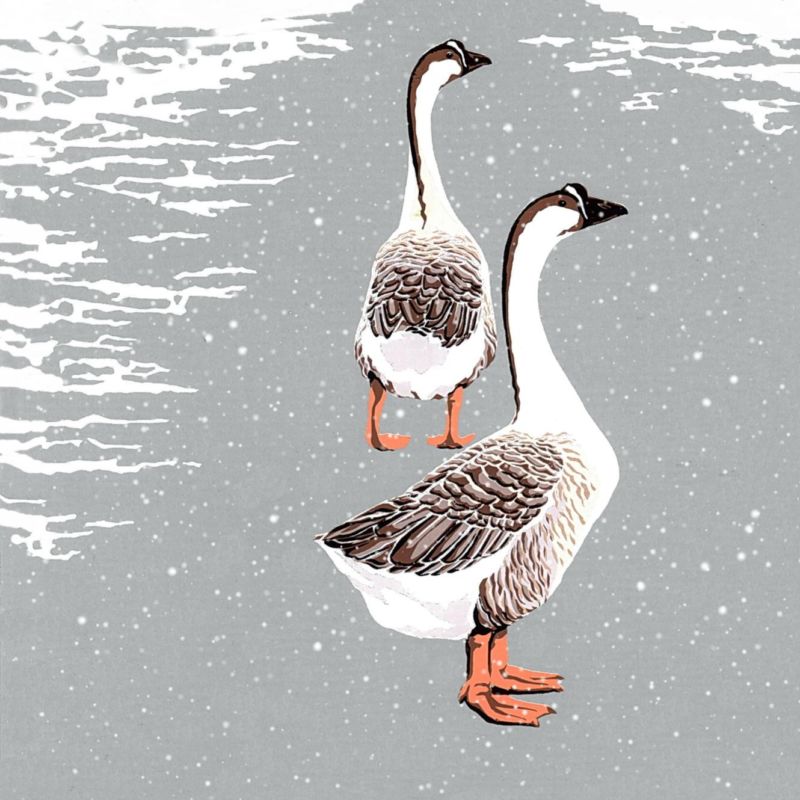
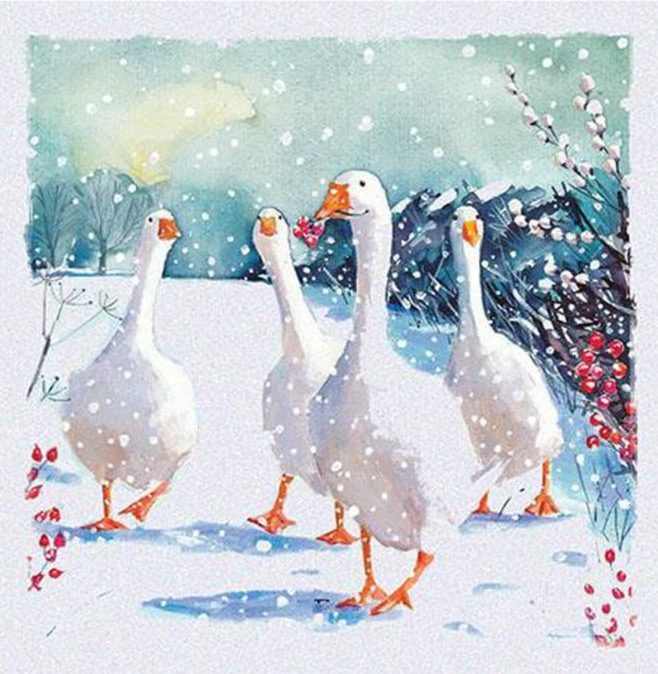
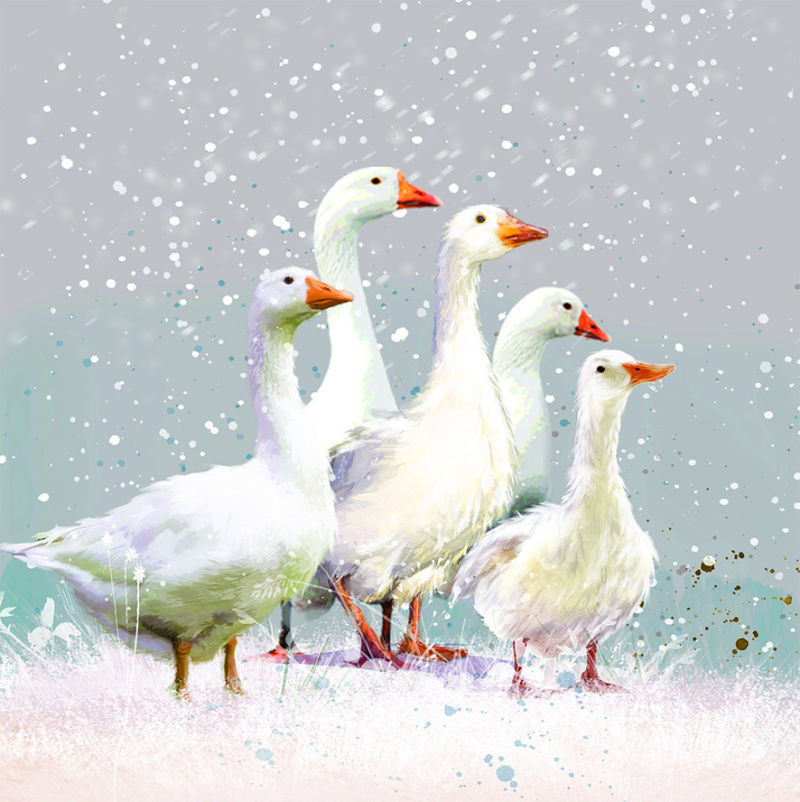
Geese on a pond
The geese on the pond are created in this scheme:
- Draw two ovals on a sheet of paper, preferably close together.
- From these figures derived lines so that they resemble half of the figure "heart".
- From the body of the geese are diverted to the sides of small oblong ovals, but they should be placed horizontally.
- Now you can express the main features of the long neck, should also thoroughly draw the features of the head, beak, eyes.
- Lastly we should work on the plumage, as we have already described above.


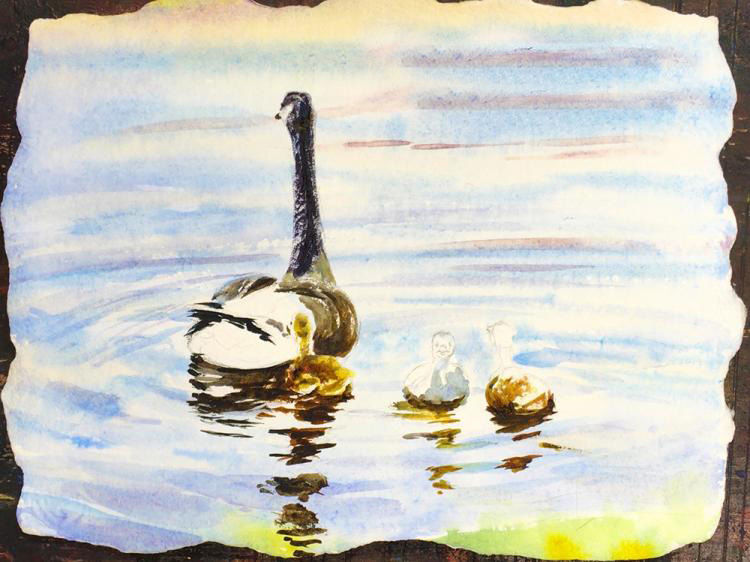
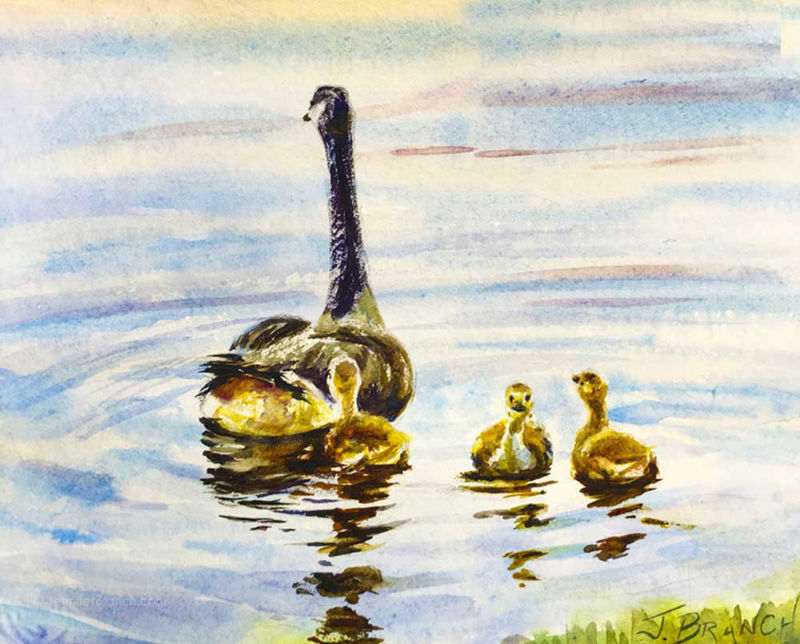
The surface of the pond is marked faintly visible sometimes intermittent lines. If you want, you can paint the pond blue-blue watercolor or colored pencils. The geese can be painted in various shades of white or black.
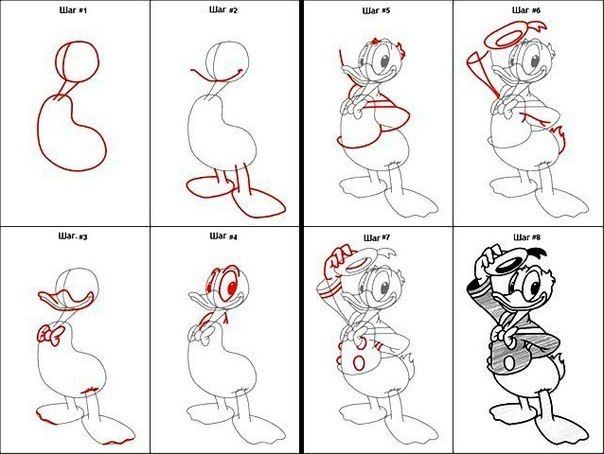
Donald Duck with a simple pencil.
- The first thing to do is to sketch 2 small spheres in pencil. After that, light sketches indicate the lines of the torso, and after that, draw two arched lines to indicate the bent legs of our hero. At this stage, you can draw at once the paws with 3 toes on each foot, do not forget about the webbing.
- Now you can indent 2/3 of the top from the oval of the head and outline the eye line. Then you need to draw the dotted lines of Donald's future belly.
- Next you should proceed to the drawing of feathers, feather shading should perform necessarily. Draw his camisole, don't forget about the small details (buttons, seams of clothes, etc.), this will add expressiveness to your drawing.
- At the end you should draw the collar of Donald's clothes, draw a few folds in the elbows and armpit, because the realism of the transfer is very important. Separately should work through the beak and eyes, at your discretion, you can paint the goose with colored pencils.
Recommendations for creating a drawing
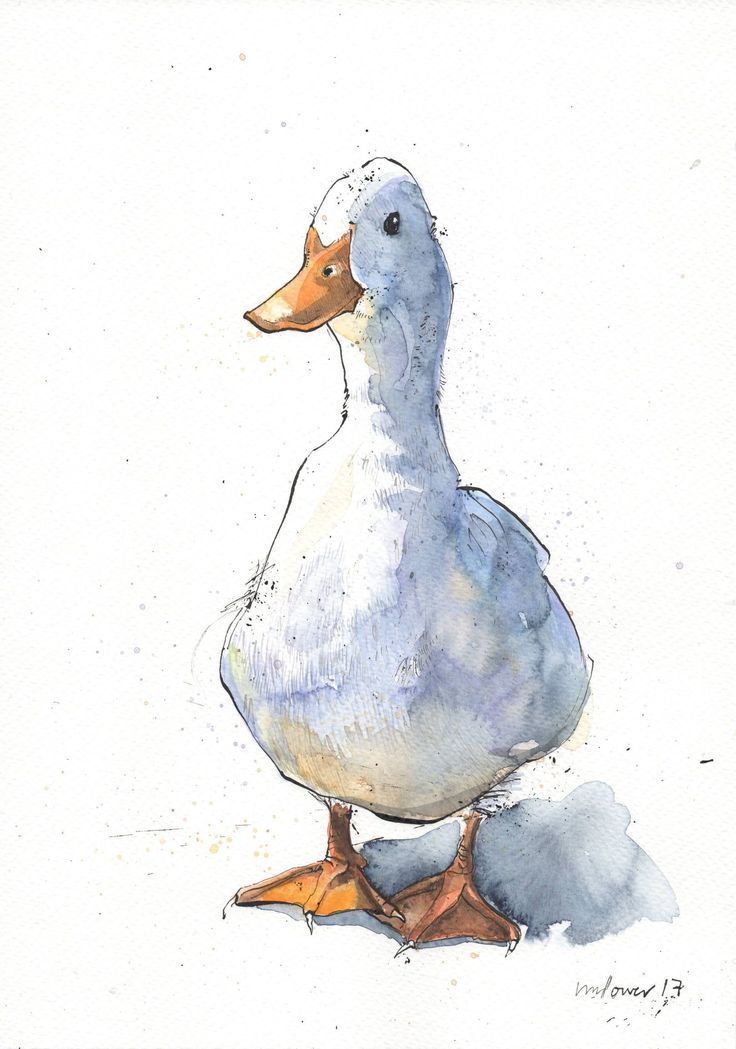
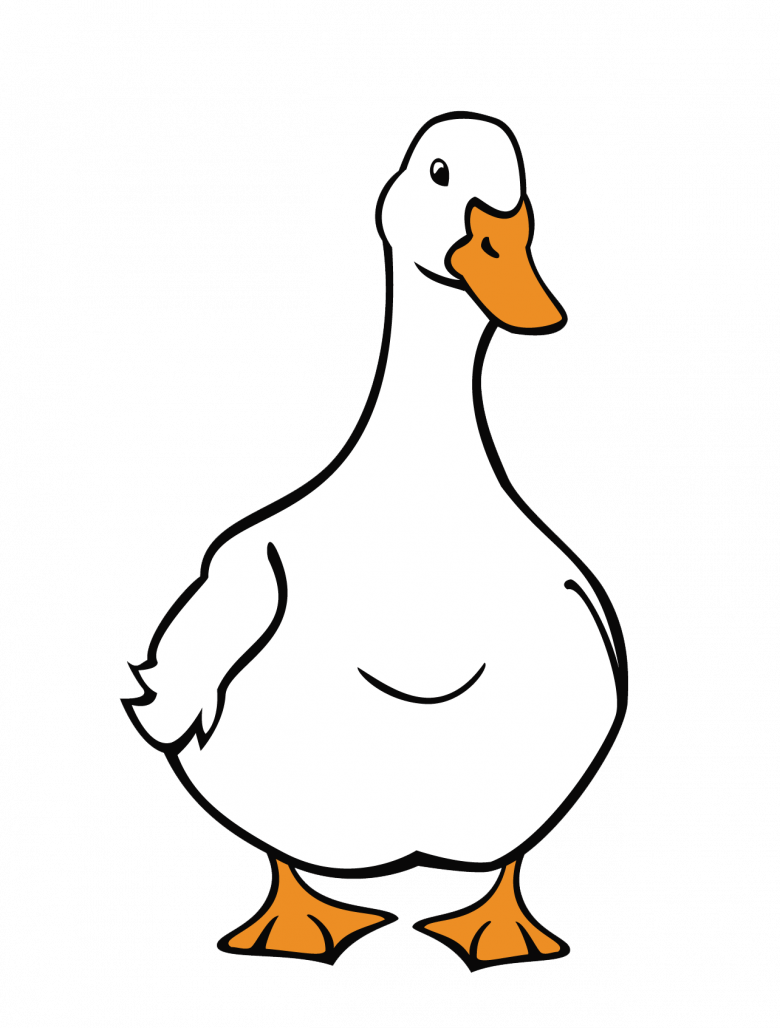
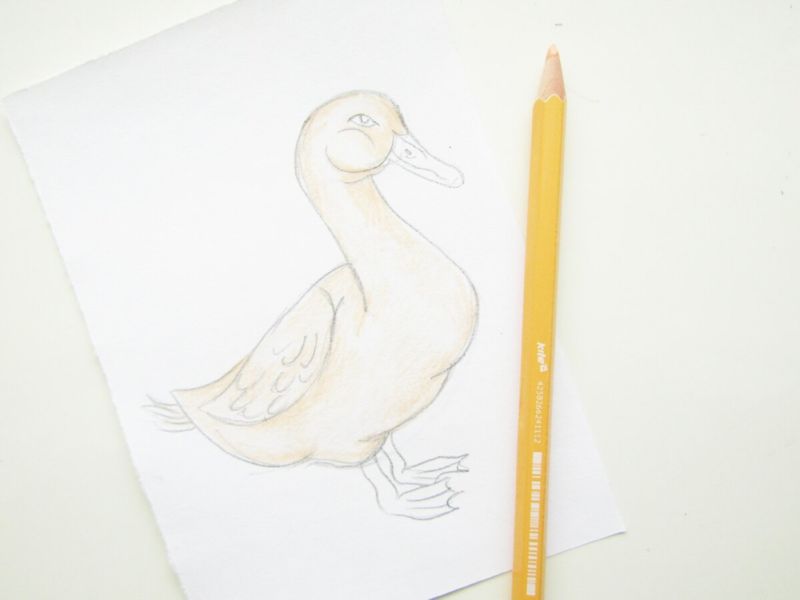
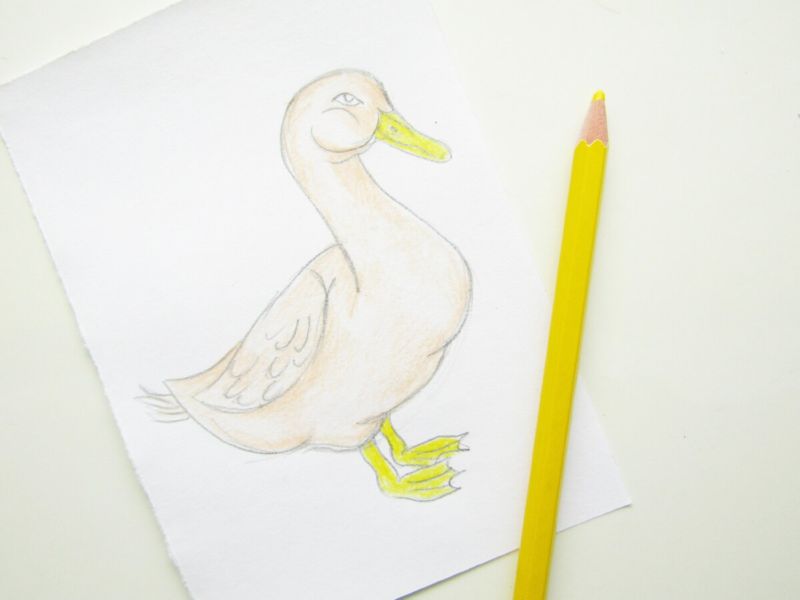
In most cases, geese are drawn with orange beaks and feet, but in reality these elements can be of any color.
For example, a Canada goose has a dark brown head and beak, a whitish neck ring, and a gray torso.
- With light and shadow to work thoroughly, in order to well convey the texture of the bird. Take to express the beak and paws darker shades of colors. Leave the cut on the cheek blank to further understand how the colors will be distributed in this area.
- When you draw the outlines, don't press too hard on the pencil. Because it makes the pencil traces begin to shine, and the sheet from several such methods of drawing can break. It is better to go over the outlines several times, but with a little pressure.
- If you want to remove the wrong transfer of light and shadow, you can use a cotton swab soaked in isopropyl alcohol. This alcohol is commonly used in hand sanitizer sprays. This method can be used if you draw on thick album paper, you should not do it on thin sheets, because there will be a hole.
- If you want to learn how to draw cool plain pencil, then try to give this case 20 minutes every day. Only then will you get the basic skills of drawing in just 2-3 months. We advise you to buy a small sketchbook that you can take to work, school or just for a walk in the park.
- If you are only sketching outlines, then don't forget to sharpen your pencil more often, in this case the lines will be thin and they will be much easier to remove with an eraser. The best way to remove a pencil is with a soft eraser that you can easily bend in half and it won't break.
- It is better to use a sharpener without a storage container, take a regular one made of magnesium alloy, practice shows that such sharpeners sharpen pencils better and do not chew the shavings at the same time.
- In the process of drawing, it is advisable to periodically change the degree of pressure on the pencil, in which case the tone of the drawing will be strongly differentiated, and it will look spectacular. Stroking is properly performed from the direction of the base of the feathers, you can use your finger, cotton buds or a cotton swab.
- For competent shading it is better to prepare several pencils of different softness. It is better to do shading slowly and evenly, than to rush and spoil the goose.
- If you are new to drawing, it is very important to use drawing schemes or video instructions. At the same time, do not forget to do everything step by step, only in this way you will get a good drawing of the goose.
We are sure that this article was informative and useful to you, now you know a few ways how to draw a goose. Good luck!
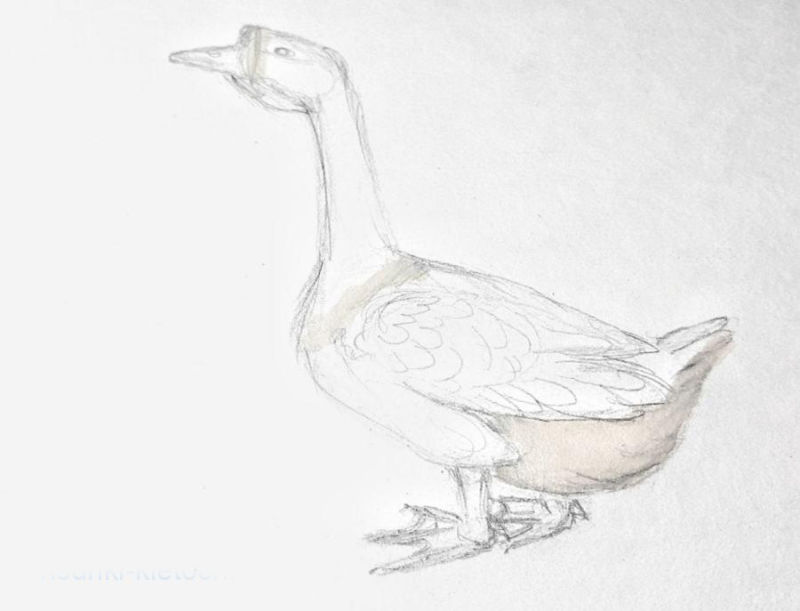
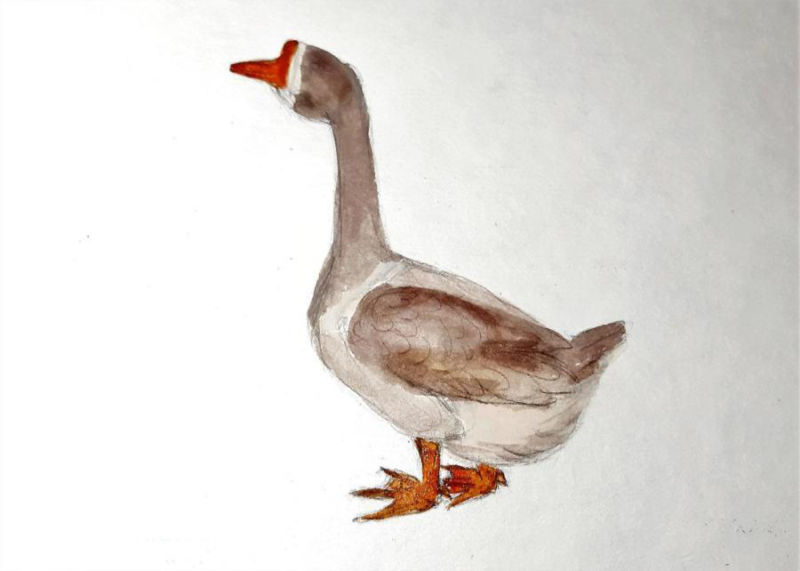
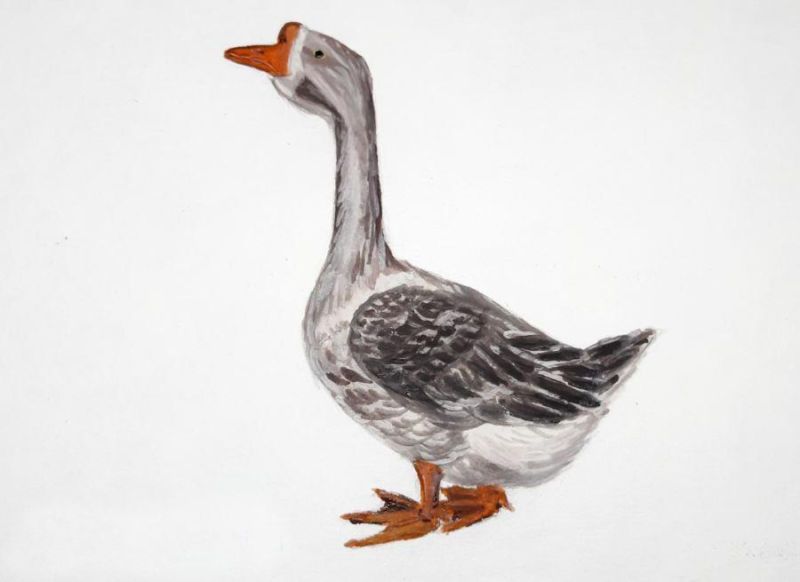
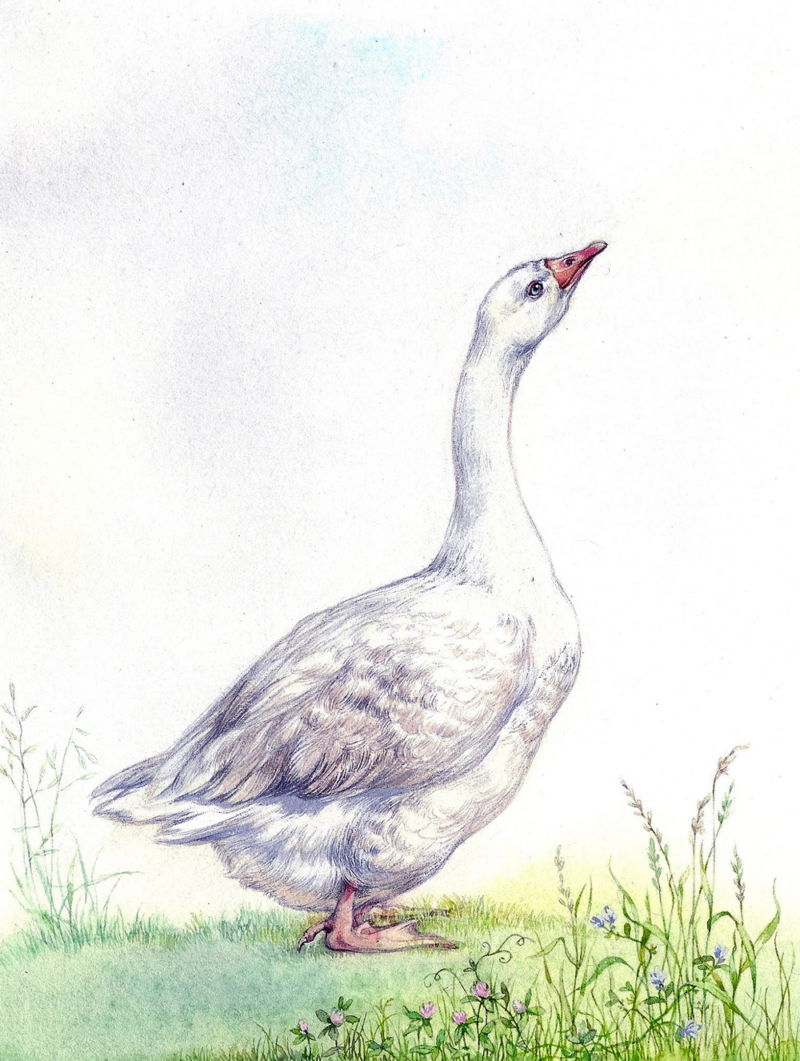
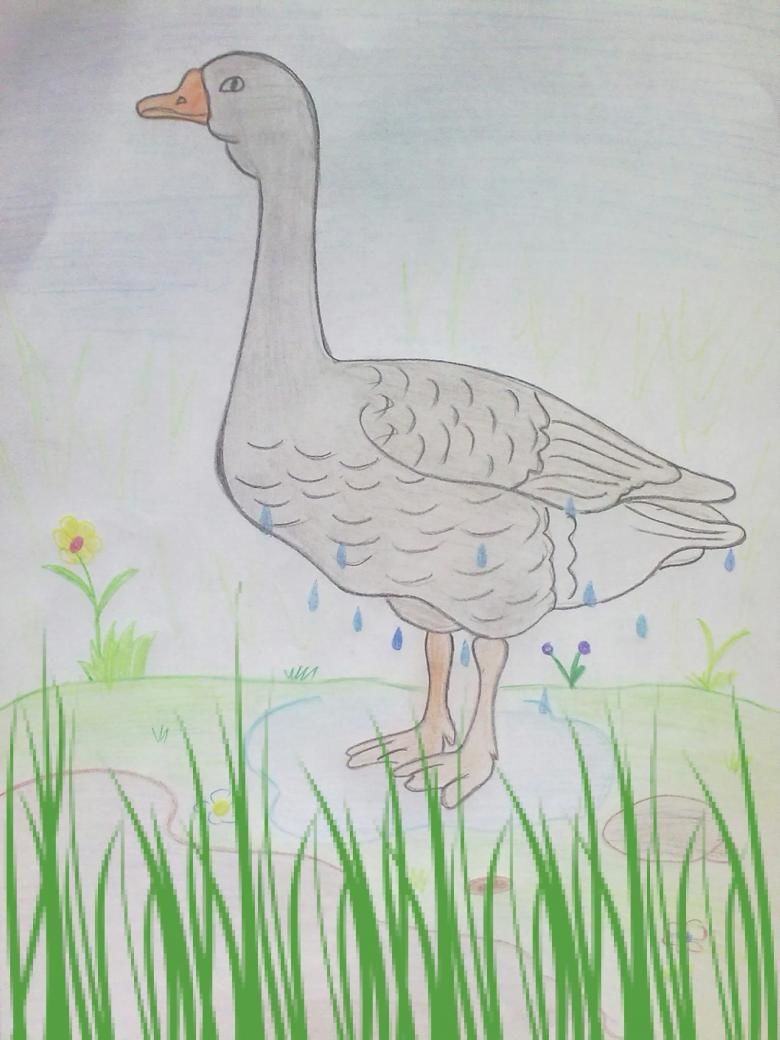
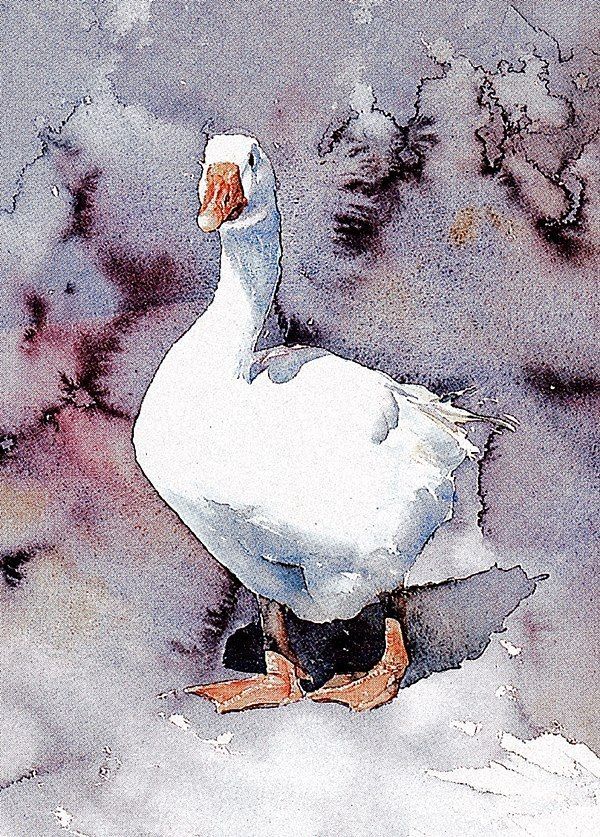
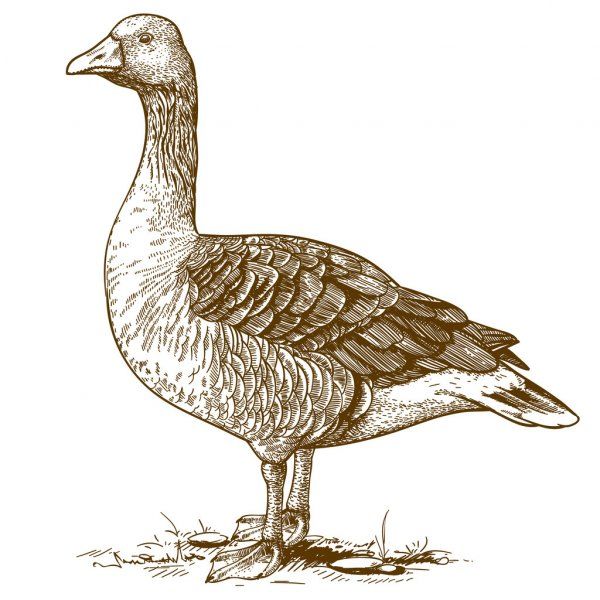
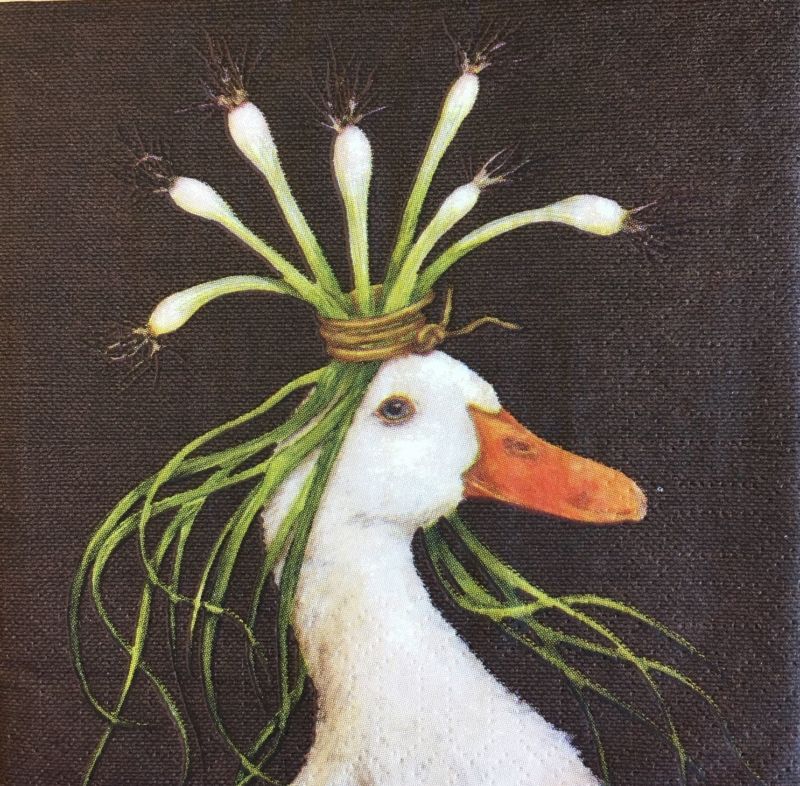
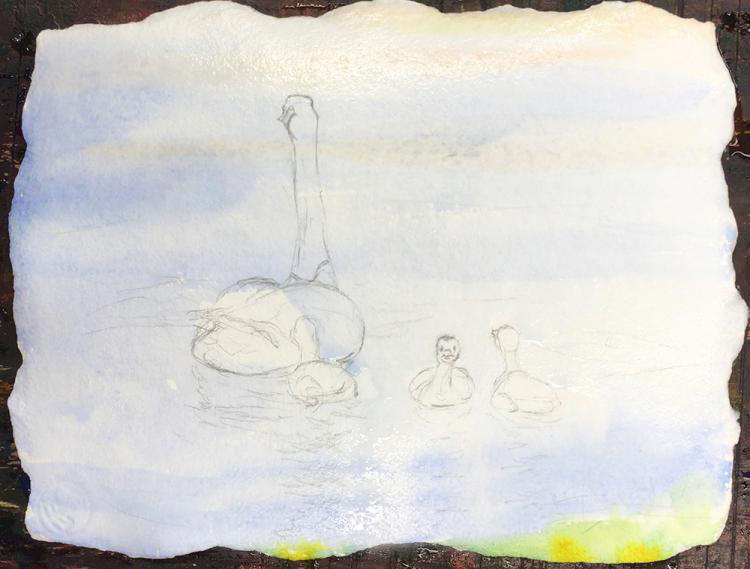
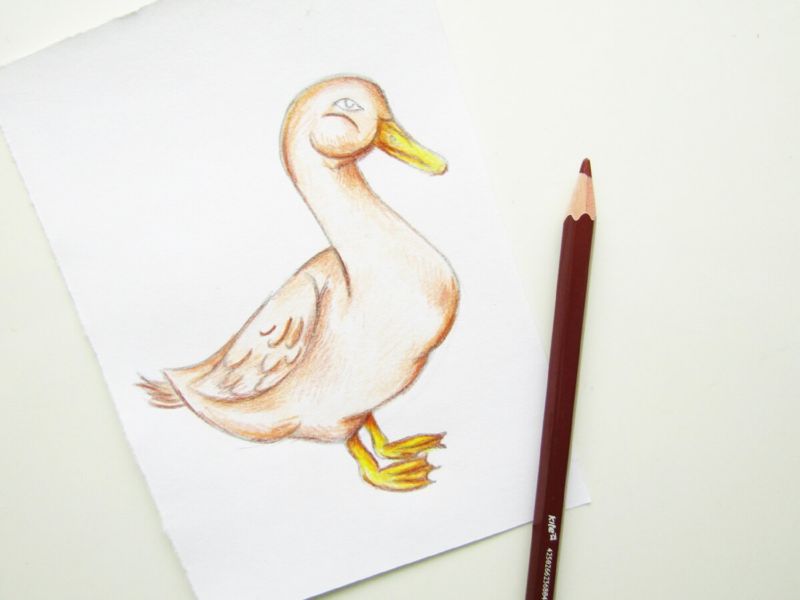
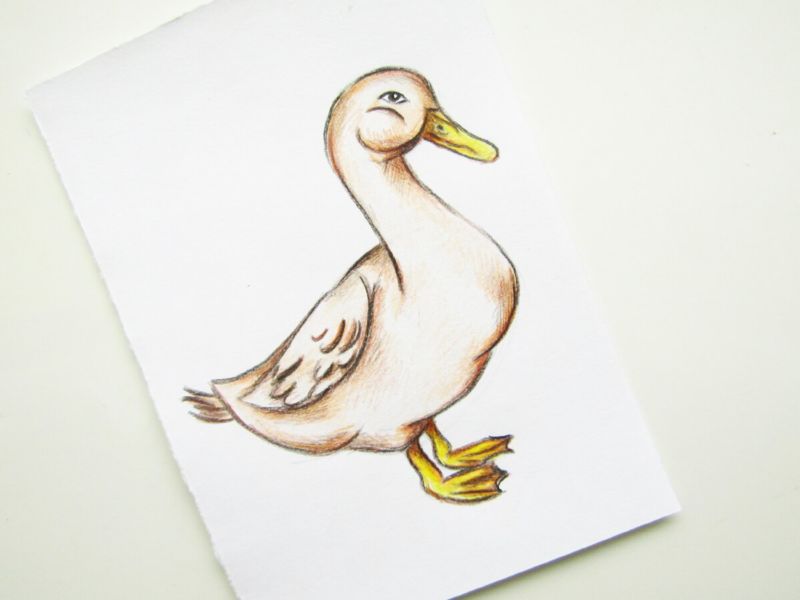
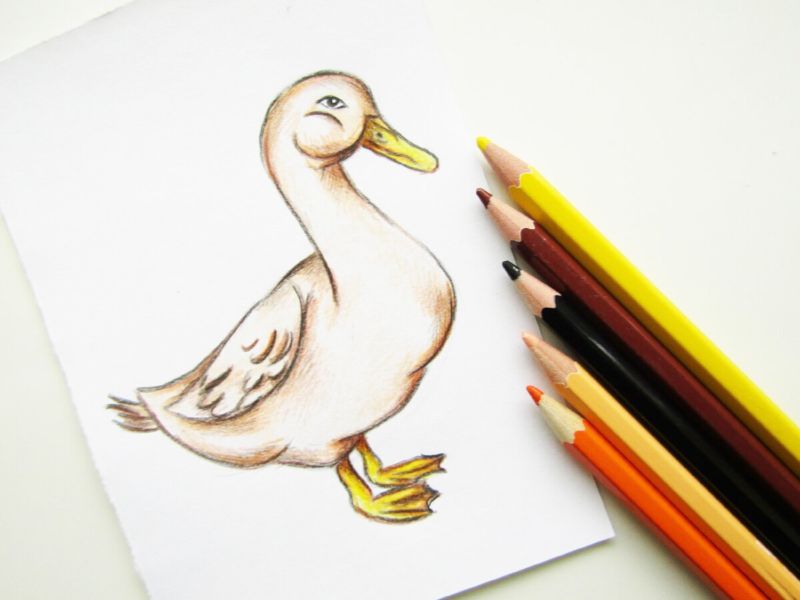
Picture of a goose drawn in pencil and paint