How to Draw a Crow with Pencil: The Best Step-by-Step Sketches for Beginner Artists and Children
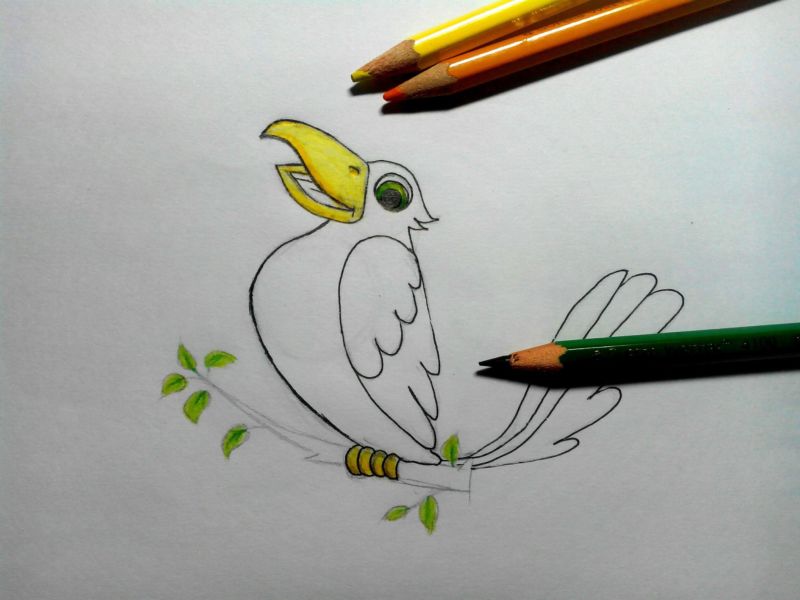
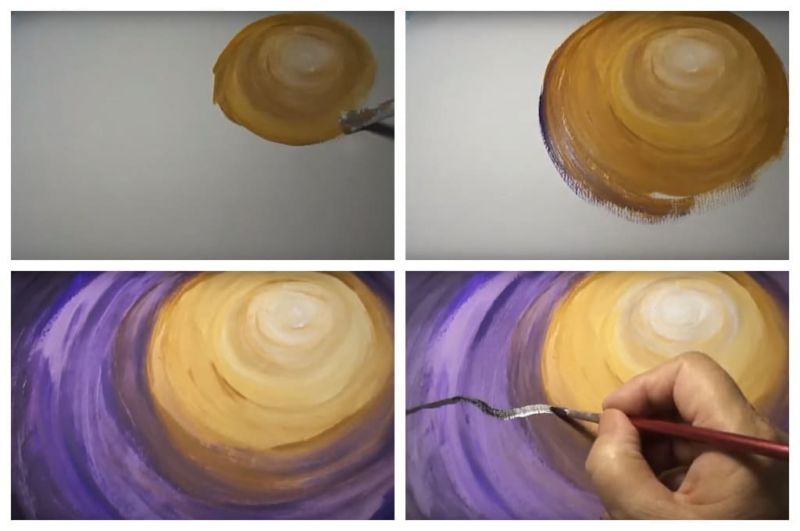
Before drawing a crow, it is worth preparing materials with which the drawing will be implemented. You can perform in black and white graphic technique, and you can apply colored pencils.
Despite the somewhat different manner of drawing, the technique in these two cases, in contrast to the colors, will be identical. And that is what we will consider in this article.
Materials required for a pencil drawing of a crow
To start drawing the image of the wise representative of the bird world, you should prepare:
- Paper for sketching. It is desirable not to take standard sheets of writing paper - they are too thin and the pencil does not leave a well-drawn mark on them.
- A set of simple pencils if black and white achromatic technique will be used. It is important that a set of pencils be of different softness. Beginners should take into account that the Latin letter "H" marks a hard lead. And Latin "B" is the sign of softness of a pencil. The bigger is a figure in front of the letter, the harder or softer a particular pencil is.

For soft pencils it is important enough softness and oily texture of the lead. This allows you to achieve different color intensities at different pressures, thus varying the color-shadow transitions. And this will help to create a realistic image of a bird.
You need a quality eraser, or better stock up on two at once - a soft one for a simple pencil and one with a denser, rougher texture for colored pencils.
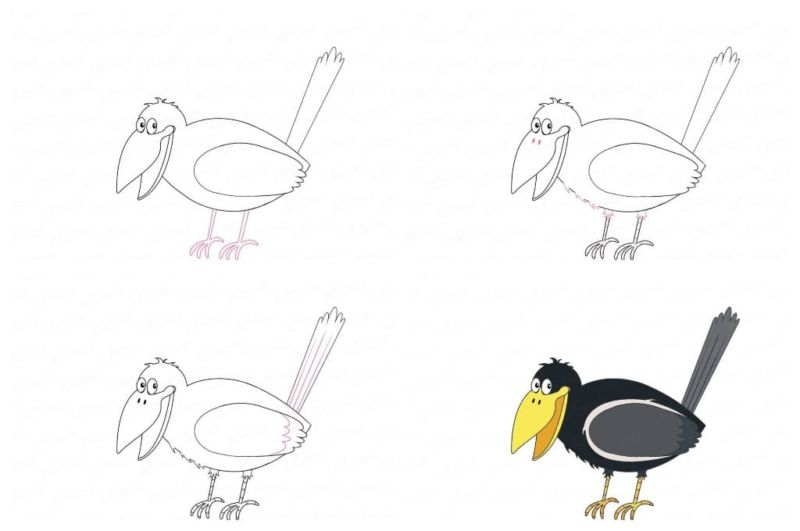
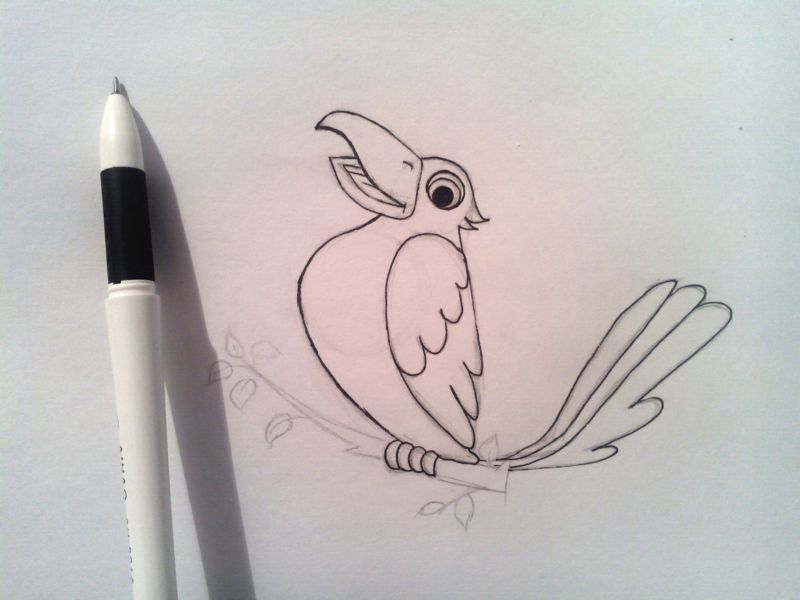
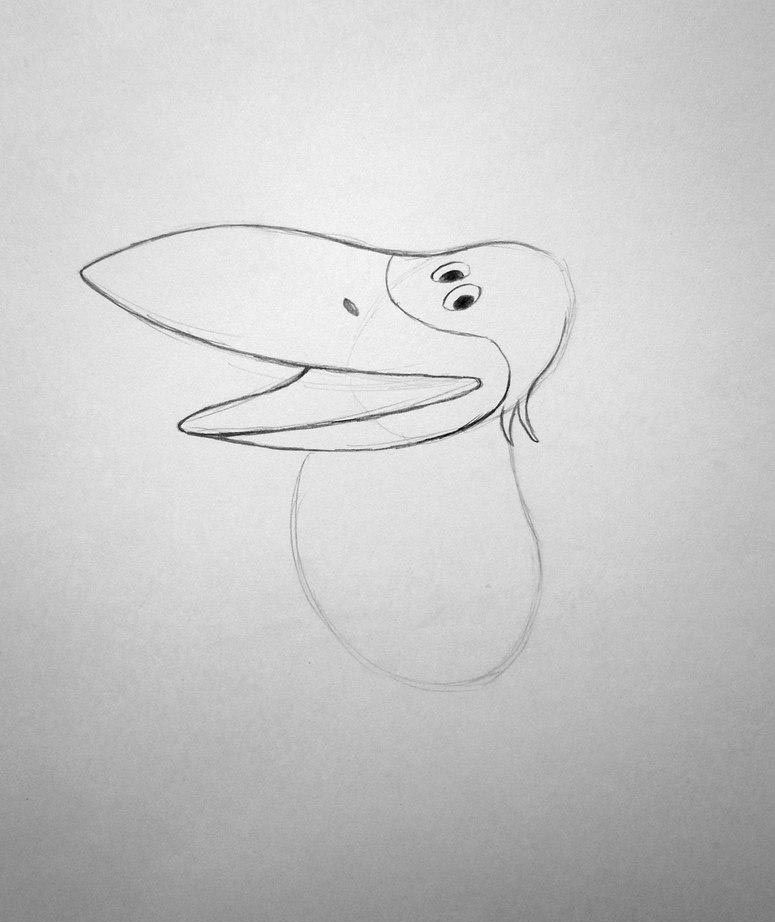
A simple drawing of a crow for beginners and children
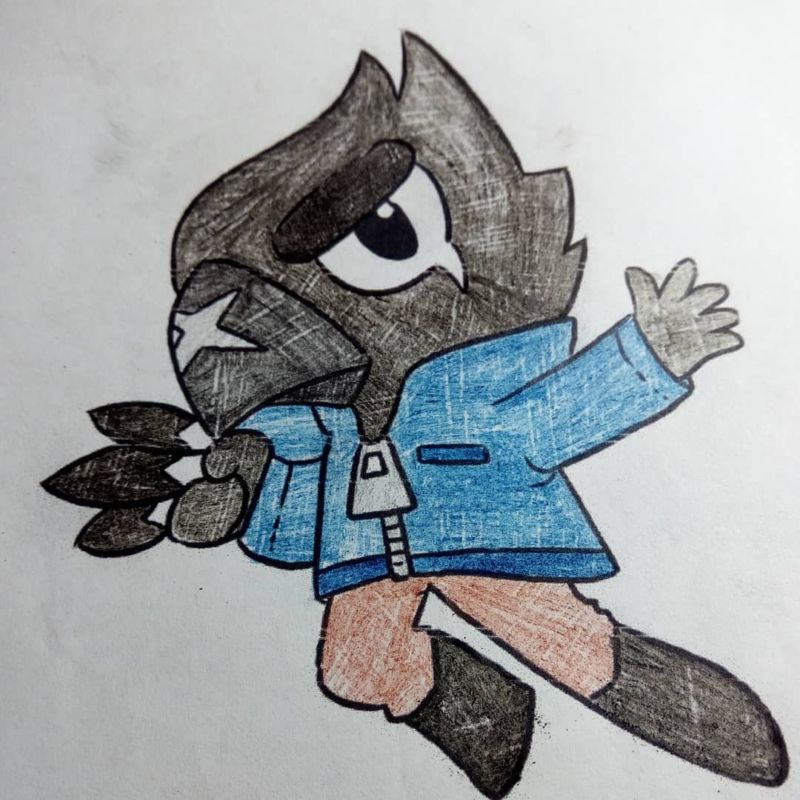
To do a drawing for children, it is advisable to choose the simplest images. On them it is easy enough to hone the skill and understand the principle of the image of the feathered. Cartoon pictures are suitable for children. To get such a drawing of a crow, it is necessary to follow the following instructions:
- Take a thick sheet of paper, and a medium soft plain pencil. It is necessary even in the case when a colored drawing will be carried out.
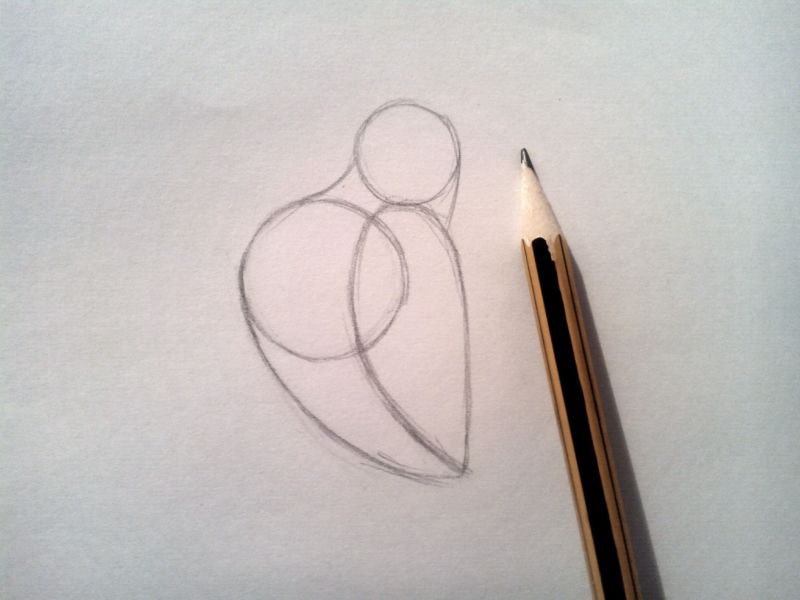
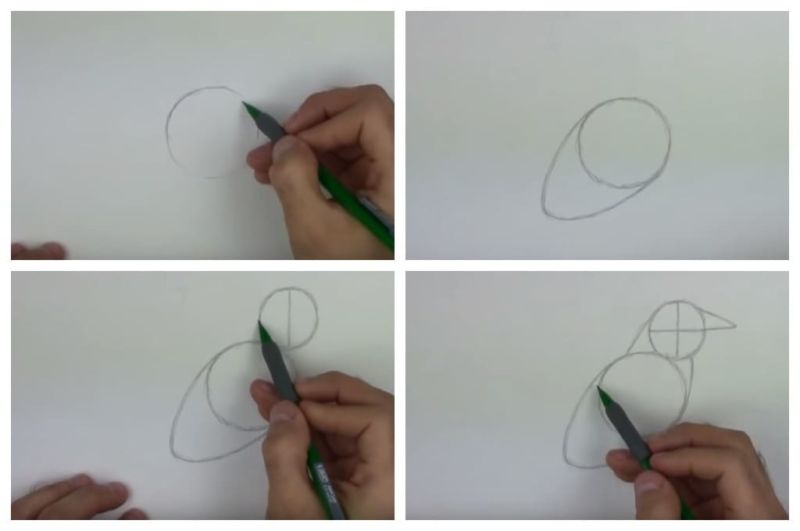
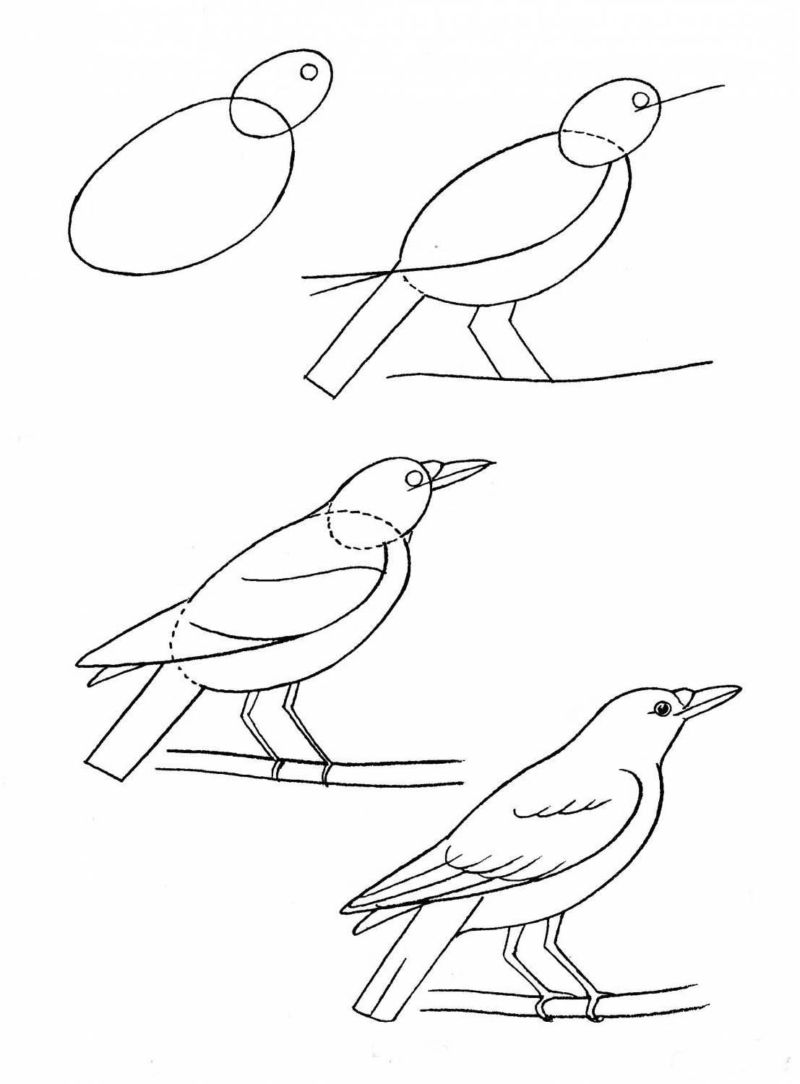
- An auxiliary contour is drawn, but before this it is necessary to create two orthogonal segments (crossing at right angles). It is these lines that set the height of the bird and the size of the bird from the beak to the tip of the tail. But, it is important to draw these lines barely visible, so that they can be easily erased later and no trace is left on the paper.
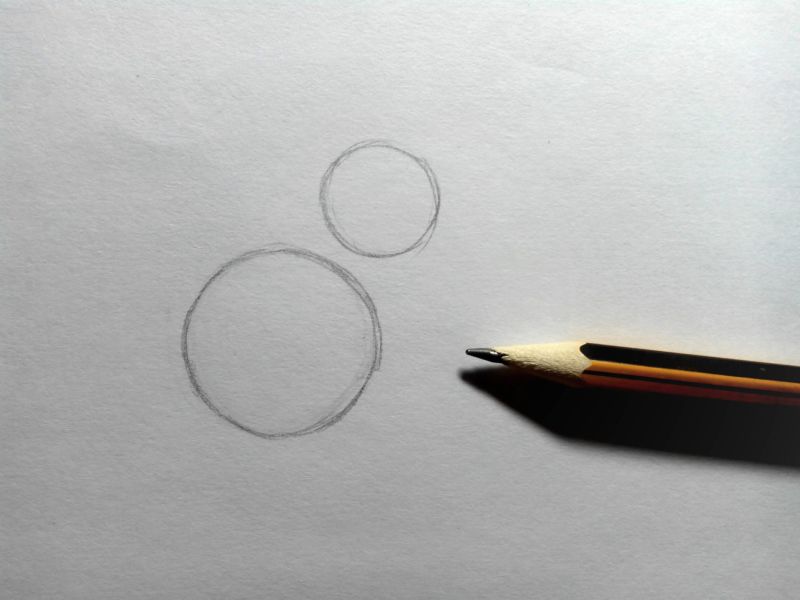
- After the first sketch is realized. It is represented by an oval - the size should correspond to the body of the bird. On one side is attached to the top of the head in the form of a circle.
- Next necessary to connect the circle to the oval with smooth lines, so that the transition was soft enough and corresponded to the contour of the crow.
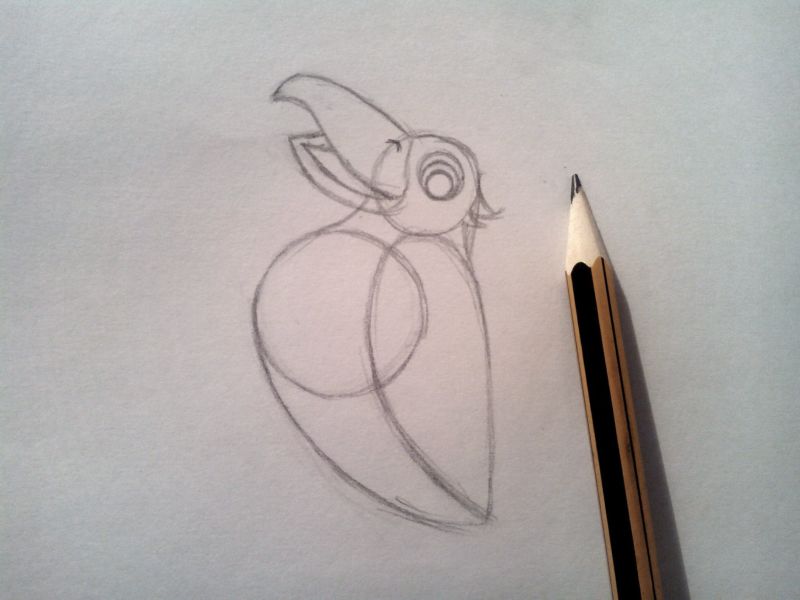
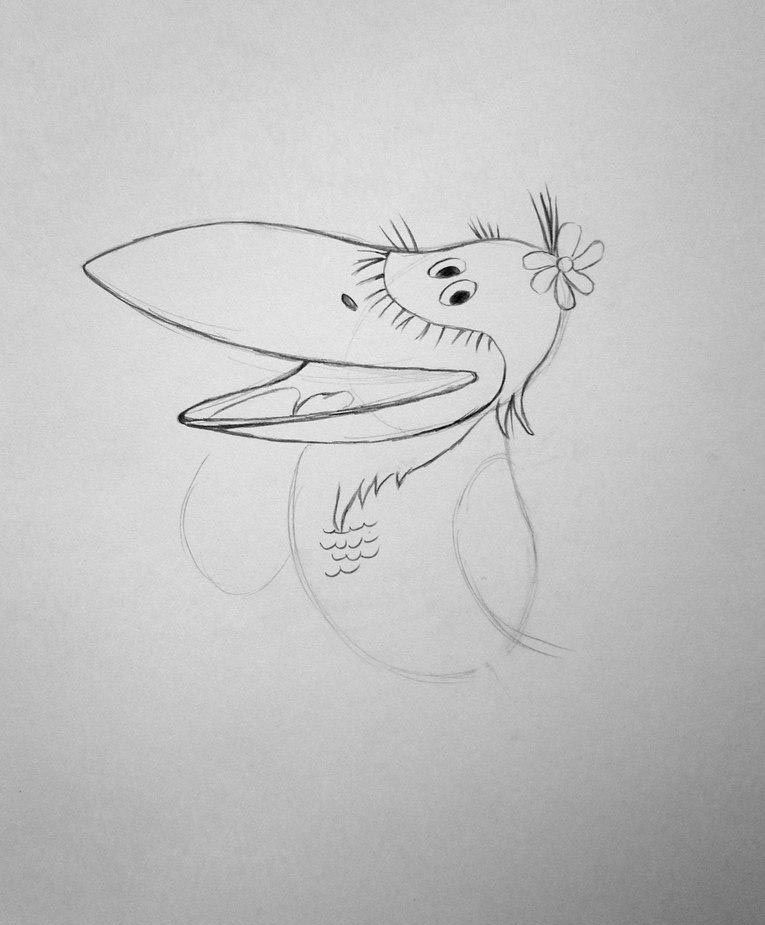
- With an elastic band, carefully erase those parts of the pre-drawn figures that are no longer needed. Then it is necessary to work on the big oval itself - on the lower part, where the abdomen will be, it should be more bent, and on the top flat, because the bird's back is almost straight.
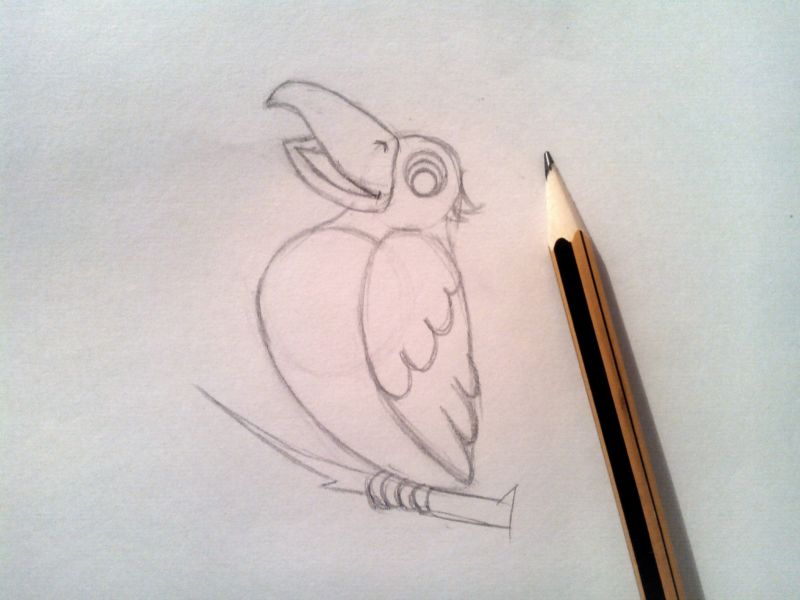
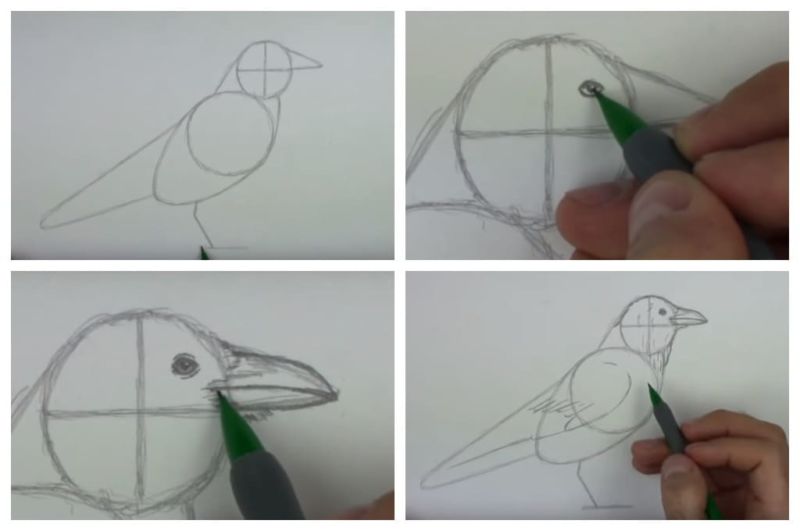
- The tail is drawn along the bottom of the oval. It is realized by two parallel lines that start from the oval, and from the bottom end part it is connected by a wavy area. After that, you need to draw a few lines in the drawn area, which will imitate feathers. Remove unnecessary elements.
- The next step is to make a wing. In the middle of the torso for him to draw a sloping drop, which has a rounded part on the side that is above and pointed will be down.
- Then you need to draw a beak to the head. It is quite massive and also depicted in the form of an elongated drop, slightly curved at the top. Depending on whether the bird caws or has a closed beak - this body element will have one or two adjoining parts. Do not forget about drawing the recess, which is located on the upper segment - so the image will be more believable.
- The eyes in the cartoon image may be in the form of a vertical oval with small pupils, which are located symmetrically and indicate the direction of the gaze.
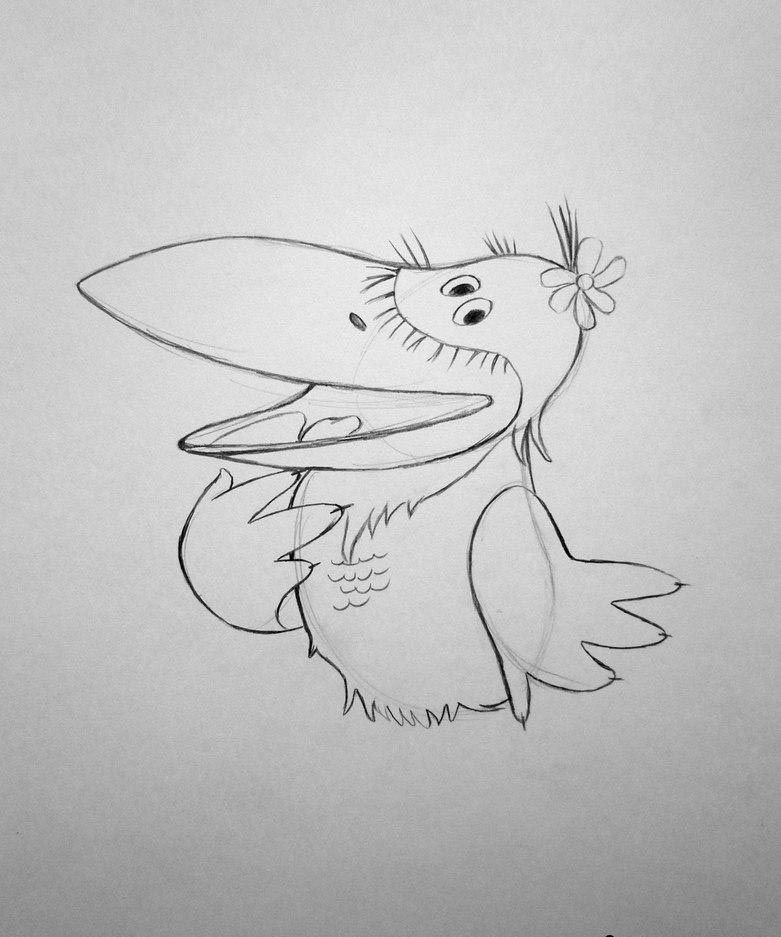
- The final stage is the paws of the bird, which are represented by thin long lines diverging downward on several toes. It is correct to draw 3 fingers and a set back small spur.
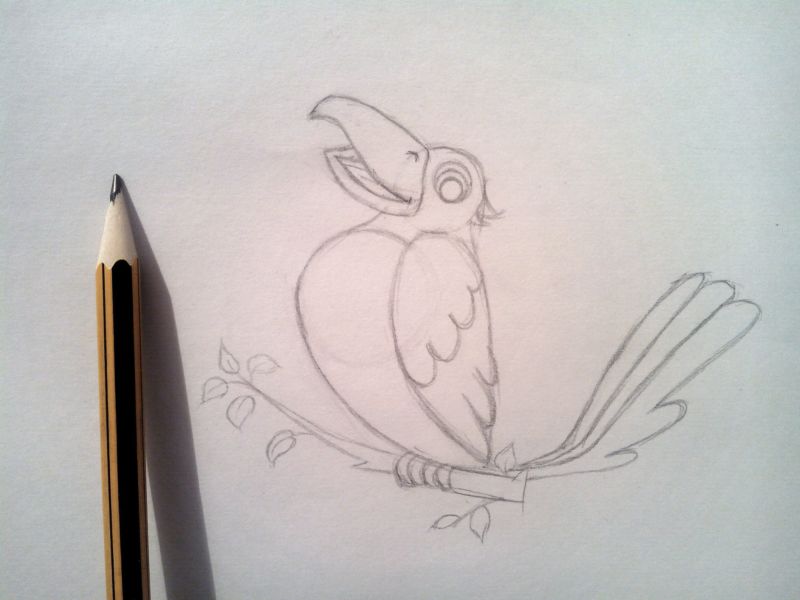
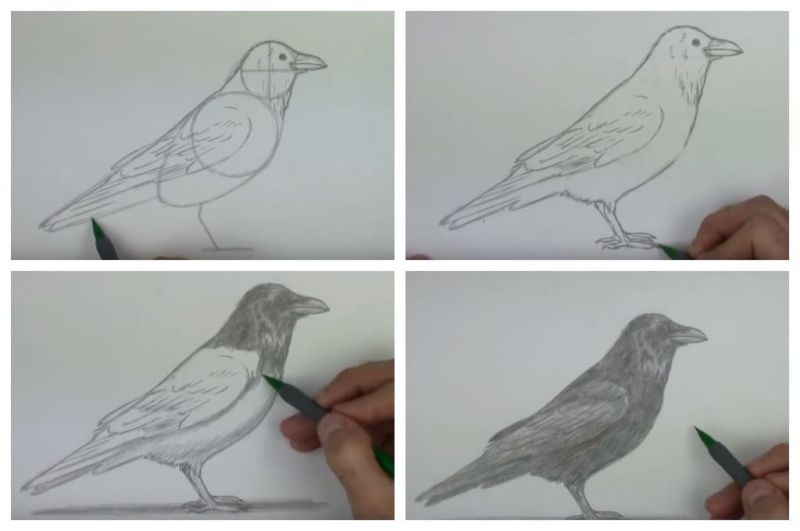
- Whether or not to depict individual feathers depends on individual desire and desire to get a certain level of detail. For a child, this step can be skipped.
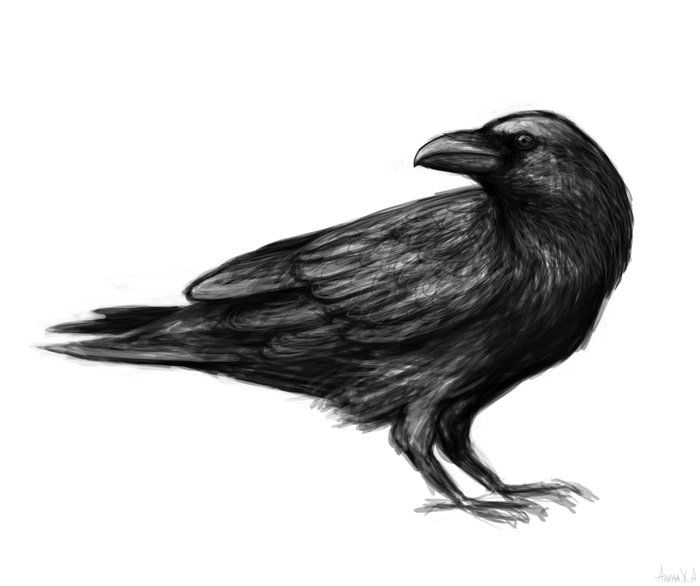
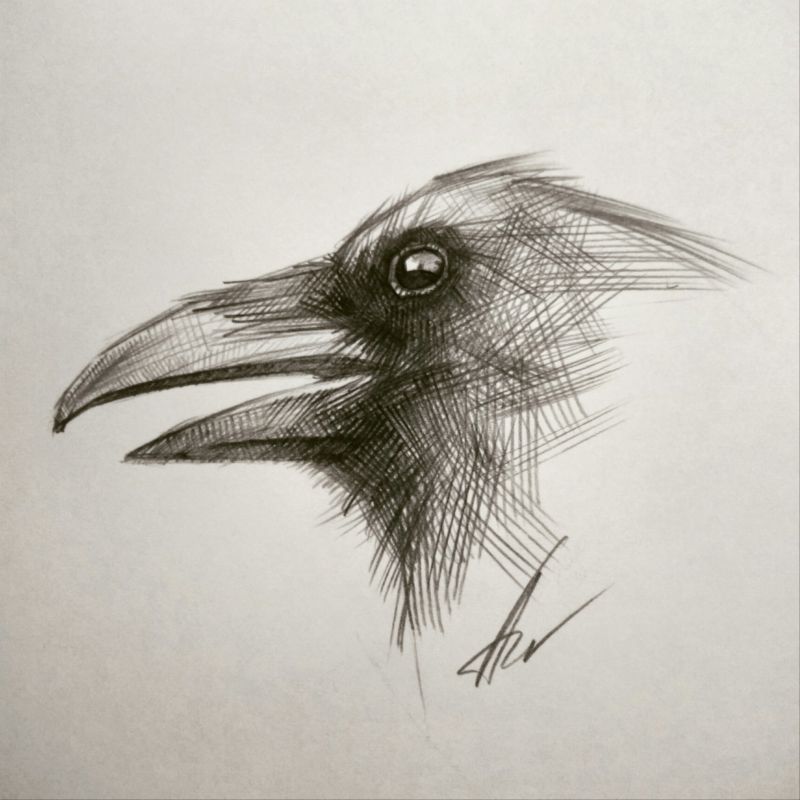
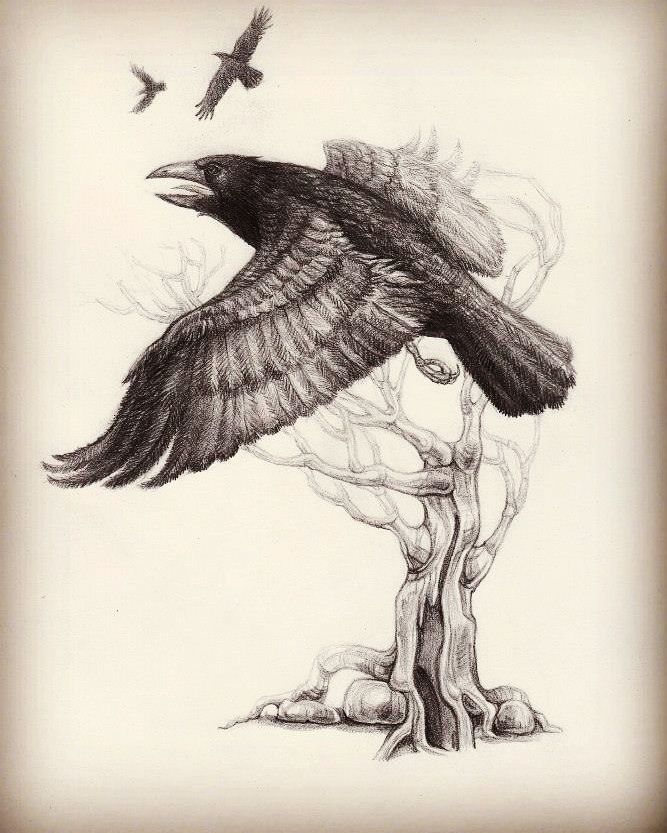
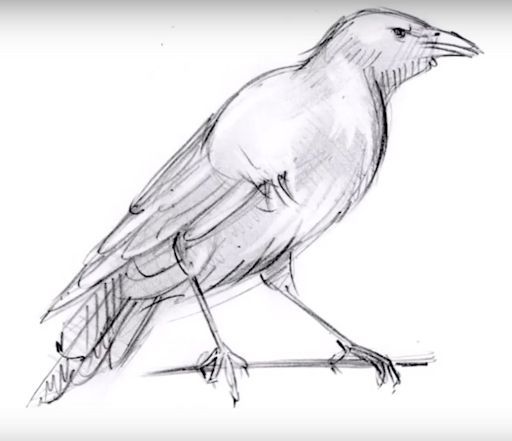
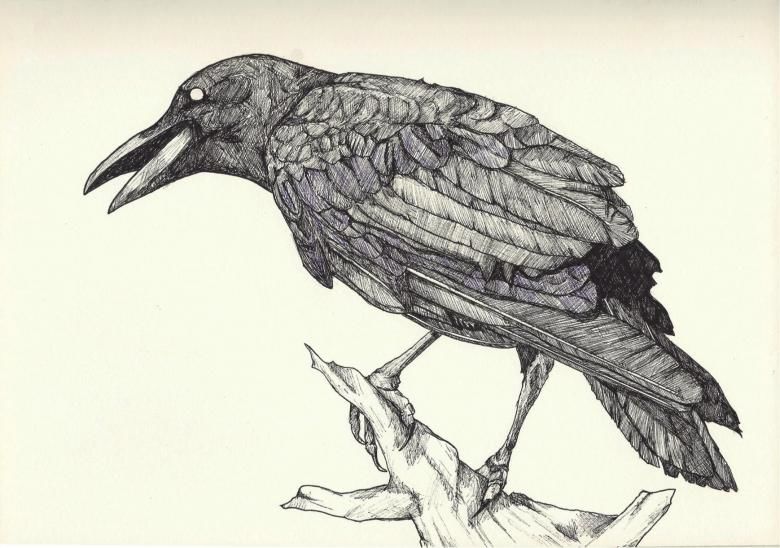
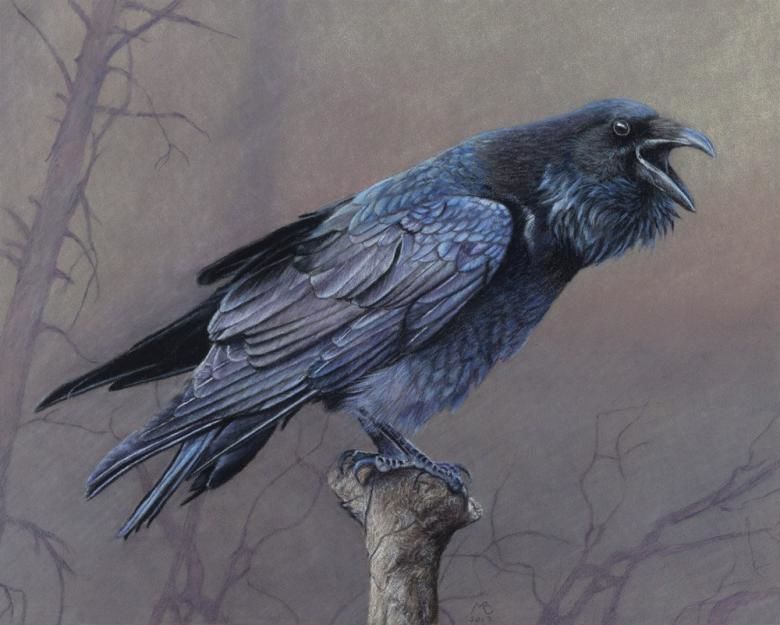
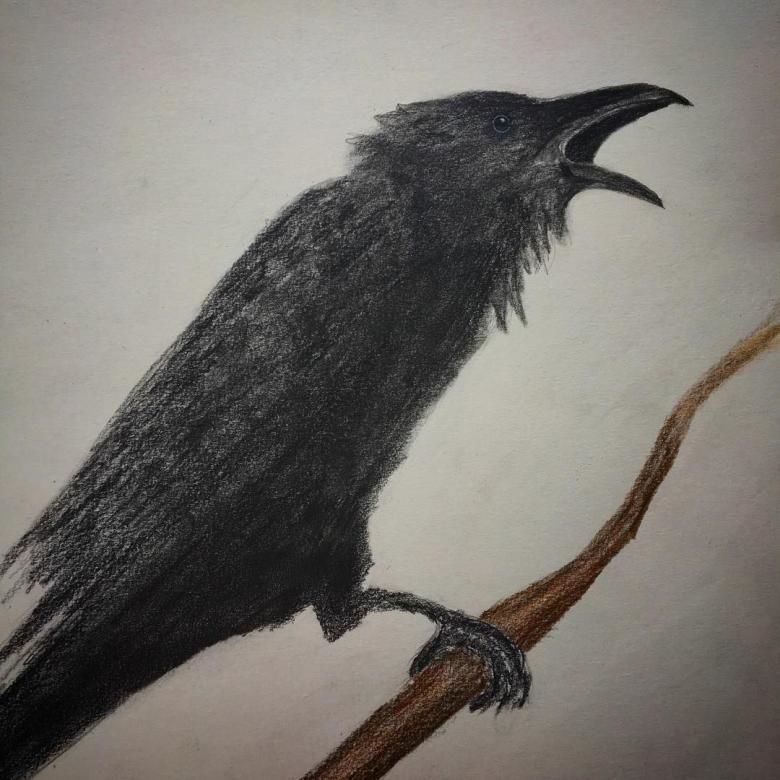
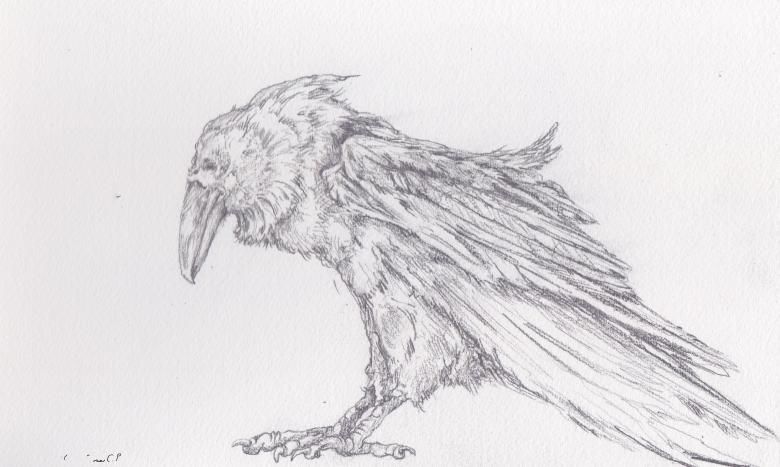
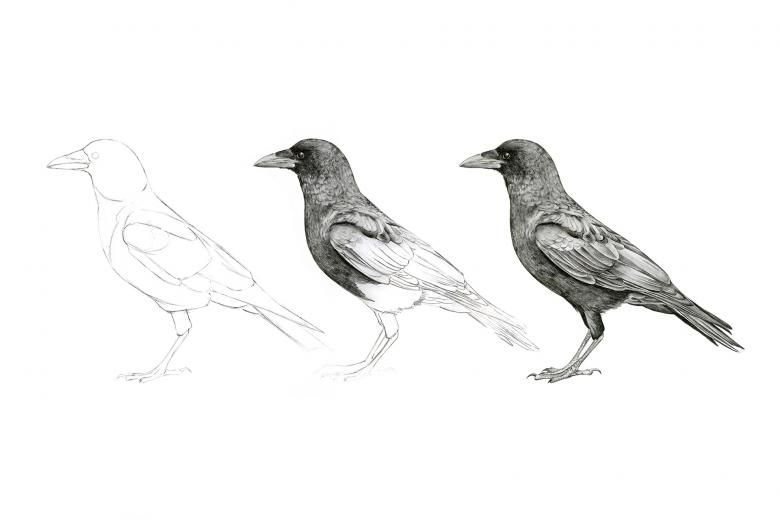
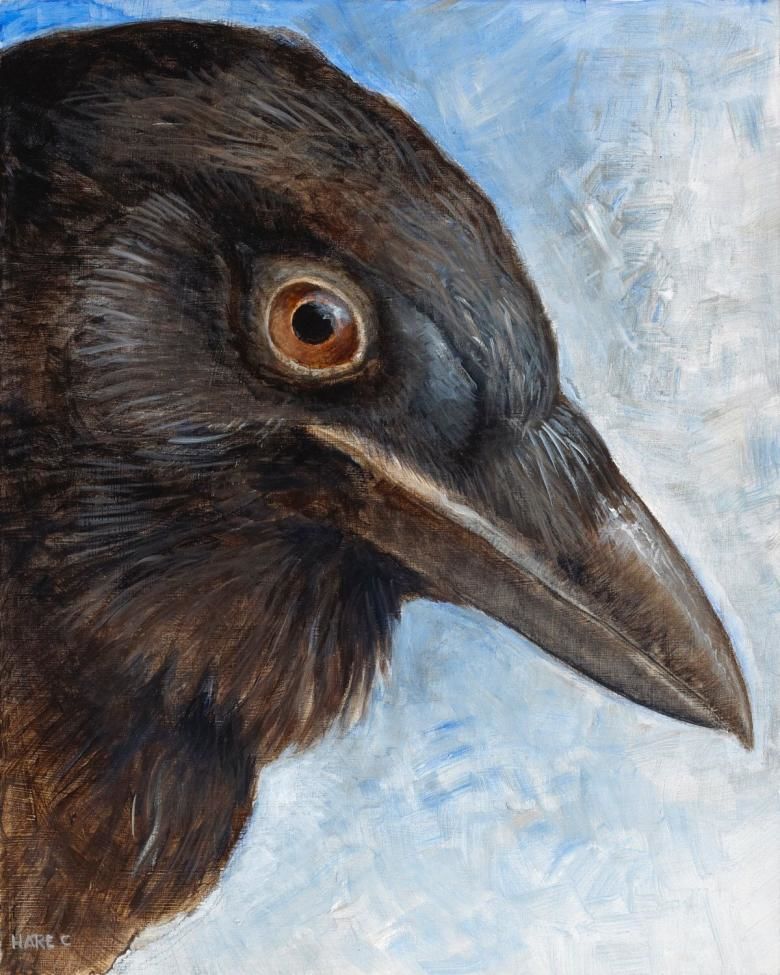
Realistic image of the bird - subtleties in creating the image
To depict a realistic crow step by step, you will have to comply with the following key rules:
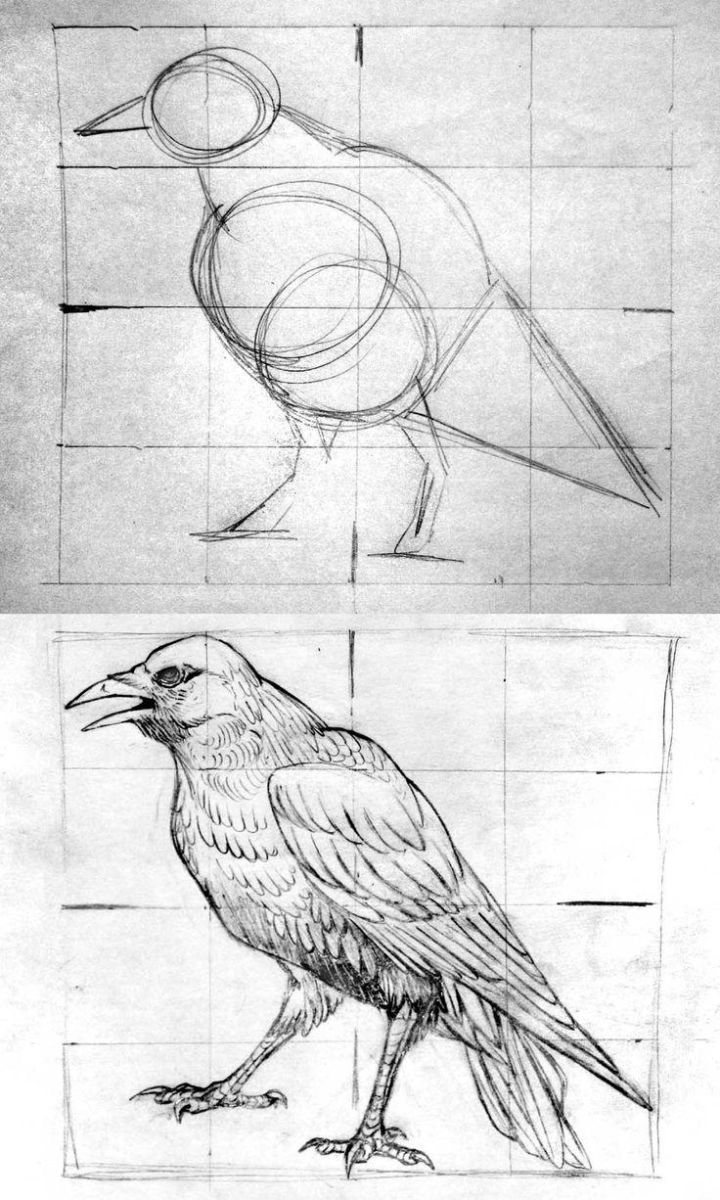
- First, depict the chub of the branch, on which the bird will sit. From the upper central part, draw a vertical line that defines the size from the paws to the middle of the back.
- At an angle to this segment depict the length of the bird's torso. The angle will set the parameter of how far the bird leans forward. Make these sketching strokes subtly, so that it is easy to get rid of later.
- Draw an oval along the slanted section - make it short enough, gravitating to a small rectangle. On top, draw another smaller oval - the head. It is important that these two elements are not in contact with each other, and intersect, capturing approximately 1/4 of each figure.
- You will need to connect them with pieces that will smooth out even more transition. After all, the neck of the bird is quite wide and powerful.
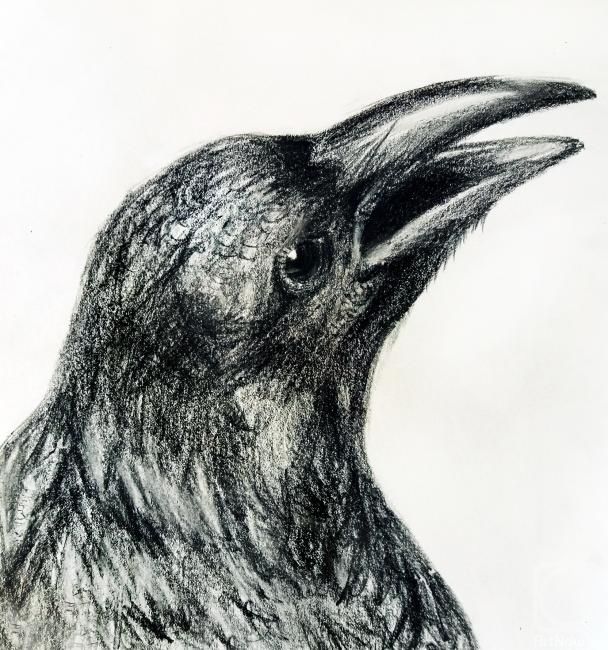
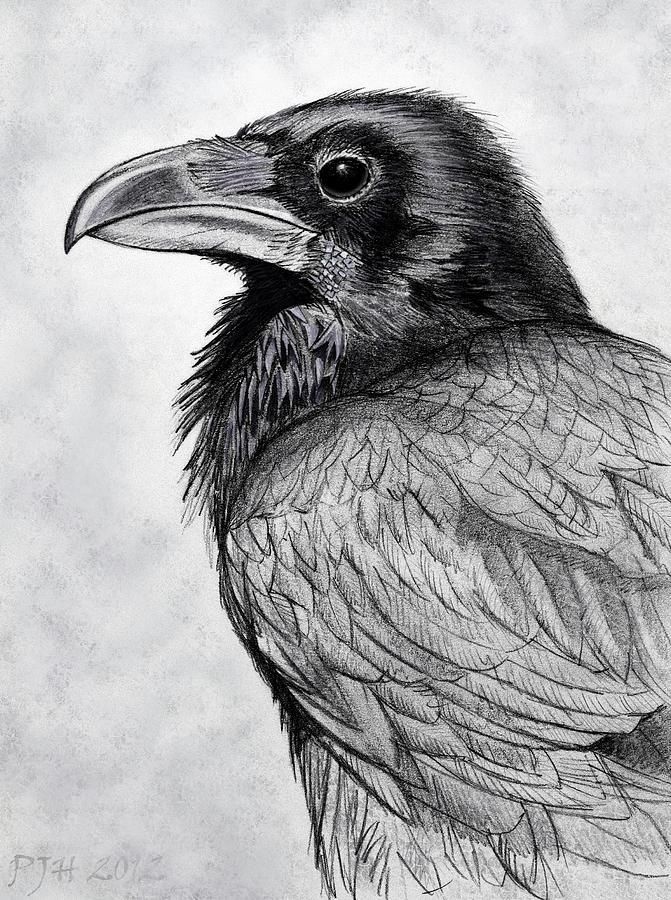
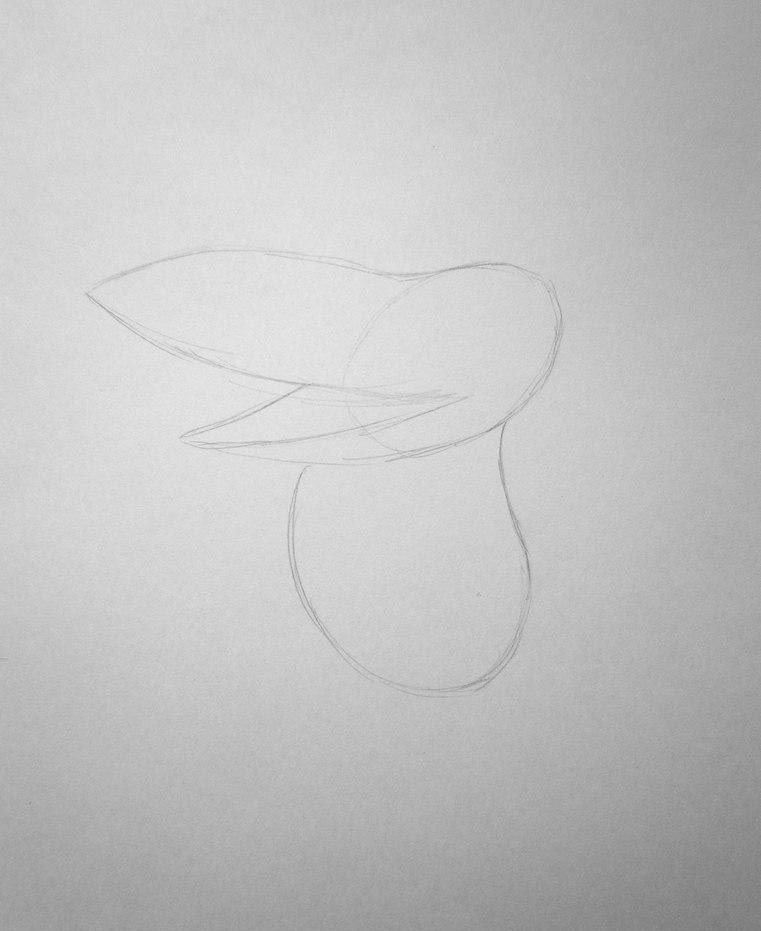
- To get an interesting realistic image, it is desirable to show the bird is not in profile, but in semi-anterior or semi-profile. To do this, when depicting the beak should be drawn in the upper side of the head semicircle, which will set the place of connection beak with the head.
- To the top and bottom of the semicircle to draw arcs that form the beak - it can be open or closed.
- If the bird caws, you will need to add one inside part to each arc. Draw the back of this body element.
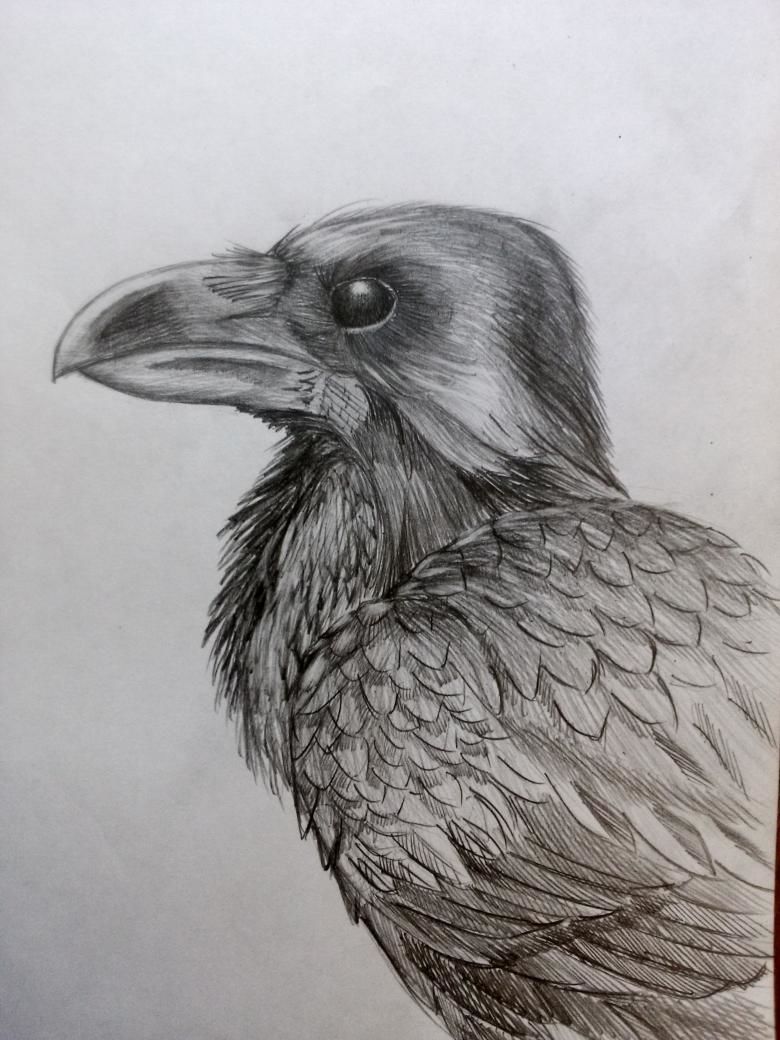
- The head is depicted eye in the shape of a small circle. Make a narrow cross-sectional ring that forms the eyelid of the bird. Fill the inside with black or simple pencil, leaving a glare from the reflected light.
- Draw ruffled feathers along the bottom of the throat, which spread out in different directions. Perform them with small strokes in the form of light strokes that do not have a clear contour. This is due to the fact that the feathers in this part of the body are not pronounced and looks more like down.
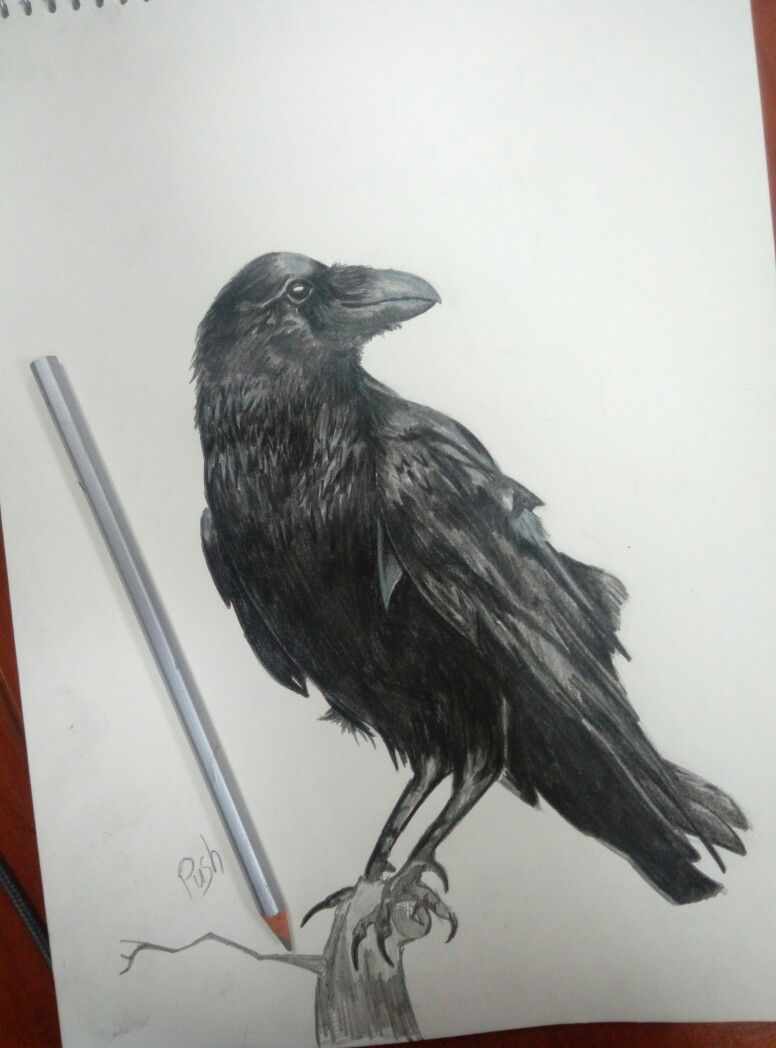
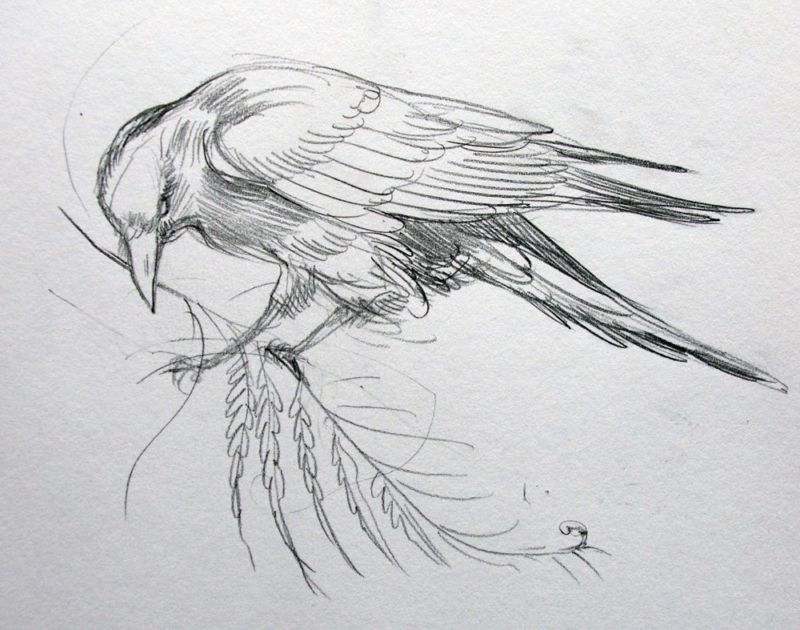
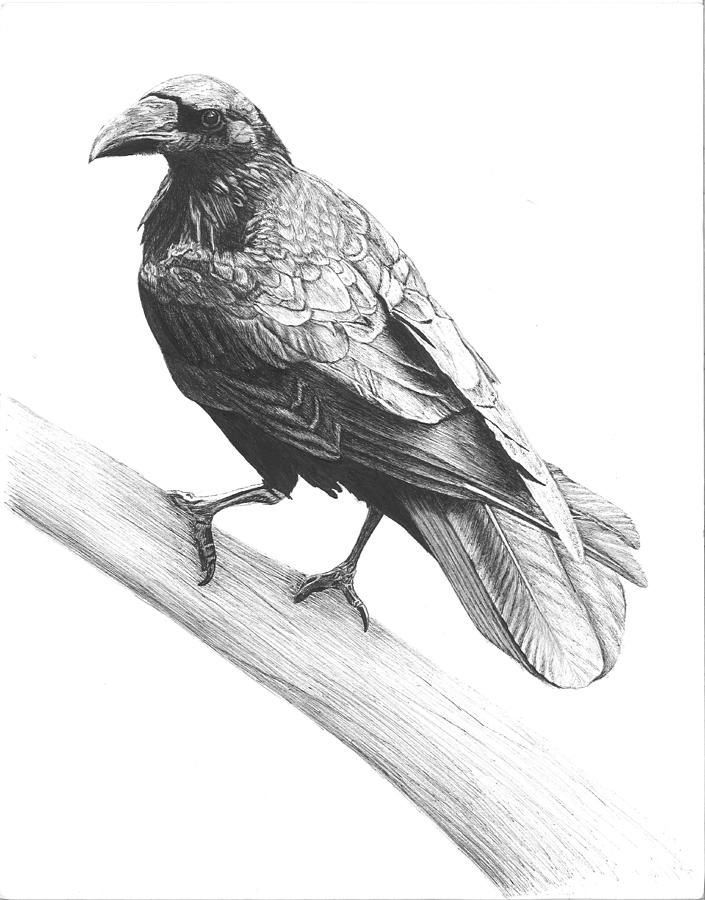
- Let's proceed to the wing. In the upper part of the body to create an arc, which diverges two straight lines downwards. All these segments will go into a small short tail of the bird. It is important to keep a single direction plumage.
- At the bottom, where the first vertical axis was created, there will be paws. They are sloping sections from the knee joint to where the toes are formed. The fingers of the bird are equipped with claws and point in different directions while gripping the place where it is sitting - 2 forward and 1 backward. On their ends are sharp, hook-shaped claws, like those of all raptors. They must be executed clearly enough to create a single harmonious image that corresponds to reality.
- Once all the elements are done, it is necessary to proceed to the individual details that will complete the appearance. The feathers are made in elongated ovals with an implicit upper part and a clearly traced lower end. On the head, neck, abdomen and back they are short. On the tail and wings, on the other hand, they are long and pronounced.
- There are scales on the legs, which are most easily represented by short, slightly convex arcs running in a perpendicular direction to the main part, be it the leg itself or the toes.
When the wings are spread out, oblique curved lines are set, preserving the division of the wing into 2 main parts. The spread should match the size of the bird's body.
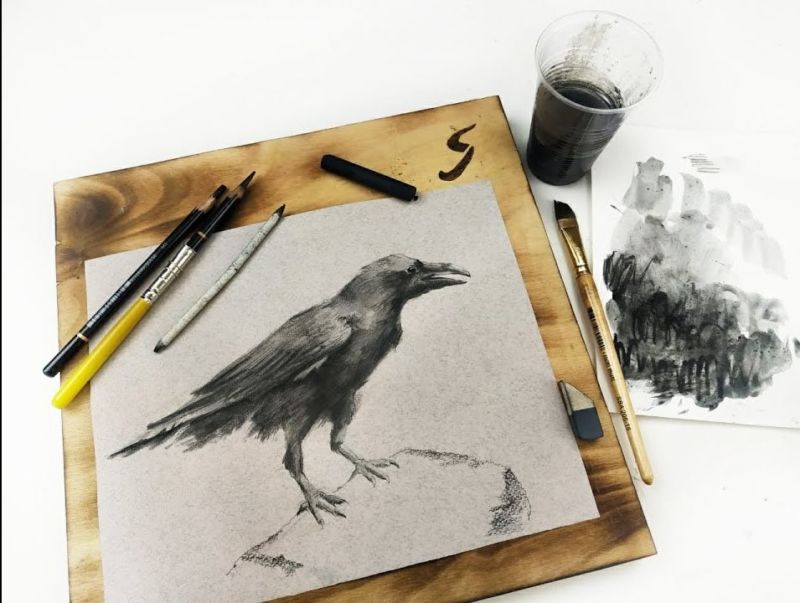
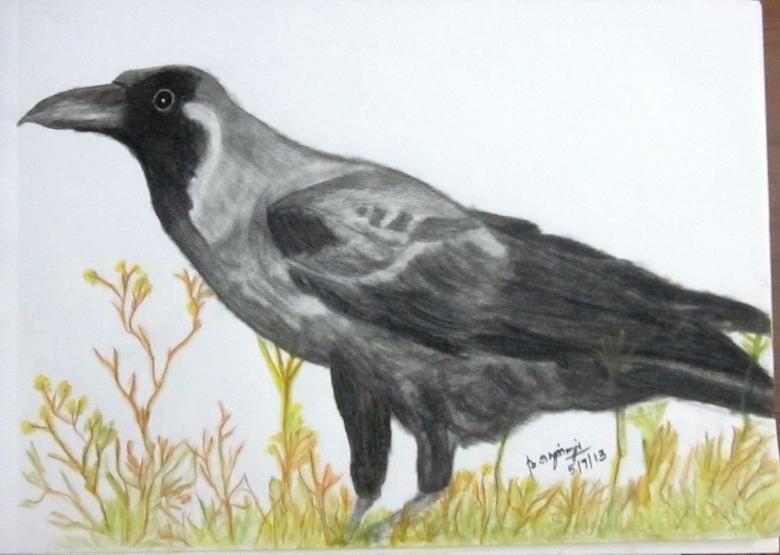
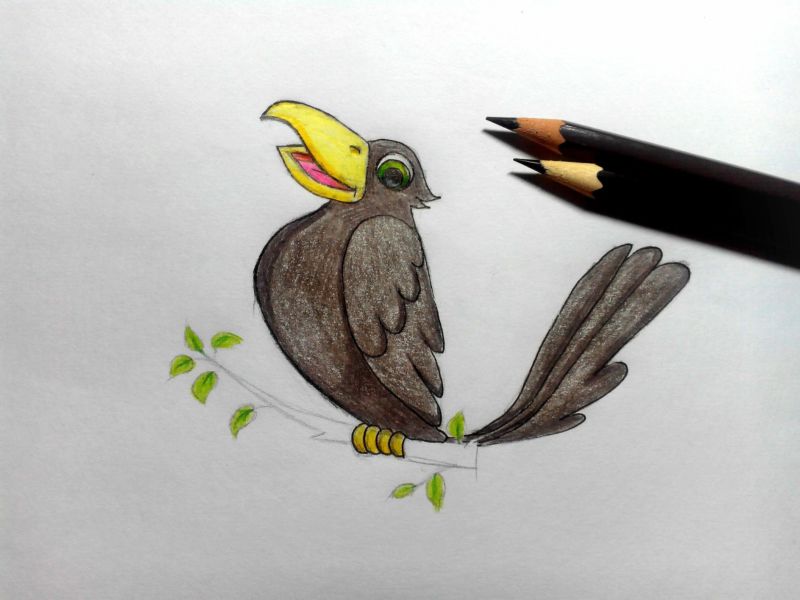
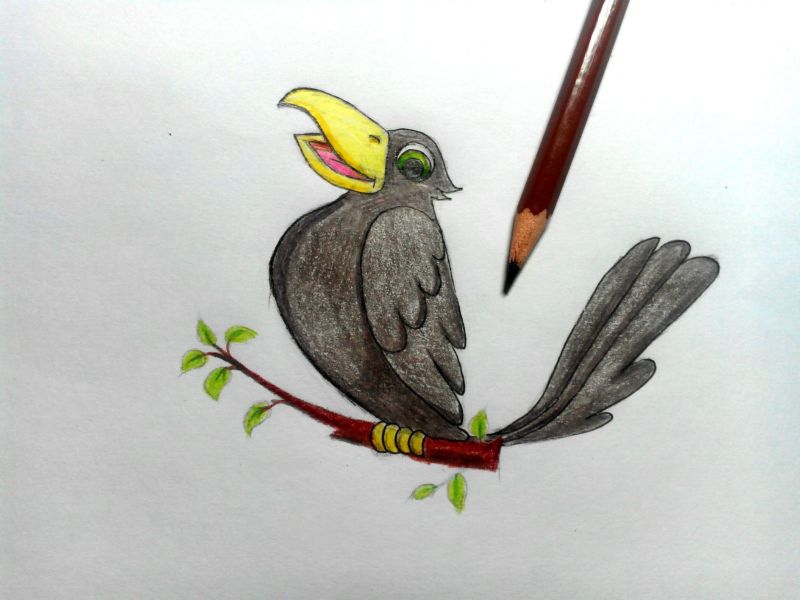
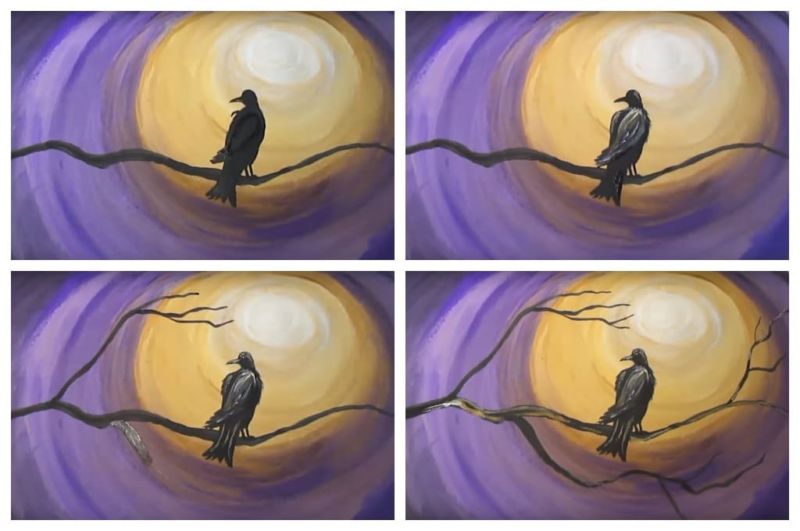
Next, you can apply toning, but in order to make a crow with a colored pencil really realistic, you should remember about the light and shade play. To do this, on each feather you need to create a dark and light part, depending on the direction in which the light falls.
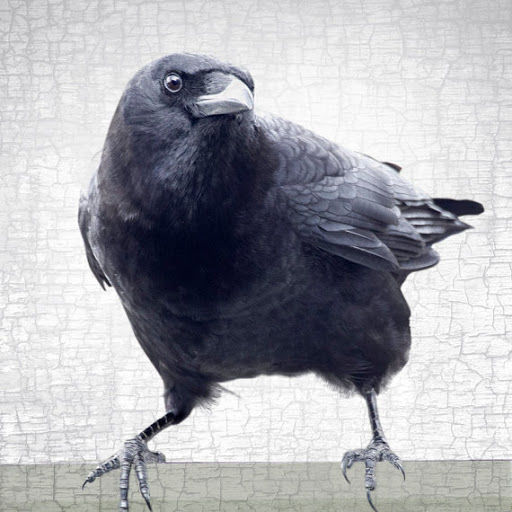
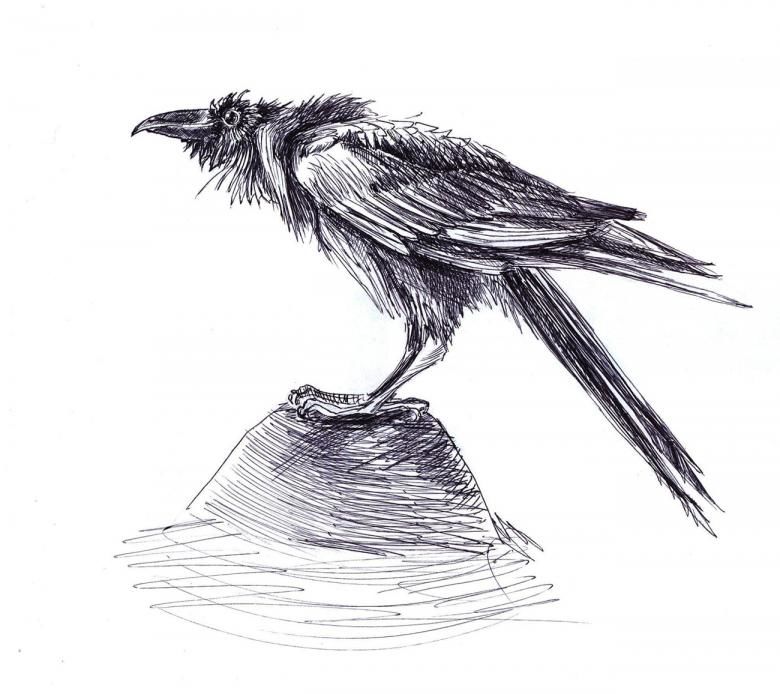
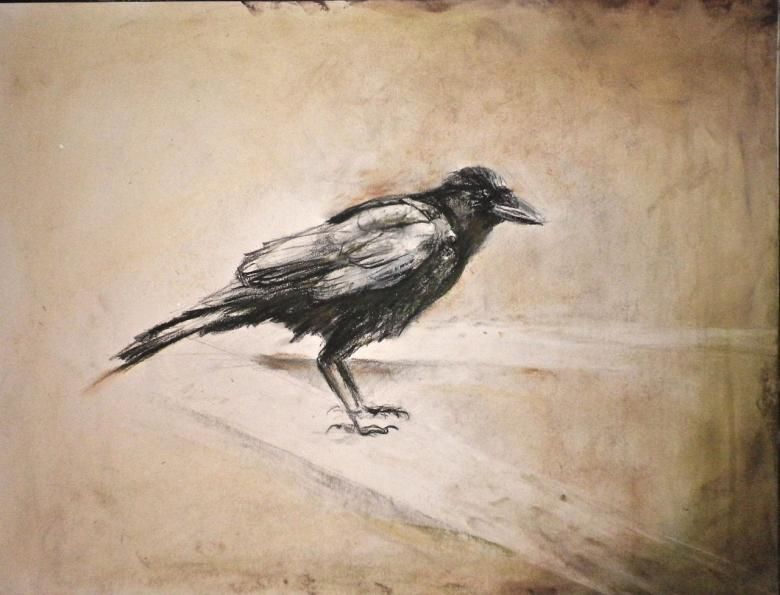
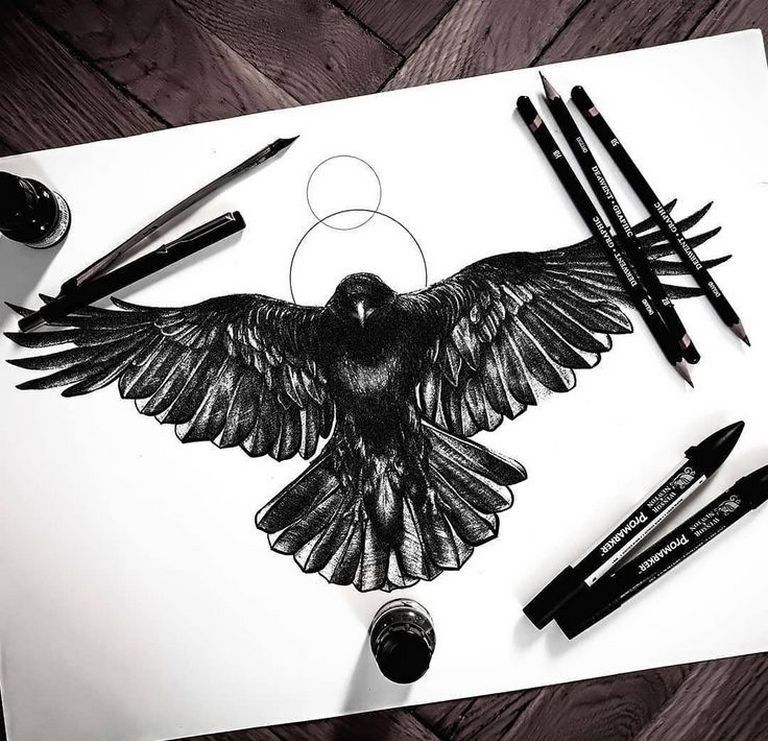
Since inexperienced artists find it quite difficult to decide on this point, it is better to use numerous images of crows for sketching. It will be easiest that way.
These master classes will help novice artists to successfully create the desired image. And, because you can draw a crow in different ways, it is advisable to start with the simplest options and only gradually complicate the picture.
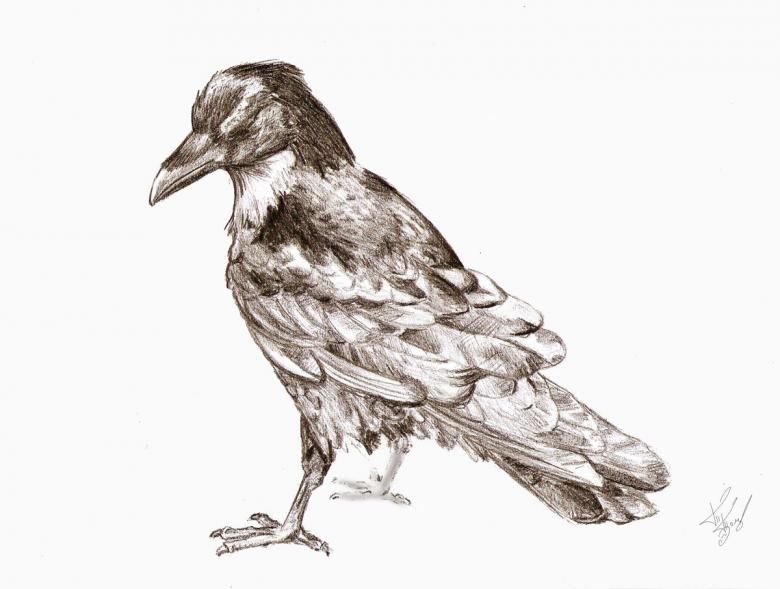
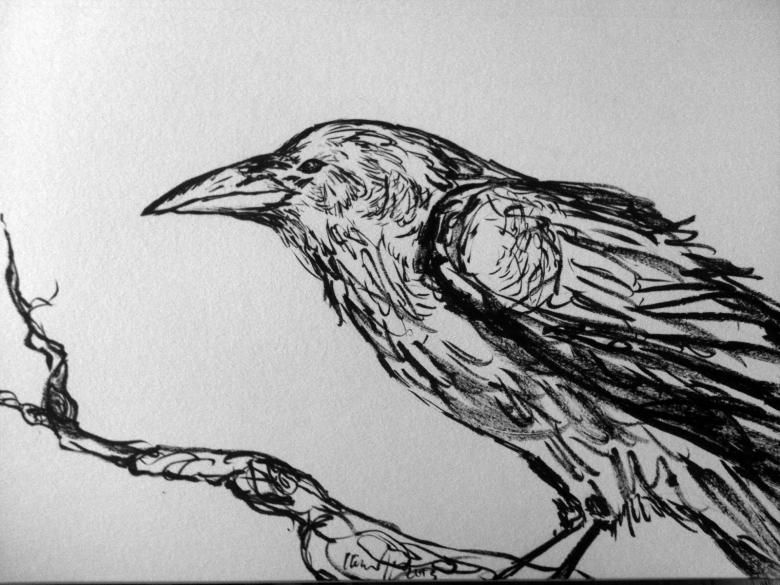
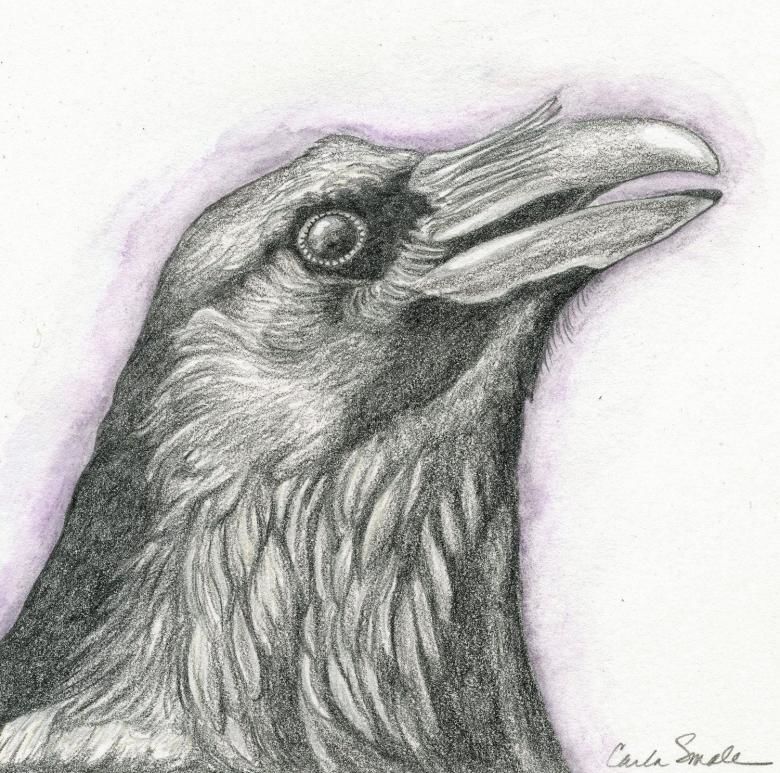
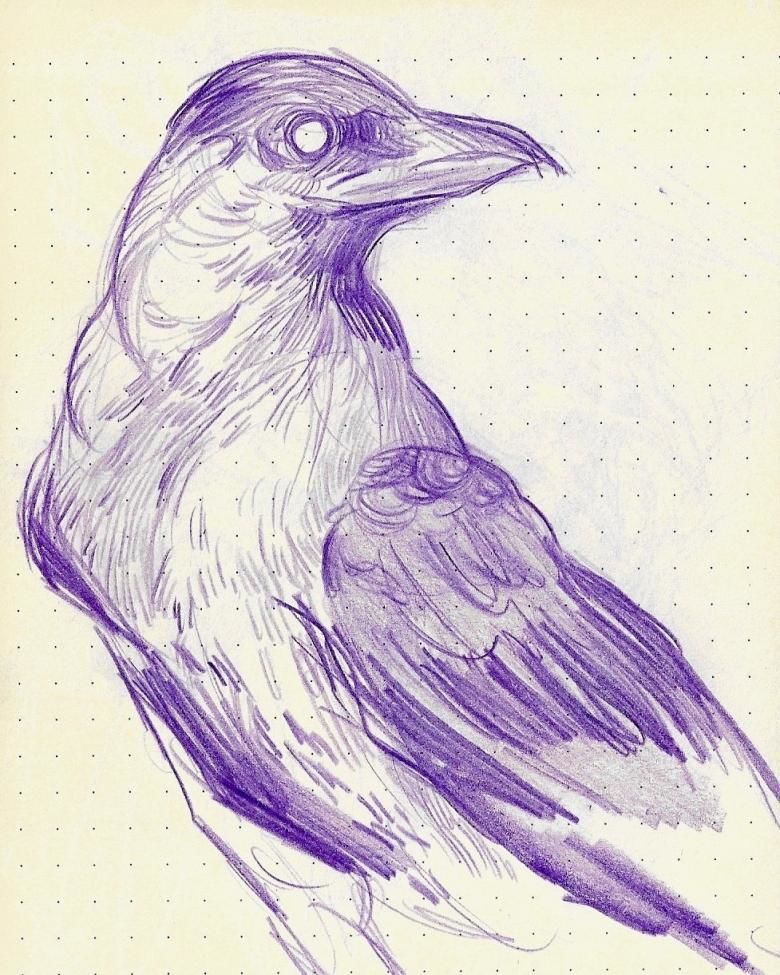
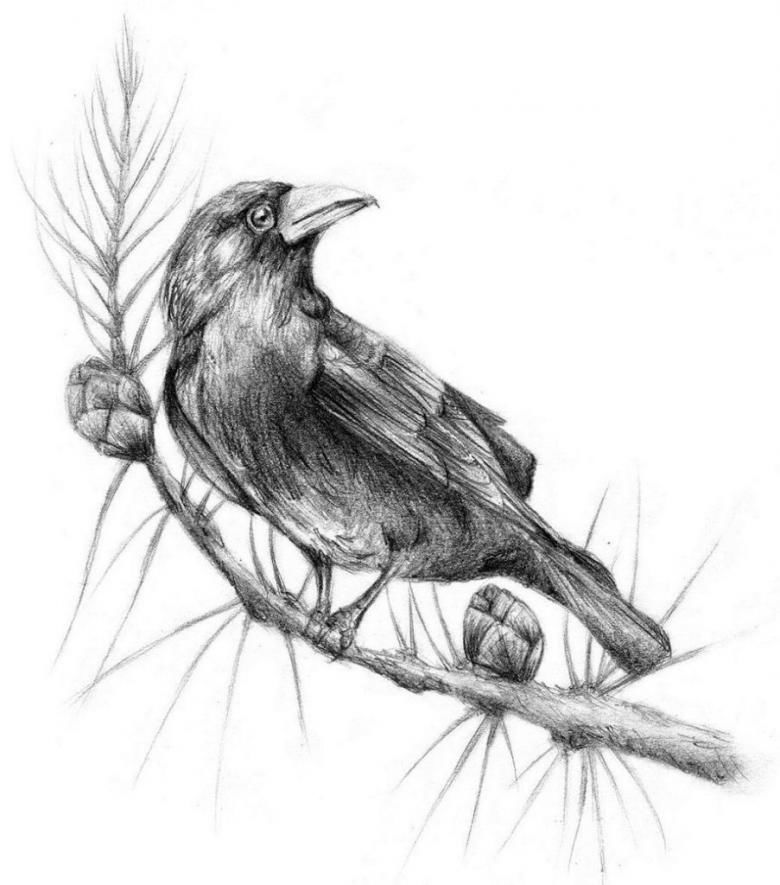
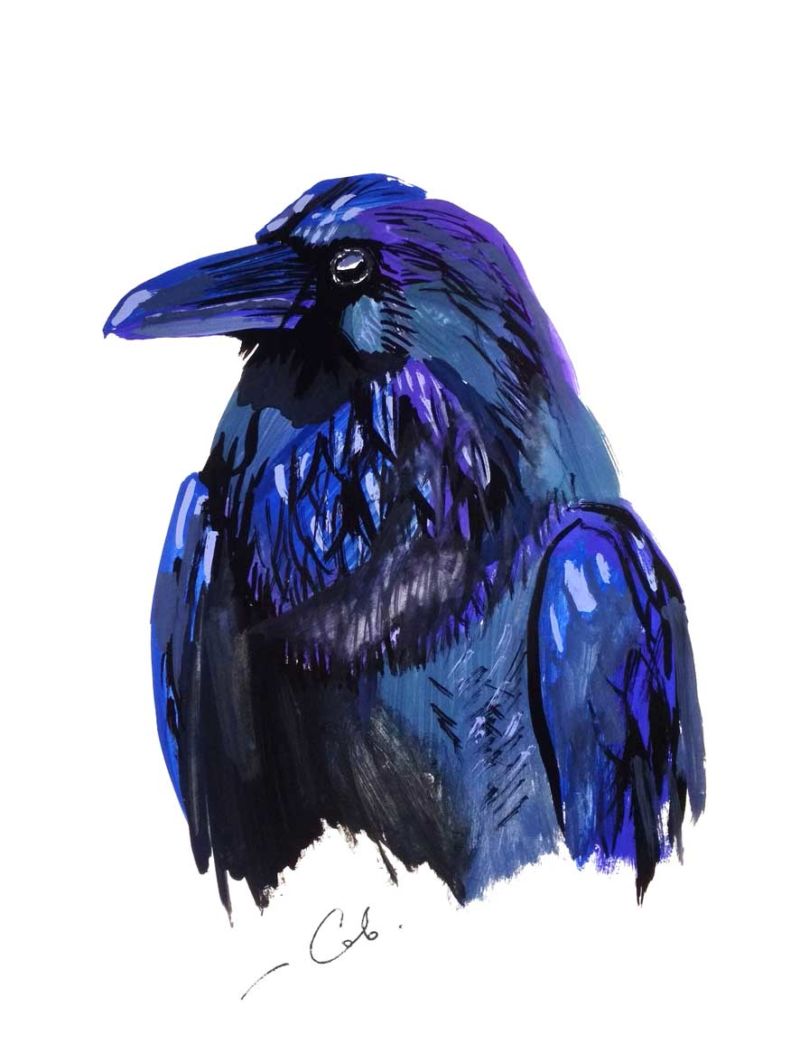
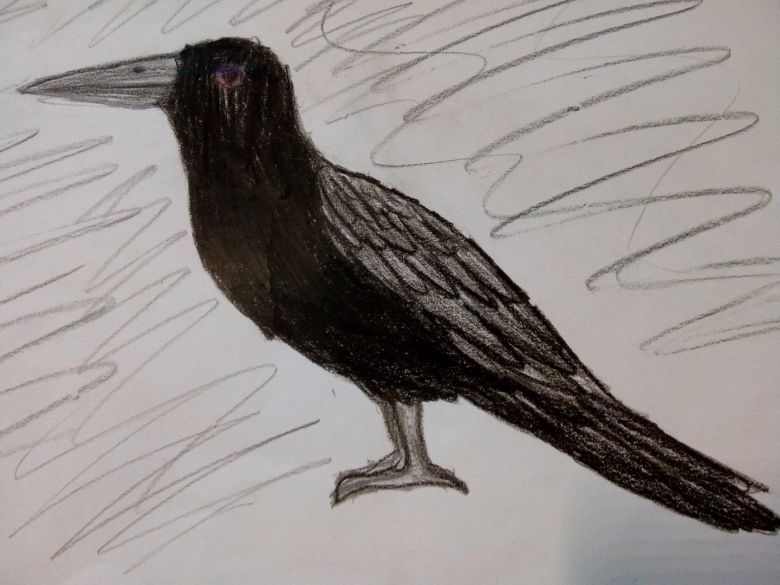
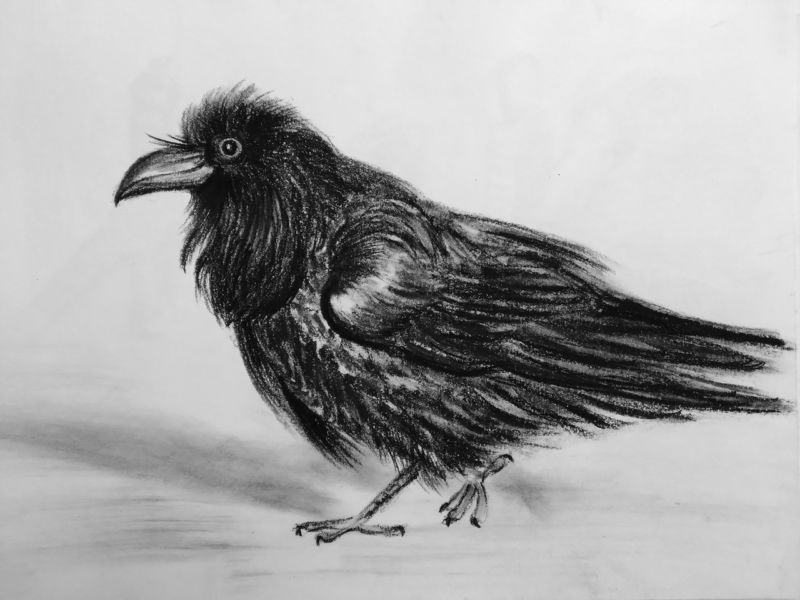
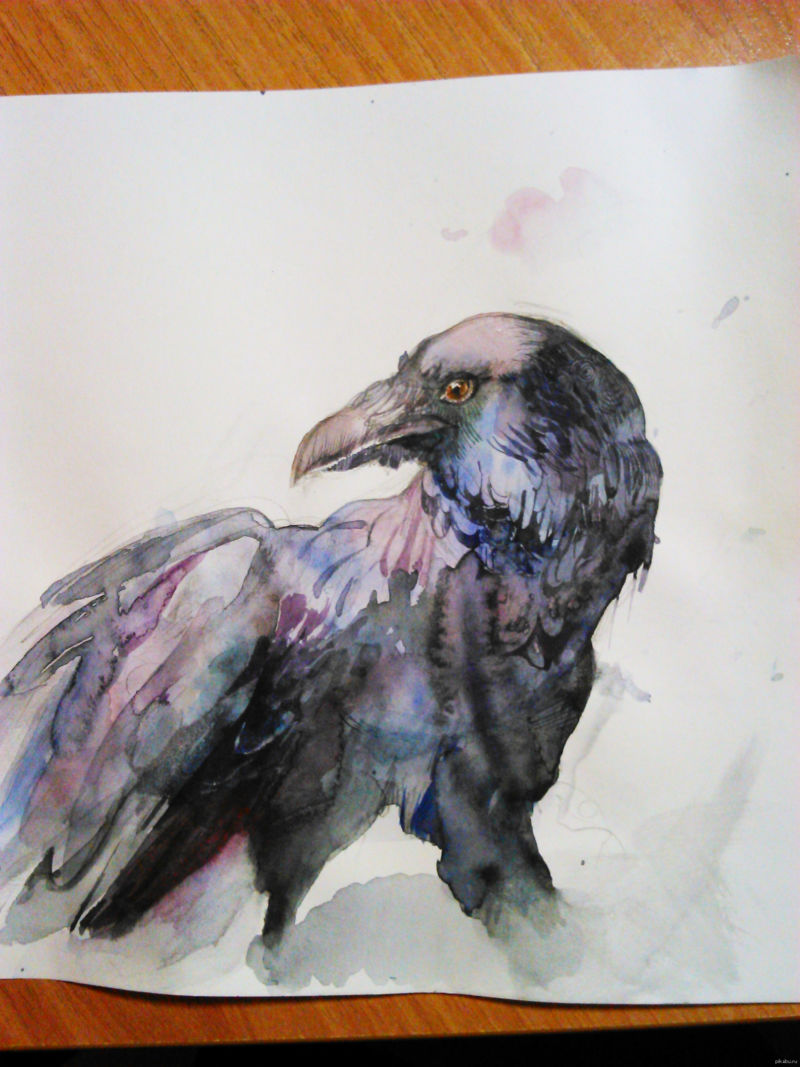
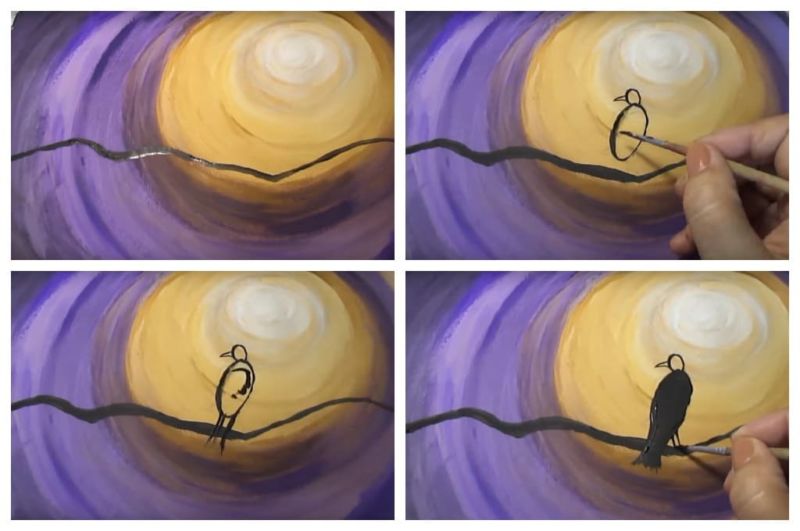
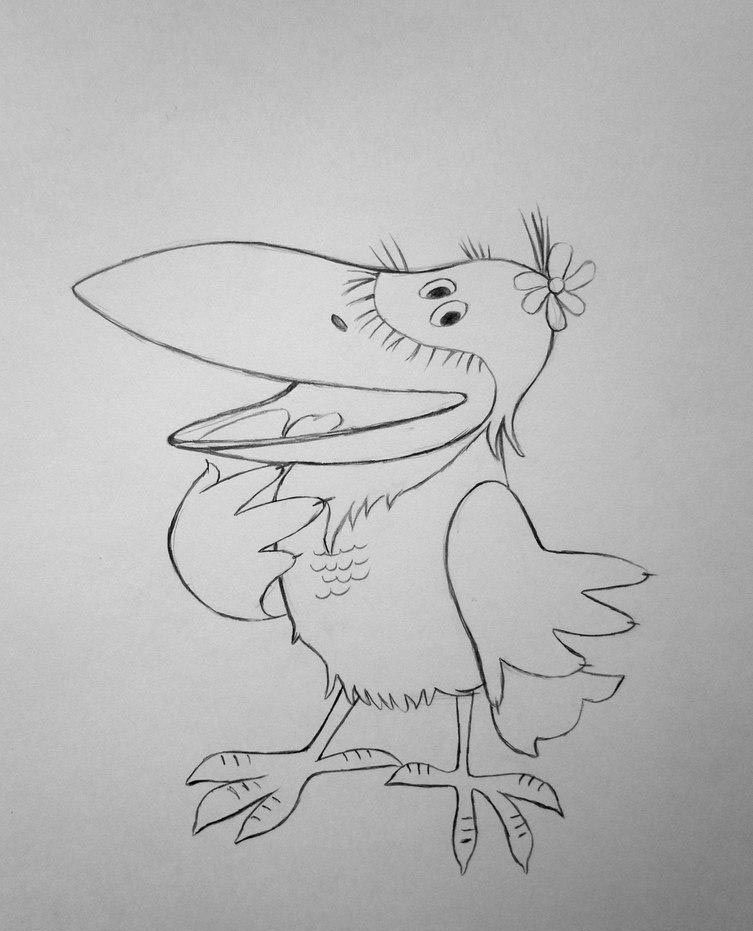
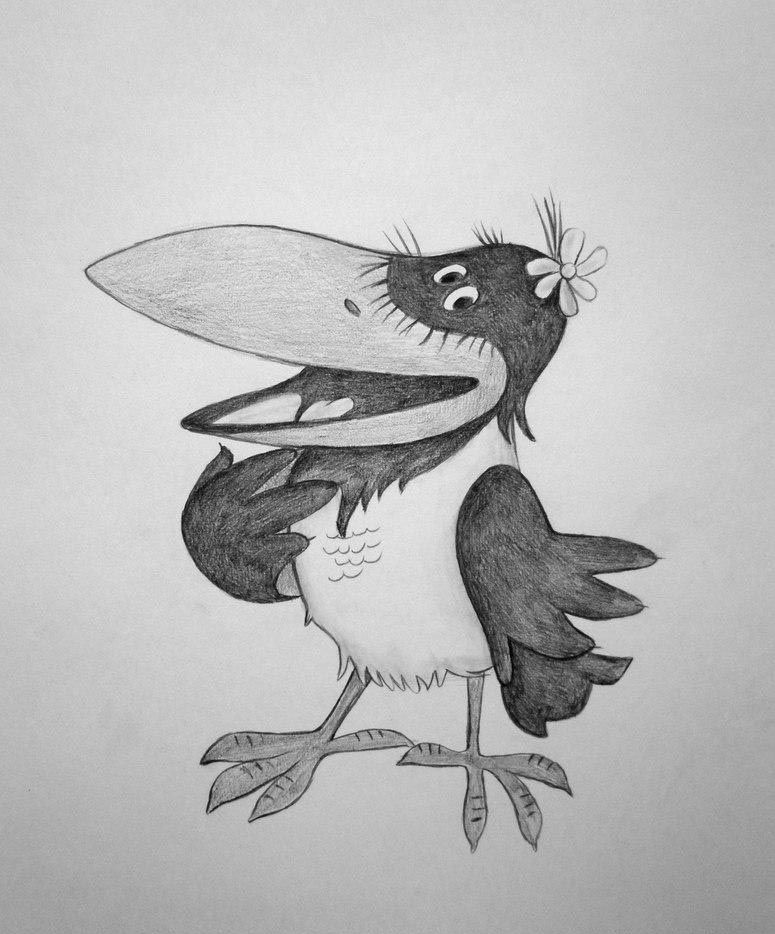
A picture of the crow you drew